REVIEW – In the last year I’ve picked up 3D printing on a filament printer as a new hobby. I’ve printed fidget toys, dragons, idea prototyping, and even some theater props and gone through several kilos of filament in the process. One of the issues I’ve seen, especially when printing large pieces, is running out of filament mid-print and having printing error out or stop with mixed results. I’ve seen filament fusing/joining tools, but haven’t had a chance to try one until now. Enter the Sunlu Filament Connector. The Sunlu Filament Connector claims to give you the ability to join filament strands easily and quickly. Let’s see how it did!
What is it?
The Sunlu Filament Connector is a tool that allows you to join strands of 1.75mm 3D printing filament of the same type.
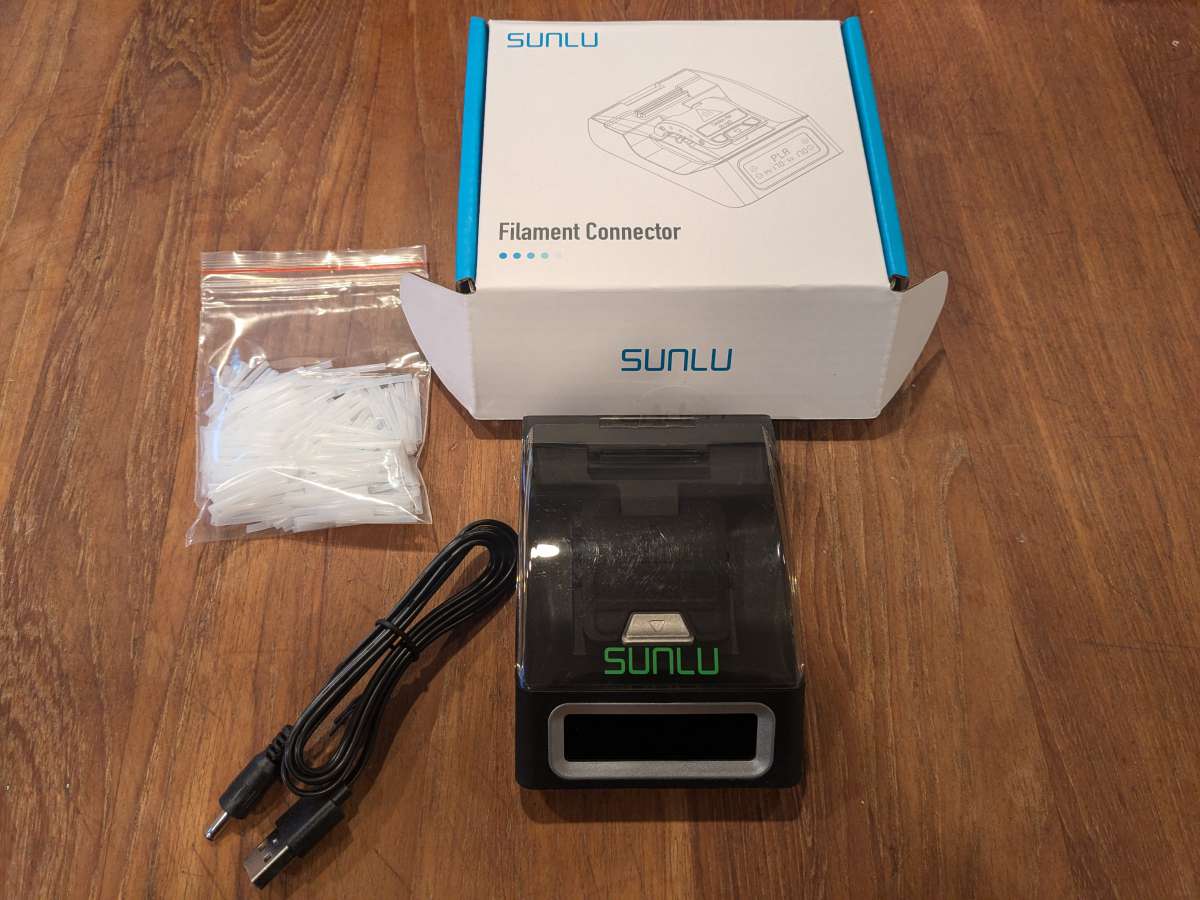
What’s included?
- Sunlu Filament Connector
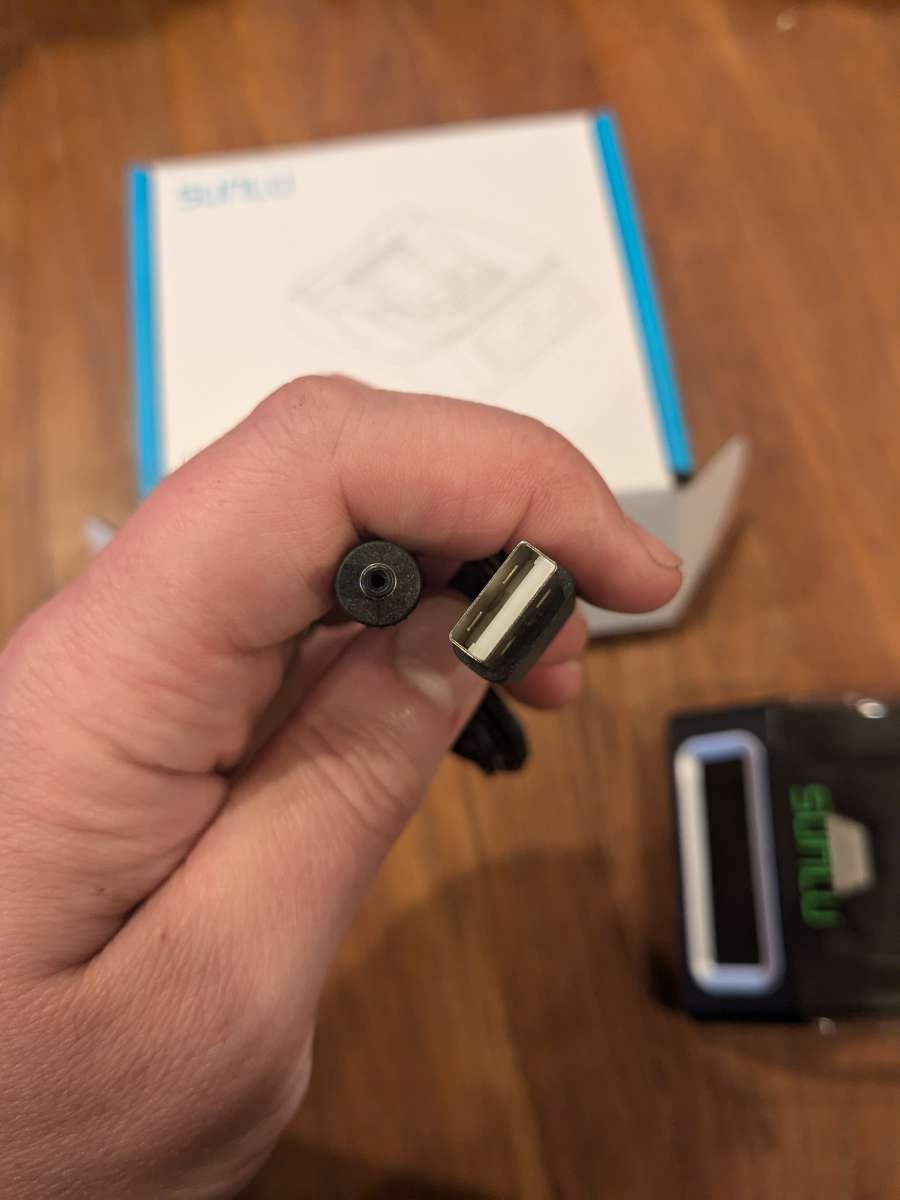
- USB Connector
- 200 Filament Connector sleeves
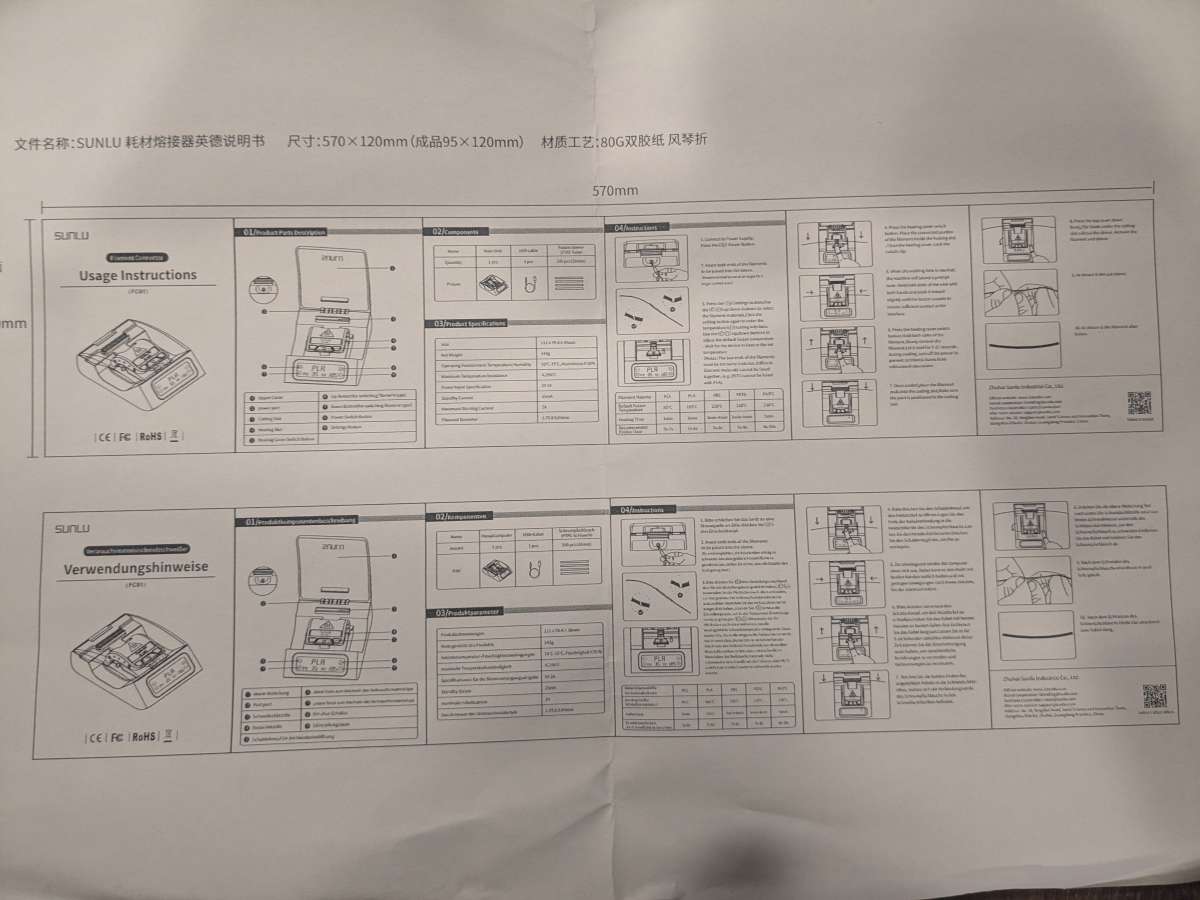
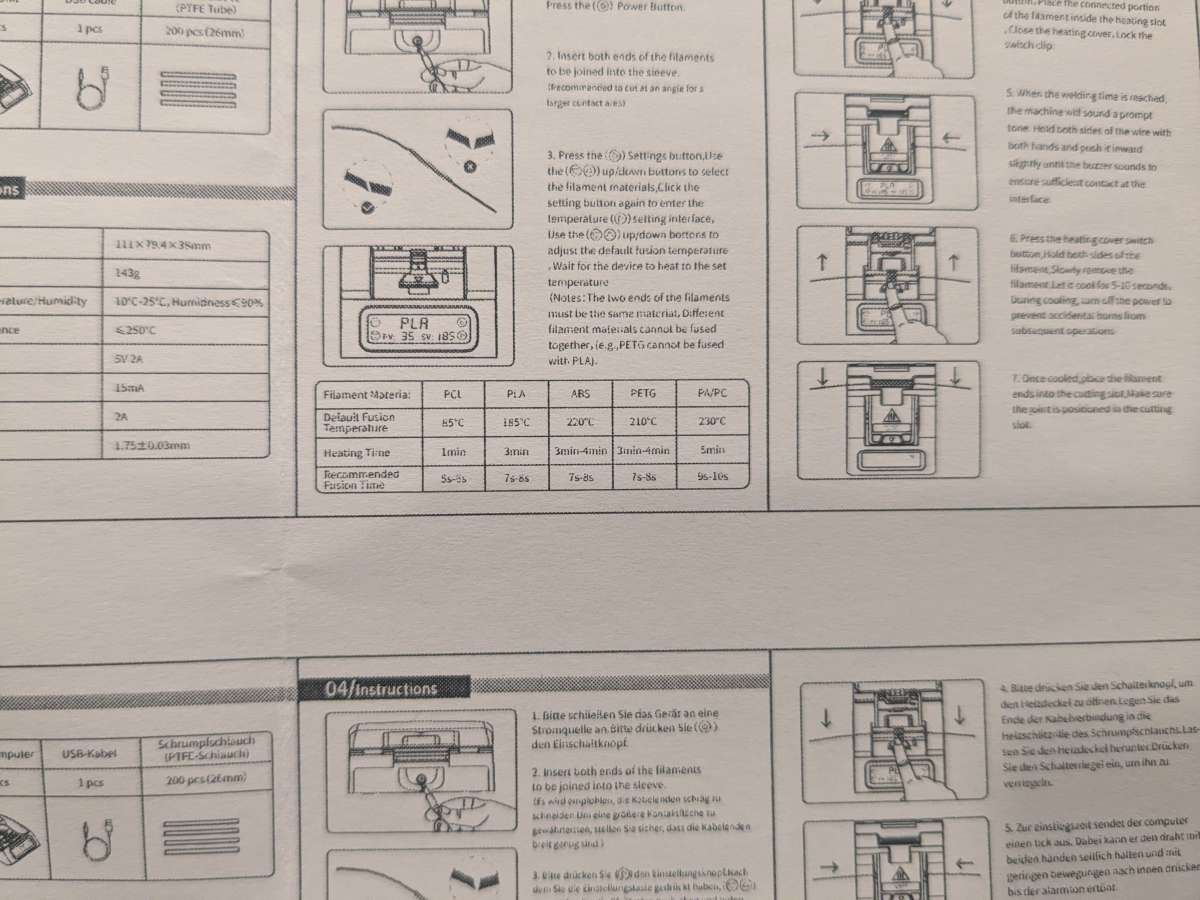
- Blurry instructions
Magnifying glass not included.
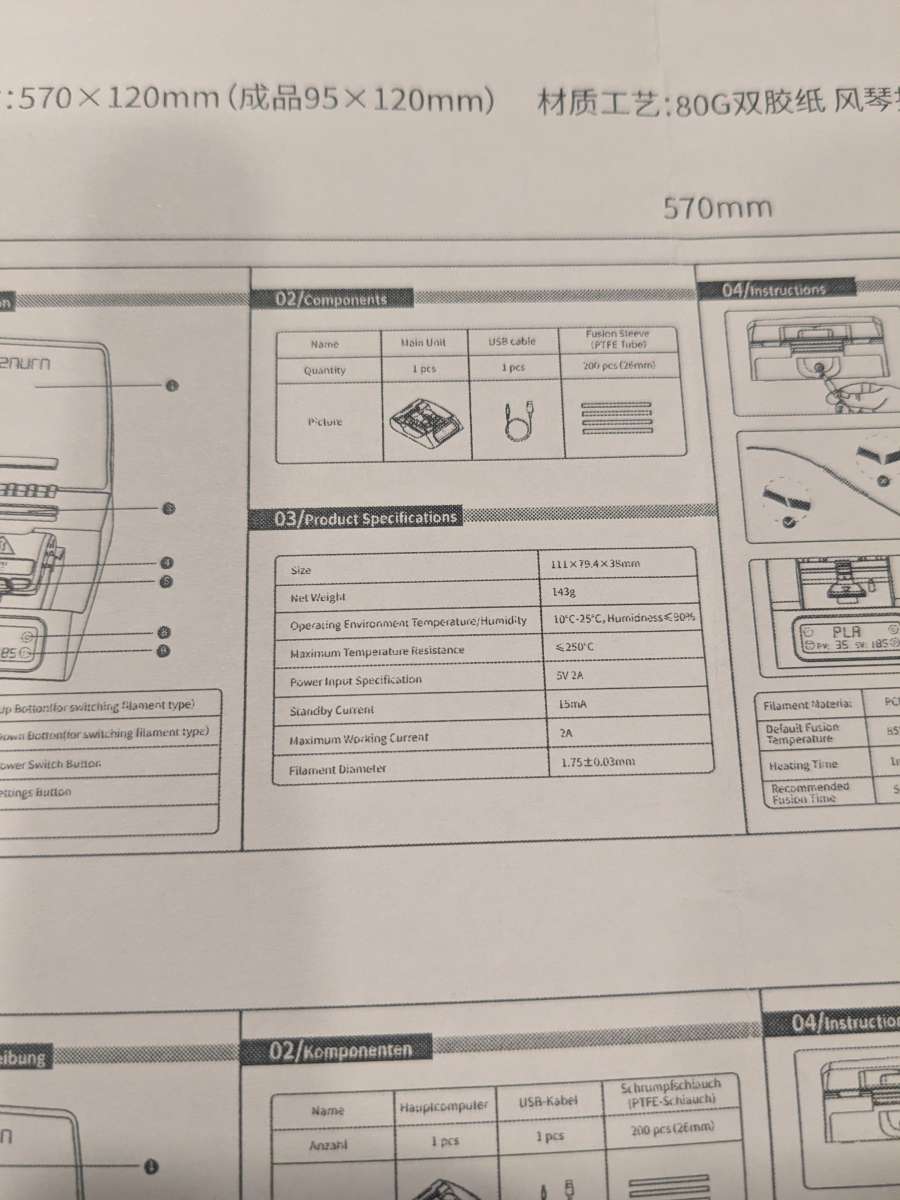
Tech specs
- Size: 111×79.4x38mm
- Net Weight:
- Operating Temperature / Humidity: 10C – 25C / <90%
- Maximum Temperature: 250C
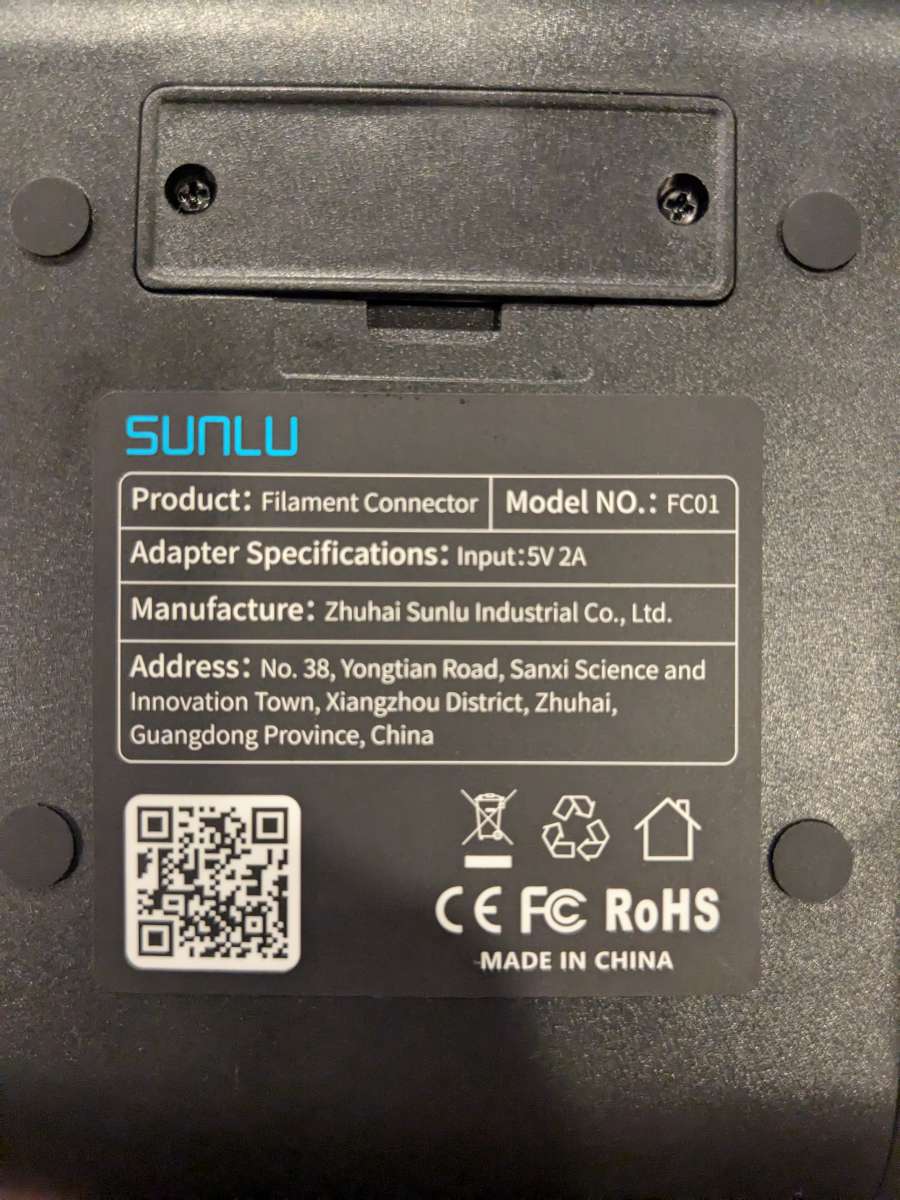
- Power Input: 5V 2A
- Standby Current: 15mA
- Maximum Working Current: 2A
- Filament Diameter: 1.75mm
Design and features
The Sunlu Filament Connector has one function. You guessed it. It connects and fuses filament together. It touts being able to connect PCL, PLA, ABS, PETG, and PA/PC filament. You can only connect same types together, so no PLA to PETG fusing. I can’t imagine who would want to do that anyways, because it would just mess your 3D print up.

Setup
Setup was simple. Aside from finding a USB charger with the right voltage, the unit is pretty much plug and play. The recommended power input on the very tiny and blurry instructions is a 5V 2A power supply. Since I seem to have a surfeit of chargers floating around my house I was able to get it connected and powered up.
Performance
Using the connector was straightforward once I was able to interpret the blurry and tiny instructions. Since this is most likely a pre-release model, I imagine that there will be a much better user manual included in the full-production boxes.
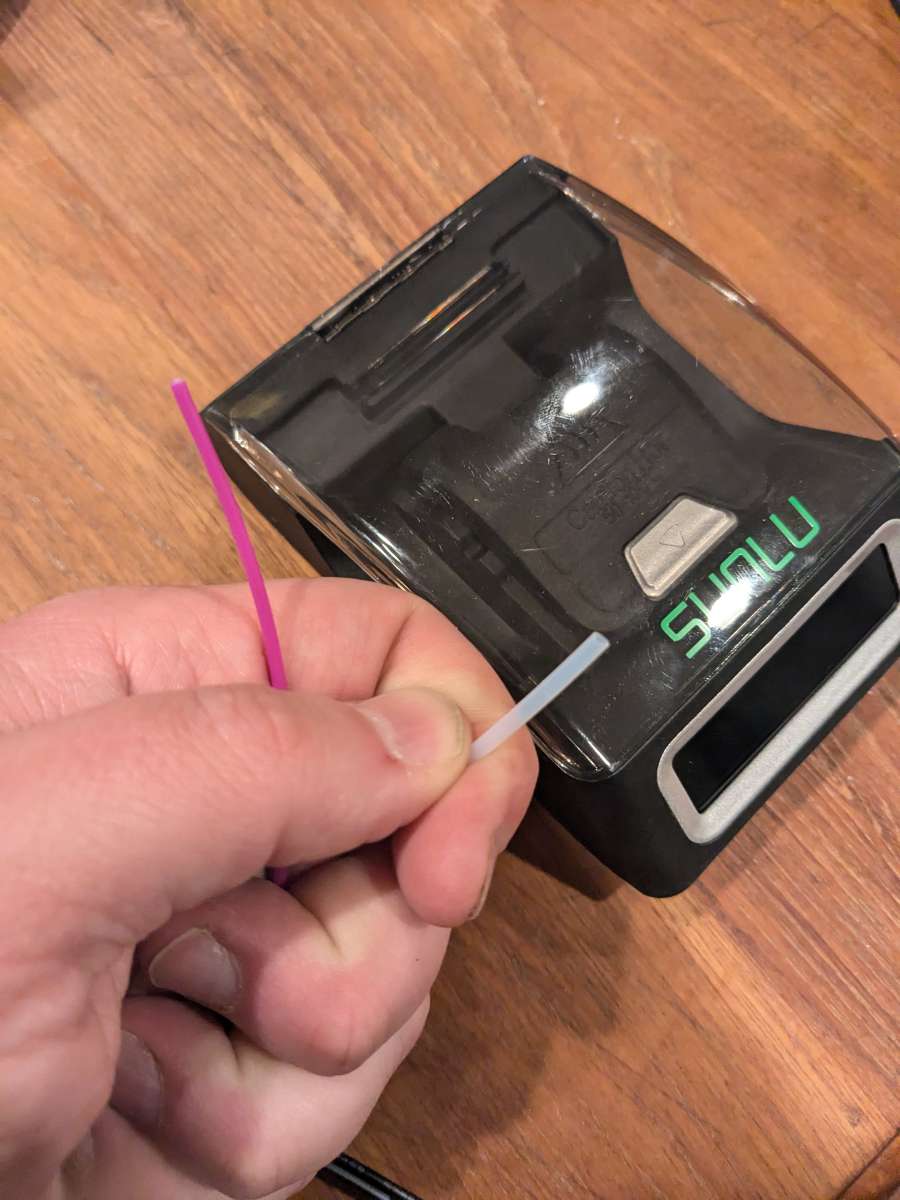
The way that this connector works is that you slide a fusion sleeve over one end of a filament that you want to connect and then slide the other filament into the other end. The fusion sleeve is made from PTFE, so it has a higher melting point than the different filaments that you are connecting.
Plugging the filament connector in, the front display lights up and you can select the filament type and adjust the temperature as needed. The actual fusing mechanism is protected by a shield that latches down.
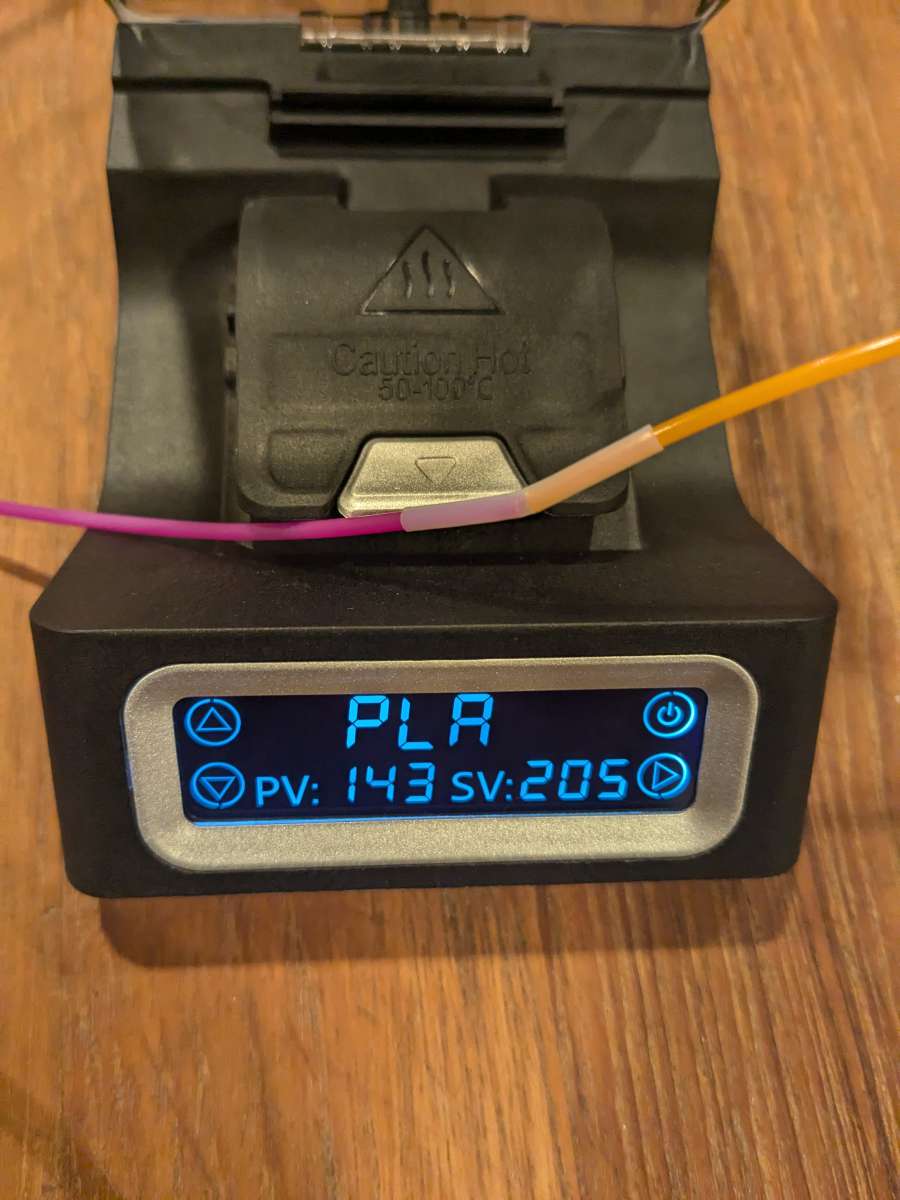
Once the element comes up to the appropriate temperature for the filament you’re using it’s ready to go.
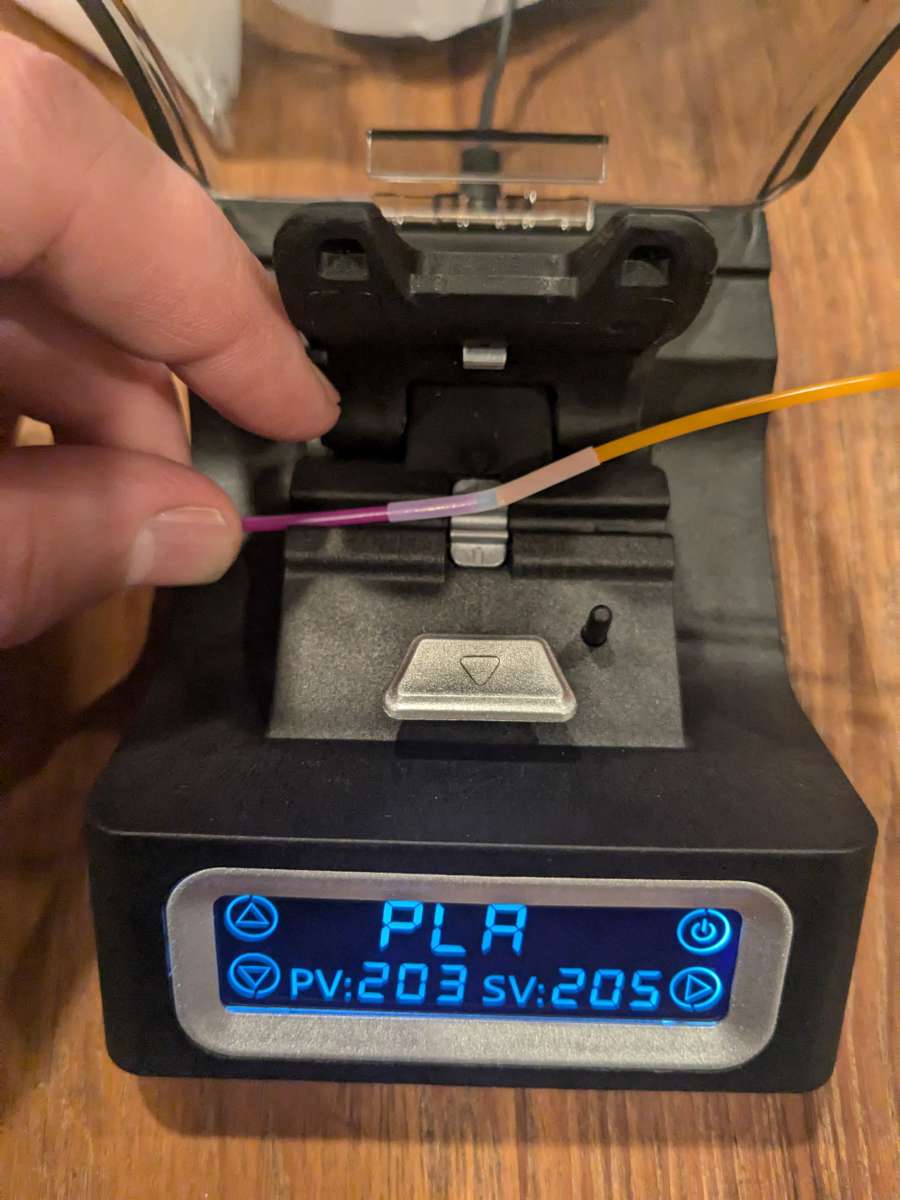
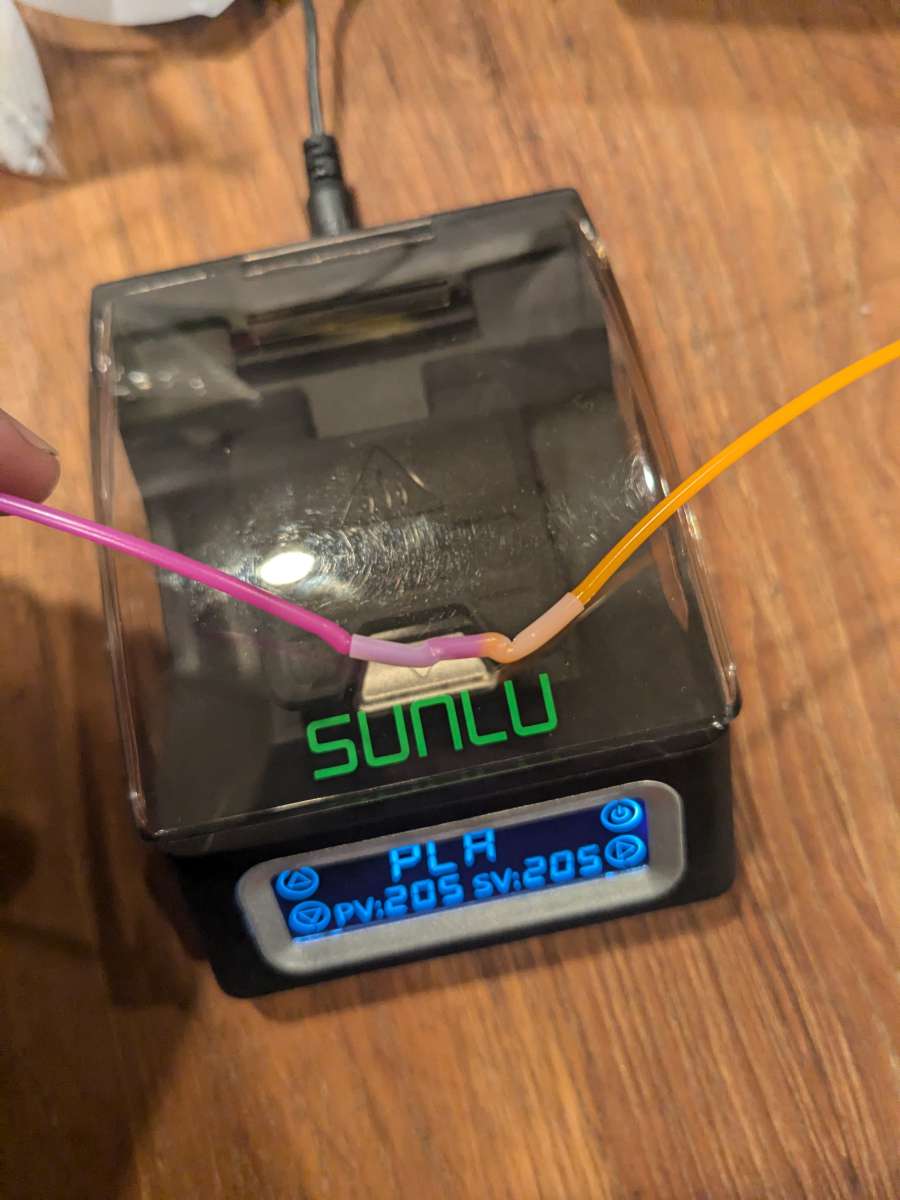
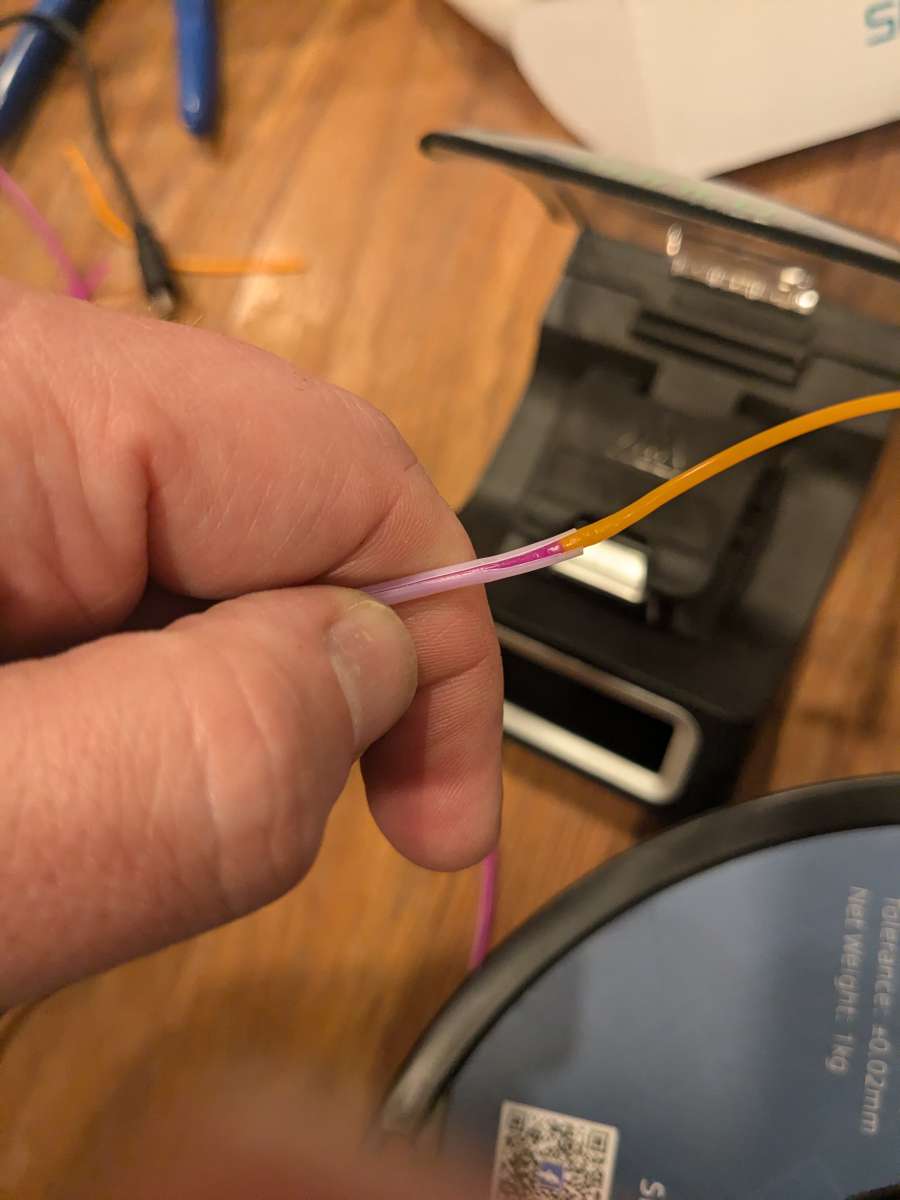
Once at temperature, you place the fusion sleeve with the filament on each end into the fusing element and close the shield. Once closed, you have to start the clock and push the two ends towards each other. The first time I did this, I made the mistake of not reading the instructions as to how long it needed to go, and the filament got too hot and melted too much, as you can see below.
Going back to the blurry instructions, I found the recommended fusion time of 7-8 seconds for PLA and tried again.
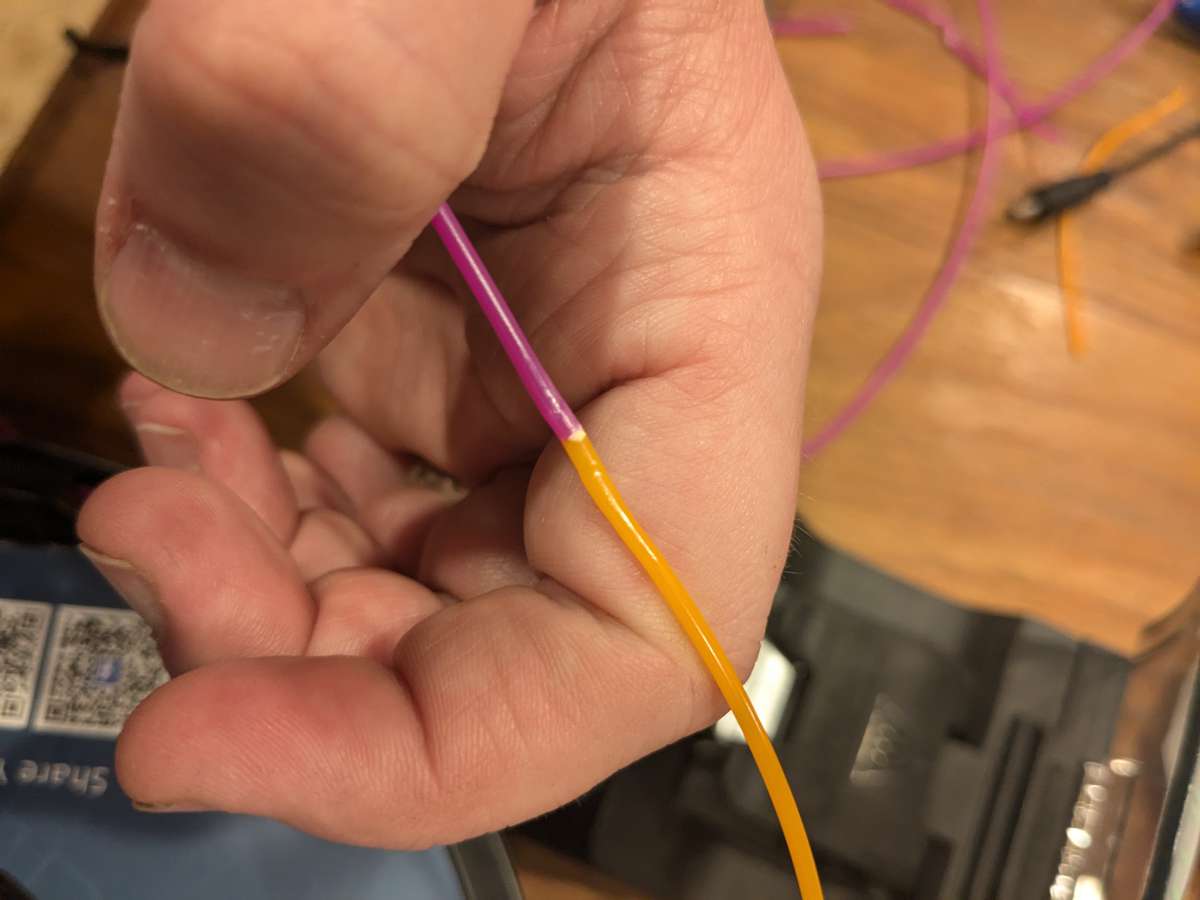
The second time around the results were much more successful!
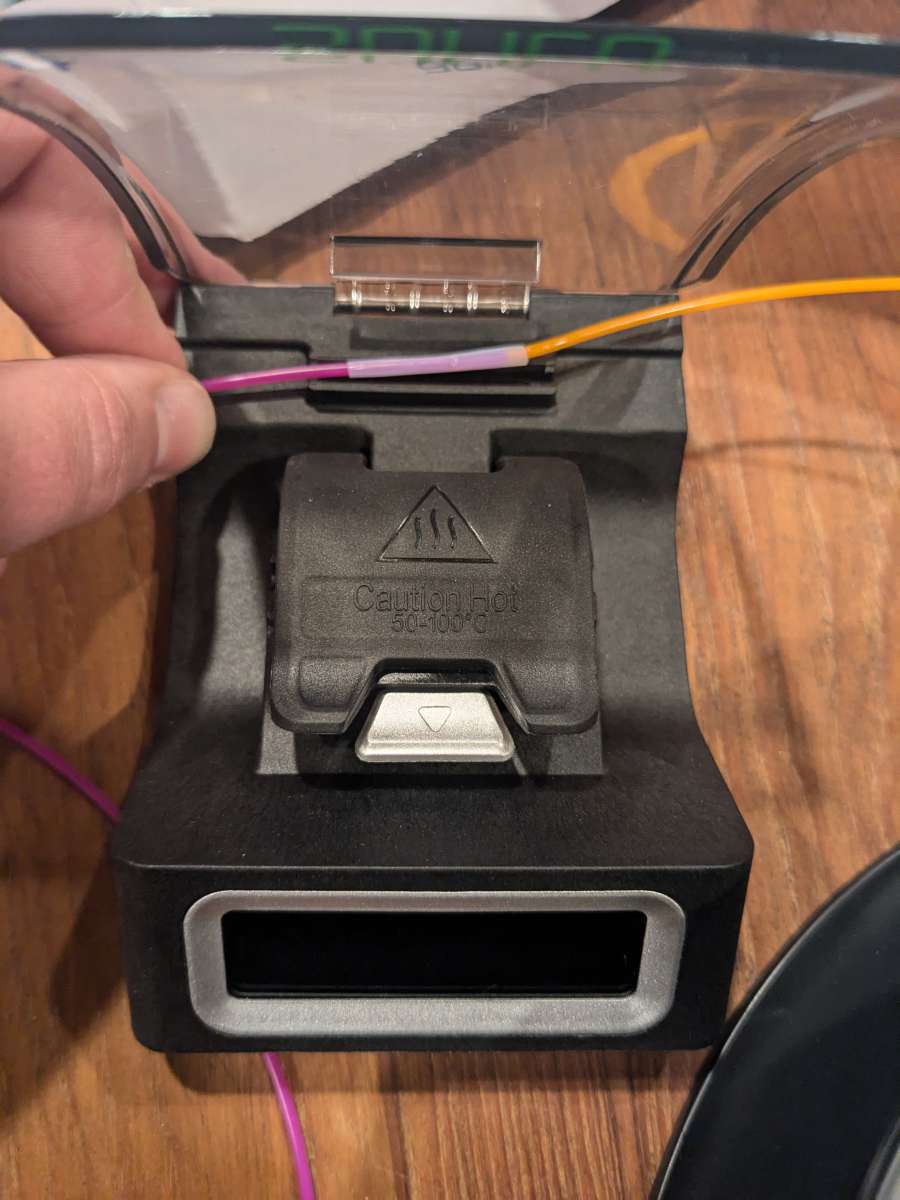
Successfully fused, the next step is to remove the fusion sleeve. Behind the fusing element, there is a slot with a long blade to cut the sleeve without cutting the filament inside. You just lay the sleeve inside the slot and close the cover to push it down into the cutter. The output looks like this:
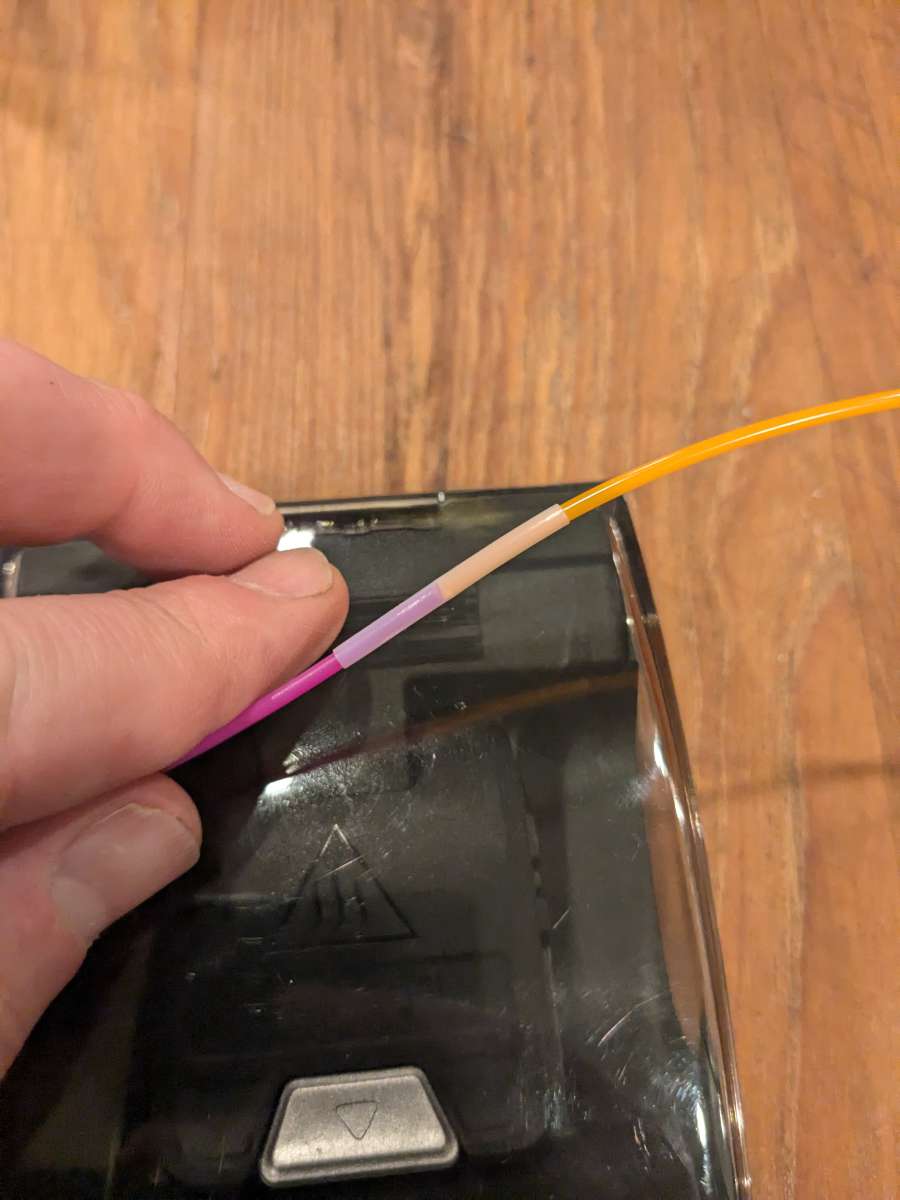
The end result after you remove the sleeve is a seamlessly fused continuous strand of filament.
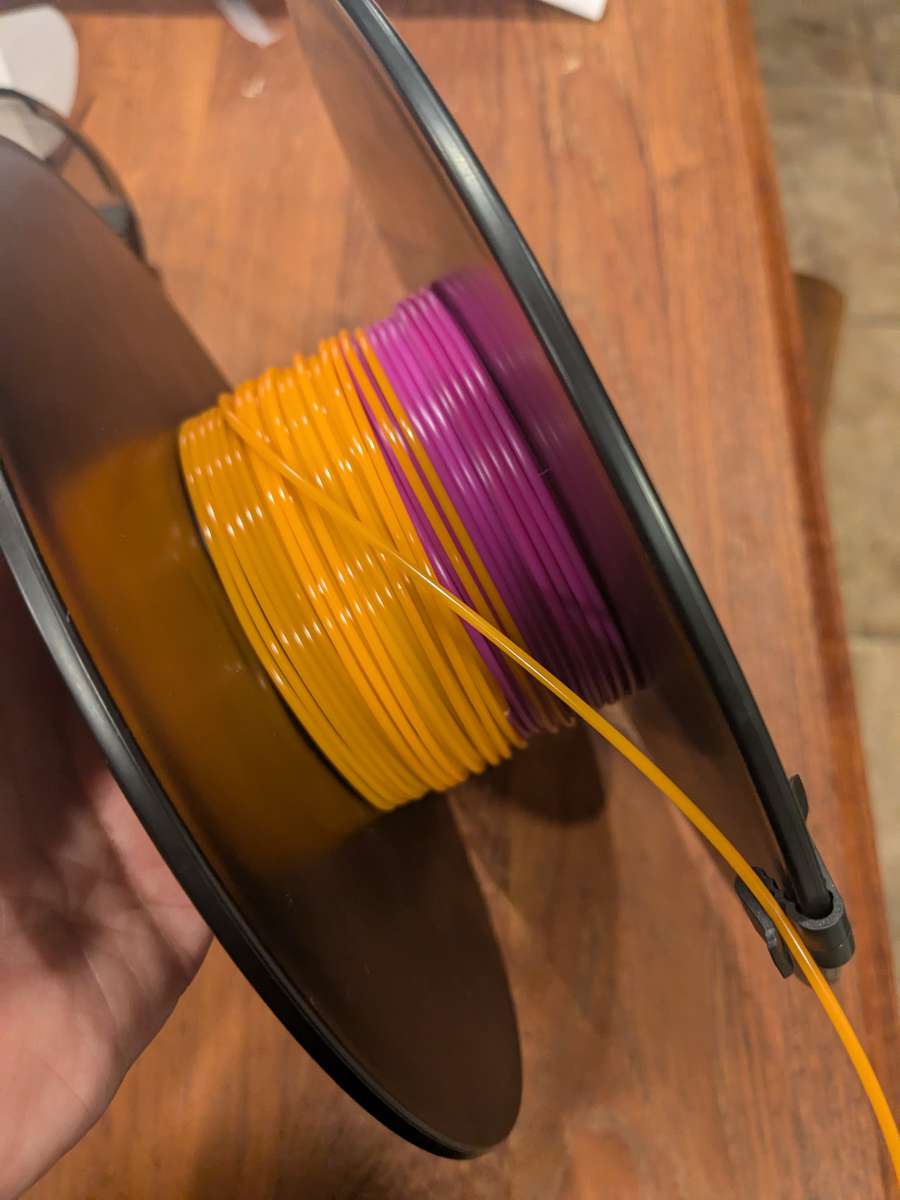
I wanted to make a variable colored strand of filament to print something with, so I did this a couple of times and put it back on a spool. This was probably the hardest part of the whole process. Getting filament on a spool evenly is very difficult to do.
The final test of the process was running it through a 3D printer with a benchy to see if it holds up.
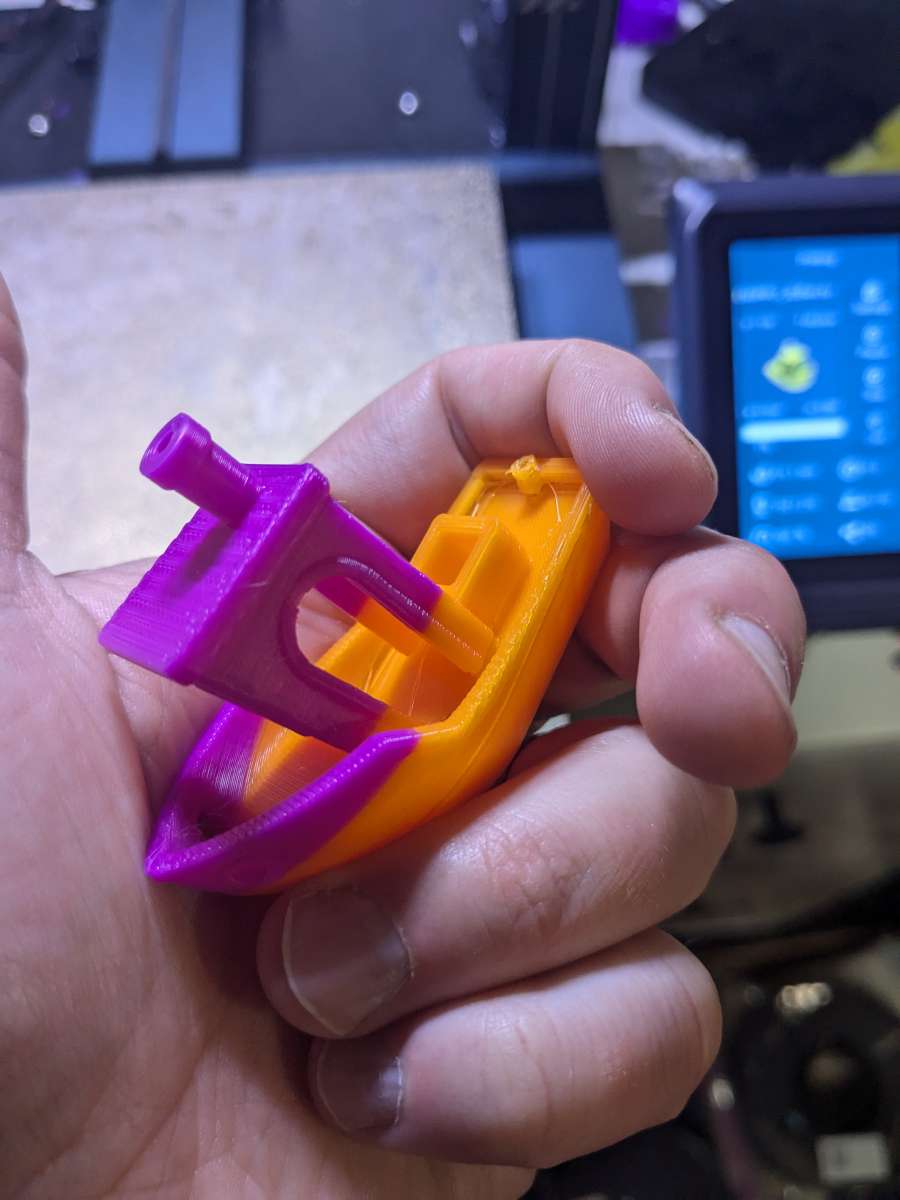
Again, seamless fuse and transition into a print.
What I like about Sunlu Filament Connector
- It’s a small and simple product that does what it advertises
- USB power is always going to be a plus in my book
- The display is bright and clear. Adjusting the temperature was easy and the controls are intuitive.
- I had the unit up and running in under 30 minutes. The most difficult part of using it is wrangling the filament.
What needs to be improved?
- A better and more readable user manual would be fantastic. Again, I think this was a pre-release box, so I imagine that will be in place for the production models.
- Requiring the little fusion sleeves is annoying, but it will take me a very long time to go through the 200 included in the box
- Nothing else
Final thoughts
This little device works. You need to pay attention to the instructions, because there are several points in the fusion process to mess up and possibly burn yourself. This is very hot, but that should be obvious given the function it’s performing. Don’t let young children try it themselves. If you want a way to make your own multi-colored strands or join rolls together for uninterrupted longer prints, this will let you do that. The part I struggled with the most wasn’t fusing the filament together, it was respooling the filament I had fused. On the small Benchy I made it wasn’t a huge deal, but still annoying. On a very large fusion project it becomes more problematic. There are respooling tools out there you can build yourself or buy, but that would be a review for a different day. I recommend this tool if you’re looking to make your own multi-colored filament strands or if you’re prepping for a very large print you want to run uninterrupted.
Price: $34.99
Where to buy: Sunlu
Source: The sample of this product was provided for free by Sunlu. Sunlu did not have a final say on the review and did not preview the review before it was published.
![[MINI SIZE. ULTRA PORTABLE CHARGER]: Roughly the size of an AirPods Pro case, this smallest power bank packs 10,000mAh of long lasting power into a tiny, nano footprint. Easily slide this ultra slim, credit card size charger into your skinny jeans, a...](https://m.media-amazon.com/images/I/41rATpm6dyL._SL160_.jpg)
Now retrieving an image set.
INIU Portable Charger, Ultra Mini 10000mAh 45W Fast Charging with Detachable Cable, Flight-Safe Travel USB C Power Bank External Phone Battery Pack for Xiaomi iPhone 17 16 Samsung S26 Google iPad etc
(as of July 13, 2026 18:57 GMT -05:00 - More infoProduct prices and availability are accurate as of the date/time indicated and are subject to change. Any price and availability information displayed on [relevant Amazon Site(s), as applicable] at the time of purchase will apply to the purchase of this product.)
Now retrieving an image set.