REVIEW – My husband and I were fortunate to adopt a puppy from a humane society in July of 2020. On the plus side due to COVID, I have been working from home since March of 2020 and had plenty of time to be with him. On the minus side, he did not get a chance to get as socialized as we would have liked and he never got time to be alone by himself very much. These past 6 months or so as we have been going out more for dinner and other things, we have been leaving him alone for longer periods of time. He does not destroy anything when he is home alone but is the most excited dog I have ever seen when we get back home. I have been wanting to try out one of those pet treat dispensing cameras that would let me see the dog and be able to interact with him when I am not at home. So when the Cengcen Pet-treat camera came up for review I jumped on it. Let’s see how it does.
What is it?
The Cengcen Pet-treat camera is a camera with a built-in microphone, speaker, and treat dispensing system. It has an app you can install on your phone that allows you to turn on the camera and interact with your pet or pets.
What’s in the box?
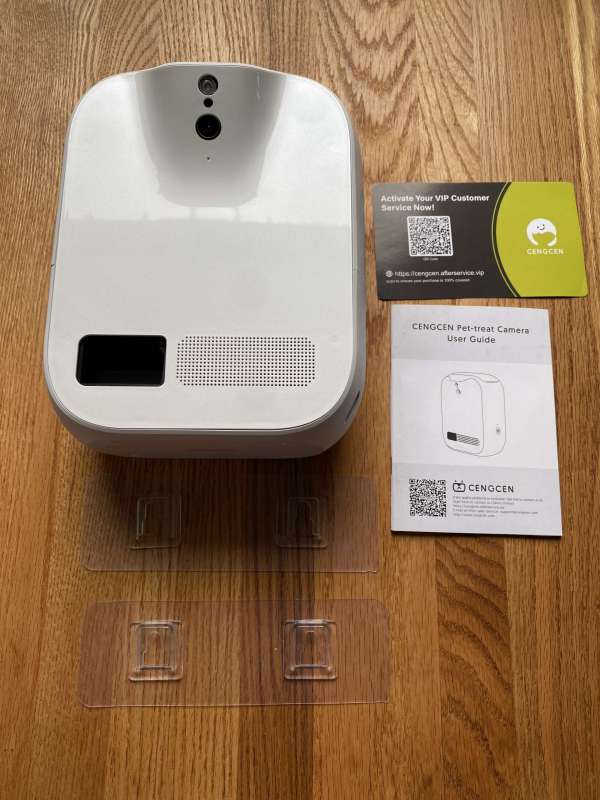
- Cengcen Pet-treat dispensing camera
- User manual
- Welcome card/registration card
- Two wall hangers
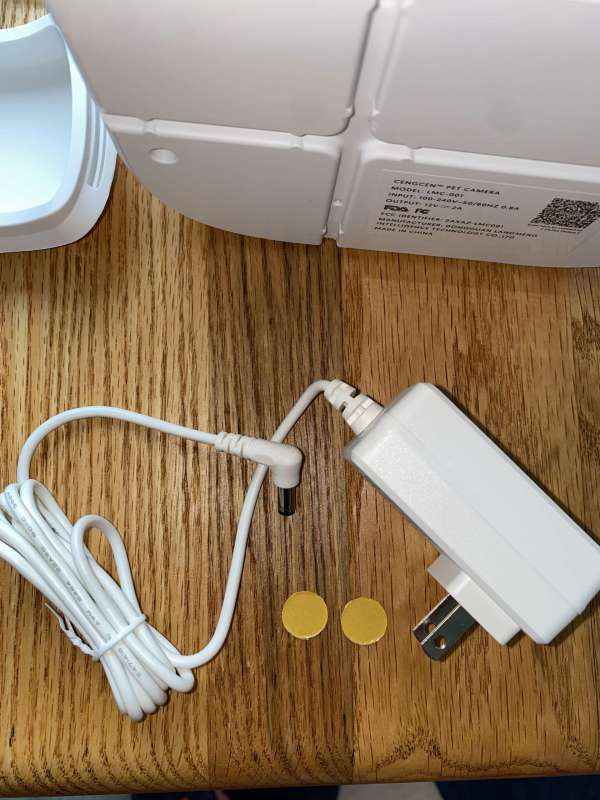
- Power cord with built-in power adapter
- Two cardboard buttons with sticky tape on one side to cover up the LED should you wish to do so.
Hardware specs
- can connect to both 2.4 GHz and 5 GHz Wifi
- dual speakers and 2-way audio
- wall mounting option that requires no holes in walls
- 130-degree field of view with 1080p video recording. focal length 2.8mm
- allows you to take snapshots and record video
- optional cloud-based pay system that will auto record anytime motion is detected
- night vision camera
- you can share the camera with other folks by adding their phone number to the share list
- IOS 10.2 or later OR Android 4.2 or later is required
- 10.83 inches tall, 8.66 inches wide, and about 5.31 inches deep
- empty weight1.98 lbs
Design and features
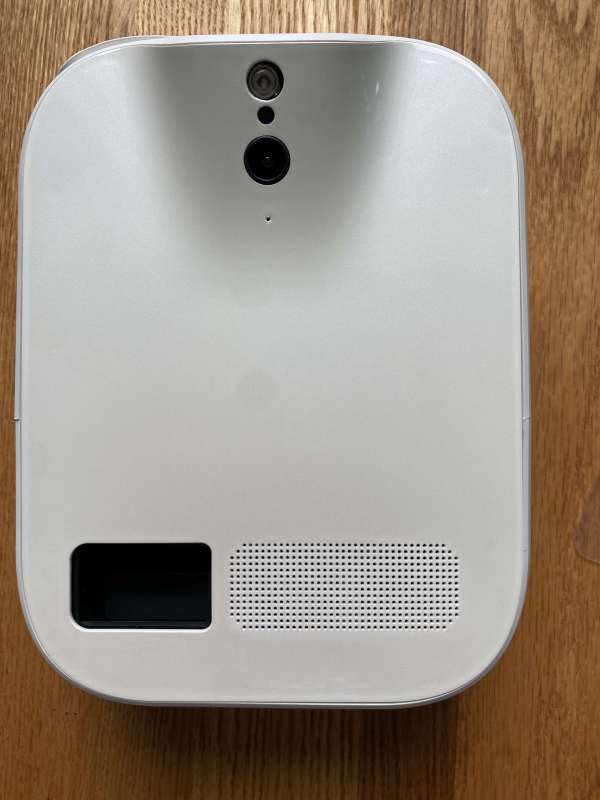
The Cengcen Pet-treat camera comes made of shiny white plastic material. I have a picture of the front of the device below. At the bottom of the device on the left, you will find the hole that dispenses the treats. To the right of that, you will find the two-way speaker where you can speak to your pet and hear them talk back to you.

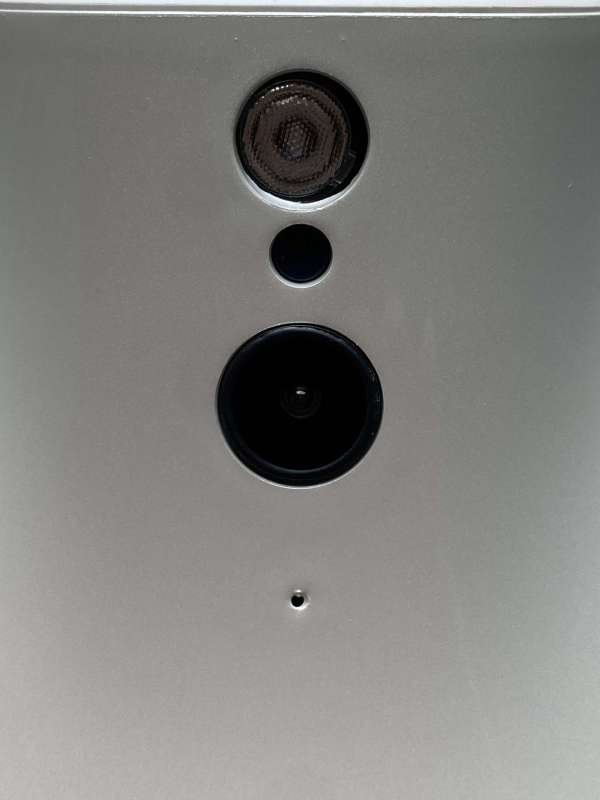
At the top of the device, you will see the infrared night vision light, photoresistor, camera lens, microphone hole. The camera is at the top where it is angled slightly downward. The dispenser is designed to sit upon a shelf, desktop, or hang on a wall in order to get the best field of view of your pet and the surrounding area. Cengcen recommends installing the camera about 4 feet up or high enough to get it out of the range of your pet. You don’t want them opening the top of the device and stealing all of the treats!
On the right side of the unit as you face the camera there is the power button with an LED light to show that it is on and connected. The two round paper circles showing in ‘what is in the box’ section can be used to cover up that LED should you not want that bright light in your room.
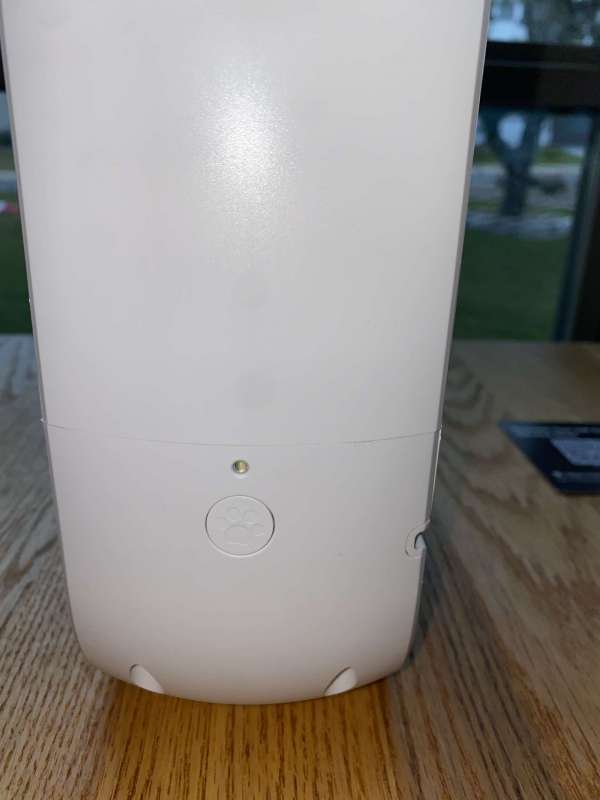
At the top of the device is a silicone cover that has grooves on the left and right that allow you to pry it off the feeder.
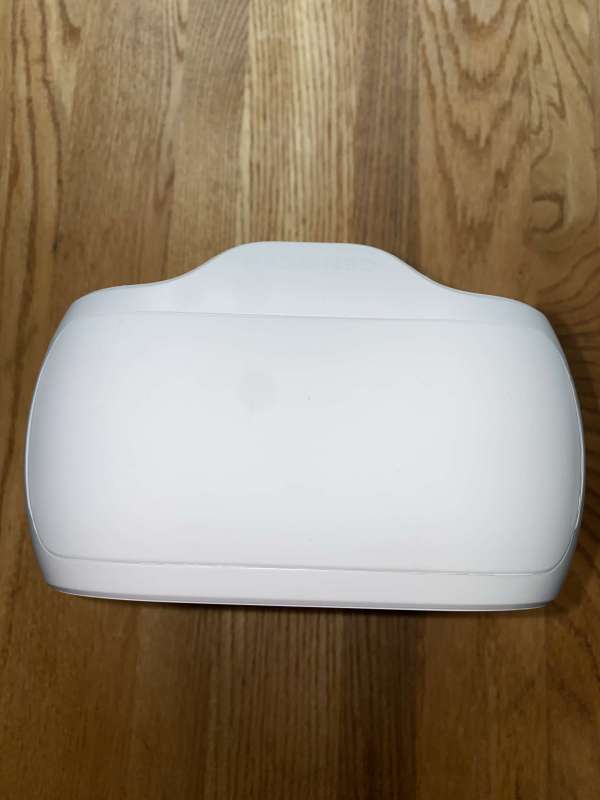
Here is a picture of the feeder with the cover off. The power adapter came stored inside the treat area.
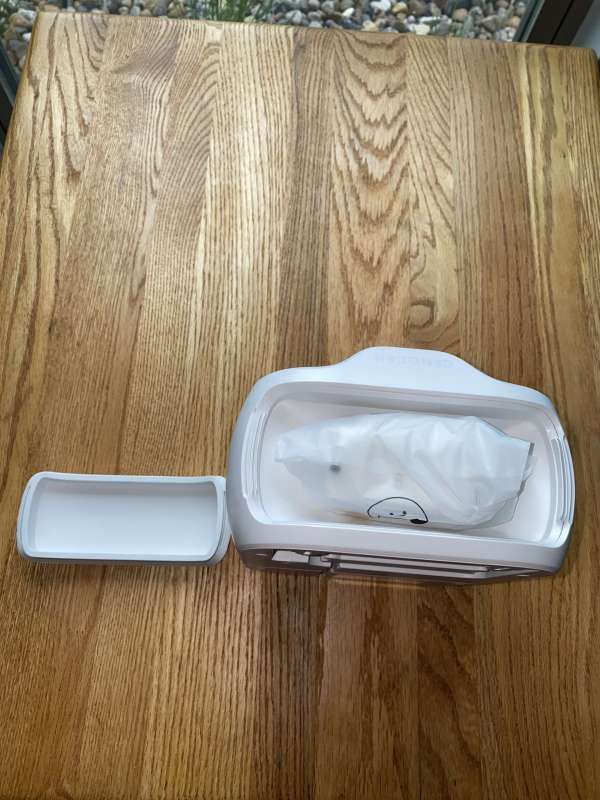
Here is what the inside of the treat area looks like.
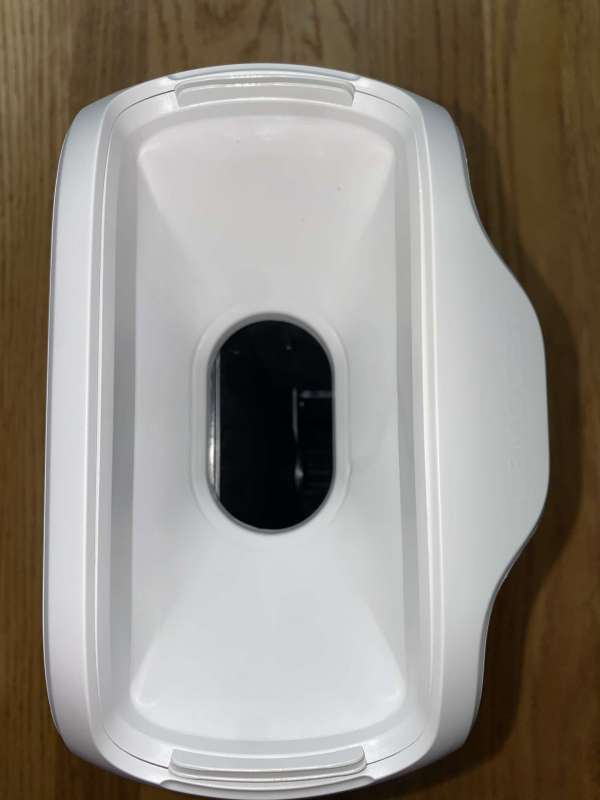
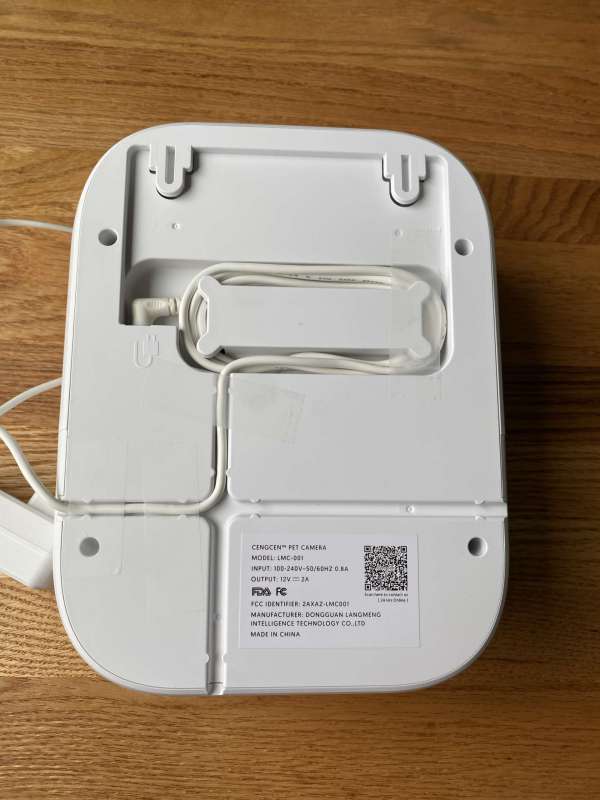
The back of the device contains the port for the power plug and cord management. This is a great system if you are going to hang it on the wall. It allows you to run the cord in almost any direction to go towards a power outlet on the wall.
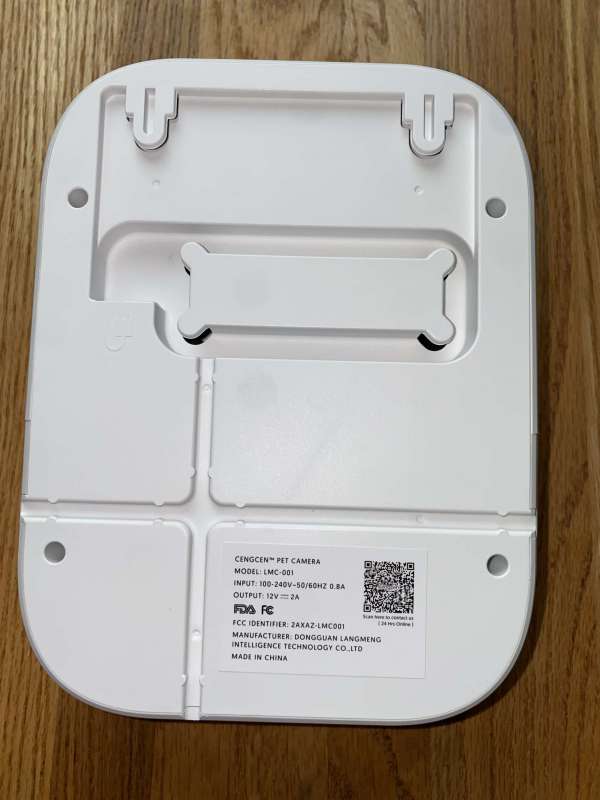
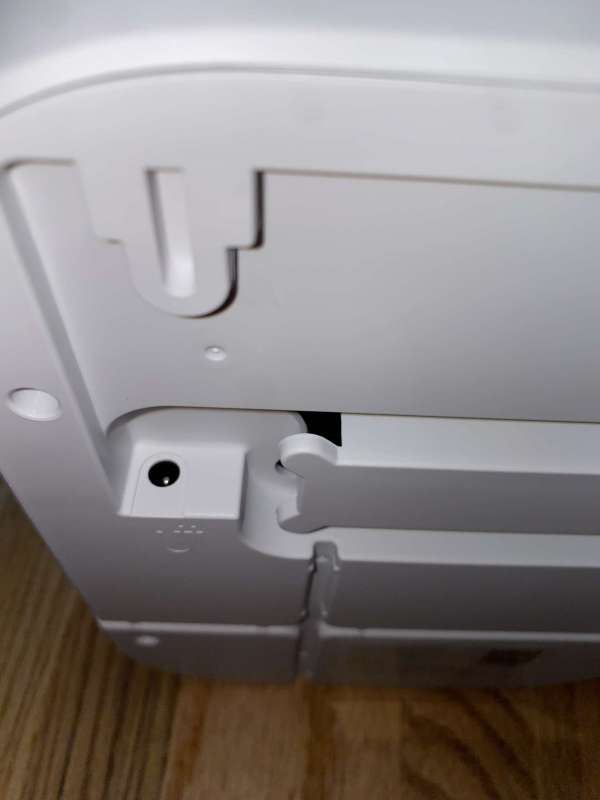
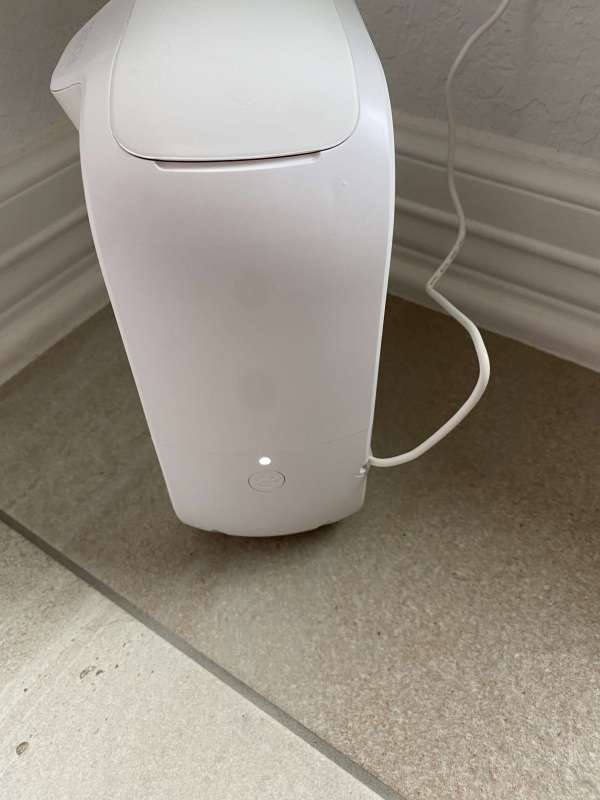
I wrapped the cord several times and had it coming out the right side of the device thinking I was going to keep the pet feeder on the floor. I want to note that I did have to use some scotch tape to hold the cord in place as it fed down along the sides of the device. Once I connected it and looked at the camera view, I quickly realized that the pet camera needed to sit higher to get the best point of view. Plus like the manual stated, I am sure my smart puppy Peanut would quickly figure out how to get to the treats himself.
Setup
The setup was pretty simple. I downloaded the Cengcen app on my iPhone 11 Pro. I pushed the power button and within a minute the LED light started blinking and I hear a voice say ‘ready to be connected’. In the back of the device there is a QR code that I scanned through the app after giving access to the camera. The device made a single beep and I entered my network information.
At this point, I loaded up the treat area with some kibble for my dog Peanut. The picture below is a quarter cup of his treats.
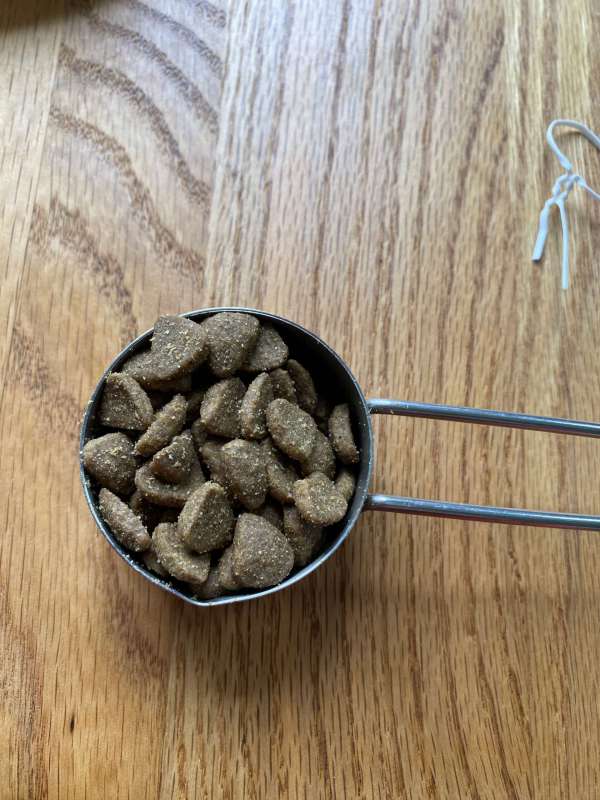
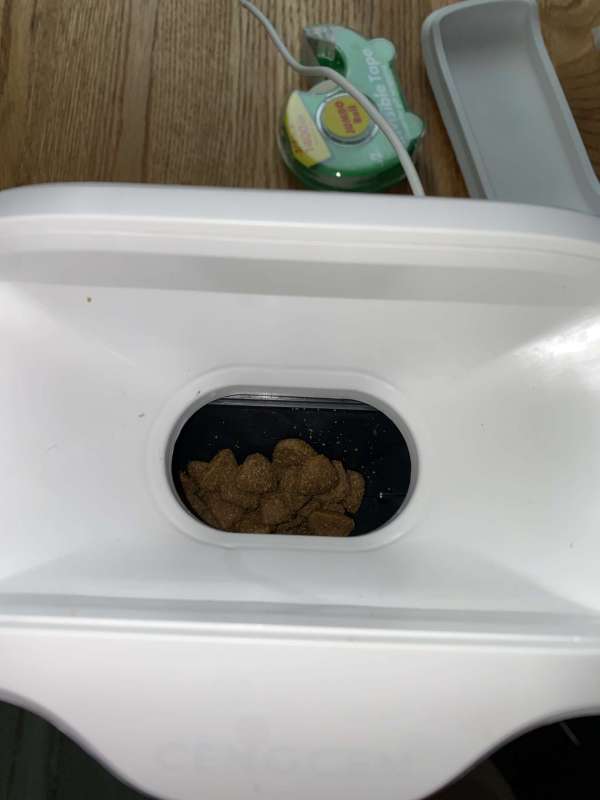
Pouring a quarter cup into the dispenser did not even fill up the initial hole in the dispenser. I could easily fit a cup and a half of kibble into the treat dispenser.
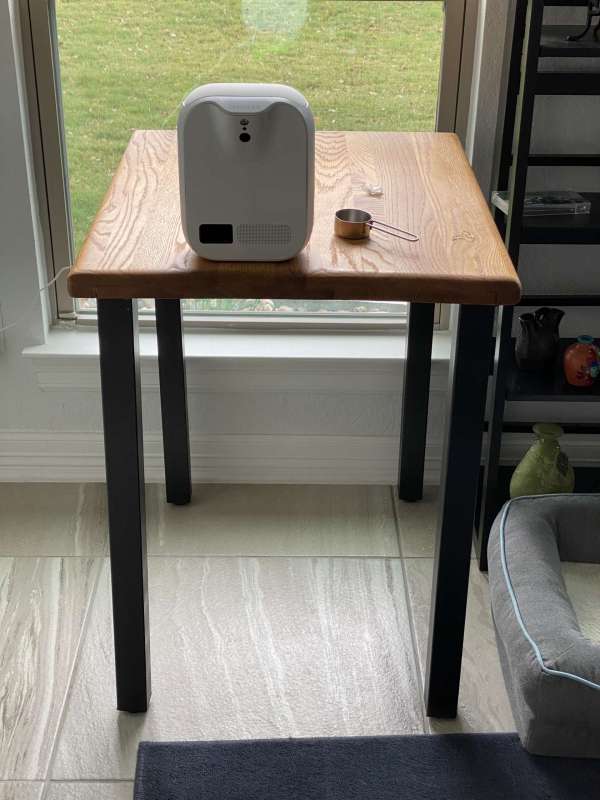
I then set the camera up on top of a desk that sits about 32 inches off the ground.
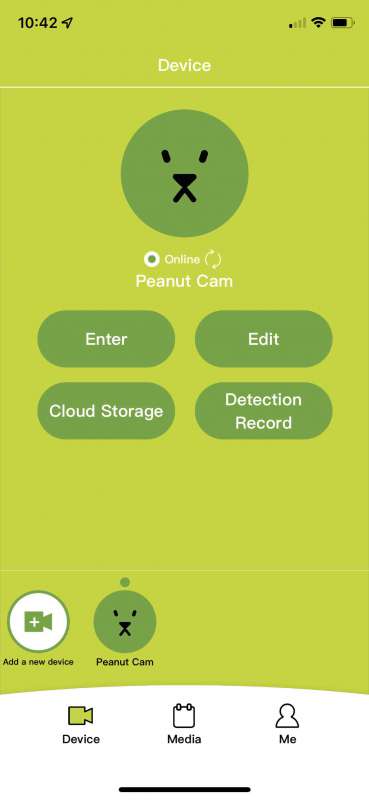
Next, I will show you some screenshots from the app. This is the main home screen for your connected camera. You can see I renamed it to ‘Peanut Cam’. There is an enter button that if clicked will take you to a live view of what the camera is seeing.
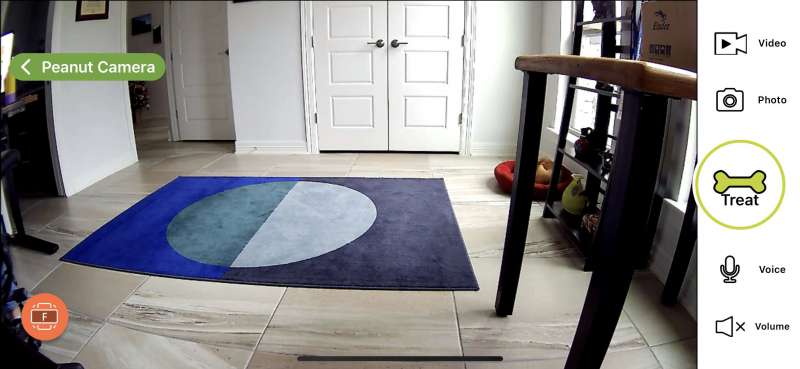
Here is a picture of what the app shows when you hit the Enter button. On the top left you can see a left arrow and the words ‘Peanut Camera’. You can click that and go back to the home screen. On the bottom left you can click that orange button to lock the display in horizontal view. You can rotate your phone and get a vertical view, but it limits what you can see. The camera is sitting on top of a file cabinet that is about 26 inches off the ground. On the right-hand side of the video, you can see some buttons. The top button is a video button. You click it one time and it will start to record video. Pressing it again and it will stop recording and save the clip off to the media area of the app and onto your phone. The next button will allow you to take a picture of what the camera is displaying at that time. It will also save the picture off to the media area in the app and onto your phone. The big ‘Treat’ button will dispense the treats after making a ringing sound. There is also an option to replace the ringing bell sound with your own voice that I will go over later. The next button labeled voice lets you talk to your pet. You press and hold the voice button down and it will turn green. That means you can now use the microphone on your phone to talk through the device to your pet. The last button is the volume or sound button. Pressing that will turn the sound on and let you hear your pet and what is going on in the house.
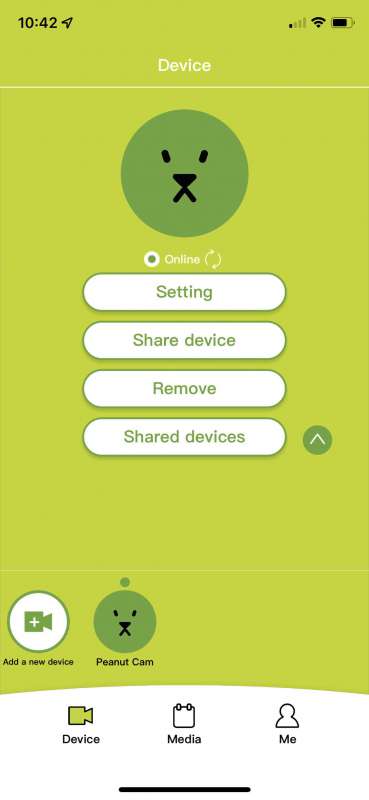
Clicking the edit button from the home screen takes you into settings for the device. From there you can go into more settings, share the device with other friends and family, removed the device, and see who you shared the device with. In order to share the device with others, you simply enter a phone number or email address. They will be sent a link to the camera and app.
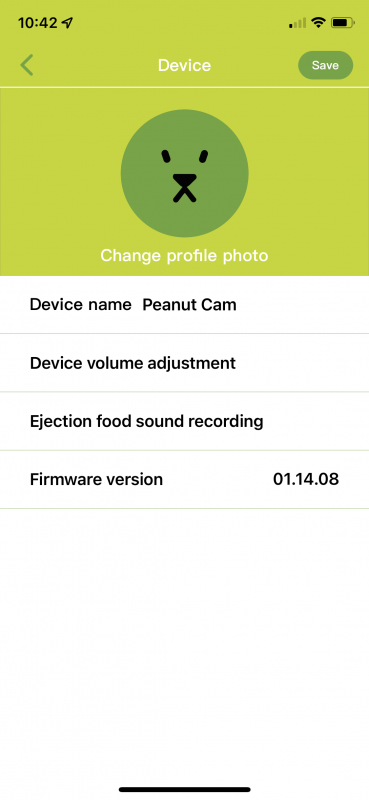
The next picture below is a screenshot of the settings. Here you can change the name of the device, change the volume of the device, create a new ejection sound recording and check the firmware version.
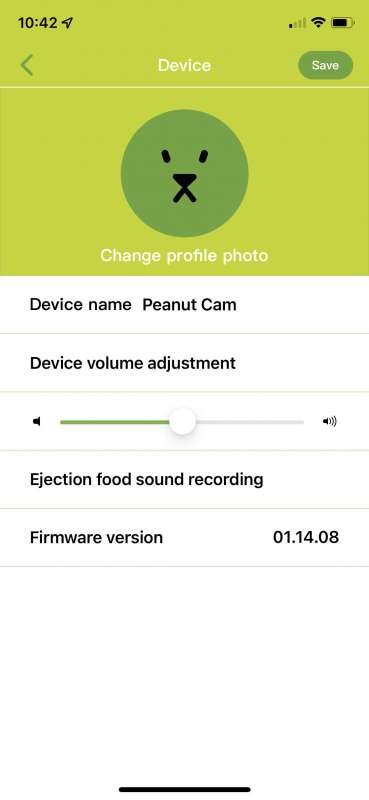
I immediately had to increase the volume of the device. It was almost set to off and you could barely hear it.
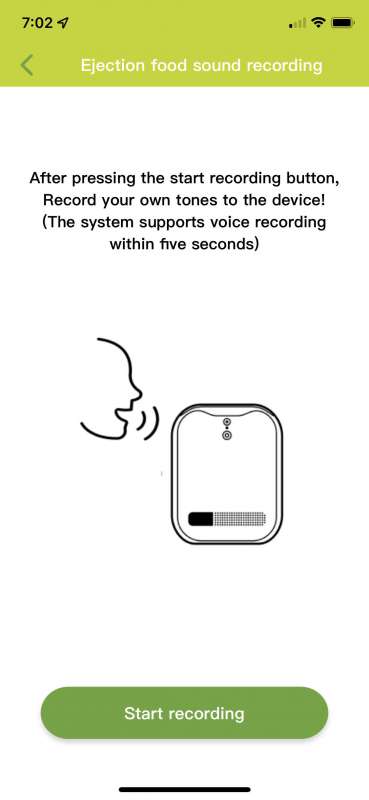
To record a new sound other than the ringing bells (which scared my dog by the way!) you enter the ‘Ejection food sound recording’ and are presented with the following screen. You press the start recording button and talk directly to the device. I initially thought I was talking into my phone to make the recording but you talk into the microphone of the camera. Here is where the one issue I have with this product comes out. No matter what I did (increase the volume of the device, talk right to the microphone on the device, talk to my phone) I could not get a new ejection sound to record. I have since opened a ticket with support and they have been very responsive. I have had about five different emails with suggestions and ways to fix my issue. What it seems to be boiling down to is that I need to be on firmware version 1.14.09. However, every time I try to update to a new version, I am told that I am on the latest version. I will update this review when and if I ever get a resolution from the vendor.
Performance
The first thing I wanted to show is how fast and far the treats are dispensed. They do go quite far. Part of the reason is when the treats were dispensed, they were sitting on top of a 32-inch table. I was also surprised as to how many pieces of kibble were sprayed out. After getting over my initial shock, I came to realize this was actually pretty good. If they had dribbled out of the dispenser or stayed stuck in there, it would only encourage my dog to get closer to the camera.
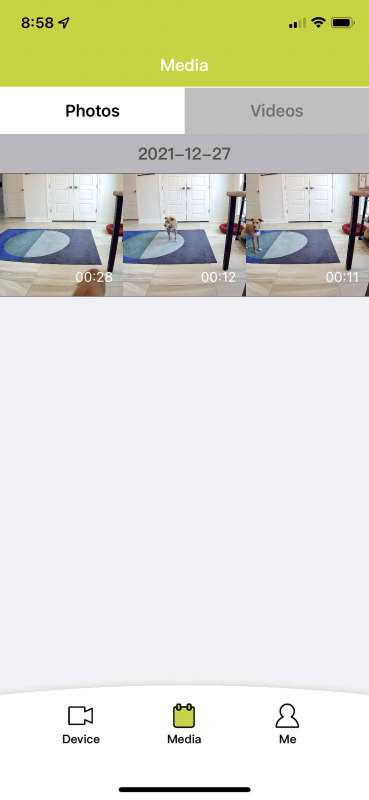
I next wanted to show you the media area of the app. These pictures and video are also stored directly on your phone. I saw them in my Google Photos app and in my Apple Photos app. The screenshot below is showing the photos section of the app.
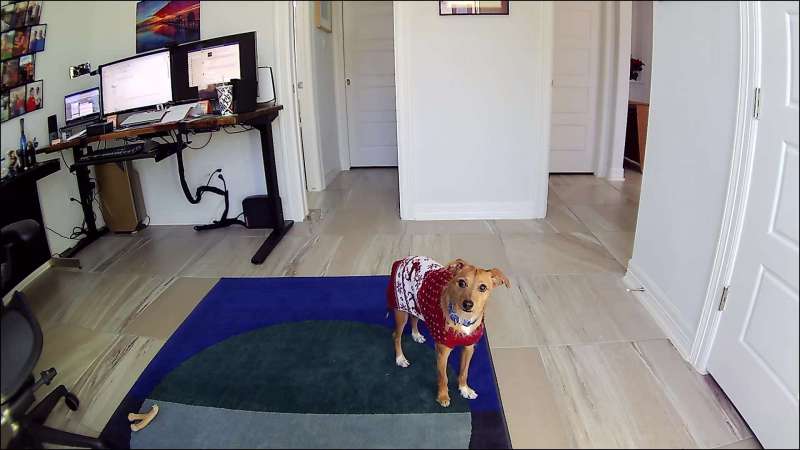
 Next, I pulled up a couple of pictures to show you the clarity. I think these are great photos. The field of view is awesome. It did take quite a while for my dog to not be afraid of the camera. He finally came to learn that when he hears that bell he has some treats waiting for him. Here he is looking at the camera going.. where are my treats!!!
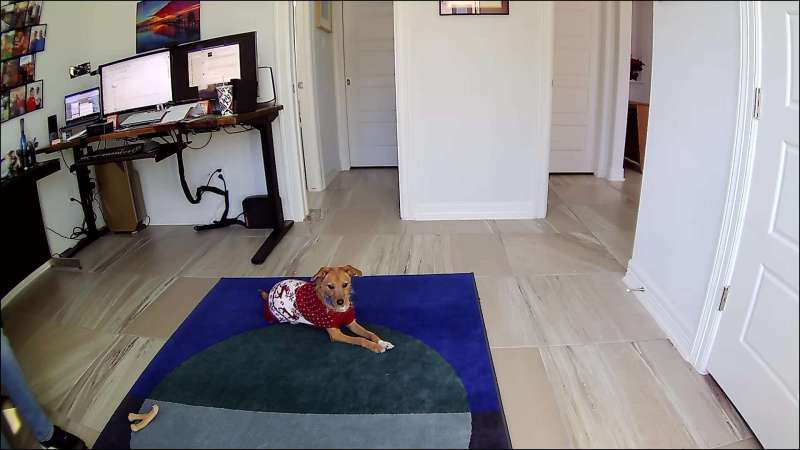
Now he waits patiently for the next bell.
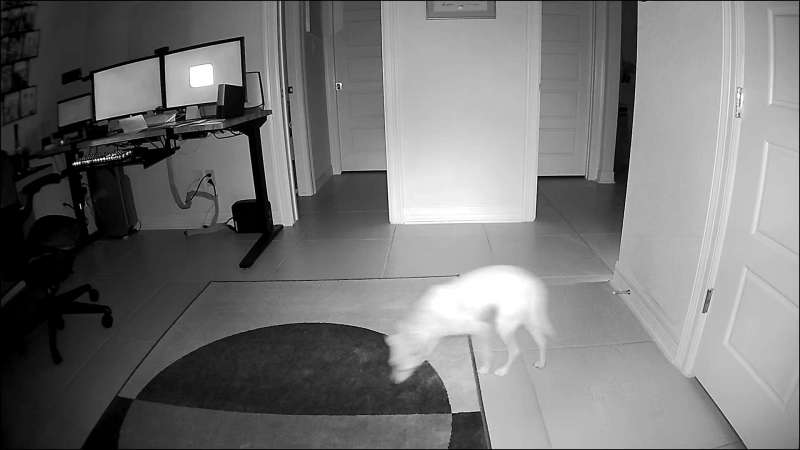
I also included a shot of the night camera. It is not the best and the dog was in constant motion looking for treats at the time. He almost looks like a ghost dog!
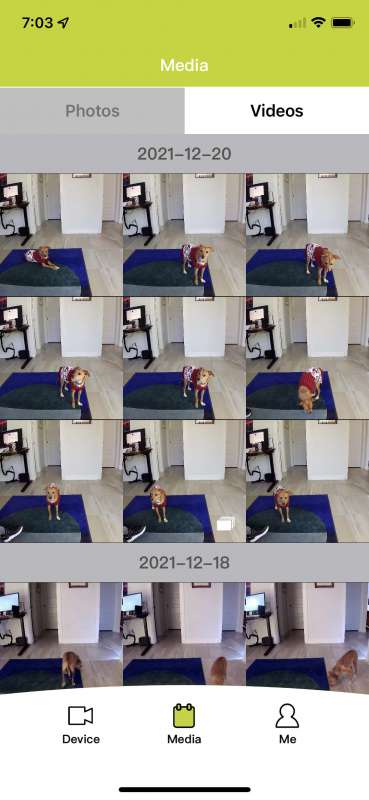
This is a shot of the videos section in the app. I want to note that I ended up moving the camera from that table to a file cabinet along the sidewall of my office. I needed that table for a new 3d printer I received for Christmas!! I will be showing you a video clip a little later in this review.
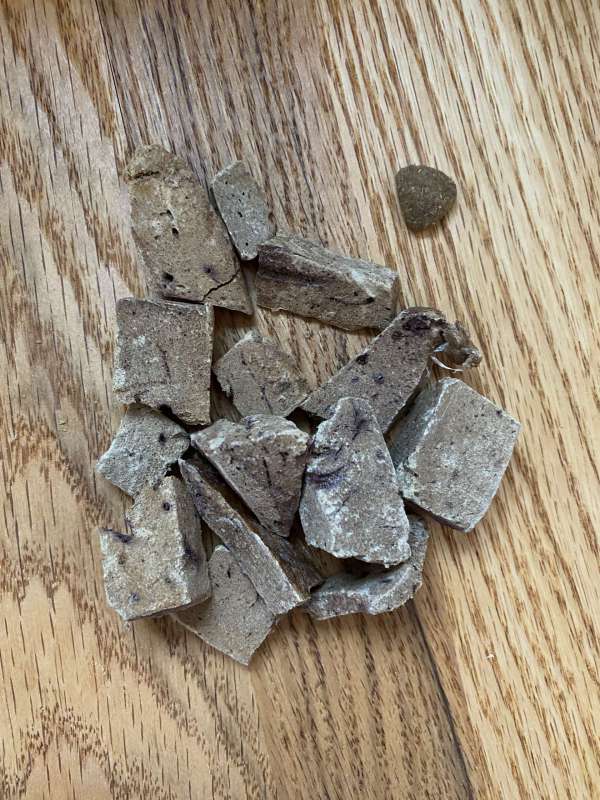
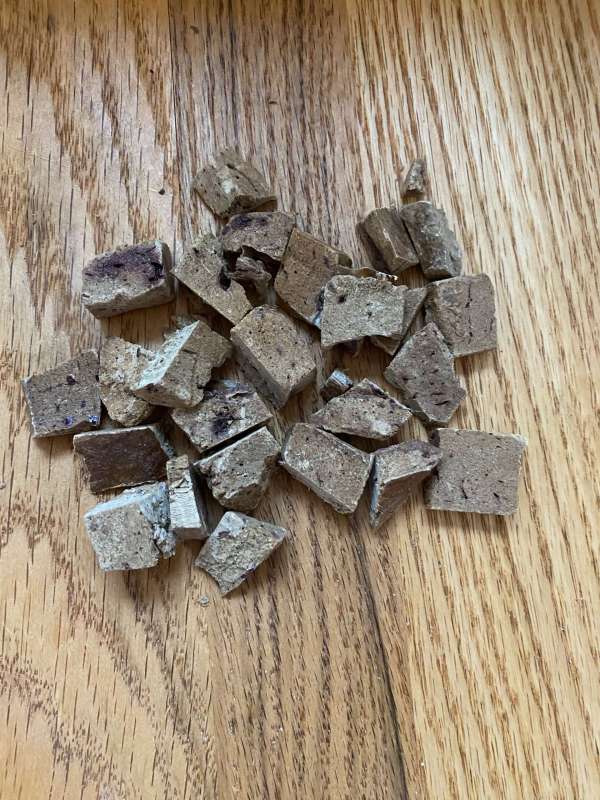
The next thing I tried was to get some larger treats in order to not have so many pieces dispensed. I bought some freeze-dried bison liver for Peanut for Christmas. This will certainly not be an everyday treat. Holy cow it was expensive, but he did love it. I initially tried it with their standard sizes in the picture to the left. I have a piece of kibble to show you the size difference. It turned out that those pieces were too large and they got jammed in the dispenser. I pulled them out and cut most in half to look like the picture to the right. This resulted in about three pieces getting sent to the Nut when I pushed the treat button.
Here is a video recording from the app with the bison liver treats getting dispensed. I had the volume off at the time so there is no sound recording. You will also note that the Nut no longer has his sweater on. We got up to 80 degrees on Christmas day. It was crazy weather.
What I like
- Easy to set up and connect to the network
- The app lets you control the sound level of the speaker which is really nice.
- The treat storage area can hold a lot of treats.
- I love it comes with two wall hanging mounts that won’t damage your walls.
- I love being able to talk to my dog and see what he is doing.
- Video and pictures are super clear and have a nice wide angle of view.
- No subscription is required to record your own video or pictures.
What needs to be improved
- I could not get the treat dispensing recording to work – working with support on that now.
- The night vision camera is pretty weak.
Final thoughts
I think the picture quality, wide angle of view, and treat dispensing abilities really make the Cengcen Pet-treat camera a winner. As long as you leave a light on in the area you have it in, you should always be able to see your pet and dispense some love. They really did think out the cord management and give you the ability to hang it on a wall without damaging your wall. My only dislike is not being able to replace that annoying bell sound that rings when the treats come out. Hopefully, that will get fixed soon.
Update – 1/14/22
I have been working with Cengcen since I received the camera to fix the voice recording issue. On Monday the 11th they asked me to try to update my firmware again. I had been sitting at version 01.14.08 since I downloaded the app. Previous update attempts had always resulted in the app telling me I had the latest version. On Monday that changed I the firmware was updated to 01.14.09. I tried to make a voice recording and after I finished, the app immediately played back my recording. I pressed save and tested it out much to my dog’s pleasure. The annoying ring is now gone and the Peanut comes running when he hears my voice. Their customer service has been top-notch and they always responded within 24 hours.
Price: $109.99
Where to buy: Amazon
Source: The sample of this product was provided by Cengcen.


Gadgeteer Comment Policy - Please read before commenting
How fun! Peanut looks like a very willing test subject. I’ve been considering getting something like this for Jack for when I’m at work.
What firewall ports need opened to use.