REVIEW – It’s been a while since I reviewed a dash cam, so when the offer came to review the Nexar beam2, I was curious enough to accept it. It’s been installed in my MINI Cooper for a few weeks now, so let’s find out what I think of it.
What is it?
The Nexar beam2 is a dash cam with two lenses: one for recording your driving adventures and another for recording what’s going on inside your car. This dash cam also has some extra bells and whistles, including the ability to view a live view from either camera when you’re away from your vehicle.
Tech specs
Click to expand
Connection type – 4G LTE (Verizon, T-Mobile, and AT&T)
Camera resolution – 2K
Internal memory – up to 256GB
WiFi – 802.11a/b/g/n (2.4 & 5GHz)
Bluetooth 5.0
Operating temperatures – -14°F to 158°F (-10°C to 70°C)
What’s included?
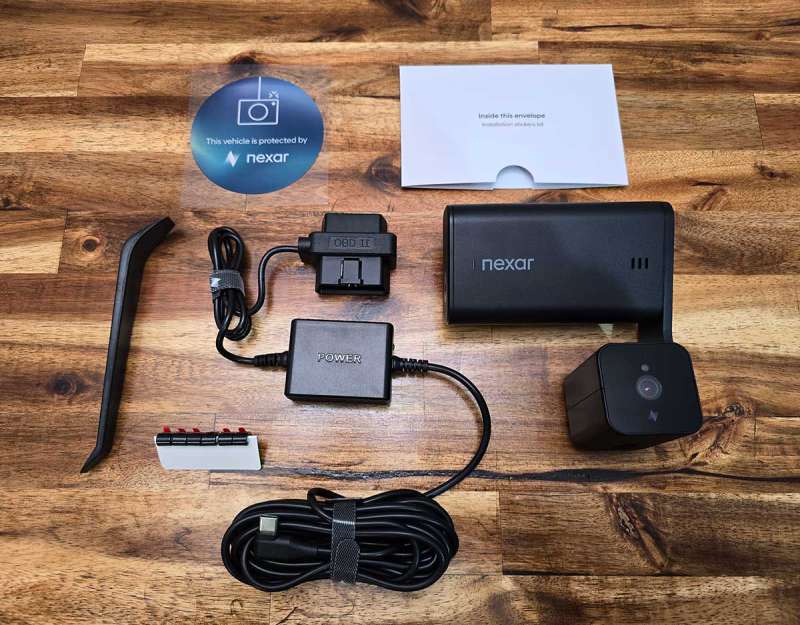
- Nexar beam 2 dash cam
- OBD power kit (there’s an optional hardwire kit available too)
- Installation tool, static windshield sticker, and cable clips
Design and features
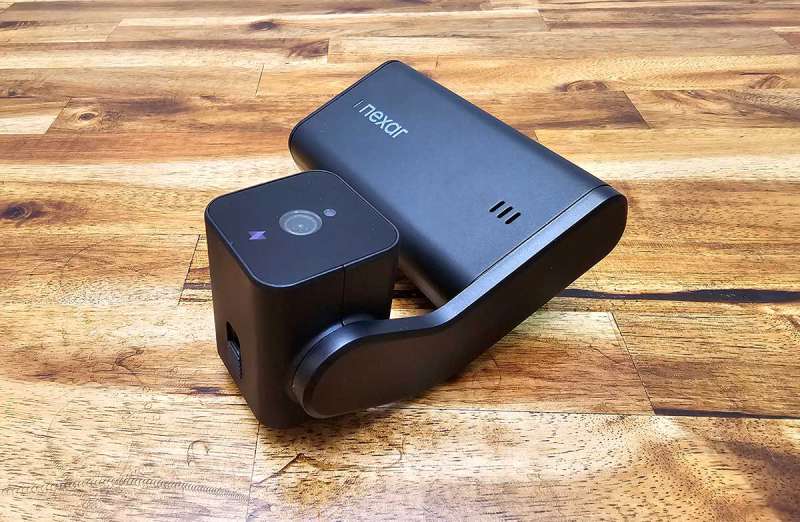
The Nexar beam2 dash cam is a bit larger than some of the recent dash cams that I have reviewed. It has a large black rectangular module that attaches to your windshield and a bracket with a two-sided camera.
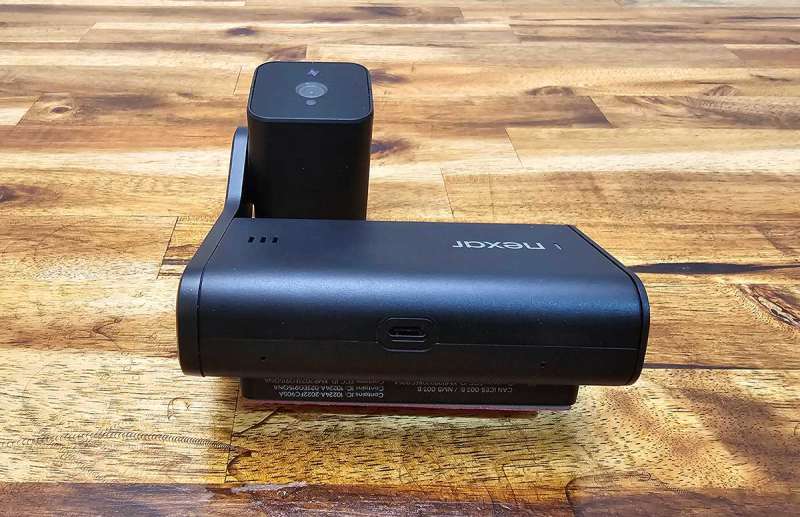
The main part of the dash cam has a USB-C connection along the top edge and a speaker grill (3 short slots) on the front.
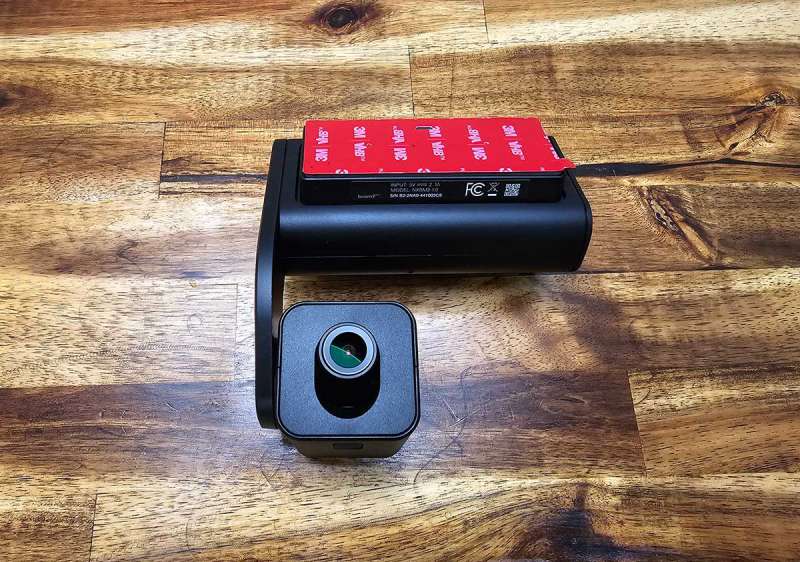
The camera has a pre-installed 3M adhesive for easy installation in your car.
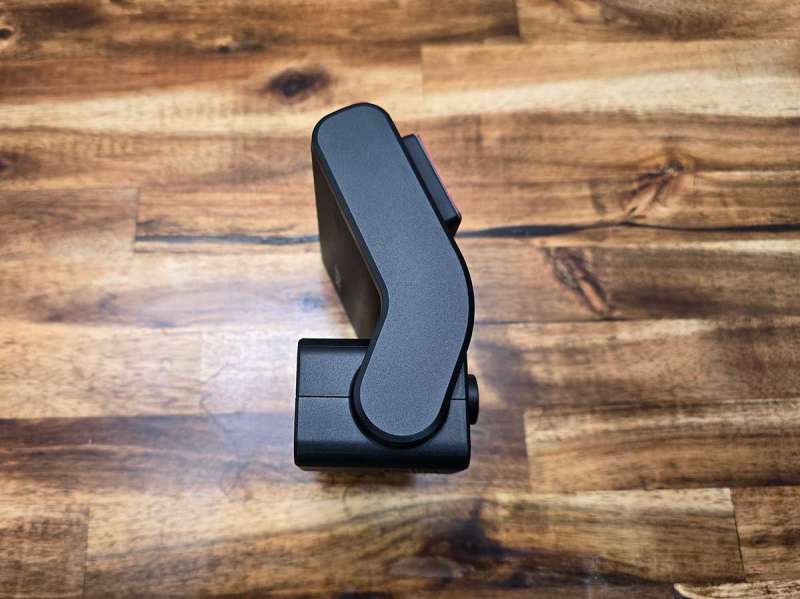
Here’s a side view of the Nexar beam2 dashcam in the installed orientation. The camera’s angle can be adjusted by rotating it on the bracket.
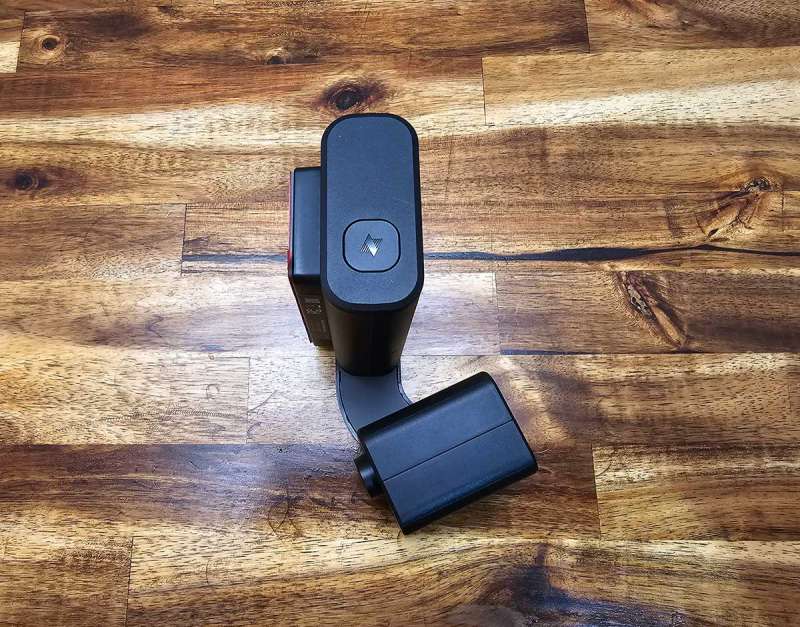
The opposite side has the power button.
Overall, I think the beam2 is solid and well made.
Installation and setup

Installing the Nexar beam2 dash cam isn’t tricky, but it will take time and patience if you want a clean install.
The first step is to clean the inside of your windshield in the area where you plan to attach the camera. Nexar includes alcohol wipes for this task.
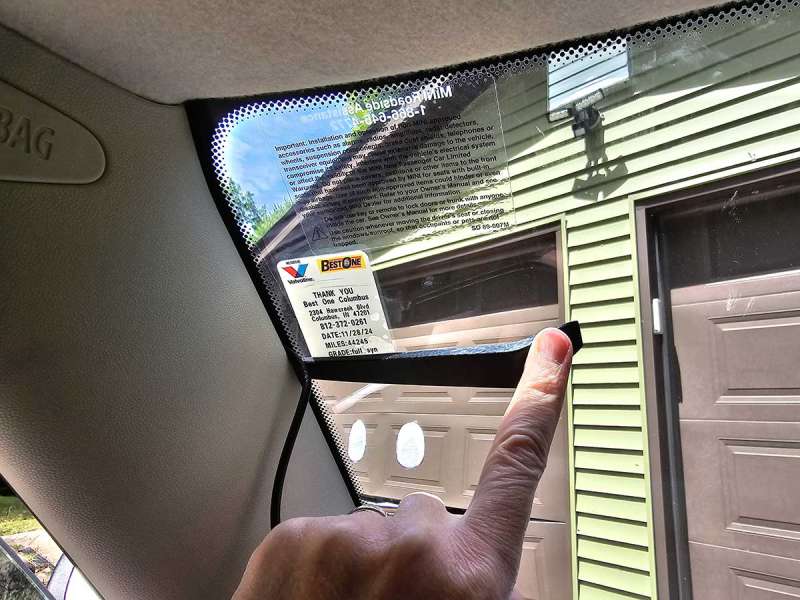
They also include a clear cling / low adhesive sticker that you want to install BEFORE you attach the camera to your windshield. Why do you need a sticker between the camera and the windshield if it already has a 3M sticker attached? Trust me, you will not want to skip this step. If you ever remove or replace the dash cam, the clear sticker will make your life much easier. Back in the day, companies did not include these clear stickers with their dash cams, and for reviewers, it was a headache to remove the residue from windshields when we had to switch cameras.
After you attach the camera to the windshield, you should tuck the cable under the headliner and plastic side molding. The included plastic pry tool makes this step significantly easier.
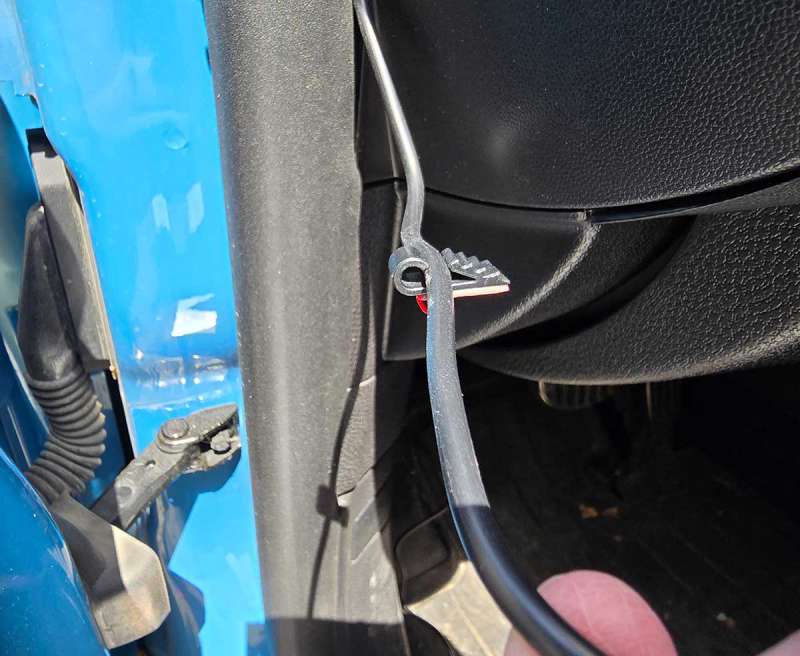
The Nexar beam2 dash cam uses an OBD power kit instead of a 12V power adapter. For me and my MINI Cooper, that meant routing the power cable down under the dash. For this step, I used the included clips.
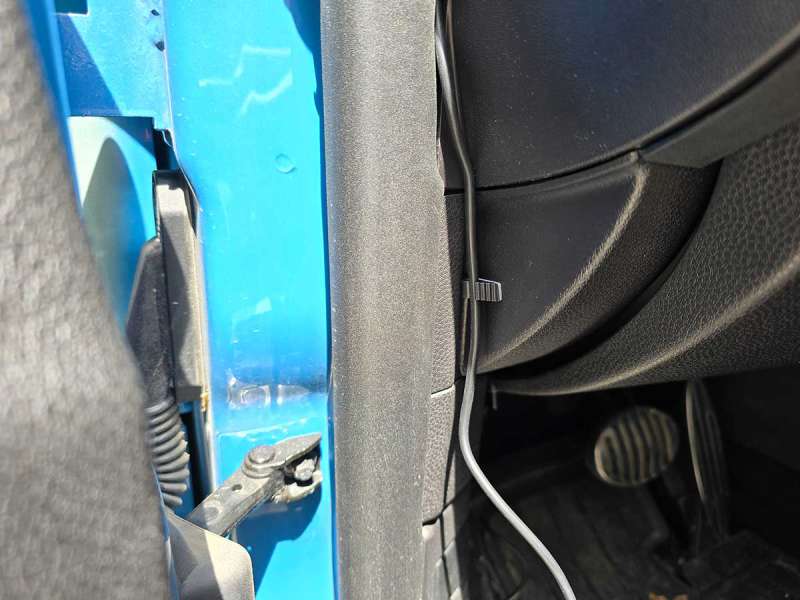
The little plastic clips have an adhesive backing to help with the cable routing. I only needed to use one clip.
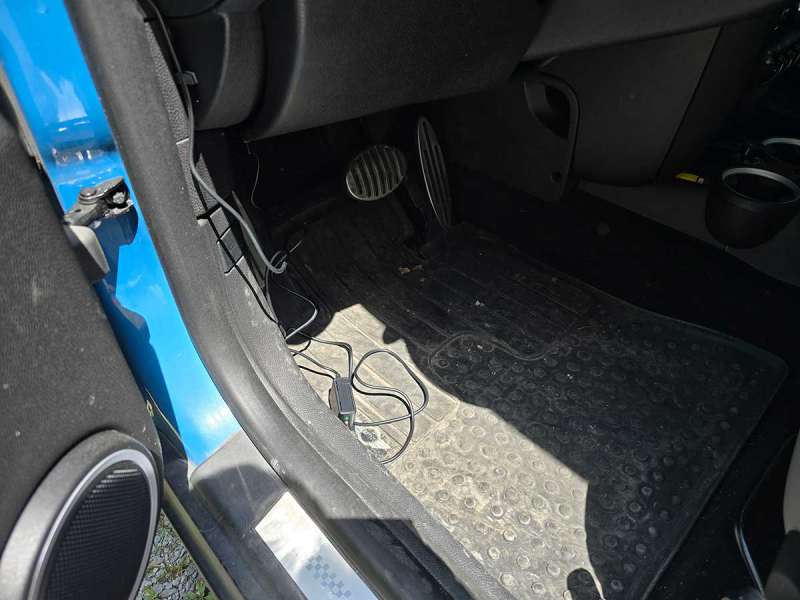
I then plugged the OBD plug into the port under my dash and stuffed the rest of the cable into an open space near the OBD port.
Final setup with the Nexar app
With the beam2 attached to your windshield and the cable routed, the last step is to install the Nexar app on your phone. When you load the app, you create an account and it will then run you through the steps of connecting the camera via LTE so that you’ll be able to access the beam2 remotely.
I had a bit of a hiccup during this part of the installation, but it ended up being that the camera’s battery wasn’t charged enough before I installed it in the car. So, I advise charging the camera before you install it on your windshield. After that, your car’s battery will trickle charge the beam2.
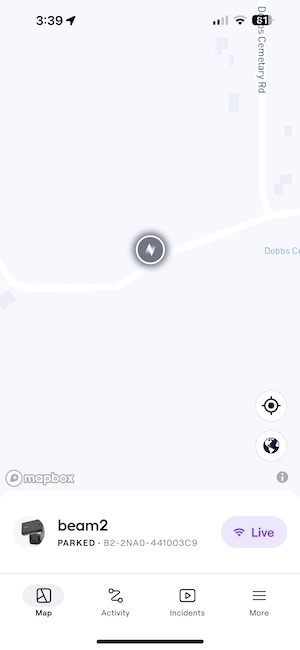
The Nexar app is a lot more basic than I thought it would be. It has four main screens. The app launches into the map view/screen that shows your vehicle on a live map.
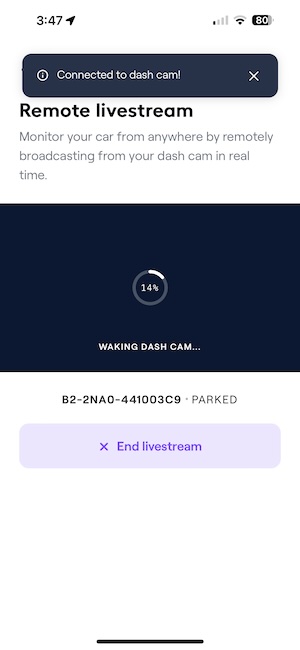
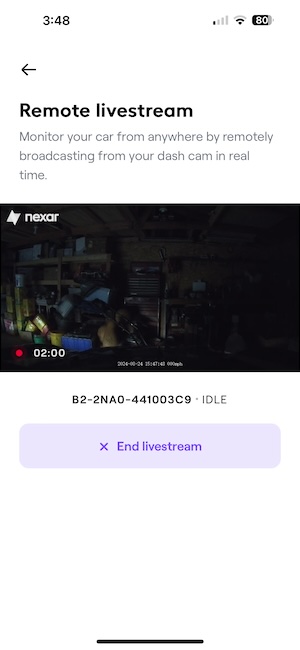
From the map view, you can tap the Live button to connect to the camera even if you’re not on the same mobile network, to see a live view from either camera. The connection can take a while. I’ve noticed that it can take upwards of a minute sometimes.

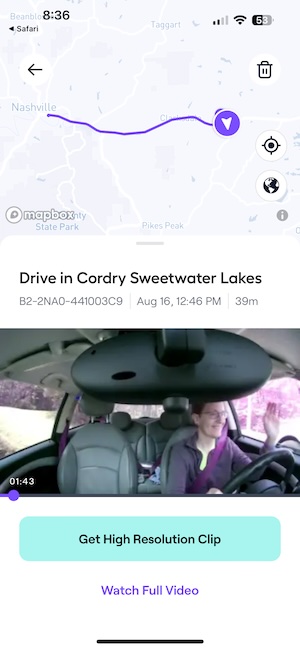
The Activity view is a dated list of thumbnail images that represent trips. The trips are automatically titled with what Nexar considers where you traveled. I found the route titles to be hit and miss. For example, the first trip in the image above says that I drove around Cordry Sweetwater Lakes, which I didn’t. That area is 30 minutes from where I live and not even close to the route that I took. The app wants to title every trip I make from my house a “Drive in Cordry Sweetwater Lakes”.
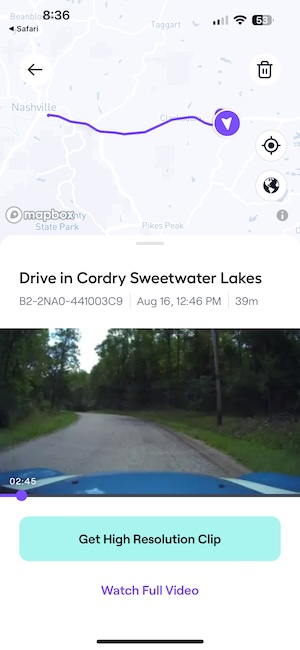
In the Activity view, you can tap the thumbnail to watch the video from either camera. You can also download the clips to your phone or send them to your computer.
While you watch the video, you can see an animated view of where you traveled on a map.
Nexar Connect subscription
The Nexar Connect subscription is an optional monthly subscription that unlocks features like live video streaming from your beam2 dash cam to your phone, real-time parking location tracking, and instant alerts for collisions or parking incidents.
The Nexar Connect service costs $9.99 per month but drops to $7.99 per month if you pay for a full year upfront. Note that you receive one month free with the purchase of the beam2. S0, you can try it to see if you think the subscription price is personally worth it.
For me, it’s not worth the extra cost because I work from home, live in a rural area on a dead-end road, and keep my car parked in a garage 100% of the time when I’m not driving somewhere. If I lived in a city or kept my car parked on the street, I can see how it would be nice to receive live alerts if the camera detected an impact when in parked mode.
See it in action
The video above was in the default resolution of 1080p. I edited the footage to add the in cabin view. This is NOT how the video looks by default. By default, you get two separate video files.
What I like about the Nexar beam2 dash cam
- Comes with everything needed for a clean install
- App is easy to understand and use
- Records footage inside the car at the same time it’s recording outside the car
What needs to be improved?
- Connecting to the camera when remote can be slow
- Need rear camera capability
Final thoughts
I like several features of the Nexar beam2 dash cam. I like the easy and clean installation and that it uses the OBD port. I like the simple application and the ability to record/view footage inside and outside the car. However, I do think some important improvements should be made to the beam2. The biggest improvement would be the ability to add a rear camera. I’d also like to see an improvement in the auto-generated trip titles so that they actually match the location. All that said, I think the Nexar beam2 dash cam is a high-quality dash cam that can come in handy for both fun and safety. A dash cam is one of those gadgets you usually install and forget about until you need it. Hopefully, you’ll never need it.
Price: $199.95 – $299.95 (does not include the Nexar Connect service which is $7.99 – $9.99 /mo.)
Where to buy: Nexar
Source: The sample for this review was provided by Nexar. Nexar did not have a final say on the review and did not preview the review before it was published.
L39 Ultra Slim UV Protective Filter for Leica Q3 43 Q2 Camera with Moisture-Proof Case & Removal Tool 19 Layers Mulit-Coated UV Ultraviolet Filter 99.3% Light Transmission Water Oil Scratch Resistant
(as of April 8, 2026 19:13 GMT -05:00 - More infoProduct prices and availability are accurate as of the date/time indicated and are subject to change. Any price and availability information displayed on [relevant Amazon Site(s), as applicable] at the time of purchase will apply to the purchase of this product.)
Gadgeteer Comment Policy - Please read before commenting
I upgraded to the Beam 2 from my Bean 1 and although I think the Beam2 is a good unit, there are a number of features I miss and/or don like.
1. The Beam2 has conflicts connecting if you have wifi services like Android Auto or in my case OnStar. I have yet to get the live ride view to work
2. The Beam one playback showed the entire trip, monitored speed and was instantly ready for play. Playback on the Beam 2 showcase route, but no speed monitoring, which would be very helpful if you were stopped for speeding and needed a record of our drive.
3. When you want a trip playback, you have to trim the trip and limit it’s length ad wait until you back in your vehicle to see it.
I gave my Beam1 to my daughter and I installed the Beam2 in my vehicle. I think my daughter got the better dashcam.