REVIEW – I’m late to the 3D printing game. I’ve wanted one since printers became available for consumers but never pulled the trigger to purchase one. Early FDM, read as filament, printers always had rough-looking prints, and as cool as the idea of printing an actual object was, I didn’t want prints that looked like that. The first 3D printer I got my hands on was the Elegoo Saturn 4 Ultra resin printer and it was awesome. I had a lot of fun printing stuff but quickly realized the limitations of resin printing. Now I wanted a filament printer and I got lucky enough to nab the FLSUN S1 FDM 3D printer to review. On paper, or rather their website, this thing looked like a beast, faster than anything else out there, with huge print capacity, lots of filament options, and built like a tank. I wanted it, but this would be my first filament printer. How easy would it be to use? Can it really print that fast and still produce great prints? There was only one way to find out. Read on to find out.
What is it?
The FLSUN S1 is an FDM 3D printer boasting 1200 mm/s max speed, 110 mm cubed/s, AI features for spaghetti and debris detection, large print capacity, the ability to print with different filament types and so much more.

What’s included?
- S1 3D printer
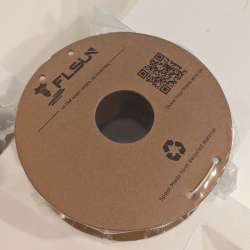
- 500 g FLSUN PLA-HS filament
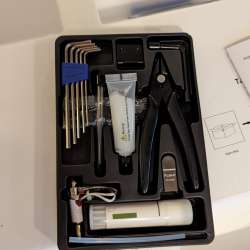
- Accessory box:
-
- Flush cutters
- Needle for clearing clogs
- Additional hot-end kit
- Glue stick
- USB flash drive
- Socket wrench
- Hex wrench set
- Grease
- Open-end wrench
- PTFE tube
- Hardware for mounting door
-
- Service policy
- Instruction manual
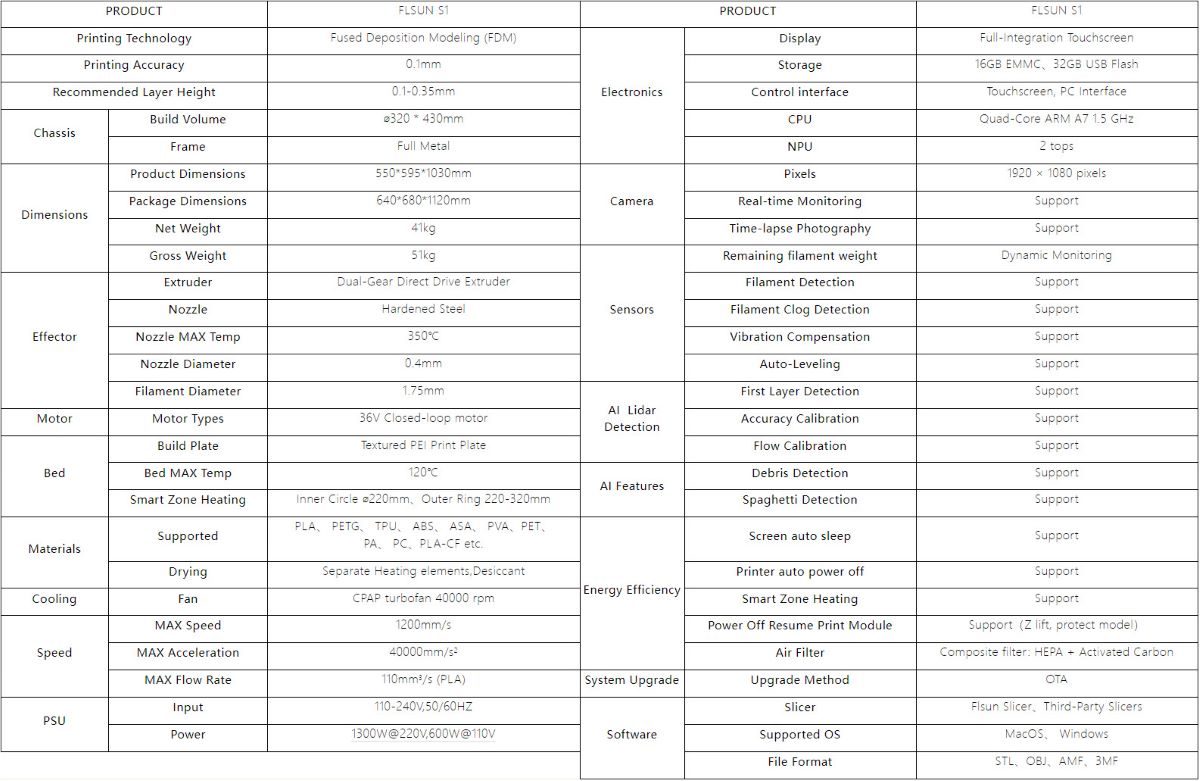
Tech specs
Click to expand
Design and features
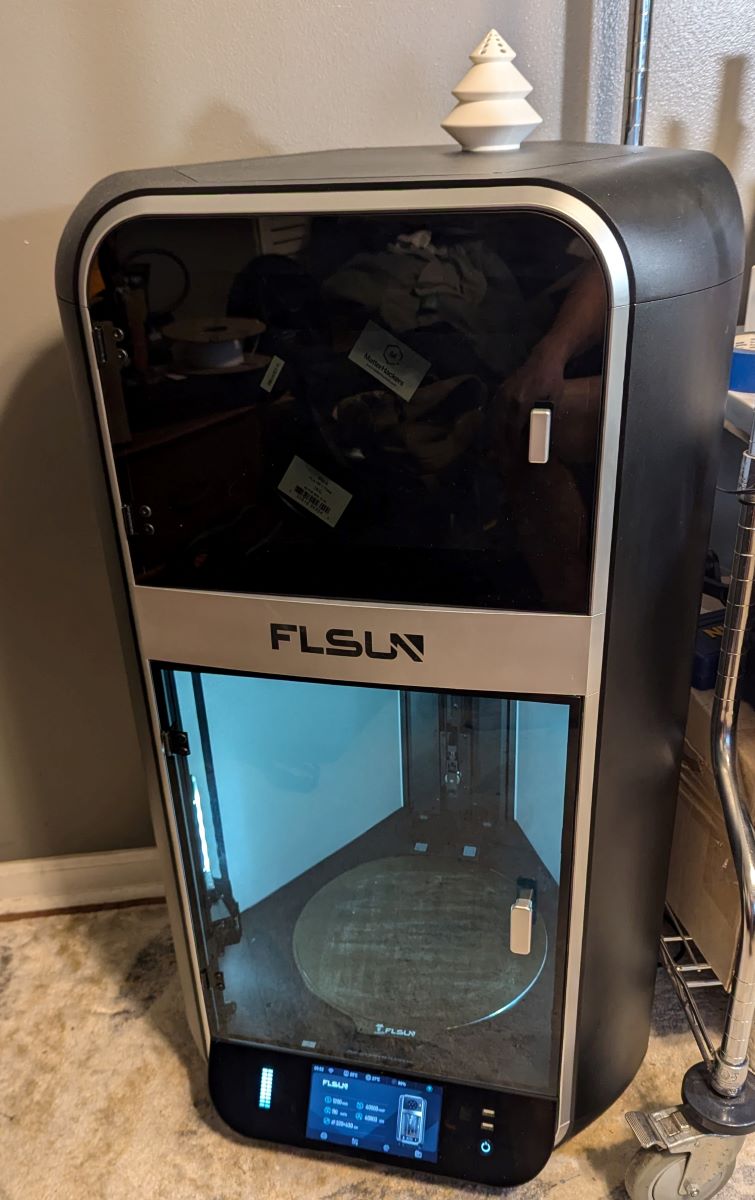
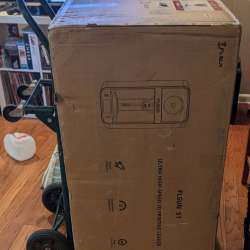
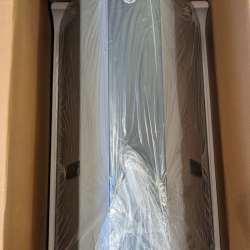
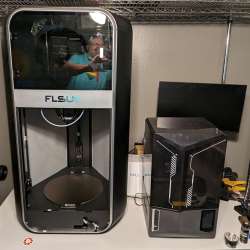
The first thing you should know about the FLSUN S1 3D printer is the size. This thing is BIG. I’m a dumb American so when I saw the machine’s dimensions were 500mm x 595mm x 1030mm, I had no idea what that meant. I mean, millimeters are small, right? Apparently, they aren’t as small as I thought. The box it arrived in was big enough that I needed hand trucks to get it inside and the S1 filled it up. I thought the Elegoo Saturn 4 Ultra was big until I sat the S1 next to it. This thing is gargantuan. You will definitely need to find a suitable place for it to live. It weighs about 100 lbs so you don’t want to be shuffling it around to different locations. Initially, I sat it on the desk as shown in the picture but moved it to the floor. The S1’s movements were enough to shake the desk and I was sure that would affect print jobs.
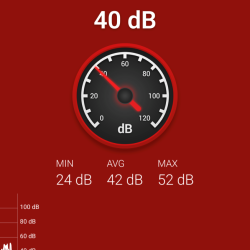
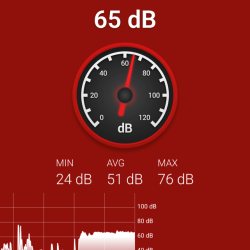
The next thing you should know is this thing is LOUD. The FLSUN S1 has a CPAP fan that can operate at 40,000 RPM. It can change according to the print speed to aid in cooling. My experience was that it ran almost 100% using the FLSUN slicing software. Below you’ll see what the noise level is in my office normally versus with the S1’s CPAP fan running at 100%. There’s quite a difference in the volume level. When I first set it up, I had to wear headphones while working so I could stay in the room with it. This thing is so loud that FLSUN includes a file on board to print a sound dampener that you can print straight from the touchscreen. There are also some other designs available on the internet from folks who already have this printer. It’s not a great solution but it does knock a few decibels off. The best thing you can do is turn down the fan speed while printing. From what I’ve gathered through Facebook groups, you really don’t need to run the fan full blast to achieve adequate cooling.
Now that those surprises are out of the way, let’s talk about some of its features. The S1’s claim to fame is the print speed. FLSUN claims it can print up to 1200 mm/s. I was assuming that was good but had no idea really until I started looking online. Apparently, those kinds of speeds are unheard of. This thing can print a Benchy in 8 minutes! It also has a max acceleration of 40000 mm/s squared. The printhead/effector, (I’m still learning the lingo) is an absolute blur when it’s going full speed. To keep up with that speed, FLSUN says the max flow of filament is 110 mm cubed/s, so it should be able to keep up with that ludicrous speed. In reality, though, FLSUN doesn’t match those numbers. I’ve watched several YouTube reviews and talked to several different users in the Facebook groups I’ve joined, people much, much smarter and more experienced than me, and the data doesn’t back those claims. It can still print really fast but the print jobs suffer, especially if you use the FLSUN-recommended software, the FLSUN slicer. More about that later.
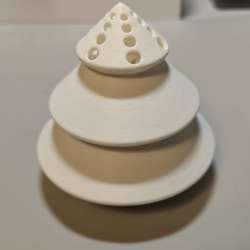
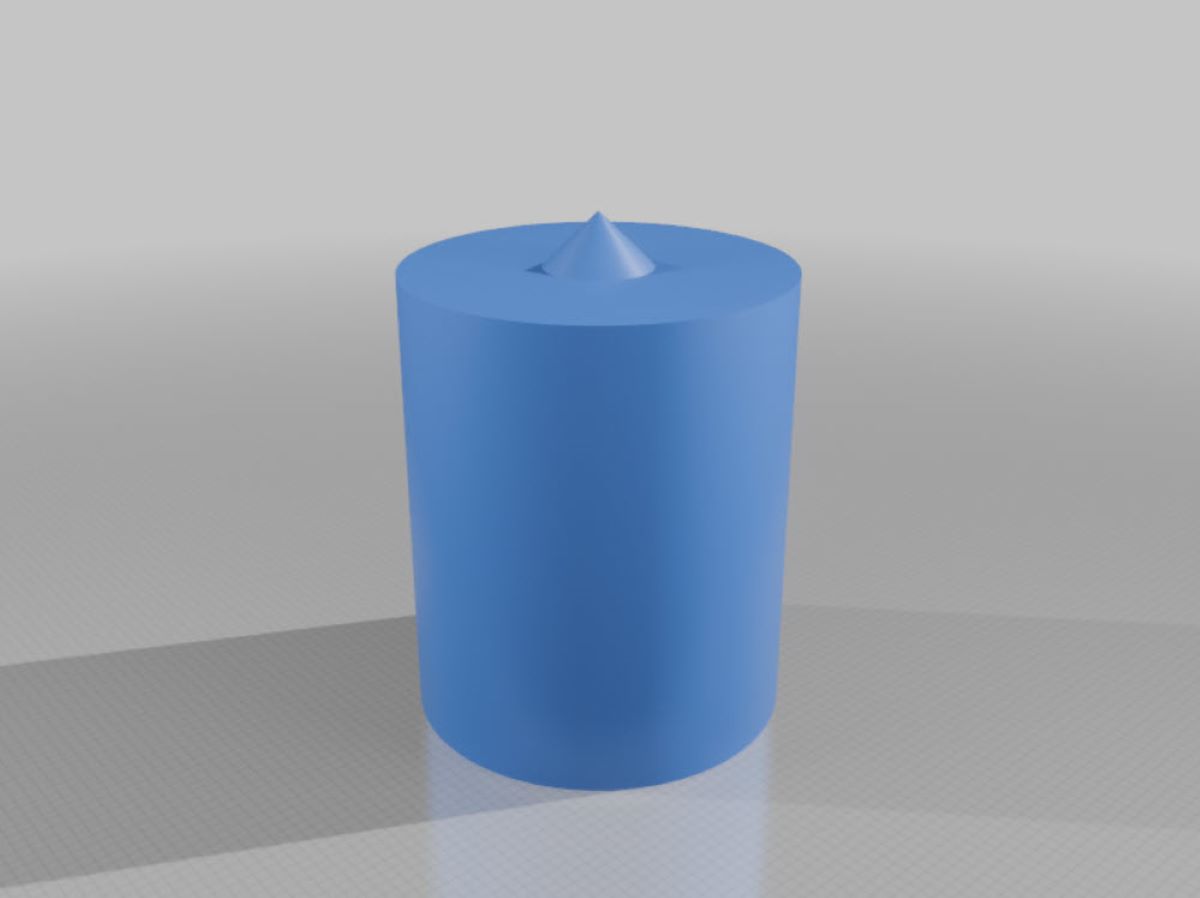
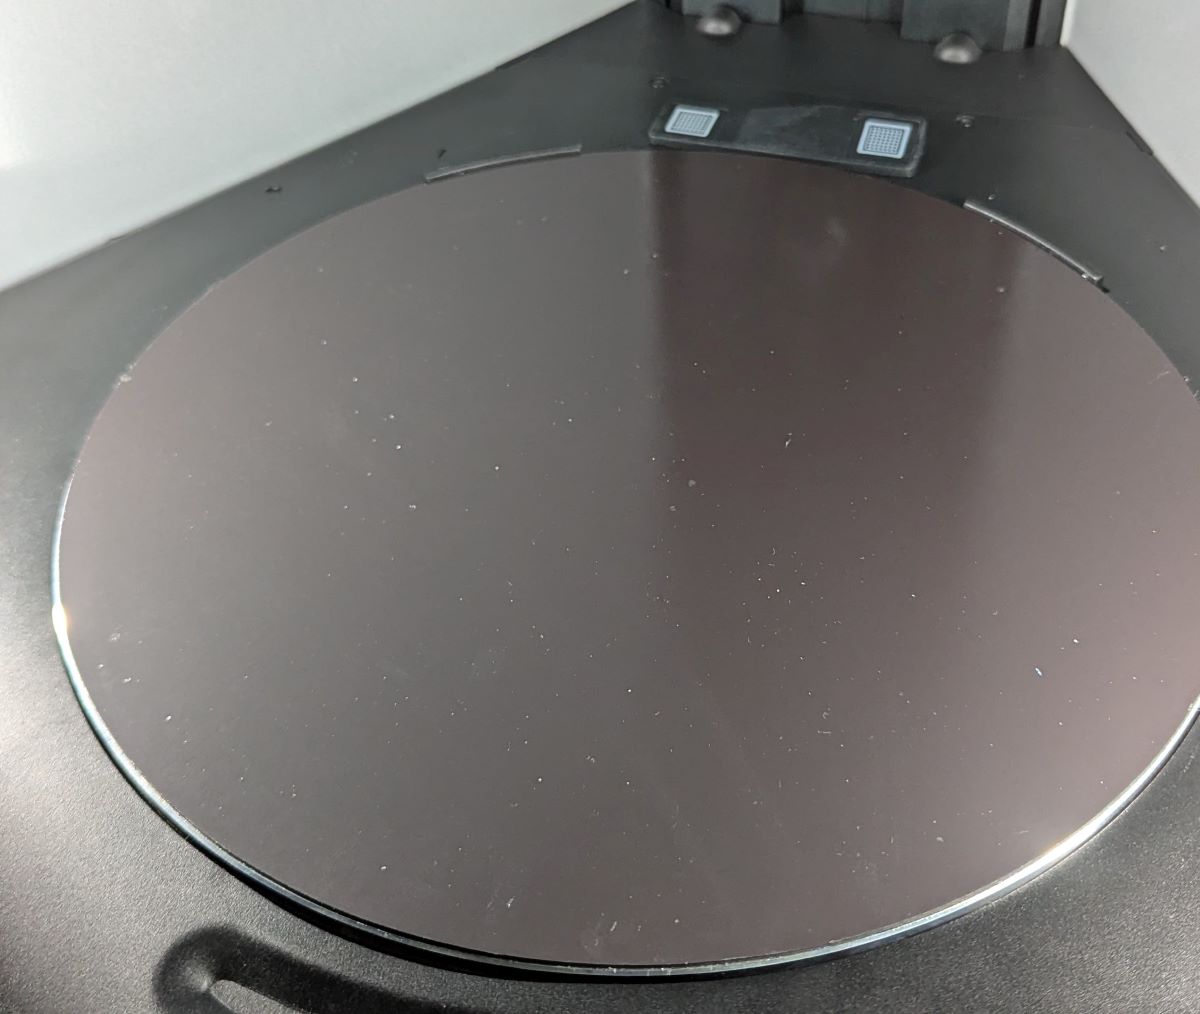
Another thing to note is the S1 is a Delta printer so it has a circular build plate. FLSUN says the build capacity of the S1 is a circumference of 320 mm and a height of 430 mm. You can just imagine the possibilities of such a large area to work with. For Cosplayers, you can print entire helmets in one go. The problem is being a Delta printer, you don’t get the full circumference at the full height. Again, people smarter than me said realistically, your build height is about 385 mm. Then you could have an additional 45 mm of height if your build is cone-shaped. Here’s a picture of what your build would have to look like if you were to utilize the entire space and you can find that file here.
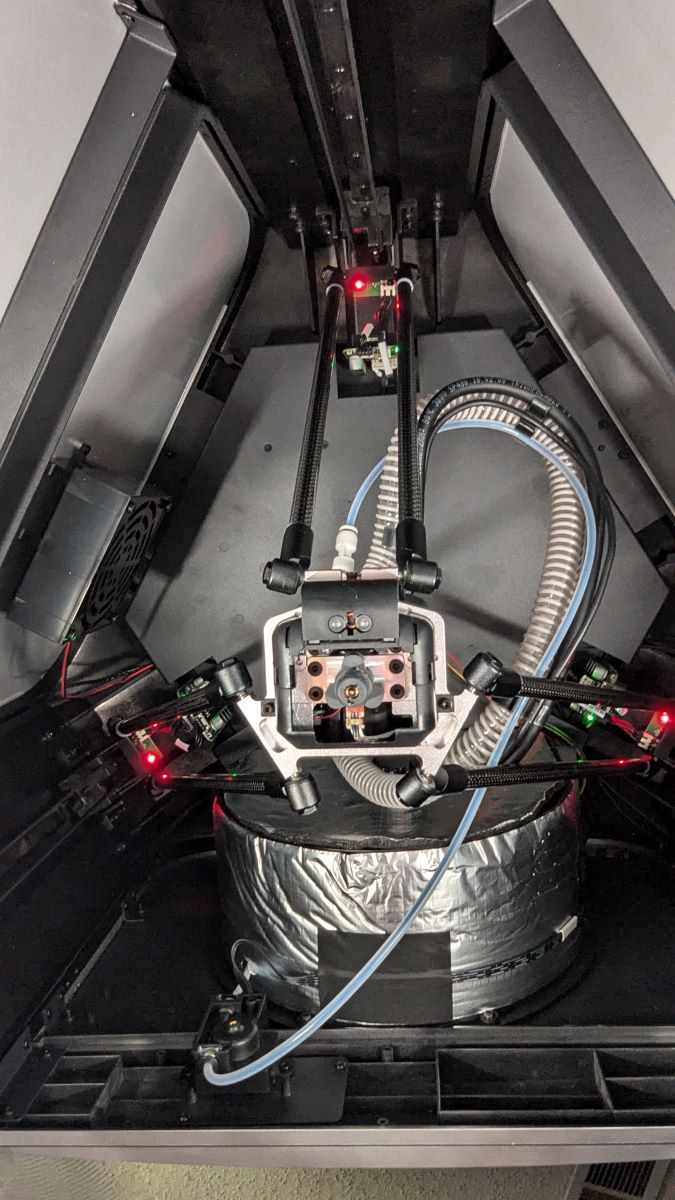
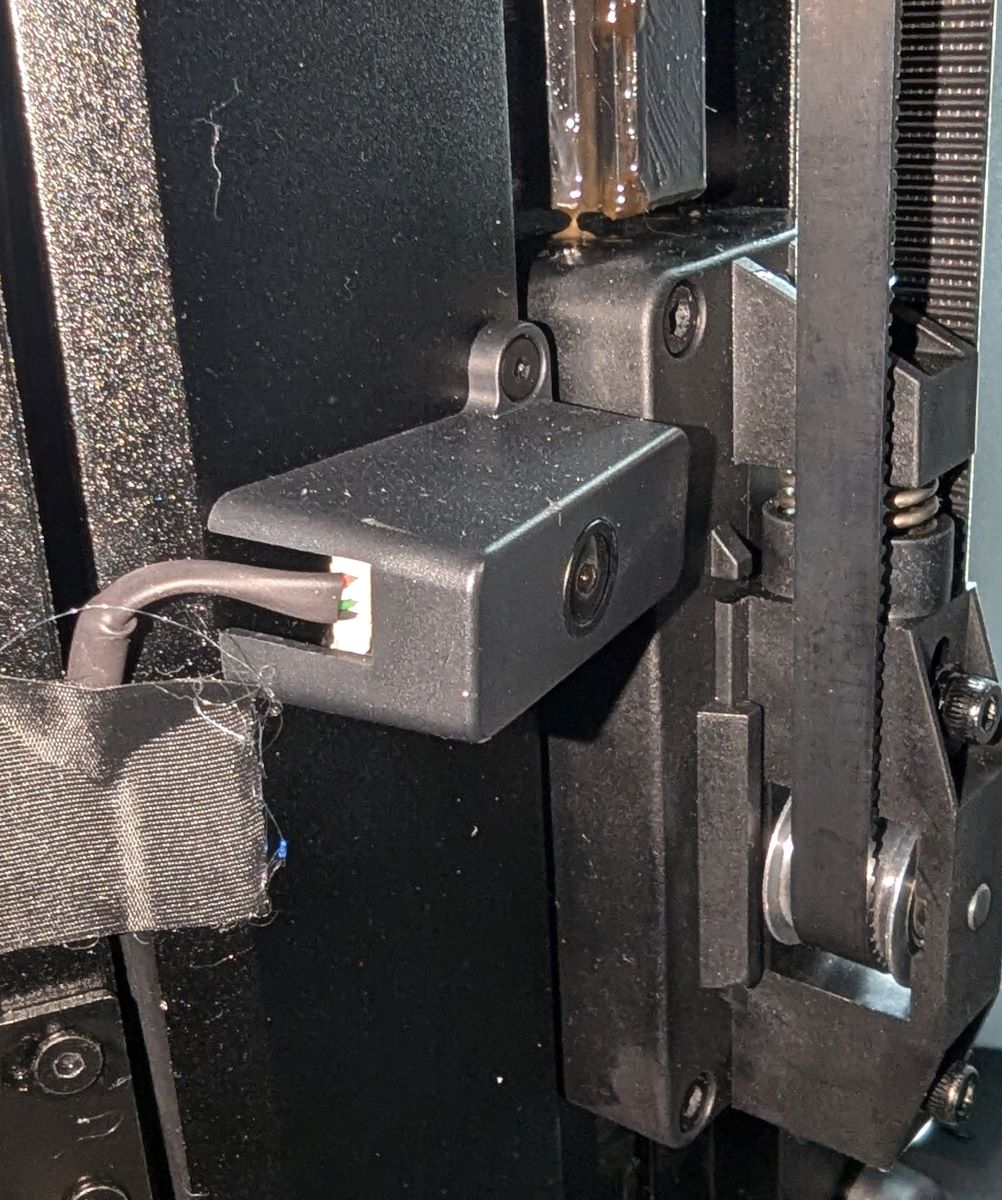
Next, FLSUN has what they call a binocular structured light system which consists of 2 HD cameras, a micron-sized laser, and a micron-sized Lidar system that allows first-layer scanning which then tells the S1 what adjustments should be made to get the perfect flow rate and Z axis height, if I understand it correctly. There hasn’t been a lot online mentioned about this feature other than what I’ve seen on the FLSUN website. You can turn on the first layer detection setting via the touchscreen just after hitting print. The S1 will then proceed with the job, print the first layer, then turns off its internal lights, and scans it with the laser. It’s pretty cool to watch but I couldn’t tell you if it actually made a difference in my prints. I’ve used it and not used it with no appreciable difference that I can tell. I am a noob though, so I’m probably missing something.
AI Detection. Everyone is including AI now in almost everything. FLSUN says the S1 has AI detection to monitor your builds in real time to detect debris and spaghetti. The S1 will then pause then print and you can either confirm or ignore the warning. Most people say the AI straight up does not work. I’ve had lots of false positives with spaghetti detection and only once did it detect debris and pause the print.
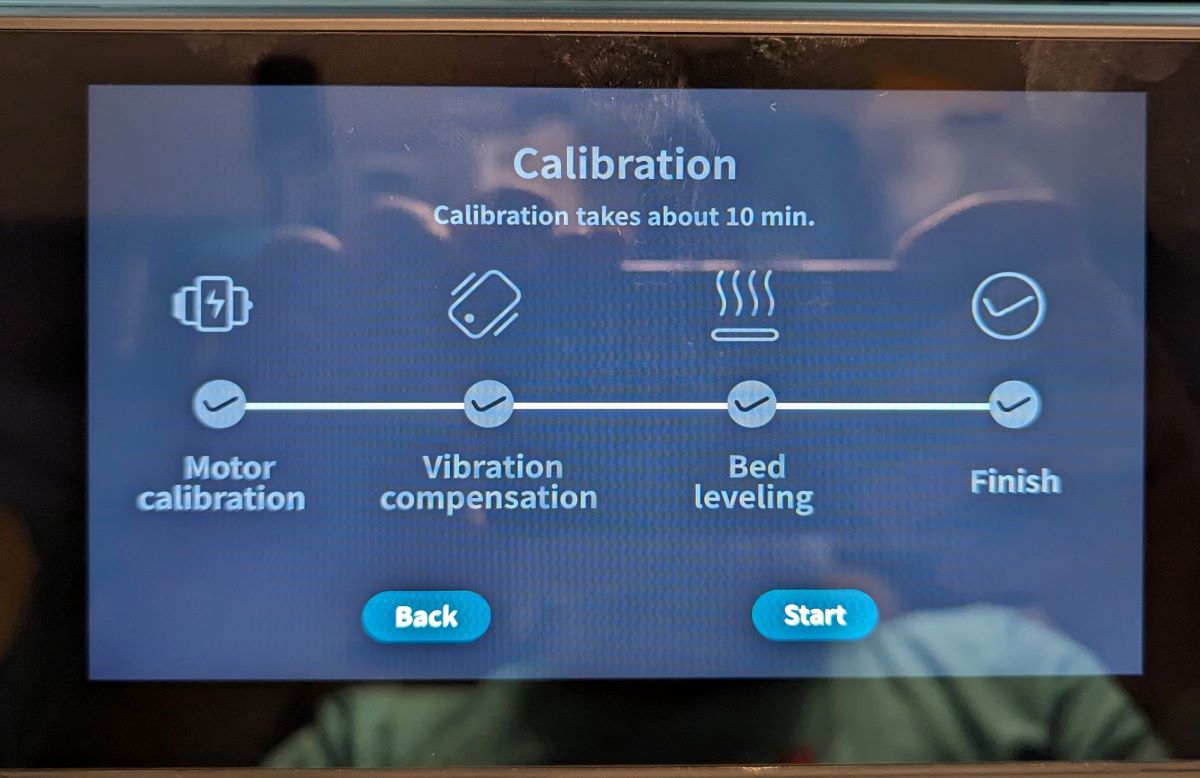
The S1 also has automatic leveling which is nice. However, it’s not like the automatic leveling like the Elegoo Saturn 4 Ultra which was done, you know, automatically every time you turned it on. You do have to select bed leveling from the touchscreen in the calibration menu. At that point, the S1 will go through its process to determine if the bed is level and I guess adjust itself according to the height map it generates. I also assume that it stores that information onboard to use going forward.
FLSUN claims the S1 has intelligent zoned bed heating, meaning it can heat up certain areas of the build plate according to your print job. I don’t know how well it works since the build plate is metal and it seems equally hot across its entirety when I remove a build. I do know that it works though because there are folks out there who’ve tinkered with the software to alter how the bed heating works. I know that’s not the most scientific explanation but again, I’m still learning.
The S1 has remote monitoring if that’s something that interests you. I think it’s really cool you can monitor its actions from a PC, laptop, or phone when you’re on your home network. There’s an onboard camera acting as a webcam.
The slicing software includes Klipper which provides a web-based dashboard and provides numerous ways for me to really hose things up. I use it to view the onboard camera and check on my prints while I’m in another room. There’s a console you can use to view and edit the printer’s config files. Some folks have created their own files and posted them on GitHub. If you’re braver than I am, you can replace all the stock files with them and have a totally different experience than stock. I might work up the nerve to try that one day, but not today.
One of the features I like is the time-lapse video function. That same onboard camera will record the video. You can view the time-lapse directly on the touchscreen of the S1 or you can download it to a flash drive to watch on your PC. Originally, the machine would only store 1 video at a time, so if you recorded a second video, it overwrote the first. With the latest firmware update that seems to have been remedied. Here is an example of the video it can capture.
https://youtu.be/t6hhGXdEF7s
Next, the FLSUN S1 3D printer is said to be able to use multiple different filament types. The nozzle can reach temperatures up to 350 C and the hot bed can reach 120 C allowing the use of PLA, PETG, TPU, ABS, and more. FLSUN also says the S1 supports the use of abrasive filaments like carbon fiber PLA too, but it’s been found that the hot end is actually made of aluminum, so if you want to use abrasive filaments, then you’re going to wear out the hot end much faster. I got some PLA-CF myself and did a couple of small prints, but have since stopped using it since I learned this. To FLSUN’s credit, they do include an extra hot end in the accessories pack that came in the box.
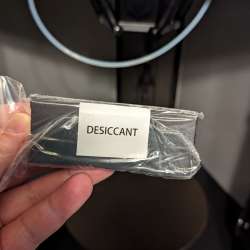
The S1 has a built-in dryer box for filament storage that also weighs the reel to determine how much filament you have left while printing. This is a great feature. I didn’t want to have to purchase a second device to keep the filament dry. I live in Florida, and it gets very, very humid in the summer. With the heated dryer and desiccant pack, I can mitigate that in the more hygroscopic filaments.
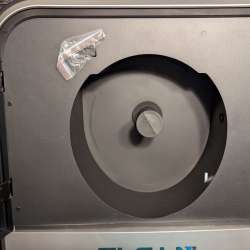
There aren’t a lot of options when using the dryer box, at least from the touch panel. You can read the initial humidity level which I assume is inside the box and the current temperature. The only thing you can actually set is the time you want to run the dryer. The default is 4 hours. It seems to work well. I have noticed better print quality after running it. As a noob, I didn’t understand exactly what it was for in the beginning and was getting a lot of bubbles, especially when using PETG. That wasn’t the only cause of my issues but it certainly helped when troubleshooting the problem.
This list of features isn’t exhaustive. I tried to pick out what I thought was most important but if you have any questions about the S1, please feel free to ask below.
Assembly, Installation, Setup
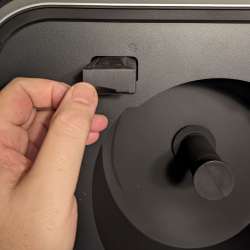
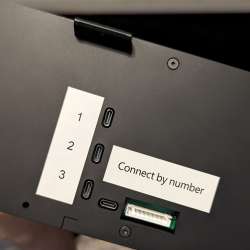
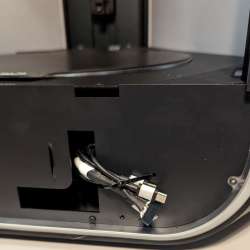
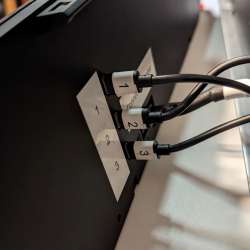
The S1 only had a couple of parts to install. The main item was the 7″ touchscreen. To install it simply connect the cables in the front of the S1 to the corresponding numbered ports on the rear of the touchscreen, then screw it to the printer.
Next, you do have to install the lower door to the actual build area. It’s not hard and all the hardware is included. There are a couple of hinges and some screws. Pretty simple unless of course, like me, you aren’t paying attention and installed them the wrong way around the first time. It’s ok. I fixed it.

Now you’re ready to plug in the S1 and power it on. One feature I didn’t mention above is the built-in UPS. So, when you connect this thing to power, make sure it isn’t to a second UPS. I don’t recall seeing anything in the manual about a UPS. When I connected it to one, the S1 wouldn’t power on and it tripped mine. Just a little tip from me to you.
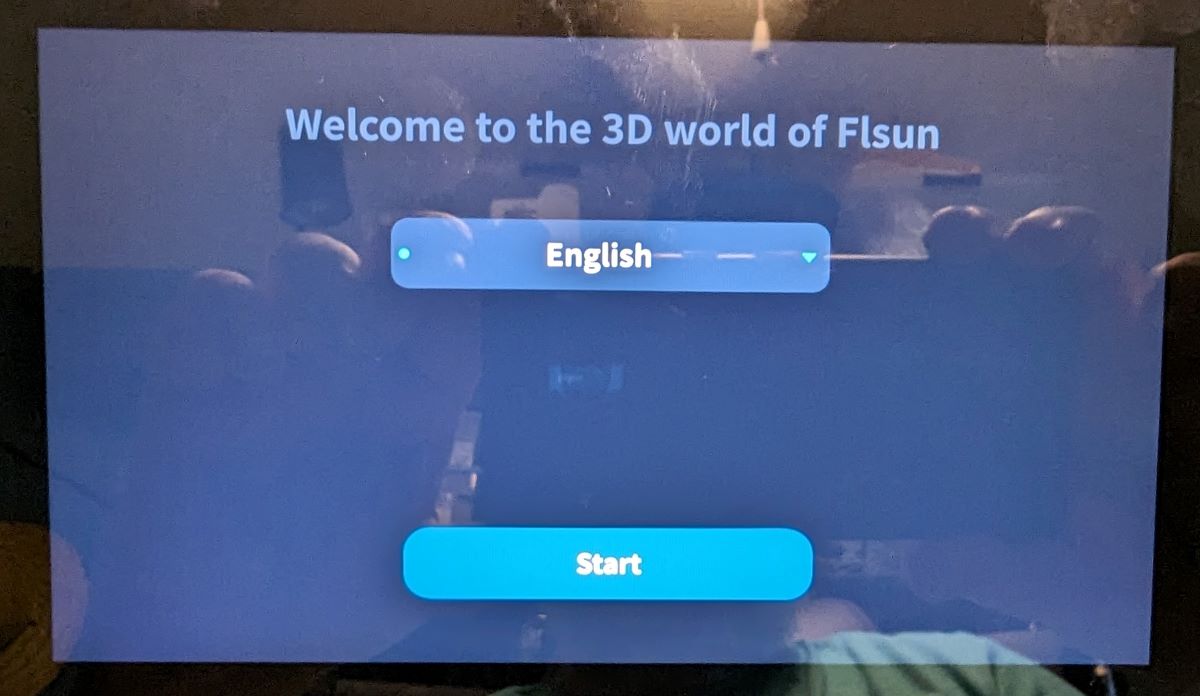
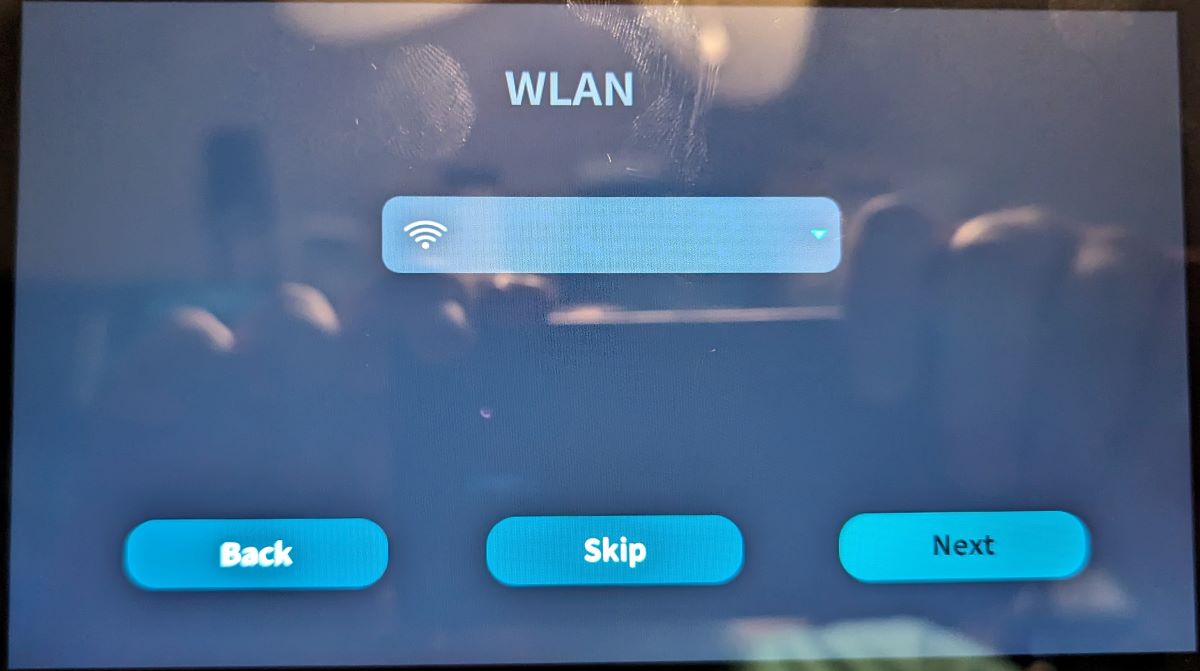
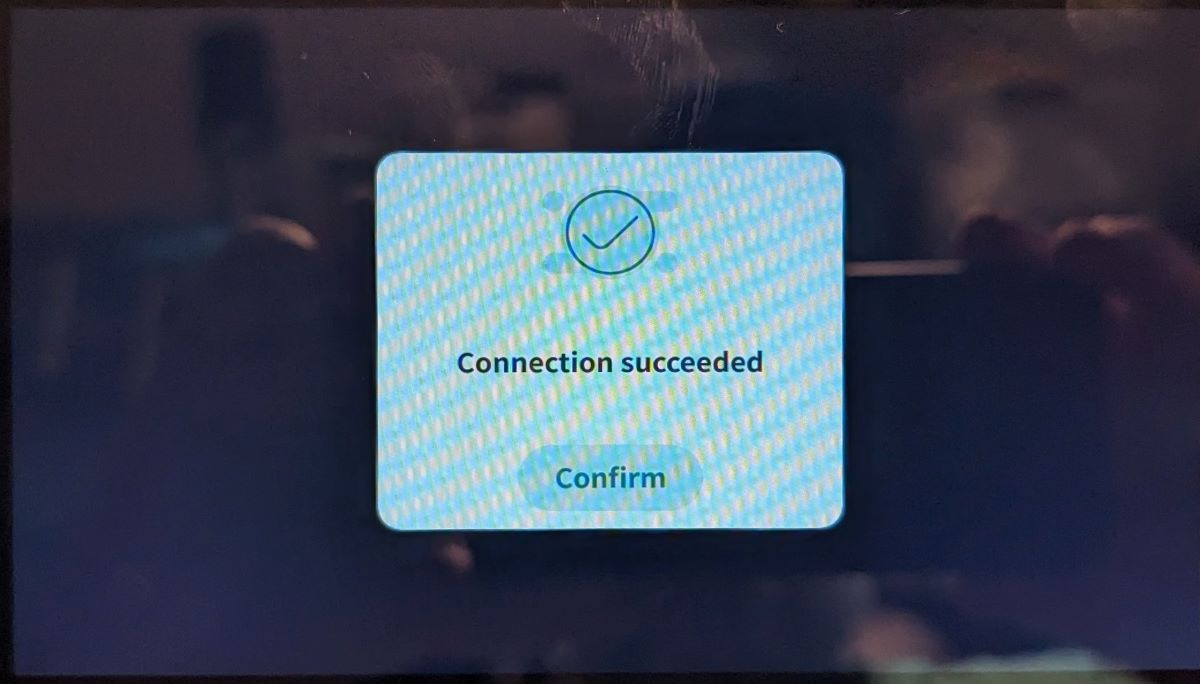
Once powered on you’ll need to go through the setup on the touchscreen itself. You’ll need to select your language, connect to your wireless network, and run through the calibration process, which is automatic.
If a firmware update is available, you’ll get a message on the screen and you can follow the prompts to perform it. If you decide to buy one and FLSUN hasn’t already upgraded it, you’ll need to upgrade the firmware using the included flash drive. Several folks had the same issue I had where the OTA update failed.
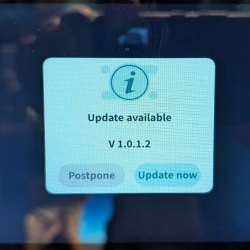
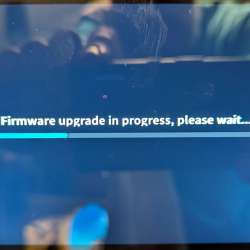

With that said, after performing the initial upgrade manually, subsequent OTA upgrades have completed with no issues. To FLSUN’s credit, there have been quite a few updates over the short time I’ve had the S1. The 3D printing community has been quite vocal about issues and FLSUN has listened to them.
The next thing you’re going to need if you want to print any file type other than someone else’s 3MF project file via the flash drive is slicing software. FLSUN suggests you download their FLSUN slicer but also provides a setup for an Orcaslicer profile on their wiki page. I’m not going to try to explain anything about the slicing software because I know so very little about it. Most things I’ve learned are through changing settings, messing up, changing them again and again, searching Google, and asking numerous questions in Facebook groups dedicated to the S1. From my experience, I’ve found Orca slicer to be superior while using a configuration from this GitHub repository makes everything easier. FLSUN and the community have been great at teaching me while also making the S1 printing experience better and better.
Performance
Performance for me has been hit or miss. I chalk most of it up to being new to FDM 3D printers. Some of it is the printer though. The S1 has been divisive among its users. Some think it’s the best thing since sliced bread while others straight up think it’s a dumpster fire. Both sides have evidence to support their claims. I’ve seen some really great prints come out of the S1 at respectable times while others crash and burn. With the earlier firmware versions, folks were getting extruders crashing into the PEI plate. I experienced this myself early on and it scratched the plate.

There were times the unit would soft lock then reboot, but the last several updates have taken care of those issues at least for me.
As for the quality of the prints, when I don’t have bed adhesion issues or supports getting knocked off, I can get some good results.
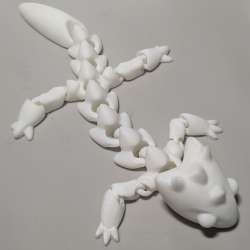
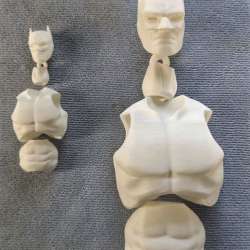
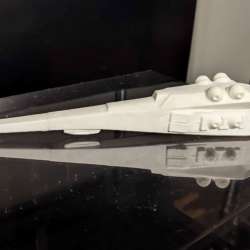
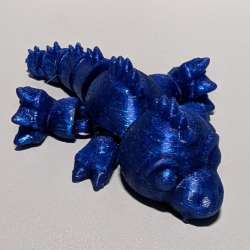
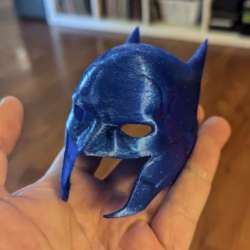
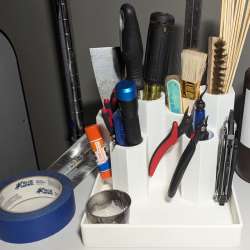
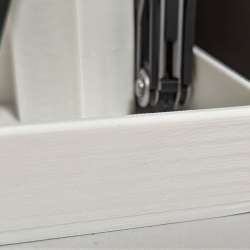
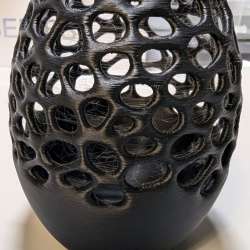
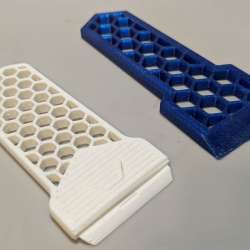
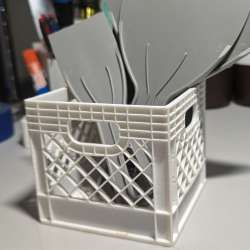
I didn’t just make toys. I did make some useful prints too.
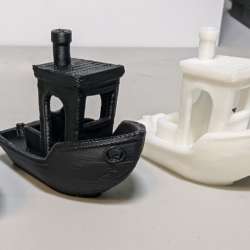
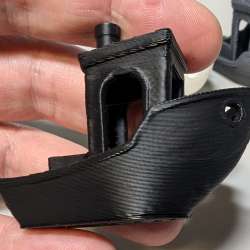
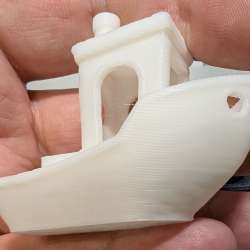
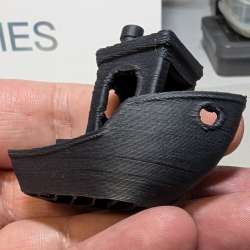
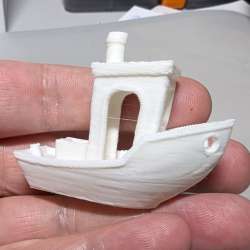
I even have my own fleet of Benchys made from different materials.
What I like about FLSUN S1 3D printer
- Great Build quality
- Fast
- Versatile
What needs to be improved?
- Firmware
- Slicing software
- Truth in description of printer’s capabilities
Final thoughts
I know I’ve given a lot of negatives throughout this review but I hope you’ve seen some highlights too. I think the FLSUN S1 3D printer will only get better with time, based on FLSUN’s response to the community. They have been pretty quick to address problems and send out regular updates. I do feel FLSUN pushed out the S1 a little too soon but I realize other companies do the same thing to be the printer to have. I would not recommend the S1 as your first printer. There are a lot of nuances, terms, and software to learn. I have had a lot of fun and a lot of frustrations which I think is all a part of 3D printers. I do like this printer and if you’re someone who has a good knowledge of 3D printers and the software used, I think you would be able to get fantastic results. It is expensive so know that going in. Ultimately, I would say this is a great printer but I would wait until more of its issues are ironed out. Please don’t let my review turn you off of this printer. Please do more research than this article. Once again, I’ll say I’m new at this and there are plenty of other smarter people out there who would know much more than I.
Price: $1499.00
Where to buy: FLSUN and other FLSUN 3D printers are available through Amazon
Source: The sample of this product was provided for free by FLSUN. FLSUN did not have a final say on the review and did not preview the review before it was published.

Gerber Gear Suspension 12-in-1 EDC Multi-Plier Multitool with Pocket Knife, Needle Nose Pliers, Wire Cutters and More, Gifts for Men, Camping and Survival, Grey
