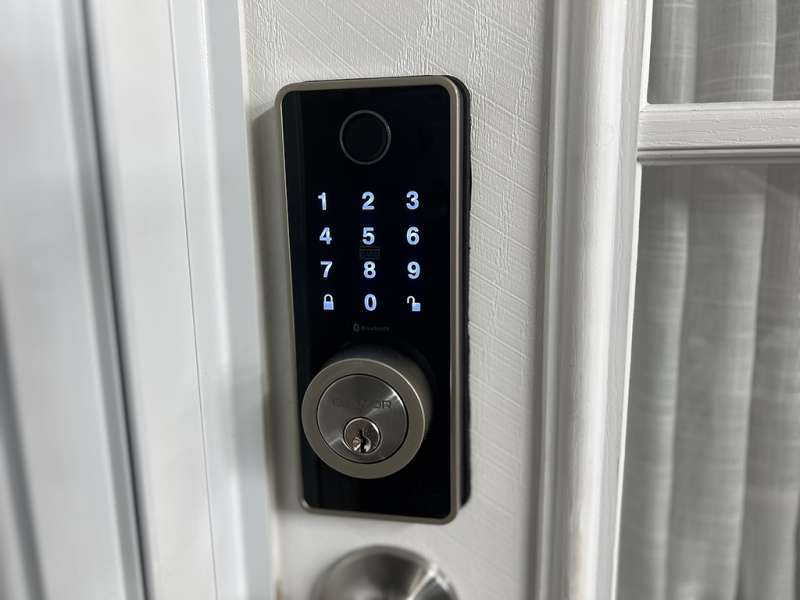
REVIEW – Securing your home is one of the most important things to do. A sturdy deadbolt on an exterior door is one of the best ways to do just that. The Elamor M12 Touchscreen Entry Door Lock is an excellent choice for a dead bolt. It not only offers a very strong locking mechanism, but many different ways to lock and unlock it. You can’t get much more convenient than that.
What is it?
The Elamor M12 Touchscreen Entry Door Lock is an electronic deadbolt for most exterior doors. It gives you many options for locking and unlocking your door besides using a physical key, which as we all know is so old-fashioned. The lock very seamlessly replaces your typical deadbolt lock and gives you biometric, electronic, and yes one physical way to lock and unlock your door. Does it live up to its many promises? Let’s see how it performs.
What’s in the box
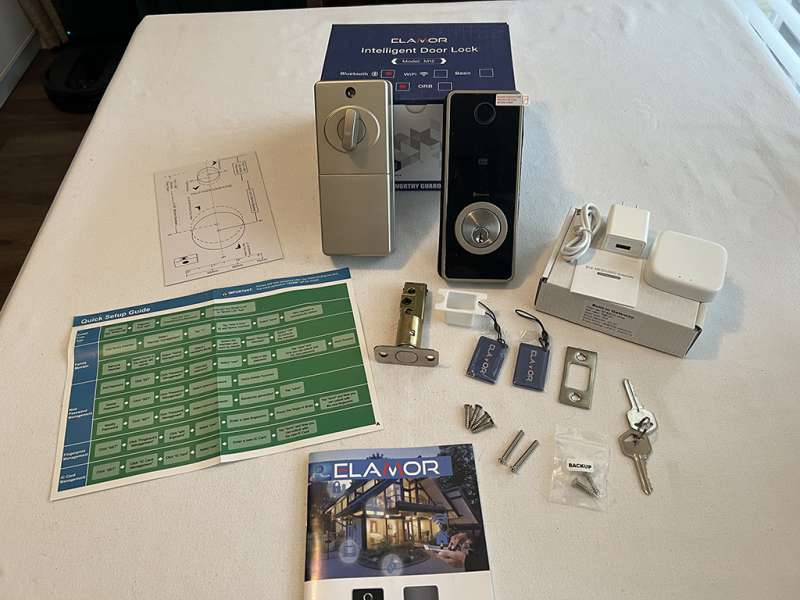
The box contains the following:
- Interior and exterior door lock components
- Deadbolt latch assembly
- Striker plate
- 2 IC Cards
- 2 Physical keys
- Various screws
- WiFi Gateway module
- Detailed instruction manual
- Quick Setup Guide
- Door hole placement template
Hardware specs
- 6 Unlocking methods: Numeric passcode, Mobile device App, Fingerprint, IC Card, Physical Key, smart home device (Alexa, Google)
- Bluetooth and WiFi (via the included mesh gateway)
- Made of Metal (Zinc) and Plastic
- Comes in Black and Brushed Nickel
- 4 AA Batteries (not included) required – They should last about 10 months
- 50 stored codes of 6-10 digits
- Weighs 2.8lb/1300g
- Fits doors that are 1 3/8” – 2”/35mm – 50mm thick
- Dimensions (L x W x D): 6 3/4” x 2 3/4 x 1 1/4″” x /175mm x 70mm x 32.4mm
- Deadbolt is ANSI Grade 3 certified
Design and features
Installation
Installing the Elamor M12 Touchscreen Entry Door Lock was easy and fast. The door I chose to install the Elamor Lock onto already had an existing deadbolt lock. A boring key-only deadbolt as most houses come with. If your door does not have an existing deadbolt, you will need to prepare the holes in the door for the lock to function through.
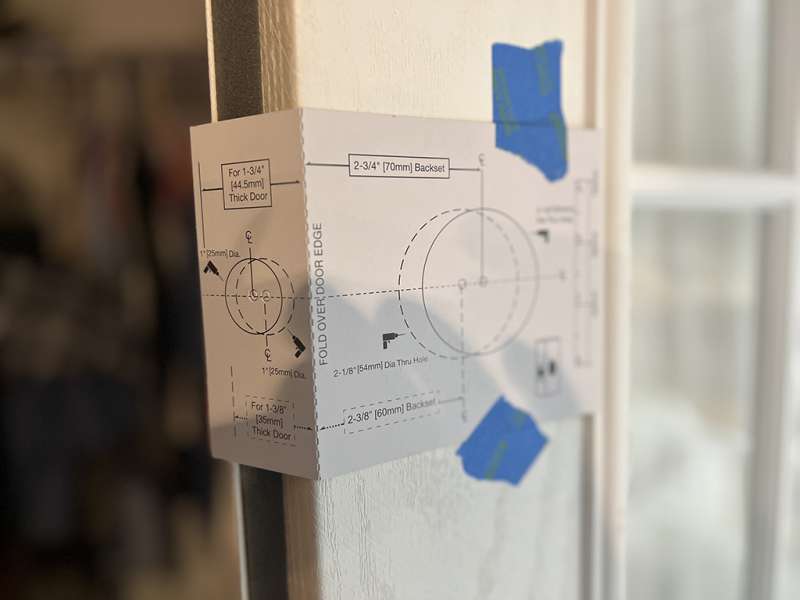
The instruction booklet gives you a step-by-step method for getting the door ready. You will need a couple of specialized drill bits (Forstner bits 2 1/8” wide and 1” wide). The included template makes placing these holes very simple.
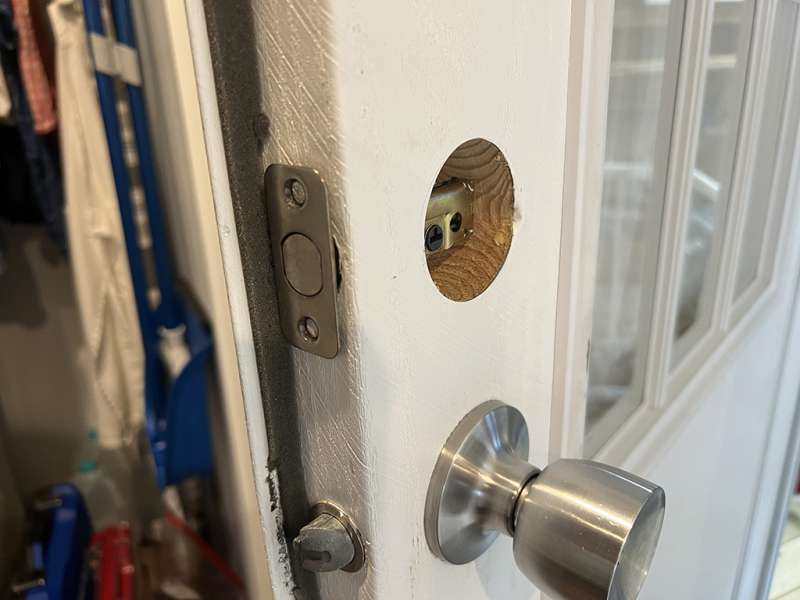
The instructions have some measurements that your door must meet in order for the lock to fit. Your door must be between 1 3/8” (35mm) and 2” (50mm) thick. The main hole for the lock to operate through in the door must be between 2 3/8” (60mm) or 2 3/4” (70mm) from the edge of the door. And lastly, the hole on the edge of the door must be 1” (25mm) in diameter. After confirming my door met all those requirements, I installed the Elamor M12 Touchscreen Entry Door Lock’s deadbolt latch assembly using the included latch screws.
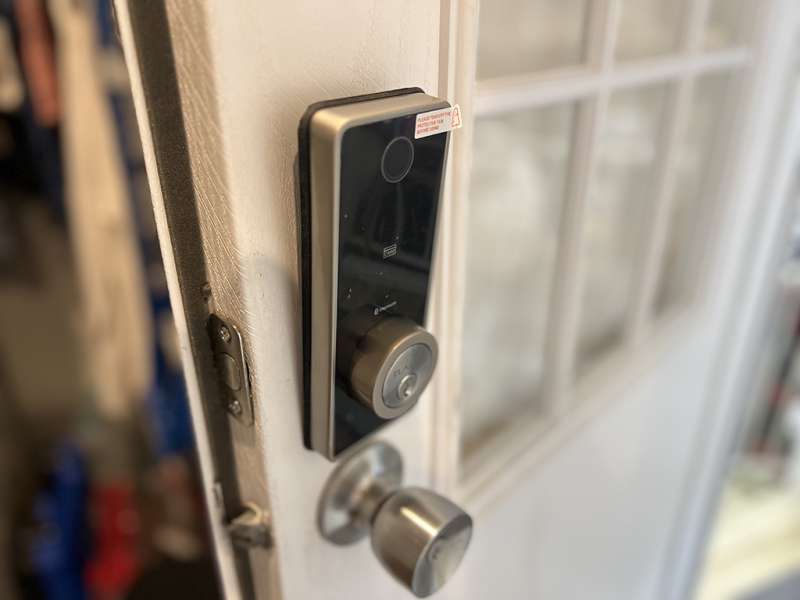
Next, I placed the exterior keypad half of the lock in the door. There are two screw barrels that pass through the deadbolt latch. There is no way to mess this up. It is so simple.
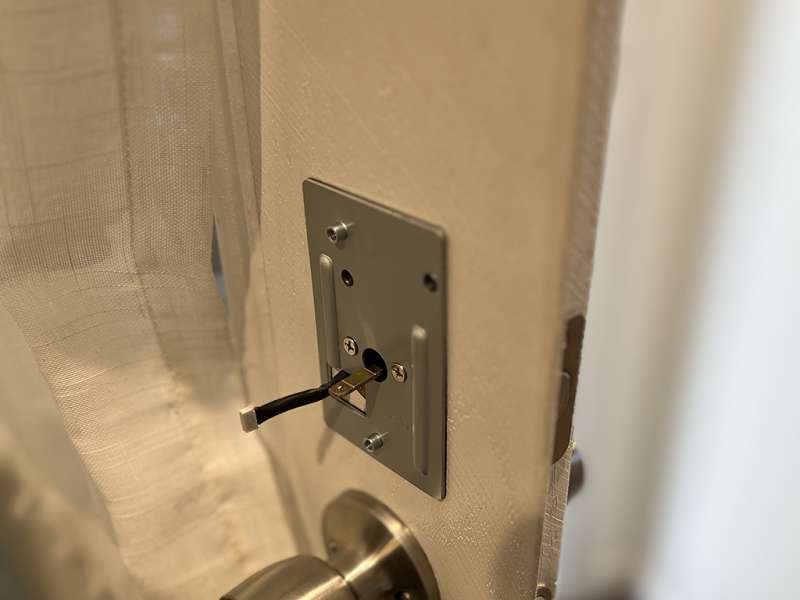
The interior mounting plate is then screwed to the exterior keypad screw “barrels” using two screws long. This was a little tricky as you can’t see the “barrels” you need to have the screws go into. A little poking and prodding with the screws, and then you tighten those down. The keypad half is now mounted securely to the door.
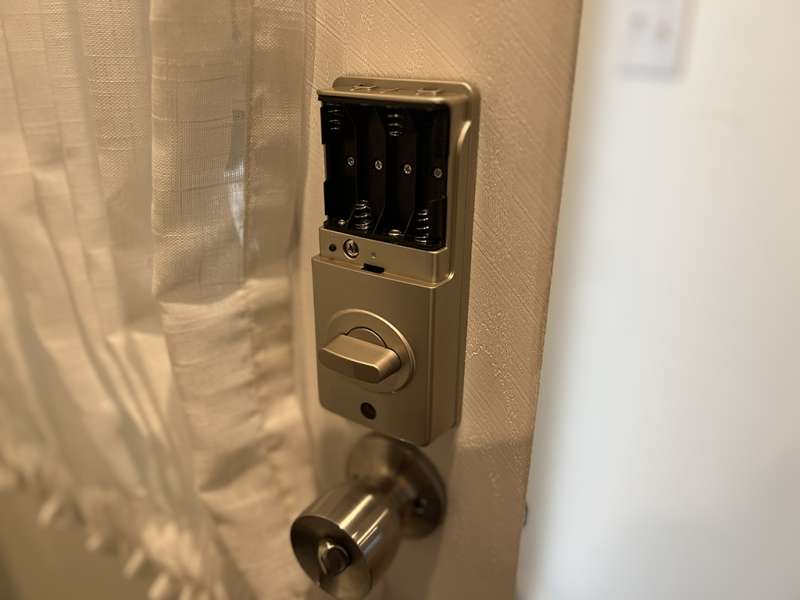
There is a wire that connects the keypad to the interior half of the lock. Once you plug the two halves together, you can now mount the interior brains and battery pack to the door. Two screws are all you need here. Install four AA batteries, place the battery cover, and you are finished with installation.
I only needed a Phillips head screwdriver and about 30 minutes of time. Most of my time was spent removing the old lock and deadbolt latch.
Setup
Because there are six different ways to use the Elamor M12 Touchscreen Entry Door Lock, there are a few steps to go through to get it set up.
Mobile App
The lock comes with an accompanying Smart Life app for your mobile device. Once installed, and after you create an account, you register the lock with the app via a Bluetooth connection. This is very straightforward and was completed in under a minute.
I registered my wife as an additional family member, and that way, she can use her own personalized access methods. Again, this was very quick and easy.
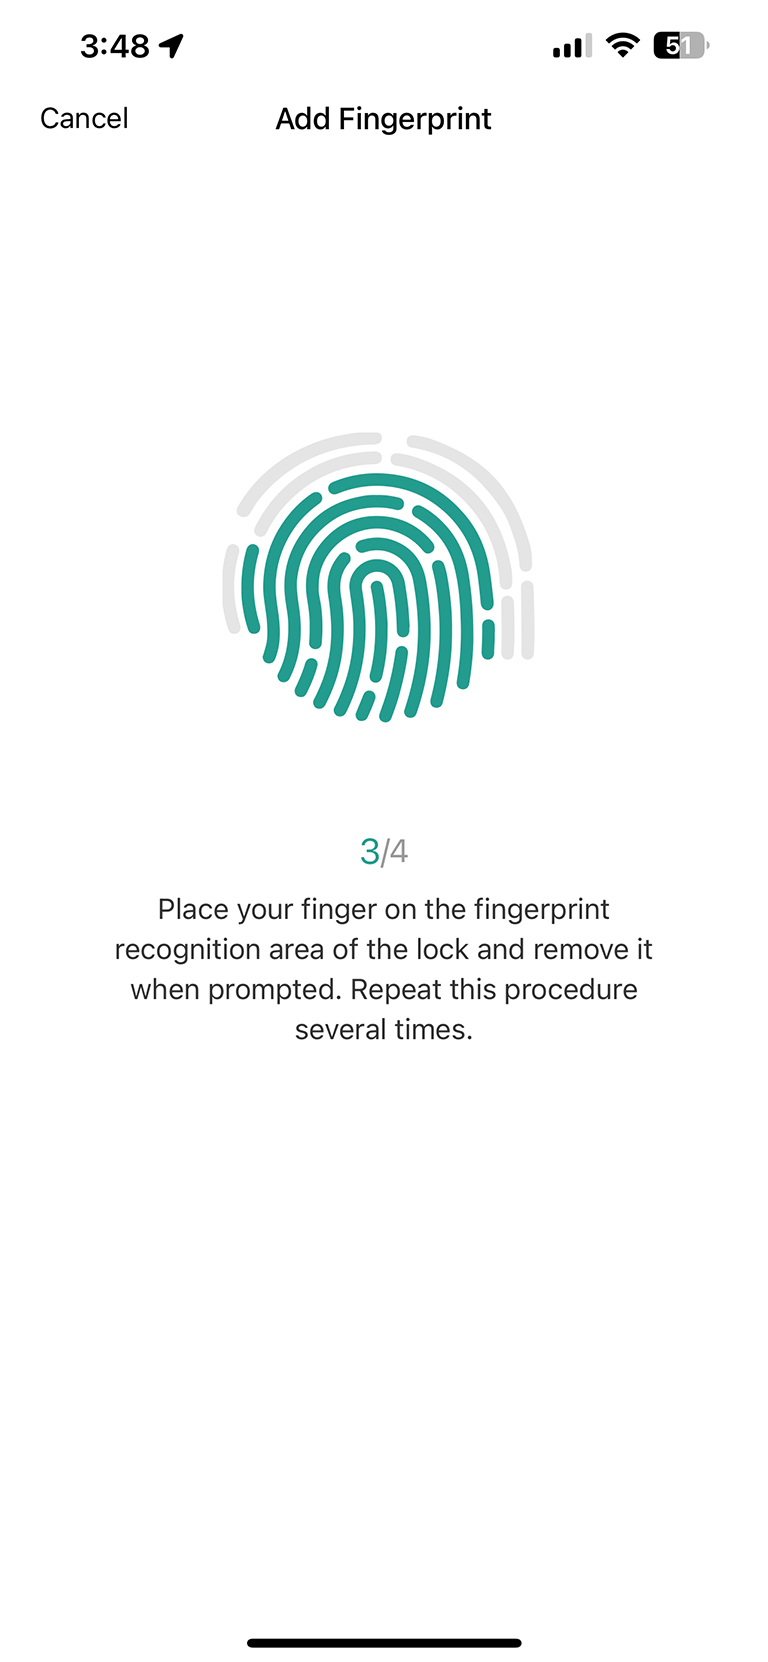
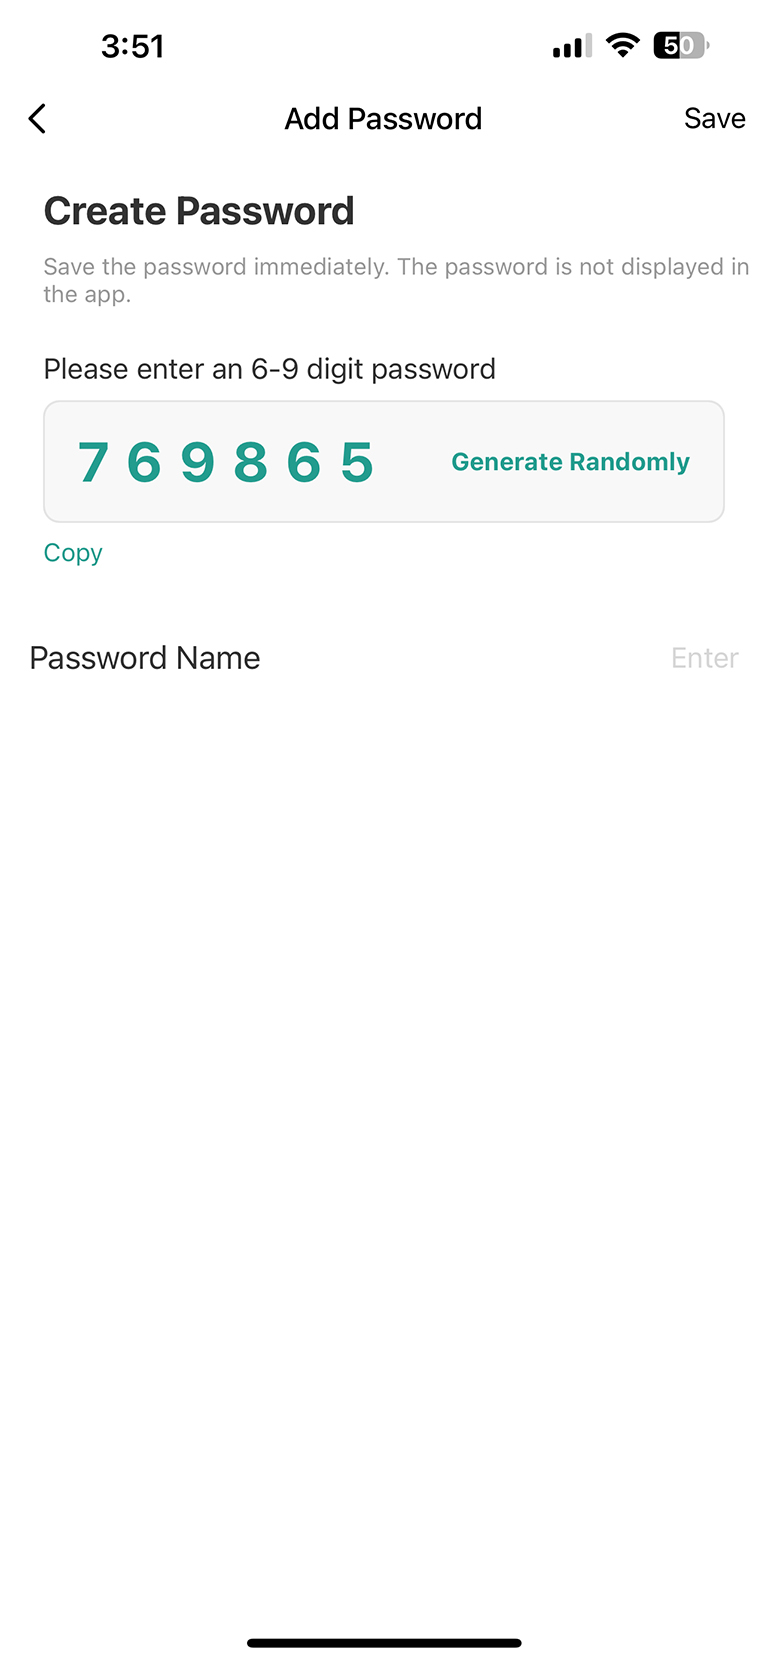
Setting up the various forms of entry for each person is very simple and straightforward. The app walks you through each of these and is very well thought out. If you’ve ever set up fingerprints on a mobile device, the Elamor fingerprint setup was very similar. You press your finger on the sensor four times, and the reader stores your fingerprint(s) for future use. You can register more than one finger if you would like. I registered both thumbs. You never know which hand will be free when you need to return to the house.
I could not figure out how to connect Alexa to the lock. There is nothing in the instructions about how to do it, and I searched online too. I was not able to find any kind of help. I reached out to the Elamor customer service email I found on their support page on their website, and they sent me back a very cryptic response and a link to a developer’s page that they said would help explain it. It did not. So I guess for this review, there will be five different ways to operate the lock.
Using the Lock
Locking up
Locking the Elamor M12 Touchscreen Entry Door Lock can be performed four different ways. All of these methods is effortless and up to your choice. They all result in the very sturdy deadbolt engaging and securing the door.
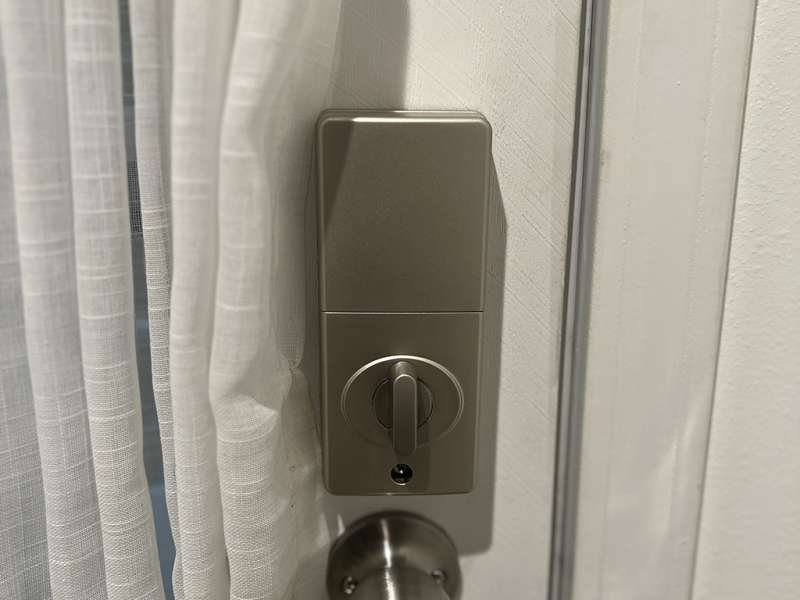
To engage the lock from inside my house, I can use the lock’s handle. Like any deadbolt, just shut the door and turn the handle. The Elamor lock will notify you that the door lock is closed.
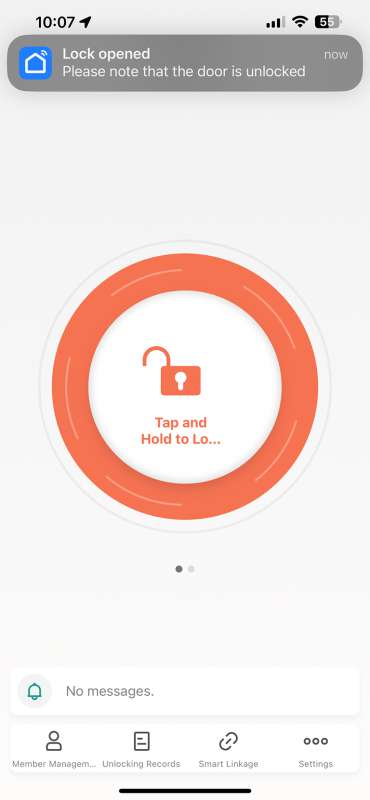
From inside the house, you can also use the Smart Life app. Simply tap and hold the large button on the lock’s home screen to engage and disengage the deadbolt. It couldn’t be any more simple. You can also set the app to automatically lock the ELamor Lock after a period of time of it being unlocked. This is controlled in the app’s settings.
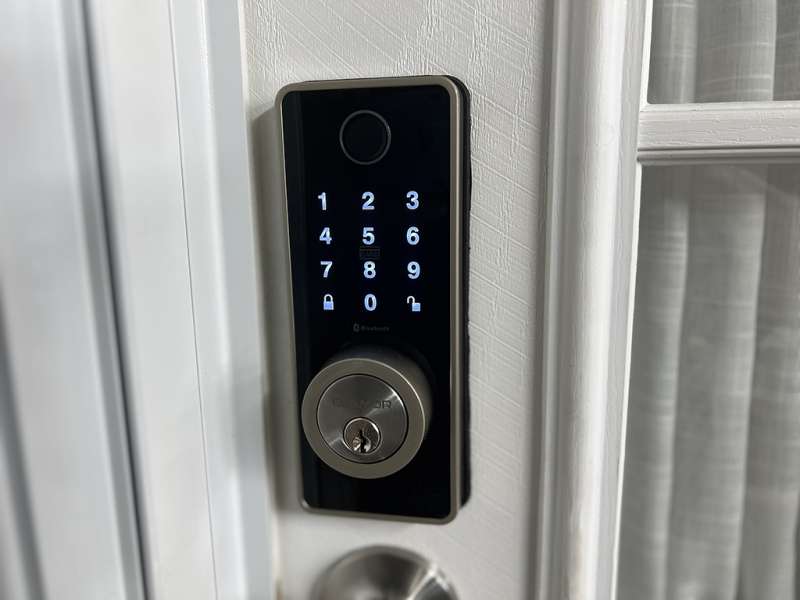
Outside the house, you can lock up by using the keypad or by using the actual physical key. To lock up with the keypad, just tap the lock’s keypad, and then the lock symbol. It’s that easy. You’ll hear the deadbolt extend and you’re ready to go. Using the physical key, you would lock up as you would a regular deadbolt.
Unlocking
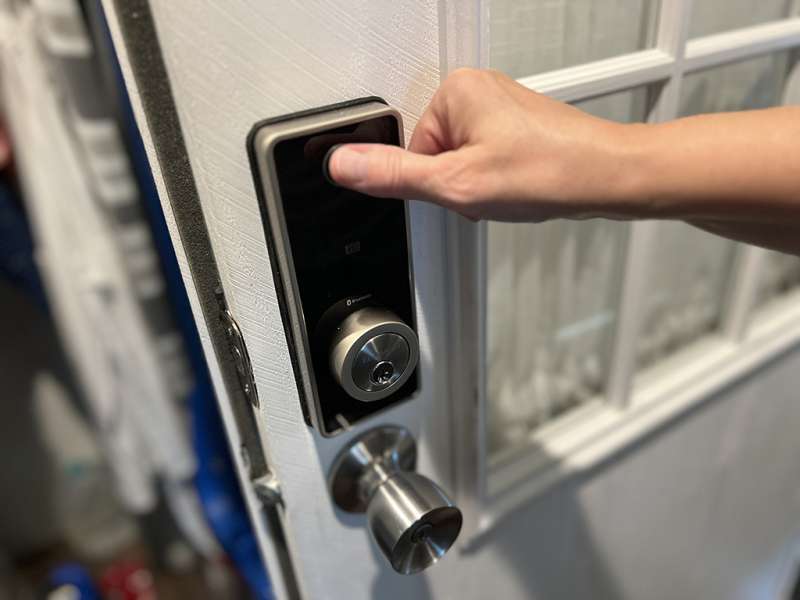
To unlock the Elamor M12 Touchscreen Entry Door Lock, you have all the choices. You can use your personal passcode, your fingerprint, the IC Card, the Smart Life app (via Bluetooth), or the physical key. For me, the fingerprint option was the easiest. The keypad is a little show in responding to enter a passcode, so that would only be an option after the fingerprint.
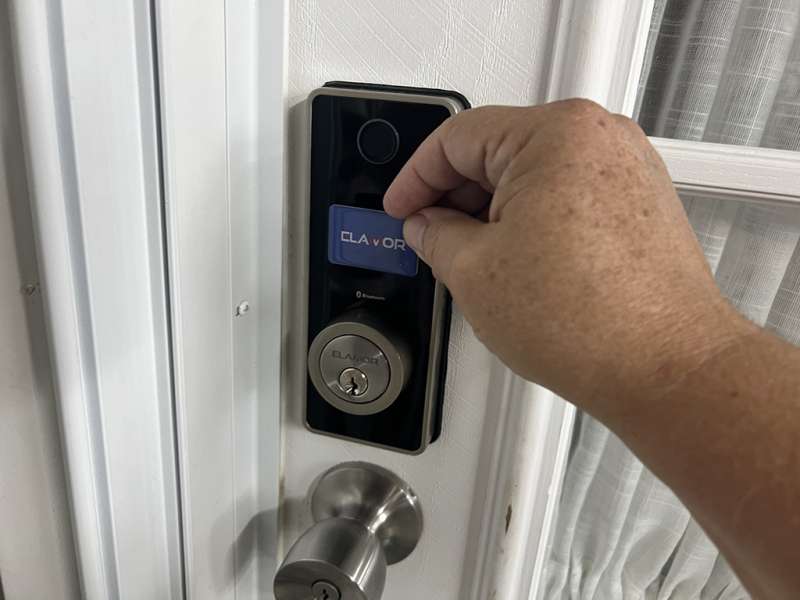
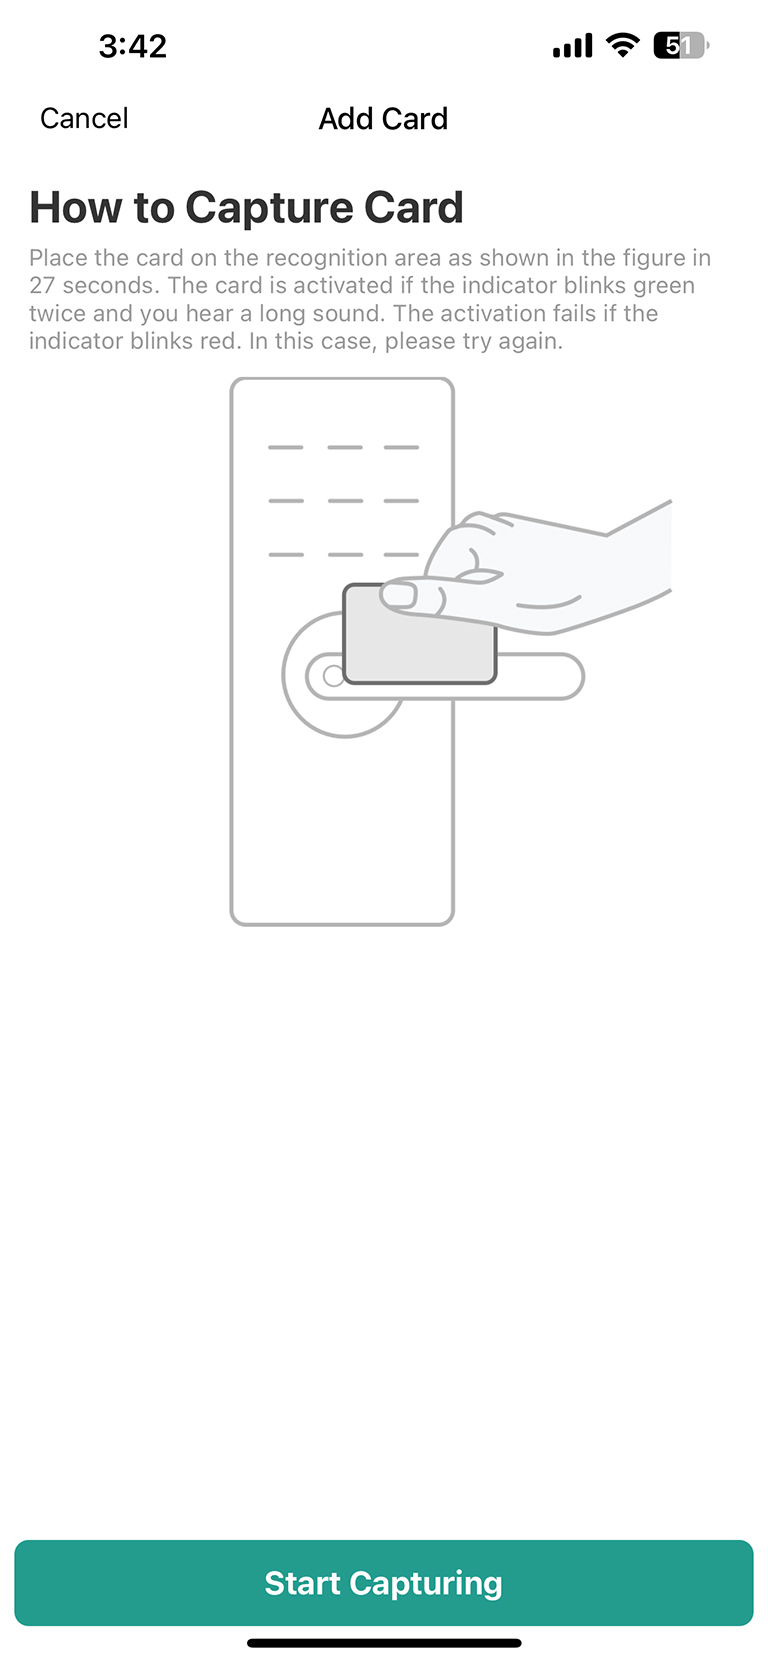
The IC Card is also very simple. Just wave it in front of the keypad, and the lock opens up.
What I like
- Very simple installation
- The setup was super fast (mostly)
- So many options to operate the lock
- The app is very well designed
What I’d change
- Allow fingerprints and the IC Card to lock up
- Instructions for smart home devices (Alexa and Google Assistant) should be included
Final Thoughts
If you’ve ever considered a smart lock for your entry doors, The Elamor M12 Touchscreen Entry Door Lock is a superior choice. Installation to operation in less than an hour. The fingerprint reader is flawless and most convenient. Although the keypad is a little slow to respond, it never misread a number press. The Elamor lock is very capable and well worth considering as an option for securing your home.
Price: $129.99
Where to buy: Amazon
Source: The sample of this product was provided by Elamor.

