REVIEW – I’ve made no secret that I’m someone who enjoys video games, whether it be RPGs with beautiful surroundings or FPS where seeing and reacting quickly is important. Due to this, I have always had a monitor that is geared somewhere in the middle, performance-wise, to get the best of both worlds without emptying my bank account. The Jlink Curved 32″ gaming monitor took a step towards the gaming side, with a solid price point, so I had to check and see if the price was too good to be true.
What is it?
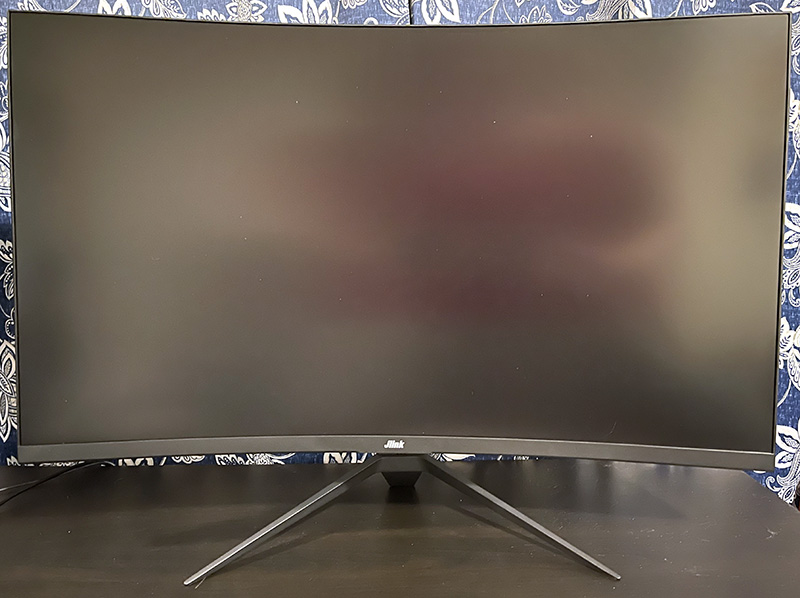
The Jlink curved 32″ monitor is a 1080p gaming monitor with a high refresh rate, great colors, and a built-in crosshair.
Hardware specs
- VA Panel
- 1080p resolution
- 240 Hz refresh rate
- 1 ms response rate
- 2 HDMI & 1 DisplayPort inputs
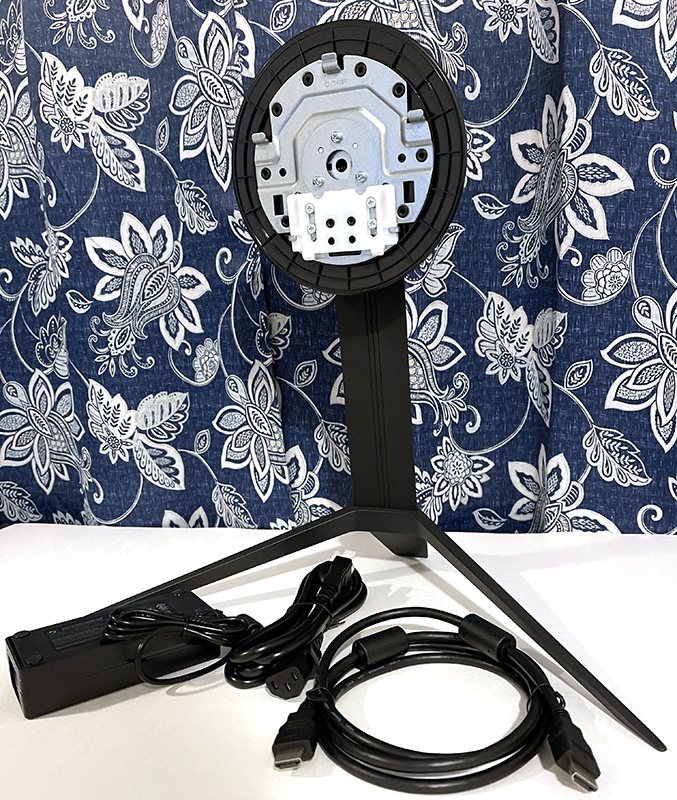
What’s in the box?
- Jlink 32″ curved monitor
- Power supply
- HDMI cable
- Instruction manual
Design and features
The setup for the Jlink 32″ monitor was pretty simple. You just screw the base onto the vertical part of the stand and slide it in the monitor itself until it clicks in. Then I plugged it in using the included power supply and HDMI cable and that was that. It was a little off in color, so I adjusted it a little bit on the monitor itself until it was a good match to the second monitor. I did not use any of the preset color settings, though I did scroll through them and they looked good. They simply did not match my second monitor.
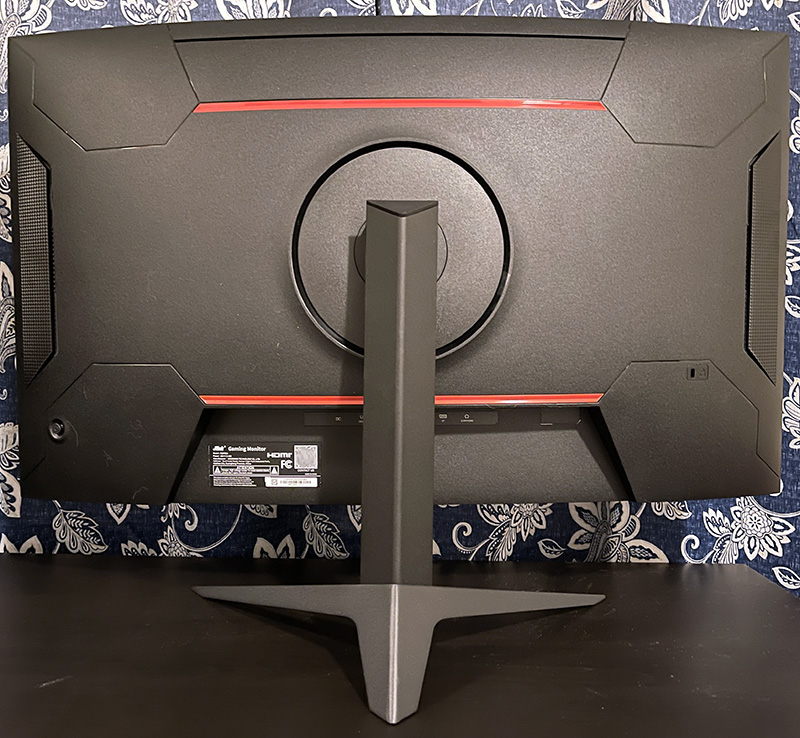
While you cannot adjust the height of the monitor, you can adjust the viewing angle between 5-15 degrees up or down. I have no idea what angle mine is at, but it’s relatively straight up and down. Once I had it set up and in the spot I wanted, I did not adjust it again.
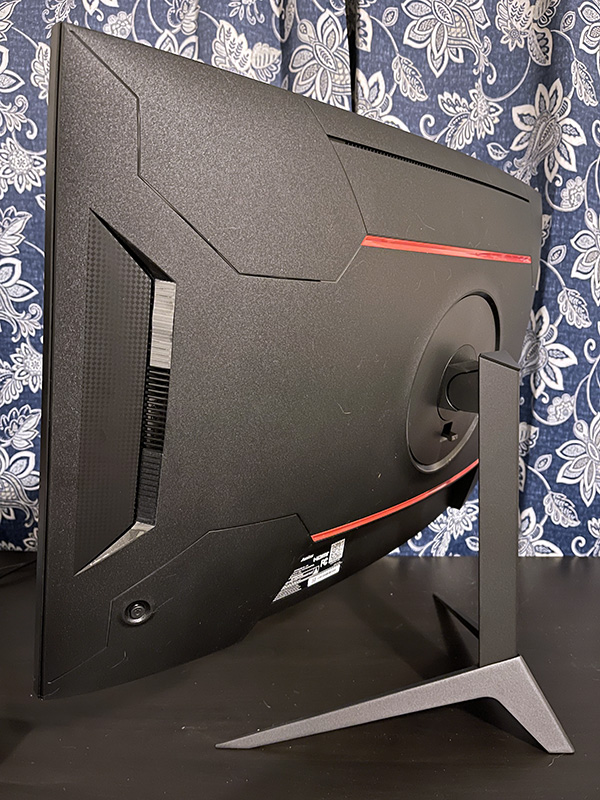
With the little button/knob combo that it uses, it was actually very easy to navigate around the monitor settings. Pressing the knob on the back right of the panel down like a button brings up the menu, and you can scroll through things by pushing the knob up and down or select by pressing right on the knob.
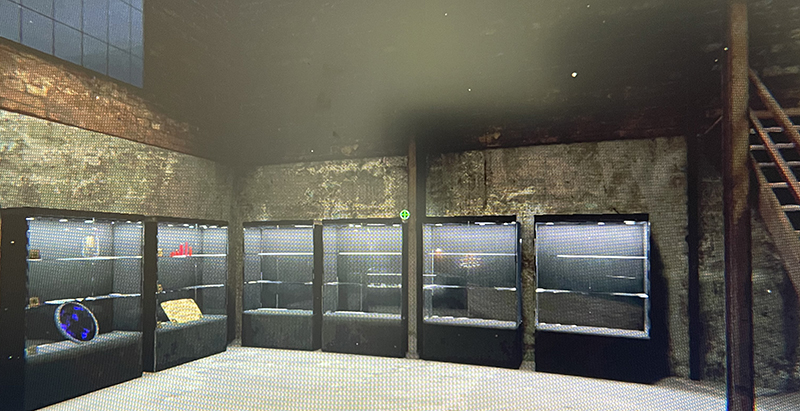
Most of the settings are for setting up how everything looks and feels, but they do have a few gaming settings, such as a counter, timer, and crosshair. You’ll have to forgive the picture of a screen, but you can see the little green plus sign in the middle perfectly centered in Phasmophobia’s crosshair. There are three designs and colors for the crosshair, though I wish there was white alongside the green and red.
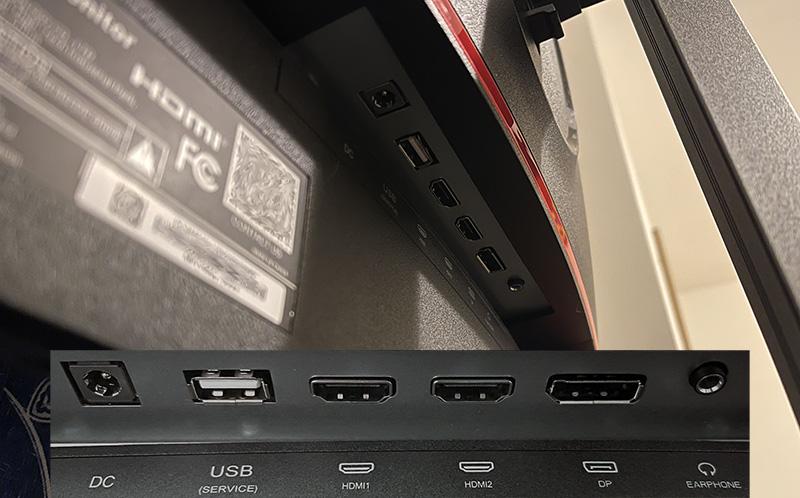
There are three video ports (An HDMI 1.4, HDMI 2.0, and one DisplayPort 1.2), one USB port, and a headphone port on the back of the monitor. I used the DisplayPort cable to connect to my PC, though they do include an HDMI cable to truly make this plug and play.
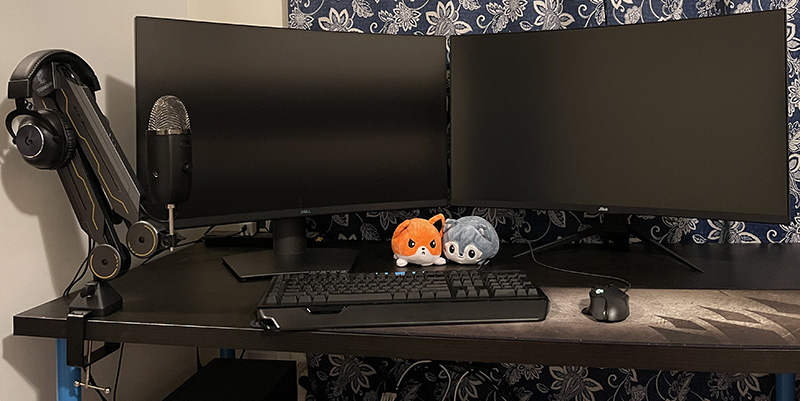
Style-wise, the monitor looks and feels great. It’s very lightweight compared to my Dell 32″ making it much easier to use a mount with. The only thing about the style of the Jlink 32″ monitor I had issue with was the base. Since it goes back farther than the Dell I previously used, along with it being a tripod vs. a flat base, I had to watch how far back I pushed it or risk it falling back off of my desk. Of course, this wouldn’t matter if you decided to mount it.
So I got it set up, assembled, colors looking good, and set up on my desk. Next, we had to get some colorful YouTube videos playing to truly see how well the Jlink 32″ curved monitor looked vs. a monitor twice its price.
A lot of folks tend to prefer the IPS panels for their bright colors, but I have always been a fan and defaulted to a good VA panel. The coloring on the Jlink monitor rivaled the colors on my Dell, with solid blacks and, with a little tweaking, vivid colors to match. Once side by side with matching videos playing, I could not tell a color difference.
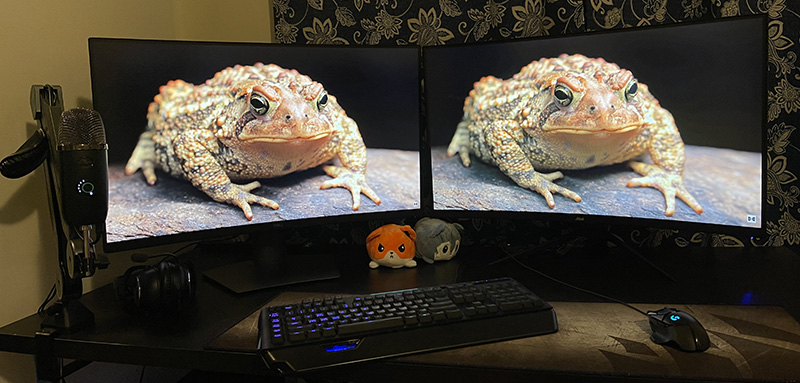
Where I could tell a difference, however, was the difference between the 1080p of the Jlink 32″ and the 2k of the Dell 32″ monitors. That took the most getting used to, since things were just bigger. By itself, or paired with another 1080p, it would look just fine. That being said, after a few days, I was used to the difference and only noticed when I’d split screen on the Jlink monitor.

I tested out the refresh rates in GTA, Red Dead Redemption 2, and PayDay 2. Everything worked well, and there was no screen tear, and turning quickly was smooth. The difference between the old monitor and the Jlink 32″ monitor was negligible when it came to performance. The ability to quickly react was the same and once in the game, I did not even think that I was using the new monitor. Everything was just running and looking great like before. I was very impressed.
What I like
- Only took a little tweaking to get great color
- Built in crosshair
- Very lightweight for size
- Great price
What I’d change
- The way the stand is built can limit desk space a little bit
- 1080p can be a deterrent if you already have a better screen
Final thoughts
Overall, if you are using this as a standalone monitor or already have a 1080p ecosystem, it is a great monitor for the price point it is at. The VA Panel is vivid and bright yet still retains the deep blacks and the refresh rate makes gaming great. If you are looking at an upgrade, the Jlink 32″gaming monitor might be one to look at for an affordable way to get a solid curved monitor.
Price: $269.99
Where to buy: Amazon
Source: The sample of this product was provided by Jlink.

Google Review Tap Cards (3-Pack) by TapFive - Tap for Instant Reviews - All Phones Compatible - Reusable Smart Tap NFC & QR - Boost Business Reviews - Powered by TapFive (3 Card Pack)
(as of July 2, 2026 00:21 GMT -05:00 - More infoProduct prices and availability are accurate as of the date/time indicated and are subject to change. Any price and availability information displayed on [relevant Amazon Site(s), as applicable] at the time of purchase will apply to the purchase of this product.)
Gadgeteer Comment Policy - Please read before commenting
how do iremove timer in top right corner of monitor
top left corner