REVIEW – Ever since Captain Kirk pulled a plate of food from the replicator on Star Trek in the 60s, I think we’ve all harbored dreams of having everyday objects provided for us in a just-in-time manner. For some, that means 3D printing. There are several folks here who have reviewed 3D printers over the years, so recently, when my queue was low and the Mingda Magician X 3D printer came up on offer, I decided to give it a go! What did I find? Well, it’s not the Enterprise’s replicator, for sure! And it’s not instantaneous. But, with little work, I was able to turn a reel of plastic into various physical pieces and may have tapped into a new hobby. Let’s go on that journey together, shall we?
What is it?
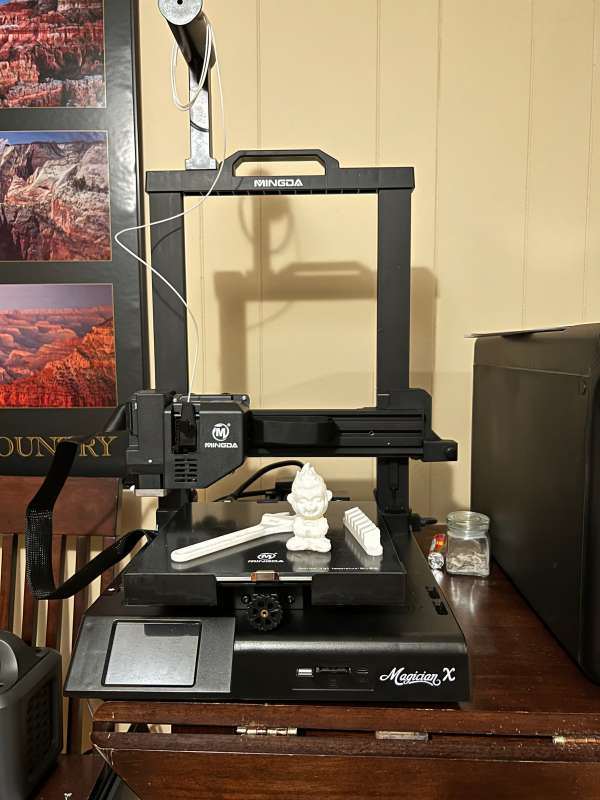
The Mingda Magician X 3D printer is a basic three-dimensional extruding printer with inputs for SD card or USB.

What’s in the box?
- Gantry
- Main Chassis
- Coil of filament
- Power Cable
- Wrench
- Allen Wrenches
- Tool Box cover
- SD-card
- Spare Nozzle
- Various bolts for assembly
- Teflon tube
Hardware specs
- Print Technology: FDM ( Fused Deposition Modeling)
- Build Volume: 230(L)*230(W)*260(H)mm
- Print Resolution: ± 0.1mm
- Positioning Accuracy: X/Y 0.0125mm, Z 0.002mm
- Nozzle Number: Single
- Nozzle Diameter: 0.4mm
- Print Speed: <200mm/s (recommended 60 – 80mm/s)
- Support Filaments: PLA, TPU, ABS, PETG
- Slicing Software: Cura
- Input Formats: .STL, .OBJ, .AMF
- Output Formats: GCODE
- Connection Mode: SD Card, U Disk, USB-C
- Input voltage: 100/240 V AC, 50/60Hz
- Output voltage: 24V (350W)
- Ambient operating Temperature: 5℃ – 40℃
- Operational Nozzle Temperature: max ≤260℃
- Operational Hot Bed Temperature: max ≤110℃
- Machine Size: 460mm*415mm*546mm
- Machine Weight: ~7.4kg
Design and features
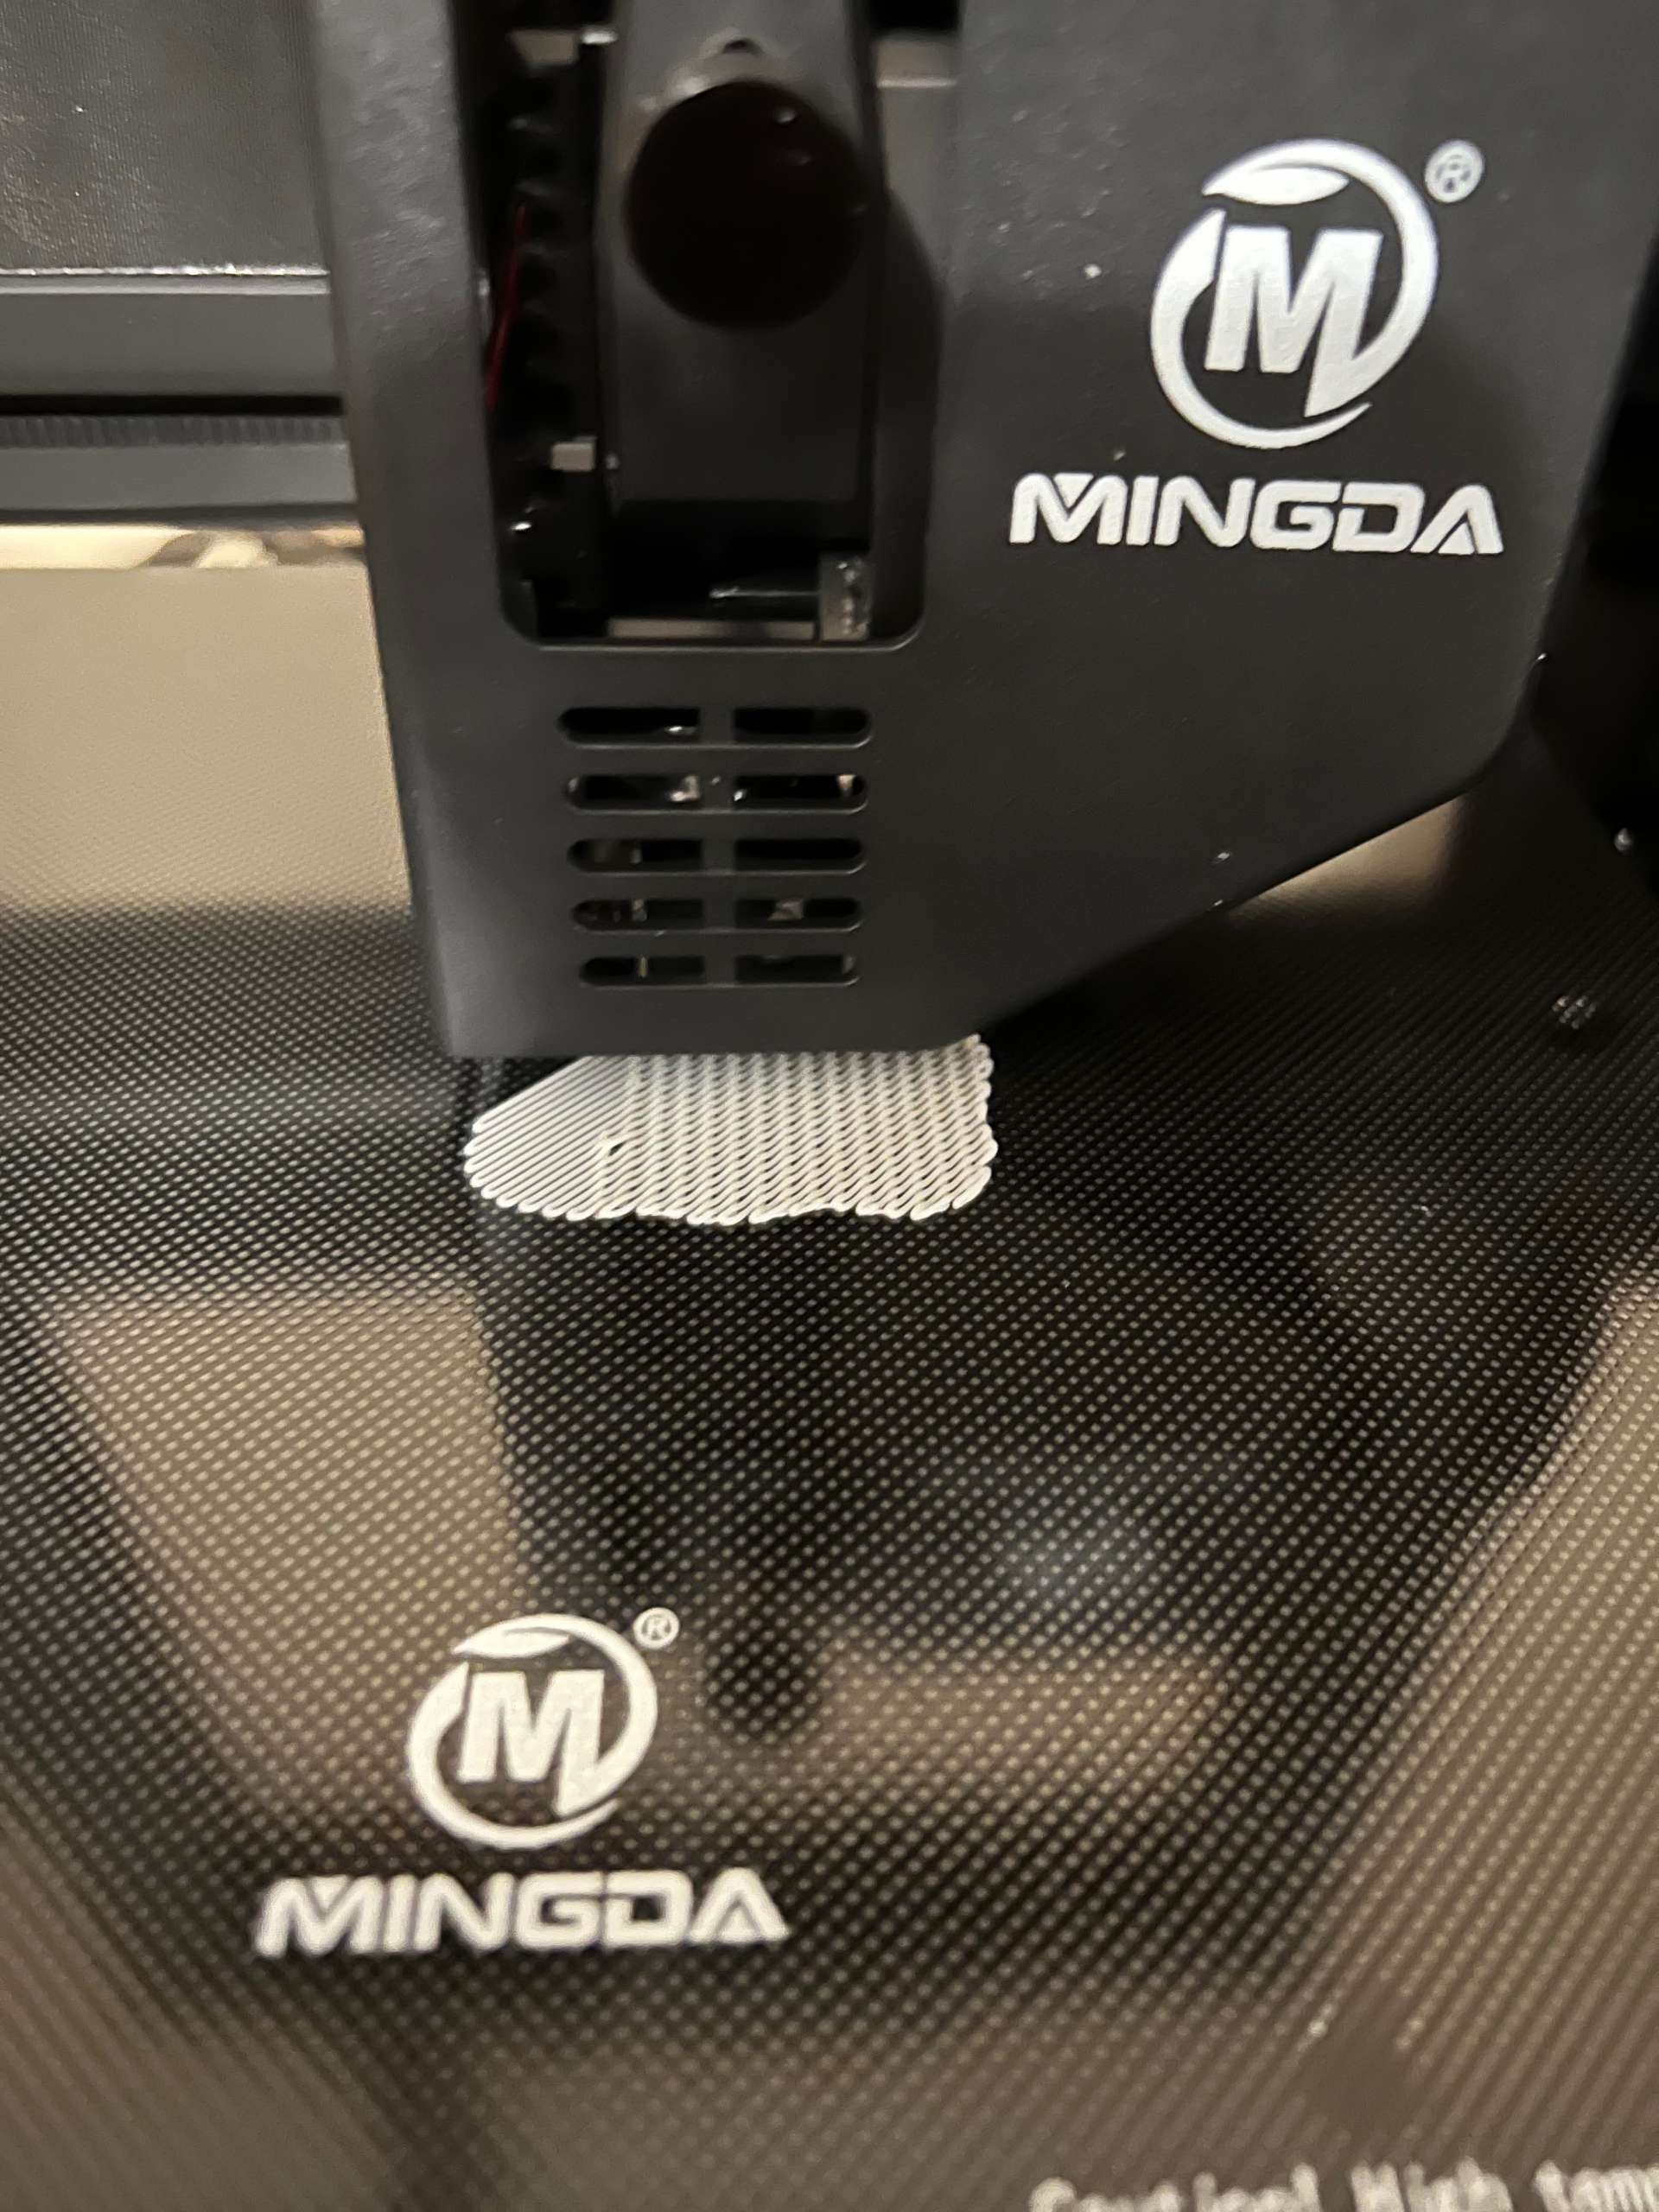
The design of the Mingda Magician X 3D printer is pretty standard for consumer-grade 3D printers. There’s a base that holds a gantry (basically, a moveable elevator or riser) with a printhead affixed to a lateral-traveling mechanism. The heated bed that holds the final product as it is extruded shifts perpendicularly to the travel of the printhead, and the gantry has a screw mechanism that slowly raises the head as each layer completes. The material for extrusion is fed from a reel that attaches to the top of the gantry into the top of the printhead and through a heated nozzle. It’s not a complicated process conceptually, but the combination of temperatures, materials, and settings for the height of layers and other variables within the slicing software and the printer controls can be overwhelming. In the case of the recommended Cuda software that I downloaded to slice the 3D objects, as well as the printer settings available through Mingda’s Magician X, there are sensible recommended settings that “just work” in most cases. I knew literally nothing about 3D modeling, slicing, or printing when I got this unit. I put it together, followed the instructions to start printing the first sample file, and when it started printing with absolutely no effort, I thought “Hmmm. This could be fun. What else could I do?” But I’m getting ahead of myself.
Setup
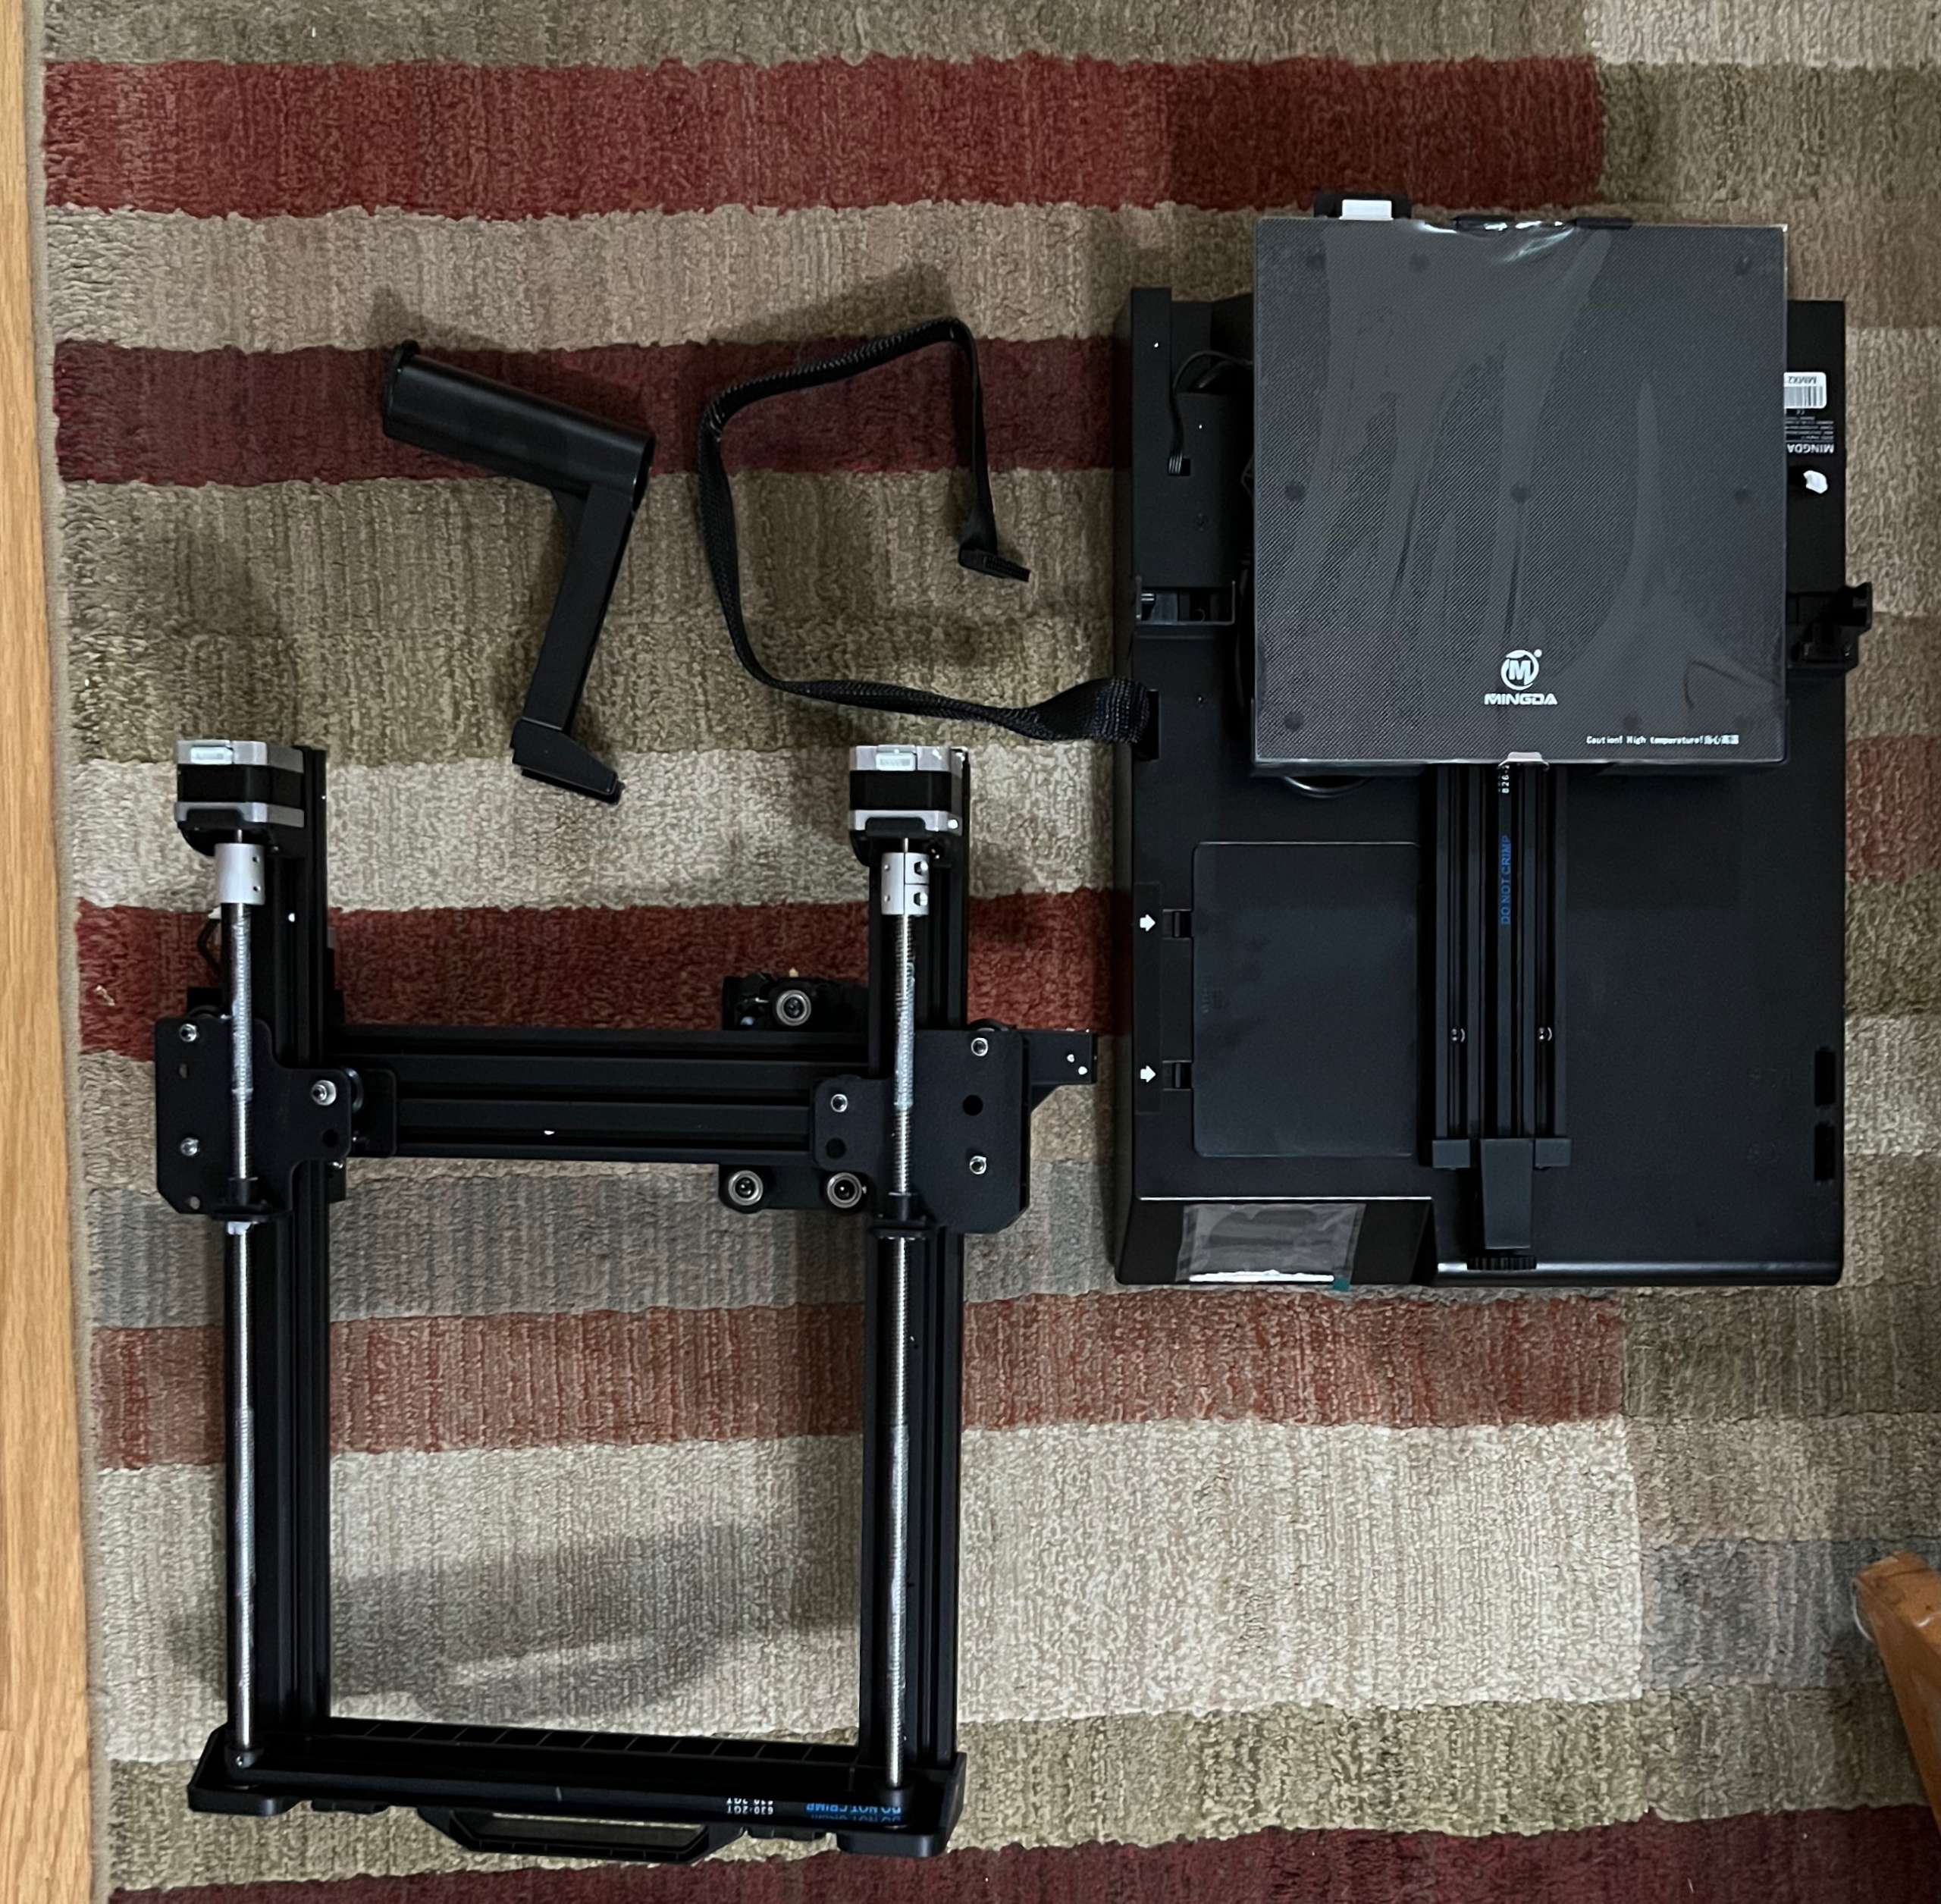
There is a bit of an early HeathKit vibe still with 3D printers. Because there are so many moving parts, it’s almost impossible to ship them reliably when fully assembled, so your first task is to assemble the Mingda Magician X 3D printer itself. Never fear, however, because the excellent illustrated guide will help you each step along the way.
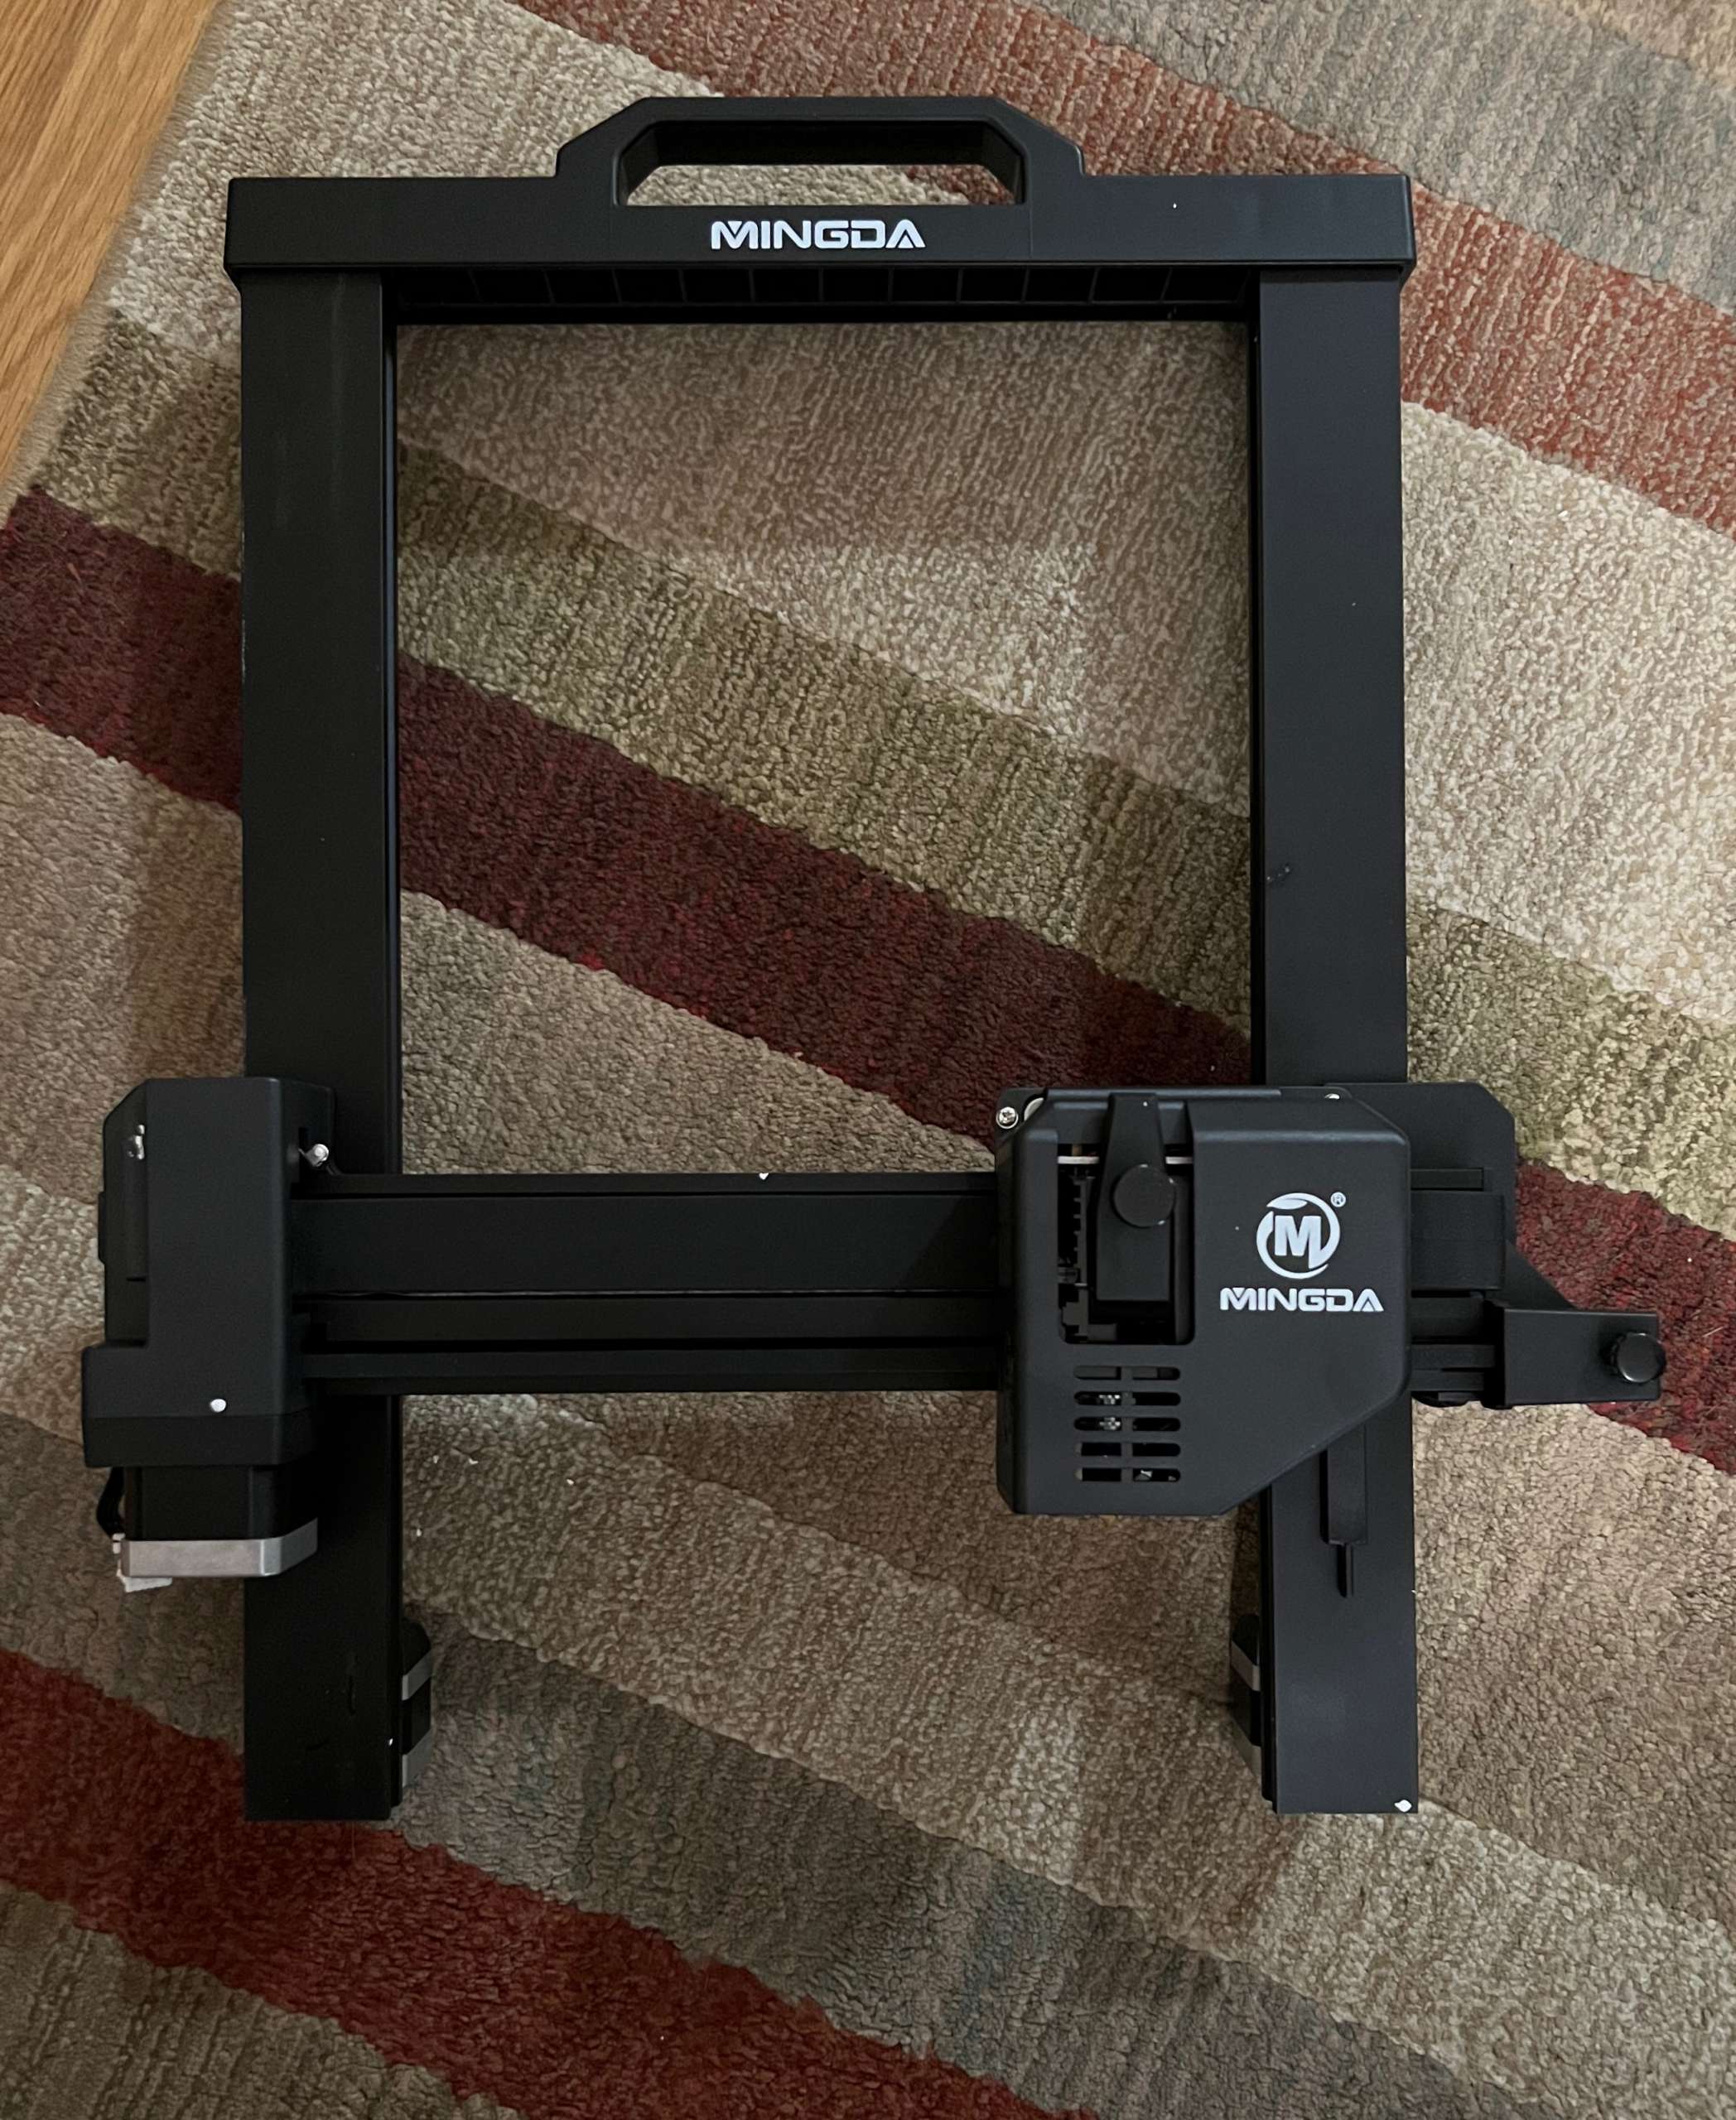

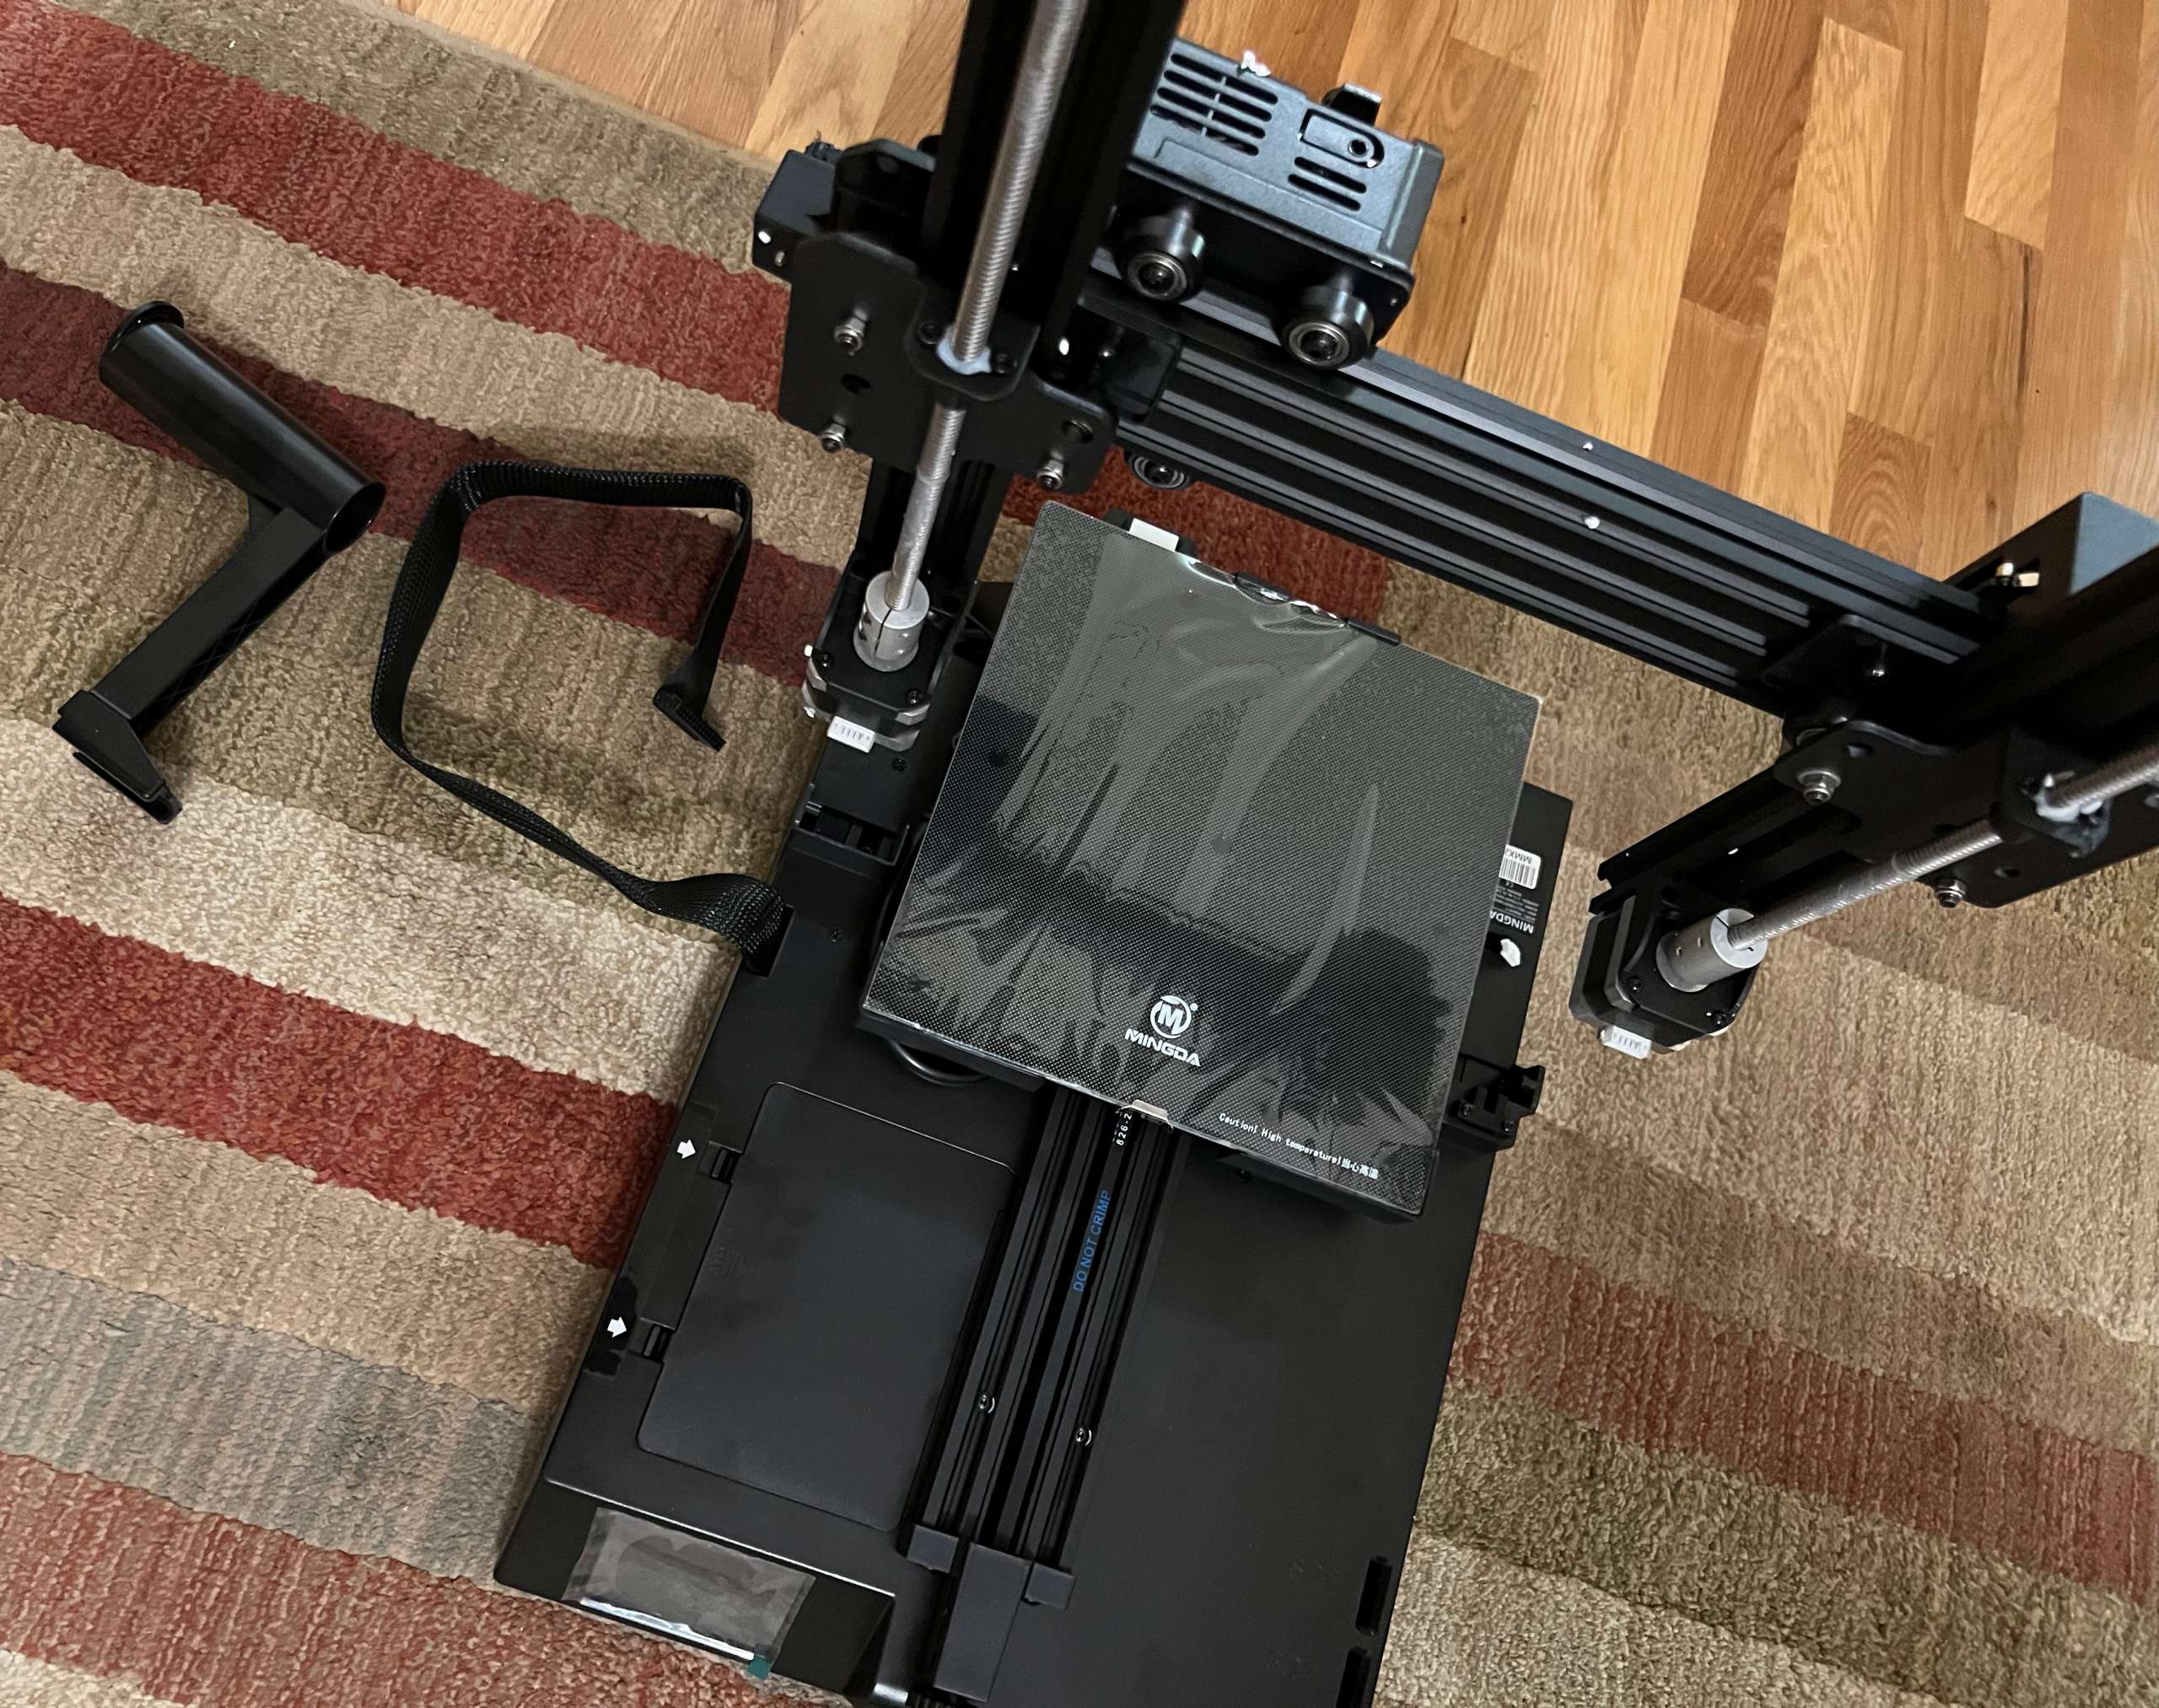
Once removed from the box, you’ll need to set the gantry into the main chassis, and bolt it from underneath. This was an easy but cumbersome task, as you want to be pretty exact with lining up bolts with threaded ports. After it’s in place and straight, bolt each gantry leg to the base on the outside. There are four different data plugs that need to be secured. By far, the wiliest was the heated bed’s line. It’s got a flexible shroud around the plug, so getting the screws through took a minute since you can’t see into the hole after you place the bolt in the hole. But you’re a Gadgeteer – I have faith in you!
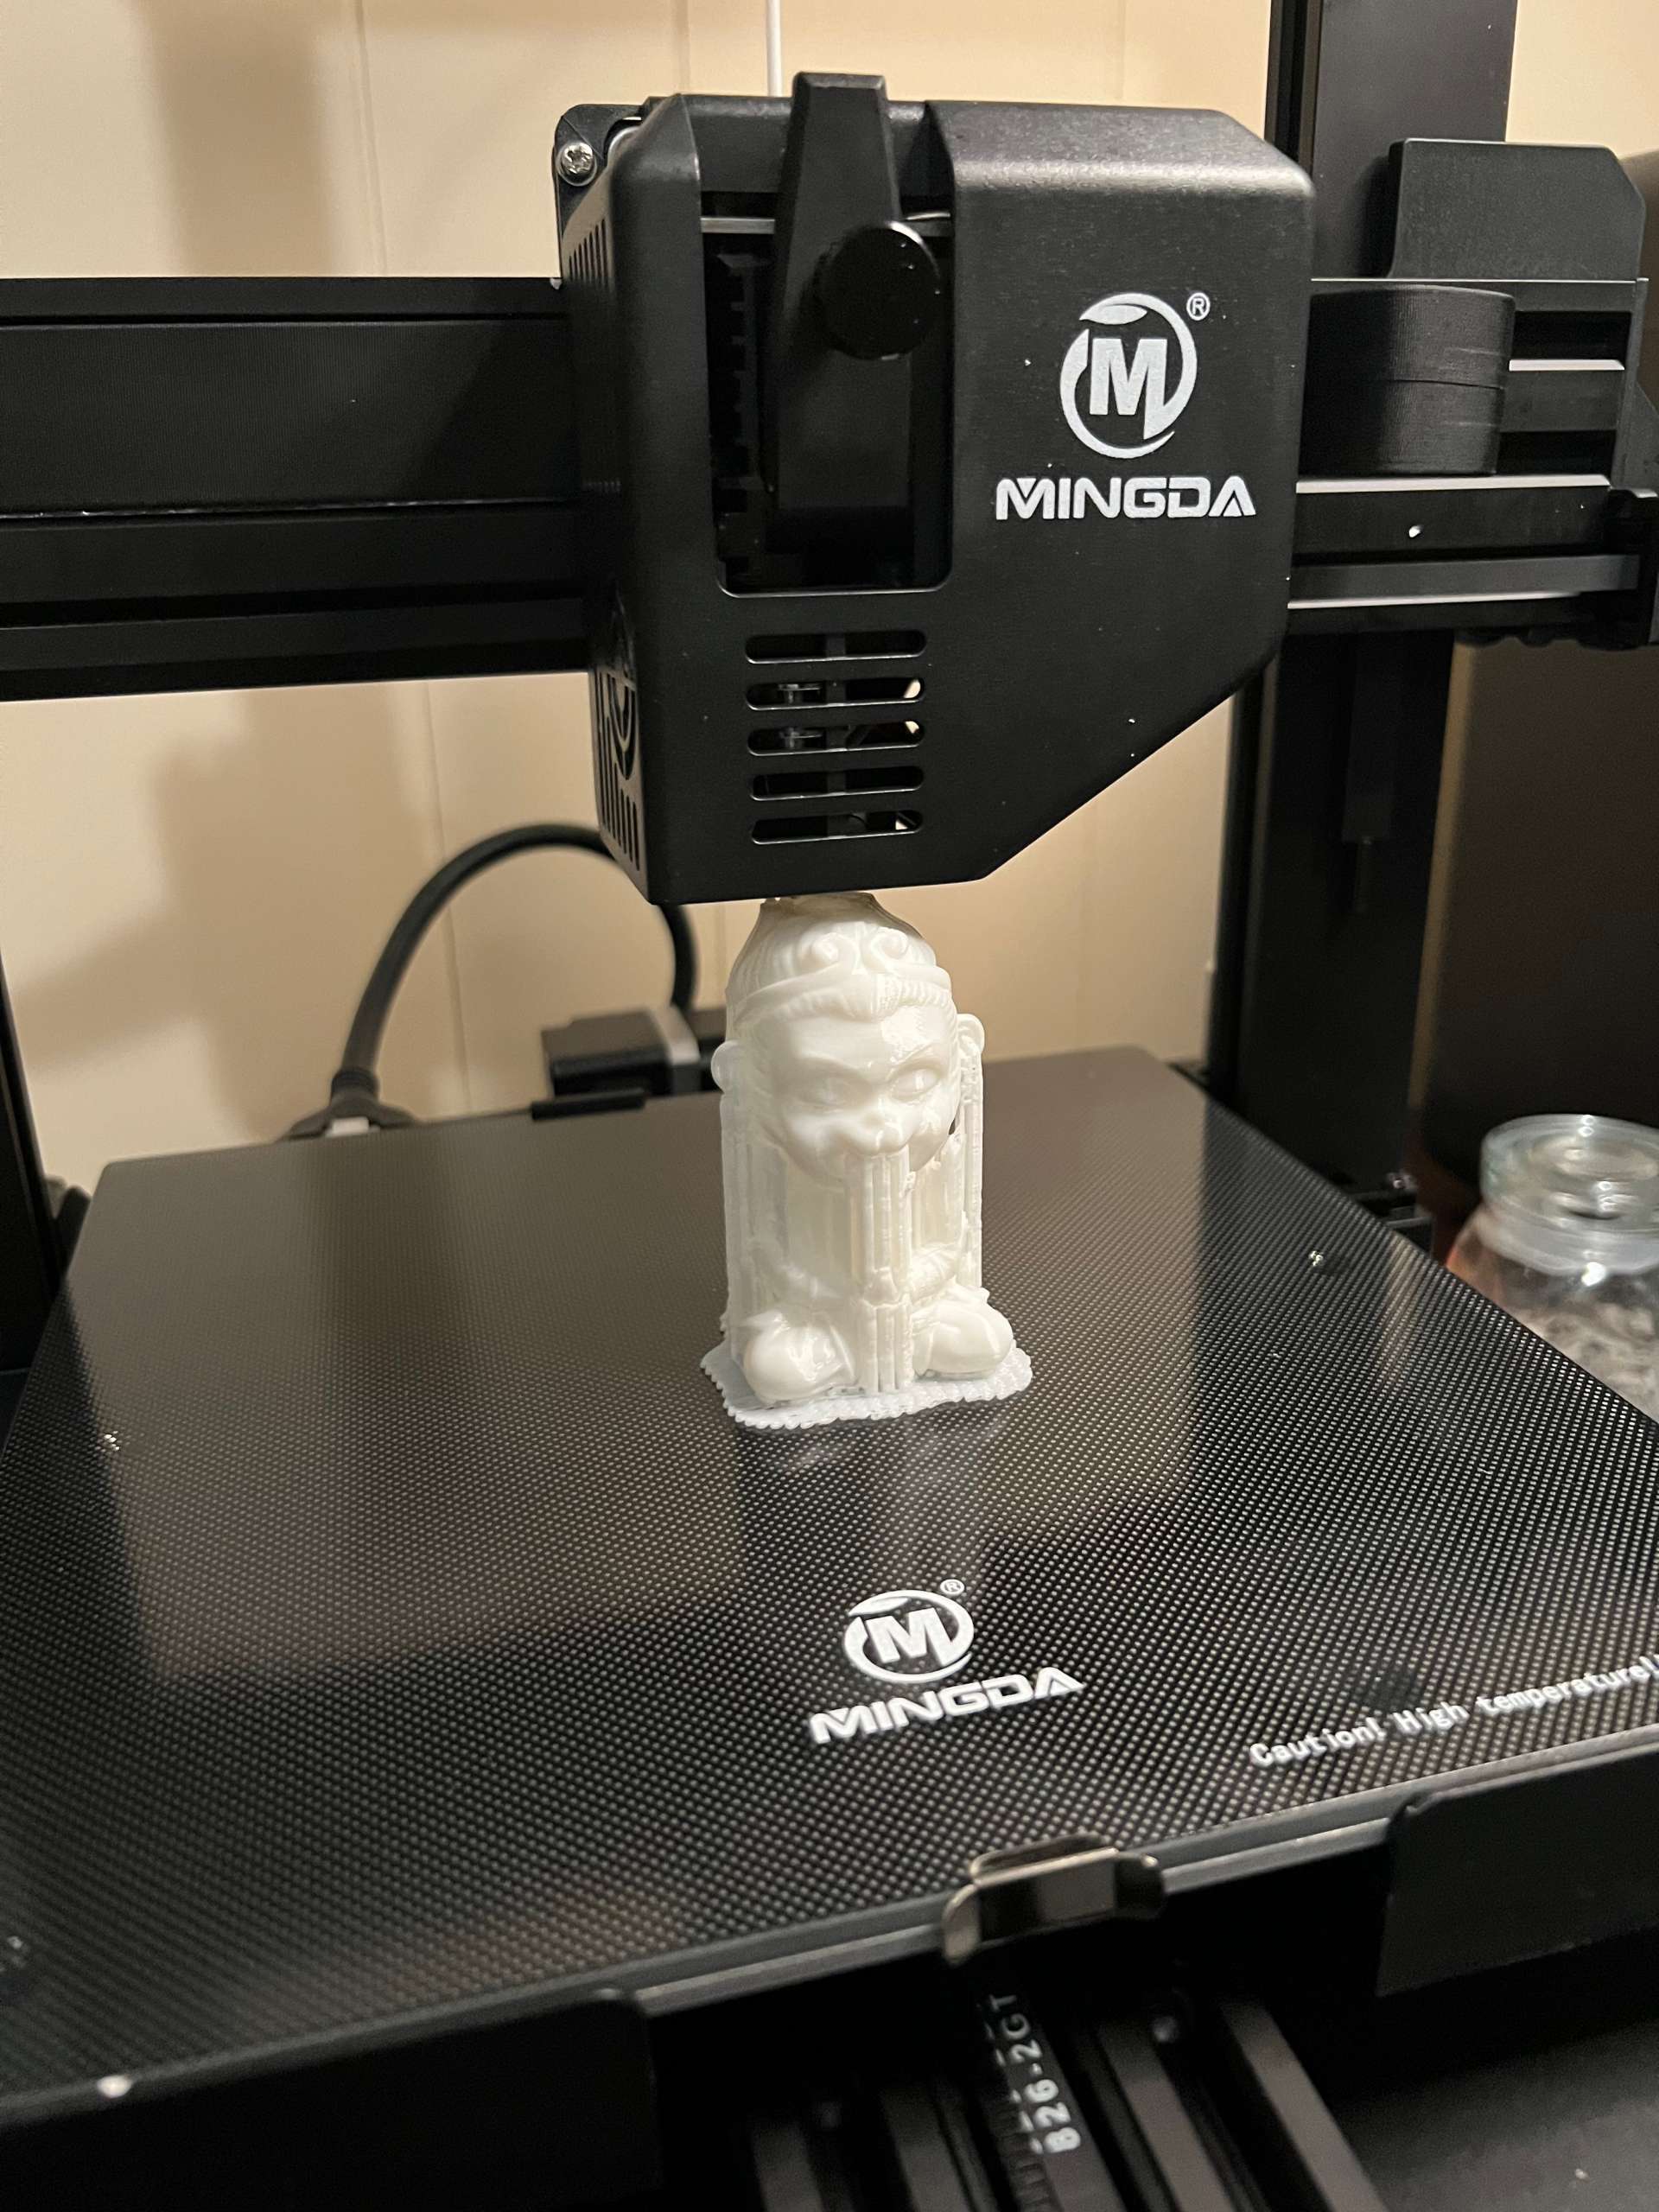
Plug in the power cable and follow the leveling steps as shown in the manual. Prewarm the bed and the nozzle (the straightforward pictogram menu will guide you every step of the way!), then load your code file and you’re off to the races. Well, sorta. The first file I printed took three hours and 15 minutes!
This is the curse of 3D printing currently – with the materials being extruded in real-time there is a bit of a wait to get your results. And, sadly, there are times when the result will be ruined by something simple, and you’ve not only lost time but also some raw material. (Maybe at some point, we’ll get to the level of the public matter complier in Neal Stephenson’s The Diamond Age where you would put your old “stuff” into it, and the machine would recycle your trash microscopically and give you those atoms back as a new item!)
In The Diamond Age…“major cities have … public matter compilers [that] provide basic food, blankets, and water for free to anyone who requests them.”

Performance
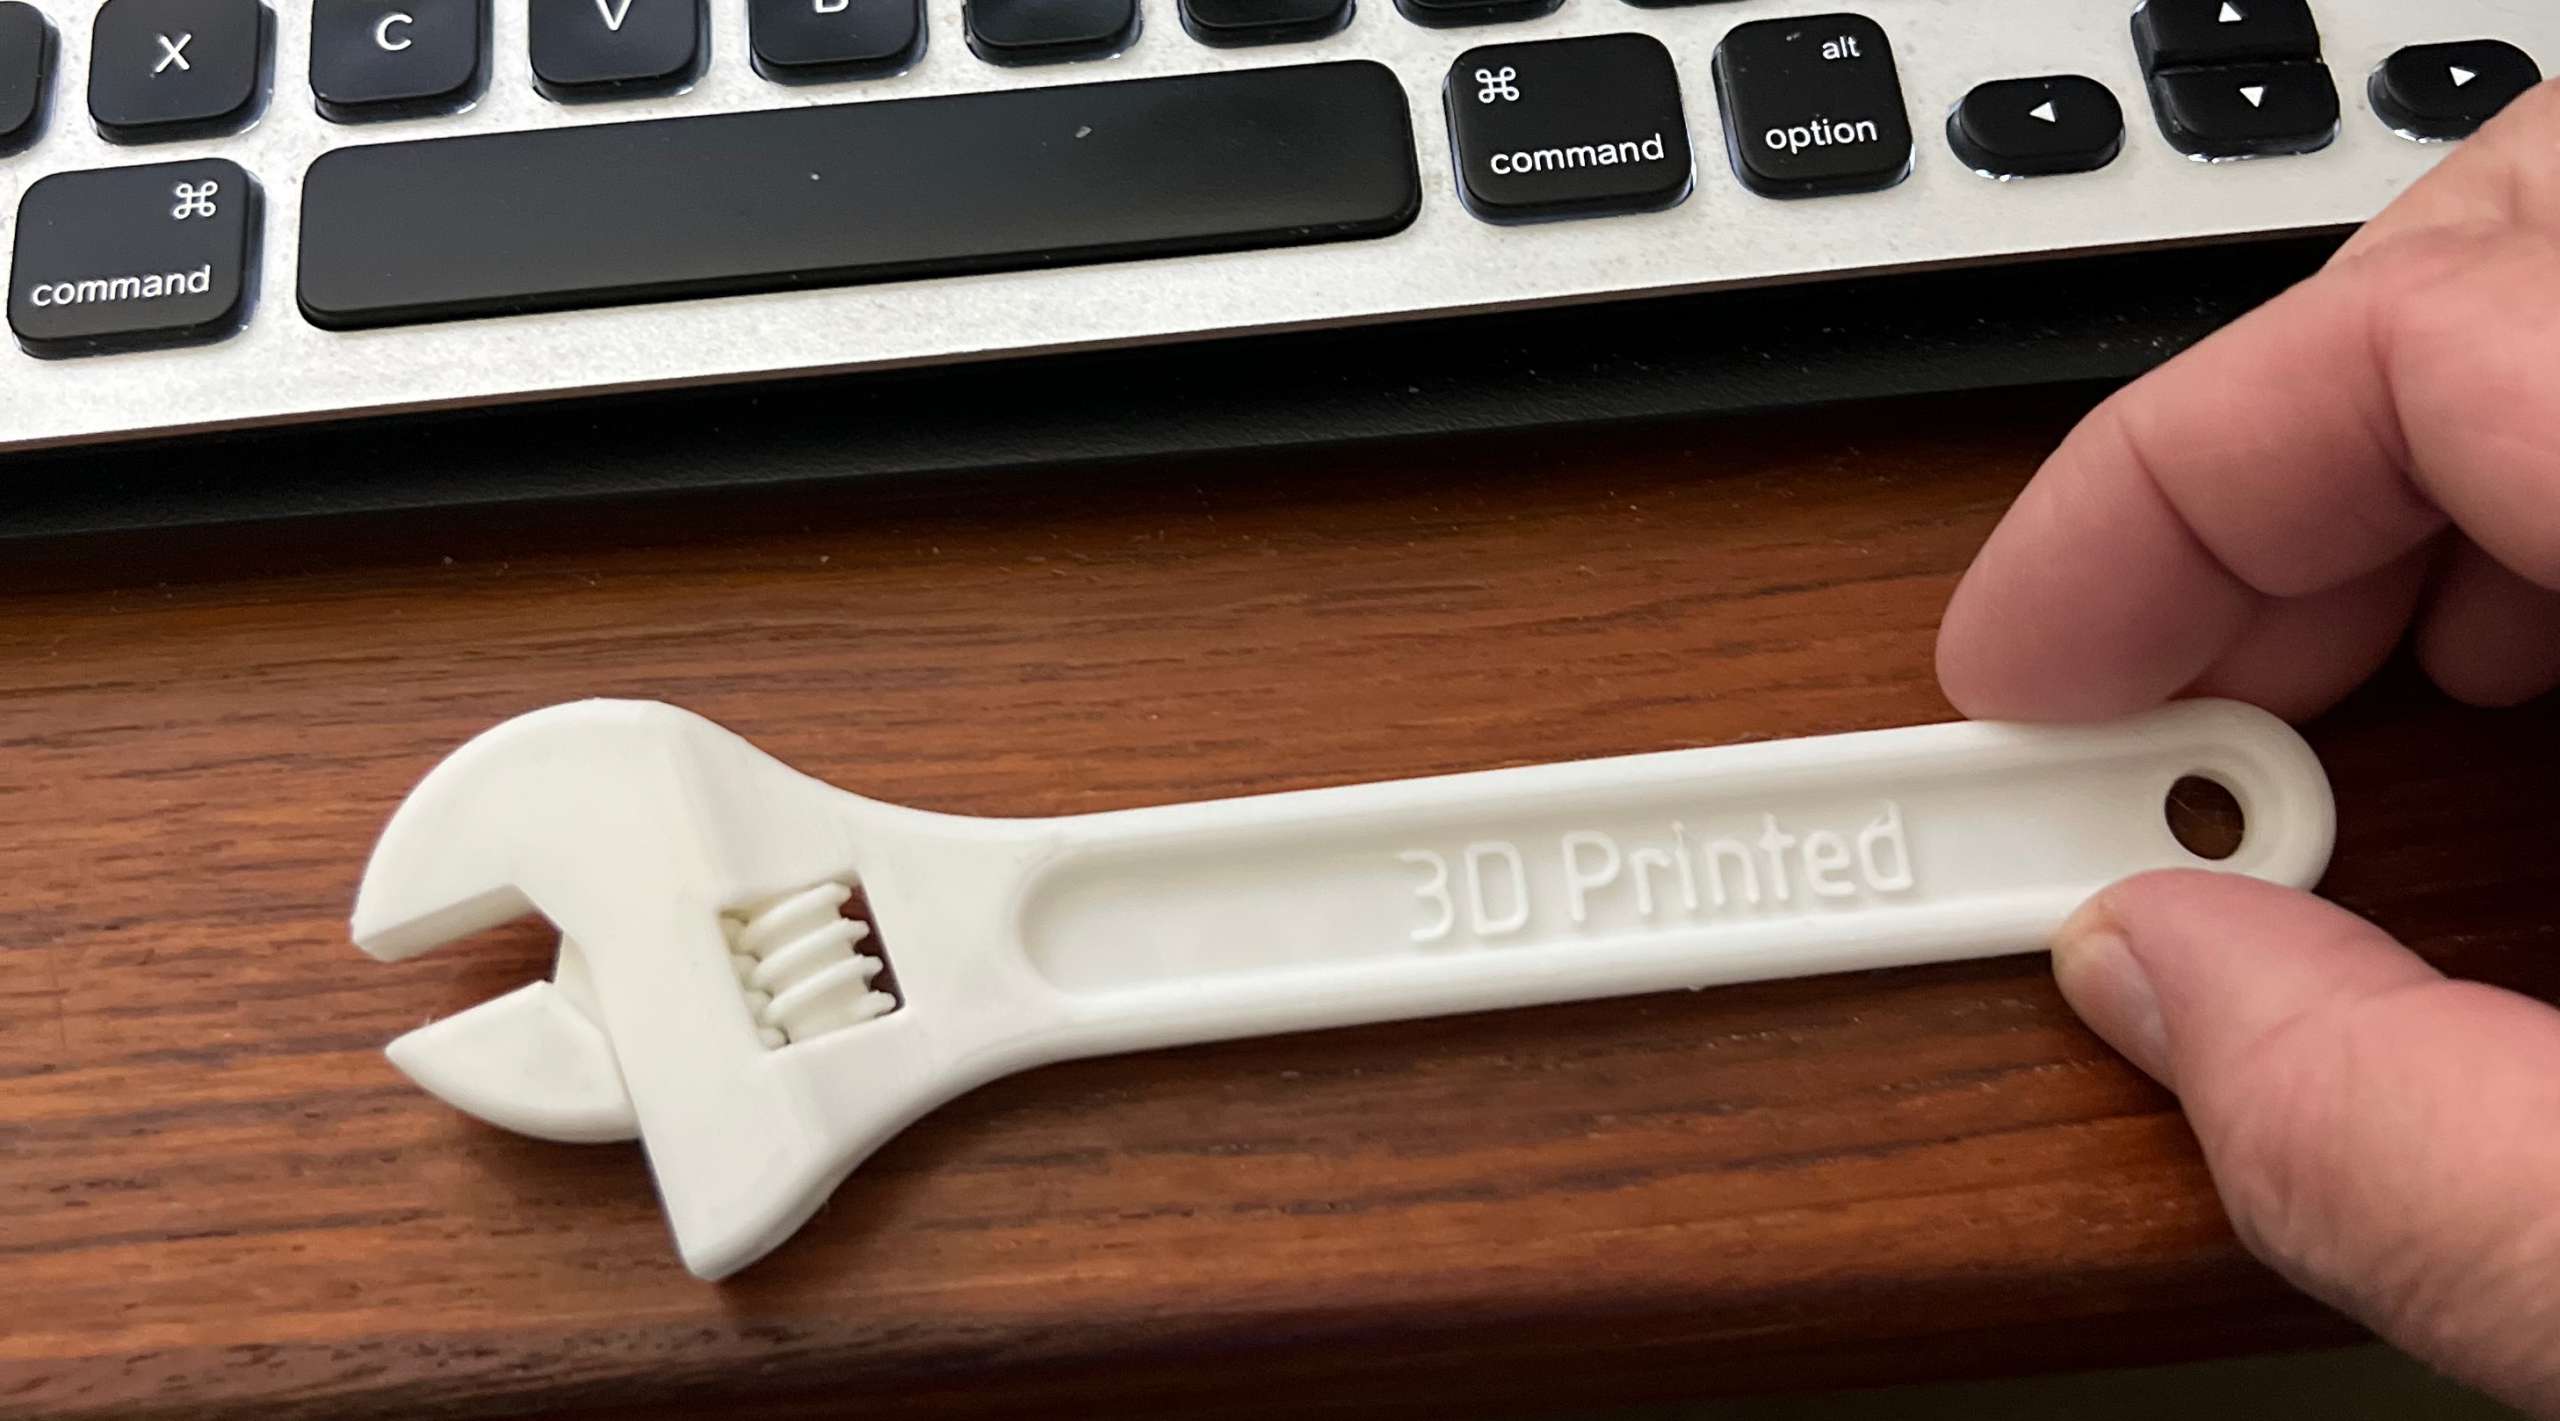
As of this writing, I have printed three files: one sample file included on the SD card and two object files I downloaded and ran through the Cura slicer on my Mac. All printed without issues, but I didn’t let the bed warm up enough on the second one. (I think. These were my first two prints, so I’m still learning how to tweak errors!)
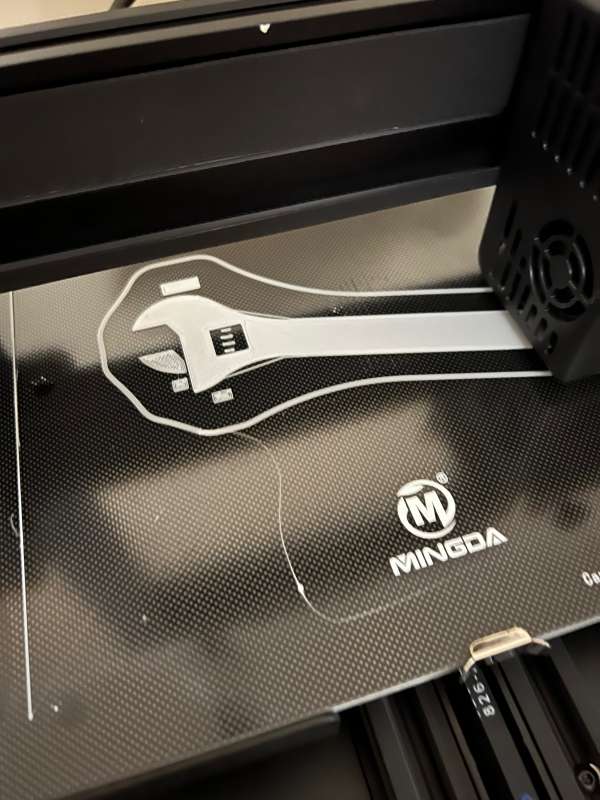
The Mingda Magician X 3D printer itself does exactly what you set it up to do. Mingda is enough of a presence in the community to have print drivers included in several of the 3D object viewing programs and sites that I visited, so that was a bit of comfort. This particular model isn’t in UltiMaker Cura, which is the slicer I used (free download from UltiMaker’s website), however, but one of the other Mingda drivers worked just fine. Slicing took a stunningly short time, and I just saved the file to the SD card that was included with the printer. When loading files, the firmware filters for accepted file types only. You tap the file you want, and it loads and starts printing.


Input of printing data can come from SD card files or USB. It’s so simple to put a file on an SD card and load it into the printer that I never really considered making room next to my computer for the printer to sit and be directly connected. It is simple as pie to print directly from pre-made files or to “slice ‘n’ dice” your own.
What I like
- Easy assembly, even though it looks complicated
- Very clear manual and menu
- Good supply of material to get started printing
What I’d change
- Nothing, really.
Final thoughts
3D printing was supposed to be everywhere by now. Hardware stores were going to have bays where you could print out small parts, rather than keep them in inventory. There are 3D Printing services available, but it’s not nearly as huge a market as the hype led us to believe it would be (is it ever?) or as local. Somewhere along the way, faster shipping and better bulk milling or extrusion molding from other countries took the wind out of the 3D printer market, but there are a few hobbyists out there who still hold out hope. There are a few here at the Gadgeteer. And now, I’m one!
The Mingda Magician X 3D printer, while not a whim purchase, is priced in a range that a serious hobbyist could swallow, and it’s heavy-duty enough to churn out several prints in a row, if you’re wanting to sell objects through an online store. I never felt I had over-taxed or even caused the Mingda Magician X 3D printer to feel slightly overloaded.
Price: $299.00
Where to buy: Company Webstore
Source: The sample of this product was provided by Mingda.
L39 Ultra Slim UV Protective Filter for Leica Q3 43 Q2 Camera with Moisture-Proof Case & Removal Tool 19 Layers Mulit-Coated UV Ultraviolet Filter 99.3% Light Transmission Water Oil Scratch Resistant
(as of June 16, 2026 08:33 GMT -05:00 - More infoProduct prices and availability are accurate as of the date/time indicated and are subject to change. Any price and availability information displayed on [relevant Amazon Site(s), as applicable] at the time of purchase will apply to the purchase of this product.)