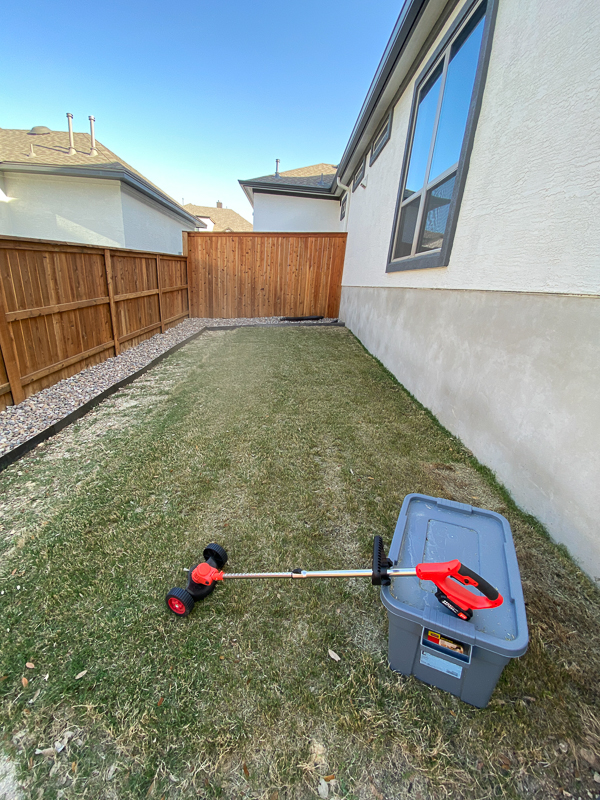
REVIEW – I was very fortunate to finally get an inground swimming pool at my house this year. When planning the landscaping around the pool I tried to be very water conscious and use as little grass as possible. On the back left-hand side of our house where the pool pumps sit, I have a small 30 x 12-foot patch of grass that I had planned on replacing with artificial grass for a cornhole competition area. Well, things happened and I was unable to afford the artificial turf for the area. So now I am stuck with this patch of bermudagrass that I cannot get a mower to due to the landscaping around the pool area. I had planned on getting a weed eater and try to trim it down that way, but I know how uneven the cuts can be due to me not holding the trimmer level all of the time. When I saw the Eleciopo Grass Trimmer come up for review I thought this might be the tool I have been looking for. Let’s see how it works out!
What is it?
The Eliciopo cordless weedeater and gas trimmer is just what it says. It has wheels mounted on a guard for the blade that helps you keep the cutting implement at a constant level.
What’s in the box?
I have to say that the box was not very well packaged. There was no air padding, foam, or paper around any of the items. They were individually wrapped in plastic. Due to the poor shipping protection, the goggle/glasses came with a broken arm.
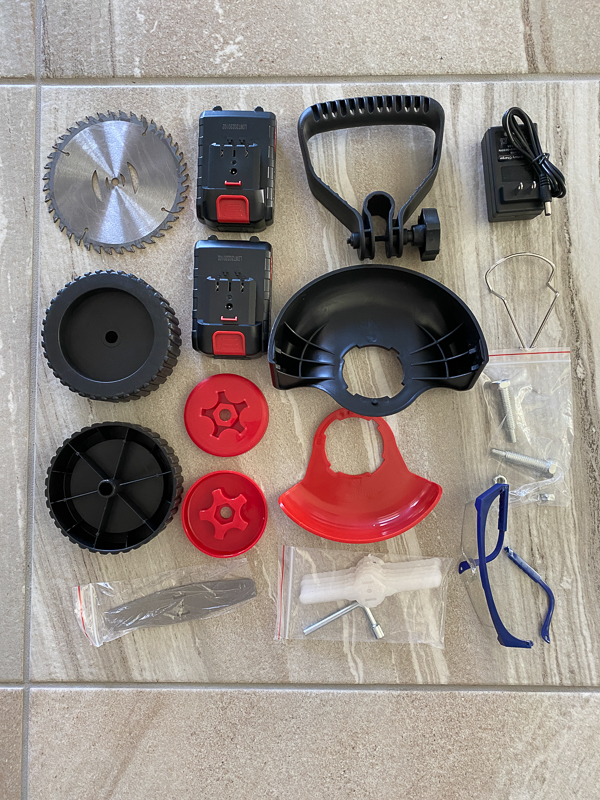
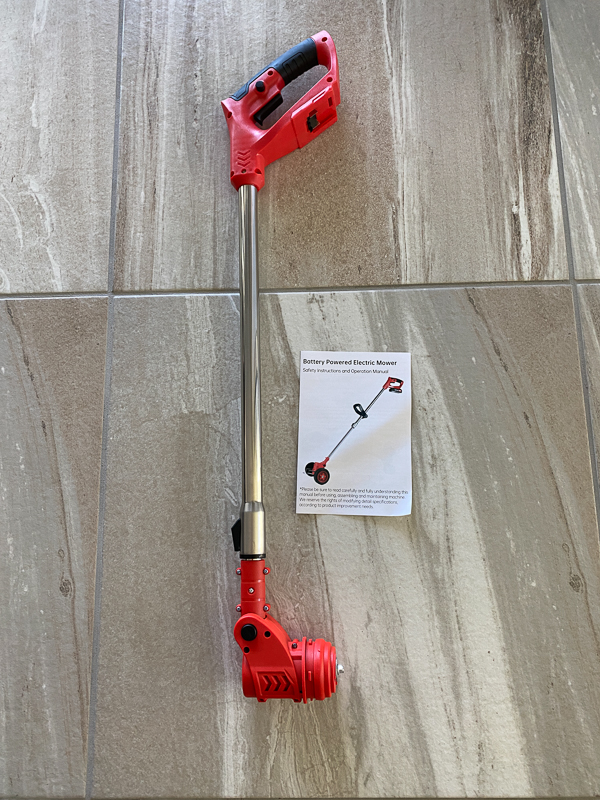
- 1 x electric weed trimmer
- 2 x stainless steel blades
- 1 x round metal saw blade
- 5 x plastic blades
- 2 x 21V battery
- 1 x charger
- 1 x wheels
- 1 x goggles – these came broken darn it.
- 1 x installation tools
- 1 x manual
Hardware specs
Design and features
The grass mower comes with an adjustable head. It goes from a straight 90 degrees from the handle (which I never used because I don’t need to trim along a driveway or sidewalk) to a 45-degree angle where you can hold it in a mowing position. The two pictures below show you how the head can angle.
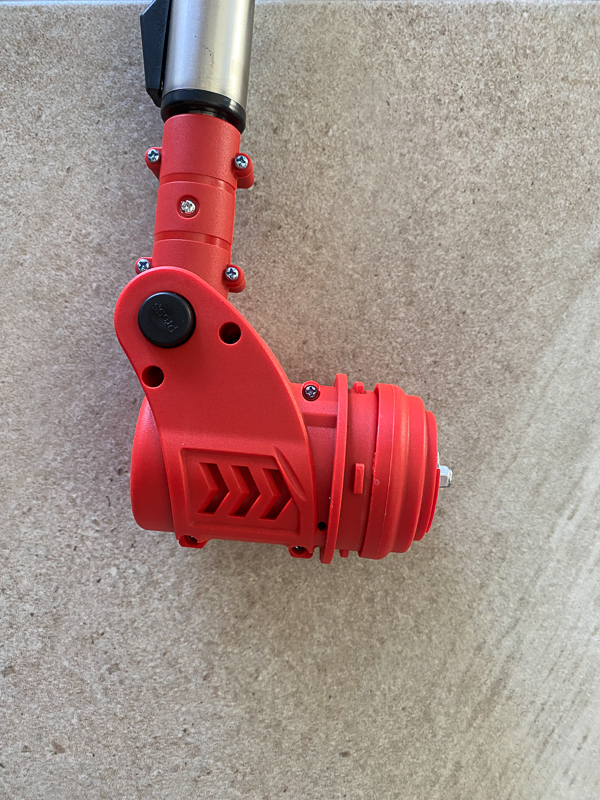
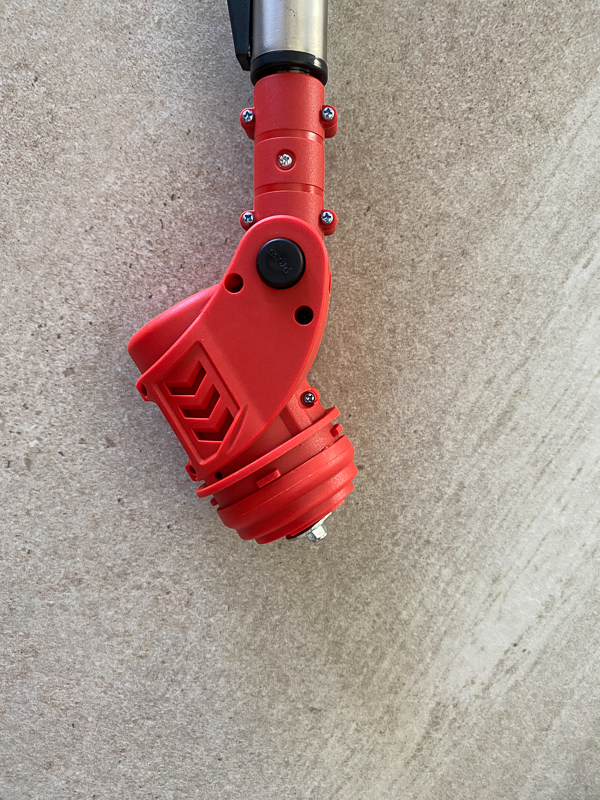
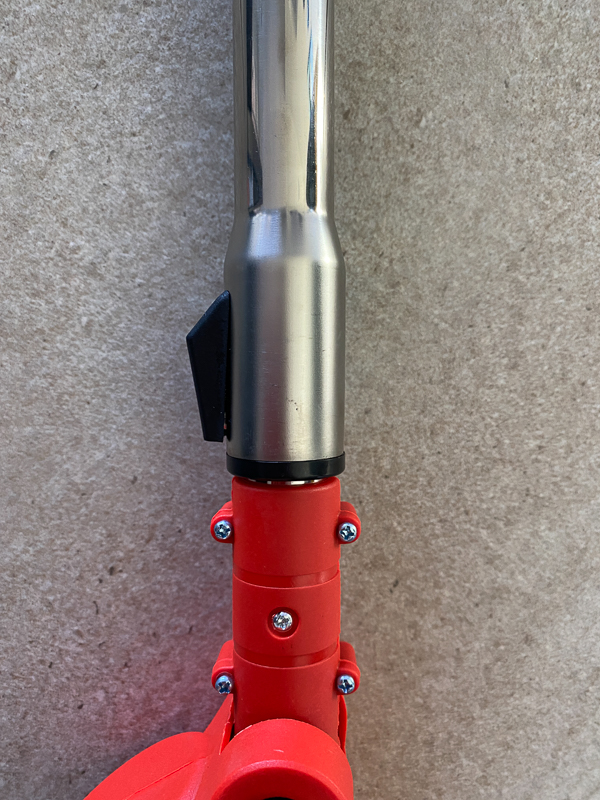
The length of the extension pole can be adjusted from 35.43 inches to 50.39 inches with a push of the black button pictured below. When mowing, I had it fully extended.
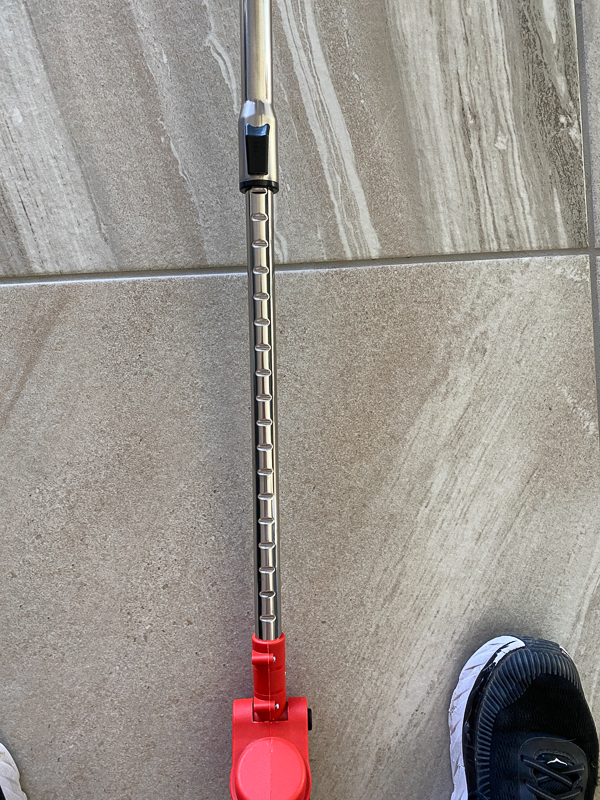
In the picture below you can see notches in the pole where you can lock it into place at various lengths.
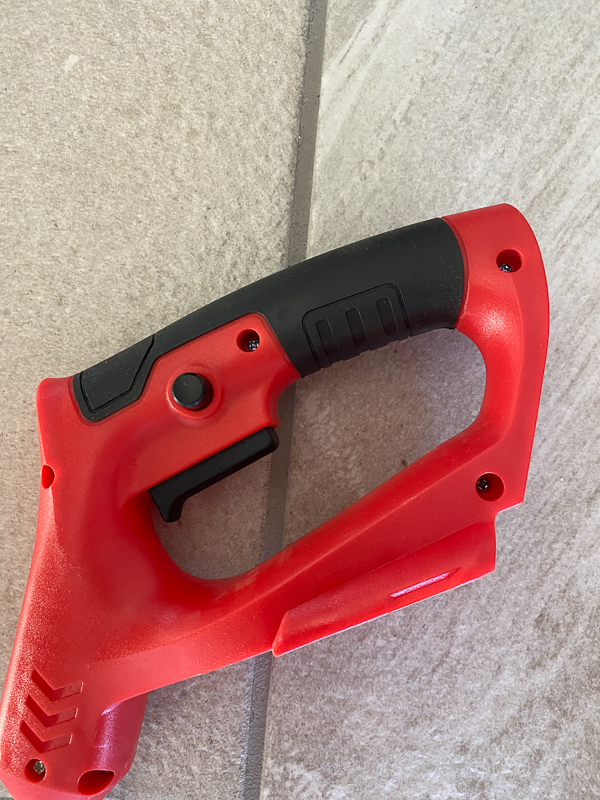
In the handle at the top of the pole, there is the trigger and push button to start the mower/trimmer. You have to push in the small button first before pulling the trigger as a safety feature. Underneath the trigger is where you will slip the battery into place.
Setup
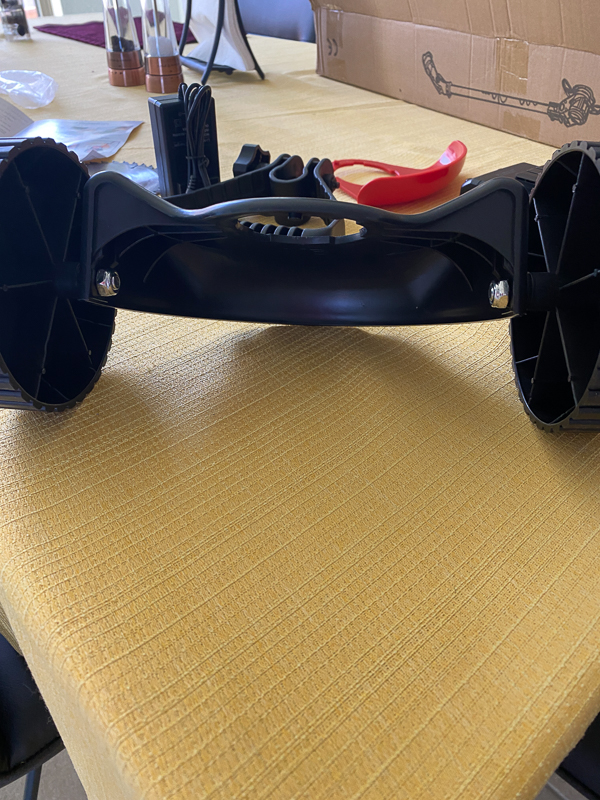
There were quite a few steps in the setup. The first step was to mount the wheels onto the blade guard. You have three levels to set them at. If you get it wrong and don’t cut enough or too little grass, it is a pain to change the wheels out. It is not like a mower where you push in a lever to change the level of cutting.
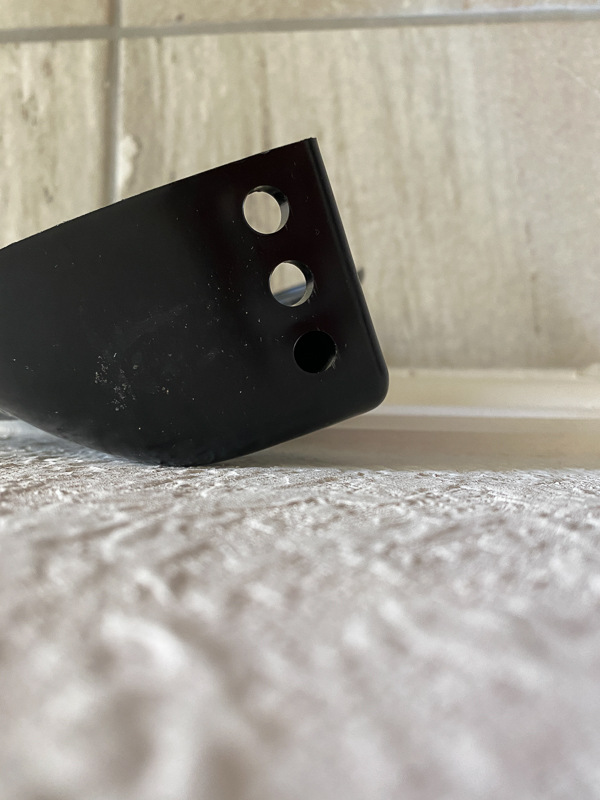
I took a picture of the guard with the wheels mounted in the lowest position that would leave your grass at the highest level.
The next step was to mount the blade guard and blades. The picture below shows you the nut, washer, and plate that install onto the head of the machine.
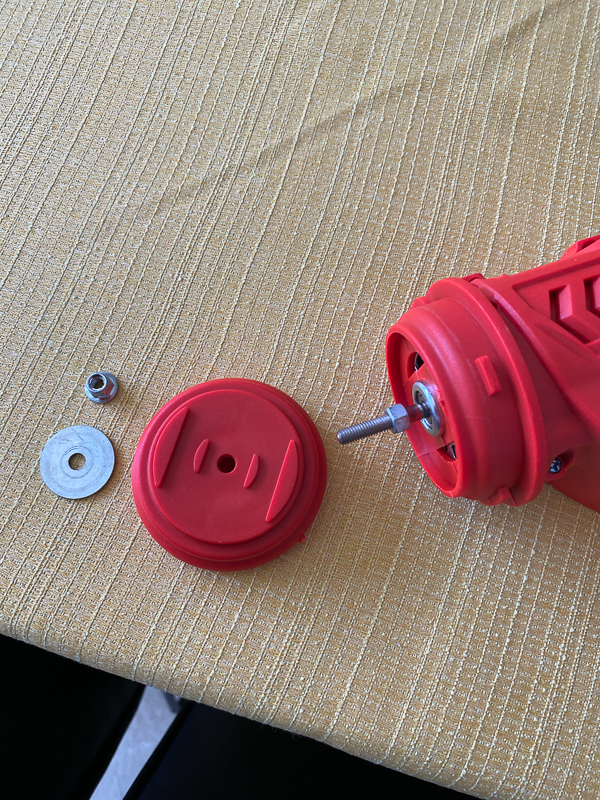
Before you install the plate, you need to install the blade guard. That took a bit of pushing and twisting. You place it on the head and push and rotate it 45 degrees until it locks into place. In the picture below you can see the extended round piece that has locked the unit into place.
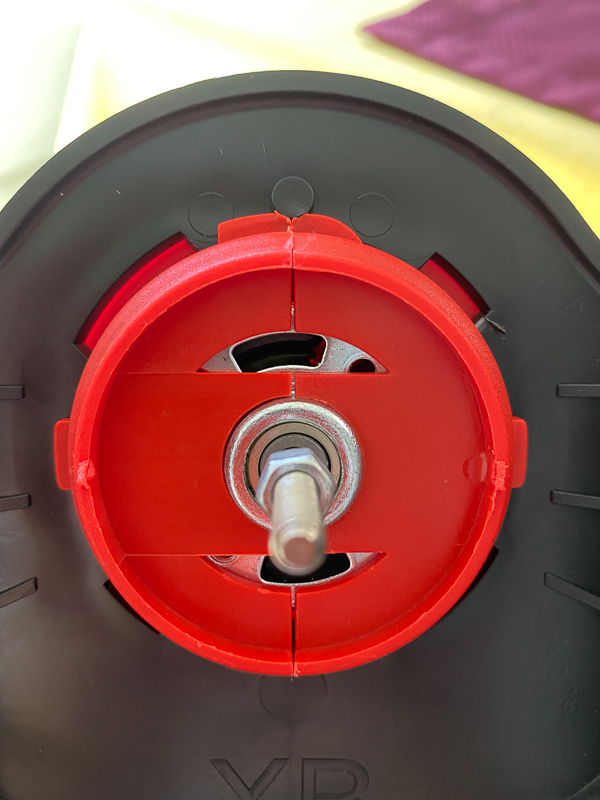
At this point, I would have placed the metal wire guard on the front of the device, but I skipped it knowing I needed the blade to work like a weedeater on the grass against my house and metal edging. Since I was only planning on cutting grass, I installed the plastic blade, the washer, and the nut. I used the included socket tool to tighten down the nut.
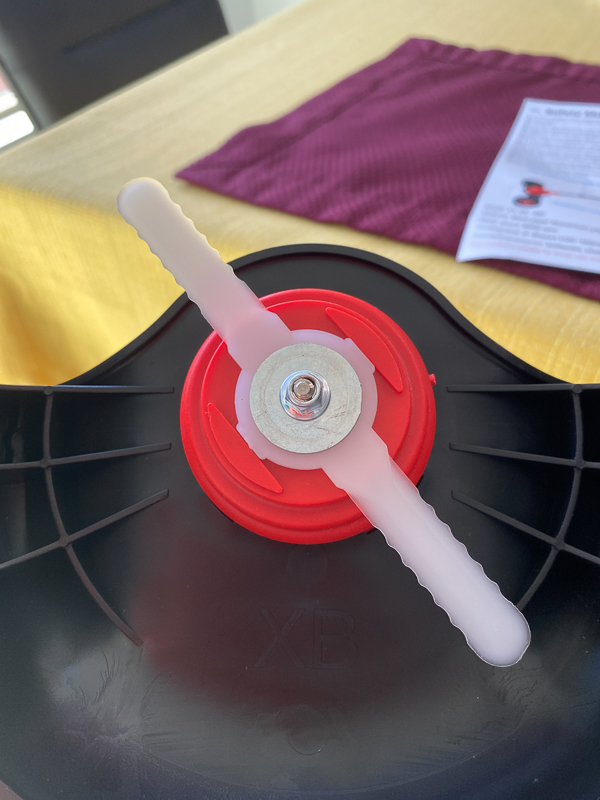
This next picture shows the mower all ready to go! Let’s go cut some grass!
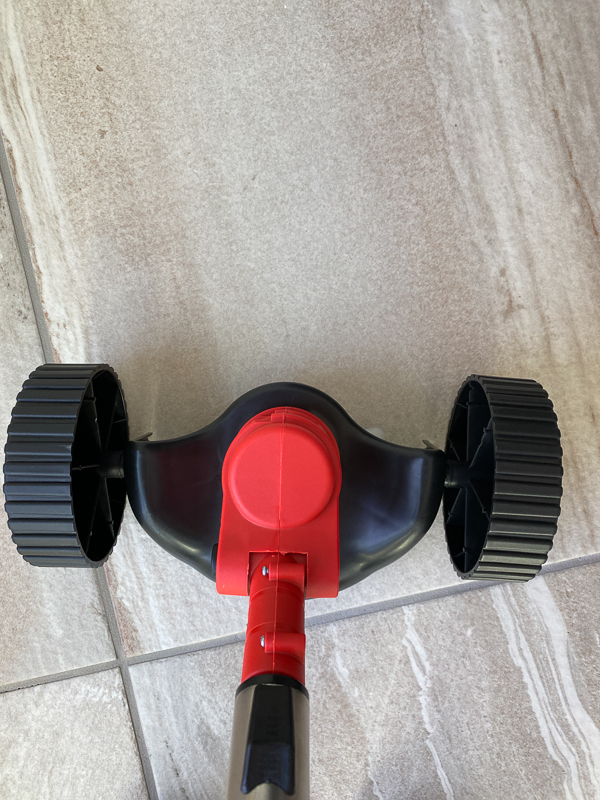
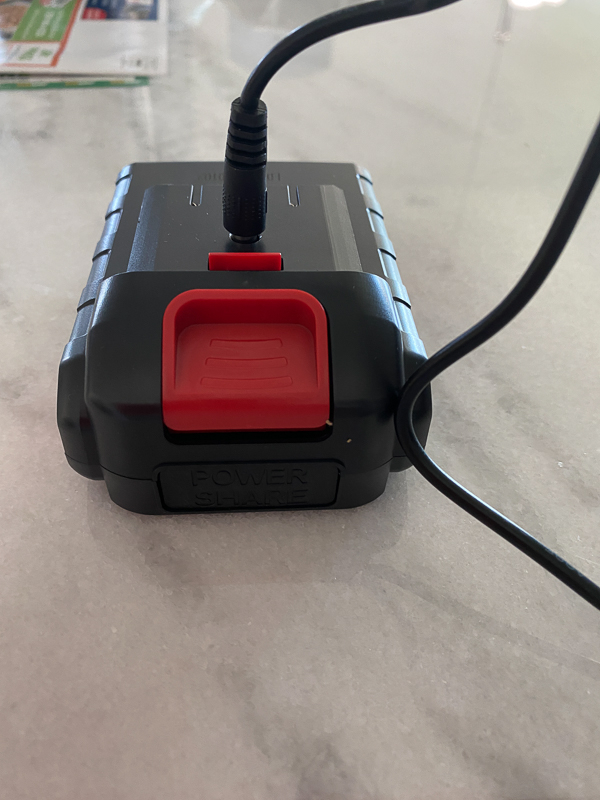
Ooooops! Before that can happen I had to charge up the batteries. I thought it was pretty cool that they included two batteries. I simply plugged the adapter into the top of each battery and plugged it into the wall.
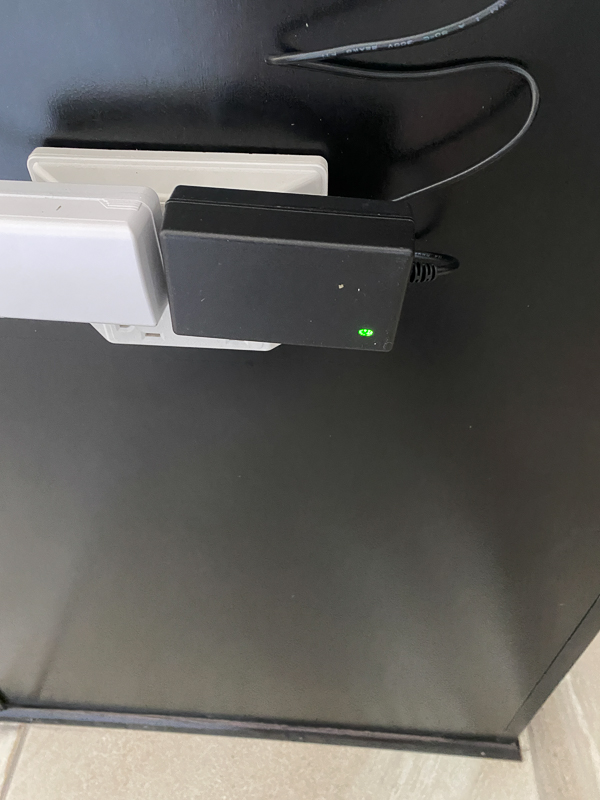
The plug adapter has an LED that glows red when charging.
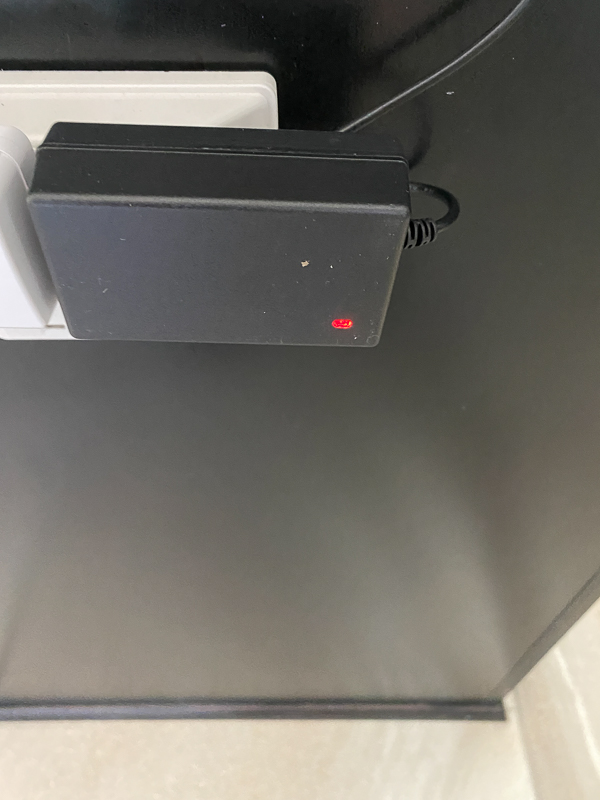
It turns green when complete. Now we are ready to mow!
Performance
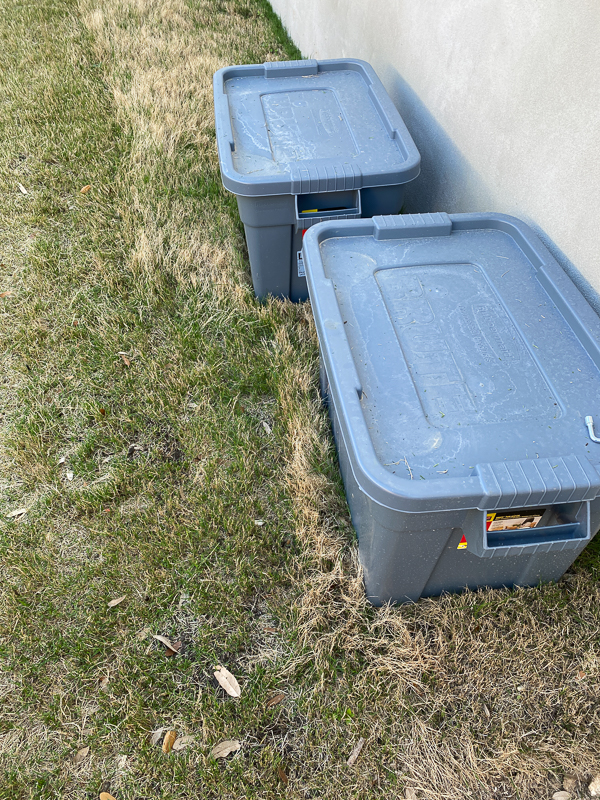
Here is a shot of the back left side of my house and the grass patch. I have rock all around it with metal edging. The builder only gave us so much grass and as I said, I had planned to place artificial grass in this entire area. That is why I have this weird patch of grass with dirt around it and then edging. I also have two tubs with chlorine in one and muriatic acid in the other for our pool sitting there. Just to the right of those tubs is a small slab with pool equipment and then rocks are all behind it.
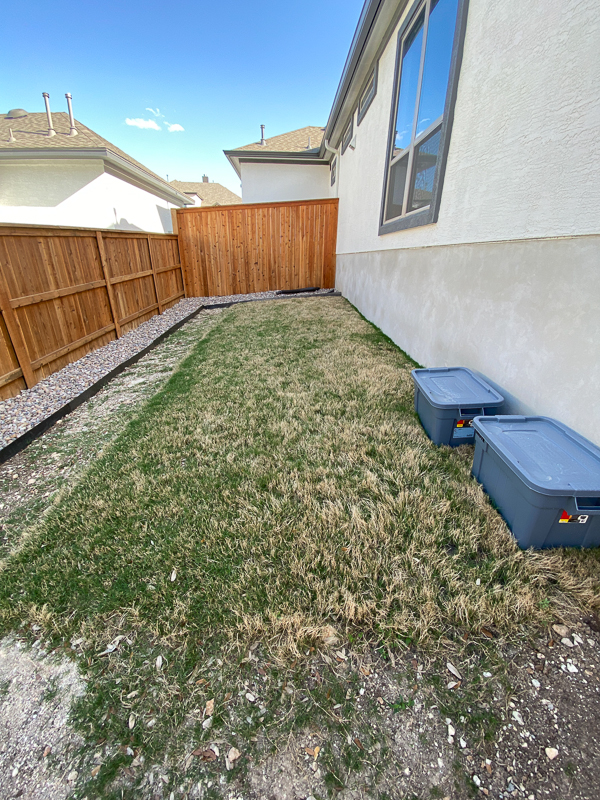
Prior to mowing, I moved the wheels to the lowest position to give myself the shortest cut. I have Tiff Tuff Bermuda that needs to be cut a bit shorter than St. Augustine or Zoysia. After my first brief run, you can see that the mower does its job well, but in this case it was too short. So I took the time to move the wheels to the middle slot.
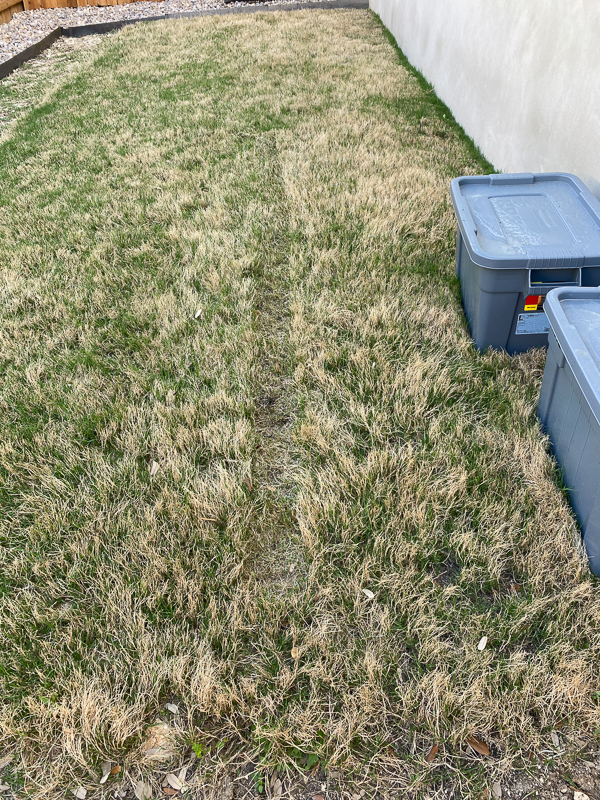
Here is a section of the grass mowed with the middle wheel setting. It was much better.
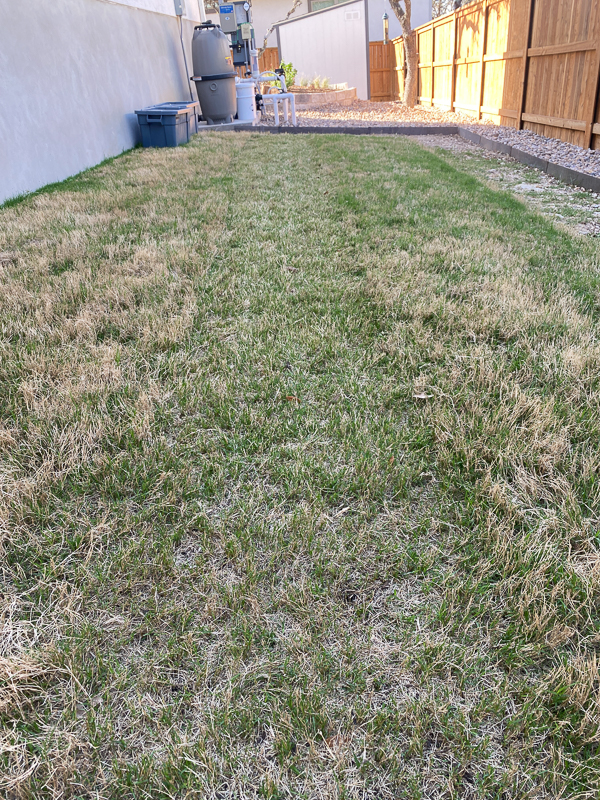
I took the picture below because I wanted to show you how close you can get to a fixed object to mow. The wheels stick out pretty far from the blade. The bottom tub has the grass cut as close as I could get it. I now had to roll the mower forward towards the tub to try to cut the grass up to that point.
Unlike a normal string trimmer, the plastic blades do not handle hitting hard objects well. With a string trimmer, you could just bump out some more string. In the case of these blades, they simply broke when I tried to trim the grass along the side of my slab.
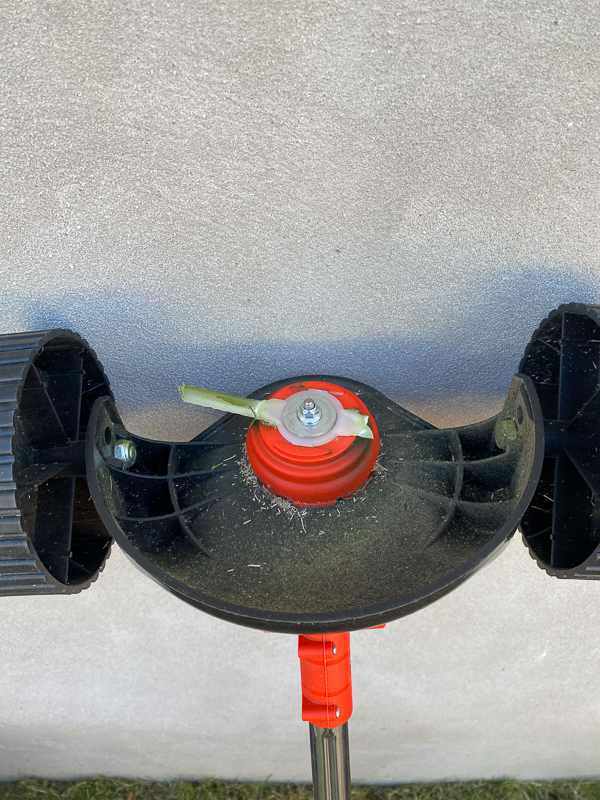
At this point, I decided to switch to the stainless steel blade. I found that the grass was cut more consistently than with the plastic blade. I still was unable to trim against my metal edging or my slab because the metal blades would spark and it was not a safe thing to do. Below is a video of the mower in action.
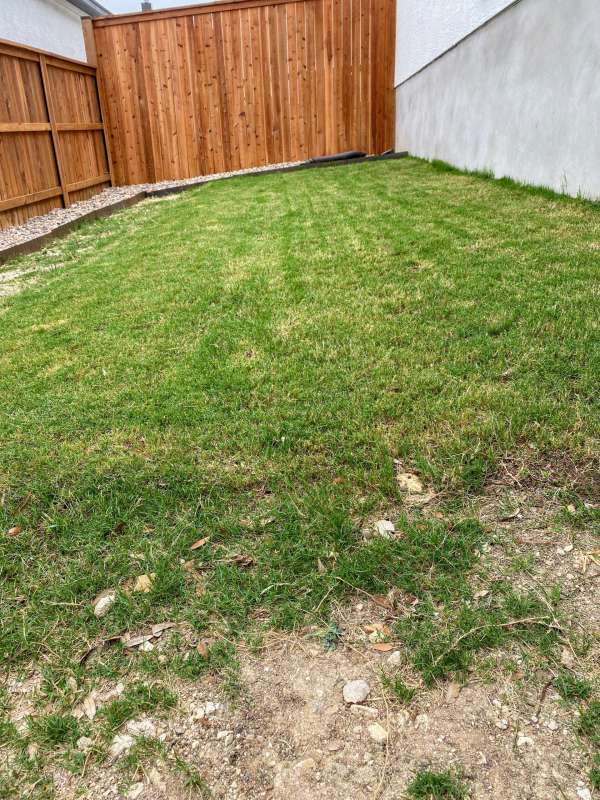
I have used the mini lawn mower twice now since I received it. Below is a picture of my last mow. You can see the tall grass still against the slab of my house and back along the metal edging in the distance that I was unable to safely cut. I also found the trigger to be very tiring to hold in for the duration of my mow. I switched out hands every time I got to the end of a run.
Also, because there are only two wheels on the mower, you can still tilt the blades forward or back as you walk. As I walked faster the angle would change and I found myself having to go over the same area a couple of times.
What I like
- Multiple blade types to cut grass to small limbs
- Comes with two batteries
- adjustable pole length.
- It is a mini mower that is small and light.
- Easy to store compared to a mower.
What needs to be improved
- The trigger is hard to pull in and I found my finger got tired holding it in.
- You can still tilt the mower forward and back and end up with different lengths of cut grass. A third wheel behind the blade would be beneficial.
- I still need a string trimmer to get at the grass that resides along edging or walls.
Final thoughts
For a small patch of grass like this, the mower is fine. Because it has such a small cutting area, you will make a bunch of trips up and down the yard cutting it. I also found I had to control myself and walk slowly to make sure all the grass had time to get cut. It is small and light and very easy to carry to that area to get the job done. I have cut that area twice now on a single battery and have not had to recharge the batteries. However, if you can afford a mower and get one to the place you need to mow, I think it would do a much better job in a shorter amount of time.
Price: $134.99
Where to buy: Amazon
Source: The sample of this product was provided by Elecicopo.


Gadgeteer Comment Policy - Please read before commenting
We love our new edger and it comes with great tools. We had an issue with our charger and the communication I received from the company in regards to my issue was great.
Need a new battery charger, how can I get one