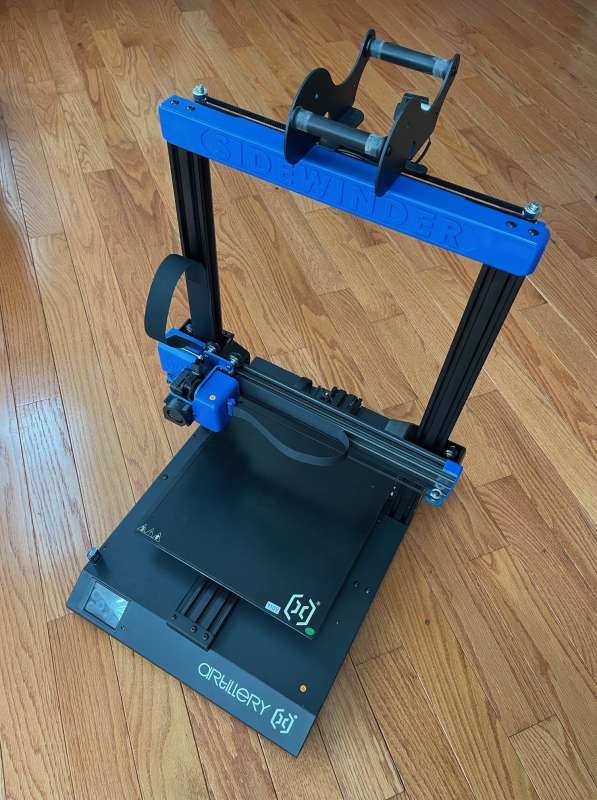
REVIEW – I’ve been thinking about joining the ranks of 3D printer aficionados for some time, but reluctant to jump into the growing ranks of printers until I found one that could print large models. That’s where the Artillery Sidewinder X2 3D printer that I was sent to review from Geekbuying.com comes in. Since this is my first experience, please be gentle with me, dear readers because PEBKAC (problem exists between keyboard and chair) is rampant!
What is it?
The Artillery Sidewinder X2 is a system that extrudes plastic filament in layers that follow a software programmed shape to create three-dimensional objects.
Hardware Specs
- Build volume: 300 x 300 x 400mm (12 x 12 x 16 inches)
- Layer resolution: 0.1 to 0.35mm (.004 to .0138 inches)
- Build speed: 60 to 150mm/sec (2.4 to 5.9 inches/sec)
- Travel speed: 250mm/sec (9.8 inches/sec)
- Print surface: Coated tempered glass
- Heat Bed Type: AC powered
- Single extruder
- Filament diameter: 1.75mm (.069 inches)
- Supported materials: PLA, ABS, Flexible materials, Wood, PVA, HIPS
- Calibration: ABL
- Technology: FDM/FFF
- Feeder: Titan Direct Drive
- XYZ resolution: 0.05, 0.05, 0.1mm (.002, .002, .004 inches)
- Nozzle type: Volcano
- Nozzle diameter: 0.4mm
- Nozzle temperature: 180-260°C (356-500°F)
- Nozzle heat time <3 min
- Build surface heat time: 80°C (176°F ) < 2 min
- Noise Level: <70 dBA
- Power consumption: 100-240V 700W max
- Control board: Artillery Ruby 32 bit
- Connectivity: Micro SD, USB Drive, USB-B to PC
- Product weight: 12.9kg (28lbs 7 oz)
- Shipping weight: 16kg (35lbs 4oz)
- Product Dimensions: 550x405x640mm (21.7 x 15.94 x 25.2 in)
- Shipping box dimensions: 668x508x310mm (26.3 x 20 x 12.2 in)
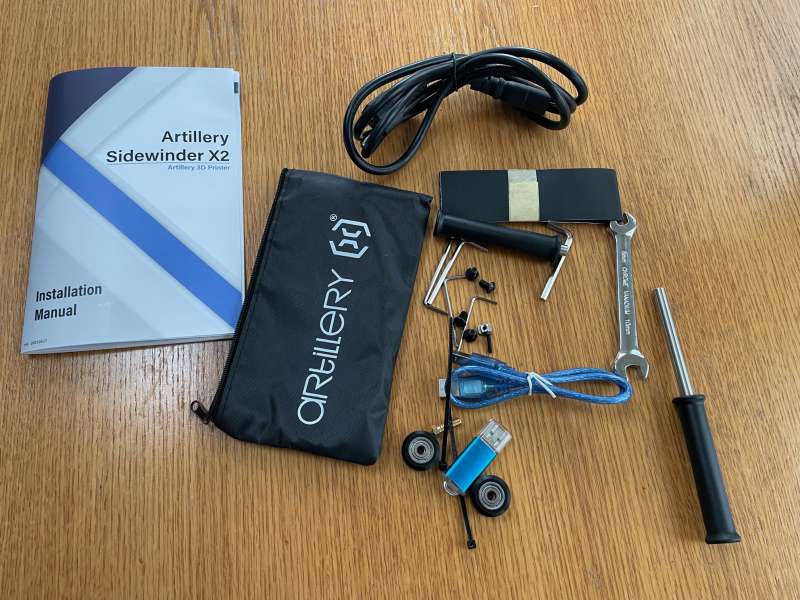
What’s in the Box?
- Artillery Sidewinder X2 3D printer
- Filament dispenser
- Power cord
- Assembly tools (box-end wrench and Allen wrench)
- Wire ties for assembly
- 1GB USB memory stick
- Spare parts (nozzle, guide rollers, screws, ribbon cables)
- User manual
Design and Features
PEBKAC: Problem Exists Between Keyboard And Chair. Yep! For sure!
First and foremost, I must mention that I am a complete novice when it comes to 3D printing. I entered into this evaluation knowing that there would be a huge learning curve, a fair amount of time and material expenditure, and a boat-load of work. That being said, if it’s your goal to make stuff of your design and don’t mind putting in some effort, the results can be very rewarding.
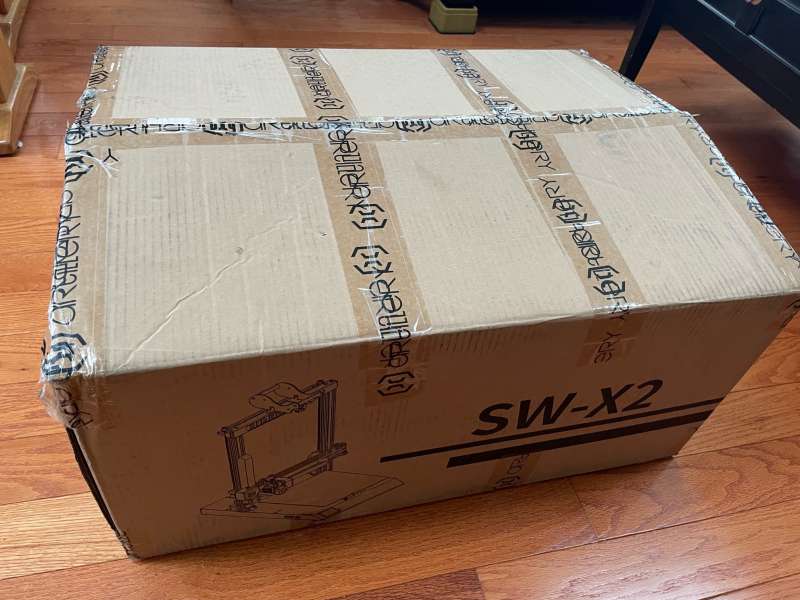
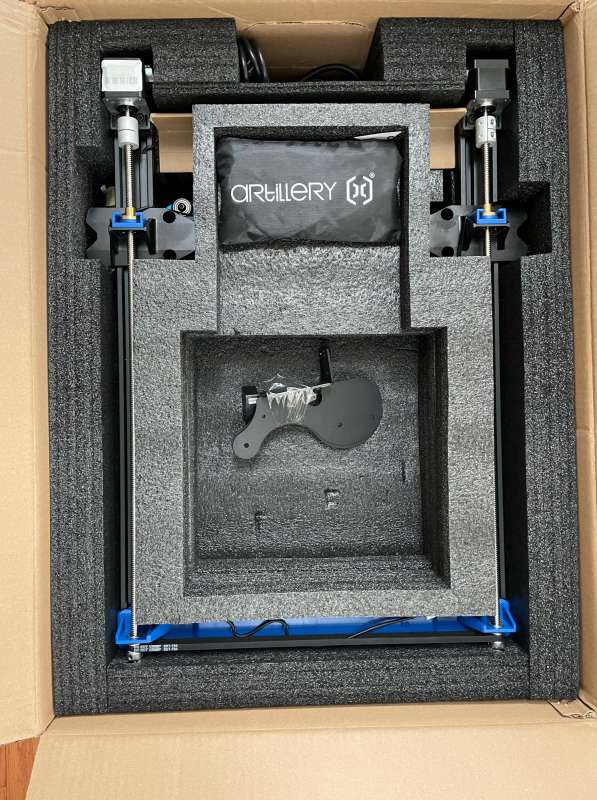
The 3D printer arrived in a sturdy box, surrounded by protective foam. No bumps or bruises here.
The manual is well written and the photos, screenshots, and illustrations were easy to follow.
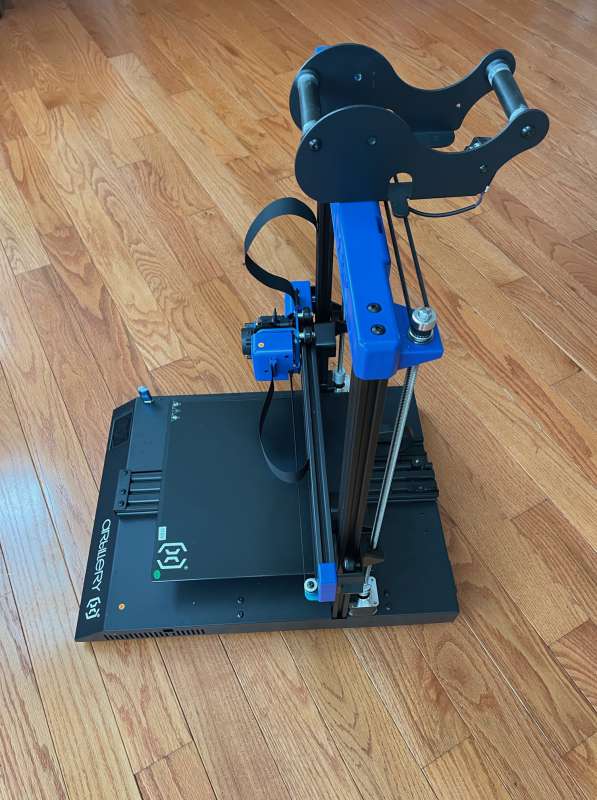
It took about 30 minutes to assemble. The upright assembly gets bolted to the base and a few electrical cable connections are about all there is to it.
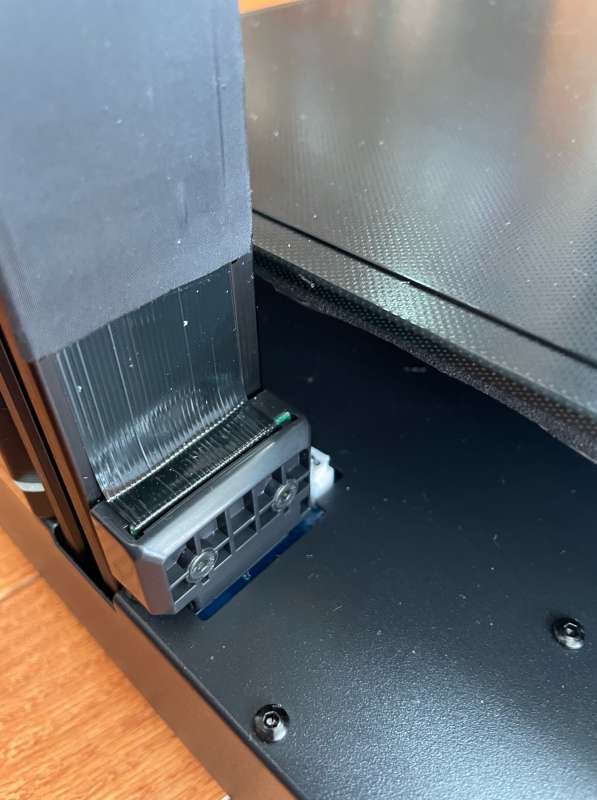
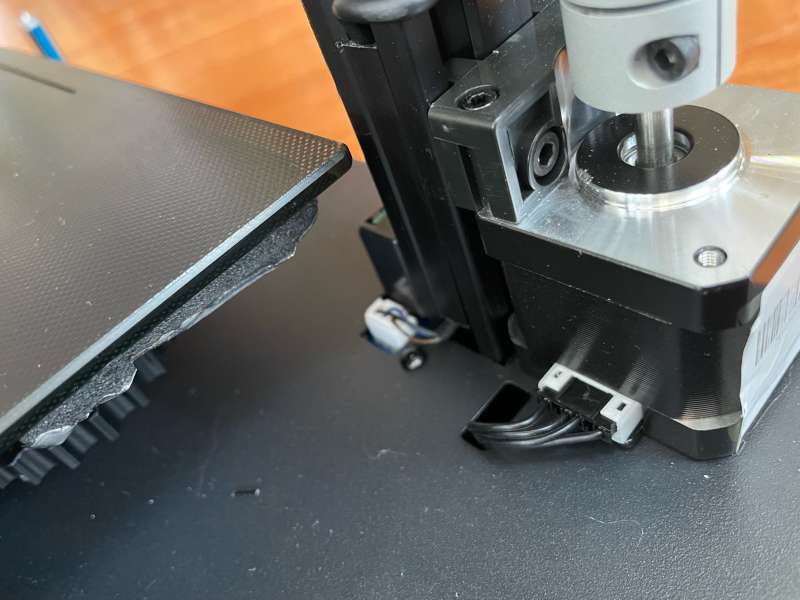
I was suitably impressed with the quality of the mechanical fittings. Everything is industrial quality.
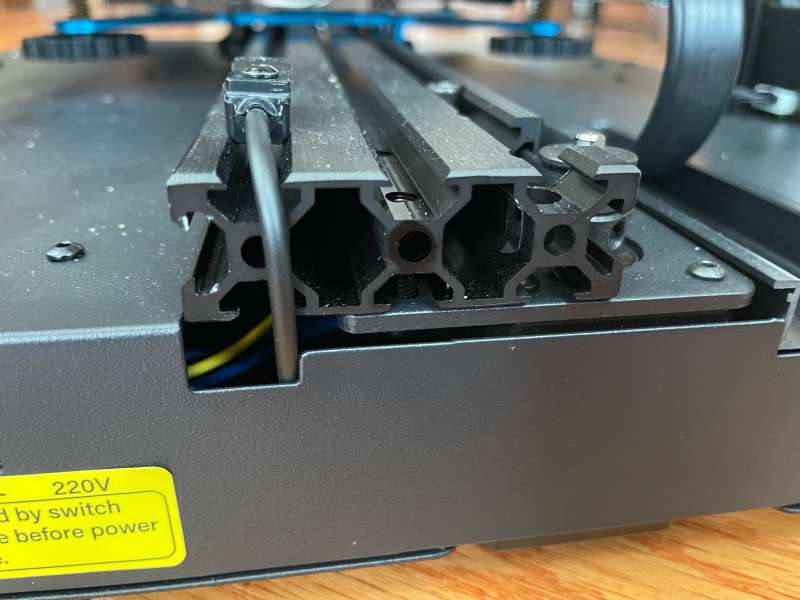
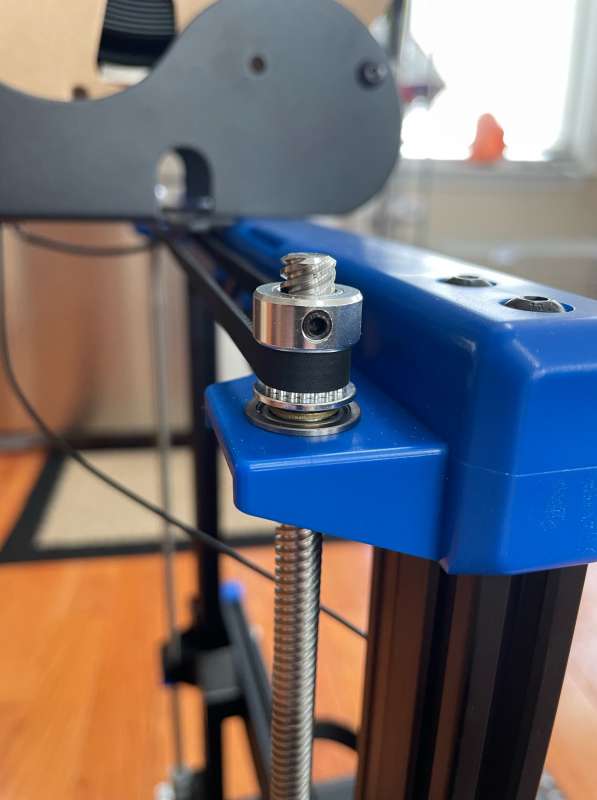
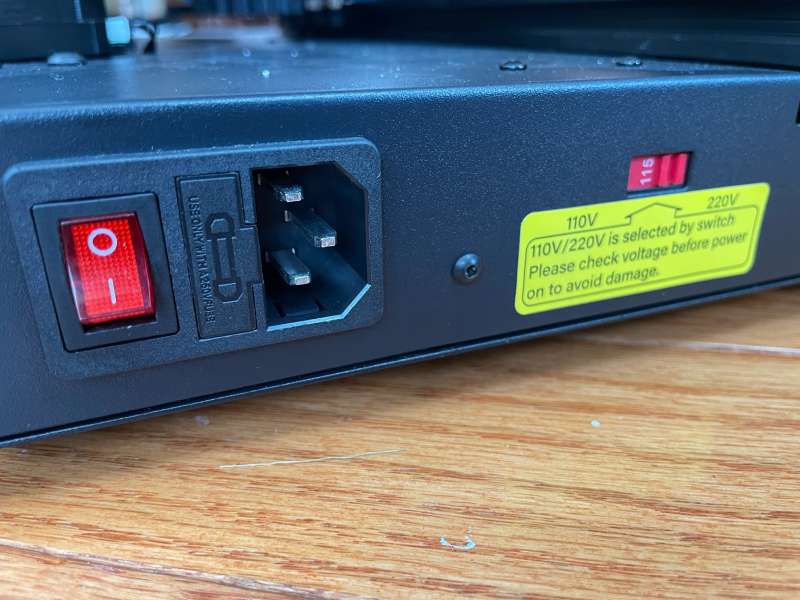
Power is supplied through an IBM-style cord.
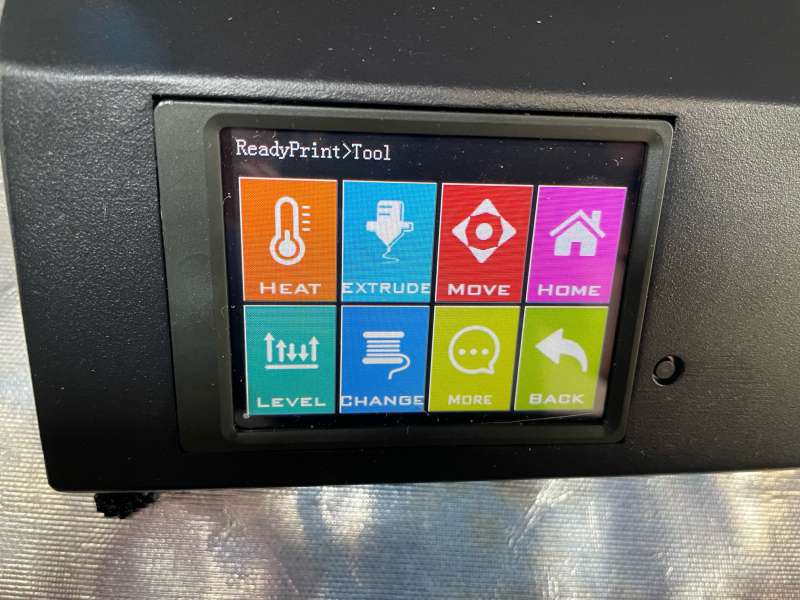
The touch screen is bright and easy to use.
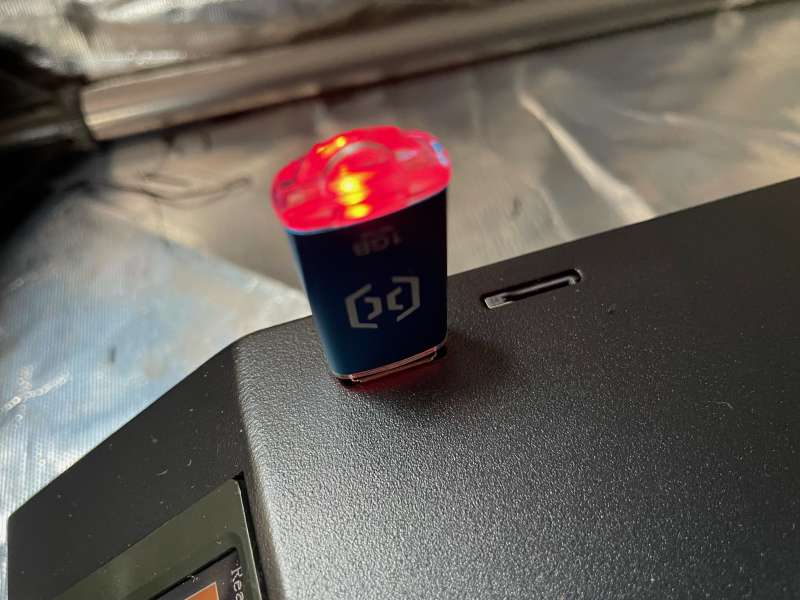
Software for printing can be loaded via the included USB stick or SD card
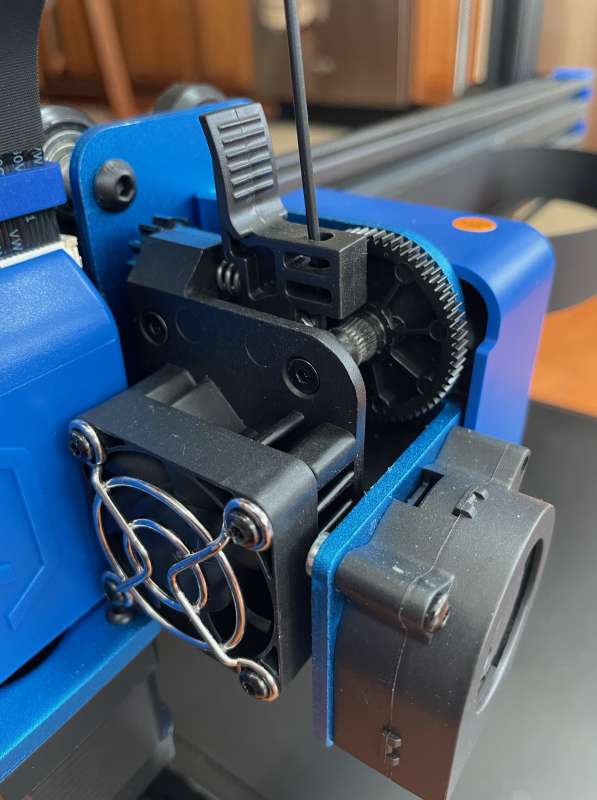
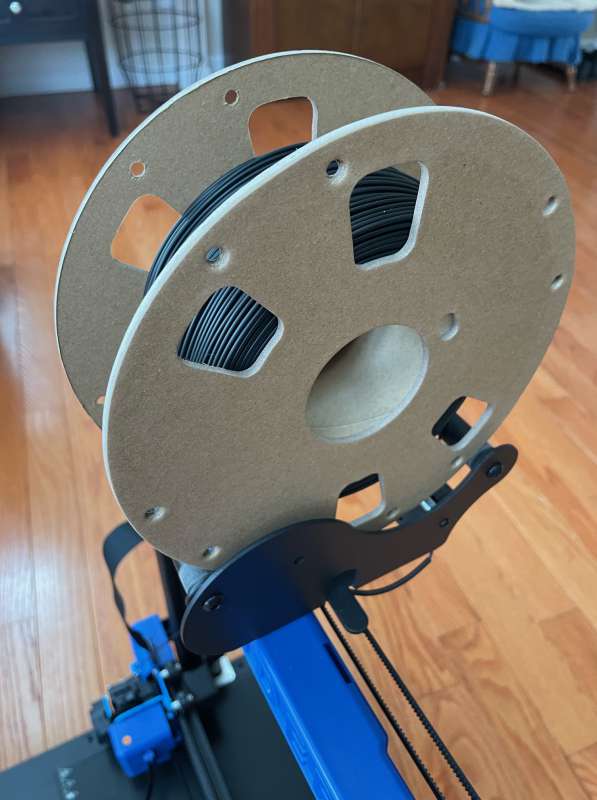
The filament spool dispenser assembly fits on top, plug it in, and to go… sort of.
The next step is to level the Artillery Sidewinder X2 3D printer’s print surface. I strongly recommend looking online for instructions because this step is essential to producing output with favorable results. The process involves raising or lowering each of the four corners of the print bed while passing a sheet of paper between the print head and the bed with just a hint of friction. It takes some practice to get a feel for this critical step.
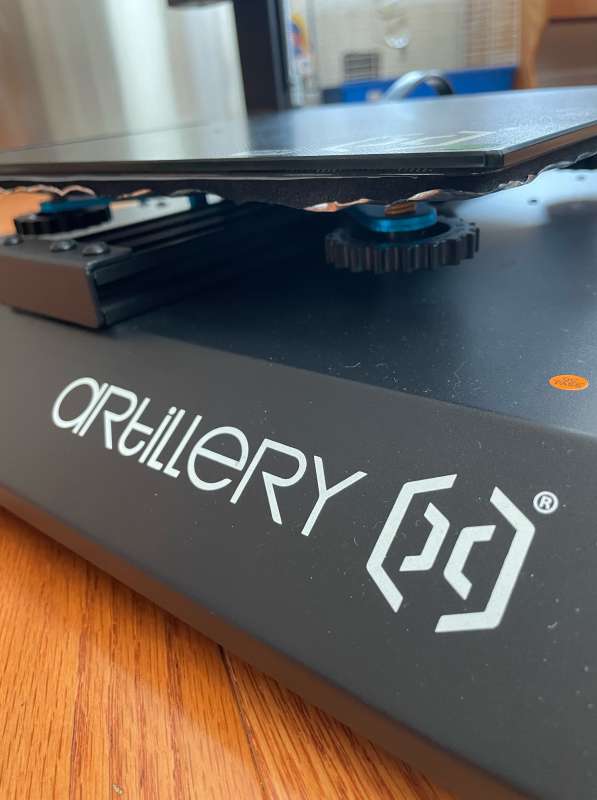
Once this step is completed, the onboard touch screen is used to automatically enter the leveling into the printer’s memory. This step was automated, but I had some issues with repeatability (more on that later).
Now comes the fun part… For testing, a few projects are pre-loaded onto the included USB memory stick. I had some temperature problems printing them, but…
Thousands of shapes and designs can be downloaded from 3D printer sites like Thingiverse, Cults, Pinshape, 3DExport, GrabCAD, and others. These files need to be opened with slicing software to interpret them into GCODE that the printer can understand. This code carries all the information the printer needs to assemble the design one layer at a time. To accomplish this, I used Cura (recommended by the X2’s manual). When this is done, the extrusion filament you choose must have its temperature parameters entered into the software before slicing.
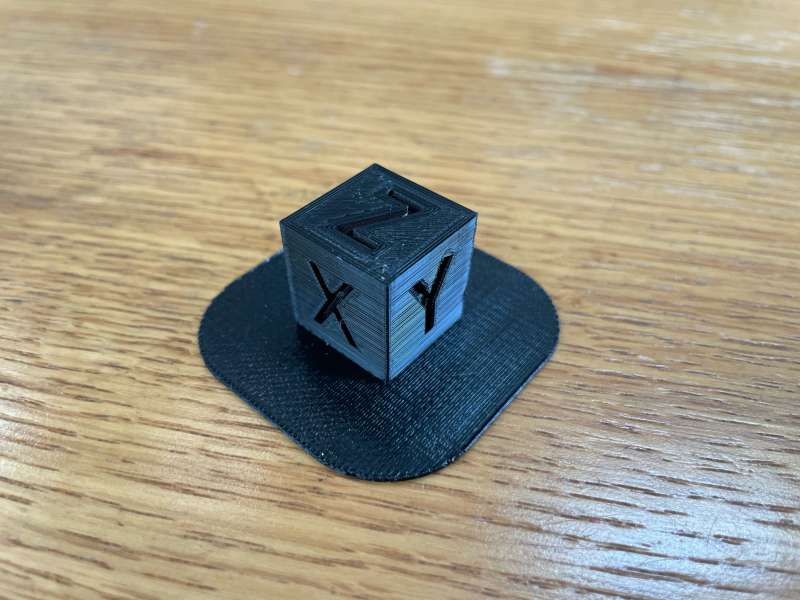
Now for the not-so-fun part… Since the Artillery Sidewinder X2 3D printer did not include any sample filament, I purchased several types. I recommend purchasing good quality filament from the list of suppliers listed in Cura, otherwise, you can spend days trying to find the optimum nozzle and temperature settings using trial and error, printing test objects, and reading, reading, reading as well as watching copious hours of YouTube videos. After three weeks of research and a half spool of filament, I finally found settings that gave satisfactory results. But…
It’s cold here in upstate NY and I keep my house at about 65-68°F. I found that fluctuations in temperature were enough to cause the prints to go from “hey, that’s pretty good” to five hours of extruded plastic spaghetti.
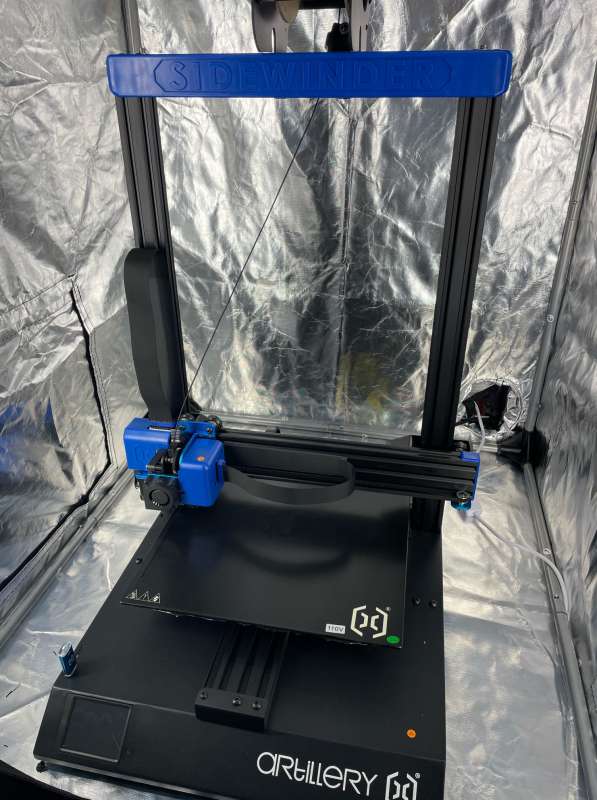
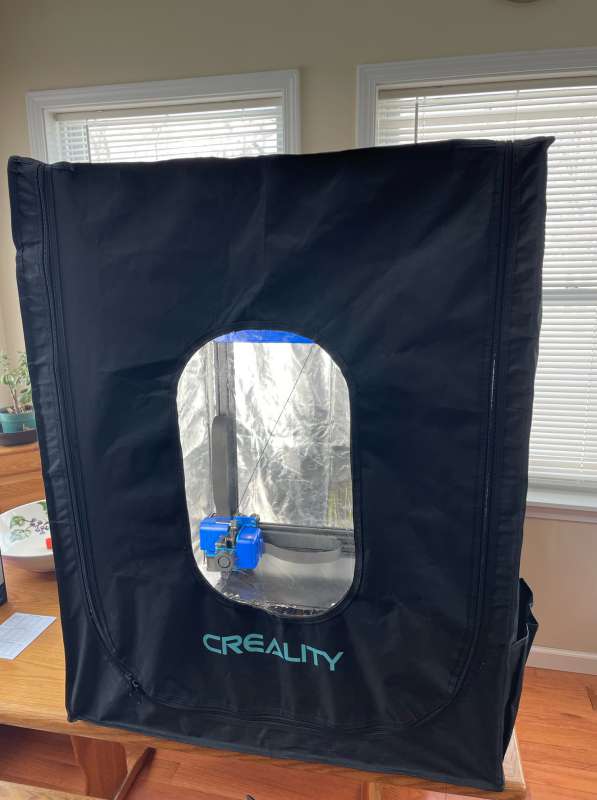
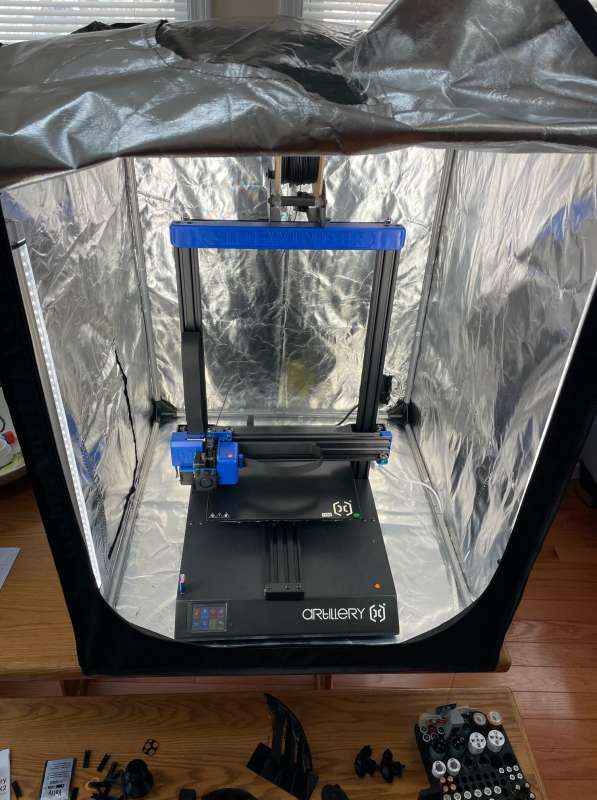
Because I want to make useful things with this printer, I invested in an insulated enclosure (this one by Crealty from Amazon) and the results dramatically improved. I also added temperature regulation to the enclosure to give myself and the printer the best chance at success.
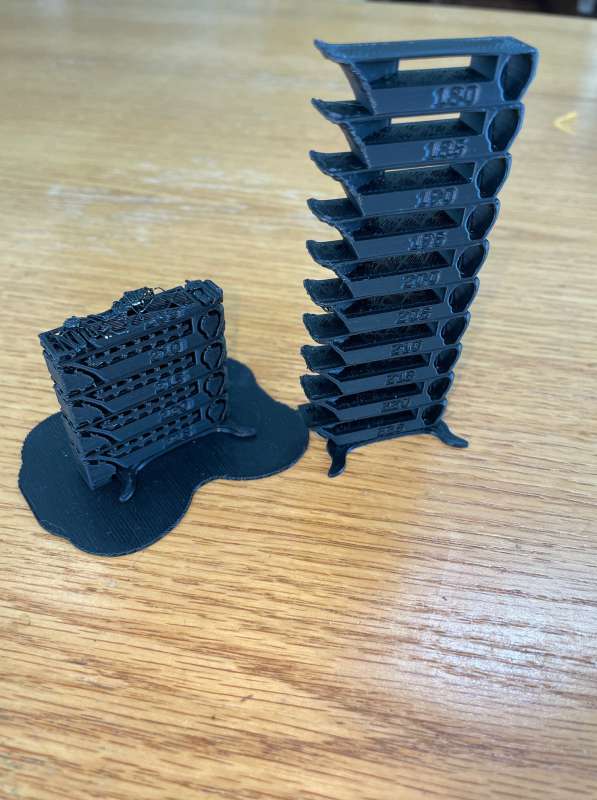
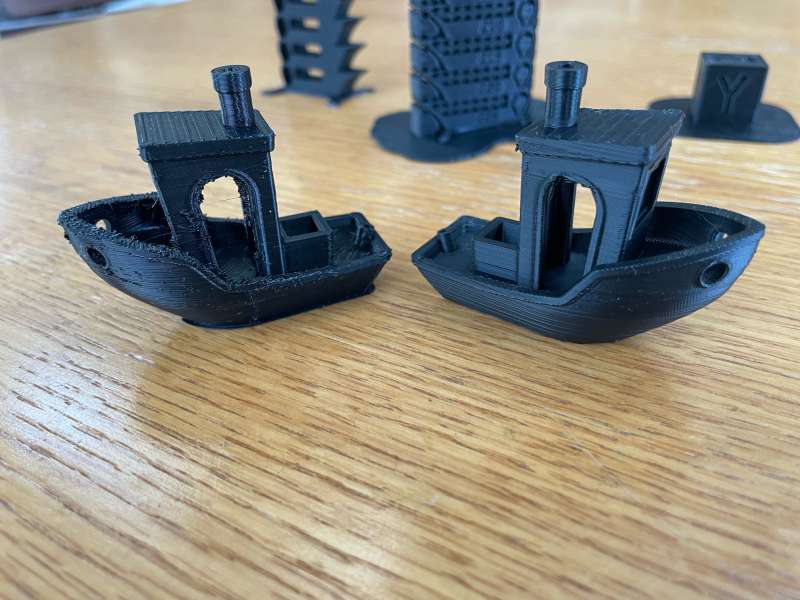
I printed a temperature calibration tower and the famous “Benchy” to help fine-tune temperature and print speed settings. I can’t emphasize enough that this is time-consuming and can be very frustrating when things don’t work well, but very rewarding when it works.
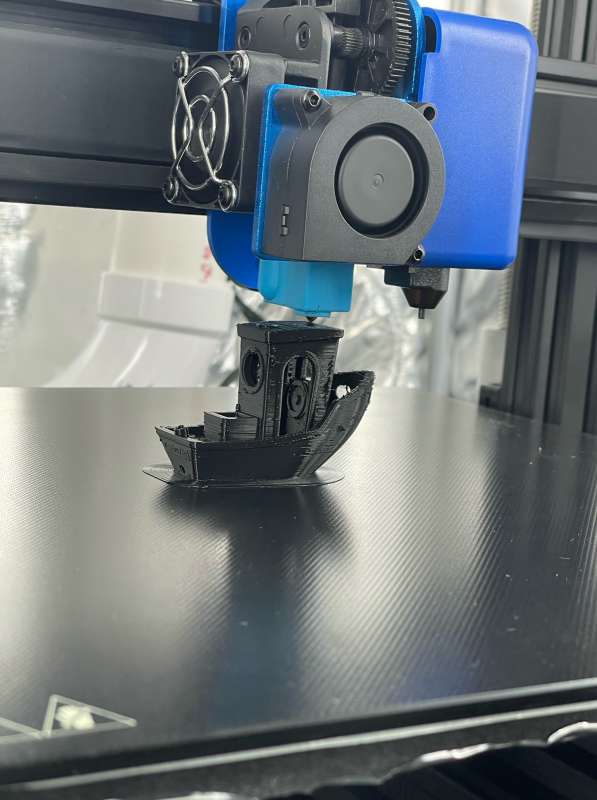
Moving on from other designers’ work (I deeply thank those who allow their work to be shared and used by others!), I looked for ways to create my designs. I used Tinkercad to create some simple, rudimentary objects, but it became quickly apparent that my aspirations required more flexibility.
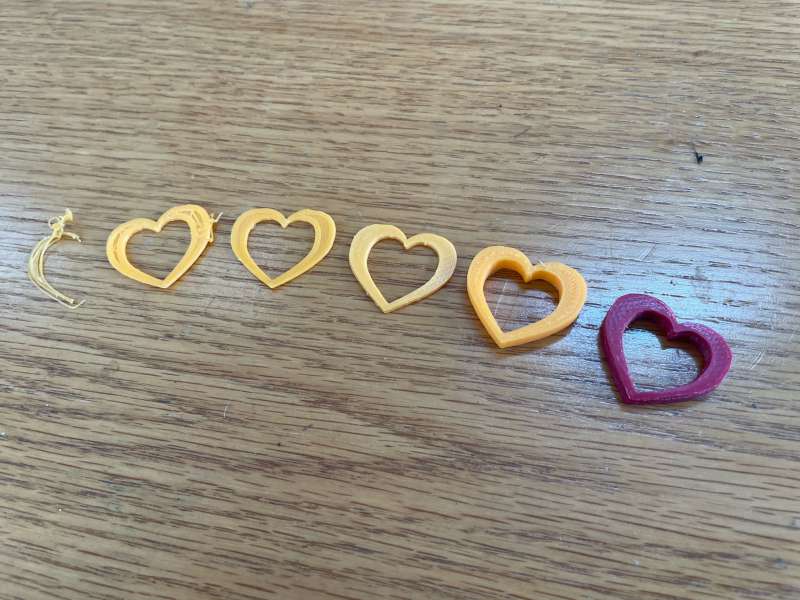
My first Tinkercad “heart” design took several iterations to get the temperatures stable enough to print. Here are the various stages for each print starting from scratch until the print is completed.
After looking at several design solutions, I settled on Fusion 360 which is free for hobbyists or can be purchased for professional use. Jumping into this software is not for the faint of heart. It’s insanely powerful but is extremely challenging to learn. Thankfully, there are a ton of online tutorials in addition to Fusion 360’s extensive help library. In the month of testing on the X2 printer, I put in dozens of hours of study and design work into a few designs of varying complexity. The learning curve is very steep, but after a month, I can say I’ve grown familiar enough to make simple designs with little difficulty.
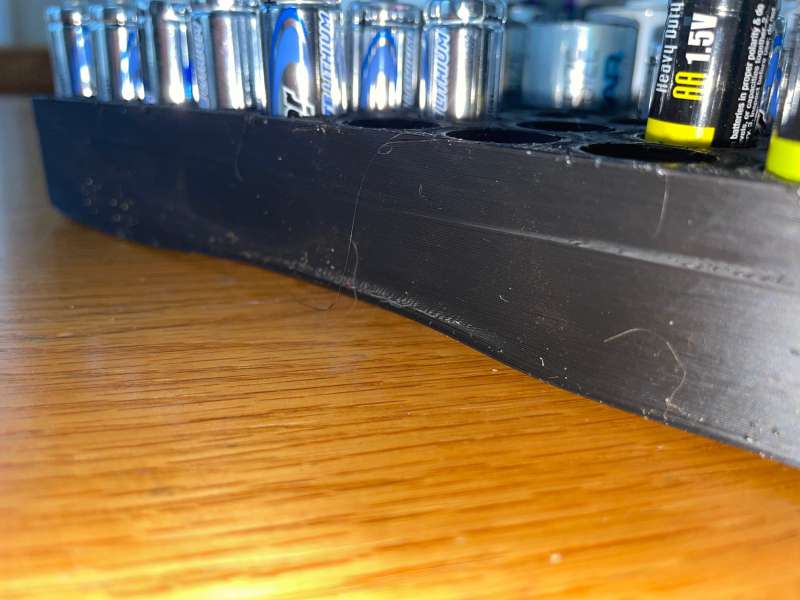
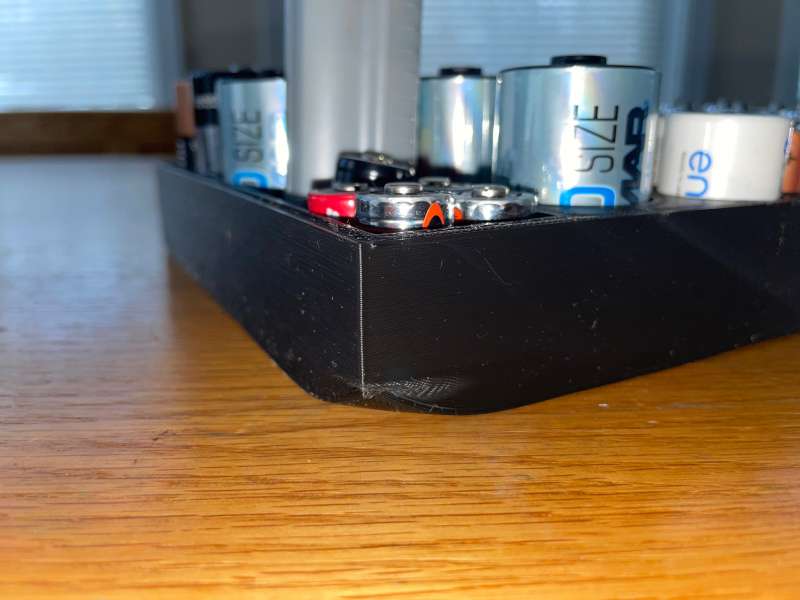
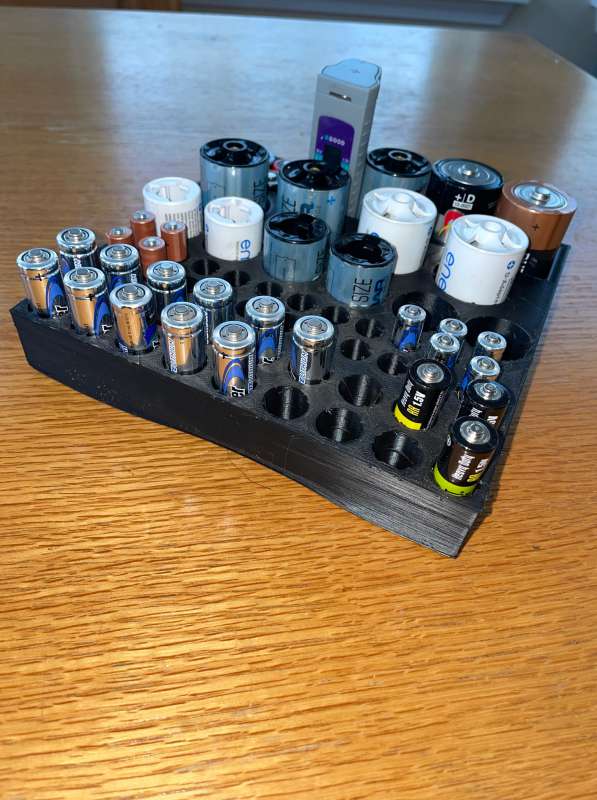
Getting quality 3D prints is another story… Here, you can see that the sides of the battery storage box are warped and the surface is stringy. This was an earlier print without the benefit of the enclosure. I have no doubt it would be better now, but since it sits in a drawer, I’m not concerned that it isn’t perfect. This isn’t the printer’s fault – it’s due to temperature changes as the plastic cools.
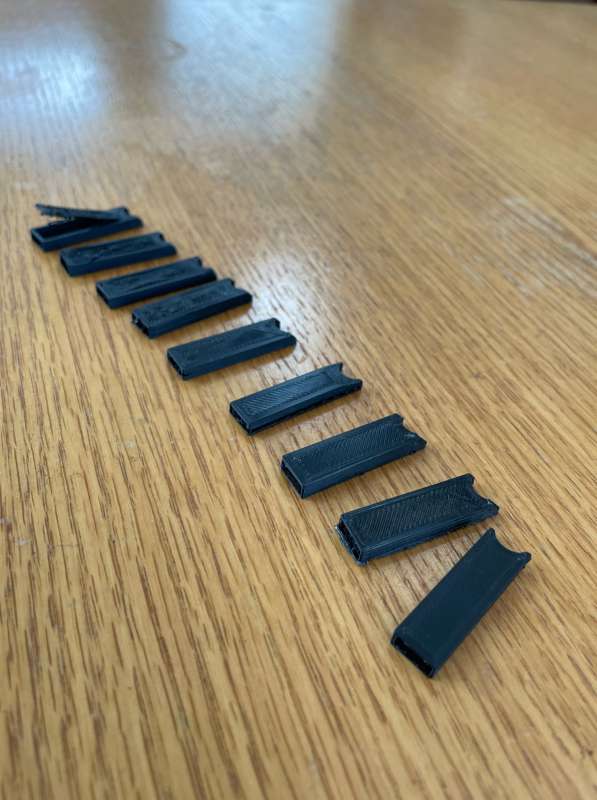
I designed a small case to carry an additional bit for my daily carried Leatherman tool. The next photo shows the progression of the design and print settings until reaching a result I’m happy with – about 15 different design tweaks and a dozen or more changes in printer configurations.
My next project was to design and print a side window louver for my car. It took about two weeks of design (I’m still a novice, remember?). The first printing try was a mess. This is what happens when there are design errors, too much vibration, wrong temperatures, and printing too fast.
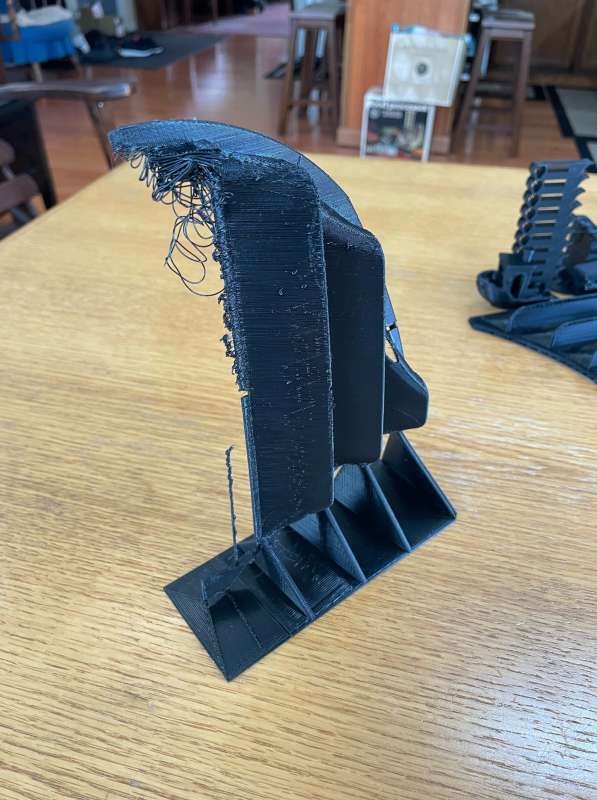
It’s worth mentioning that 3D printing is not an expedient exercise. For me, even test prints for determining the best material temperatures were eight or nine-hour exercises in patience. Tiny prints of less than one cubic inch might take 15-30 minutes depending on the material and settings, but larger prints will take many hours or even days.
My second version of the window louver is much better. The printer settings still aren’t right, the design needs lots of refinement and it’s rough, but I’m happy with the 50% size prototype this early in the process. Now we’re getting somewhere!
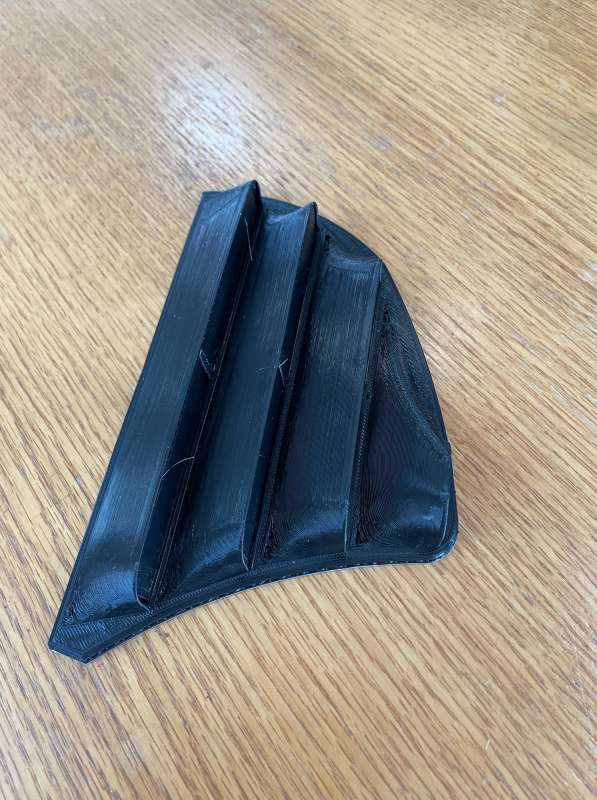
Thankfully, there are plenty of people willing to help that have published YouTube videos and tutorials to address almost any issue you might run into with 3D printing and I thank every one of you! I realize it will take time and if you decide to walk this path, so should you.
In all of my fiddling to try and make things better, I’ve installed two hot-ends, multiple replacement parts (heater cartridges, thermistors, and more), leveled and re-leveled the printing surface no less than 60 times, recalibrated, tweaked, and have been through two spools of filament. Ultimately, I found that the majority of problems I was having were due to an intermittent touch sensor reporting faulty z-axis settings. Once I received a replacement and installed it, printing became exponentially easier.
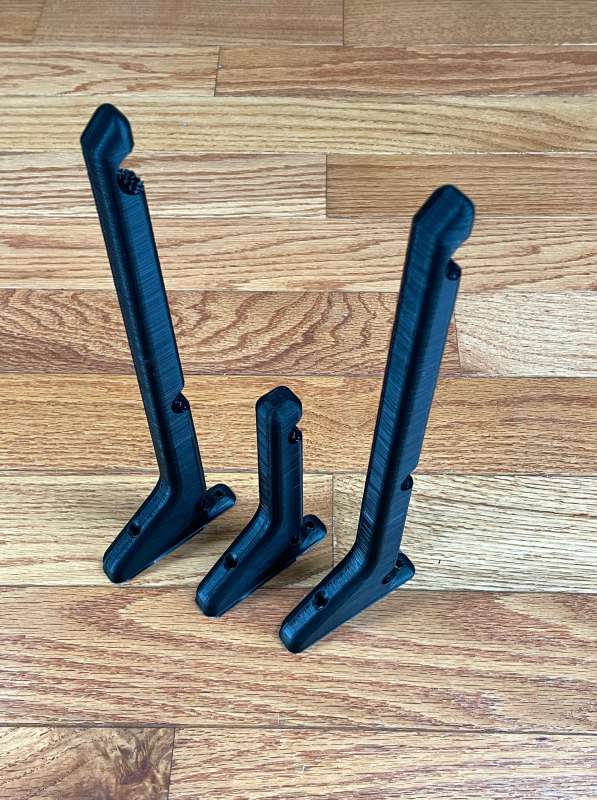
Once I had a few more of the bugs worked out, I was able to print these curtain rod holders my wife asked for. Not too bad!
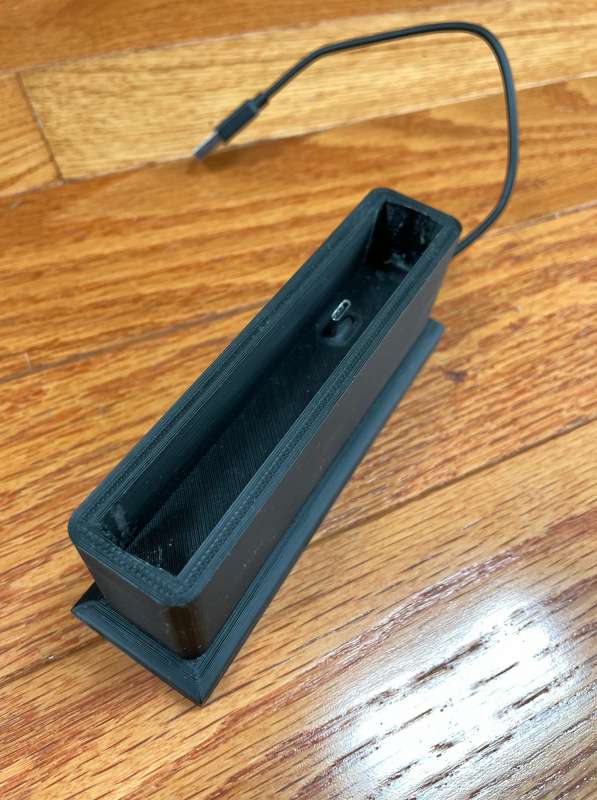
I printed this charging cradle for my GPD computer. It’s great to just pop it into the cradle for nighttime charging.
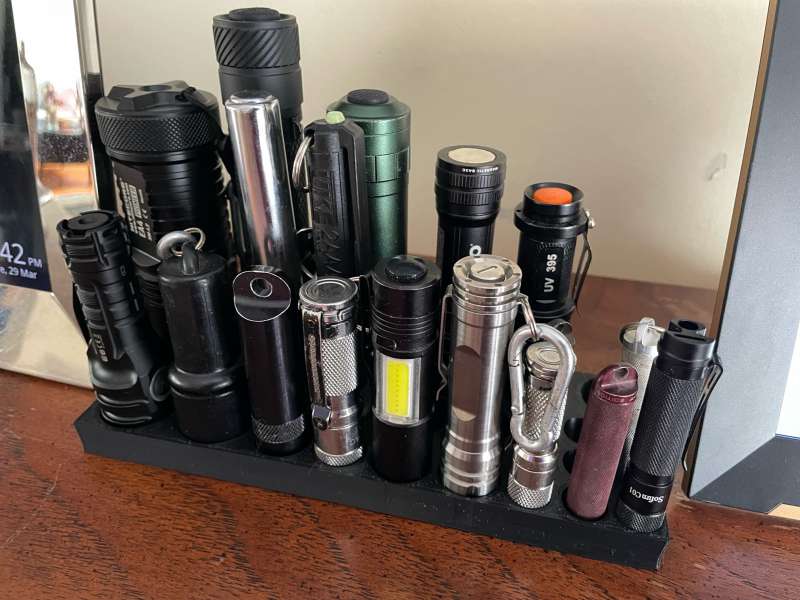
An organizer for some of my flashlights! Much better than having them clonking around in a drawer! As you can see, controlling the ambient temperature yields much better results.
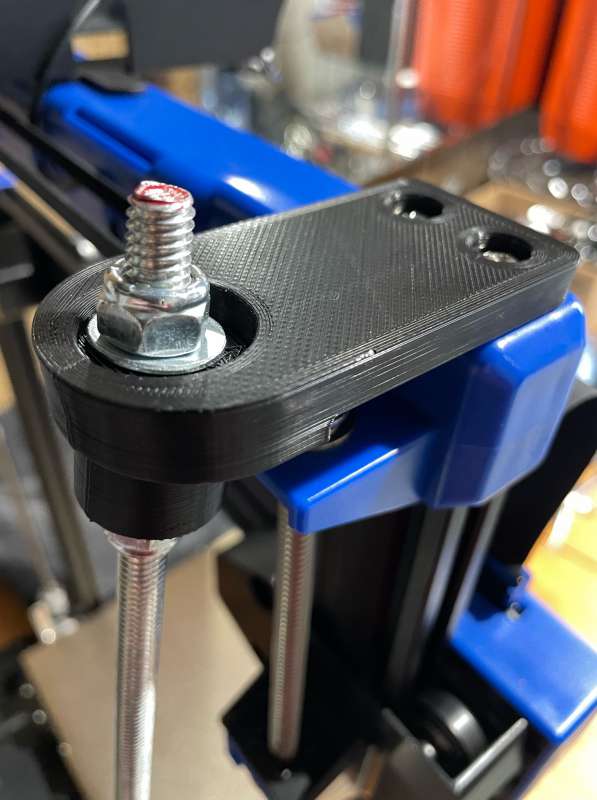
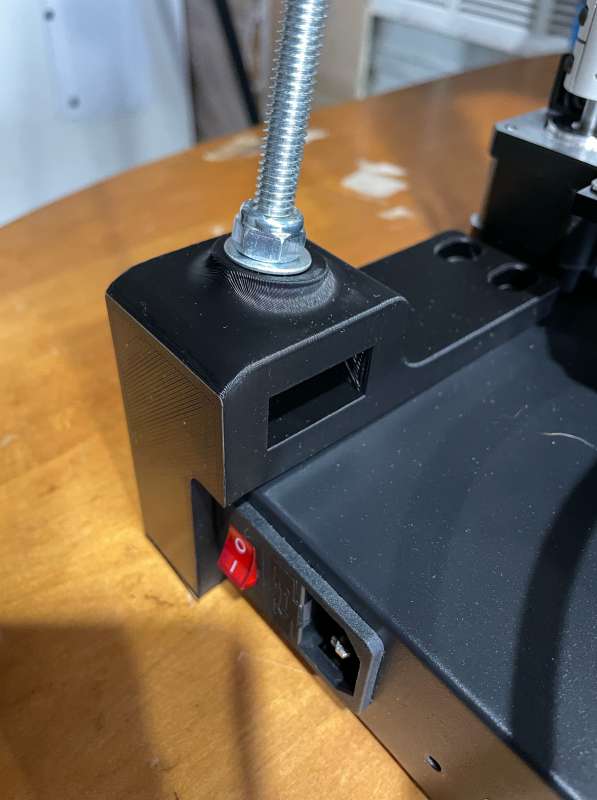
To help compensate for vibrations in taller prints, these z-axis stabilizing brackets are available from Thingiverse. Thank you to Stephen Johnston for making them available!
When trying to print large objects (my wife asked me to print some square lampshades, I found that the temperatures near the edge of the print plate were significantly lower than near the center and the table is slightly warped, but with more work, I think I can get this ironed out. This caused some adhesion issues I still have not solved yet, but I will.
Getting into 3D printing is far from easy. It takes many hours of reading and testing and, regardless of the printer, the learning curve is steep. There are plenty of things that can and will go wrong, and there is without a doubt, a problem that exists between the keyboard and chair. Still, it’s very fun and super satisfying to make useful, fun, and whimsical stuff.
What I Like
- Very large print area
- Automatic leveling
- Quiet
- Fast warm-up
- Easy assembly
- Tools and spare parts included
What I Would Change
- Some sample filament included with the printer would be helpful
- The print bed needs to be level
- Temperature consistency needs to be improved
Final Thoughts
This is my first exploration into the 3D printing world and I’ve learned a lot. Once tweaked and poked and adjusted, and debugged, the results from the Artillery Sidewinder X2 3D printer are good and have inspired me to keep moving forward with this capable machine. I look forward to learning more and becoming much more proficient at the 3D printing game. I plan to continue working with this printer and have high hopes that when my PEBCAK is cured, I hope to be making all kinds of stuff!
Price: $399.99
Where to buy: Geekbuying
Coupon Code: NNNARTILLERYX50
Limited: US, UK, EU Stock
Discount price: USD $364.19
Source: The sample for this review was provided by Geekbuying.


Gadgeteer Comment Policy - Please read before commenting
I’m waiting for mine to come any day now. Thank you for sharing your experience. I’m new to printing as well, and hope i choose the right printer. Fingers crossed, there are no problems.
Dave… I got the SW-X2 several months ago, and love this one better than the expensive Ultimakers, and the Enders (Creality). But, 30 min. to assemble??? It took me less than 15 min., and I was holding a beer. There are only 3 big parts that fit together, and the few screws are already there & inserted for you. Once you turn the thing on, it heats supper fast, and prints really fast (compared to others). For help, there are several Youtube videos. Also, the picture of your extruder is missing the short PTFE tube. There is lots to enjoy with this Sidewinder X2 printer.