REVIEW – As I’ve gotten more into 3D printing and designing items to 3D print, I’ve found that I have a need for scanning existing objects. Creality offered to send me their new CR-Scan Lizard 3D scanner, so of course, I said yes.
What is it?
The Creality CR-Scan Lizard is an optical 3D Scanner which is currently seeking funding on Kickstarter.
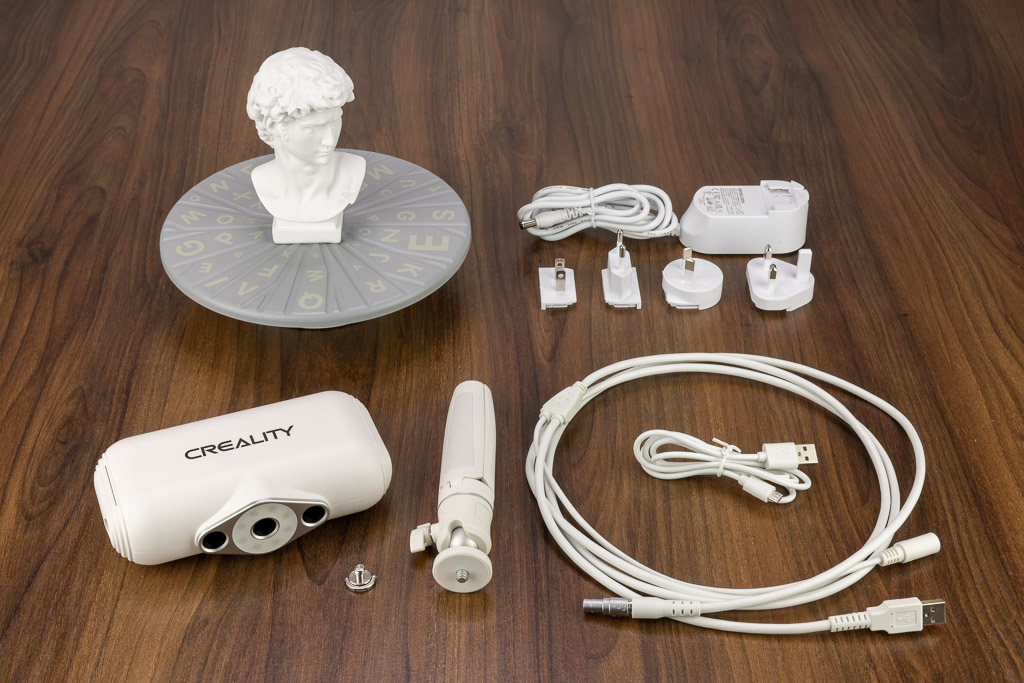
What’s in the box?
- Creality CR-Scan Lizard 3D Scanner (host)
- Carry case
- USB Drive with software
- Turntable and turntable surface
- Turntable USB cable
- Tripod
- Device Cable
- Power supply adapter
- Sample bust for scanning
Hardware specs
| Accuracy | 0.05mm |
| Resolution | 0.1mm-0.2mm |
| Single Capture Range | 100mm x 200mm |
| Working Distance | 150mm – 400mm |
| Minimum Scanning | 15mm x 15mm x 15mm |
| Scanning Speed | 10fps |
| Light Source | LED+NIR (Note: Near infrared mode, does not irritate eyes) |
| Splicing Mode | Fully automatic geometry and visual tracking(without marker) |
| Texture Acquisition | Extended support to release in March 2022 |
| Output Format | STL/OBJ |
| Machine Weight | 350g |
| Machine Size | 155mm x 84mm x 46mm |
| Compatible System | Windows 10 64-bit / macOS |
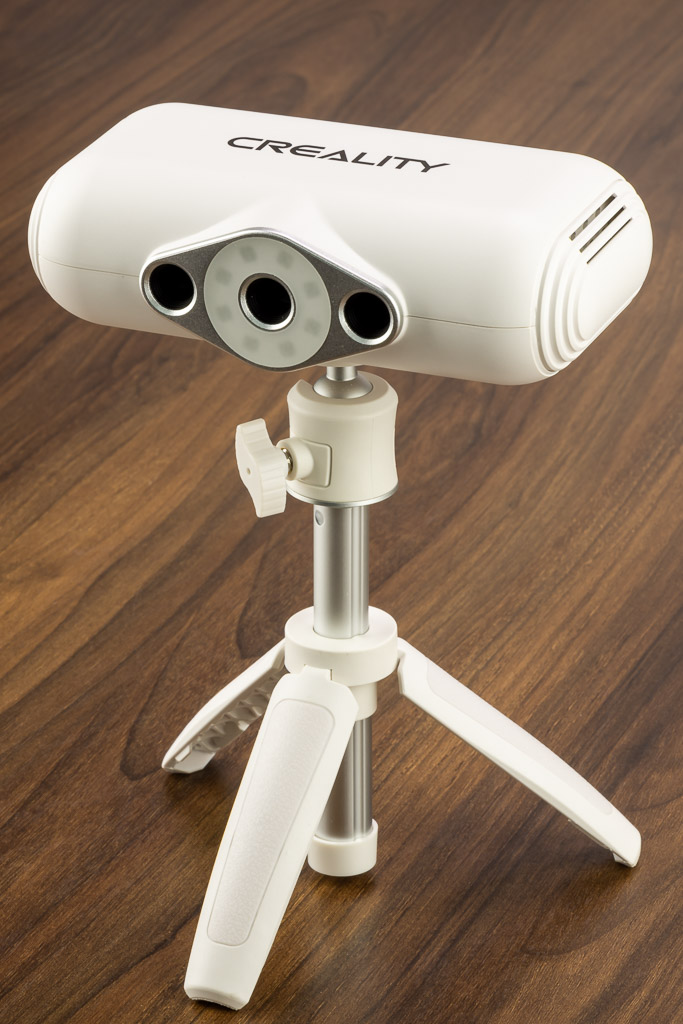
Design and features
The Creality CR-Scan Lizard is an optical 3D Scanner launching on Kickstarter on February 10, 2022, at 9 am EST. I typically steer clear of Kickstarter campaigns, but I think this may just be Creality’s way of advertising it and not an actual crowdfunding campaign.
I was extremely excited about the CR-Scan Lizard for three reasons:
- I have never had a 3D scanner, so playing with new tech is always fun.
- I occasionally need to scan some items to make CAD modeling easier.
- The iPhone scanning apps did not work very well for me.
The CR-Scan Lizard arrived in a nice semi-soft-sided carrying case. When I opened the case, I found what looks to be a full production model of the scanner, unlike some Kickstarter items that are pre-production. It even had a nicely printed Quick Guide, although the screenshots in the guide are a little small. With the Kickstarter campaign starting in just over a week, I got right on to evaluating this new scanner.
The Creality CR Studio software is used to perform the scanning and is located on the provided USB drive. The Quick Guide gives directions on how to unzip the software and run it.
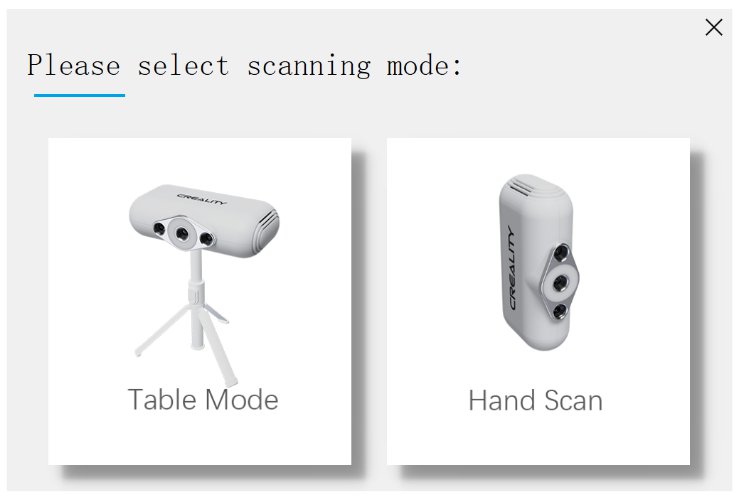
When the software launches, you choose between “Table Mode” and “Hand Scan.” If you wish to change modes, you have to close and restart the software.
Once the software gets to the main interface, it looks simple to operate. There’s a Preview button and buttons labeled 2 and 3. I thought, “Seems easy enough – 1, 2, 3,” but that’s where things started to go downhill.
Following the Quick Guide, I placed the provided bust model on the turntable and clicked the Preview button. The preview showed the model, and I attempted to adjust the view so that the “object can be completely covered,” as the Guide stated. I could not do that, as the model is too large and would not fit in the scannable area for the range that the scanner is capable of, at 300-400mm.
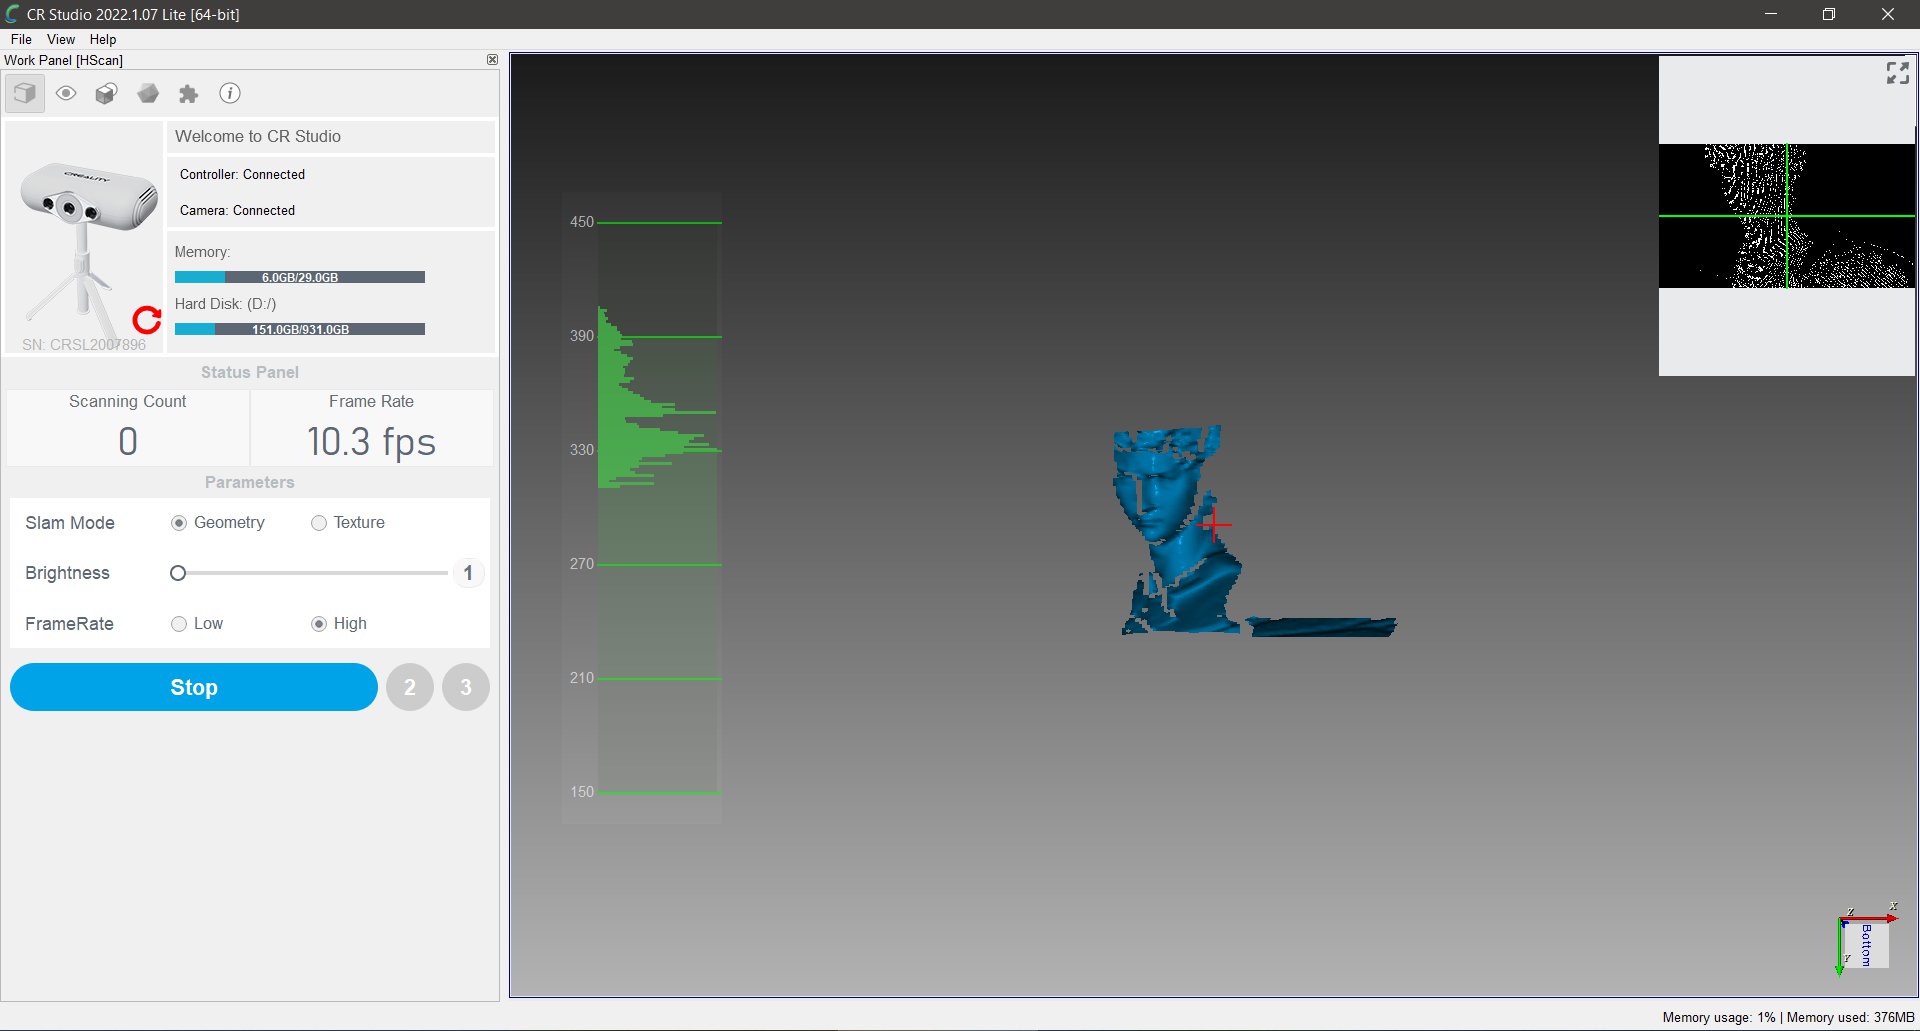
I later found out that you can rotate the scanner vertically for table scans also. It makes sense now, but when the initial screen of the software shows the following, it makes you think that’s how it must go:
Next, I decided to scan something a little smaller, a simple wall hook that I had. I placed the hook on the turntable, and it fits nicely in the preview. I clicked Stop and the software advanced to the 2nd step called “Initial.” I referred to the Guide that states, “Initializing the turntable – Scanning of empty turntable, automatic positioning of turntable plane position.” I removed the hook and clicked “Initial” and the scanning showed a red turntable and just kept going. I wasn’t sure how long to let this go, so while I was waiting, I found a video about it, and apparently, you just let it go until it turns red. I clicked Stop and the software automatically advanced to the 3rd step.
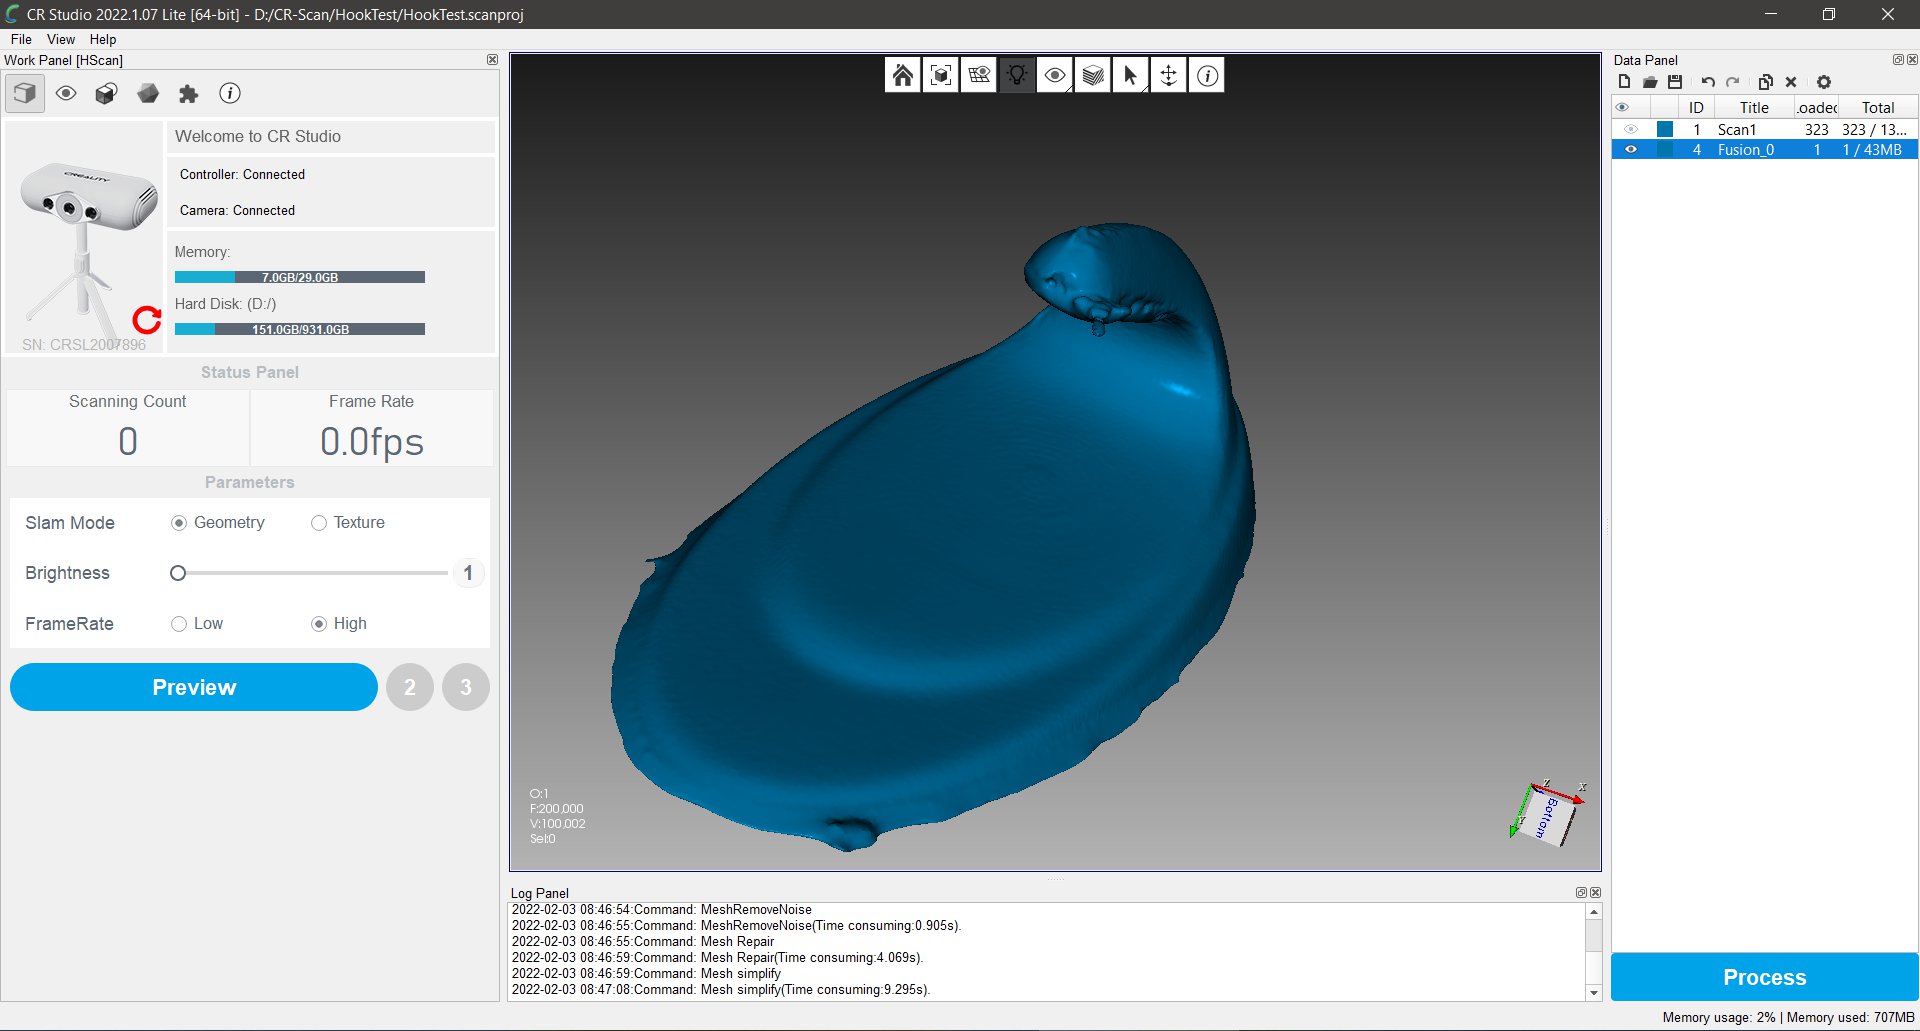
The 3rd step is the Scan step. The Guide states that it “starts scanning automatically” after placing the model back onto the turntable, but it doesn’t. I clicked the “Scan” button, and the scan started, and I could see the “Scanning Count” start incrementing, and the Scan button turned into a Stop button. I wasn’t sure how long to let this go for, but after a minute, it stopped on its own and started to process data.
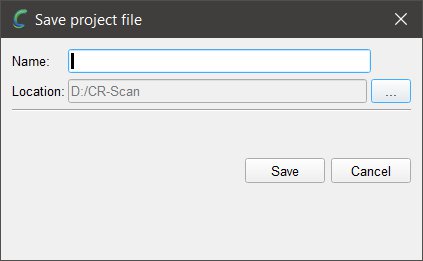
The Guide states that you should reposition the model (placing it on its side) and click the Append button. I clicked Scan again, and the software prompted me to save the project file. I chose the name “HookTest” and the software saved the project. The save dialog was another indication that this software was not designed very well. Not only is this a terrible dialog, but the dialog states “Save project file,” prompts for a name, and shows the folder that it will go into. The name is actually for a folder that it will create and the project file will be put in that folder with the same name.
 Until this point, I thought the main issue with the software was just one of language translation since Chinese developers make the software. However, I was beginning to see signs of an amateur software developer. I was surprised because even though I have never had a Creality product, I’ve watched many videos about their 3D printers and always thought very well of them. They always seemed highly recommended.
For some background, I’ve been a professional software developer for 25 years. Before that, I worked as a developer support engineer at Microsoft. Before that, I did software testing at Microsoft; before that, I worked as a Technical Editor for Microsoft Press. I know software. I’ve been writing code since I was 12 years old.
So, back to the scanning. The second scan completed, and I then clicked the Process button located in the lower right corner. The Process dialog appeared, and I left the align mode in auto and clicked Process again.
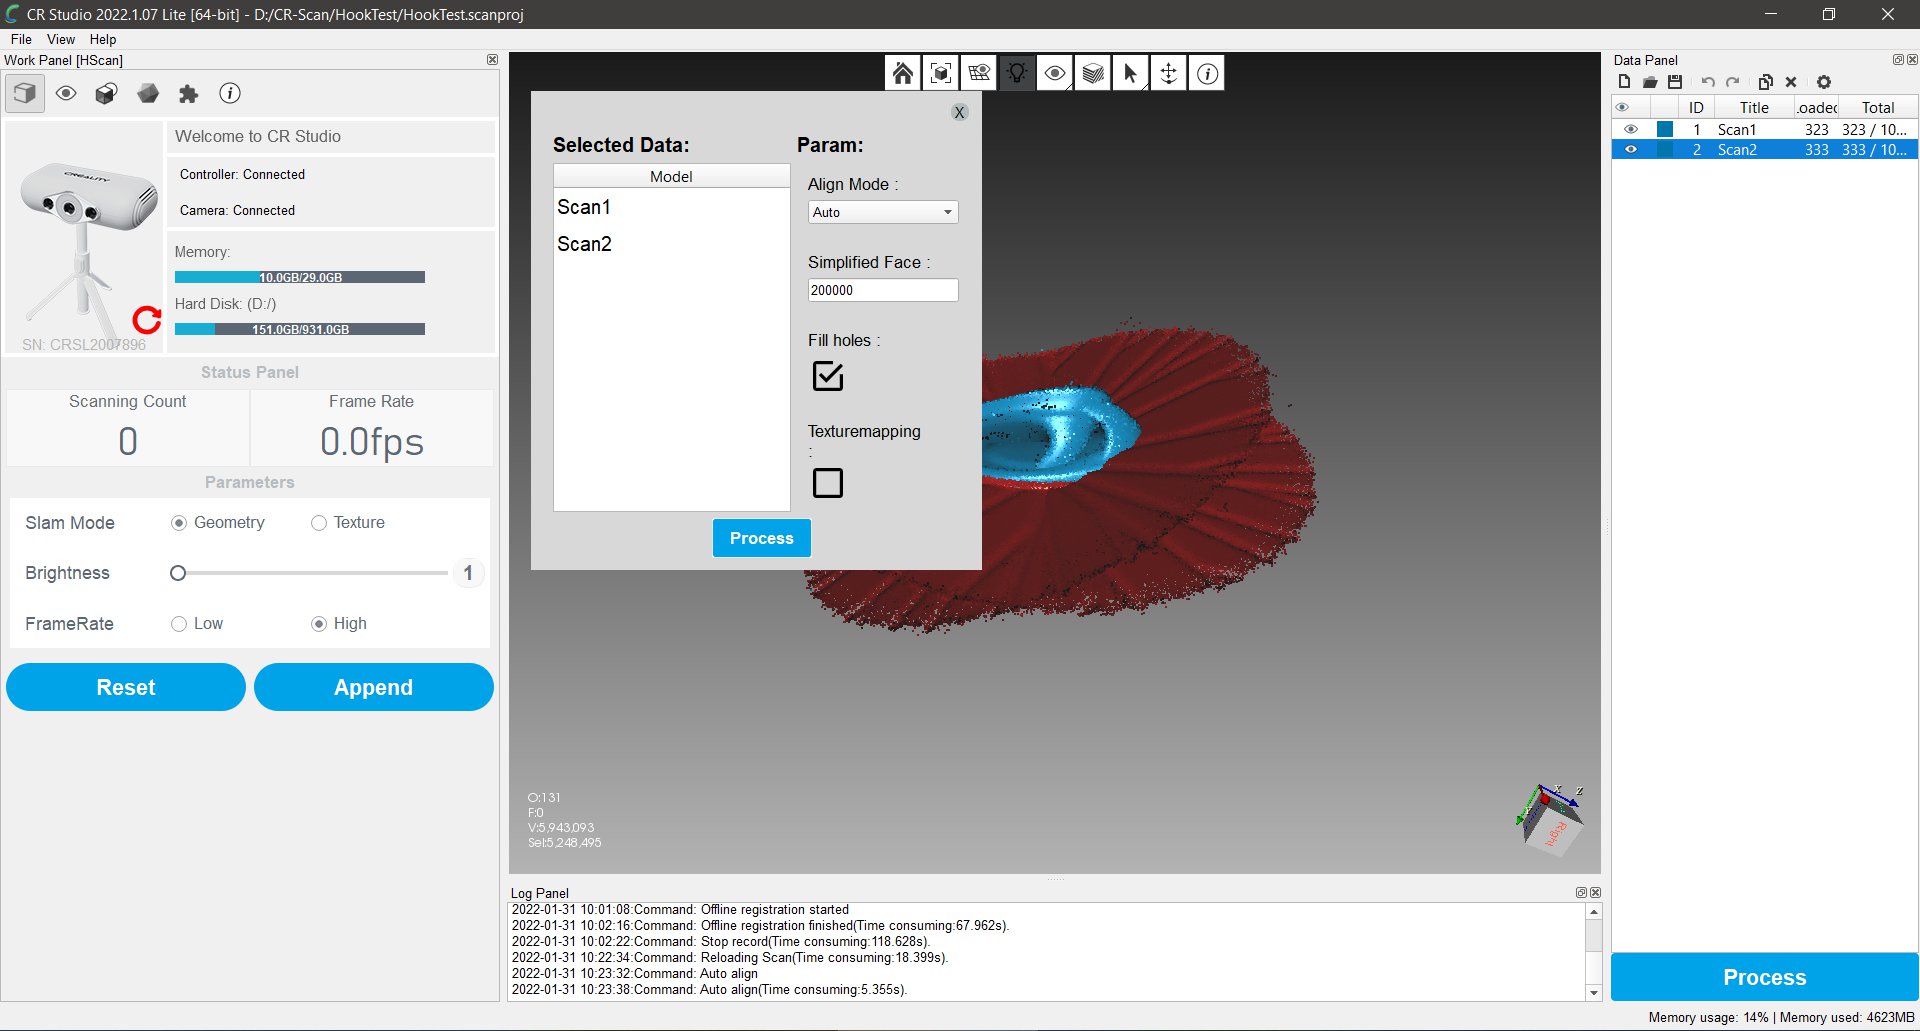
After processing, the following dialog appeared:

At this point, I began to become annoyed with the software. The Guide says nothing about this step at this point (but does later in the Guide). Using unfamiliar software is bad enough, but it’s even more frustrating when the directions are unclear due to poor translation. The software is basically asking you if you want to accept the automatic alignment (Qualified/Next) or manually align the scans (UnQualified/Manual alignment).
After switching over to another program to save the screenshot and then going back to the CR Studio software, I noticed that the “Whether the effect is reasonable” dialog disappeared. I then clicked on the CR Studio button in the taskbar, and the dialog appeared again; it was hidden behind the main window. I’ve found that many of the dialogs that the software shows are not modal – a modal dialog must be dealt with before going on – much like when you get a message box asking you a question, and you have to click Yes/No/Cancel before continuing. This dialog is just floating on top, allowing access to the main software window when it shouldn’t—more poor programming.
The model was nowhere near aligned, but it was in a previous try I had made. I selected manual alignment and it took me to this screen:
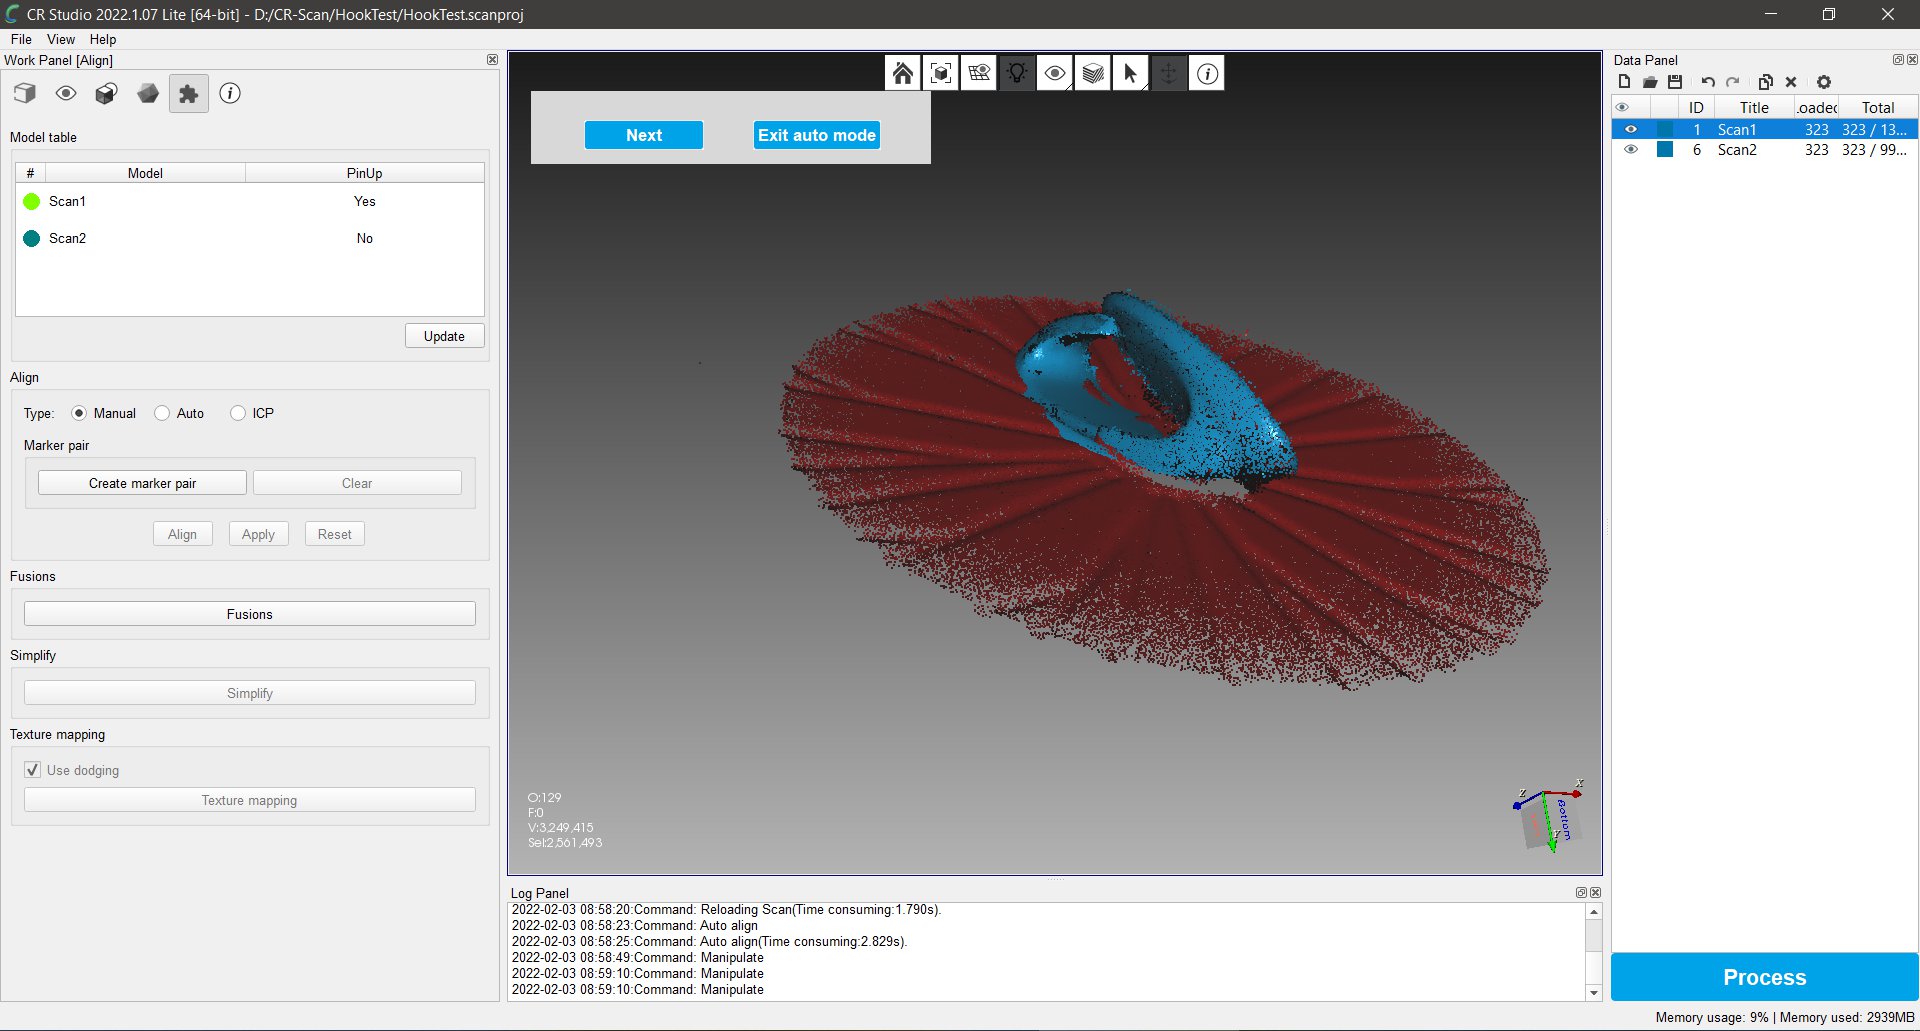
The guide states, “Manual alignment, first drag the models of different poses apart and adjust the angle,” and indicates to press the Alt key while using the left mouse button. This only rotated the scan but did not drag the models apart. With a little bit of trial and error, I figured out how to drop the three selection points for manual alignment, clicked align, and then was left wondering if I should click “Next” or “Exit auto mode.” I chose next. I then clicked Process because, well, it was just a guess because the Guide says “Automatic completion of all model processing” but I don’t think Creality knows what “Automatic” means.
After processing, this is what I ended up with:
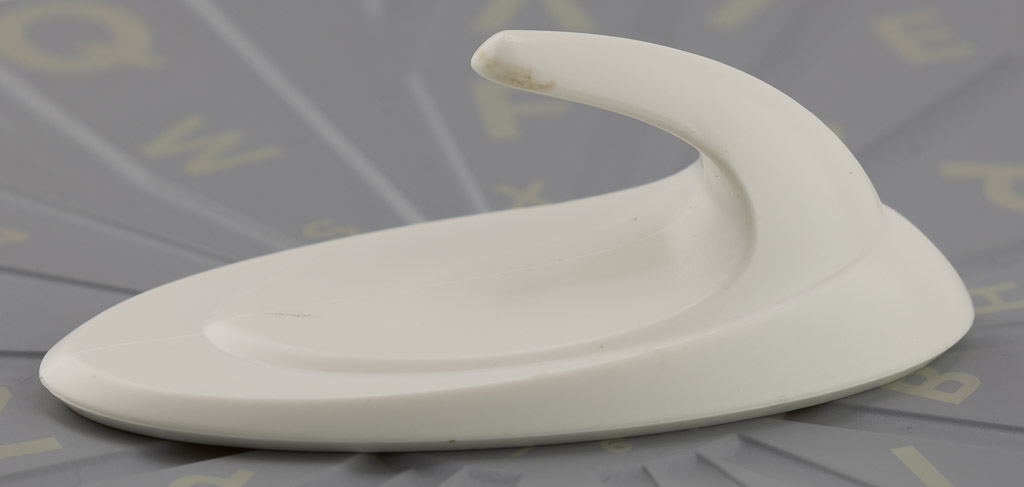
Here is a photo of the original hook:
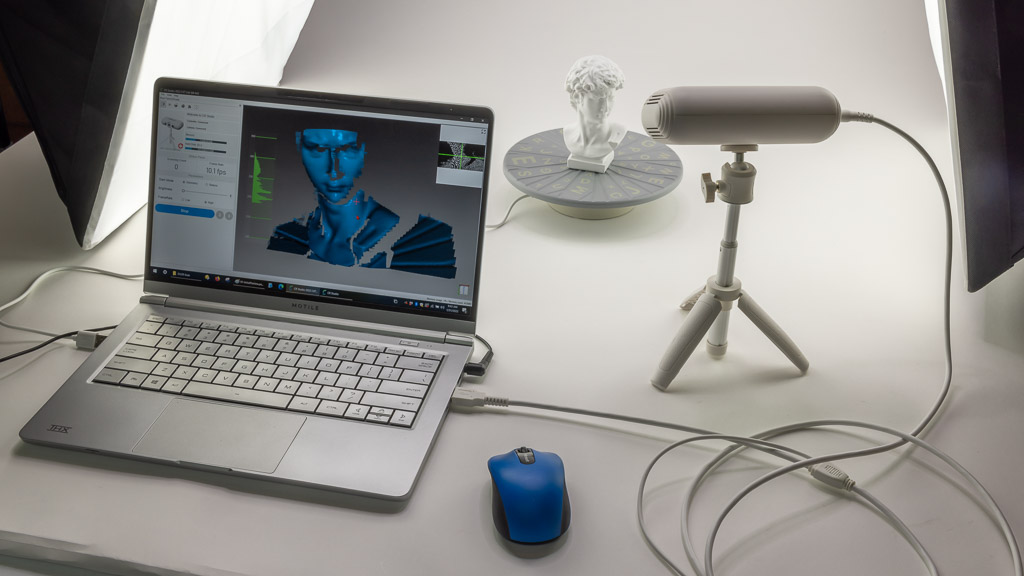
Next, I moved on to testing handheld scanning. Creality provided a bust model, so I decided to scan that. Scanning was easy, as there’s no “Initial” step, you click scan, and after a 10-second countdown, it starts scanning.
After just one scan and processing, this was the result:
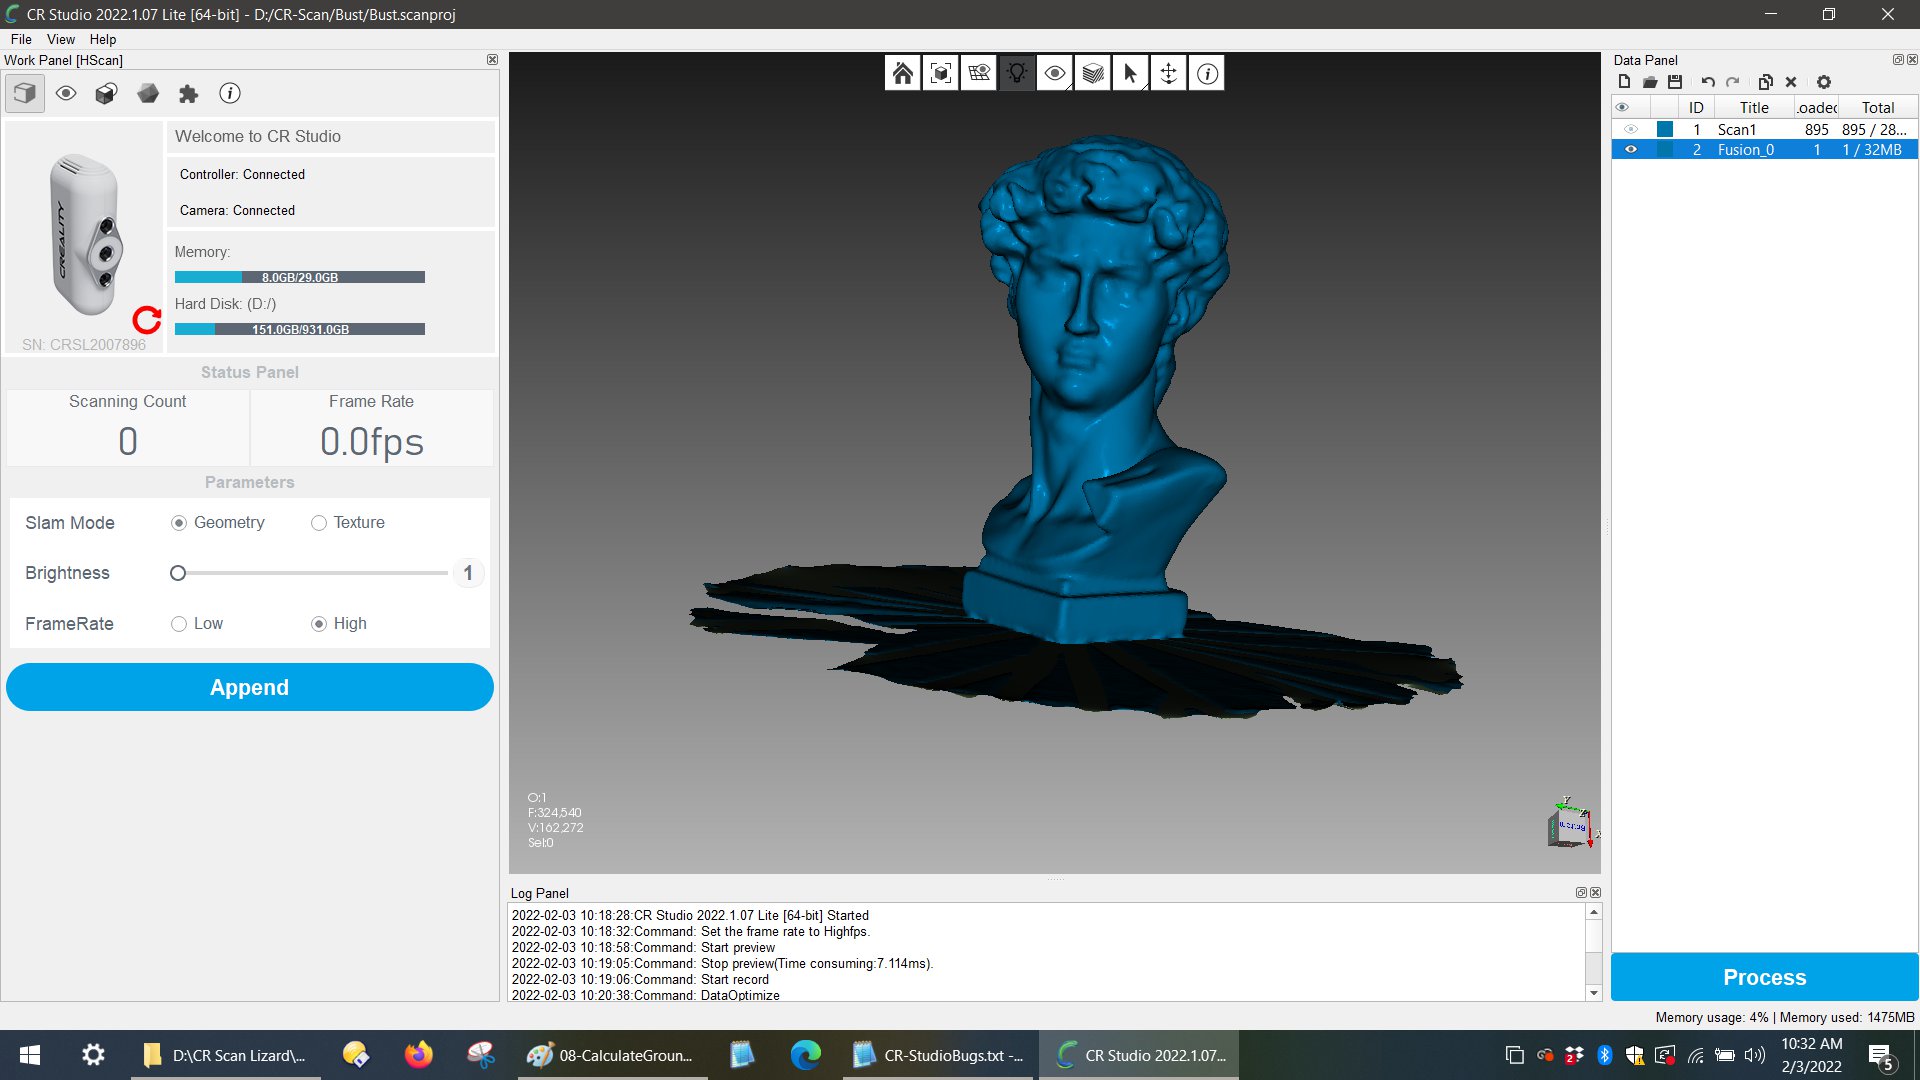
The scan came out reasonably good, which I attribute to its flat white surface. There was significant rounding off of the sharp edges though. I was disappointed that the eye detail is completely gone, though. Please forgive the crop on the right, as I still have not figured out how to move an object in the CR Studio software, if it’s even possible to do so.

Next, I tried to hand scan the following model on the turntable:

The scan did not go well, after about 30 seconds of scanning it lost its tracking and I ended up with this:
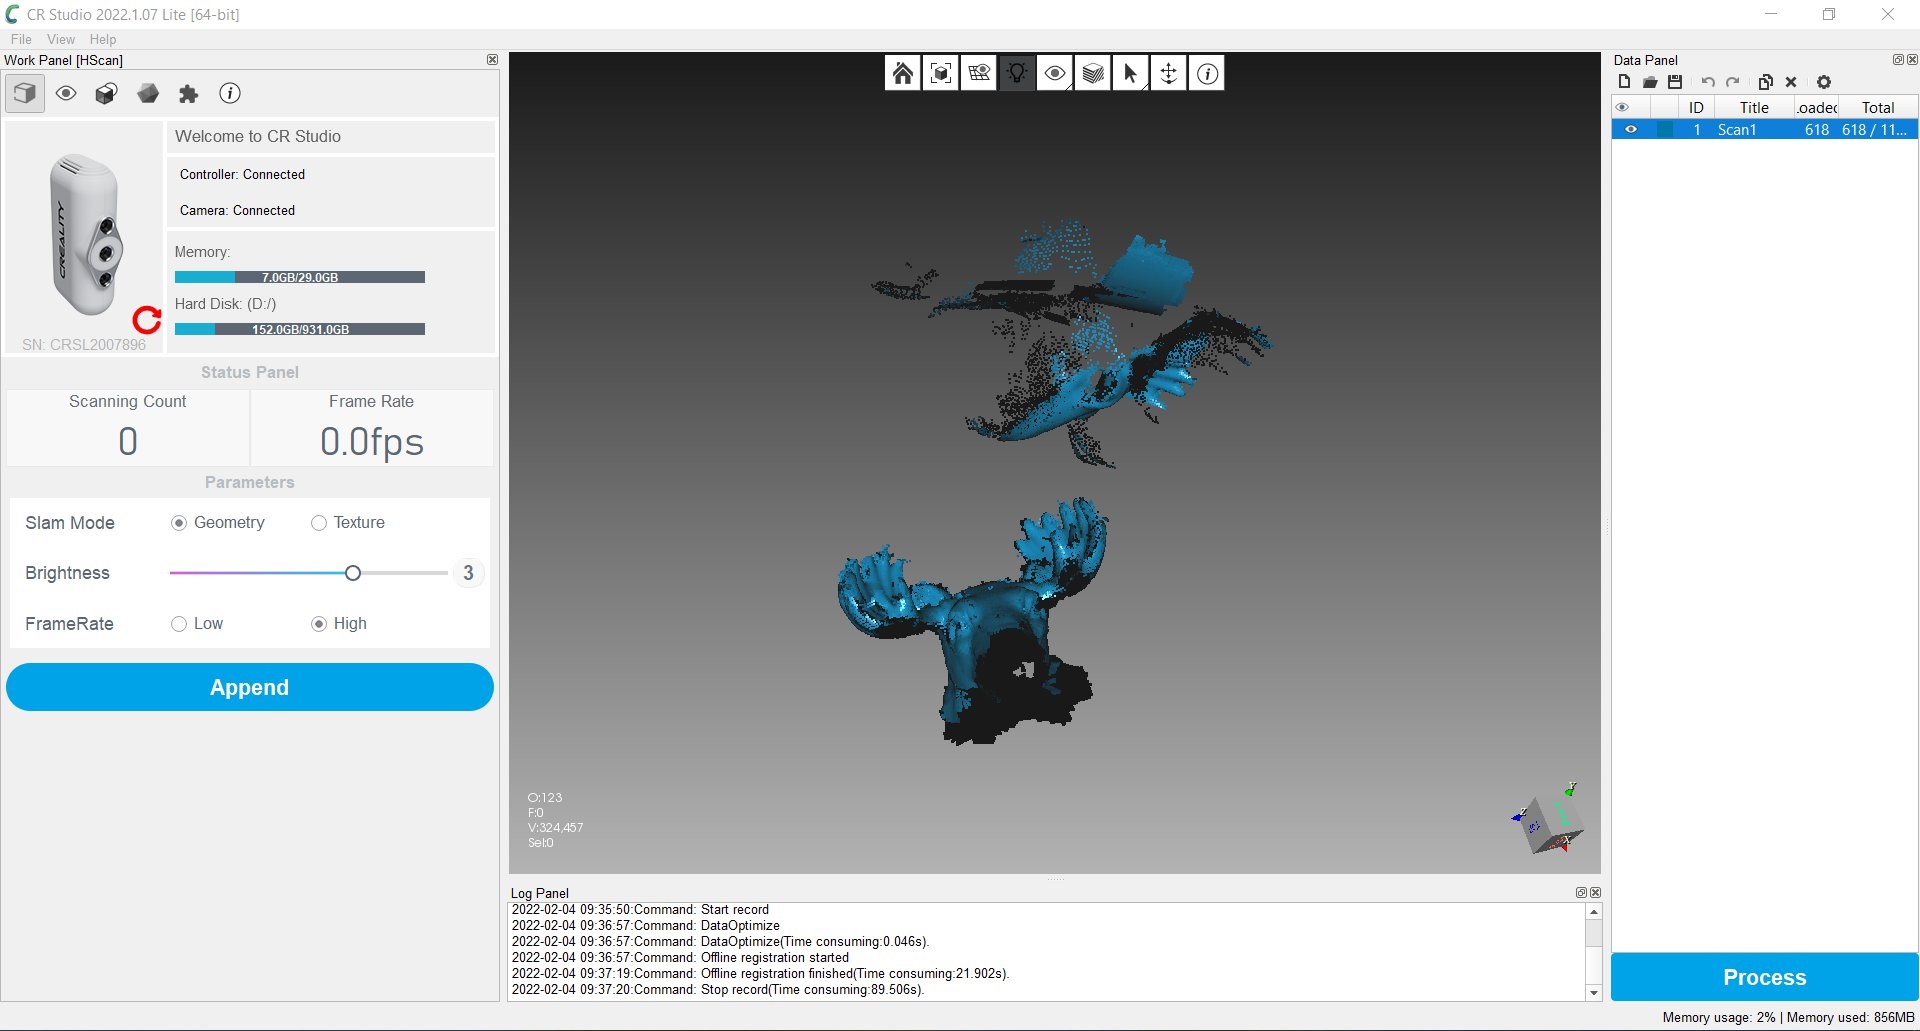
This made me conclude that you may need quite a bit of practice and trial and error to scan some models. There is no speed control on the turntable.
Next, I thought I would test the scanner for an industrial application. I attempted to scan a bracket that was 3D printed.
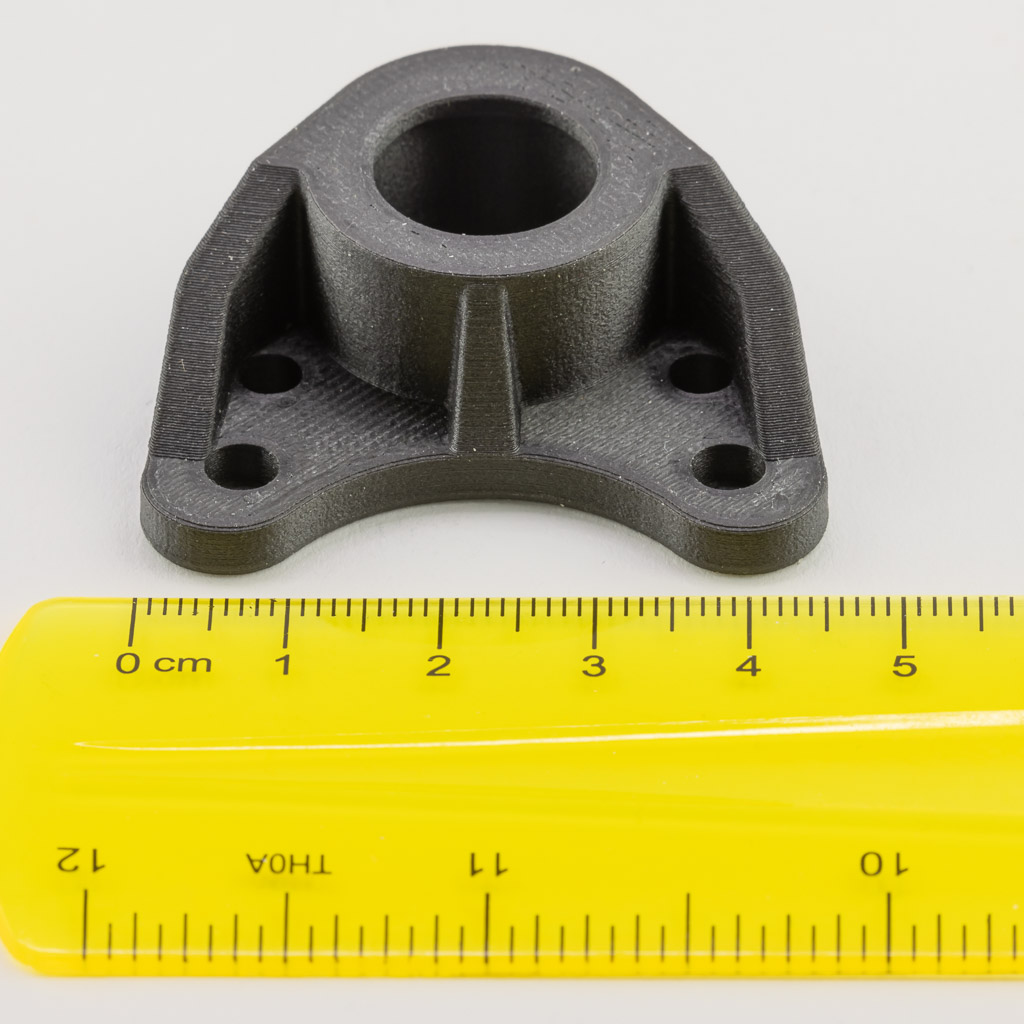
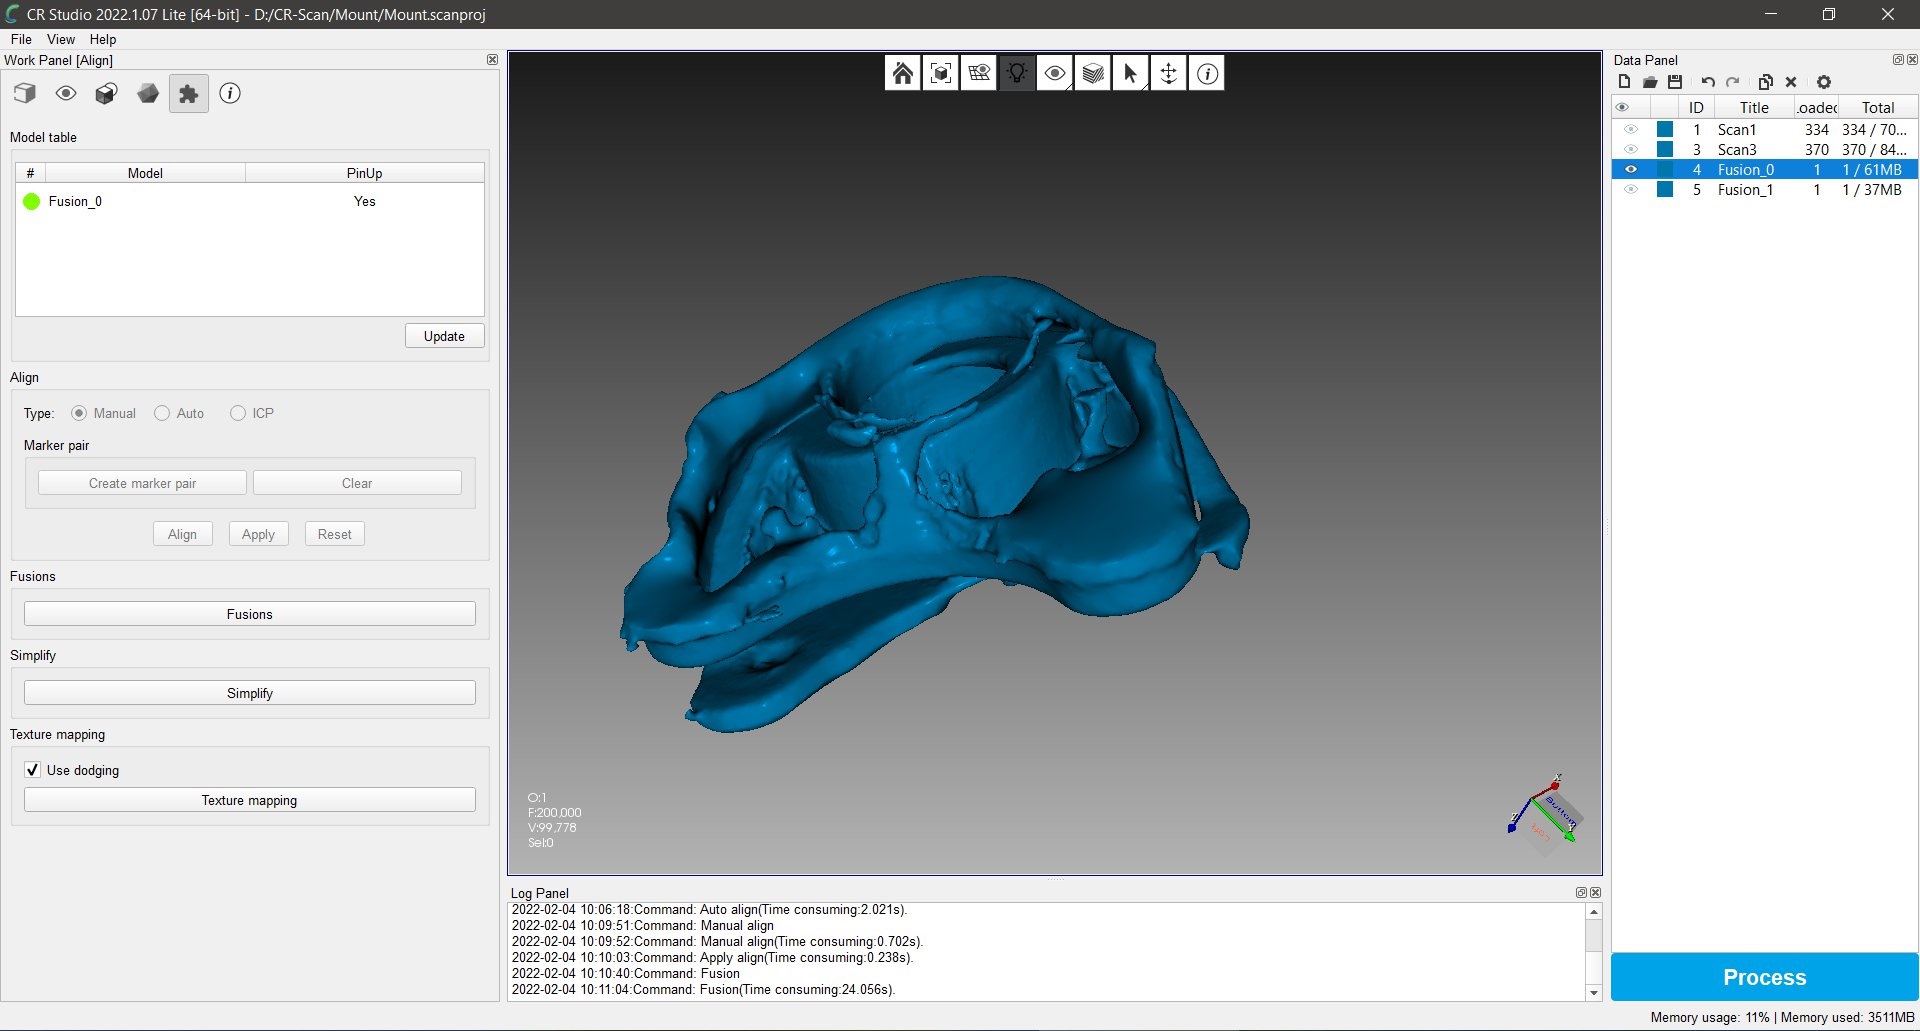
This is what I ended up with:

When I tried to scan the bottom also, the software would not accurately align the two scans, even when I tried to help it with the manual alignment.
The software has editing features, but there are no instructions on how actually to use them in the Guide. I’ve used (and written) a lot of software in the past 40 years, so I’m pretty good at figuring out stuff. However, I could not figure out how to select and edit the scan in this software. If you’re experienced with mesh/object editing in other software, that may not be as much of an issue. There are many features in the software, but without documentation, they are next to impossible to use.
As with all scanners, there are some objects that are not suitable for scanning, such as transparent, reflective, or thin objects. There are developer sprays that can help with scanning transparent or reflective objects, but I did not have any due to the short turnaround time for this review.
What I like
- Compact Size
- Carry Case
- Hardware seems to be very nice
What I’d change
- The software leaves much to be desired
- Needs to have some tutorial videos and more extensive documentation for the software
Final thoughts
I really wanted to like this product, but it has left me with a very poor impression of Creality. The CR-Scan Lizard seems to be a decent scanner on the hardware side of things; however, the software is very poorly designed. If there were some tutorial videos to watch, it could make learning easier; however, the videos I have found by Creality are not very well produced. They lack clear English instructions and often don’t clearly explain what they are doing. Even something as simple as rotating the model is difficult. There are various keyboard and mouse combinations that you have to memorize, and they are not consistent with the ones used in 3D CAD modeling software.
The CR-Scan Lizard can produce some decent scans of models, but the accuracy is just not there for parts that need a close tolerance of less than 2mm. Dimensional accuracy is close, but the surface smoothness leaves some to be desired and sharp edges are often rounded off. Mixed color models may also have issues scanning. This is my first 3D scanner, so I’m not sure how this compares to other scanners on the market.
I’m sure for some models, this scanner would be fine with a fair amount of practice. I’ll probably still use it for some CAD modeling, and hopefully, the software will improve over time. If you get the CR-Scan Lizard, be prepared to spend some time learning how to use it, and editing the scans in a 3rd party software.
Price: $210.00
Where to buy: Kickstarter
Source: The sample of this product was provided by Creality.

ESR for MagSafe Wallet, 5 Card Holder with RFID Blocking, MagSafe Sticker Included, Slim Magnetic Wallet for iPhone 17e/17/16/15/14/13/12 Series and Selected Samsung Devices, Not for 13/12 Mini, Black
(as of July 6, 2026 14:30 GMT -05:00 - More infoProduct prices and availability are accurate as of the date/time indicated and are subject to change. Any price and availability information displayed on [relevant Amazon Site(s), as applicable] at the time of purchase will apply to the purchase of this product.)
Gadgeteer Comment Policy - Please read before commenting
I agree with you 100% about the software… it needs a lot of improvement. As a first time scanner user also, I was very frustrated with the lack of instruction for the editing tools. I’ve yet to get a usable scan from this.
One thing I did notice, and have asked the question to Creality about is the fact that when I initiate the scanning software, I noticed my Wifi usage spiked… and I mean big time. The software is communicating to the internet/cloud for some unknown reason. As soon as I close the software, the wifi usage settles back down to normal. I find it very odd. Why would the scanning software need to communicate outside of my computer? Anyhow, I will be doing more testing. Great review. And yes, the hardware seems to be very good and does what it claims. The software on the other hand… hmmm… not quite there!