REVIEW – Sometimes it seems like printing has gone the way of the CD for software installation. However, depending on your line of work or need to print, physically sign and mail documents for antiquated processes still used in real estate and other industries, having a dependable printer can be anything from a life saver to just enabling your creative side to flourish. I got the chance to review a new Epson Workforce Pro WF-7310 printer right before a move and got to put it to the test for some critical, time sensitive documents as well as some fun stuff.
What is it?
The Epson Workforce Pro WF-7310 printer is a very capable wireless-wide format printer is an inkjet printer from Epson’s Workforce Pro line. It’s a wide-format model able to print up to full 13 x 19″ presentation size and borderless prints up to 11 x 17″.
What’s in the box?
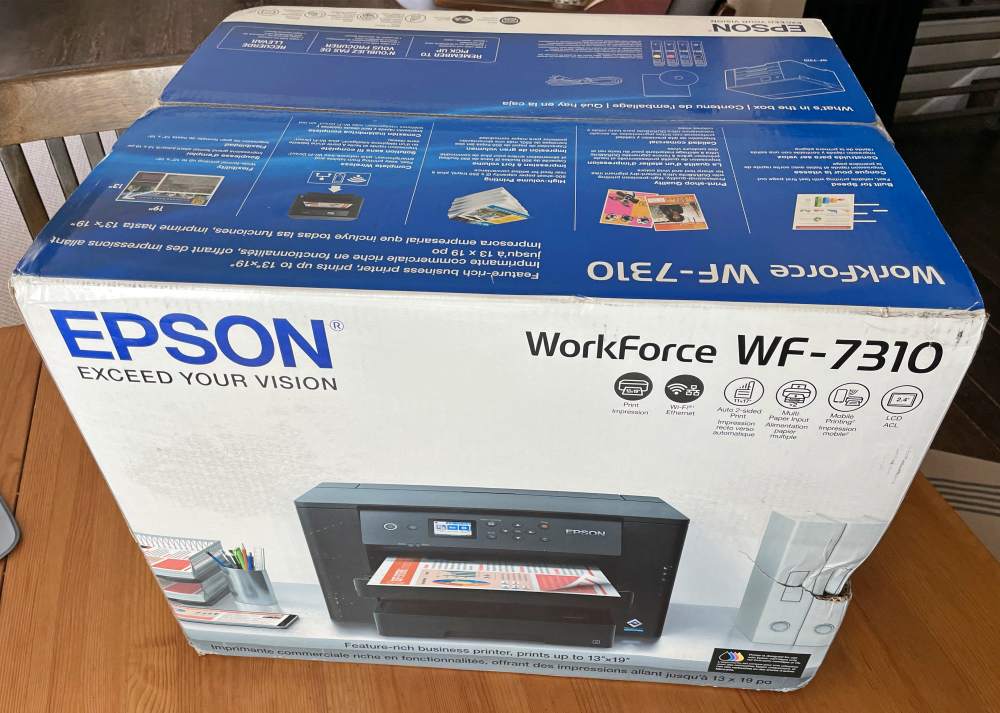
- Epson Workforce Pro WF-7310 printer
- Power Cord
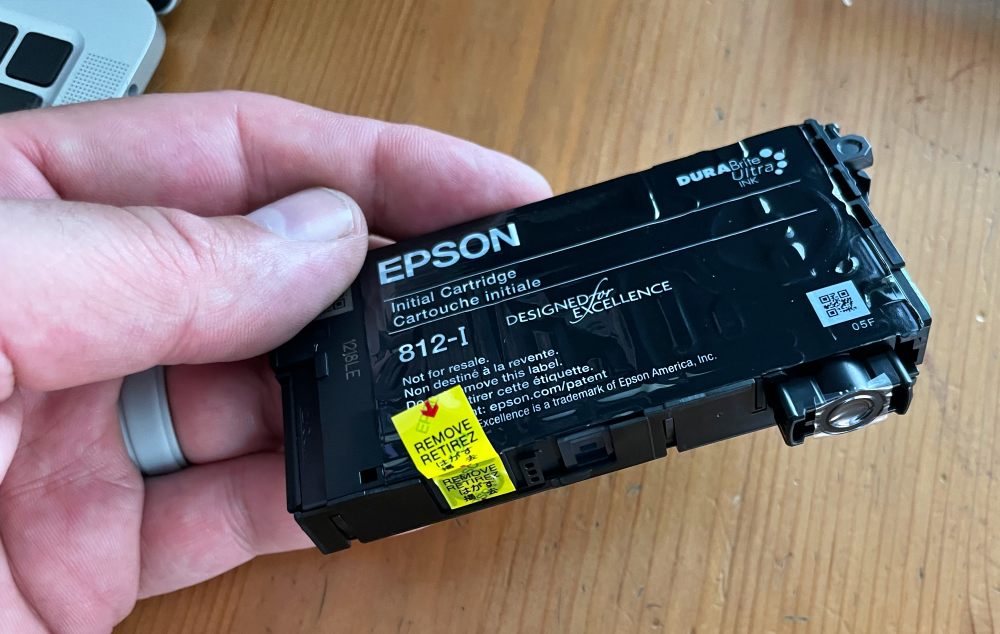
- 4 DURABrite Ultra ink cartridges (CMYK)
- Manuals and CD installation disc (I guess that hasn’t gone away?)
Hardware specs
- High-performance wide-format printing
- 25 black/12 color ISO ppm† and fast first-page-out
- Print-shop quality with DURABrite® Ultra pigment inks
- Designed for heavy workloads
- 500-sheet paper capacity for high-volume print
- Print hundreds of pages with each replacement ink set
- Replacement Ink Yield ISO Pages: T812 — Black: 350, Color: 300; T812XL – Black: 1,100, Color: 1,100; T812XXL – Black: 2,200**
- Dimensions: 20″w x 16″d x 12″h
Design and features
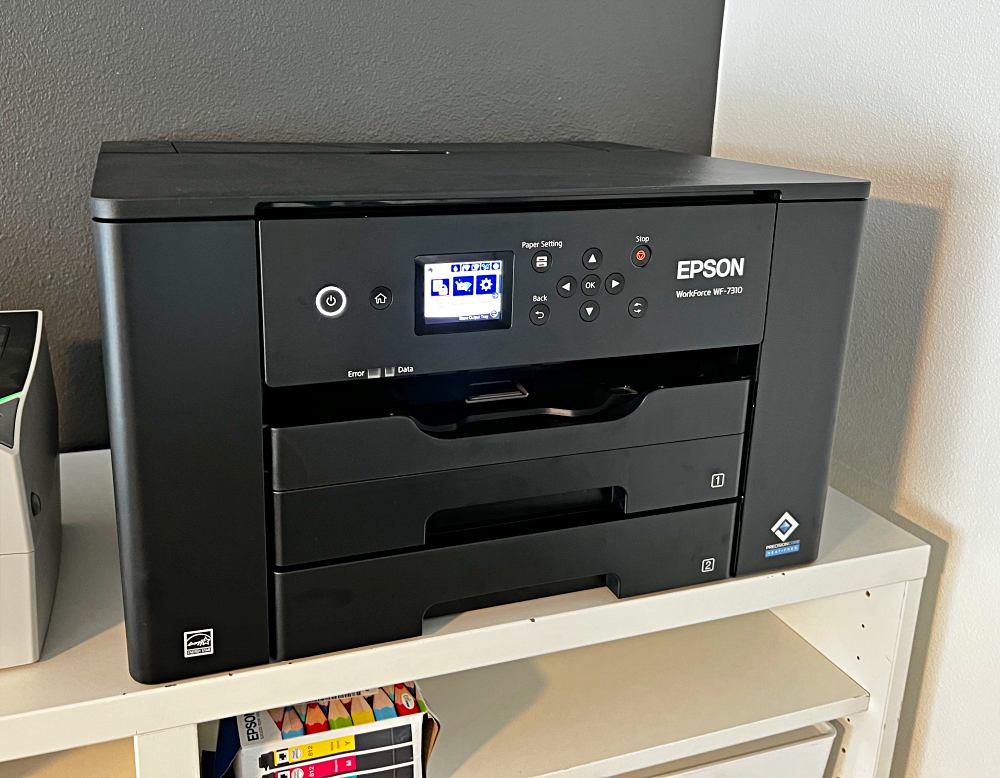
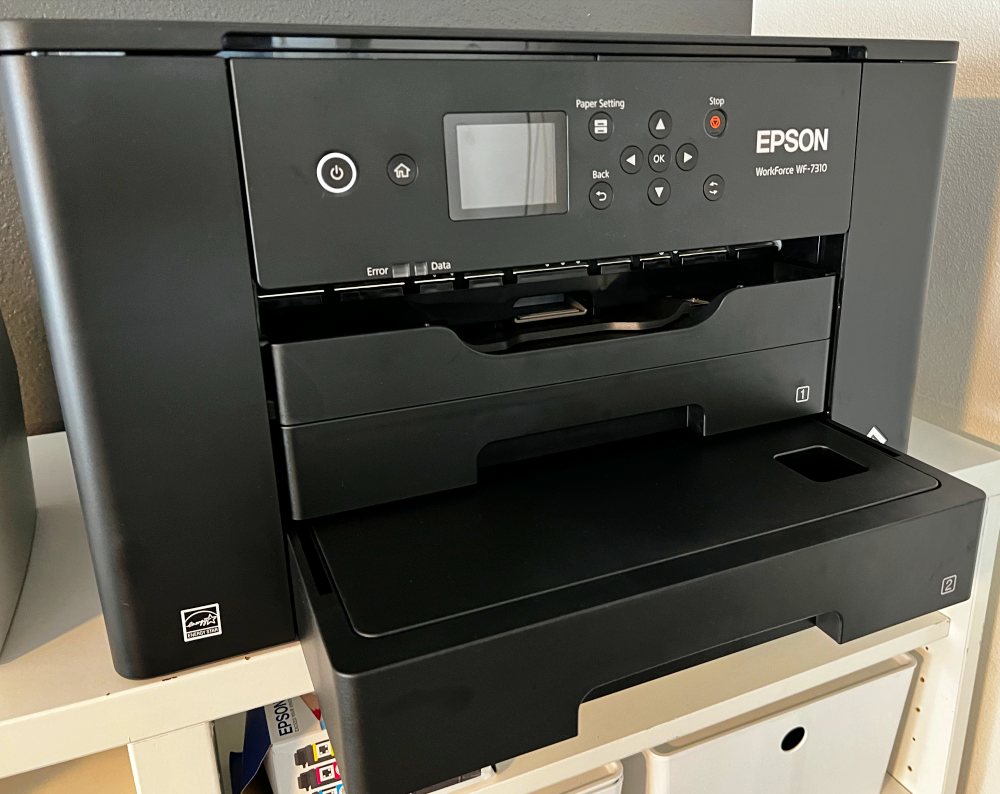
The WF-7310 printer is a pretty powerful machine and as such commands a rectangular footprint of 20″ x 16″. You can get any color you want in prints, but the printer itself comes in black. Two paper trays along with direct feed from the top/rear allow for having your most frequently used paper sizes at the ready.
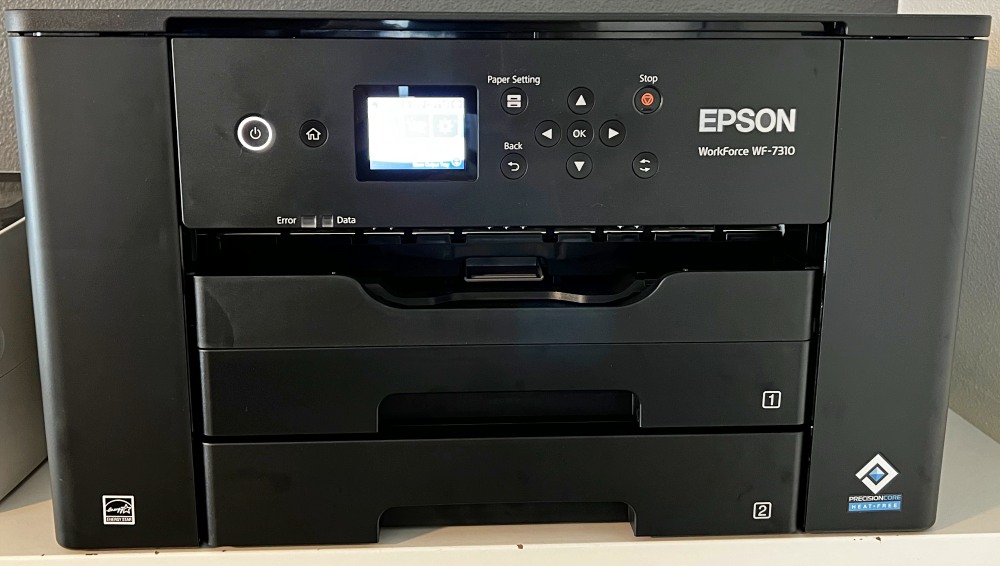
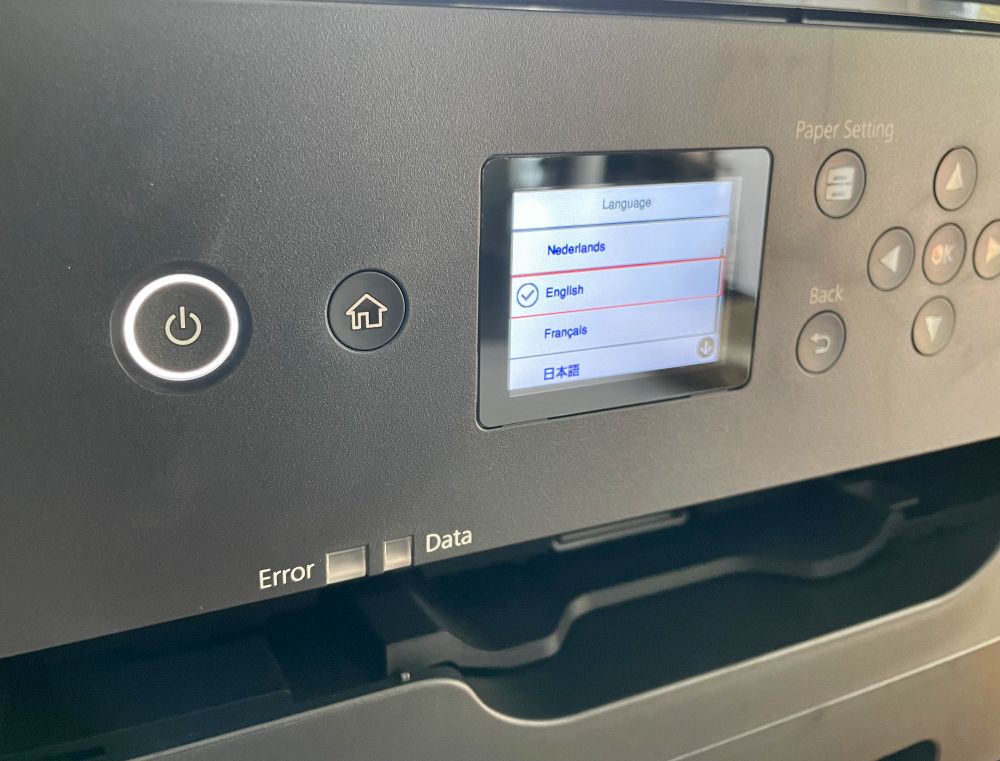
The full color screen and clear button labels make navigation and set up very easy. DURABrite Ultra ink is used resulting in vibrant prints depending on your choice of paper.
The print catch tray is motorized and deploys automatically when printing which is a great feature. Here’s a quick video of that along with a demo of print speed on documents for reference.
Setup
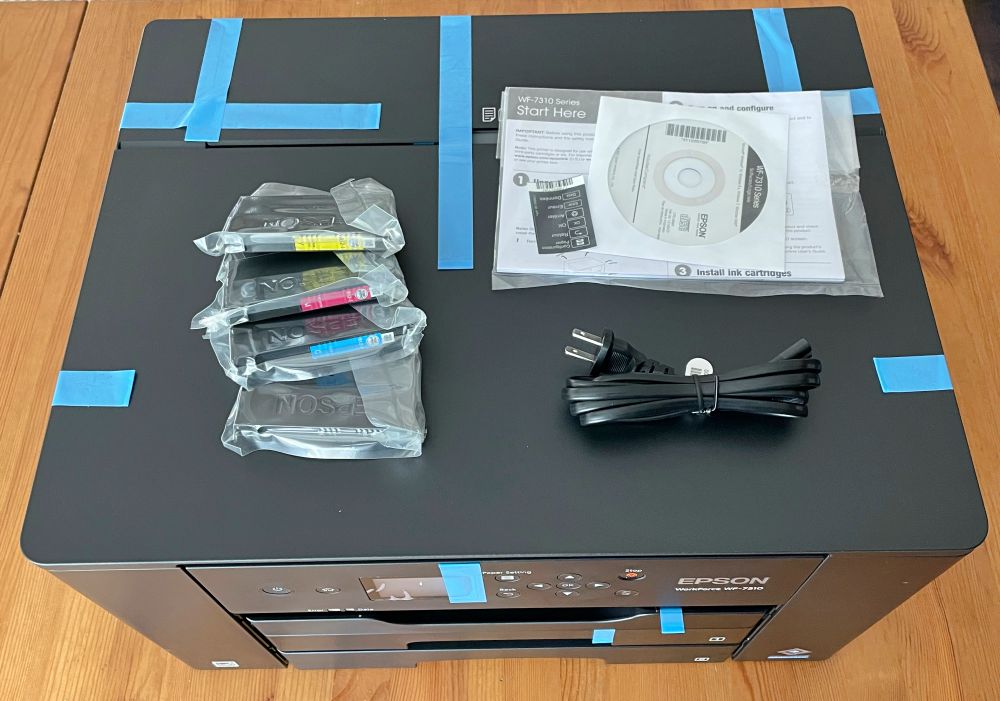
Unboxing the Epson Workforce Pro WF-7310 printer is pretty straight forward. One nice detail I somehow managed not to take a pic of is that the plastic bag inside the box has handles making it really easy to lift the unit out of the box. First things first. Remove ALL the blue shipping tape.
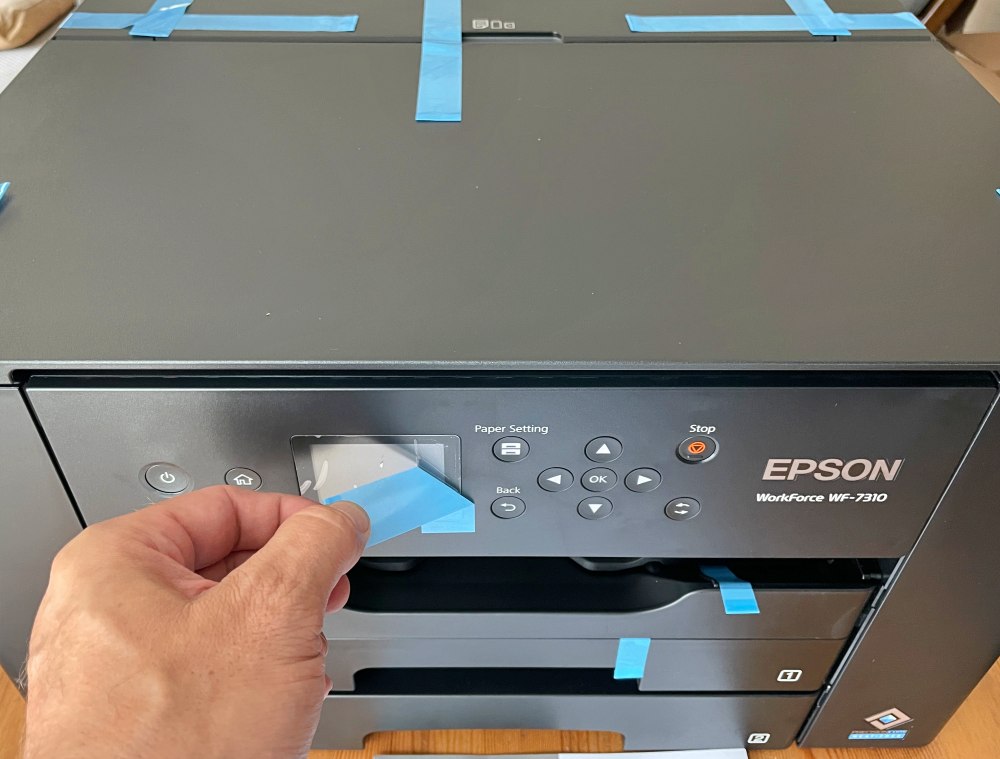
You’ll want to do this where you can get to all sides of the machine so you might want to do this on a table instead of its final location. It’s seemingly everywhere and I ended up finding some more about a week in when we used the top/rear feeding mechanism the first time.
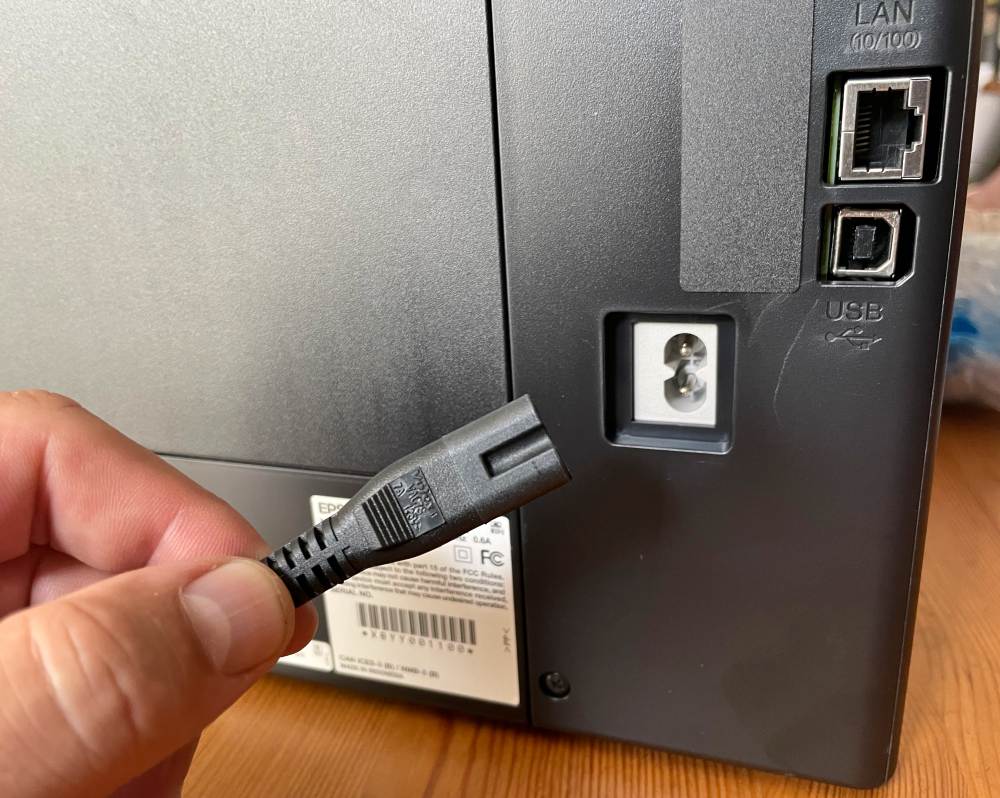
Next, move the printer to where you want it and connect it to power. Note that the power cord connection adds about an inch to the depth of the machine. You can also connect ethernet and/or USB if so desired.
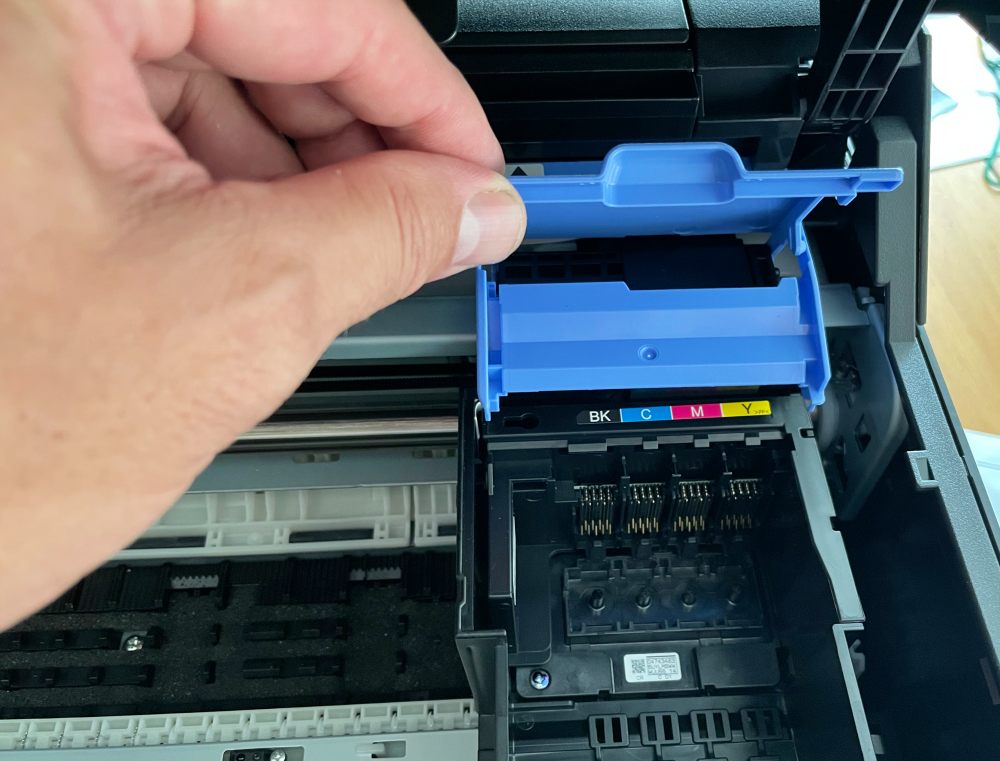
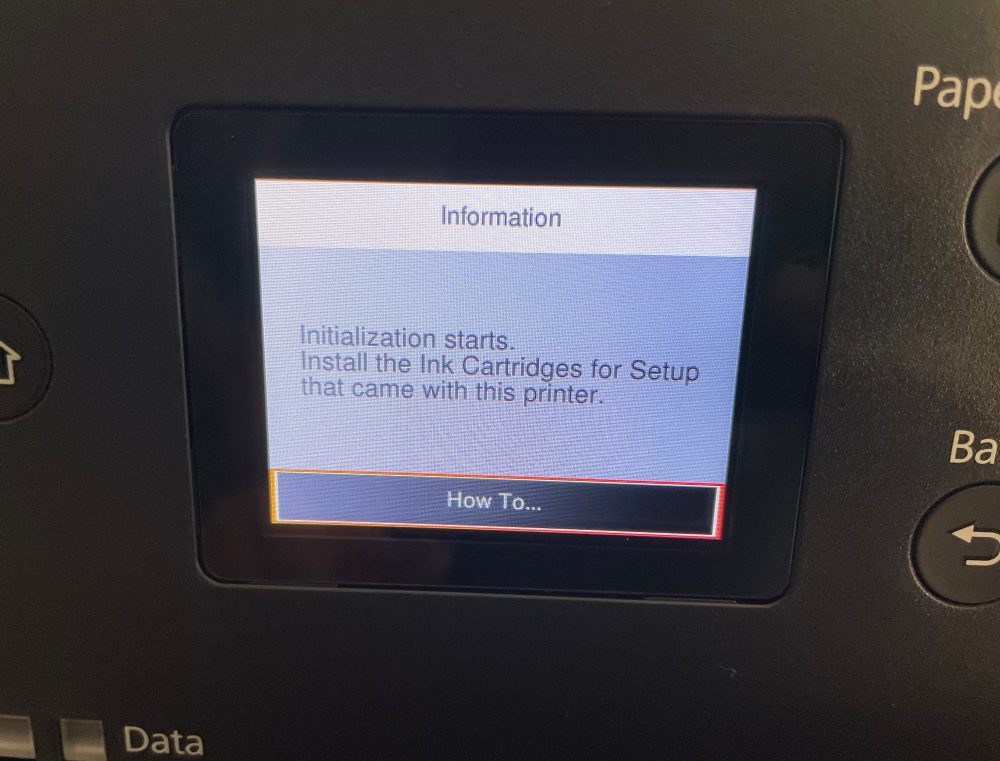
Now, power on and follow the prompts on the display. Typical date and time entry setup stuff. After that, you’ll be asked to install the ink cartridges that were included with the printer at this point. Opening the lid automatically moves the ink carriage into place so you can open the lever and place the cartridges into their specific locations.
Make sure to pull the yellow labels off each cartridge before installing.
When done it, will initialize and perform a couple of operations for a few minutes before asking you to set up the paper sizes.
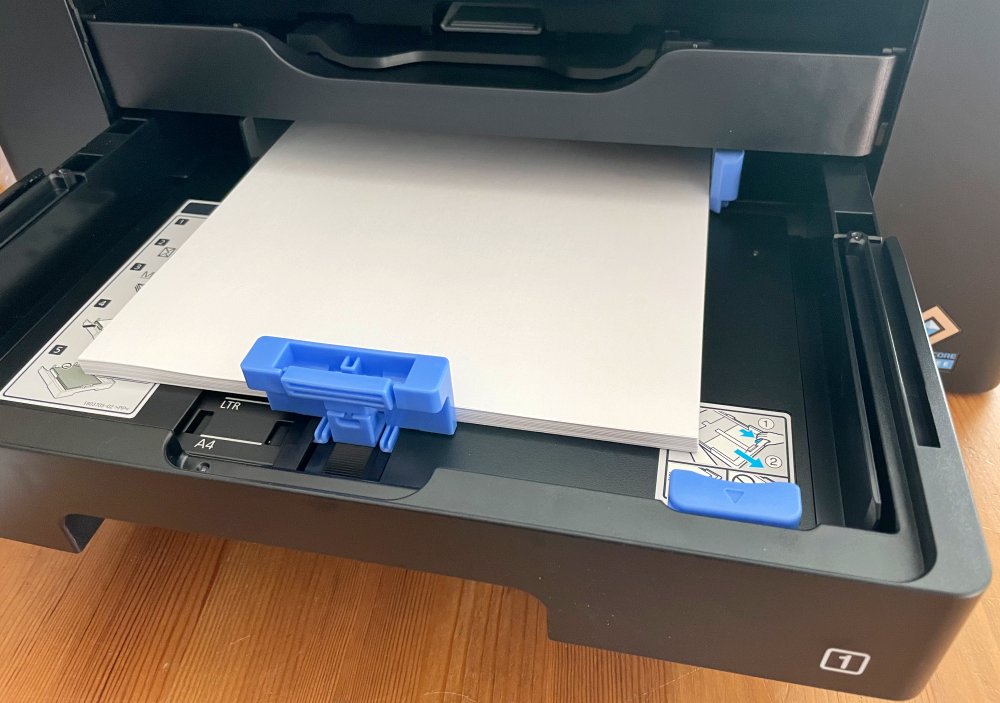
Adjustments in the paper tray are done with a trigger and then sliding to the corresponding size.
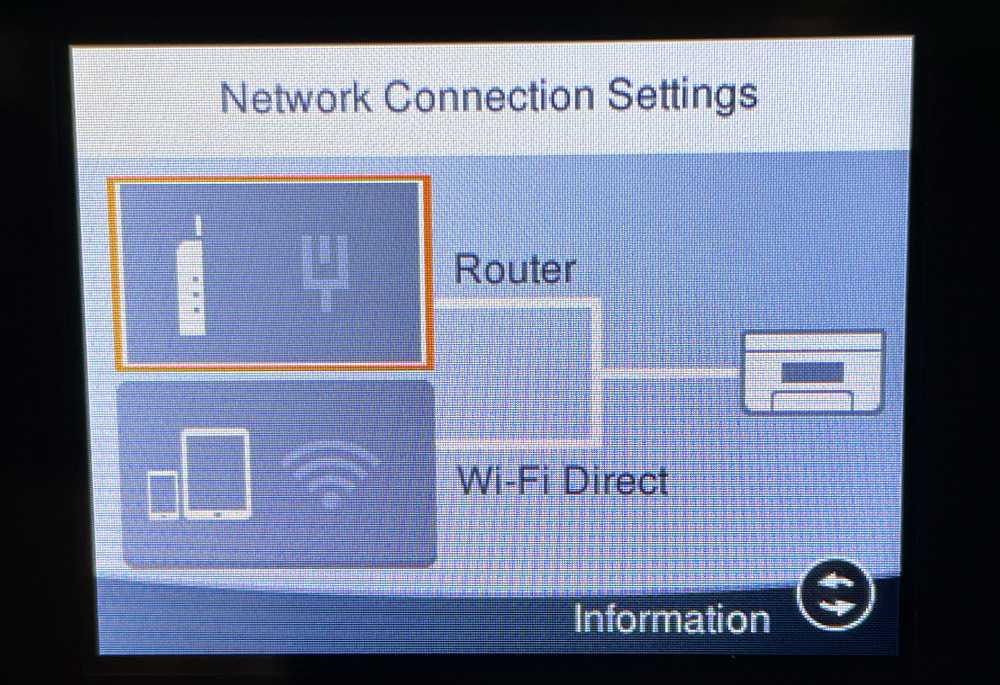
Next, it will ask to configure your connection and then the setup is complete.
Performance
Hands down, the Epson Workforce Pro WF-7310 printer was the easiest printer setup I can recall. Everything worked perfectly on the first try and I was up and running.
The only thing I hadn’t planned for was the size of the machine. It’s not huge but it is big enough that it did not fit well into the IKEA cabinet where our previous printer had resided. In the video from the Design and Features section, you’ll have seen that it’s sitting proud of the cabinet by a couple inches. It’s about 2 inches deeper than our cabinet and then some when the power cord is added.
I did get this printer just before moving to a new house, so I planned ahead and kept the packaging. I removed the ink prior to boxing it up and put the cartridges into a small ziplock. No issues reinstalling the same ink cartridges, just wiped them clean before inserting and ran the calibration steps from the maintenance menu. When re-setting up I moved the printer to the top of the same cabinet and used a 90 degree power cord I had left over from an old TV and that worked out pretty well.
A couple of key, BIG notes on size. If you plan on printing to 11 x 17″ or 13 x 19″ paper then the footprint increases.
The lower tray can grow to accommodate 11 x 17″ paper by squeezing a trigger inside and extending the tray. The result adds 6″ out the front for a total of 22″ depth. Not the end of the world, but could definitely pose a problem depending on your office configuration.
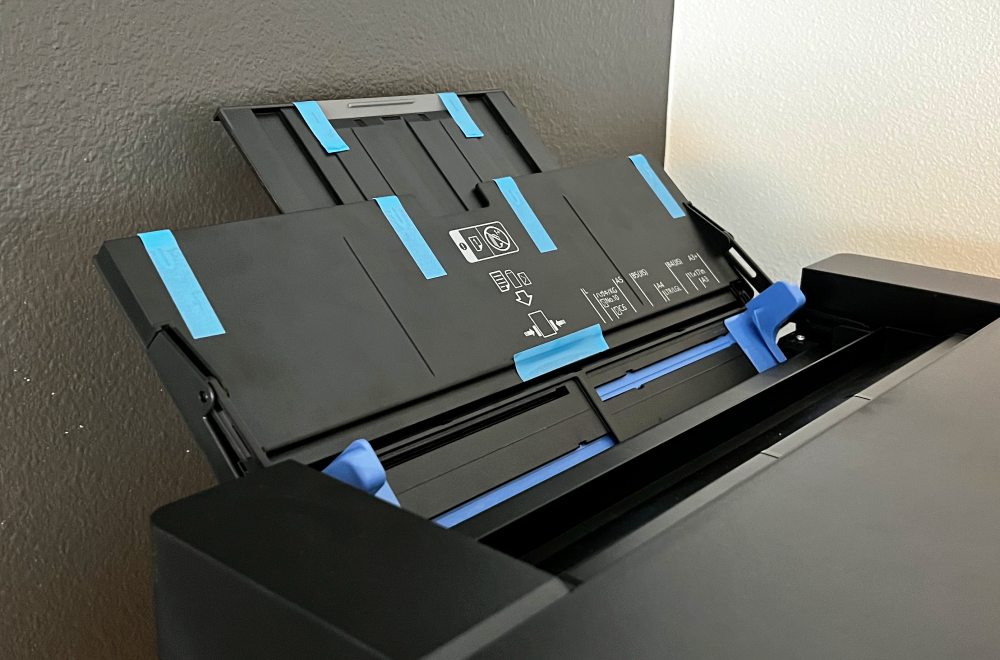
To print 13 x 19″ you need to use the top/rear loading function. When this is unfolded it adds a whopping 8″ to the back depth and slightly more than 5″ of height.
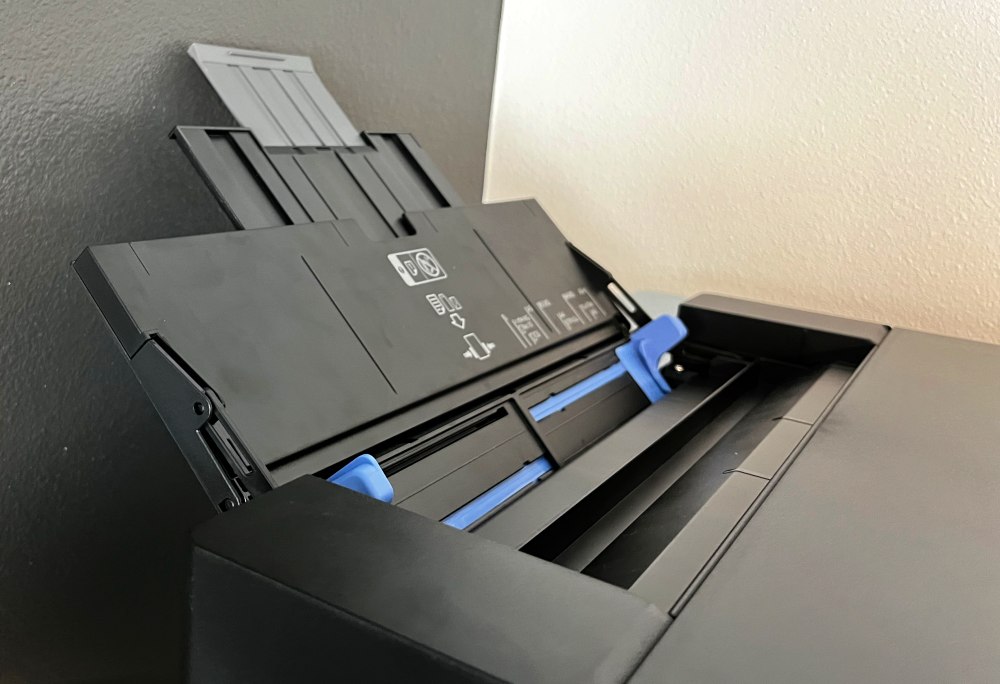
The depth added is enough that on my cabinet, the printer moves past the halfway balance point and would tumble off. I’ll probably end up installing a corner platform or something to the top of the cabinet to accommodate. But yes, if you’re thinking of loading 11 x 17″ in the lower tray and having the top/rear open with 13 x 19″ loaded that depth grows to a massive 30″ footprint.
I’m a Mac user, so I can’t speak to printing from a PC, but printing has been surprisingly smooth. One of the very first prints had a couple of striations, and again using the print-head clean and the alignment settings I was able to quickly get it printing perfectly.
I mentioned it quickly above, but the automated print catch tray is really cool. When you send a print, the catch tray automatically extends and keeps your print from tumbling to the floor. It needs to be manually pushed in when you collect your print, but hey that’s a lot simpler (and less costly) than some sensor trying to detect if you’ve picked up a print and cross checking with the queue to make sure there’s not another one coming before retracting. This feels like a big budget feature for a printer that isn’t super expensive.
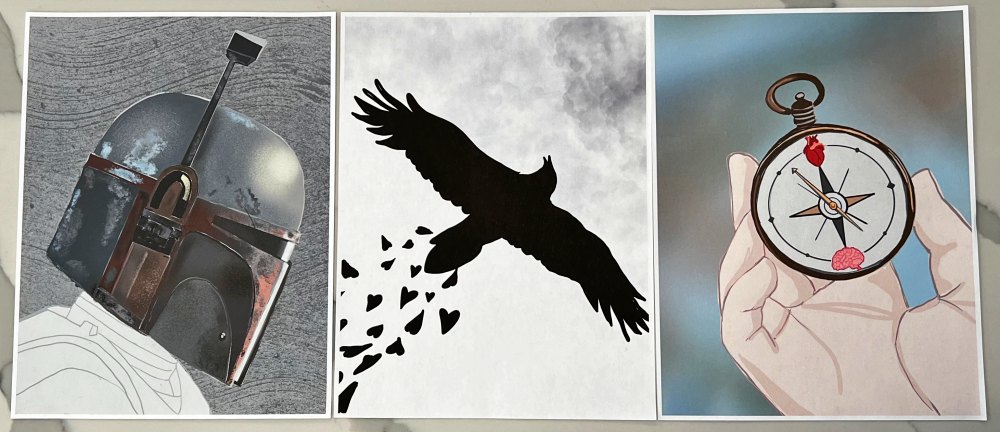
Text documents print pretty fast as long as your WiFi network is robust. Images and artwork print speed will depend on your file size and quality settings. Overall I’ve seen faster graphic prints than any previous machines I’ve used. A few slogan type 13 x 19″ poster prints came out in seconds instead of minutes. Other photos take a bit longer, but the quality has been great. Here are a few rad sketches that my wife did for #inktober that printed out beautifully.
Ink replacement cost is always a factor when you look at the total cost of owning a printer. The Epson 812 DURABrite Ultra ink package containing Black, Cyan, Magenta and Yellow cartridges sells for $38.95 on Amazon, so keep that in mind. I don’t have a solid read on ink consumption yet, but it doesn’t feel like I’m using a lot. It all depends on what you print and there is room for an oversized black cartridge if you’re always running low there first.
What I like
- Print quality is excellent
- Automated print catch tray
- Prints up to 13 x 19″
- Great price for the quality
What I’d change
- Reverse the top/rear tray loading so that there’s no increase in depth to the footprint when in use.
- 90 degree angled power cord and/or inset power port to reduce minimum machine depth
Final thoughts
For creative types, the Epson Workforce Pro WF-7310 printer wins on print quality. The color is great and speed is good even on massive file sizes. The variable footprint size could affect placement in your office so keep that in mind and you’ll be very happy with this unit. Anyone looking for a document-only printer or multifunction machine should look elsewhere as those are not what the WF-7310 was designed for.
Price: $199.99
Where to buy: Epson and Amazon
Source: The sample of this product was provided by Epson

Samsung 14" Galaxy Chromebook Go Laptop PC Computer, Intel Celeron N4500 Processor, 4GB RAM, 64GB Storage, ChromeOS, XE340XDA-KA2US, Student Laptop, Silver
(as of June 18, 2026 19:01 GMT -05:00 - More infoProduct prices and availability are accurate as of the date/time indicated and are subject to change. Any price and availability information displayed on [relevant Amazon Site(s), as applicable] at the time of purchase will apply to the purchase of this product.)
Gadgeteer Comment Policy - Please read before commenting
Do you by chance have the original firmware on the CD? I did an update today and it ruined my printer and can not find the original firmware. Im looking everywhere? Thank you.
How would I use white pigment ink in my Epson wf 7310 for film printing