REVIEW – I’m a big coffee fan, but not so much a fancy coffee fan. I like an occasional flavored java or a shot of flavored creamer here and there, but mostly I just like my coffee black with a touch of sweetener. However, when my daughter came home from college to work this spring, with all of her amateur barista coffee equipment in tow, I had three blissful months of her whipping up all sorts of new coffee drinks to try on me. One of her essential coffee gadgets was an inexpensive foamer that she used to great effect, so when the opportunity to review the subminimal NanoFoamer popped up, I jumped at it. Let’s check it out! Gadget on!
What is it?
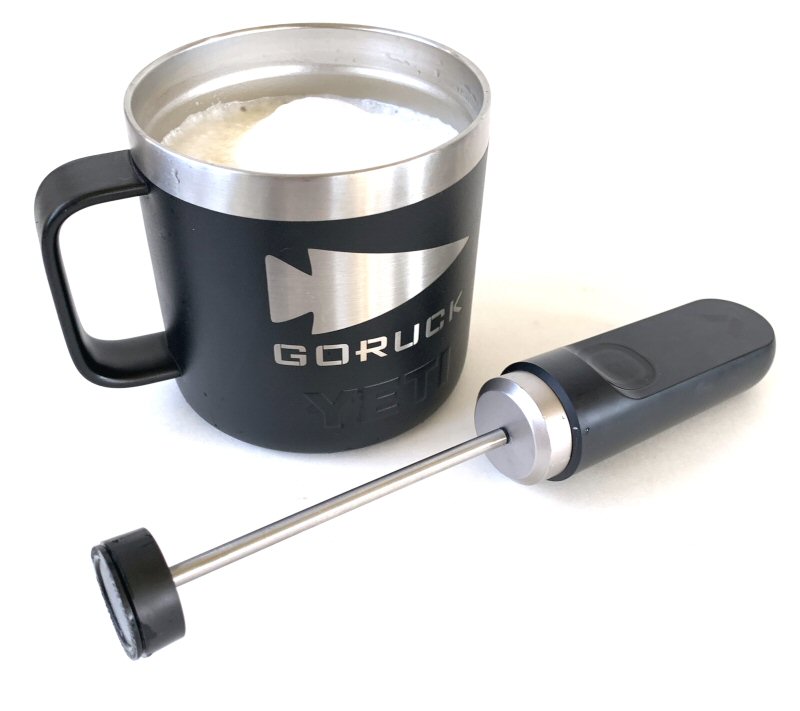
The subminimal NanoFoamer is a battery-powered, handheld milk foamer to make microfoamed milk for barista-style coffee drinks.
What’s in the box?
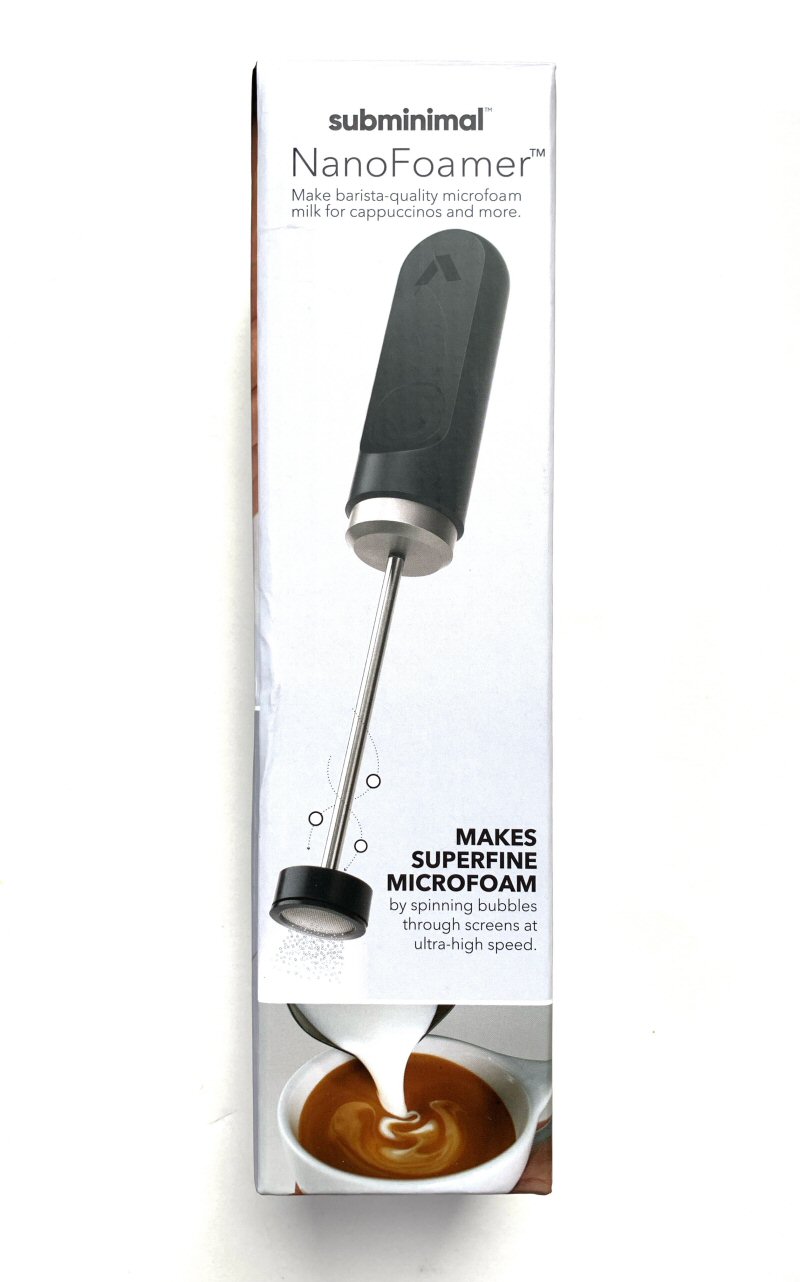
The subminimal NanoFoamer arrived in the box shown above. It had lots of photos about the features and use of the NanoFoamer.
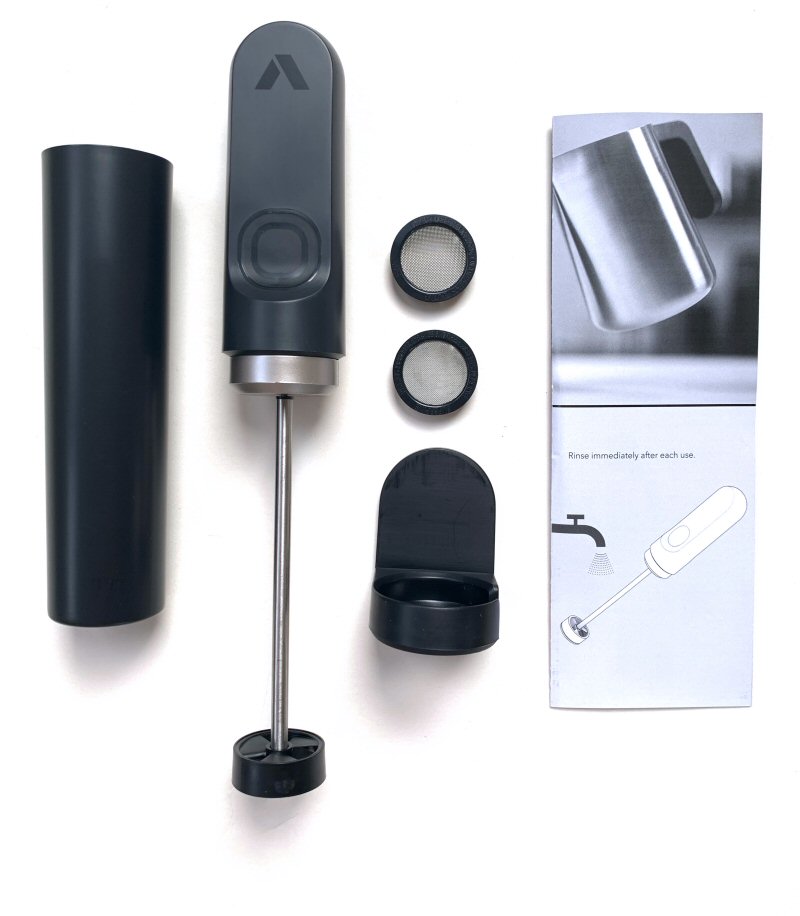
The subminimal NanoFoamer includes all the items shown above and listed below:
- NanoFoamer
- 2 NanoScreens – Fine and Superfine [also available separately for replacement]
- Protective Cover
- Wall Mount
- User Manual
Hardware specs
- 0.2mm diameter stainless steel shaft
- Runs on 2 AA batteries (not included) – Approximately 60 drinks can be made with one set of fresh batteries
- Waterproof housing and switch
- High speed and high torque electric motor
- Protective case
- Adhesive-backed wall mount
- Design is protected by multiple patents
- BPA free and made from FDA & CE compliant food-grade materials
Design and features
Disclaimer: When Julie gave me the go-ahead to review the subminimal NanoFoamer back on July 7, 2021, my plan was for my amateur barista daughter, who was home from college at the time, to help me give the NanoFoamer a review by someone with significantly greater fancy coffee skills than me. However, due to shipping delays, the NanoFoamer did not arrive until August 23, 2021, over three weeks after my daughter had returned to college, so she was unable to assist me with this review. Therefore, this review was done entirely by a guy who drinks 2-3 cups of black coffee per day and has zero experience in making lattes, cappuccinos, macchiatos, or mochas—but I do appreciate an occasion creamy, foamy, milk atop my cup o’ java. So please consider this review as being from the perspective of an amateur milk foamer, but one who does appreciate a good coffee-related gadget.
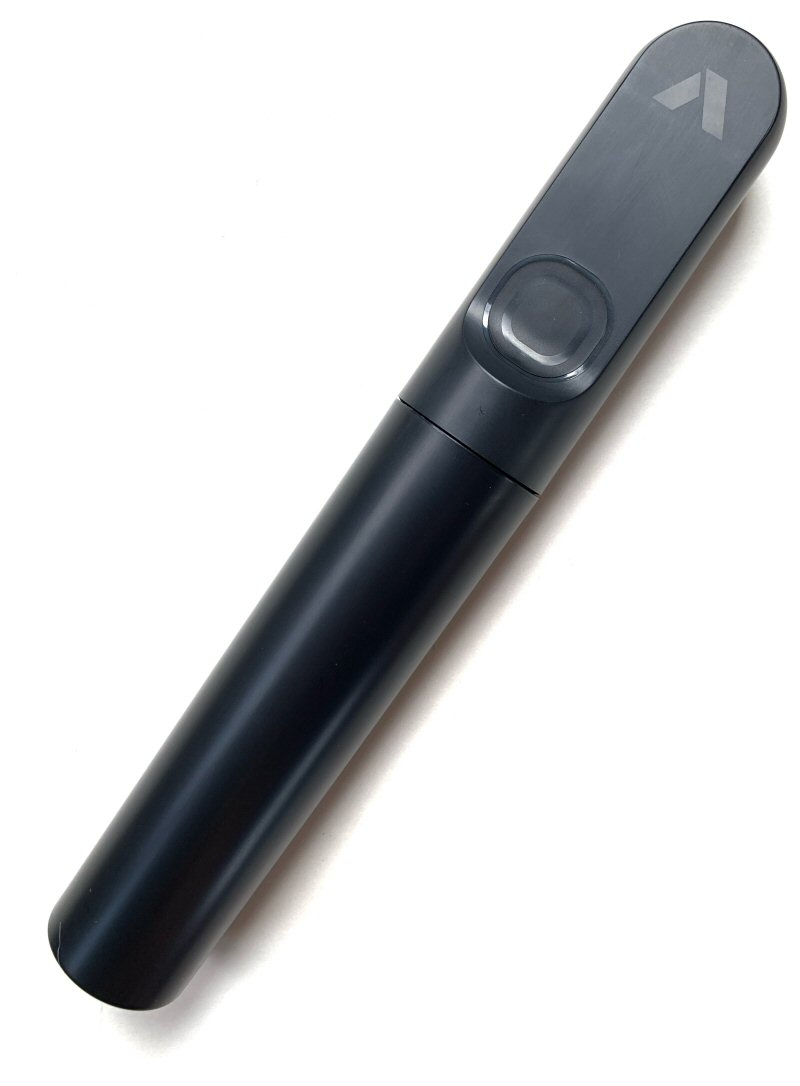
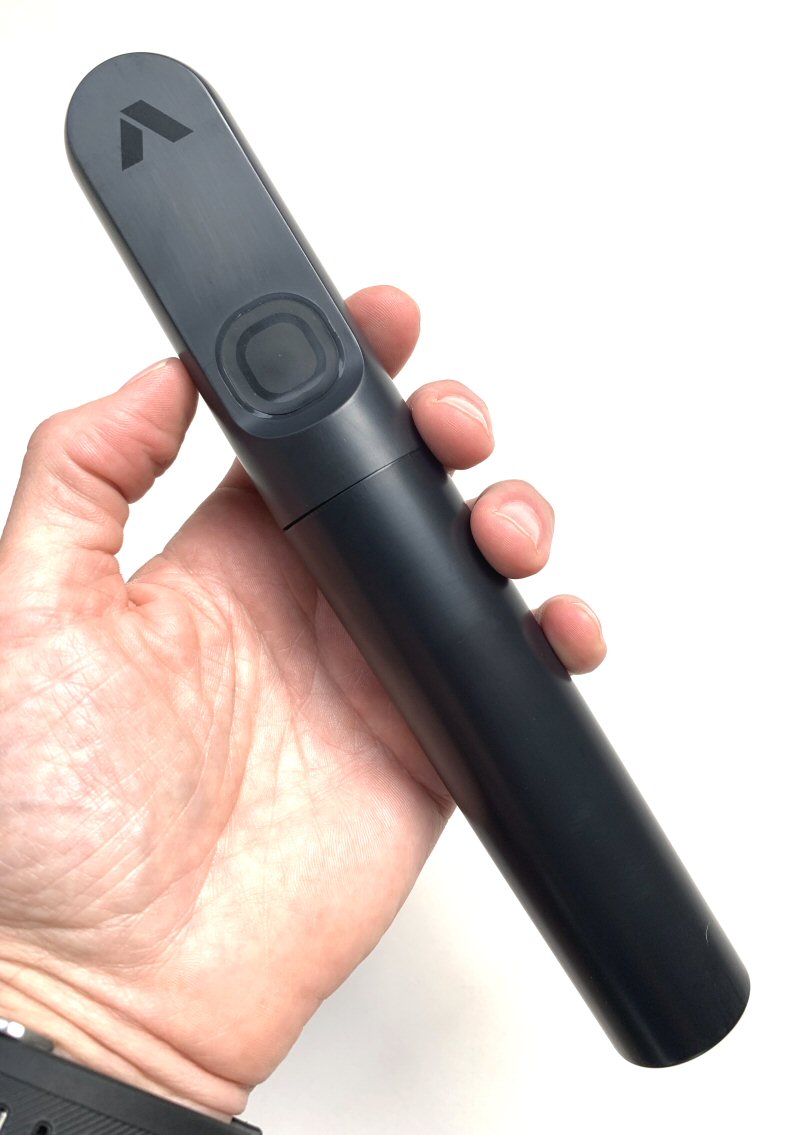
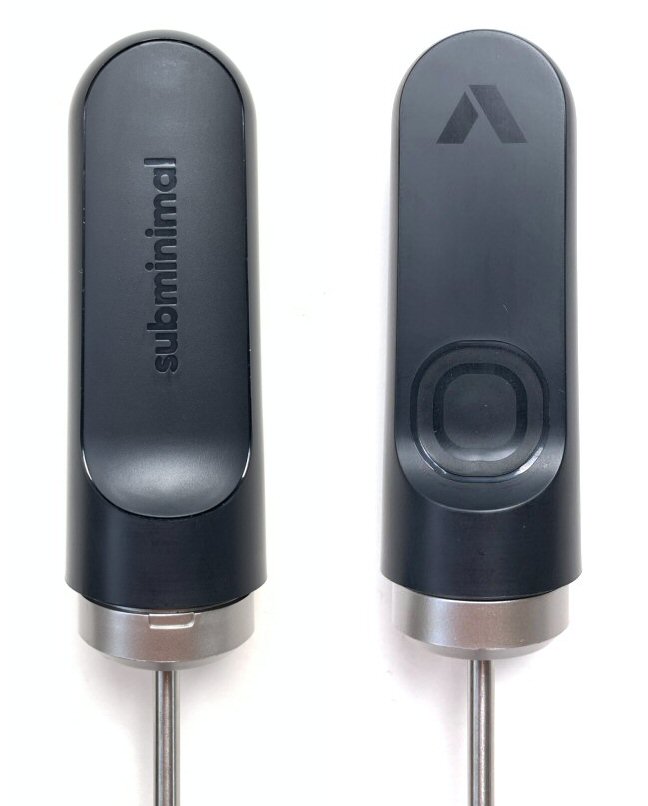
First off, I have to state that every time I read or attempt to type this company’s name, “subminimal,” all I can think is, “subliminal.” Ironic, eh? With that out of the way, my first impression of the subminimal NanoFoamer inside its protective cover (which in my estimation is really more of a sheath or scabbard) was that it had a very sleek look and feel. Basically, it just looks cool, like something Darth Vader would use to foam his mocha lattes before going out to hunt down Jedi knights.
Spoiler alert: Literally the ONLY thing I didn’t like about the NanoFoamer was this protective cover, or more specifically, that the cover didn’t stay attached. The cover is intended to stay attached to the NanoFoamer’s handle via the tiniest amount of press-fit, and it simply isn’t enough because the hood just kept falling off the handle. I’d suggest to subminimal that the next iteration of their NanoFoamer include some type of locking mechanism here, perhaps a simple twist connection, to keep the hood attached to the handle. Or maybe magnets, cause magnets are awesome.
The subminimal NanoFoamer fits in your hand nicely and is easy to grip. The switch has a very smooth operation when pressed and the NanoFoamer is well-balanced and virtually silent when in operation.
One side of the NanoFoamer’s handle has the “subminimal” logo imprinted on it, while the other side has the squarish-shaped activation button. The button has a fully enclosed, flexible plastic cover over it, making it waterproof. It has a nice, solid feel and works like this: press down to start the NanoFoamer and release to stop it. Easy peasy.
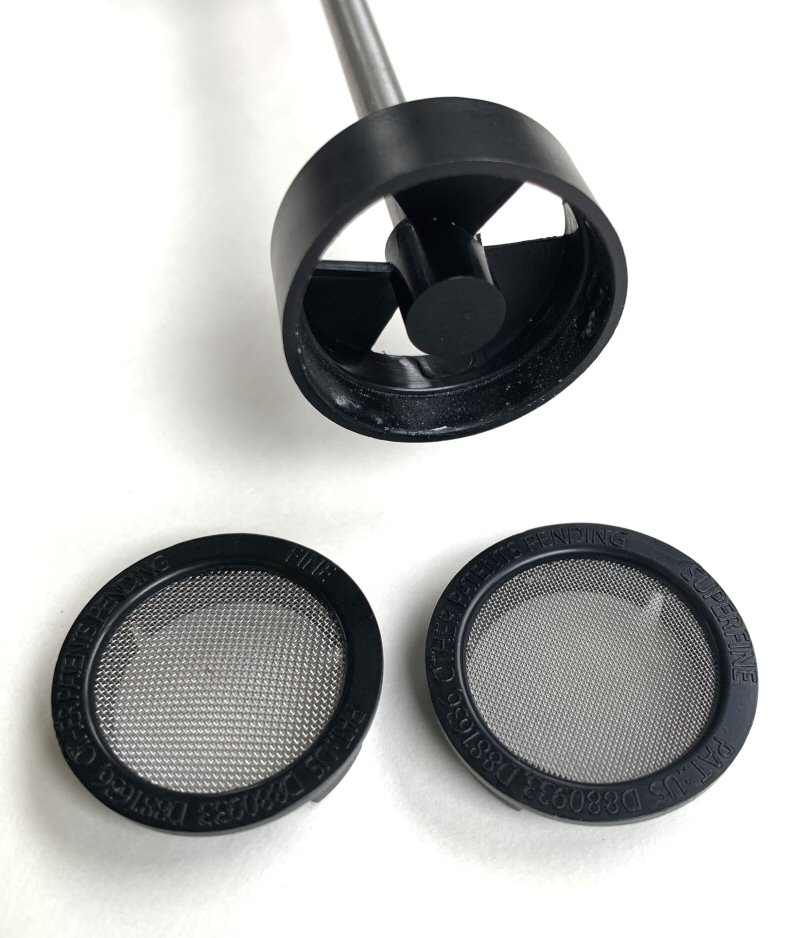
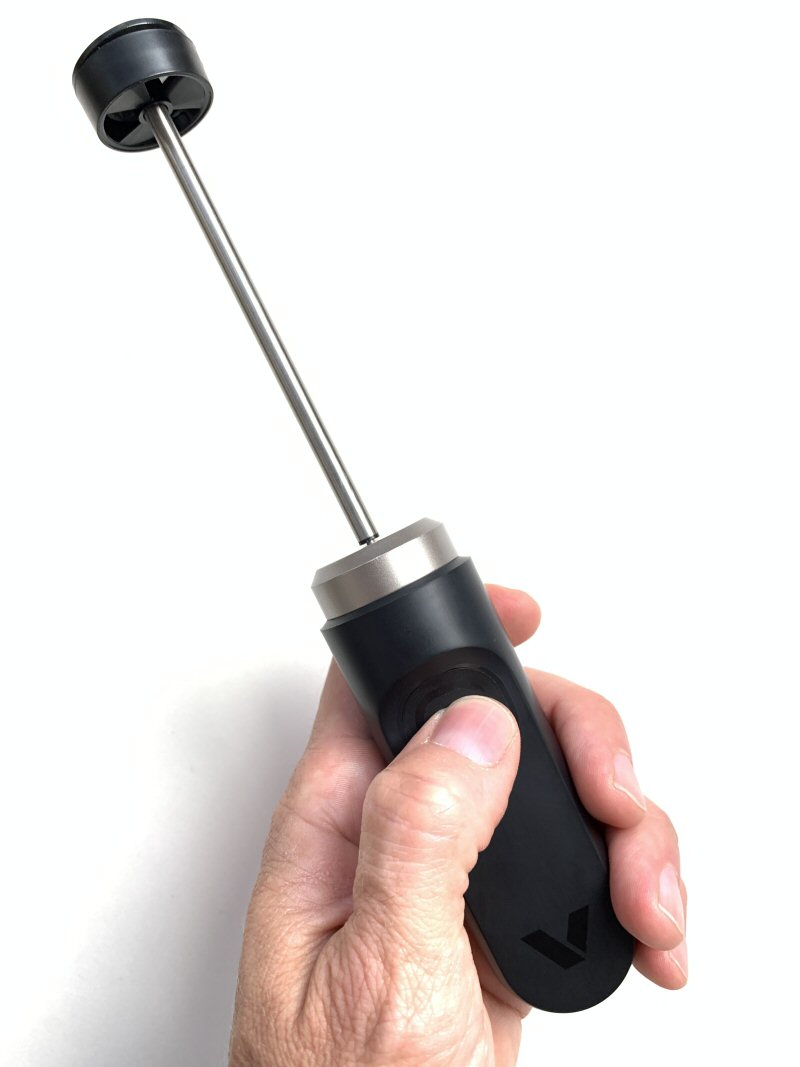
The NanoFoamer essentially has three means of creating foam, each shown in the photo above. At the end of the NanoFoamer’s 2mm diameter, stainless steel shaft is a black plastic impeller with small, enclosed fins which can be used by itself to create “dry foam” or “standard foam.” The NanoFoamer also includes two NanoScreens of varying mesh width that can be attached to the end of the impeller tip, a Fine NanoScreen (above left) and a Superfine NanoScreen (above right). The finer the NanoScreen, the more velvety the milk after foaming.
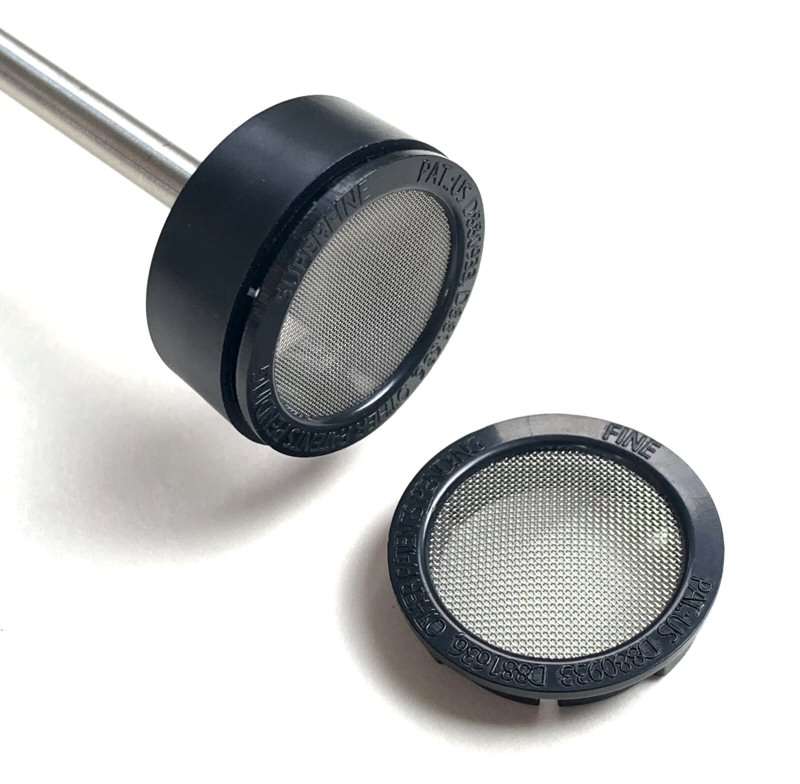
The NanoScreens are attached to the NanoFoamer by simply pressing their black ring onto the end of the impeller. They are easy to attach and remove and have just the right amount of press-fit that they stay on and won’t go flying off when using the NanoFoamer.
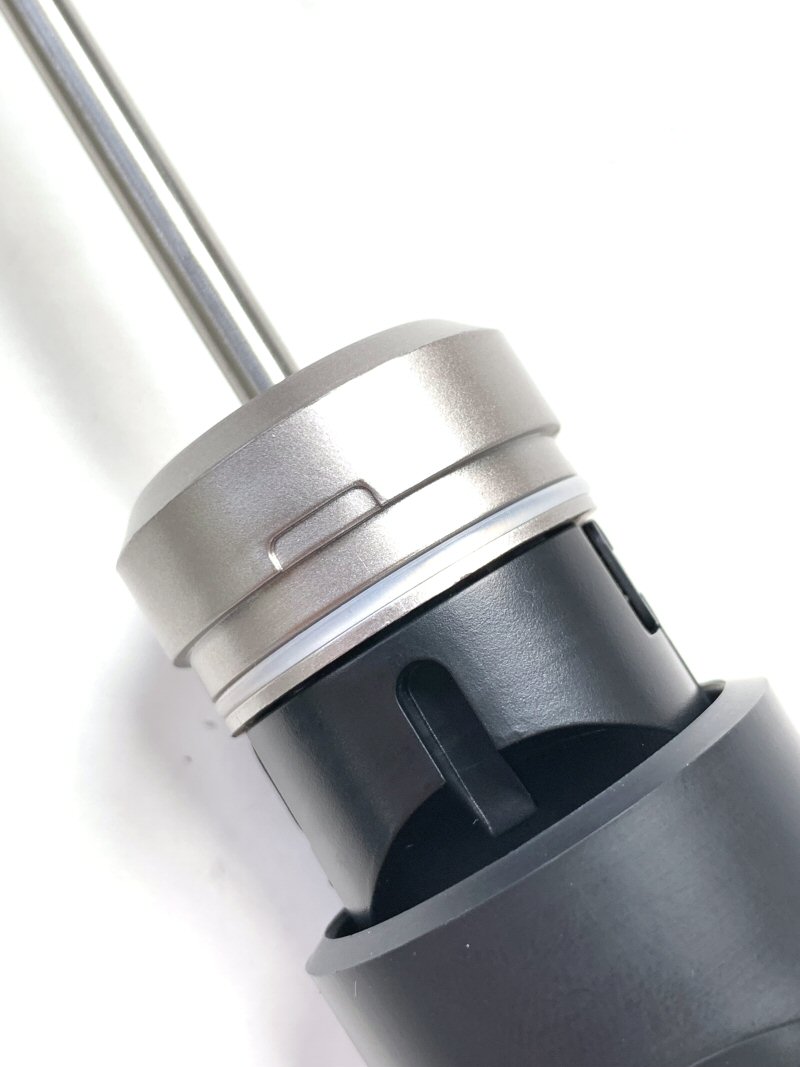
The exterior of the NanoFoamer’s handle can be removed by carefully pulling it off (I found that giving it a bit of a twist while pulling helps with this). There is a white O-ring type gasket that both helps hold the exterior of the handle to the main handle body and also keeps liquids from entering the handle.
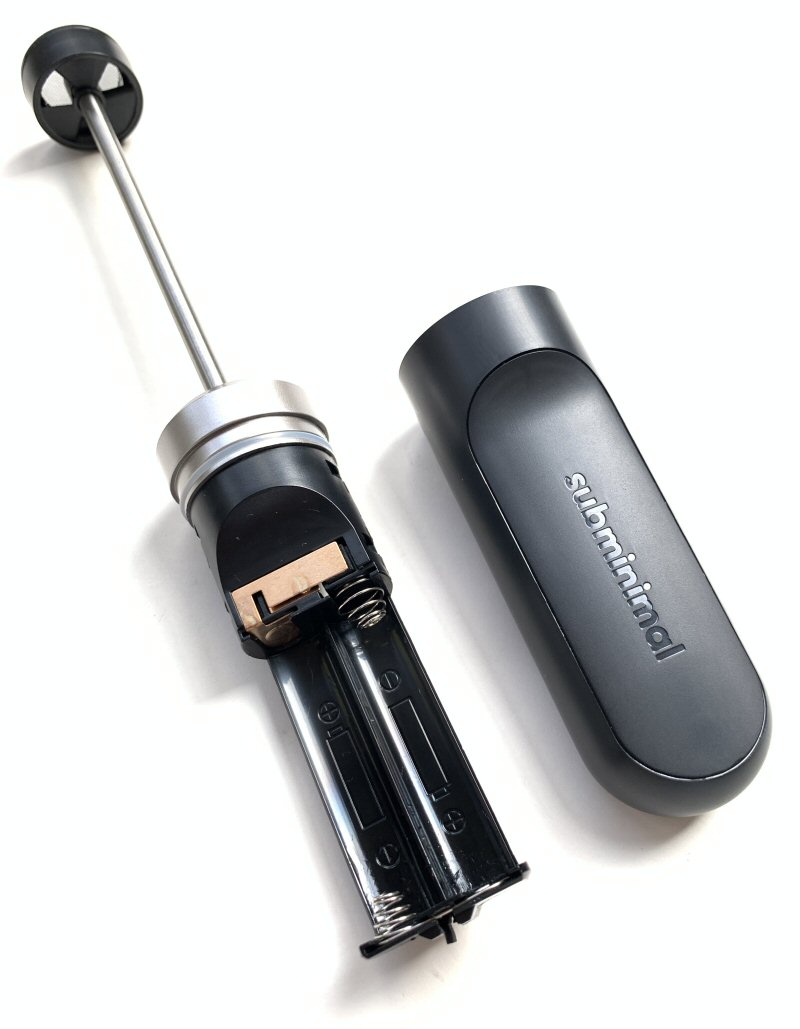
The NanoFoamer’s handle holds two AA batteries, which are not included.
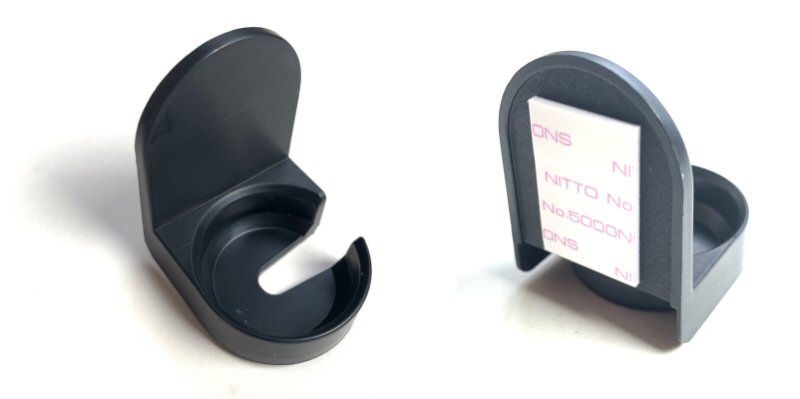
Other than its protective cover, the NanoFoamer’s only other accessory is its L-shaped wall mount. The wall mount has an adhesive backing so you can mount the NanoFoamer in a convenient location.
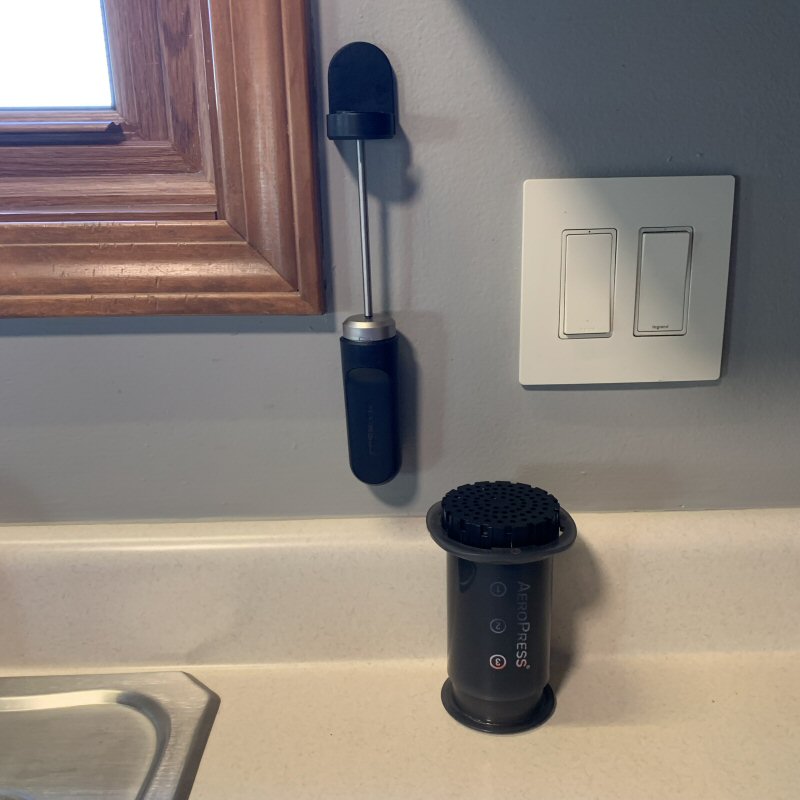
I mocked up the above to demonstrate the intent of the NanoFoamer’s wall mount, but I would not recommend attaching it to any sort of painted wall, as removing the mount will almost certainly rip the paint off as well. [Note my trusty Aeropress Go Travel Coffee Press, which I reviewed a while back, sitting below right of the NanoFoamer.]
Performance
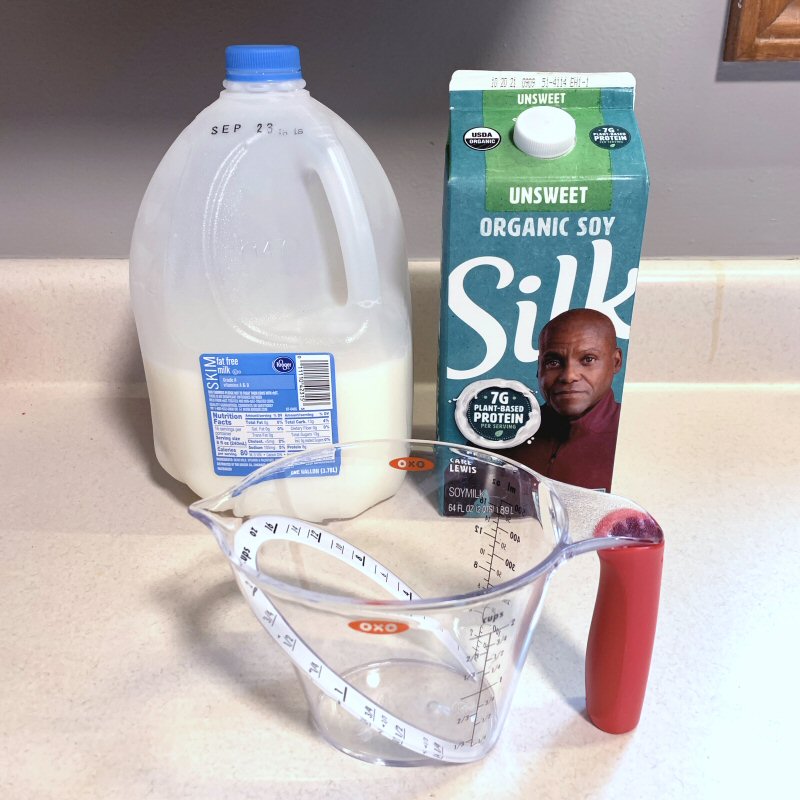 In my evaluation of the NanoFoamer, I wanted to see how it performed with different viscosities of milk, so I used skim milk and soy milk, as shown above.
Trial 1 – Skim milk
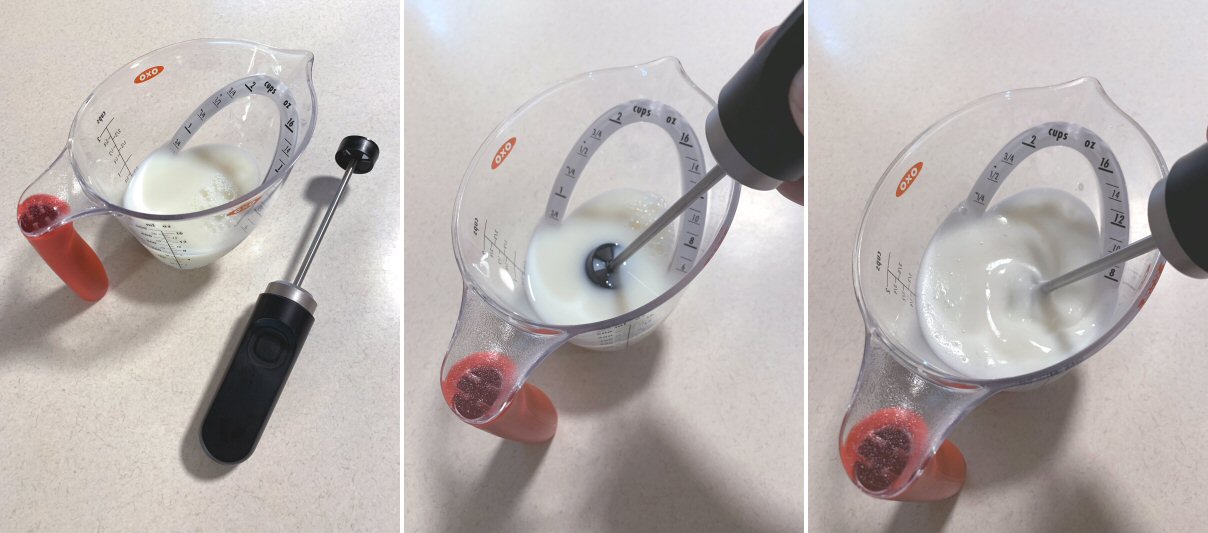
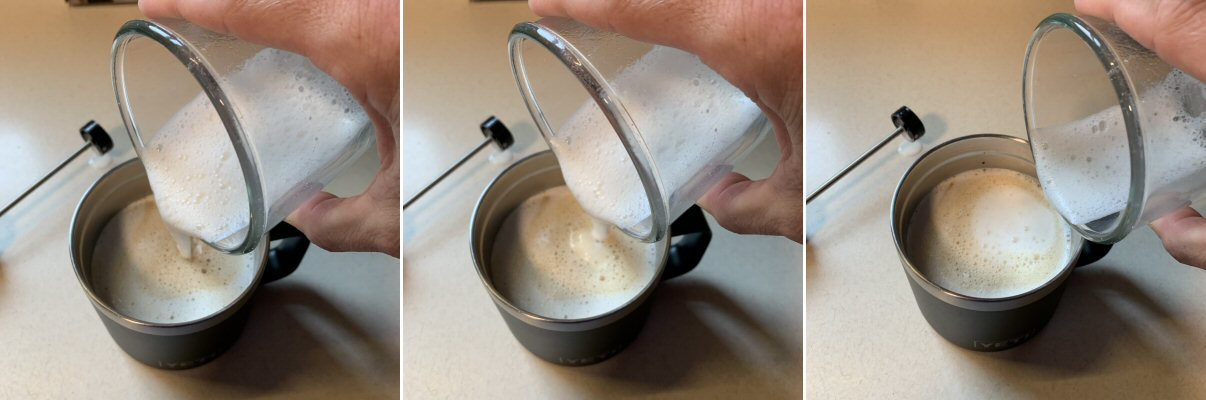
[Disclaimer: Keep in mind that I have no idea if I did the following correctly: I was trying to emulate from memory what I’d watched my daughter do several months prior.] Starting with the skim milk, I poured about 5 oz into a measuring cup, then placed the NanoFoamer’s impeller tip partially down into the skim milk, tilted it at a slight angle, pressed the switch, and began churning. First impression: this thing is just plain fun to use. I randomly selected the Fine NanoScreen for this trial and I used the skim milk right out of the fridge.
Foaming is essentially mixing tiny bubbles of air into the milk, and this is done by tilting the NanoFoamer’s impeller tip with attached NanoScreen a bit while churning. This infuses “nano” air bubbles into the milk. The NanoFoamer’s user guide advises starting in the center of the milk, then working your way to the sides.
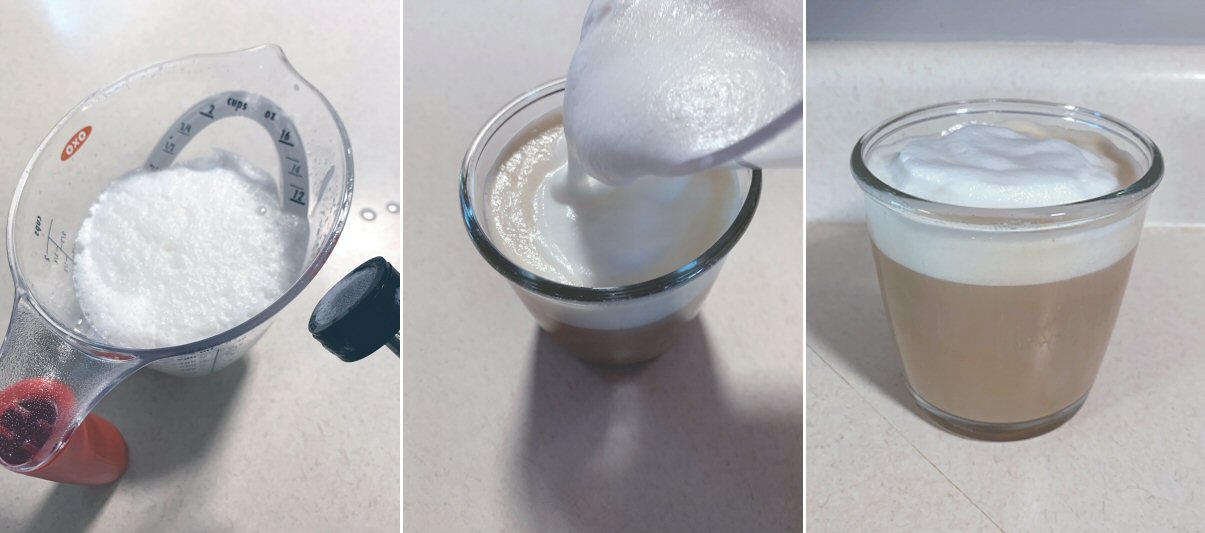
After 30 seconds to a minute of this, the skim milk was churned to a fluffy, foamy consistency and I poured it over a cup of coffee. The foamy head gave the coffee a nice extra touch. I thoroughly enjoyed it.
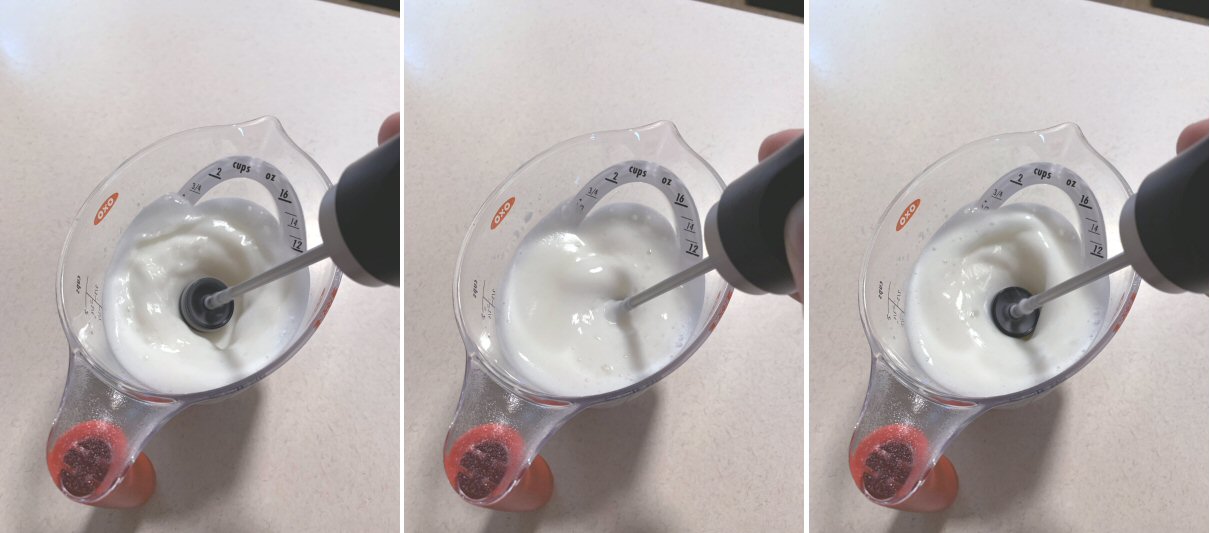
Trial 2 – Soy milk
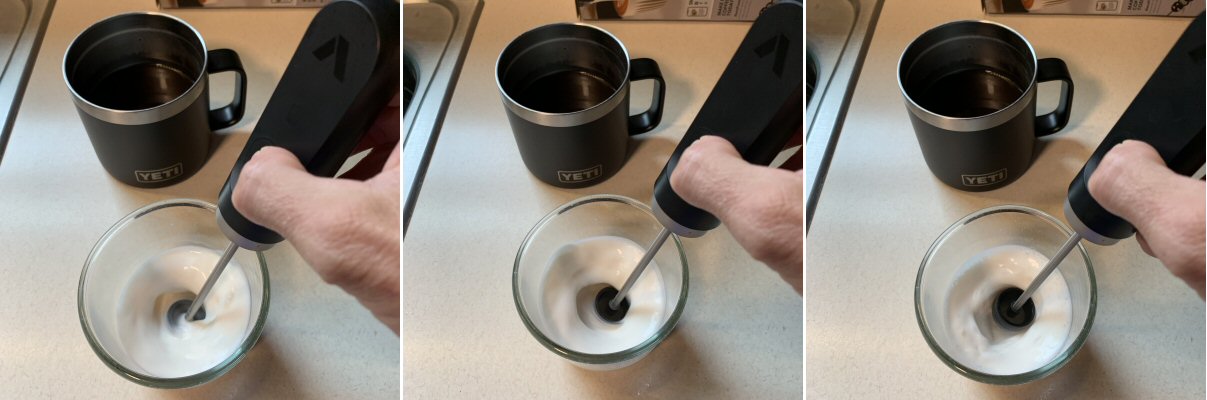
For my next trial of the NanoFoamer, I used soy milk, which is much thicker than skim milk, along with the SuperFine NanoScreen attached to the NanoFoamer’s impeller tip.
Because the soy milk is significantly different thicker than the skim milk, it took a bit longer to churn it, and it didn’t foam up quite as much as the skim milk had.
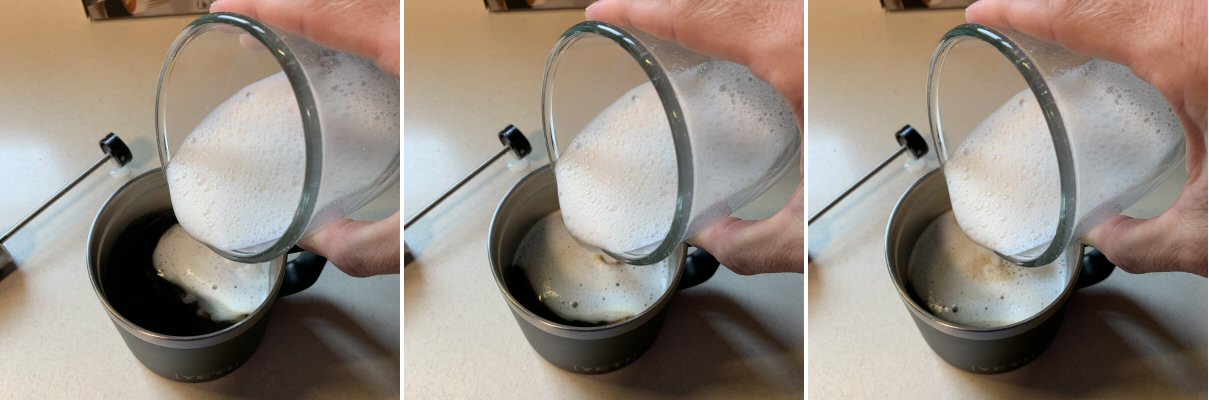
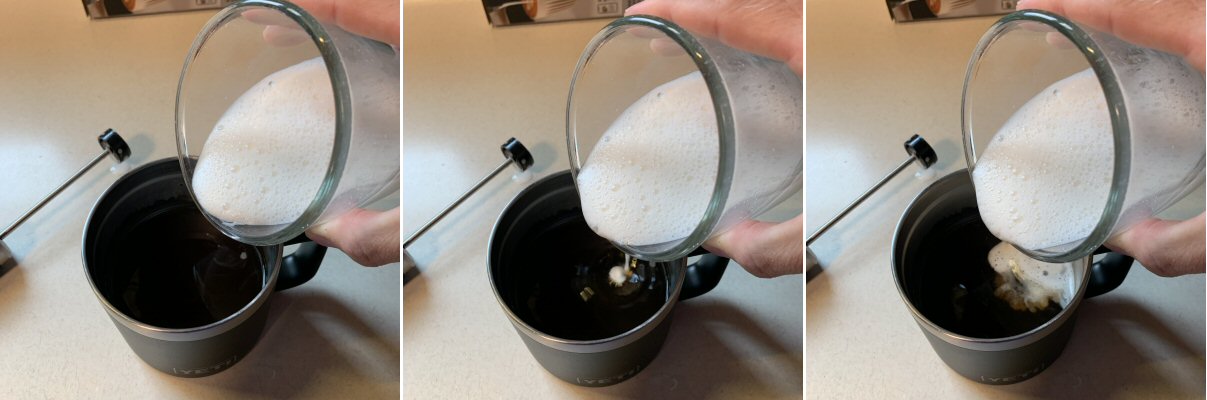
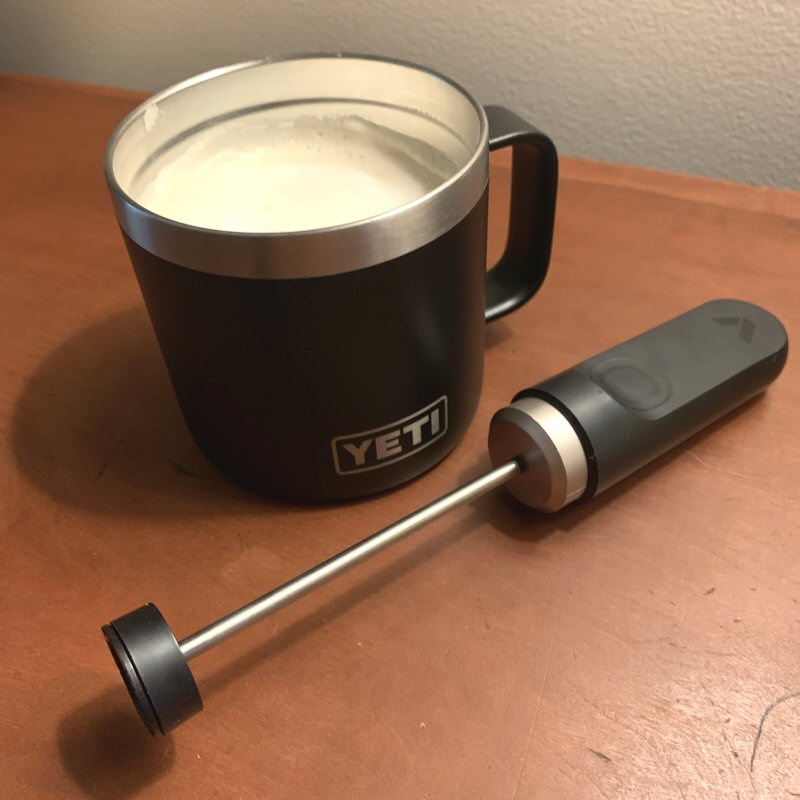
The combination of the soy milk and the Superfine mesh produced a result that was a bit less foamy on top, but significantly thicker, richer, and a bit sweeter beneath.
The result was a bit of a foamy head atop my coffee and a very thick, sweet, creamy milk below. A grand success (in my own opinion at least) and I really, really liked it.
Cleaning
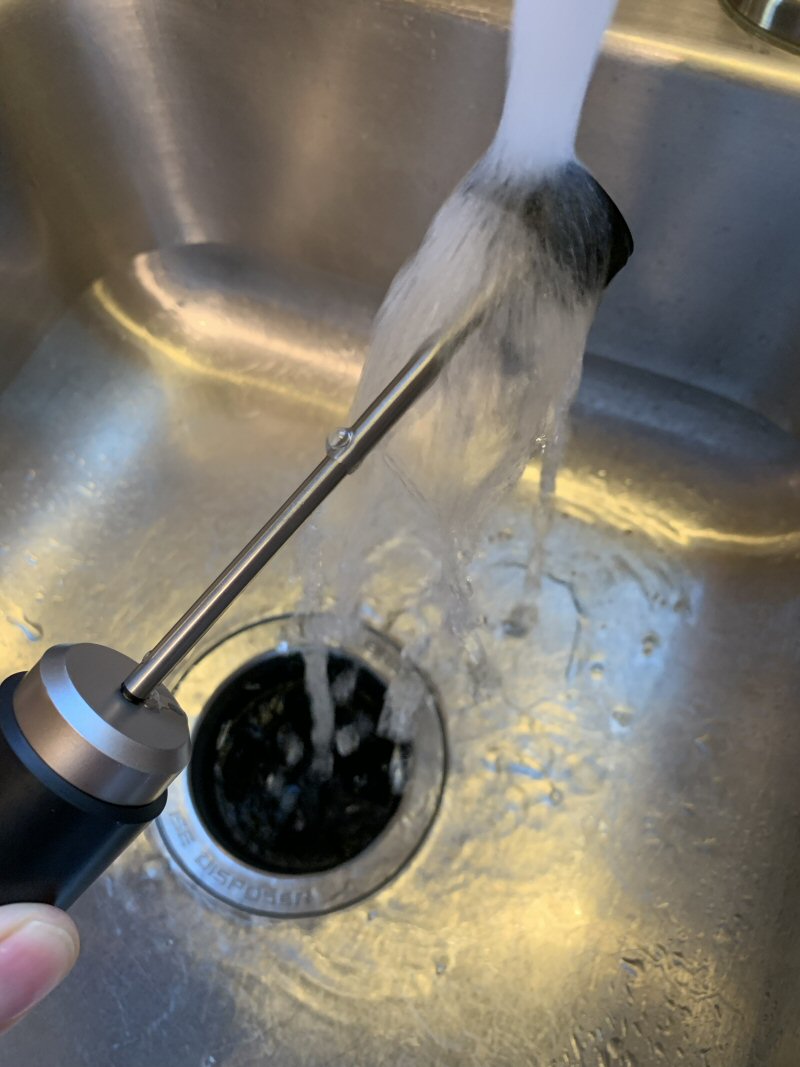
The NanoFoamer was easy to clean by simply rinsing its tip under running tap water for a few seconds immediately after use. However, it is best to remove the NanoScreen from the NanoFoamer’s impeller tip and rinse both separately, to remove any milk that may be trapped between the inside surface of the impeller tip and the outside surface of the NanoScreen. Pro tip: Don’t press the switch and spin the NanoFoamer’s tip while under the stream of water, unless you are fond of cleaning a fine spray of water/milk droplets from your sink, counter, backsplash, and other areas within flinging distance. Not that I did this.
What I like
- Creates super creamy, rich, foam for your coffee drinks
- Super fun and easy to use
- Sleek and minimalist styling
- Easy to clean
What I’d change
- Protective cover won’t stay attached to the handle
Final thoughts
I really like the subminimal NanoFoamer. It looks sleek, is water-resistant and easy to clean, is just straight-up fun to use, and produces great results: rich, creamy foamed milk for your coffee drinks.
Price: $39.99
Where to buy: subminimal.com and Amazon
Source: The sample of this product was provided by subminimal.com.
L39 Ultra Slim UV Protective Filter for Leica Q3 43 Q2 Camera with Moisture-Proof Case & Removal Tool 19 Layers Mulit-Coated UV Ultraviolet Filter 99.3% Light Transmission Water Oil Scratch Resistant
(as of June 18, 2026 16:46 GMT -05:00 - More infoProduct prices and availability are accurate as of the date/time indicated and are subject to change. Any price and availability information displayed on [relevant Amazon Site(s), as applicable] at the time of purchase will apply to the purchase of this product.)
Gadgeteer Comment Policy - Please read before commenting
This looks like a fun, well-designed product! Besides its build quality and design, I wonder how the actual performance compares to the $1.99 frother from Ikea that I use? (https://www.ikea.com/us/en/p/produkt-milk-frother-black-30301167/)
The Ikea version doesn’t have interchangeable screens like this review model, but instead just has a fine wire whisk on the end, so I’m curious how different the results are. Anyway, I enjoyed reading your review and I agree they should put magnets in the cover.
Is it good for making lateart?
You can definitely create a nice froth/foam, but my problem is the lack of artistic abilities to make those impressive late artworks on the top of the liquid! 🙂
If you know what youdoing you can definetly do even semi-complex latteart with the nanofoamer. The issue is that most people don’t know the theory behind latteart, over-steam the milk and don’t properly integrate the foam and the milk.
Hey Yohei!
I’m a professional barista and I can say from experience that the nanofoamer can definetly give you the proper foam for creating latteart… if you know what you’re doing! It will never be as good as a comercial grade steam wand, but it can get your milk 95% of the way towards that smooth thin microfoamed milk.
The only issue the foamer has is that it struggles delivering enough power to properly steam more than maybe 10 drinks in a row, if you really care about getting nice latteart. I modded mine to run on electricity from a wall plug, but that might be more work than what mist people are willing to put in (it takes 30 mins if you know what you’re doing).
Hope this helps.
That’s funny, I was just thinking about doing the same to avoid replacing batteries! Did you buy a power supply and connect it to the battery terminals?
I made some mock-batteries using sections I cut from chopsticks (maybe there’s a smarter solution, but this was pretty convenient), then taped a wire along one, making sure the metal of the wire was exposed at both ends. The other one I connected to the wire of a usb cable and then plugged that into a power adapter with a fitting voltage and amp (5v and ≈2A worked well for me). If you drill a small hole at the top of the case, you can fit the wire through and actually make it look pretty nice.
I think this made the product way better. I understand why they wanted to go for the mobile and sleek design of a battery powered foamer, but there’s just nothing worse than starting to whip air into your milk and realizing that while there’s plenty of juice left in the batteries, it’s just not quite enough to get you truly great textured milk.
Thanks for the kind words and for stopping in and taking the time to comment.
I haven’t tried the Ikea one, so I can’t comment on a comparison, but it might be hard to beat for its cost.