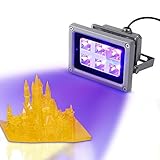
REVIEW – The ANYCUBIC Photon UV LCD SLA 3D Printer is a serviceable, affordable entry into the crowded field of consumer 3D printers. Most people envision the standard for 3D printers to be FDM (Fused Deposition Modeling) printers, which work by melting filament through a tiny nozzle. The ANYCUBIC Photon UV is an SLA (Stereolithography) printer which uses UV-sensitive liquid resin cured by light to build 3D models. SLA printers are becoming more popular as the technology improves since they can print with much higher detail even though they are a bit messier and require more maintenance and precautions.
The ANYCUBIC Photon UV is a really good deal at $249.99 ($289.99 with a bottle of resin) when you can get it to print consistently. After significant time testing the Photon UV, a number of emails to support, and many hours spent on 3D printing forums I was finally able to zero in on the settings necessary to complete four full prints, but it wasn’t easy. Other issues I had are endemic to SLA printing which involves using slightly toxic materials, a more involved curing process for the models, and is very different from the FDM printing process. My review focuses primarily on the Photon UV and not on a comparison of FDM versus SLA printing which is an individual choice each hobbyist has to make for themselves.
What is it?
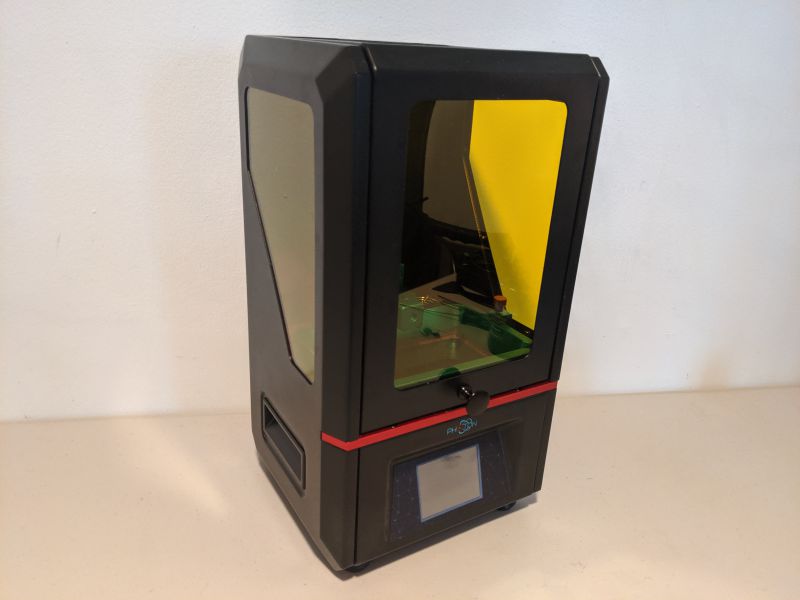
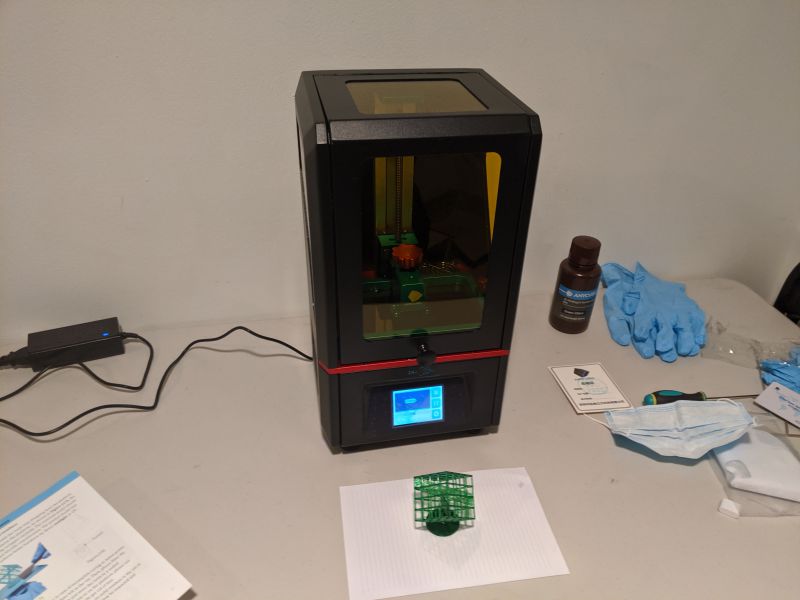
The ANYCUBIC Photon UV is an LCD SLA 3D Printer that uses liquid UV-sensitive resin cured by an LCD light to build 3D models fed into it via a USB stick. The Photon UV is what’s referred to as a “bottom-up” SLA printer because the light source is under the resin vat. The model adheres to a platform that is lowered into the resin and as the printer operates it appears as though the model is being pulled up from inside the resin vat.
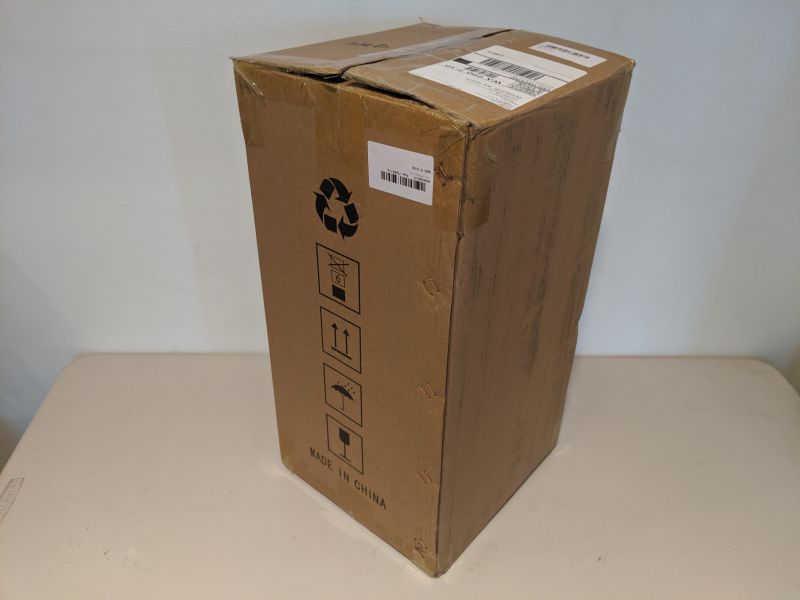
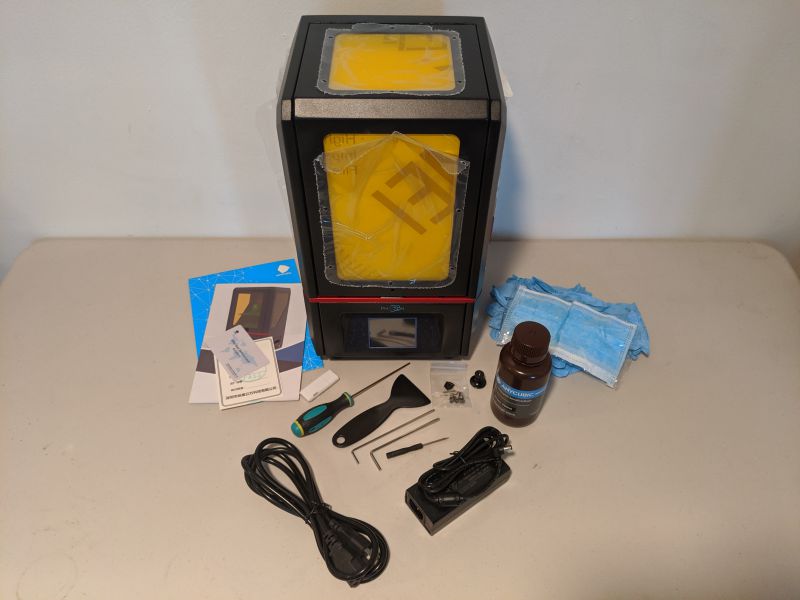
The ANYCUBIC Photon UV arrives in a nondescript cardboard box packed very securely in blocks of foam.
What’s in the box?
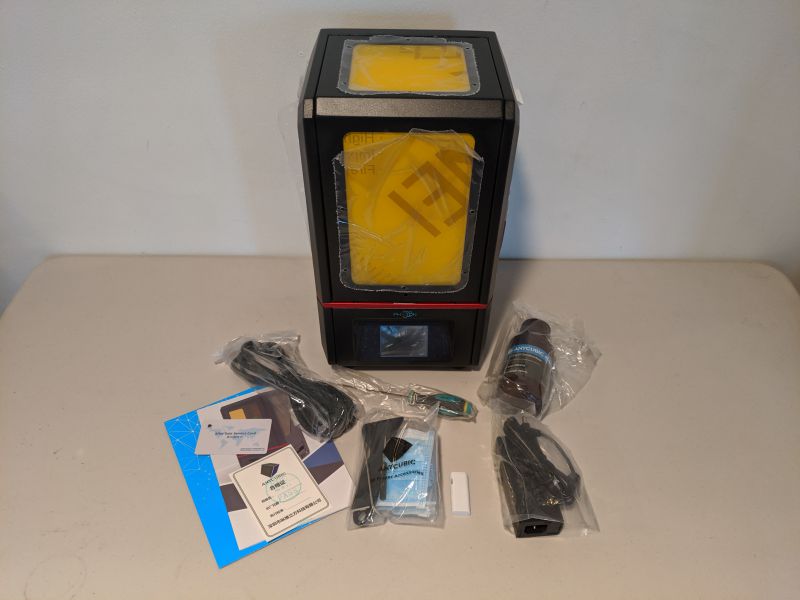
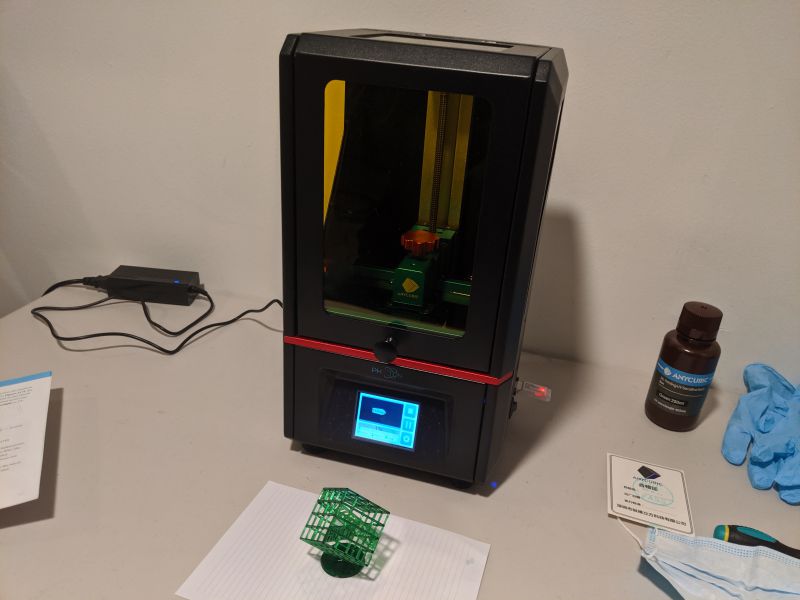
- ANYCUBIC Photon UV LCD 3D Printer
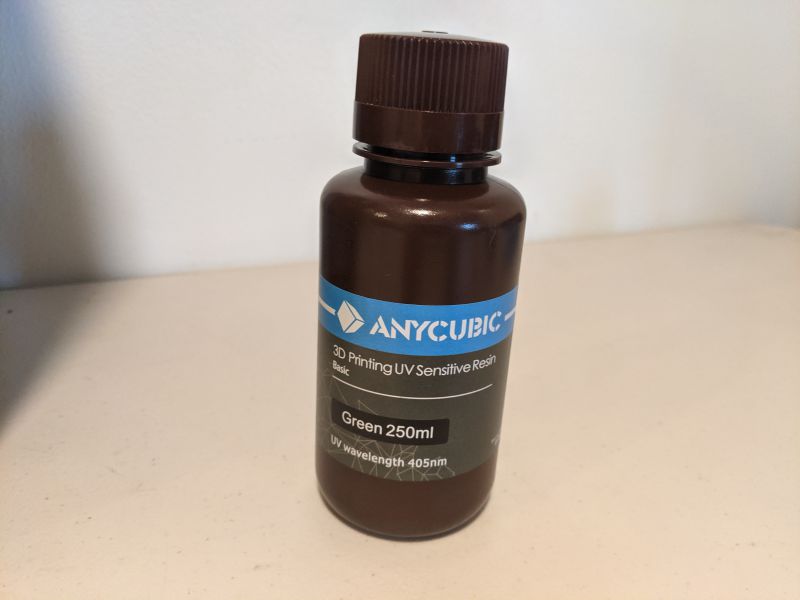
- 250ml Resin
- Resin Vat
- Print Platform
- Mask
- Scraper
- Tool set
- USB Drive
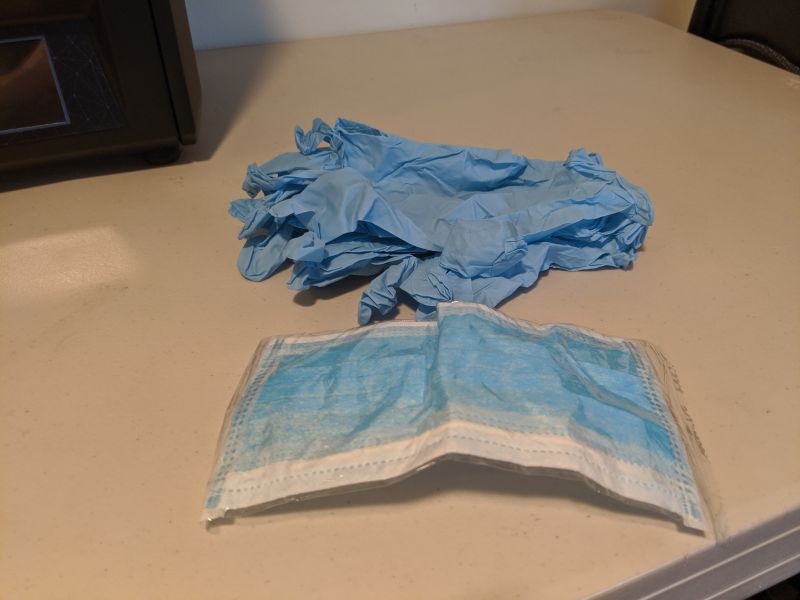
- 3 Pairs of Nitrile Gloves
- User Manual
- 10 Paper Funnels
- Power Supply and Cord
- Door Handle
- Extra Screws
- Extra FEP Film
Hardware specs
- Printing Technology: LCD-based SLA (Stereolithography)
- Light-source: UV integrated light (Wavelength 405nm)
- XY DPI: 47um (2560 x 1440)
- Y axis resolution: 1.25um
- Layer resolution: 25 – 100um
- Printing speed: 20mm/h (.78″/h)
- Rated Power: 40W
- Printer size: 220mm x 200mm x 400mm (8.66″ x 7.87″ x 15.74″)
- Printing volume: 115mm x 65mm x 155mm (4.52″ x 2.56″ x 6.1″)
- Printing material: 405nm photosensitive resin
- Connectivity: USB Port
- Weight: 6.6kg (14.55lb)
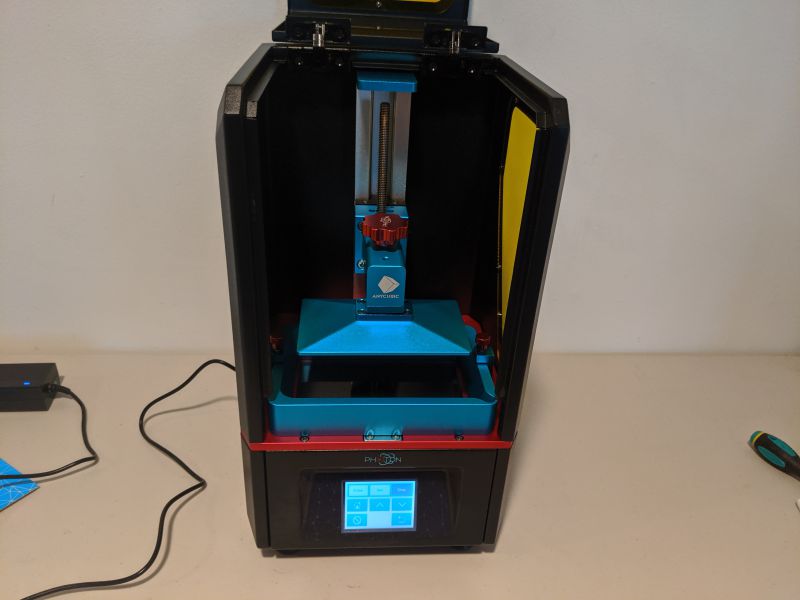
Design and features
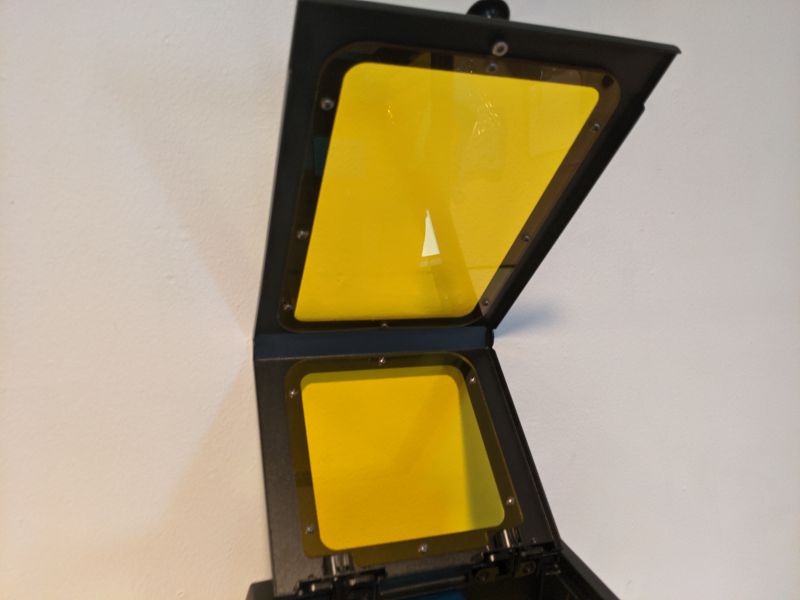
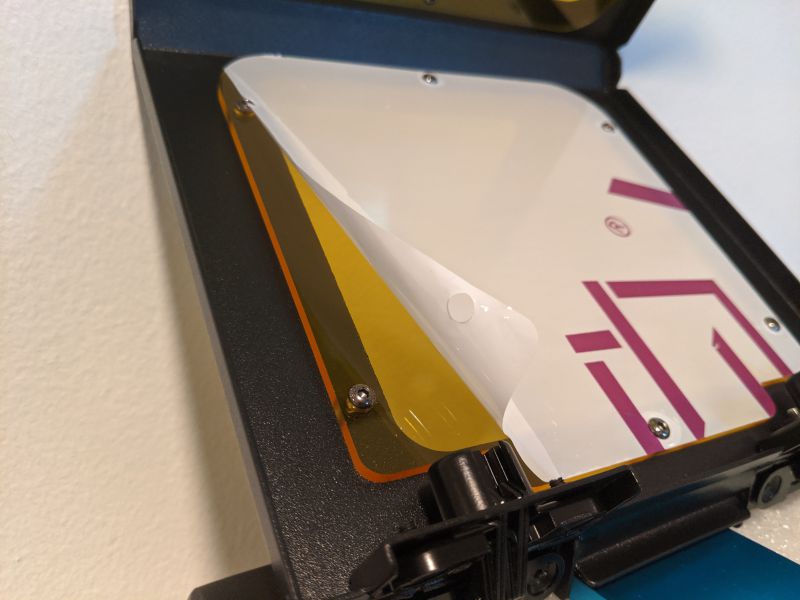
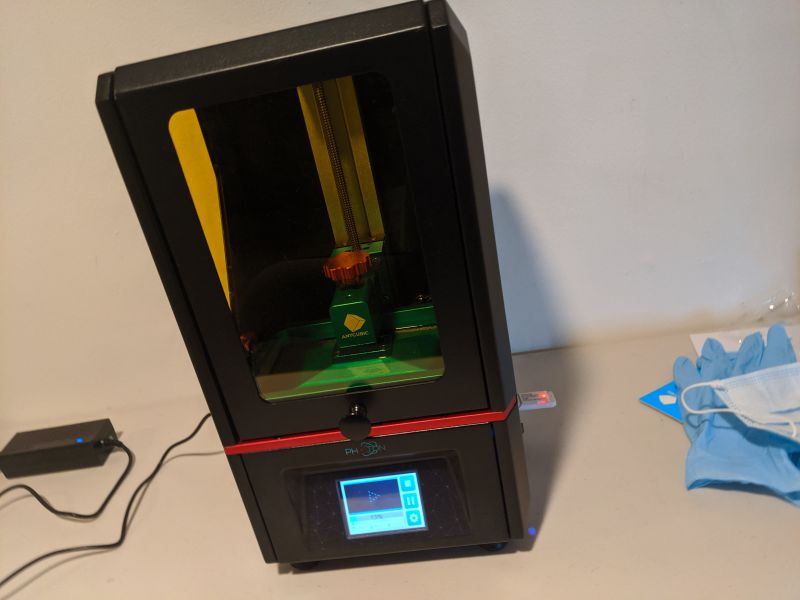
The ANYCUBIC Photon UV is a really beautiful, well-designed machine. I love the use of color and the red highlights on the knobs and LCD platform. The main functional parts, the resin vat and print platform, are made out of anodized aluminum. The machine’s cabinet is black metal with clear yellow plastic inserts.
There are two convenient carry handles incorporated into the cabinet on either side of the Photon UV.
A very powerful fan at the back of the unit vents heat and toxic fumes out of the cabinet during printing. Be prepared for the smell and make sure you always print in a well ventilated area.
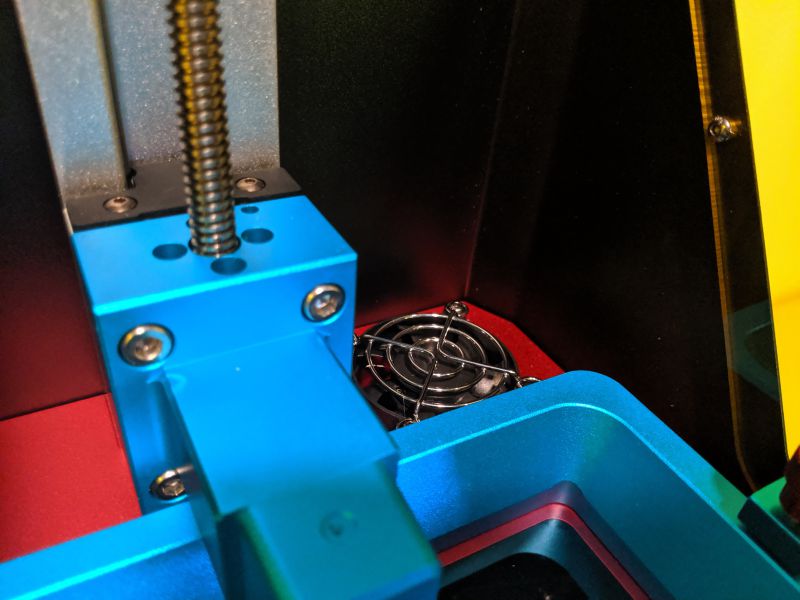
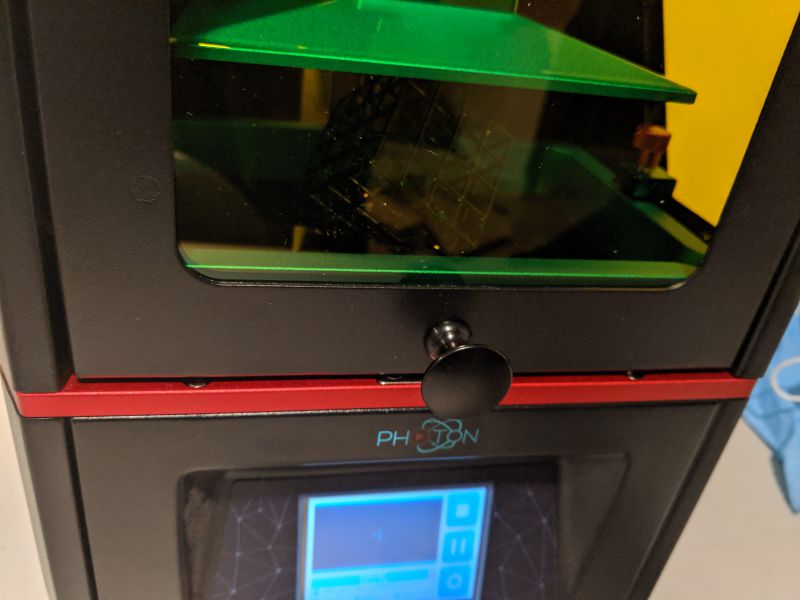
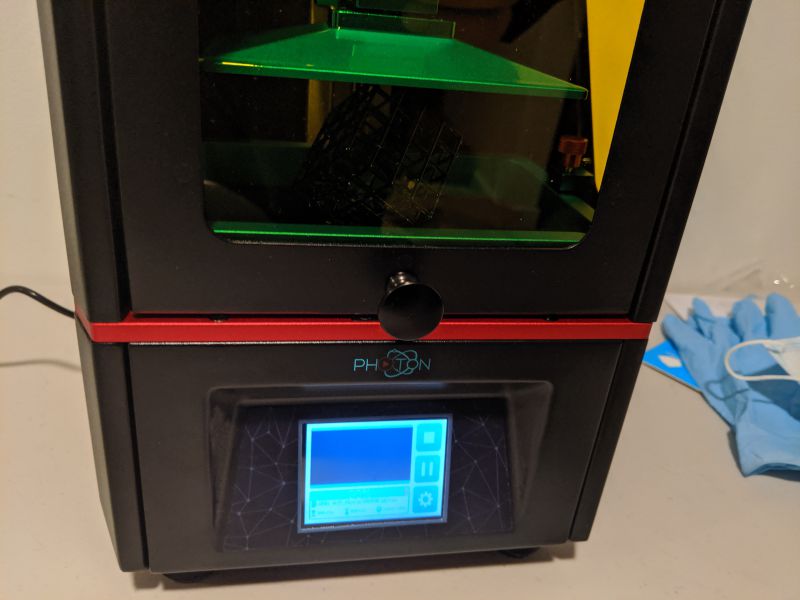
The whole front of the Photon UV lifts up to provide access to the resin vat, print platform, and internals.
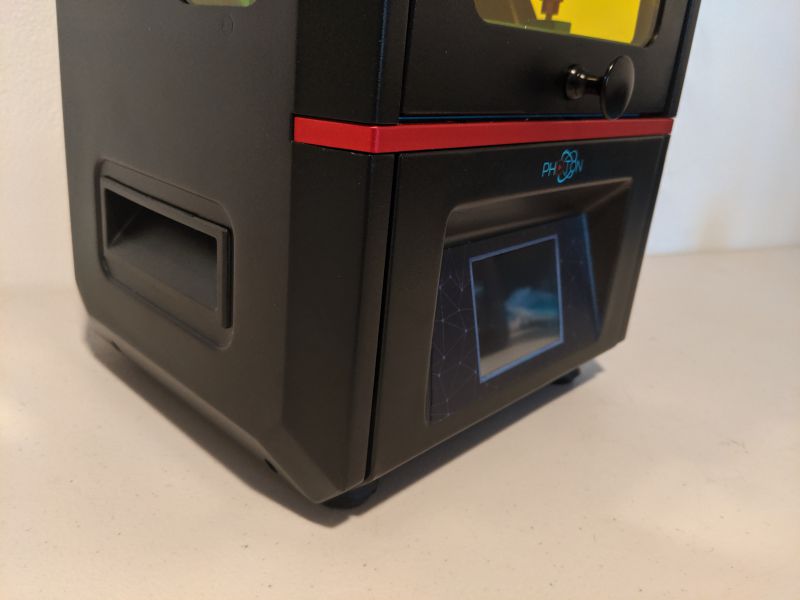
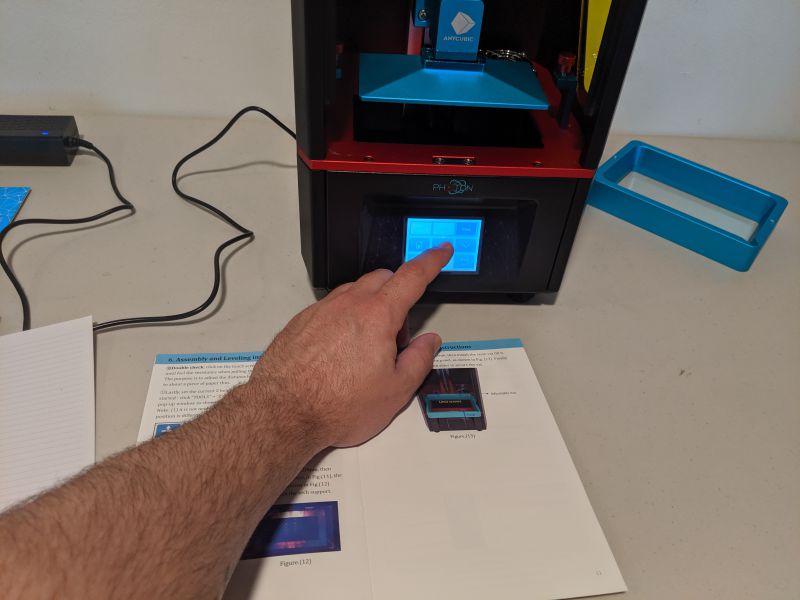
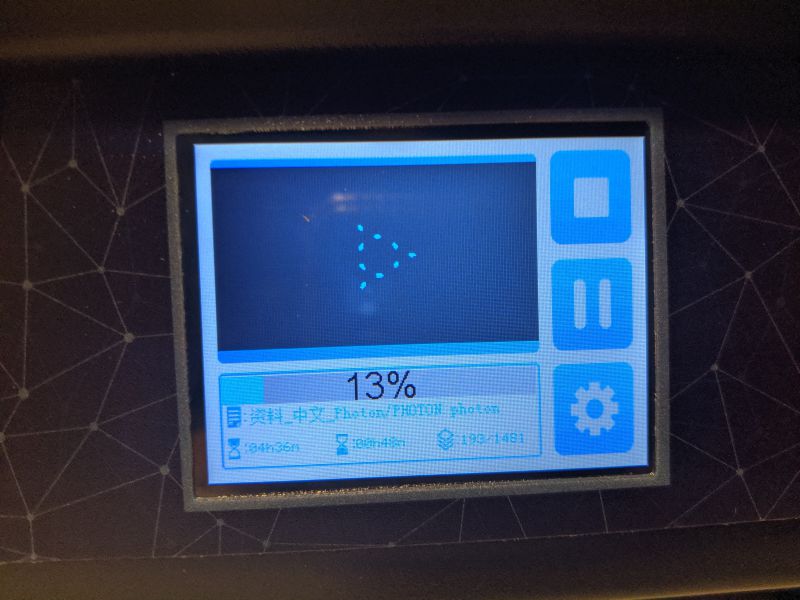
The LCD interface is well thought out and easy to navigate although it is a bit hard to see at times due to a lack of screen contrast.

Setup
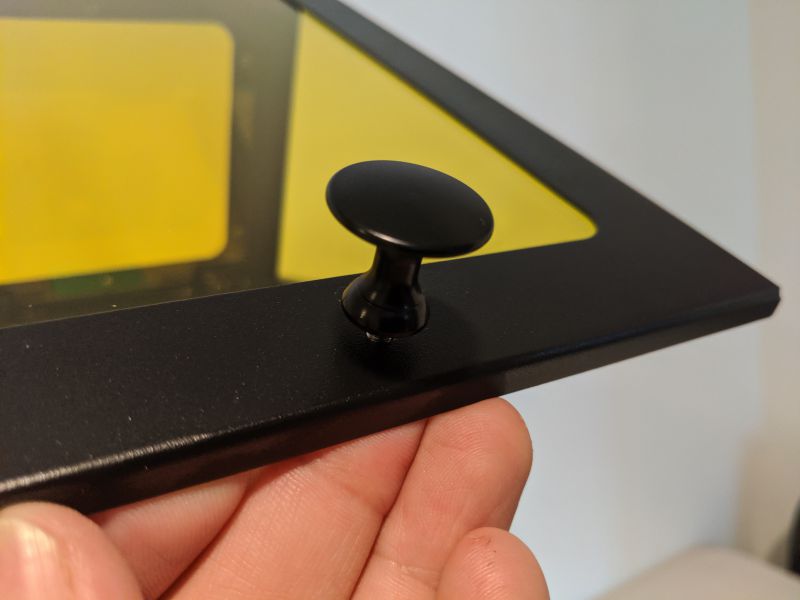
Setting up the Photon UV for first use is relatively easy. The first task is to attach a knob to the door.
Then remove all of the plastic attached to the clear yellow panels.
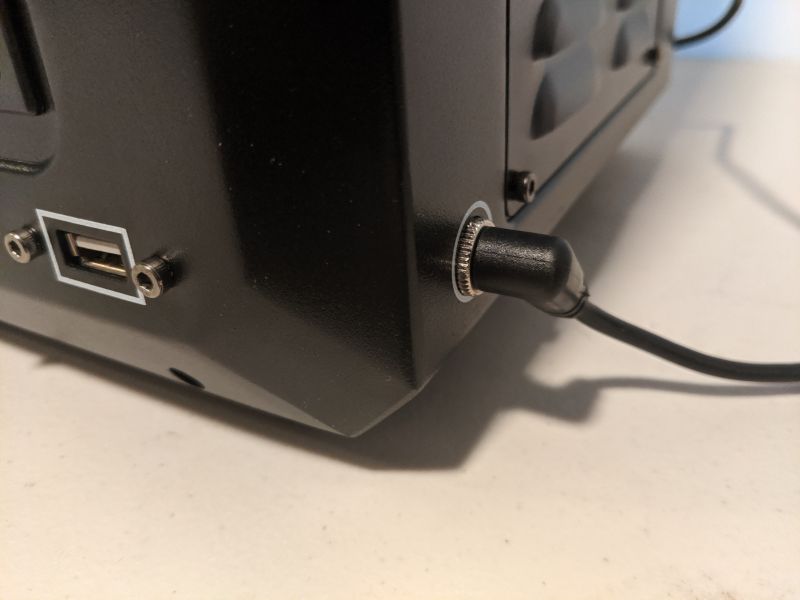
Attach the power supply to the unit via the power port on the back of the cabinet.
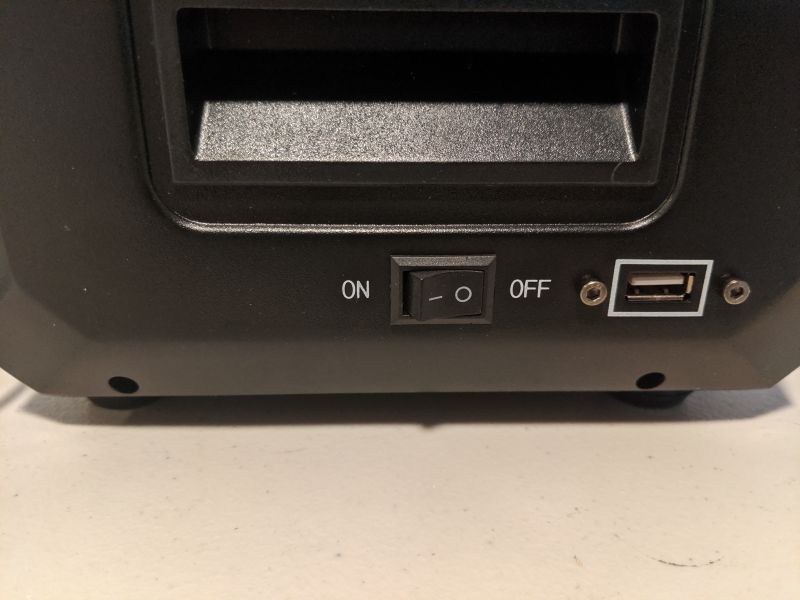
Switch on the Photon UV.
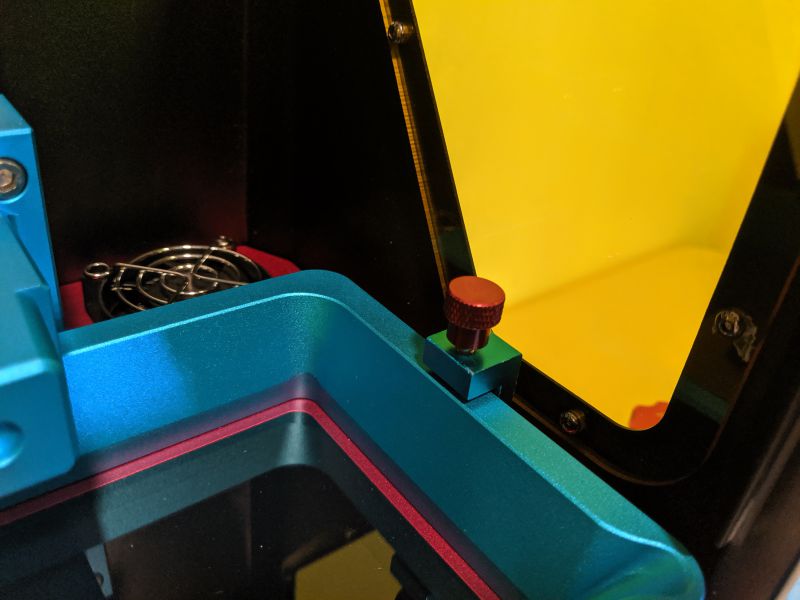
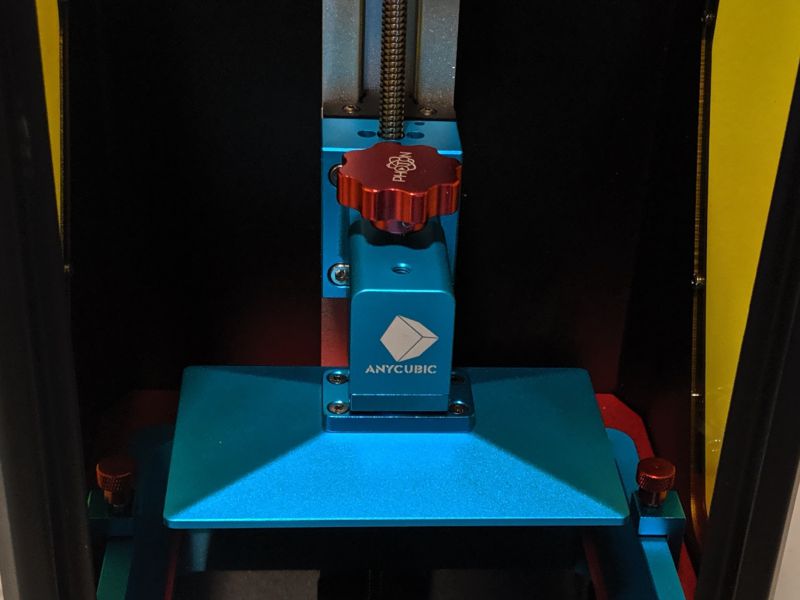
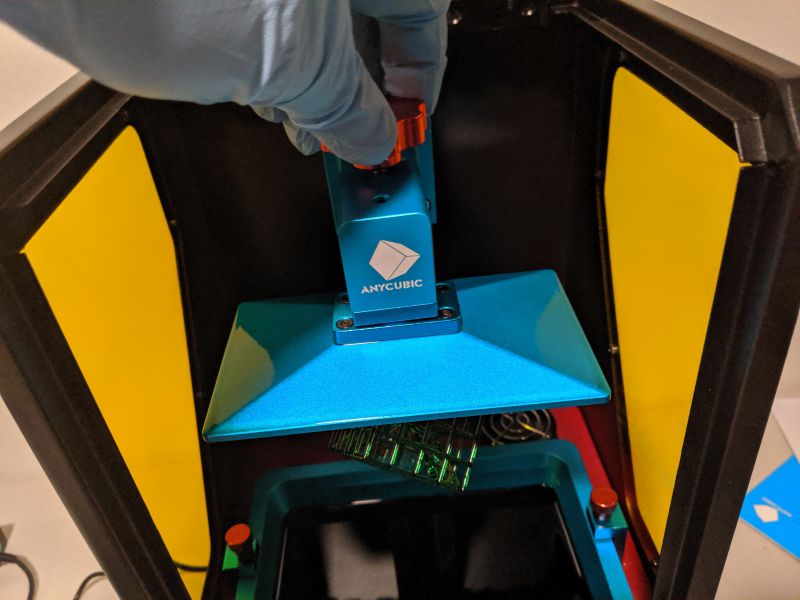
Now for the tricky part, attaching and leveling the print platform.
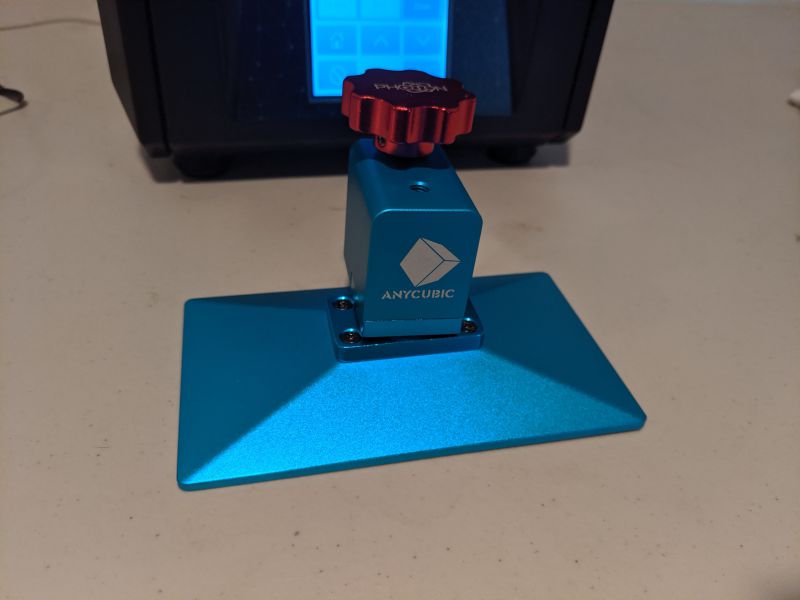
Slide the print platform on to the platform bracket and tighten it with the red platform securing knob on top. Once the print platform is attached it’s time for leveling.
Place a piece of paper over the LCD screen and use the control screen to lower the print platform until it rests on the paper.
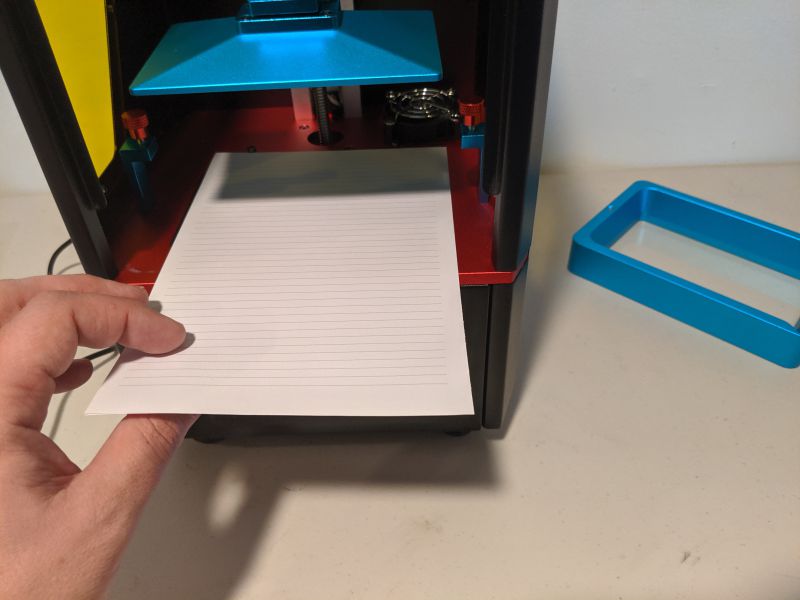
Once the print platform is lowered, use the included Allen wrench to loosen the platform screw enough to adjust the level. This was something that I wound up doing several times until I found a position that worked. The platform has to be completely level and parallel to the LCD screen so that the resin will properly adhere to the platform.
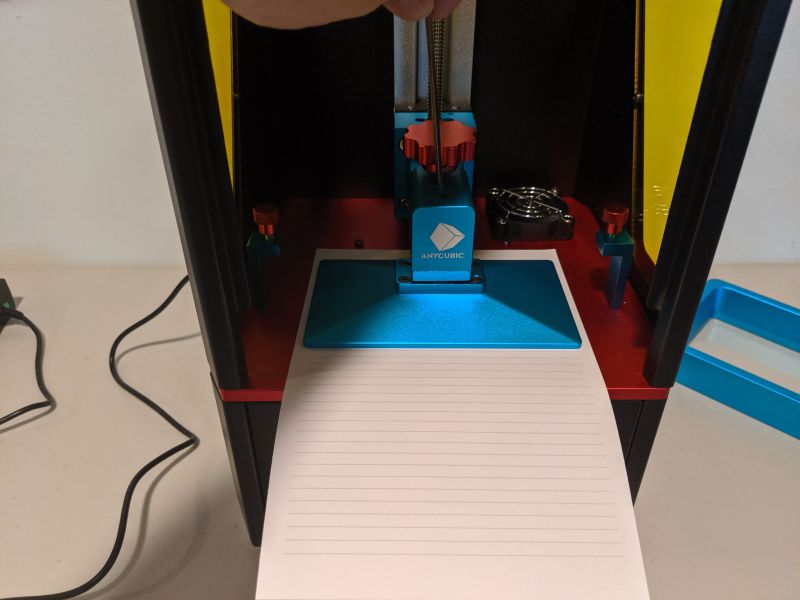
When you feel like the platform is level, tighten the platform screw with the Allen wrench and make sure you feel resistance when pulling the paper out.
After the platform is leveled, raise it up via the control panel activate the UV light.
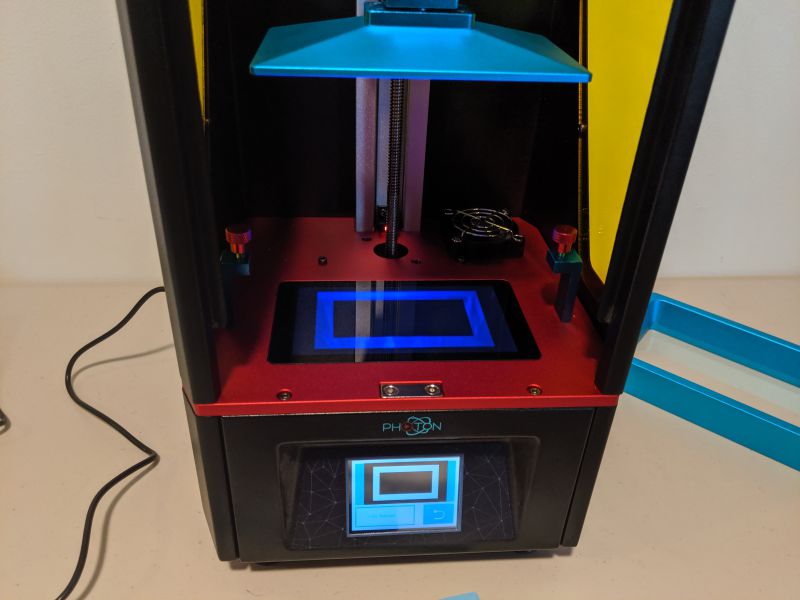
You only have to check the UV light once after shipping to make sure that it wasn’t damaged in transit. As long as the screen displays a complete rectangle, the unit is good to go.
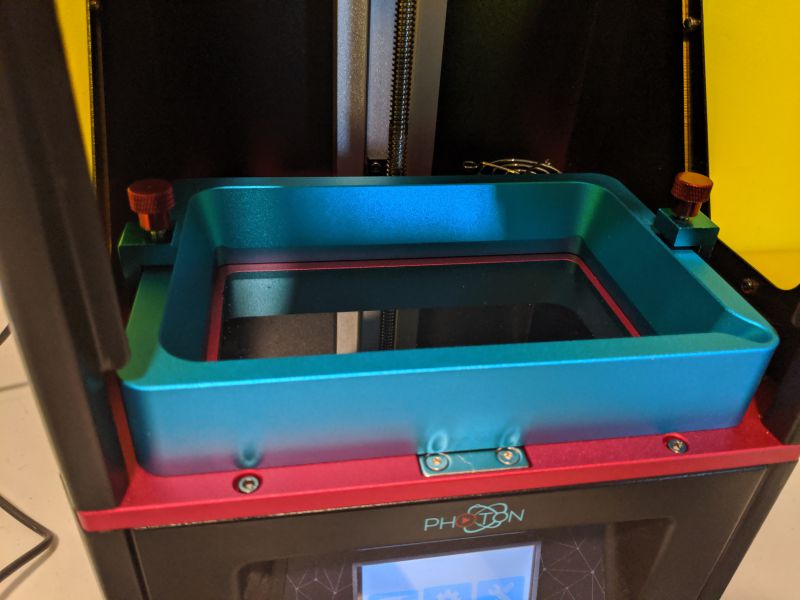
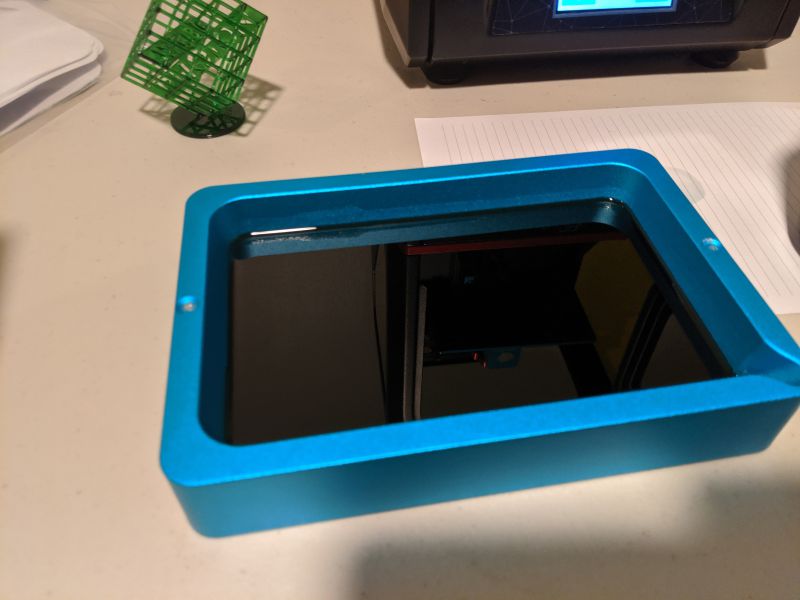
Next up is to install the resin vat. Raise the print platform to give yourself room to move then simply slide the vat in until it butts against the limit screws at back of the unit. Tighten the red nuts on either side of the resin vat to hold it in place.
Now it’s time to suit up for the fun stuff, and by fun, I mean dangerous.
The resin that SLA printers use is a skin-irritant in its uncured liquid form, so it’s important to use the right safety equipment, masks and nitrile gloves, while handling it. Isopropyl alcohol is also required for cleaning any areas that might have come in contact with the resin in its liquid state.
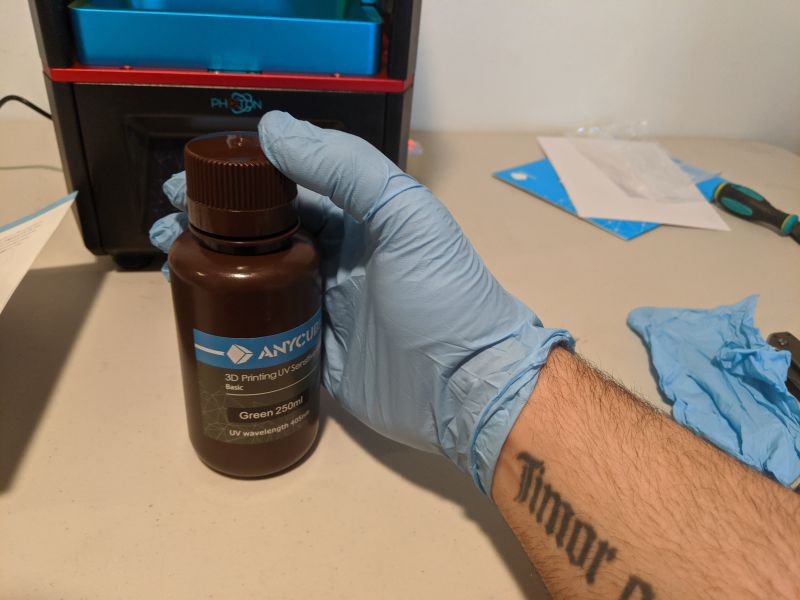
Once you’re suited up, carefully open the resin bottle and fill the resin vat about a third of the way.
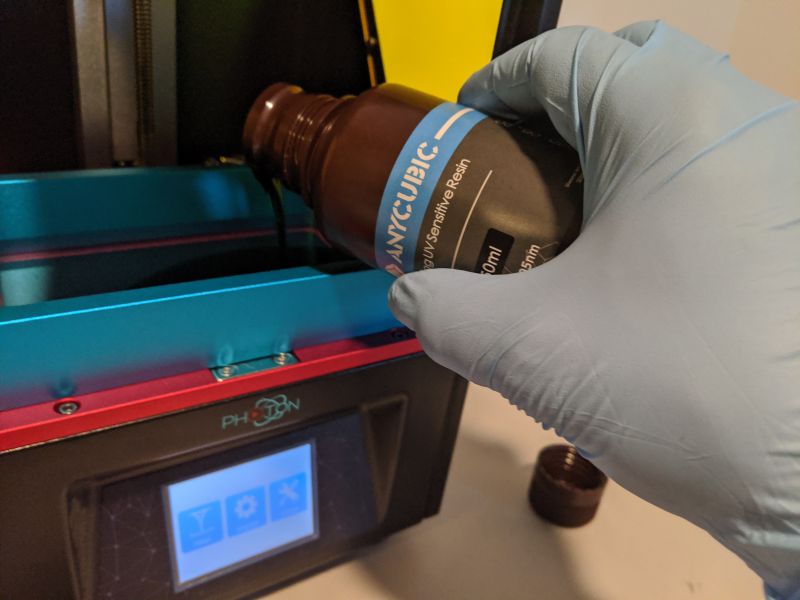
It’s really important not to overfill the resin vat or it will overflow when the print platform comes down and the last thing you want is a bunch of slightly toxic liquid resin all over your workspace. The fumes from the resin are pretty strong as well, so make sure you are working in a very well ventilated area. I cannot stress this enough, the fumes can be overwhelming, so take all of the proper precautions.
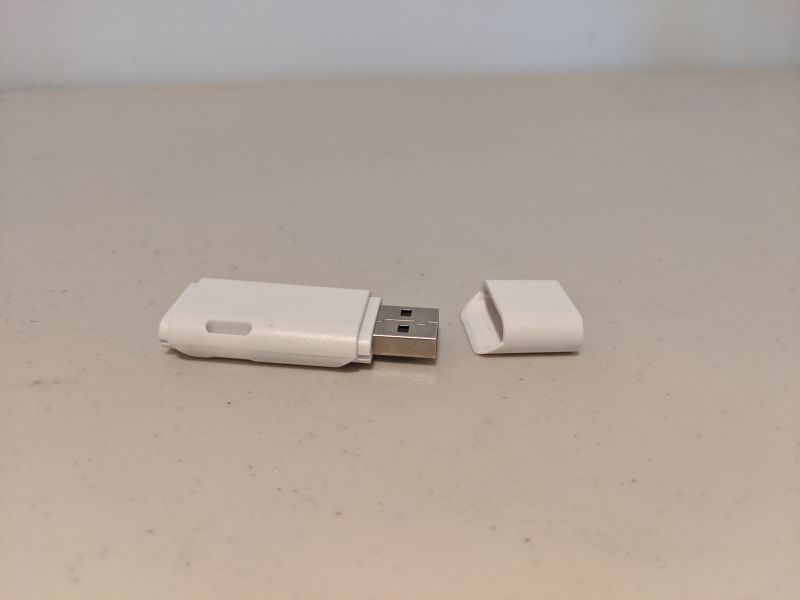
Now that the print platform, resin vat, and resin are in place grab the included USB stick to prepare your model.
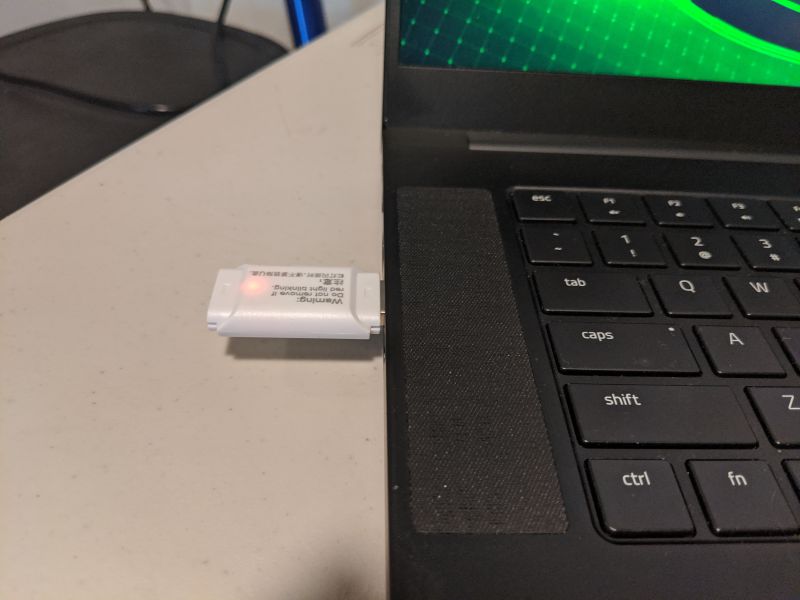
Plug the USB stick into your PC or Mac and follow the instructions for installing ANYCUBIC’s slicing software, Photon Slicer.
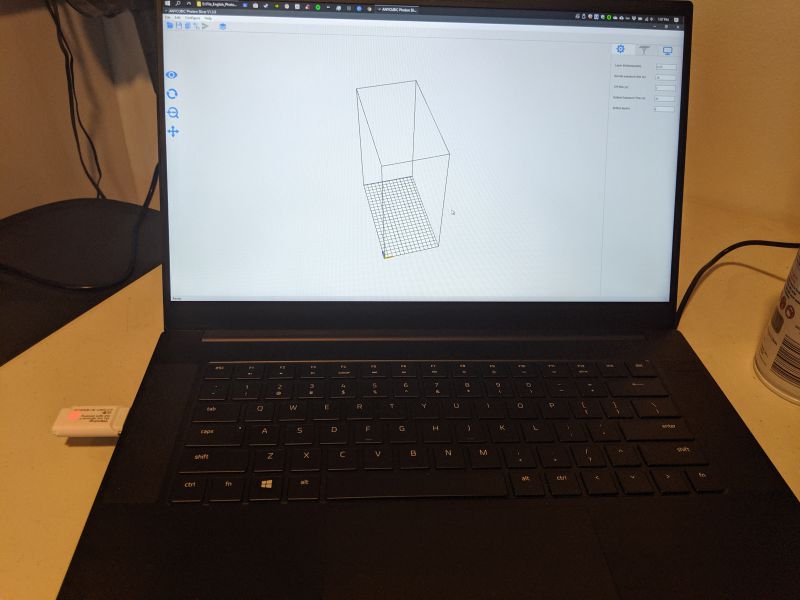
The Photon Slicer software is a basic 3D modeling program that allows you to transform standard 3D models into a format that the Photon UV can understand. It also allows you to add or remove support structures to your model as needed.
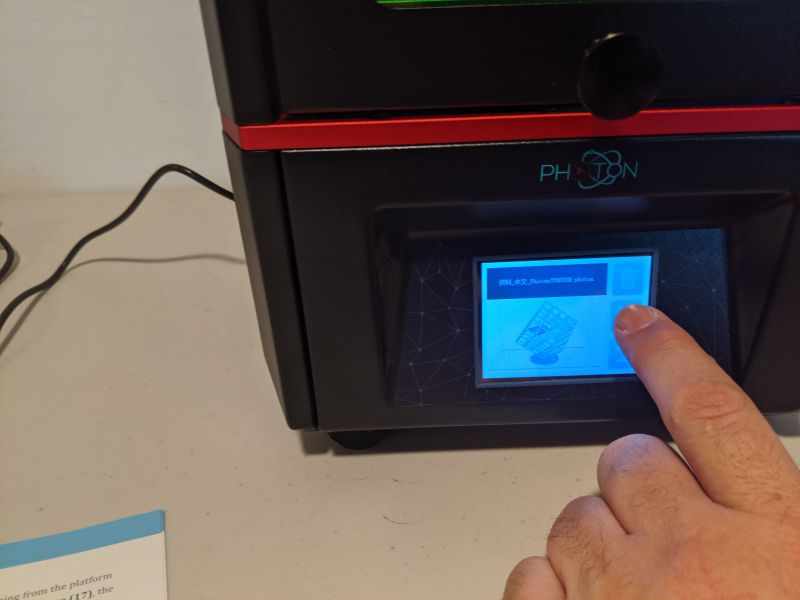
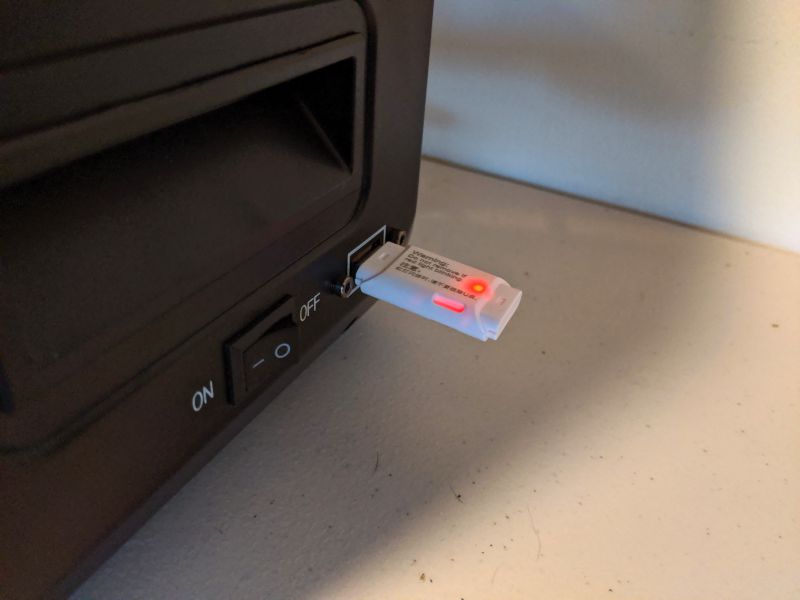
After processing with Photo Slicer you can load your model on to the USB stick for printing and then plug it into the USB port on the Photon UV. I’m not crazy about the placement of the power switch so close to the USB port as it’s very easy to accidentally shut off the unit while printing.
ANYCUBIC preloads the USB stick with their standard test model, so I chose to print that first, but you can download any 3D model and with a little tweaking, get it to work for the Photon UV.
Performance
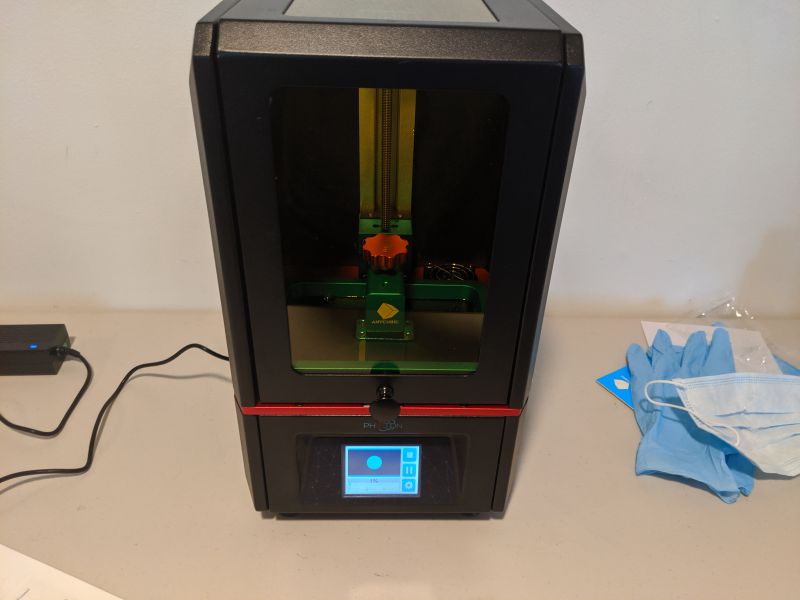
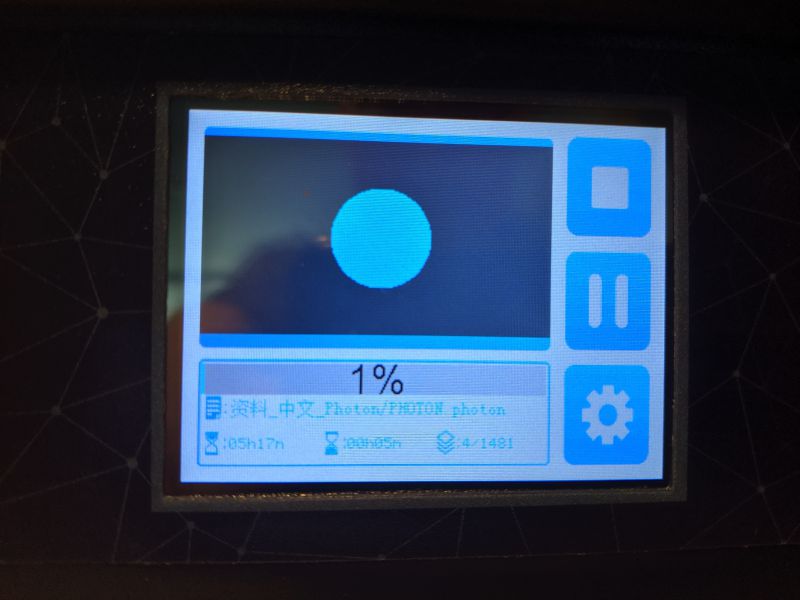
After prepping and setting up the Photon UV, all that’s left now is to select your model on the USB stick via the control panel, hit print, and wait.
And wait.
And wait.
3D printing in general is a time consuming process, but I feel like SLA printing takes exceptionally long. There are settings you can change to shorten the printing time, but you always run the risk of the print failing because you chose the wrong exposure time or number of base layers.
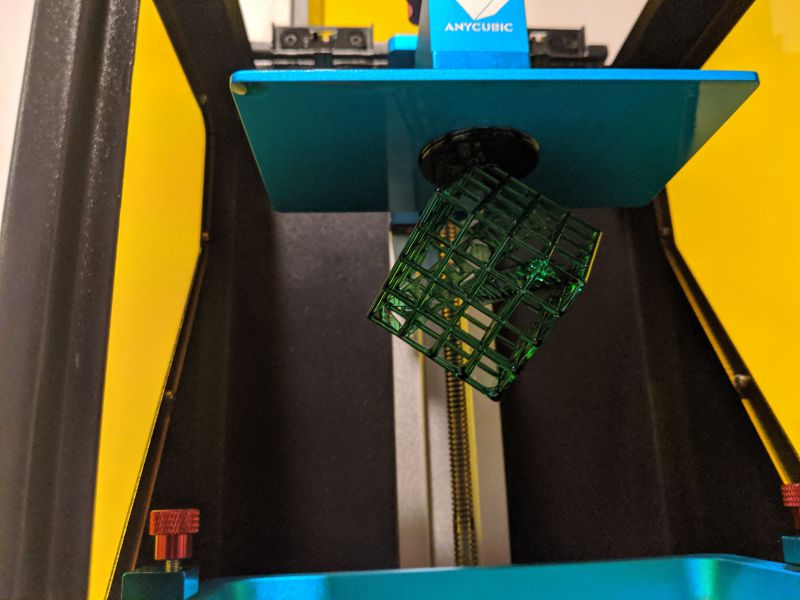
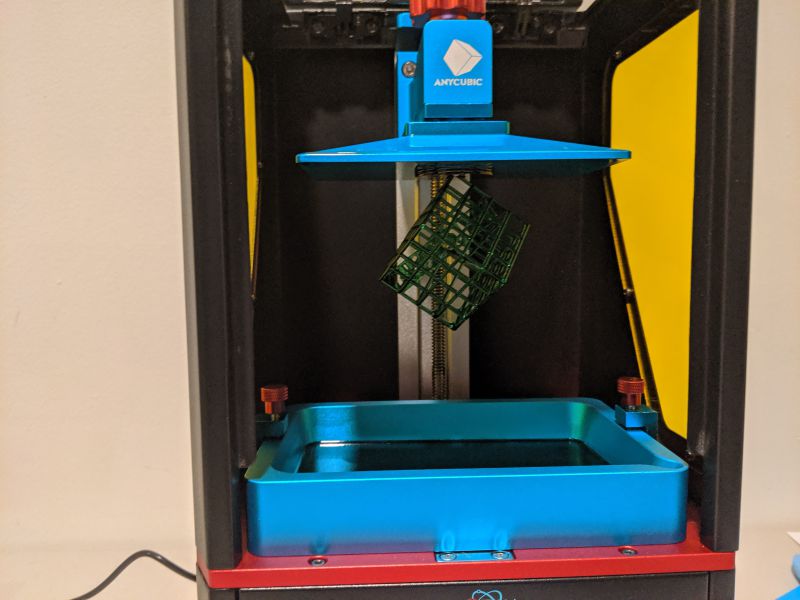
As the print progresses you can see the platform rising and lowering into the resin as the screen displays which layer is currently being printed.
It’s really cool to watch the model seemingly be pulled from the resin.
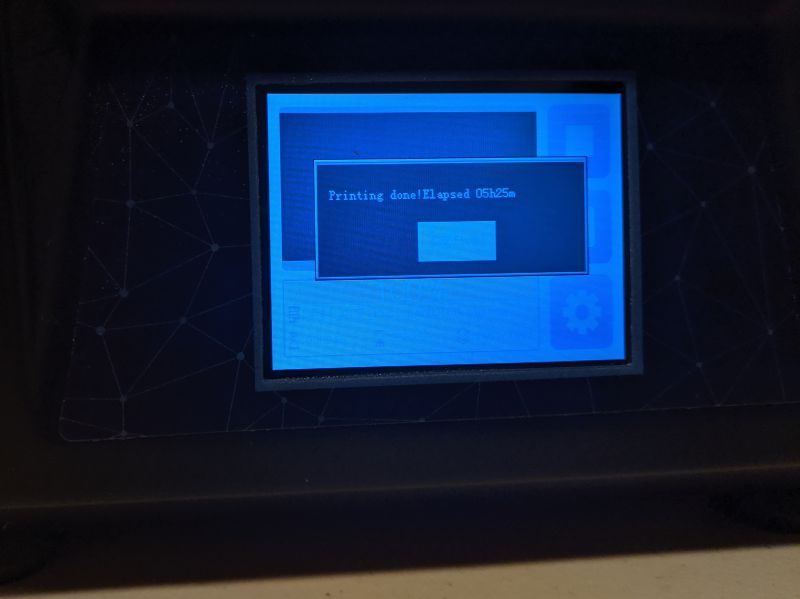
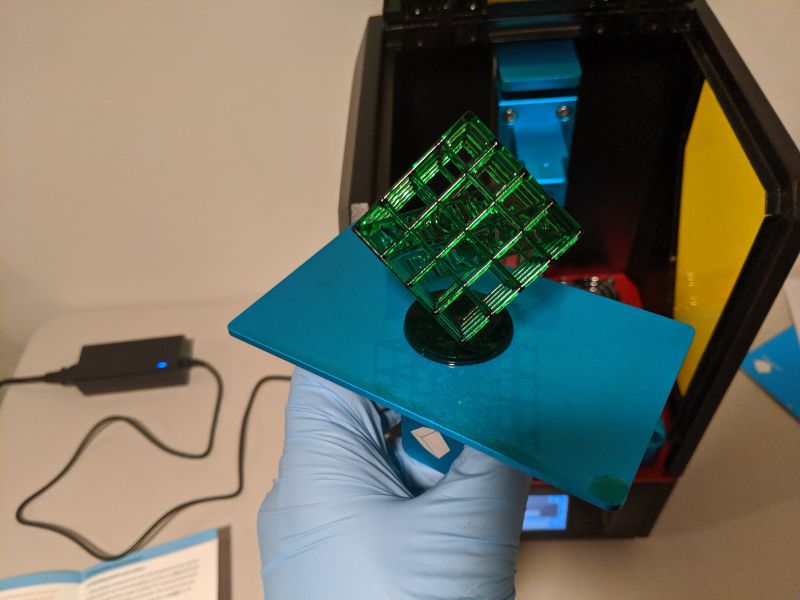
Finally after several hours, depending on the complexity of the model, your 3D print is done.
The Photon UV will beep several times to let you know the print is finished and then the print platform will rise high out of the resin vat.
It’s wise to let the model hang there for a bit so excess resin can drip off of it and into the resin vat.
Once the model has hung there for a few minutes it’s time to suit up into your protective gear again to remove the model from the platform.
Unscrew the red securing knob and carefully slide the platform off of the bracket.
The model’s base will be stuck firmly to the print platform so it takes some careful force application with the scraper to free the model.
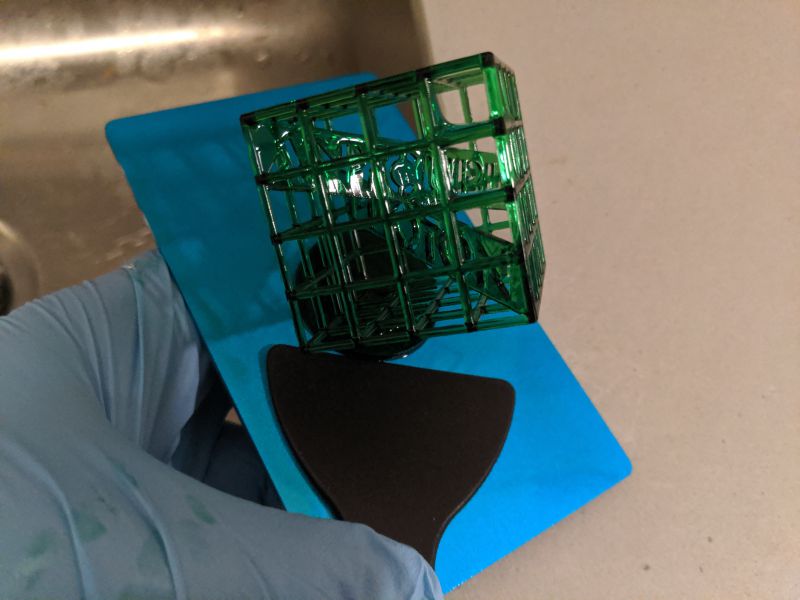
Be very careful not to damage the model as it isn’t 100% cured and hardened just yet.
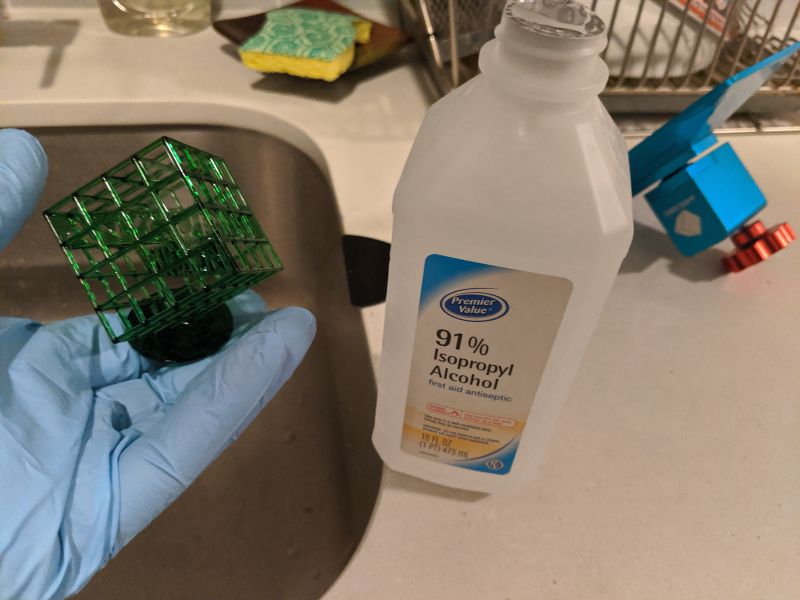
Once you free the model from the platform it needs to be rinsed or soaked in isopropyl alcohol to remove any uncured resin.
After the alcohol rinse, the model should be set somewhere to dry, preferably in direct sunlight. The UV rays will further harden the model and cure the resin completely.
The resin vat and print platform also need to be cleaned and rinsed in alcohol, but first the resin has to be drained and filtered. Carefully unscrew the resin vat retaining screws and slide the full vat out of the unit.
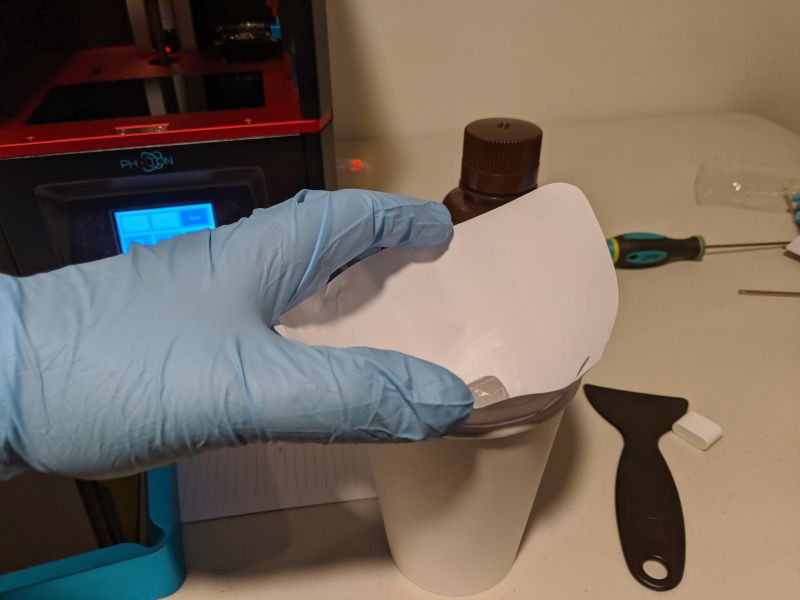
Use the included filters to clean the resin of any residual cured pieces that may have broken off during the printing. Since the resin is pretty expensive, it’s great that you’re able to recover the unused portion after a print is complete. The resin vat has a pour channel built in, align it over the filter and slowly pour out the resin. I found it easier to filter the resin into a paper cup and then transfer it to the resin bottle instead of trying to filter it directly into the bottle.
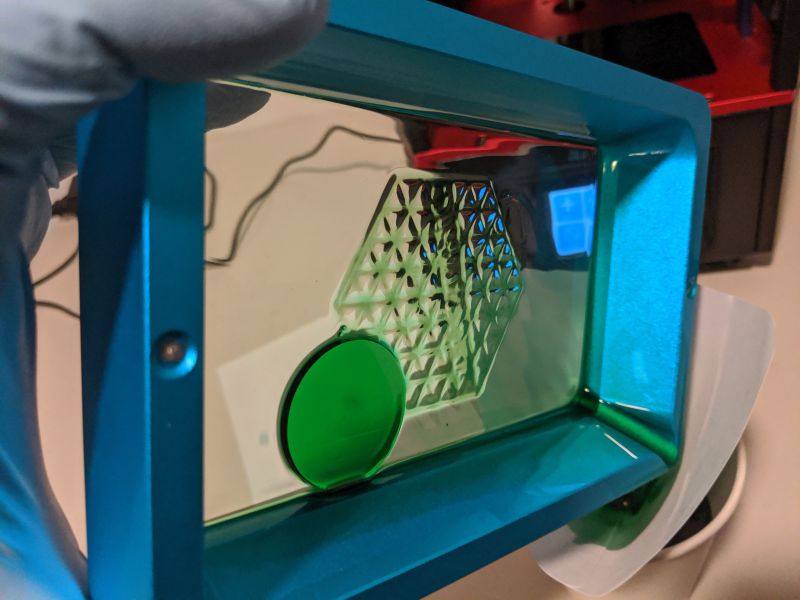
After the vat is emptied, it needs to be cleaned thoroughly with isopropyl alcohol like the platform and model. When prints fail, like many of mine did, you have to scrape the failed print off the bottom of the resin vat. This has to be done with great care so as not to damage the thin film attached to the bottom of the vat.
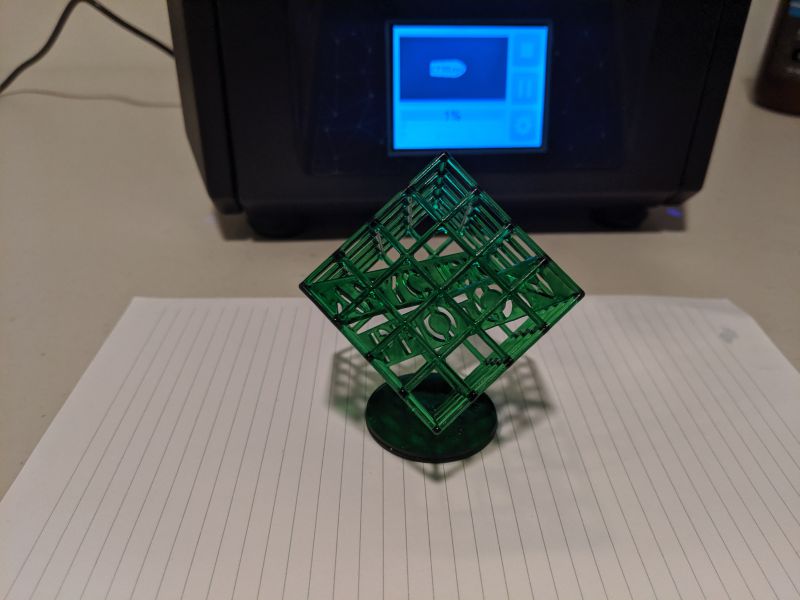
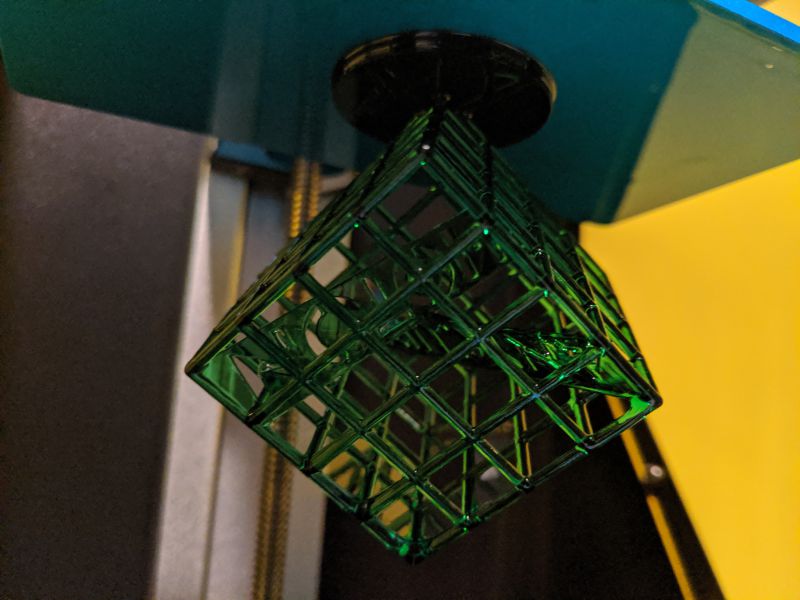
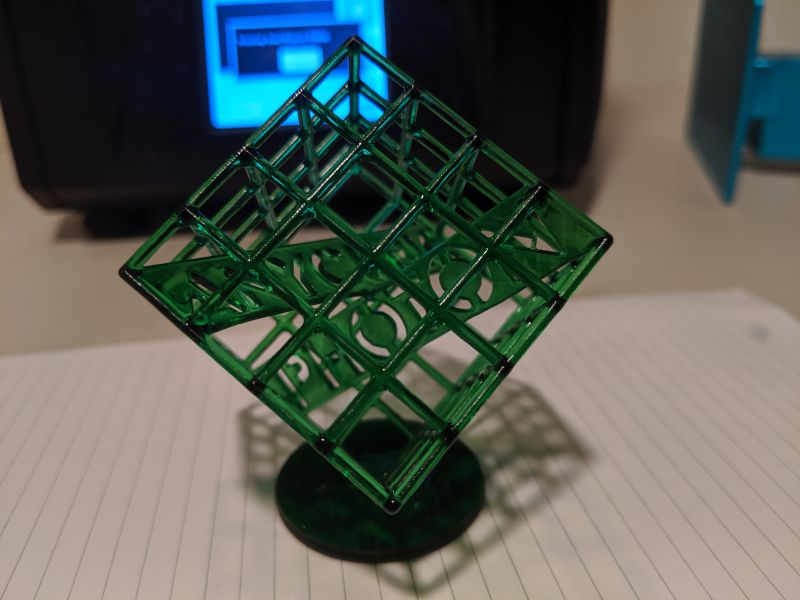
When prints succeed though, the results are pretty impressive. The level of detail SLA printing can achieve as opposed to FDM printing is amazing.
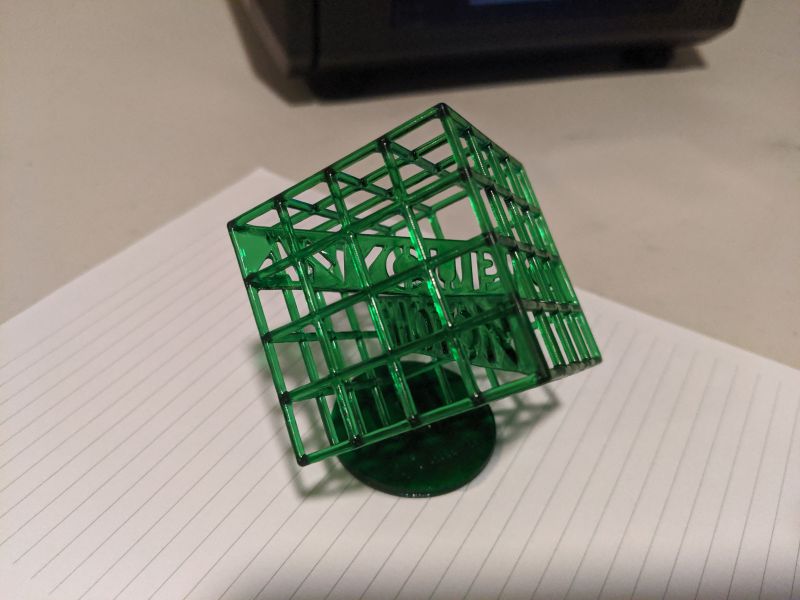
ANYCUBIC specifically chose a test model that would be difficult to print properly with an FDM 3D printer. The lattice of the cube is pretty intricate as is the ANYCUBIC Photon type layers nested inside. I was really blown away by the quality of this print.
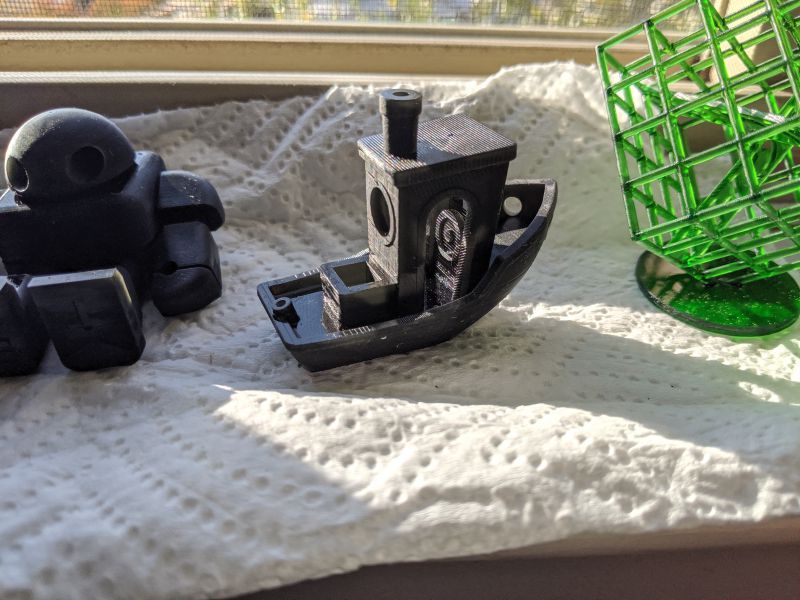
The other prints I was able to compete were equally impressive, especially the 3D printing benchmark, Benchy the tugboat. As I mentioned, it took me awhile and a number of failed prints to finally find the settings that worked somewhat consistently. It was really frustrating and messy because of the slow turnaround time of SLA printing. When the prints did work though, I was always impressed.
What I like
- Easy initial setup
- Prints, when they work, are high detailed
- User interface is easy to learn and navigate
- Well-designed, sturdy build quality
What needs to be improved
- Needs much better instructions and product support
- Printing success was sporadic
- No way to tell if a print fails early on without pausing it
- Cleaning after each print is time-consuming and messy but that’s SLA printing in general
Final thoughts
The ANYCUBIC Photon UV is a well-built machine and a great, inexpensive way to try out SLA 3D printing. I had difficulty getting it to print consistently though, the support materials are lacking, and ANYCUBIC’s customer support was no help at all. The included ANYCUBIC Slicing Software worked well, but there are other much better free options available. I was glad that the Photon UV finally produced some finished models during my testing because I love the detail that SLA printing provides and I feel like with enough tweaking, the Photon UV could be a great addition to my workshop. At $249.99 for the printer or $289.99 with a bottle of resin, the Photon UV is competitively priced and a good value if you’re willing to work a lot at getting consistent results.
Price: $249.99 – $289.99 with Resin
Where to buy: ANYCUBIC
Source: The sample of this product was provided by ANYCUBIC.

HATCHBOX 1.75mm Black PLA 3D Printer Filament, 1 KG Spool, Dimensional Accuracy +/- 0.03 mm, 3D Printing Filament
(as of June 19, 2026 16:49 GMT -05:00 - More infoProduct prices and availability are accurate as of the date/time indicated and are subject to change. Any price and availability information displayed on [relevant Amazon Site(s), as applicable] at the time of purchase will apply to the purchase of this product.)