REVIEW – Not all 12 sided dice are for role-playing games. At least one of them can help automate your home.
What is it?
The Nanoleaf remote is pretty unique as remotes go. It doesn’t have any buttons, screens or even charging ports. Instead, it has 12 sides that encourage you to pick it up and play with it. How does it work? What can it control? Let’s find out.
Hardware specs
Dimensions: about the size of a tennis ball (but 12 sided)
Power: runs on 2 AA batteries
Battery Life: 3 years standby, 1 year of active use
What’s in the box?
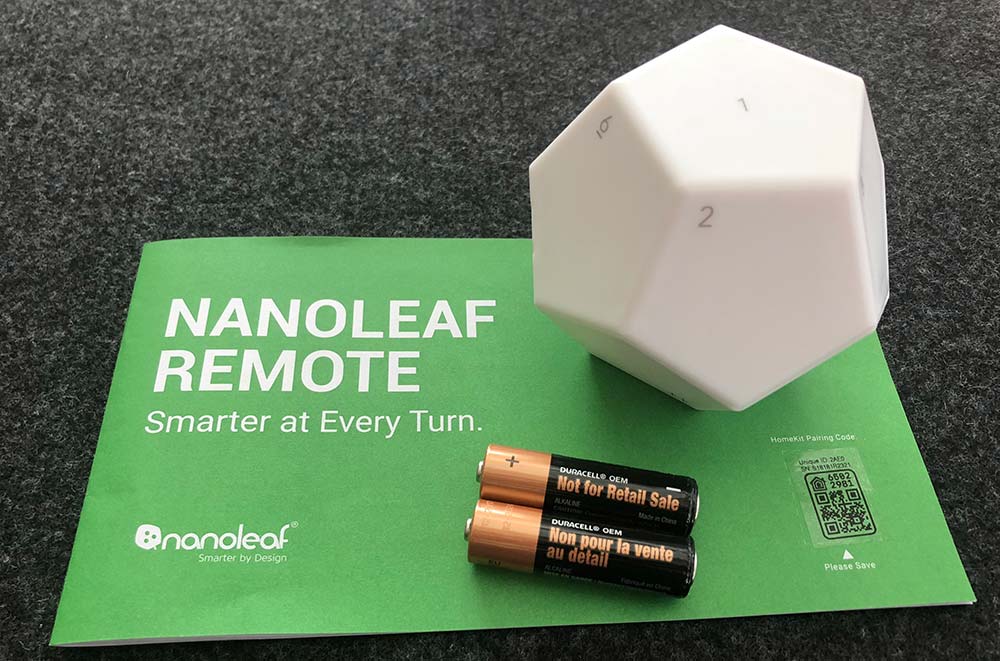
- 1 Nanoleaf remote
- 1 Pair of AA batteries
- 1 Instruction manual
Design and features
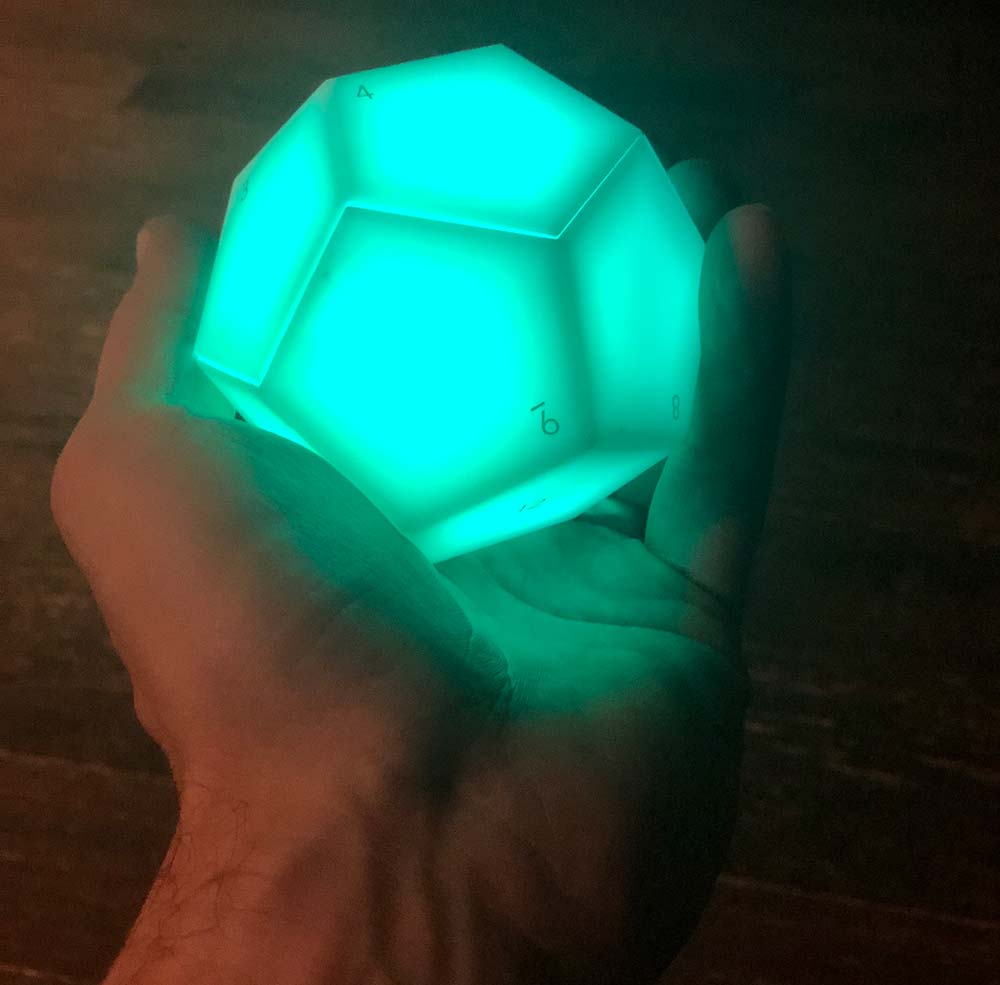
The Nanoleaf remote is a dodecahedron with softly rounded corners and edges. It feels good in the hand and it should as the whole premise is that this remote is meant to be touched, picked up and rotated. It’s also a very visual system which makes sense given that Nanoleaf’s core product is a modular lighting system. Each side is numbered 1 through 12 while producing its own color. Each can be individually programmed to act as a trigger for Homekit scenes or Nanoleaf panel color changes. There’s additional functionality if you’re using it with the Nanoleaf panels, as rotating the remote on a given side can adjust the brightness of your panel’s lights.
Setup
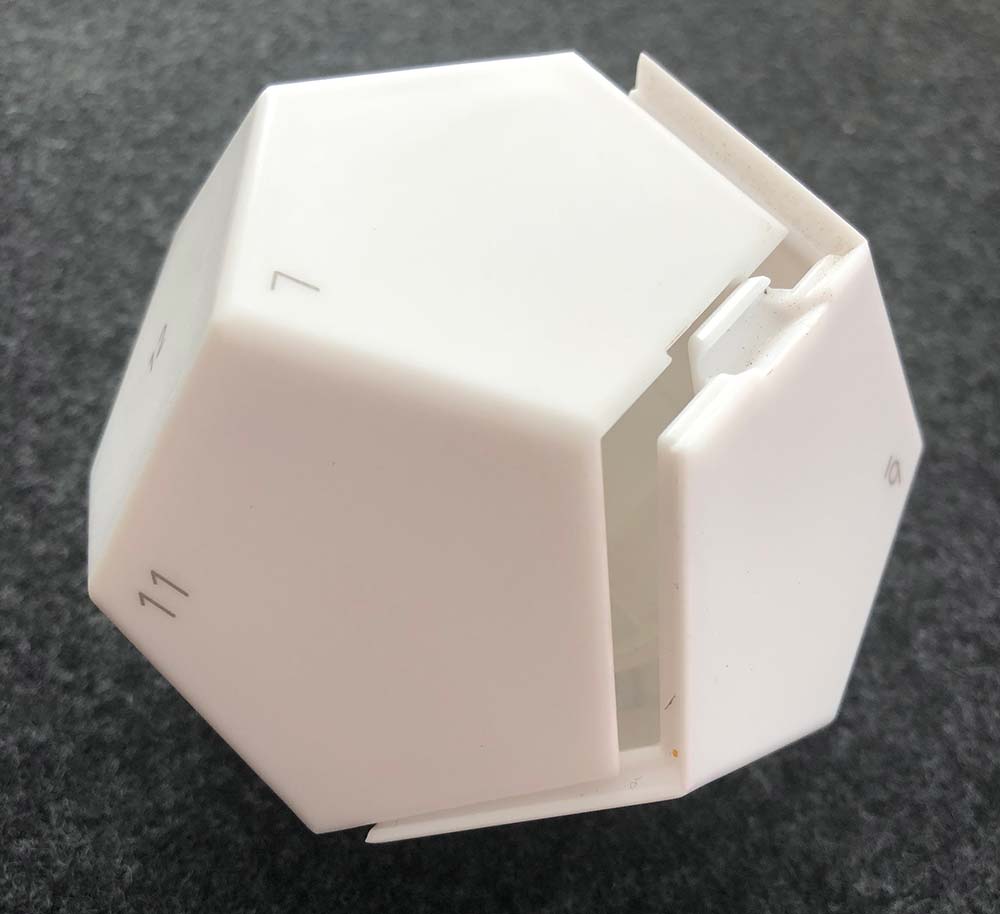
Physical setup is as simple as installing the batteries. The remote is already disassembled in the box.
The only thing to note is that the left battery should be negative up and the right is positive up. There’s no physical markings inside on the battery compartment that I could see and the illustration is confusing.
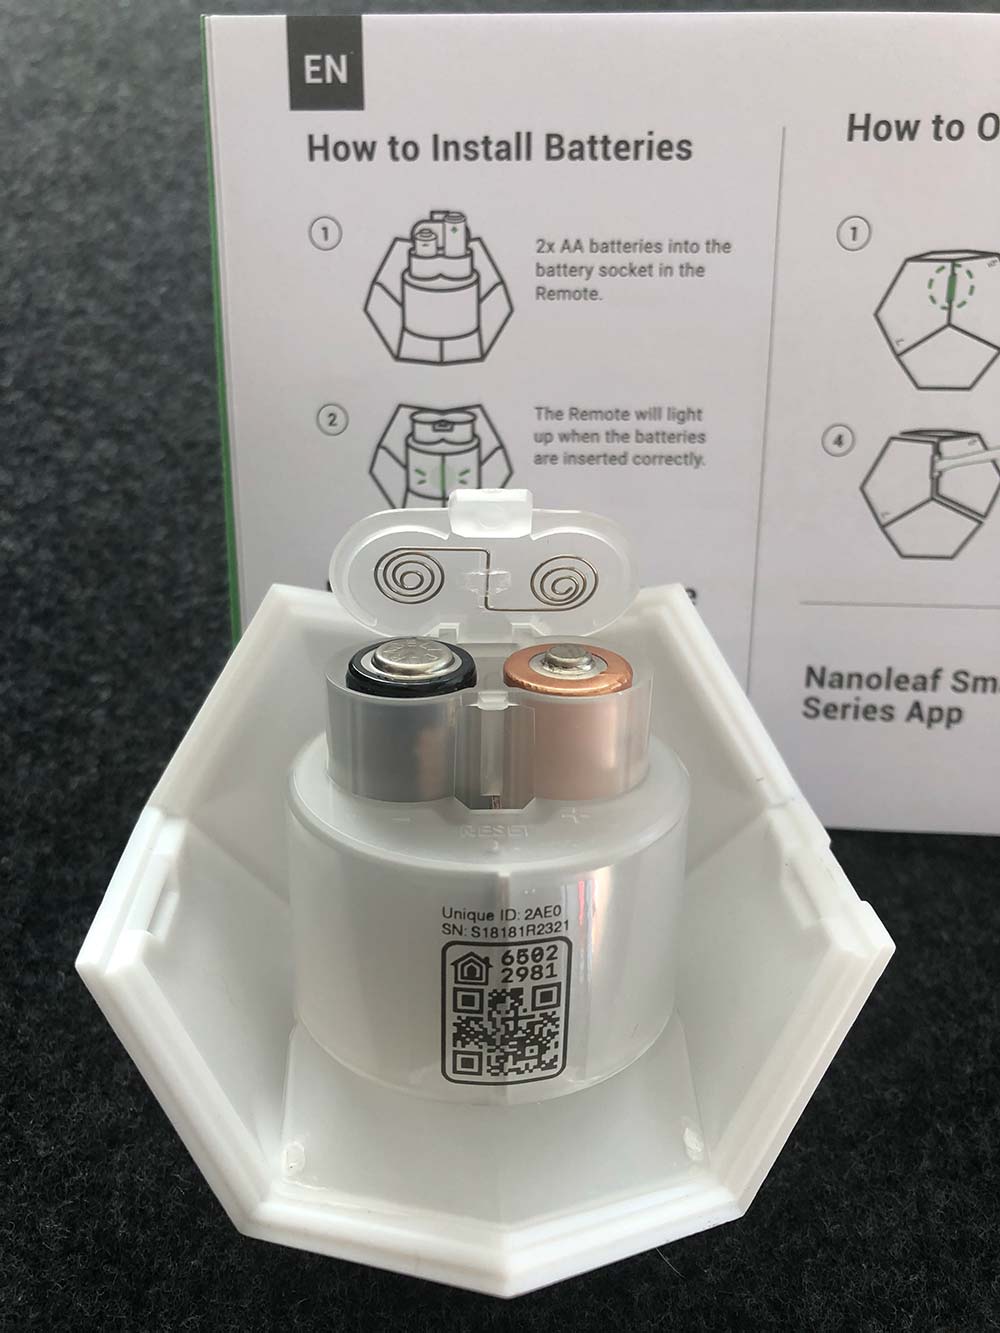
Pretty trivial though as the compartment is easy to open and close, and it lights up right away if you’ve got it right. Here’s a quick video of that startup sequence. (Please excuse the vertical video. I have no idea what I was thinking.)
Before you snap the two sides together, you’ll need to download the Nanoleaf app for Apple or Android and there are QR codes for both in the manual to get you to the right place quickly. Once you’re in the app, create an account and you’re now ready to pair with the remote.
Click the ‘Remote’ button in the bottom center and then the big ‘+’ at the top. Click on ‘Remote’ and then follow the instructions. I used the Homekit Setup Code which found the remote quickly and landed me on a page to customize the name and choose from the rooms I already have set up in Homekit.
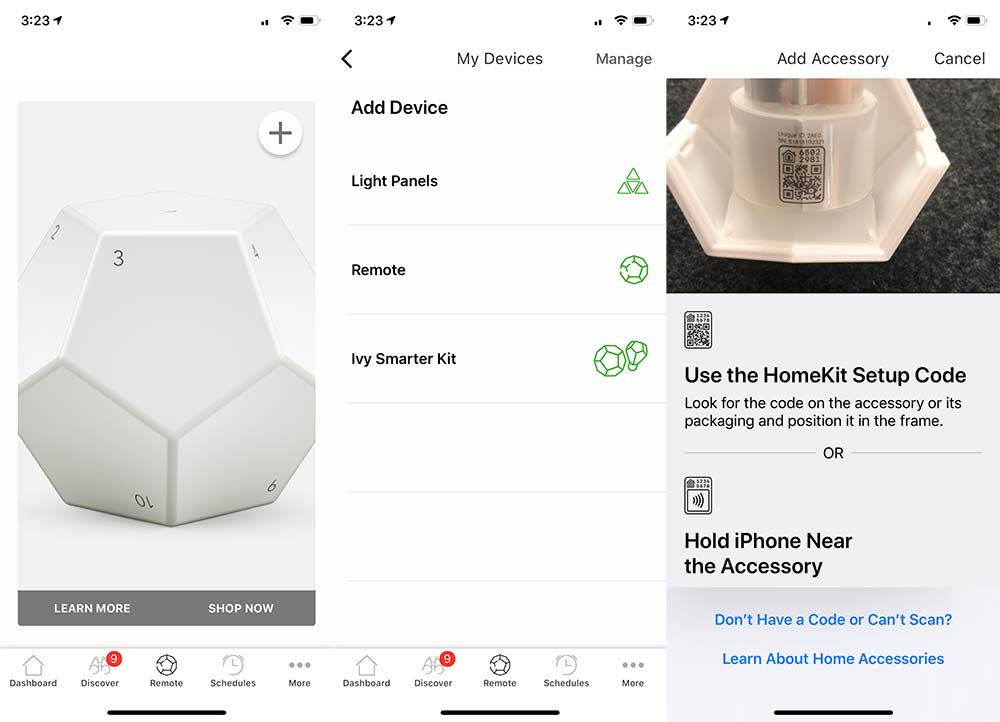

That same ‘Remote’ icon at the bottom now drops you to a screen where you’re presented with all 12 sides to customize. From having set this up originally I had ended up setting side 1 to an ‘All Off’ function, so I repeated that step in the Nanoleaf app for this walkthrough. As you can see in the pic, it has you finish the configuration in the Apple Home app.
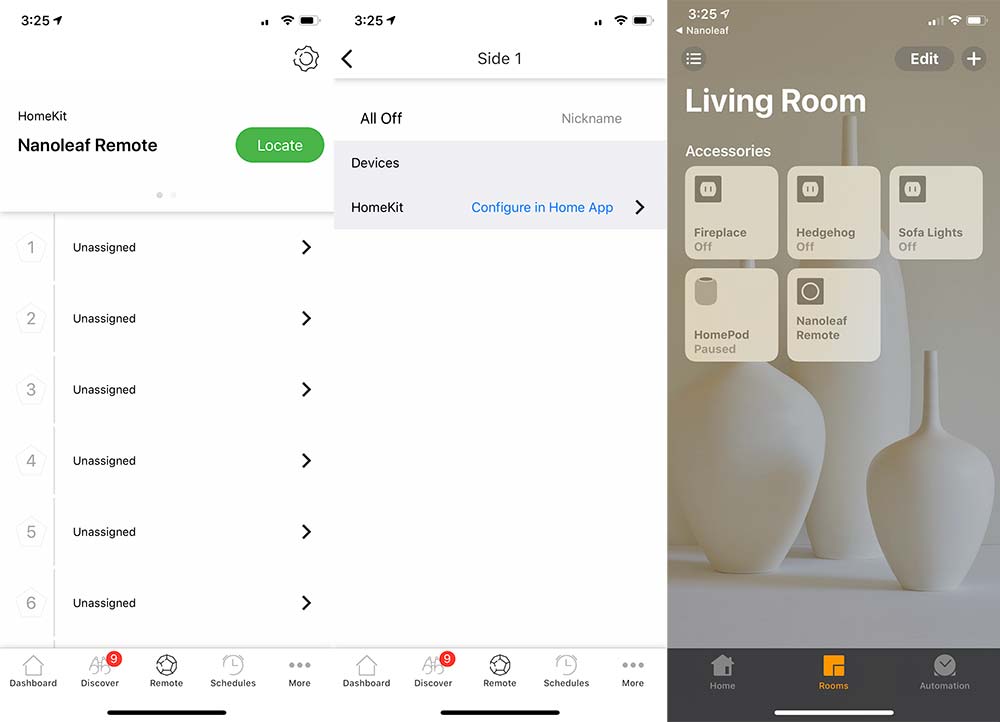
From the Home app, you need to press and hold ‘Nanoleaf Remote’ to see that I have 12 unconfigured buttons and see the ‘Settings’ button. Pressing ‘Settings’ lets you customize all 12 sides. For side 1, I’ve selected 5 lights that I want to turn off. All the others are already on schedules or infrequently used.
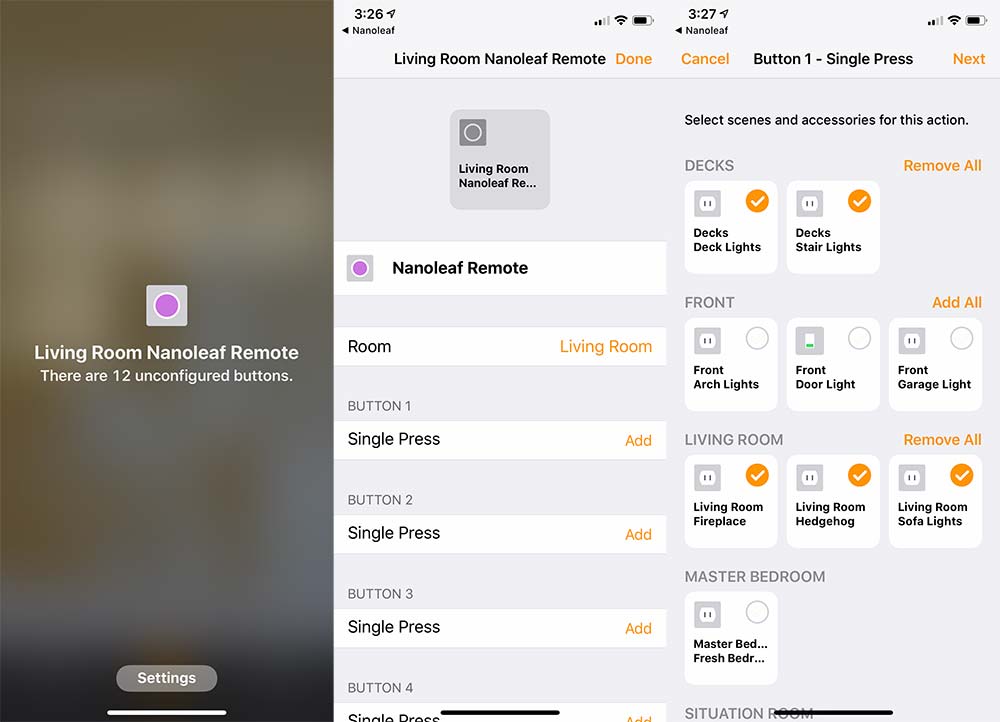
When you hit next, you need to define what action is being taken. In my case, they’re all set to ‘Turn Off’. Then you click done. Continue this for each side and set the action that you’re looking for. In my case, I set each even number to turn a specific Wemo on, and the next odd number to turn that same one off. I did not have actions for the final 3 sides.
I’ll cover that last pic a bit more about the way I programmed the remote in the next section as I definitely feel like I’m using the remote for a very specific, narrow functionality and not taking advantage of its power.
Performance
In our house, we recently set up an Apple Homepod and added a Wemo Bridge to allow our multiple Wemo products to be Siri/Homepod compatible. We primarily have Wemo Outlets (both original and the newer minis) and then two Switches. As we continue please know that my review is based on controlling Wemo products and not any other Homekit accessories or Nanoleaf products.
We’ve been using Siri to turn on our various accessories, and used Alexa before getting a Homepod. The Nanoleaf remote added a very tactile (and quiet) action to accomplish the same thing. It’s actually quite refreshing instead of talking to a disembodied voice. In our case, picking up the remote and turning it from side 1 to side 2 activates the lights around our sofa.
I started realizing how narrow my use was when I originally set up the remote. I had 2-6 turning on different lights and realized that I needed the ability to turn off specific ones while leaving others on. That meant I needed to be able to remember which sides did what which led me to the even/odd setup which has been working pretty well.
Here’s a video of turning on and off our deck lights at night to give you an idea of the interaction of using it as an on/off trigger.
I can imagine that if you’re using the remote to control Nanoleaf’s own light panels or any other Homekit compatible color changing bulbs, part of the charm may be in the discovery of different color palettes as you rotate to find one that fits your mood. When using it as a binary on/off, you end up looking at each side more to find the number you want to turn to.
It helps that each side produces a different color as you can pick it up and rotate it in your hand until you see the color you want and then wait or set it down to trigger the action. It still means you need some recollection of what each color means. Here’s what that looks like.
There’s also haptic feedback as you rotate the remote in place looking for which number you want to turn to. I’m guessing this is to provide tactile feedback when controlling brightness levels on compatible hardware.
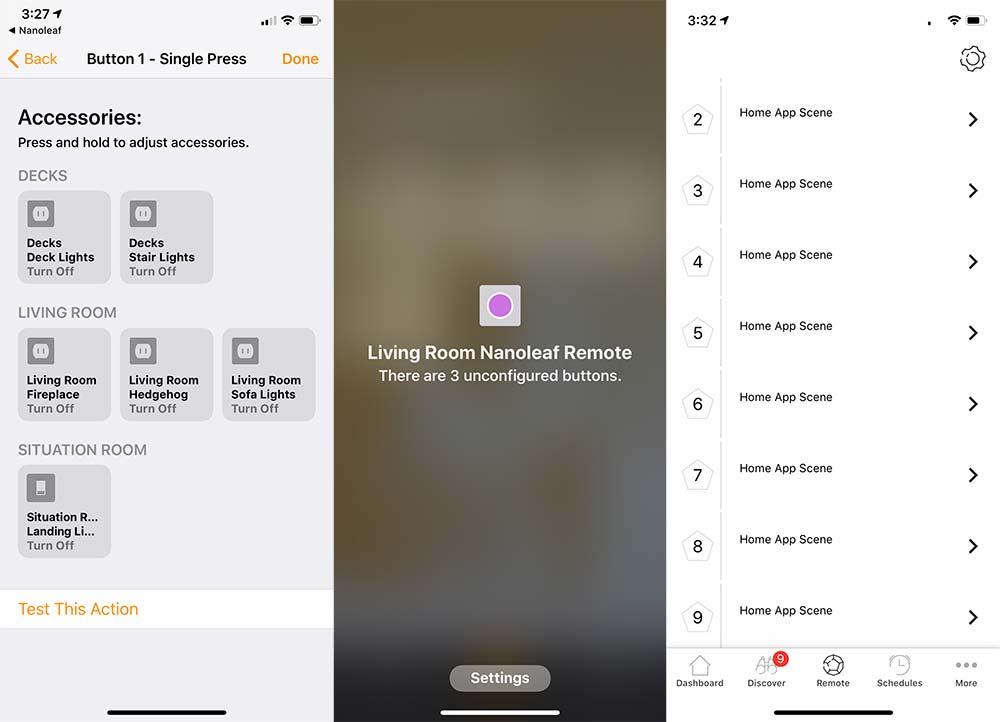
Within the Apple Home app, there’s no additional interaction unless you want to change settings. Back in the Nanoleaf app, however, I was surprised to see that each of the different sides all had the same name… ‘Home App Scene’ (the last photo in the setup section shows this). You could go into each one and retitle it, but it appears that there’s no back and forth communication between the Home and Nanoleaf apps as far as naming action goes, so it would really just be a housekeeping exercise. The Home app (settings) is going to be your source of truth for what the action is anyway.
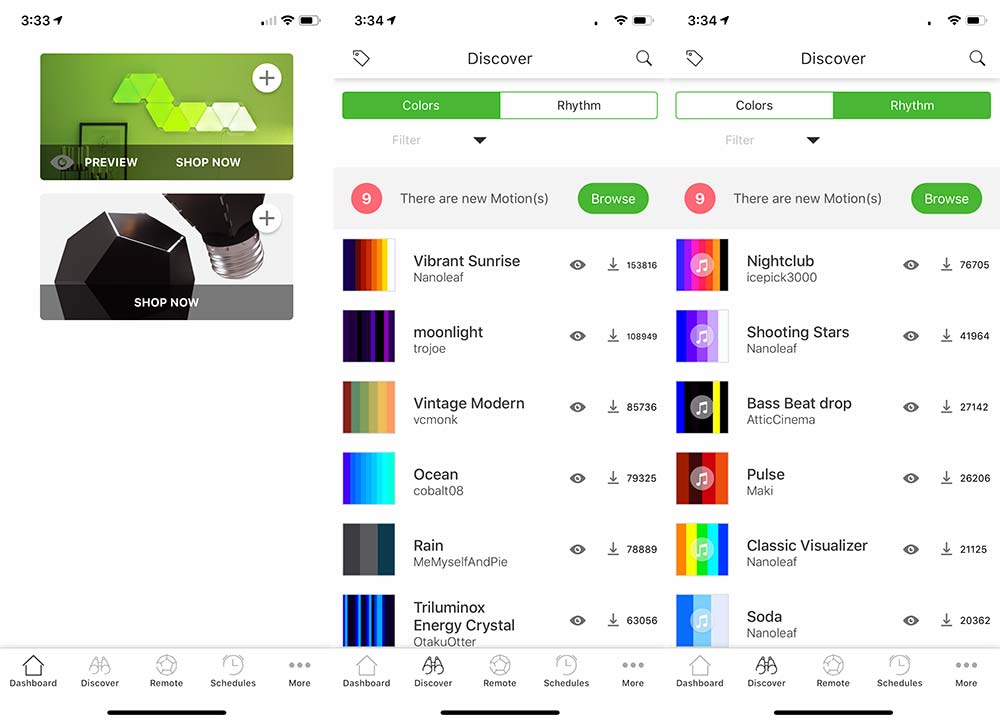
The Nanoleaf app does show a good bit more of what I’m missing by not having Nanoleaf light panels. There are schedule settings, a store and a ‘Discover’ section that has some amazing looking Colors and Rhythms which unfortunately look like they don’t work with the lights within the remote itself as I cannot select it as a device to download to.
As often as Alexa would respond with ‘you have multiple devices with that name’ (I guess many of them share the word ‘lights’); the Nanoleaf remote is not a surefire replacement either. It’s pretty reliable, but sometimes you’ll turn to the side and nothing happens. I’m going to hedge my bets here and say that this is unlikely to be a sole Nanoleaf issue. Nanoleaf plus Homekit, plus Wemo Bridge, plus Wemo outlet… You get my point. Multiple opportunities for a handoff failure.
What I like
- The size, shape, and illumination
- The action of picking it up and rolling/rotating to trigger an action
- The battery life (assuming it meets their claims)
What needs to be improved
- Would like to see some of that color customization available for the remote
- When it doesn’t trigger a light, it’s hard to understand what didn’t work
Final thoughts
I have to say that it’s incredibly fun to play with. It’s also a great conversation starter. It looks cool, so guests pick it up and are intrigued by the light changing on the remote itself, and even more so when lights around them power up. Somehow this just feels more magical than asking our non-human family member/assistants to do the same thing.
Price: $49.99
Where to buy: Nanoleaf
Source: The sample of this product was provided by Nanoleaf.

2-Pack LED Video Light Kit, NiceVeedi Studio Light, 2800-6500K Dimmable Photography Lighting Kit with Tripod Stand&Phone Holder, 73" Stream Light for Video Recording, Game Streaming, YouTube
(as of July 15, 2026 07:24 GMT -05:00 - More infoProduct prices and availability are accurate as of the date/time indicated and are subject to change. Any price and availability information displayed on [relevant Amazon Site(s), as applicable] at the time of purchase will apply to the purchase of this product.)
Gadgeteer Comment Policy - Please read before commenting
In re: “There’s no physical markings inside on the battery compartment that I could see and the illustration is confusing.”
I was able to see physical markings for the batteries in the photo. They’re raised plastic + and – symbols on that “shelf” surrounding the battery silos.
Hope this helps!
Great catch! That translucent plastic makes it impossible to see. Somehow the photo makes it look like much more prominent. Time to get my eyes checked again.