REVIEW – Photo editing can be drudgery unless you were raised as a graphic designer using Photohsop (like me). Even then, it can be tedious. Today we’re checking out the Wondershare Fotophire Image Editing Software, which combines a whole bunch of image editing features in one package. It’s simple to use, automates a bunch of the work for you, and has a ton of features that don’t require deep graphic experience to execute. Let’s learn more. To the review!
What is it?
It’s a set of tools that allow you to edit & manipulate your photos including filter effects, image enhancements, color correction, background removal, cropping, and the ability to remove unwanted objects.
Software specs
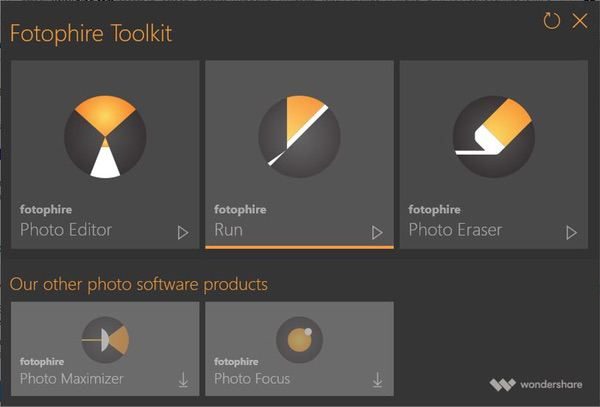
There are three tools included in the Fotophire editing toolkit:
- The Photo Editor provides basic editing (like cropping, flipping), 200+ filter effects, focus blurs & vignettes, color correction, and more.
- The Photo Cutter enables you to remove or replace backgrounds in pictures with a set of smart tools that automate the process.
- The Photo Eraser automates the process of removing unwanted objects from your photos, including watermarks and date stamps.
I’m testing the Windows-based version of the package, but an Apple OS version is also available.
Design and features
The Wondershare Fotophire Image Editing Software kit provides a suite of tools that allow you to manipulate your photos for professional quality results using a series of easy to use, intuitive interfaces that don’t require extensive graphics experience to master. You’ll start by firing up the toolkit launcher, which gives one-click access to each tool:
The first tool is the Photo Editor, which offers a HUGE range of filters and effects. Your photo is presented in an interface that uses a combination of intuitive icons, menus, and excellent help tools guide you through their use:
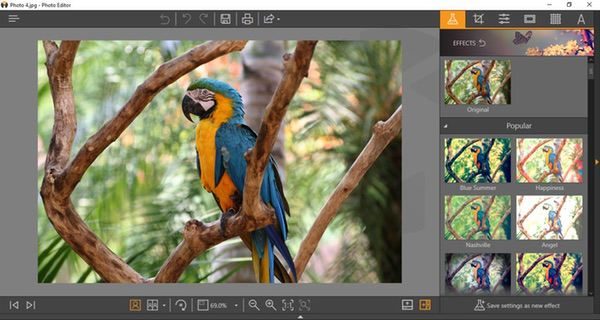
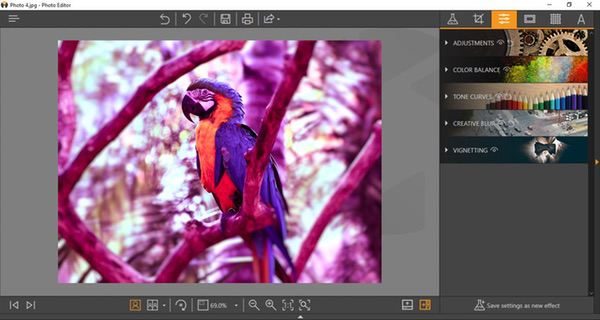
The effects menu provides over 200 canned filters you can apply for different photo treatments. I chose a random effect to give the whole photo a purple filter here:
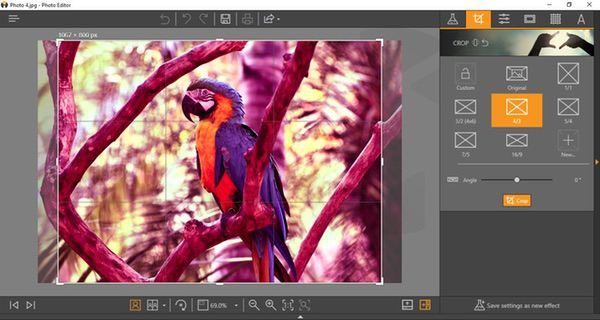
The cropping function, available from all three tools, provides a set of pre-packaged sizing/aspect ratio options, which can then be dialed in with on-screen controls:
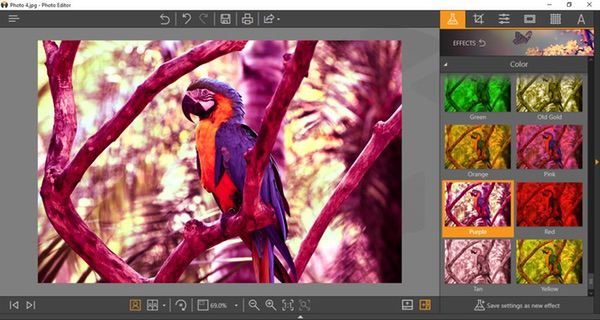
If you want to do your own color adjustments, you can forego the pre-selected filters and create your own. There’s a whole subset of tools to adjust color balance, tone, contrast, color saturation, etc. You can save these preferences for future use, and even apply them for batch processing later.
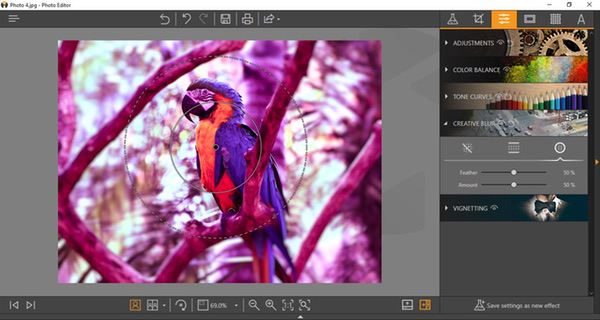
Blurs and vignettes enable you to create focus areas in your image. I added a creative blur here, setting the radius and depth of the filter with my mouse to focus on the parrot and blur the rest of the image. As with other effects tools in the package, everything works with friendly and self-explanatory sliders and onscreen tools that are quick and easy to master.
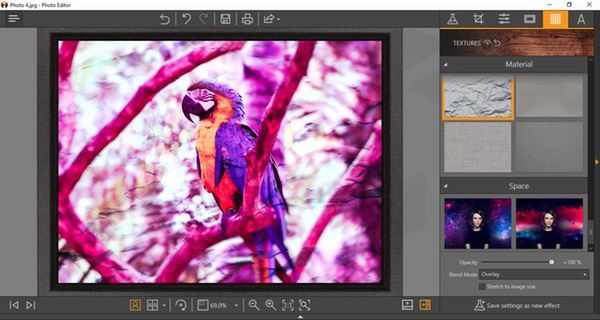
After making those adjustments, I added a frame from another preset menu of options, and then applied a texture to the whole picture.
These samples only scratch the surface of what the Image Editor can do. Color management and tone controls are really deep. You can add text, flip photos, add blends, and more. You can also set the view mode to arrange the desktop with before and after previews if you like, and save your settings for future use or batch processes. It’s an impressive set of features compared to many photo editing apps out there. And the speed is excellent. I ran my tests on an older Windows 10 machine, and saw virtually no lag from application to execution of any of the effects.
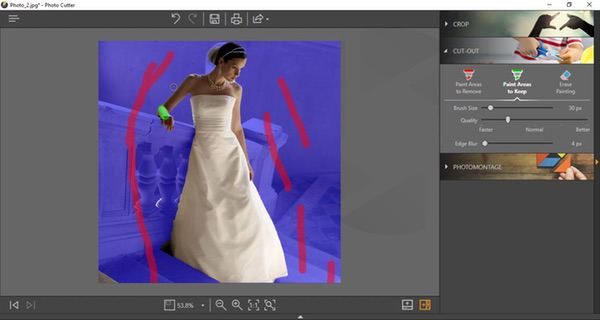
The Photo Cutter tool employs a simple, user-friendly automated feature to remove background elements from your photos for isolating the main subject matter. There’s a handy tutorial that takes you through the process the first time.
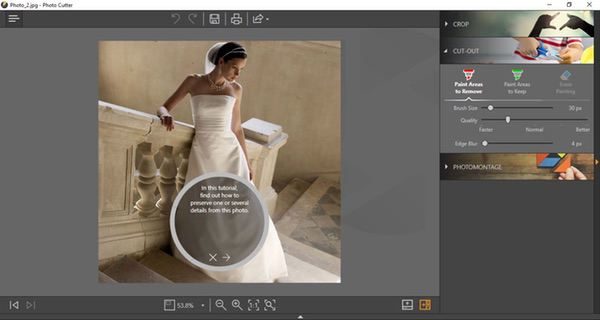
To use the tool, you’ll start by drawing lines on your image through the areas you want to remove. As you add these lines (shown in red below), the preview shows you what areas are being eliminated from the photo. If you lose too much of the key image, you can go back and highlight areas to include in the finished piece (shown in green). Adjustment sliders allow you to refine the selection process to accommodate the depth and complexity of the original image.
Once you are happy with the preview, press the “erase” button and the background just… disappears.
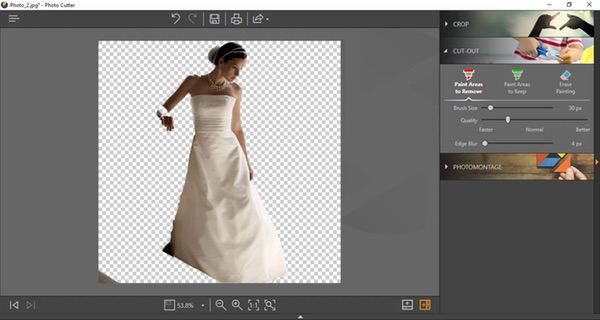
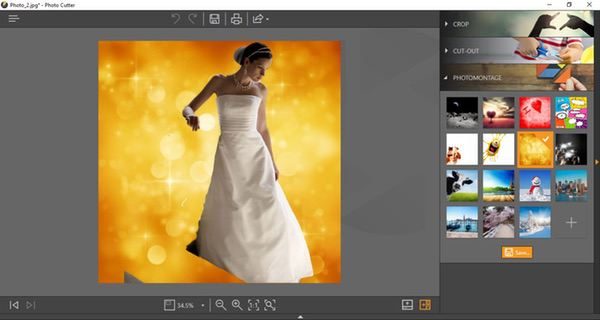
The finished art is rendered on a separate layer, and you can add in a different background if you like:
In my previous life I spent many, many late nights doing detailed image cropping and background removal in Photoshop… I can tell you that I would buy this package just for this tool. The automation is really good. You will always have challenges with images that have very similar tones, but most of my testing was spot-on in one or two attempts. And the speed is, once again, excellent for a complex task like this.
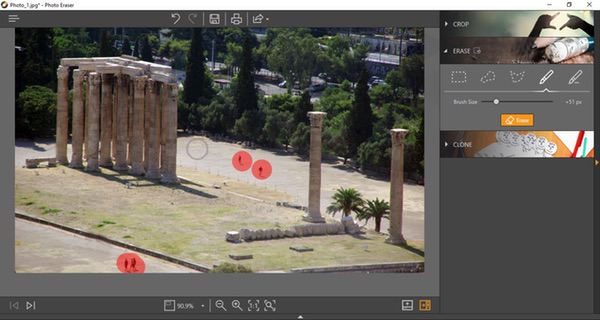
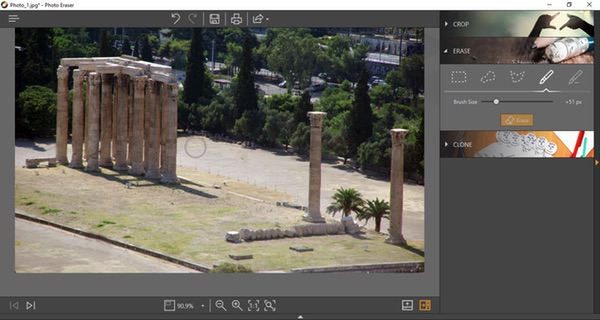
The Photo Eraser is the final tool in the package. Basically, it acts like an automated “clone” tool used in other photo editing programs to remove unwanted objects. The “Erase” tool lets you set the size of spots on the screen (in red below), and the software will basically blend the surroundings to eliminate the image in the spots. Like so:
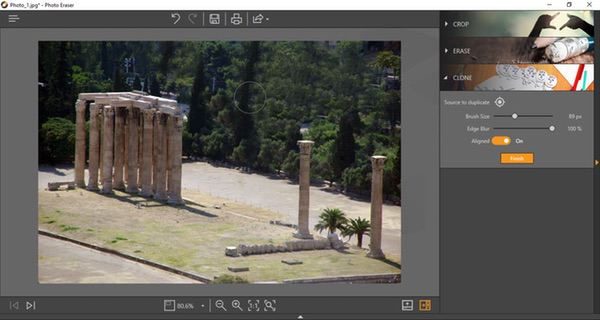
You can also do your own cloning, basically copying an area of the image to another to blend out unwanted objects. I removed the buildings behind the monument hereby extending the foliage in the picture. I exaggerated it a bit so that you can get an idea for how it works:
Of the three tool sets in the Wondershare Fotophire package, this is probably the weakest one in my opinion. The interface is great and responsive, but I found that the automated cloning feature is not always as accurate. It’s nice to have in the package, but doesn’t need to stand on its own… this tool could probably be worked into the Image Editor as opposed to standing as its own app.
While the Wondershare Fotophire package isn’t as robust as a fully-functional commercial image editing tool like Photoshop, I think it ticks off just about all the boxes if you are actively publishing photos online on a regular basis. It does each job very efficiently, and it doesn’t require a steep learning curve to produce professional-looking results.
What I like
- Simple, well designed, intuitive interfaces
- Snappy performance
- Excellent help and tutorial support
- Robust feature set for a photo editing package
What needs to be improved
- The Photo Eraser tool could be improved, or even integrated in the Photo Editor tool for simplicity
Final thoughts
I think the Wondershare Fotophire is a good value for what you’re getting. A lot of photo editing tools are extremely limited in scope and capability, requiring you to buy a combination of tools to get what you need if you are frequently posting images. The Fotophire package gives you just about everything you need for essential image manipulation in one package, and you don’t need deep graphics experience to use it.
Price: 1 year license for $49.99, lifetime license for $79.99
Where to buy: Download the demo and purchase at the Wondershare Fotophire web page.
Source: The sample of this product was provided by Wondershare
![[MINI SIZE. ULTRA PORTABLE CHARGER]: Roughly the size of an AirPods Pro case, this smallest power bank packs 10,000mAh of long lasting power into a tiny, nano footprint. Easily slide this ultra slim, credit card size charger into your skinny jeans, a...](https://m.media-amazon.com/images/I/41rATpm6dyL._SL160_.jpg)
INIU Portable Charger, Ultra Mini 10000mAh 45W Fast Charging with Detachable Cable, Flight-Safe Travel USB C Power Bank External Phone Battery Pack for Xiaomi iPhone 17 16 Samsung S26 Google iPad etc
(as of July 15, 2026 07:24 GMT -05:00 - More infoProduct prices and availability are accurate as of the date/time indicated and are subject to change. Any price and availability information displayed on [relevant Amazon Site(s), as applicable] at the time of purchase will apply to the purchase of this product.)
Gadgeteer Comment Policy - Please read before commenting
Hi Bob,
Does Wondershare Fotophire allow the user to easily add text?
Can the fonts be simply adjusted for size, colour and bold?