I think I’ve indicated before that I’m a bit paranoid when it comes to home security. I have several cameras in and outside my house, and I’m always considering adding more. Not only are the cameras great for deterring burglars, but they often help find toys my children lost.
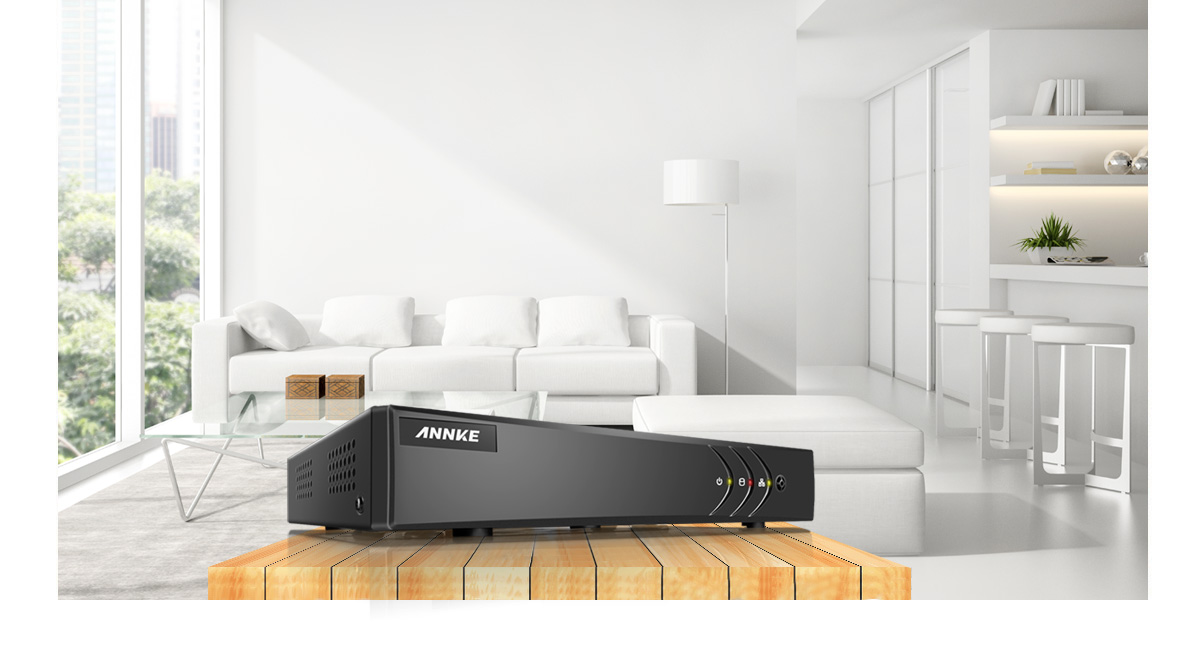
Recently I volunteered to review a DVR security system by Annke. It’s a four camera indoor/outdoor system with a multitude of features.
In the box
- Annke DVR
- 4 x 720P indoor/outdoor cameras – wired
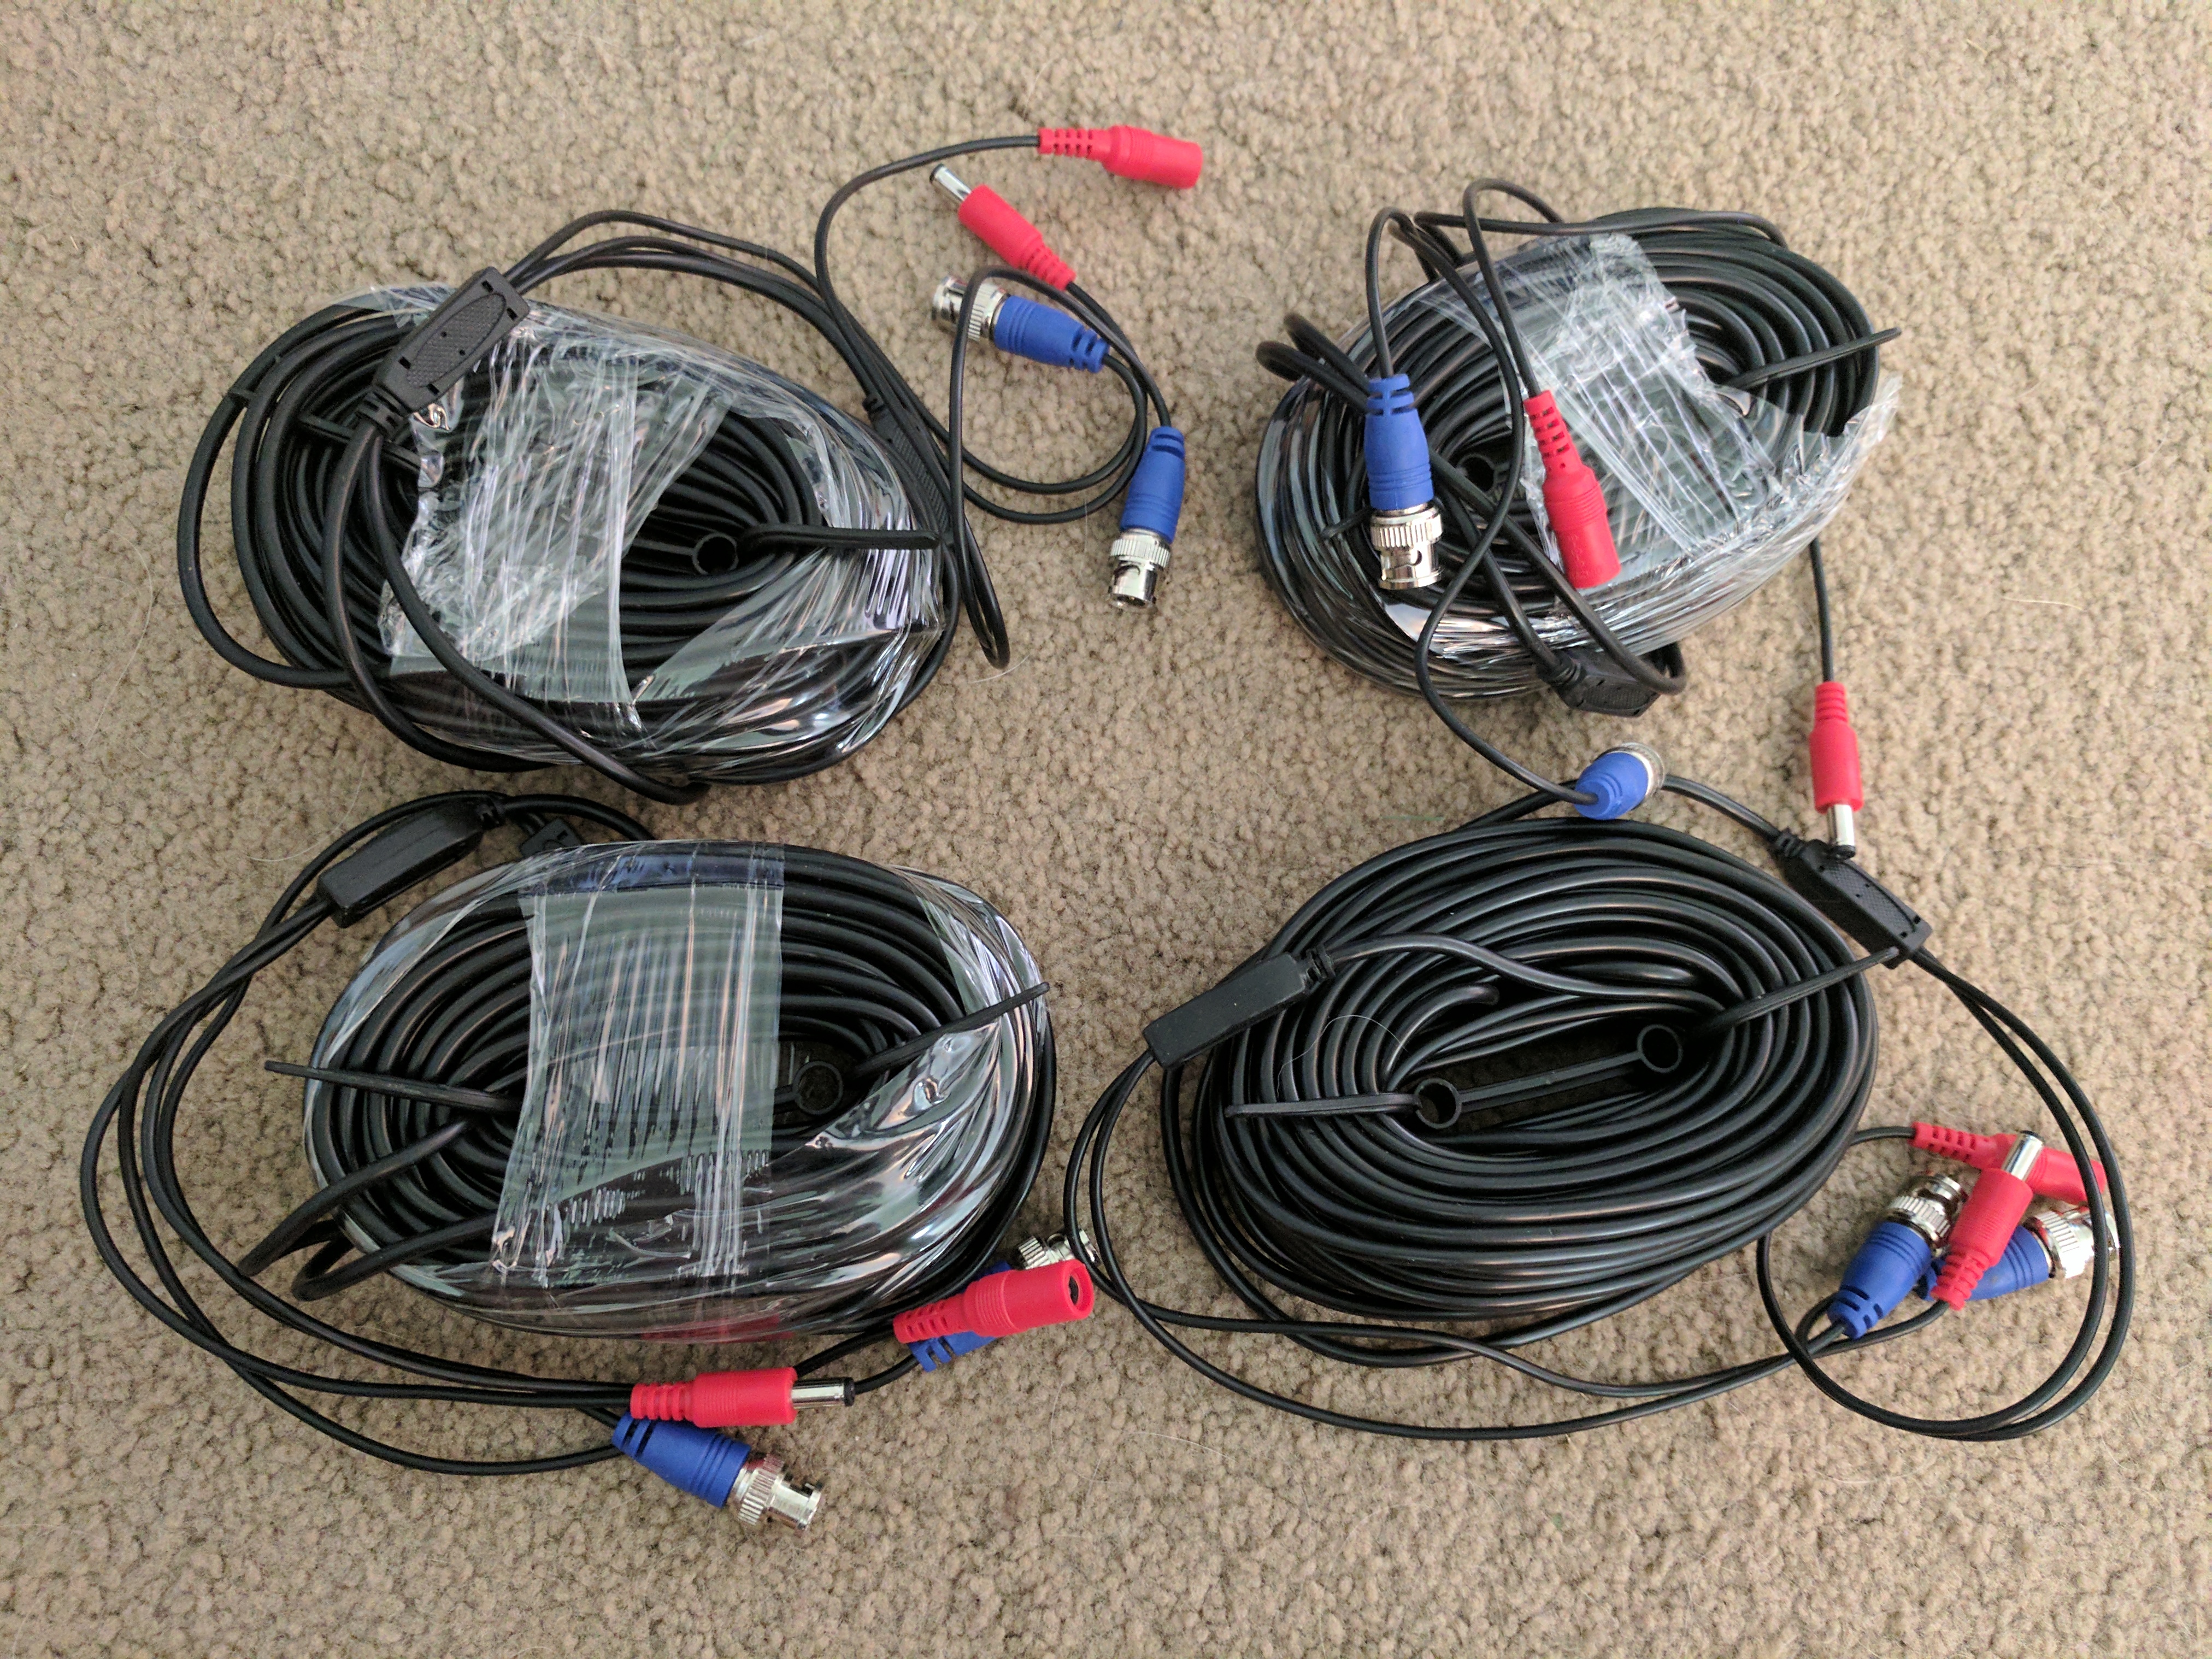
- 4 x video cables (60 ft)
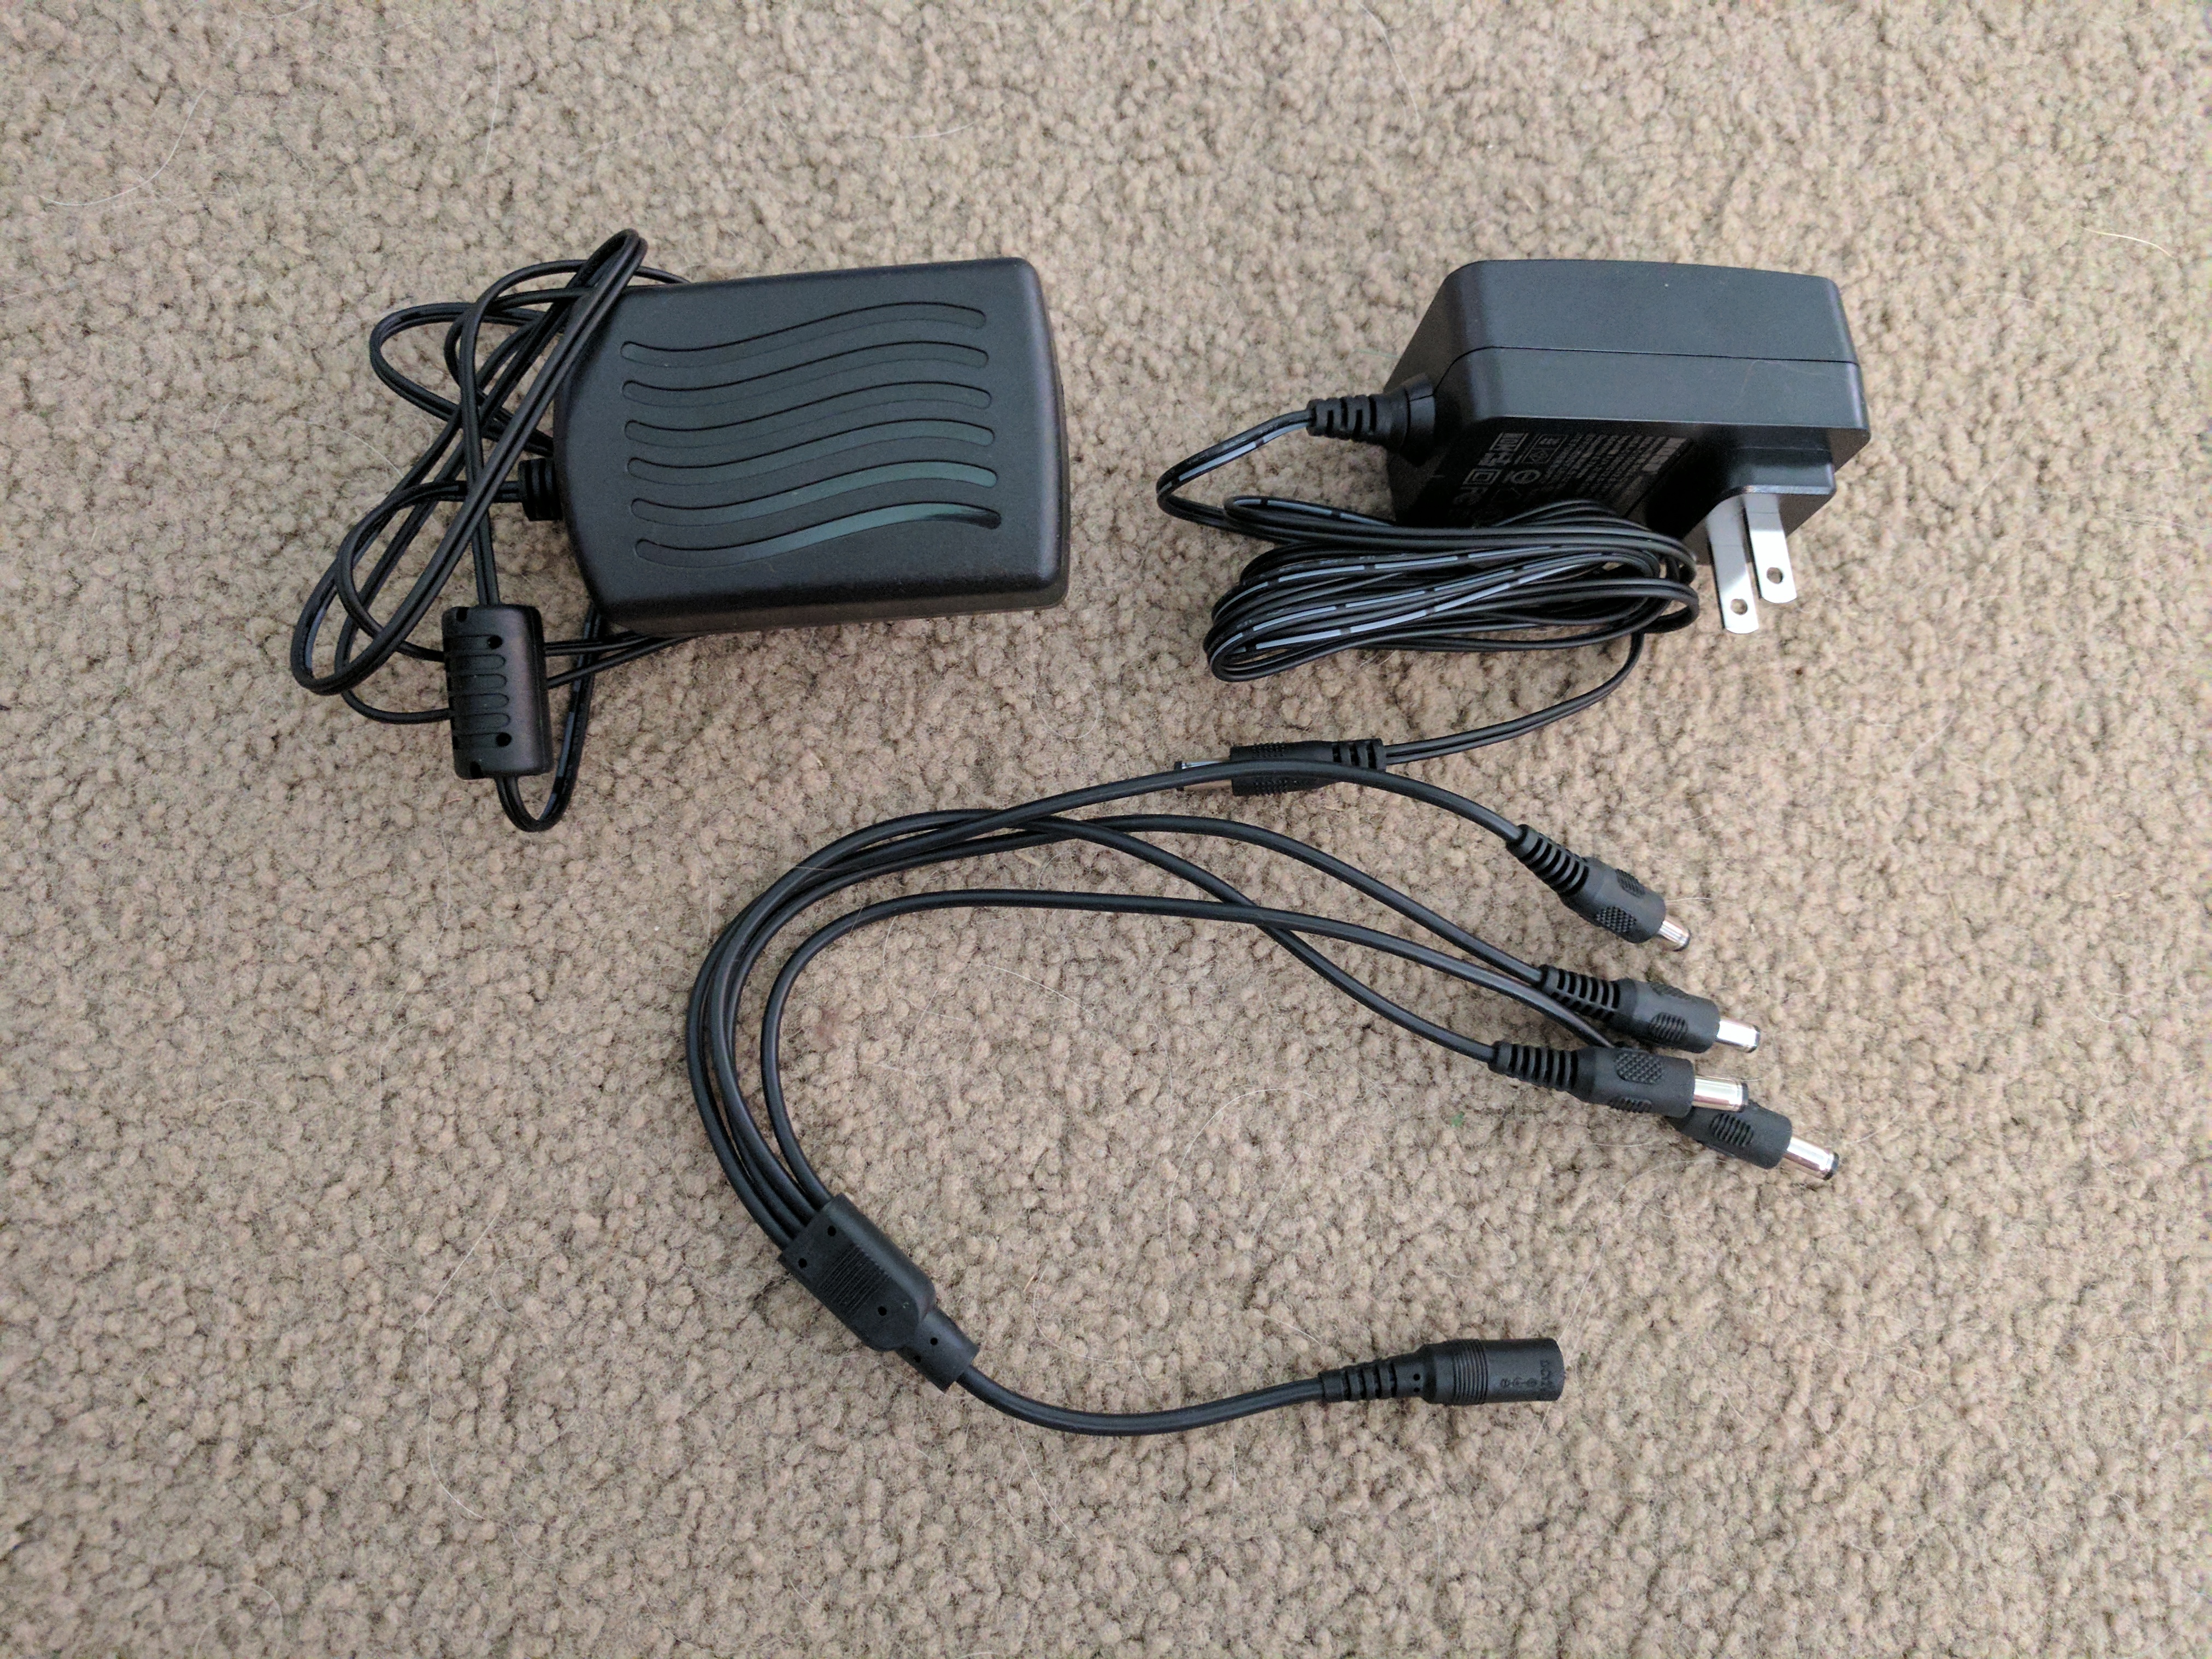
- 2 x power adapters
- Power adapter “splitter” for cameras
- USB mouse
- 4 x anchors for mounting cameras
- Quick user manual
- Software CD
- 2 x door/window stickers
Specifications
- Analog video input – 8-ch;BNC interface (1.0Vp-p, 75 Ω)
- HD TVI input – 720P, 1080P
- AHD input – Support
- CVBS input – Support
- IP video input – 2-ch;Up to 960p resolution
- Audio input/Two-way audio input – 1-ch;RCA (2.0 Vp-p, 1 KΩ)
- HDMI/VGA output – 1-ch, 1920 × 1080/60Hz,1280 × 1024/60Hz, 1280 × 720/60Hz, 1024 × 768/60Hz
- Audio output – 1-ch, RCA (Linear, 1 KΩ)
- Video compression standard – H.264+/H.264
- Encoding resolution & Frame rate – 1080p lite/720p: 12 fps;960H:25fps(P)/30fps(N)
- Video bitrate – 32 Kbps to 4 Mbps
- Stream type – Video & Audio/Video
- Dual-stream – Support
- Audio compression standard – G.711u
- Audio bitrate – 64 Kbps
- Synchronous playback – 2-ch
- Remote connections – 128
- Network protocols – TCP/IP, PPPoE, DHCP, Hik-connect Cloud P2P, DNS, DDNS, NTP, SADP, SMTP, NFS, iSCSI, UPnP™, HTTPS
- SATA – 1 SATA interface
- Capacity – Up to 6 TB capacity for each disk
- Network interface – 1; RJ-45 10 M/100 Mbps self-adaptive Ethernet interface
- USB interface – Rear panel: 2 × USB 2.0
- Power supply – 12 VDC
- Consumption(without hard disks) – ≤ 12W
- Working temperature – 14ºF to 131ºF
- Working humidity – 5V DC±10%
- Power Consumption – 10% to 90%
- Chassis – 1U chassis
- Dimensions(W × D × H) – 10.2 × 8.7 × 1.8 inch
- Weight(without hard disks) – ≤ 2.2 lb
Design
The DVR looks a bit like a cable set-top box without an LCD display.

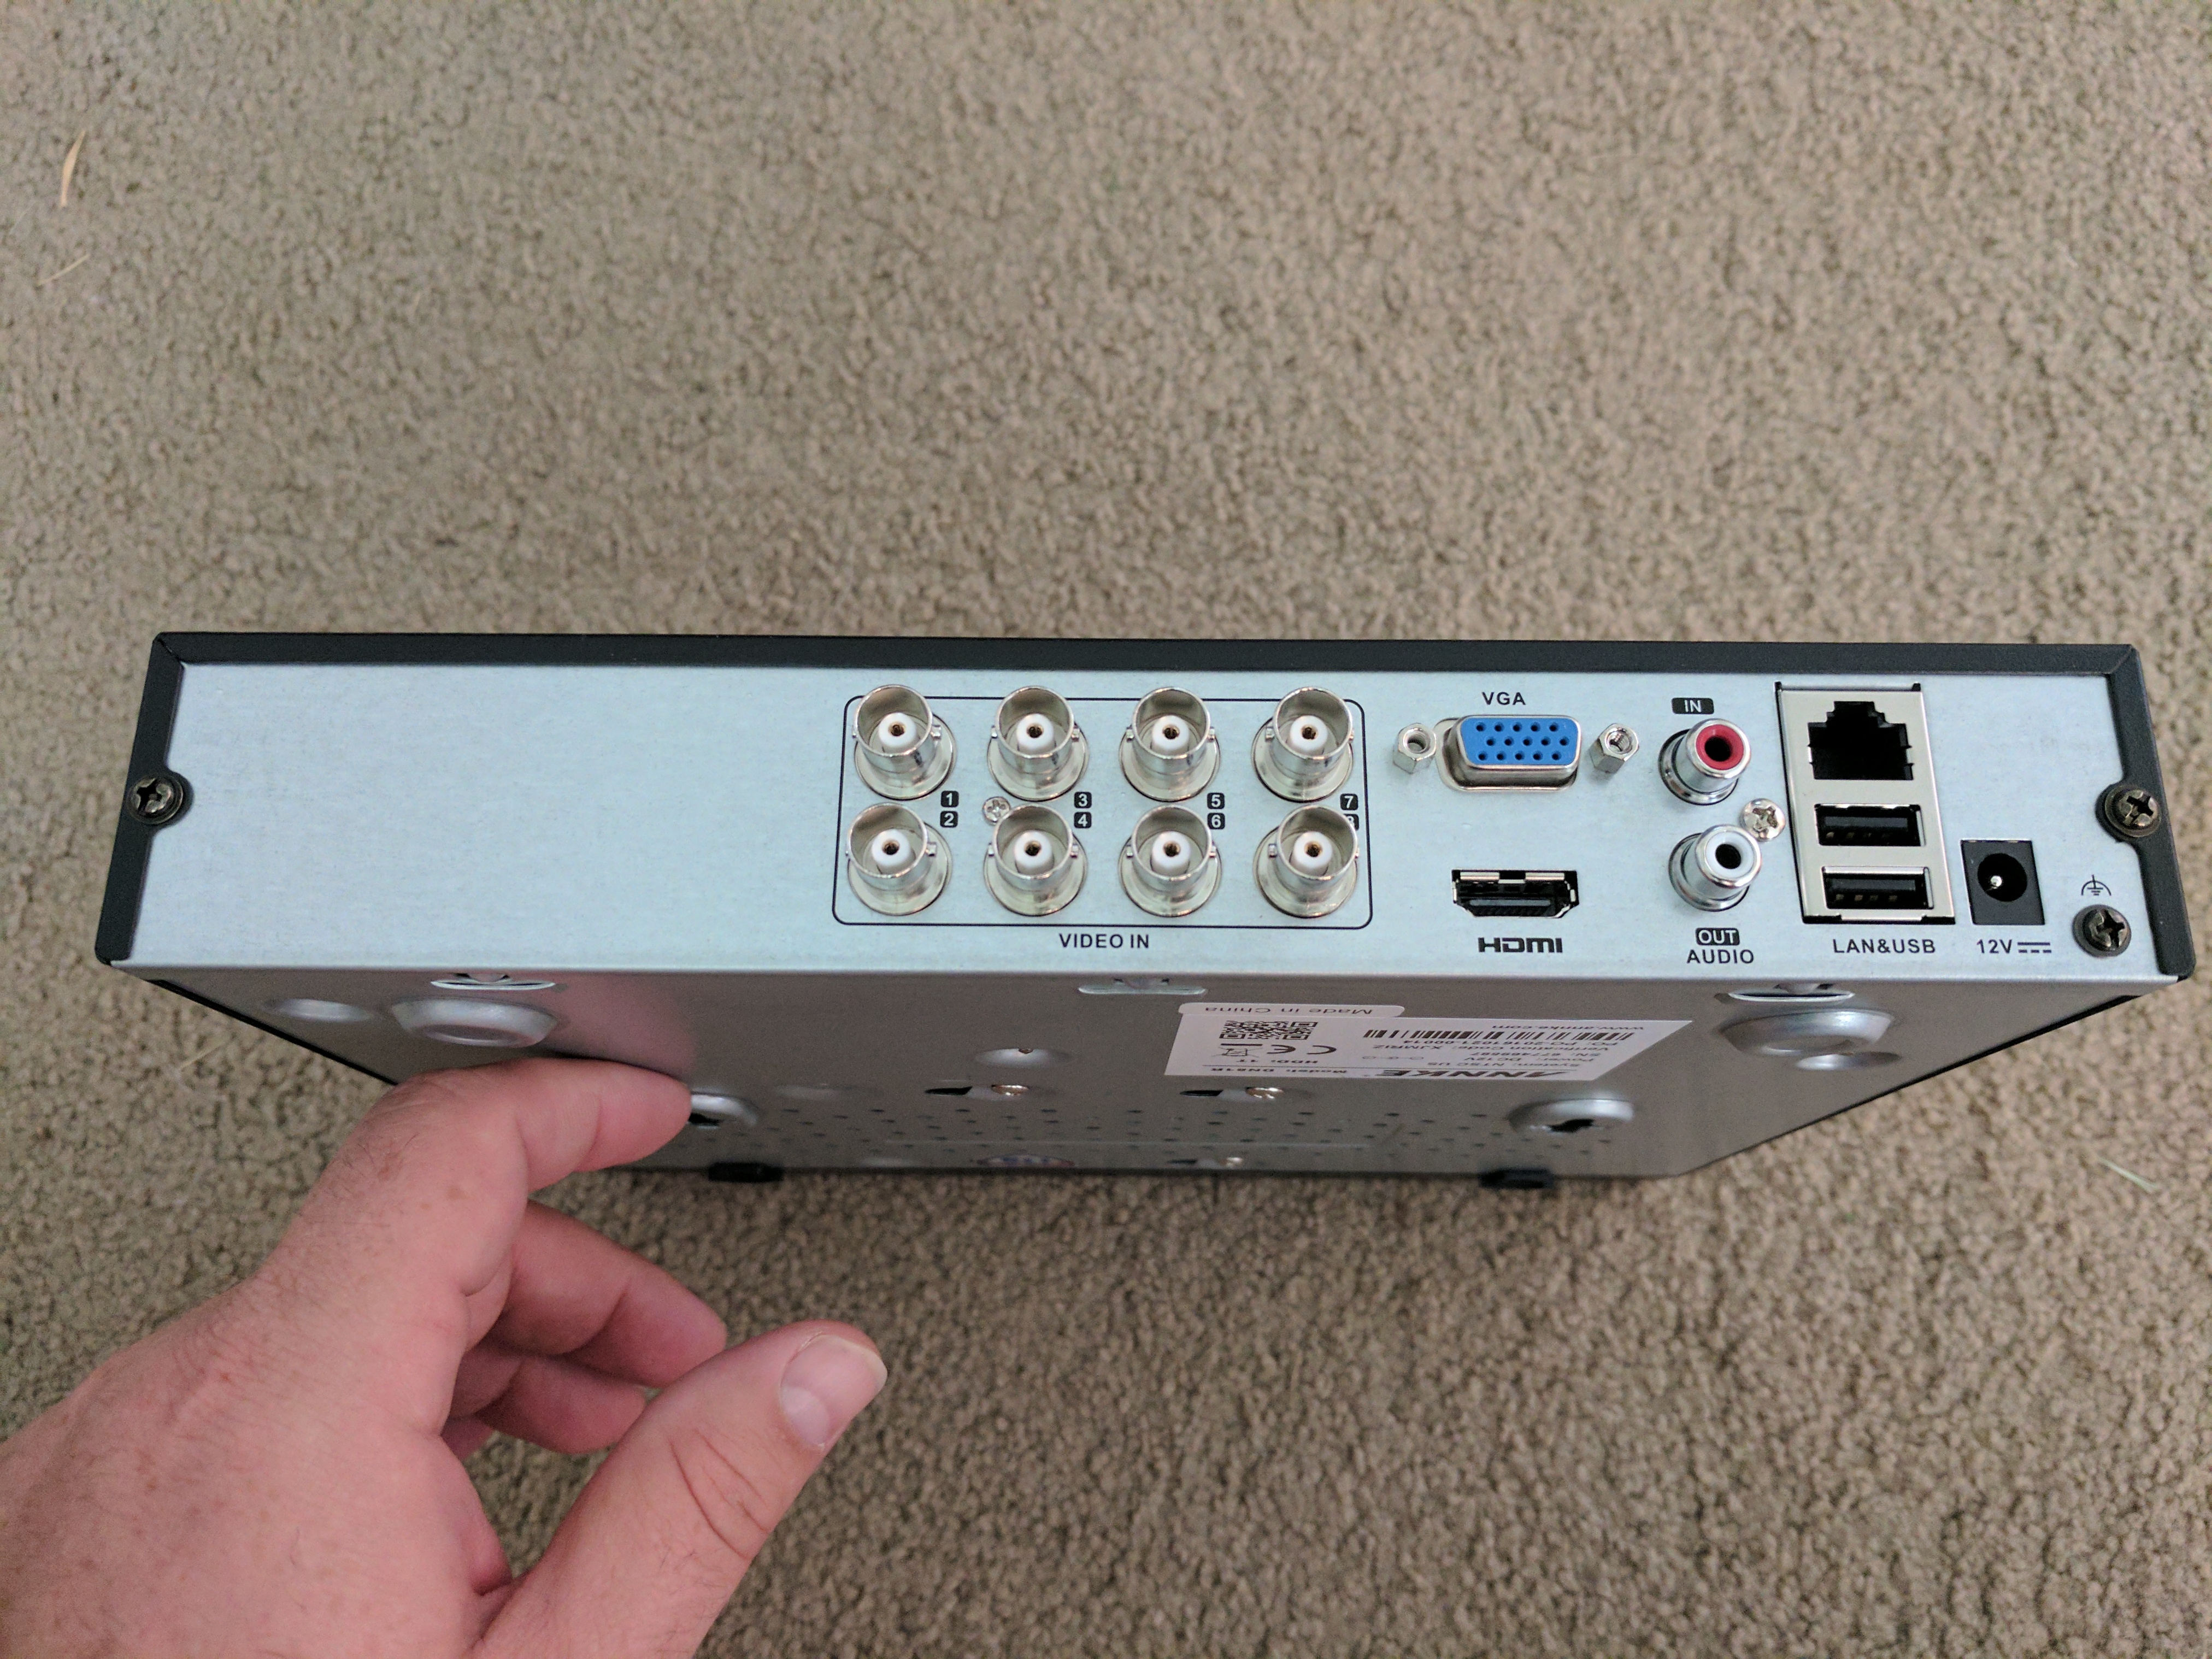
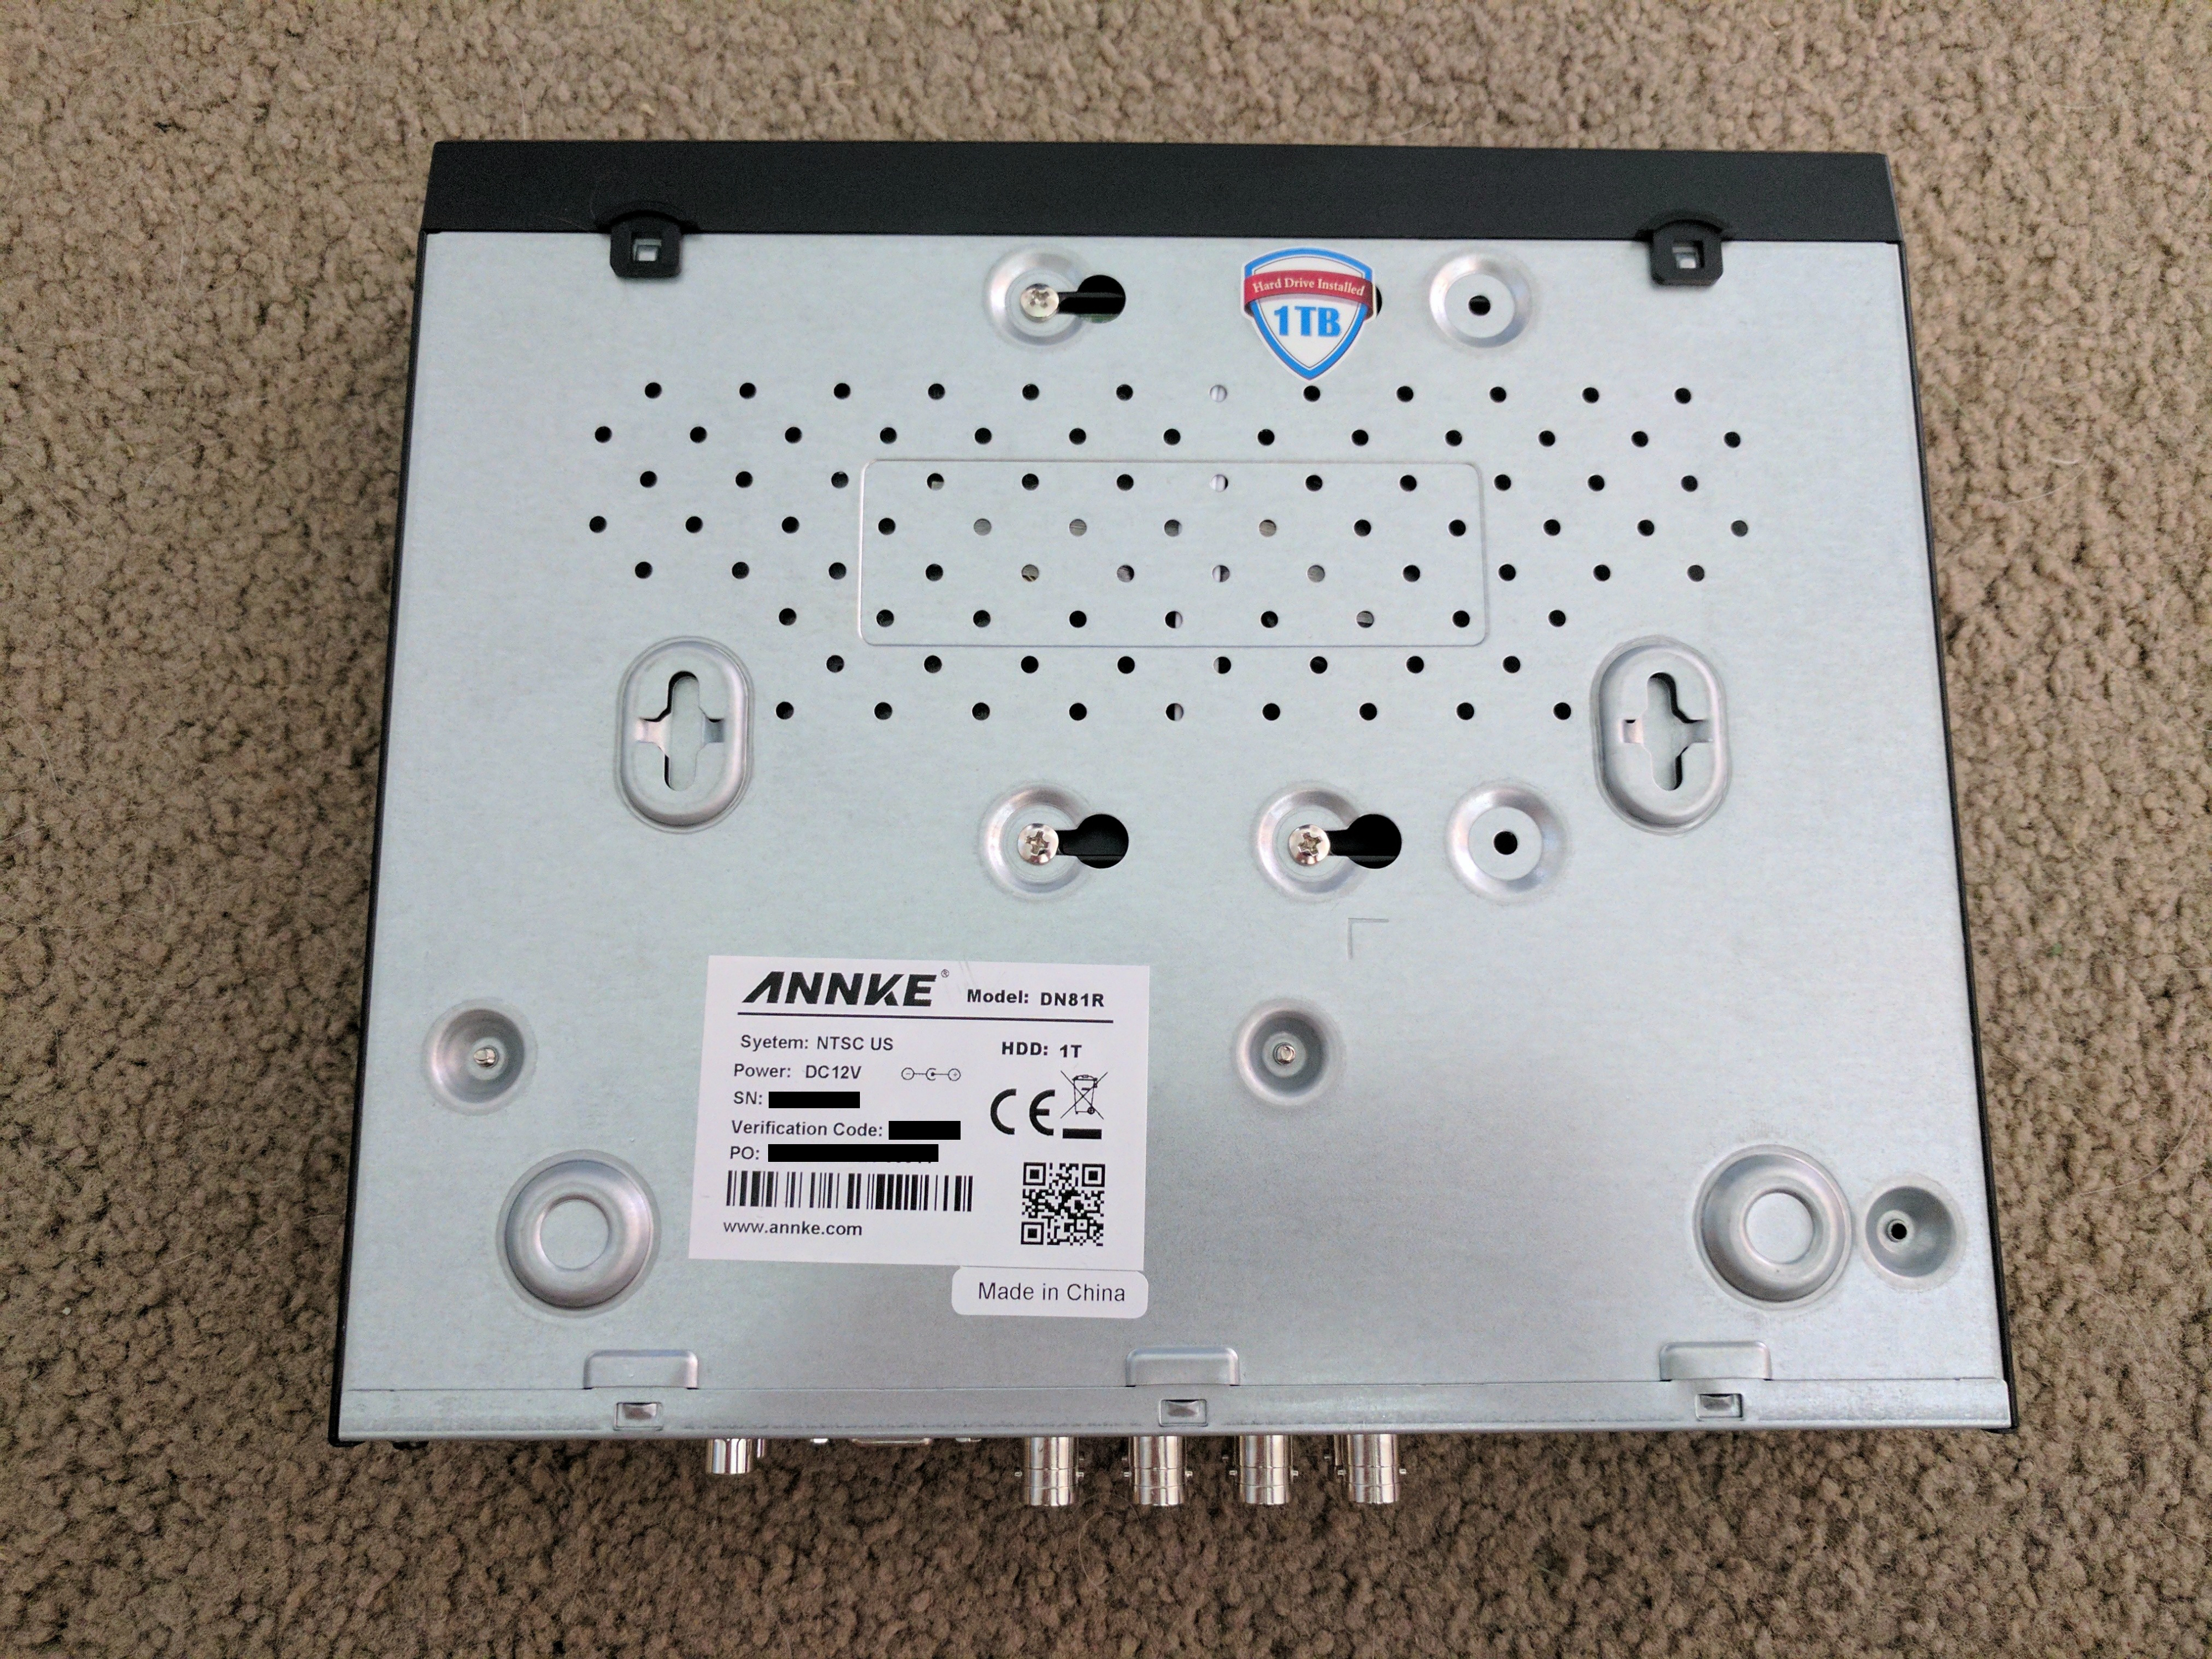
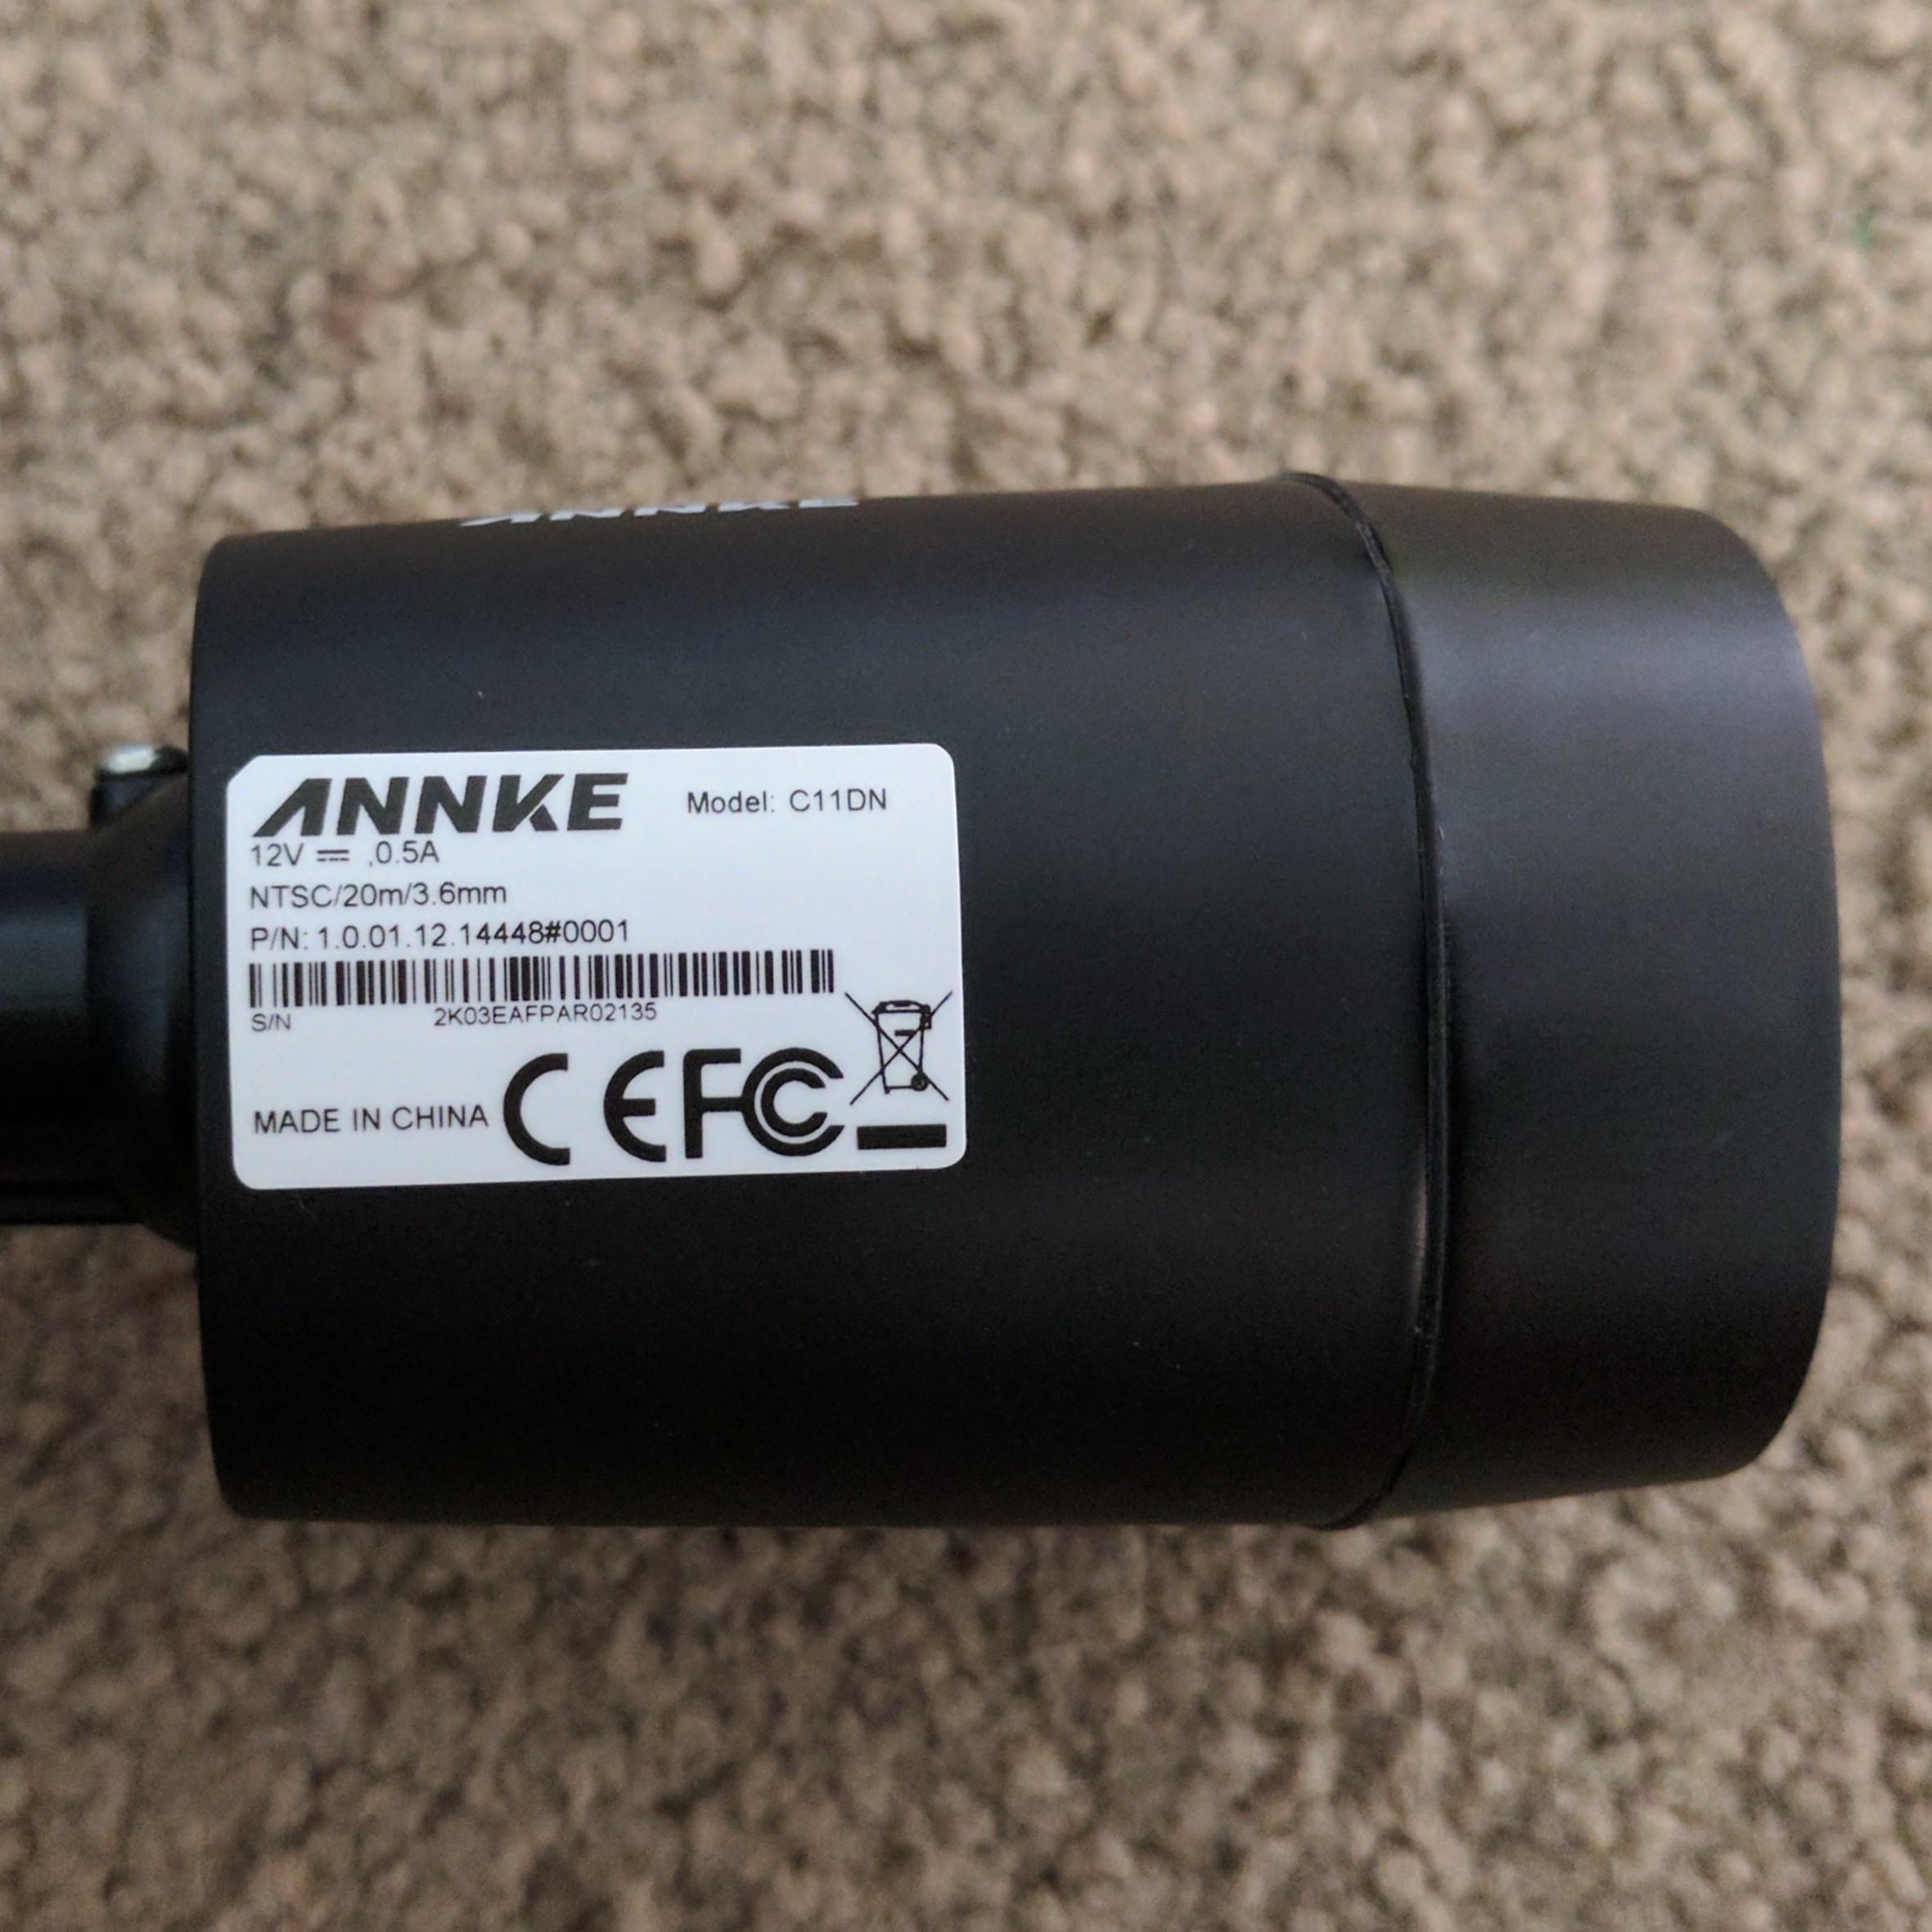
The front of the DVR has LED indicators for power status, hard drive activity, and network activity. The rear of the DVR contains all of its ports. The top of the DVR is plain while the bottom contains the model number, serial number, and external access code.
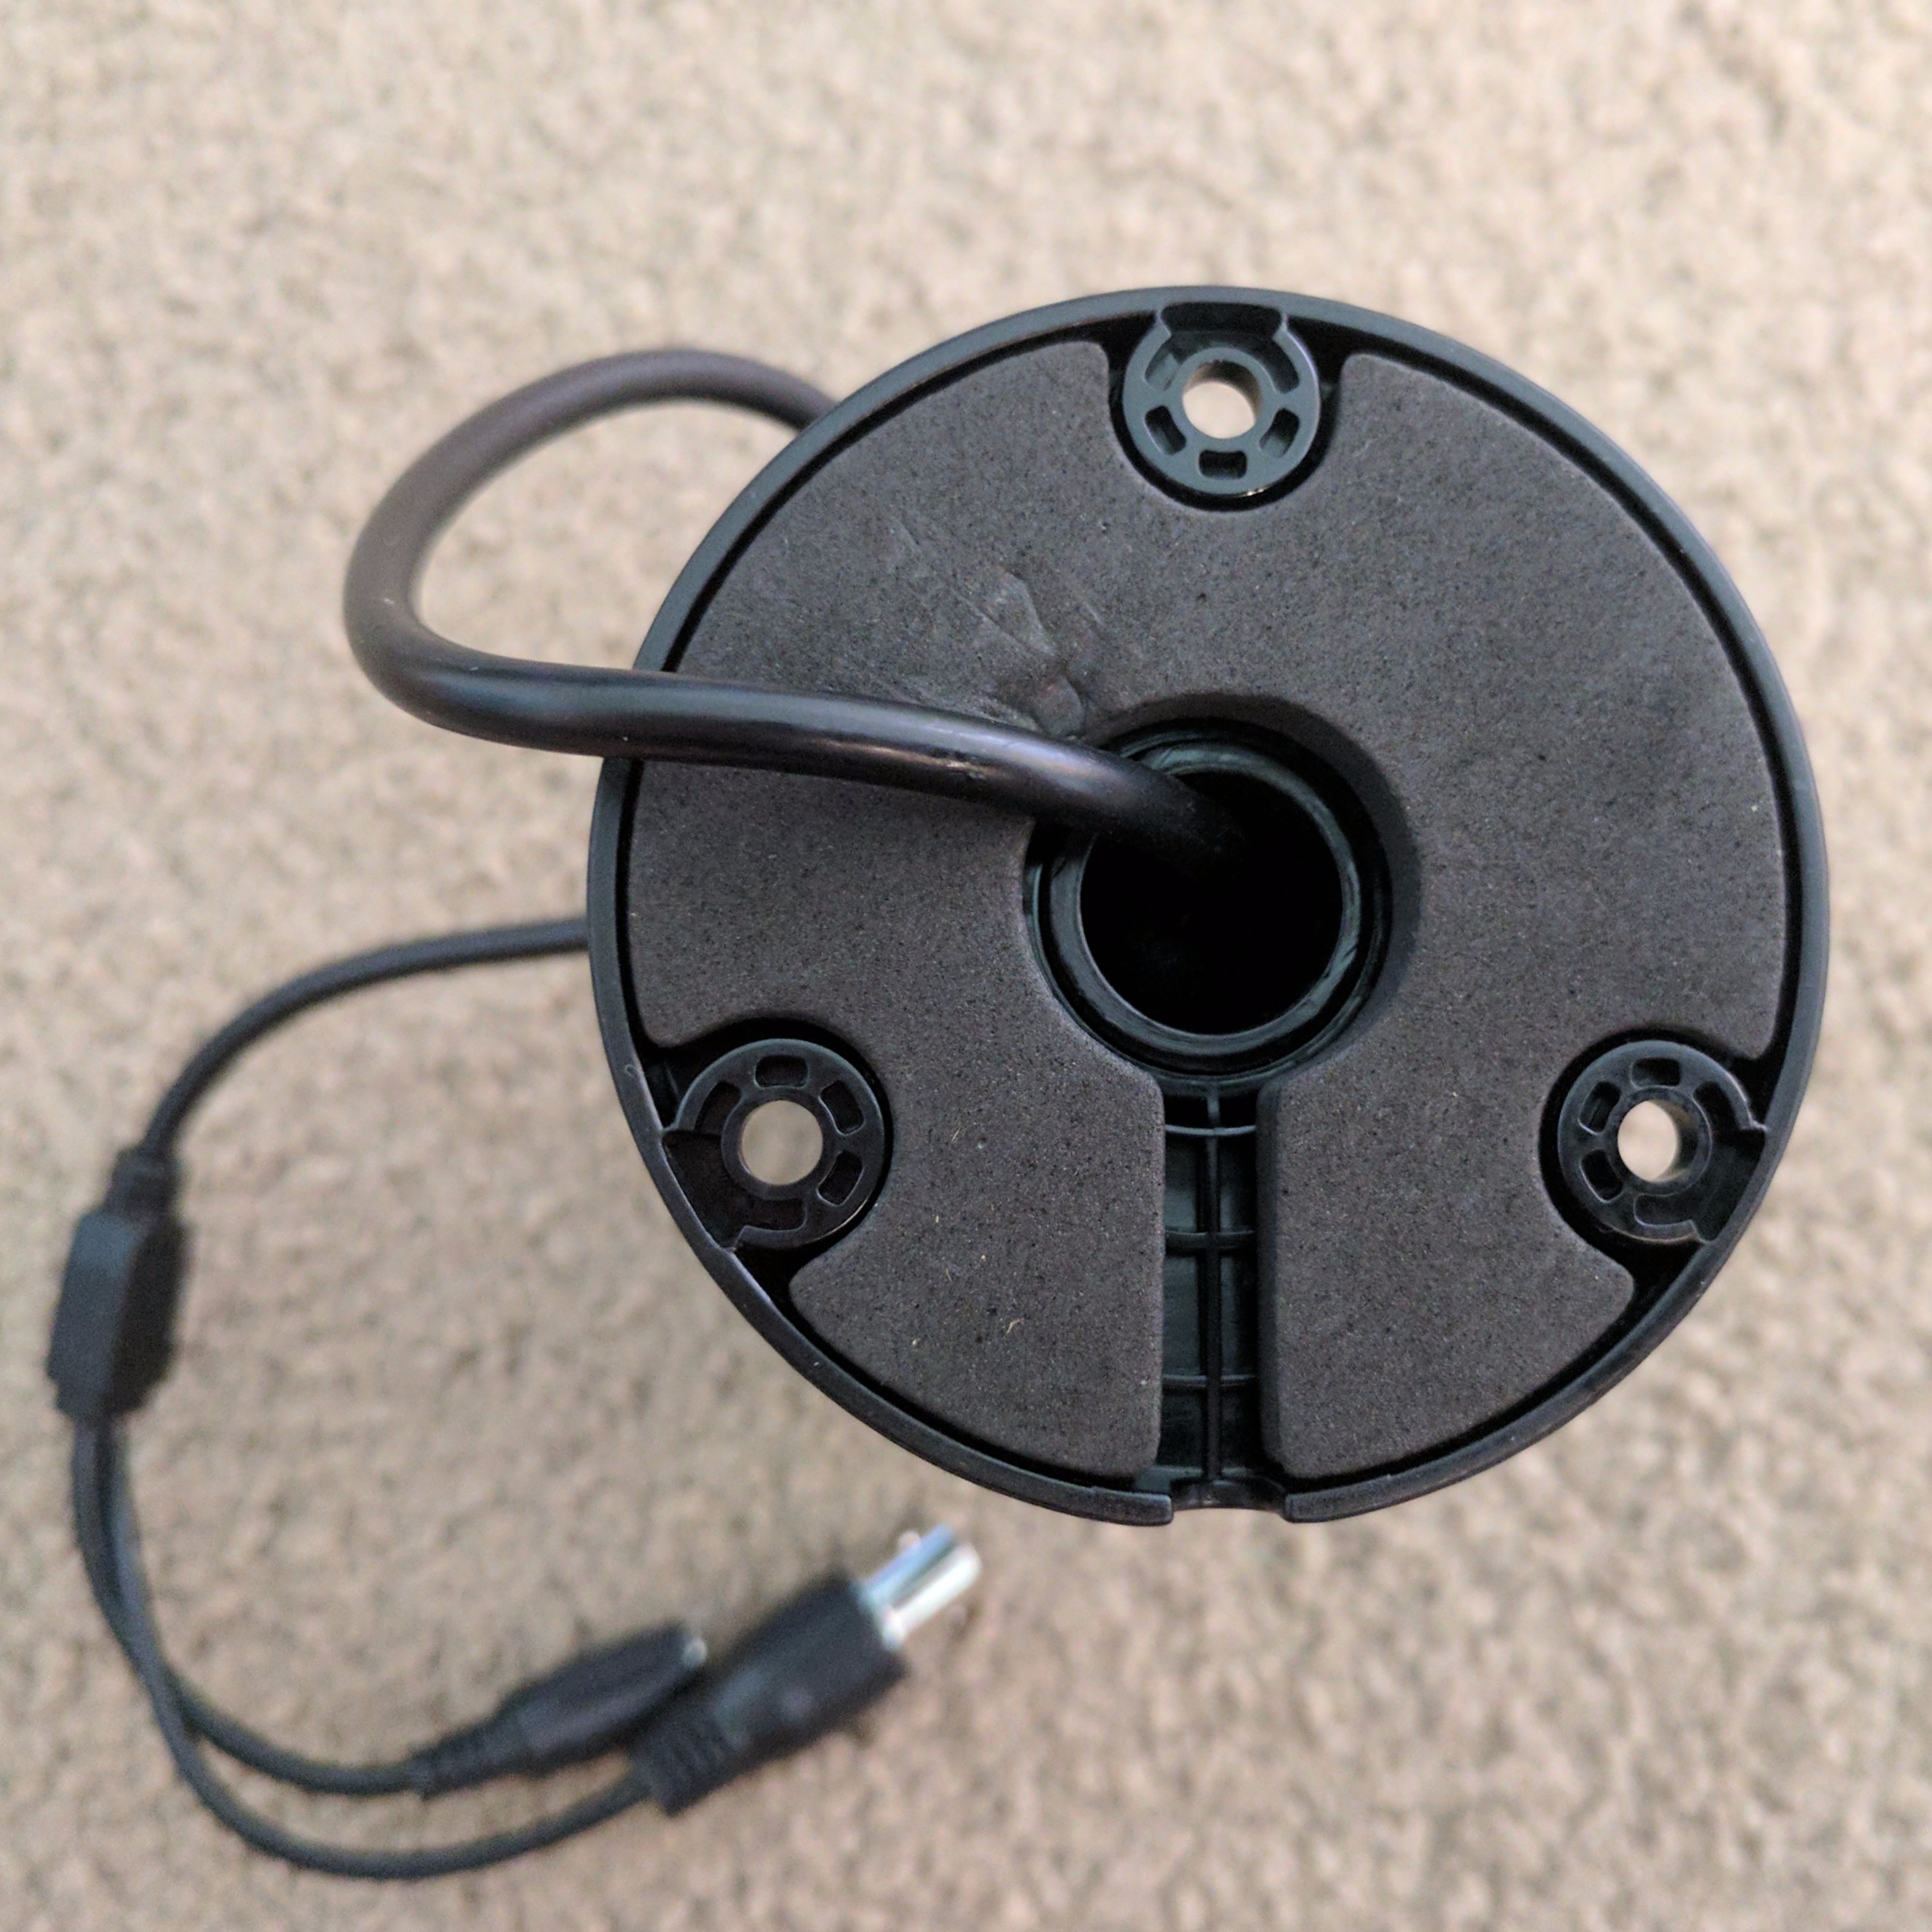
The system also includes four 720p cameras.

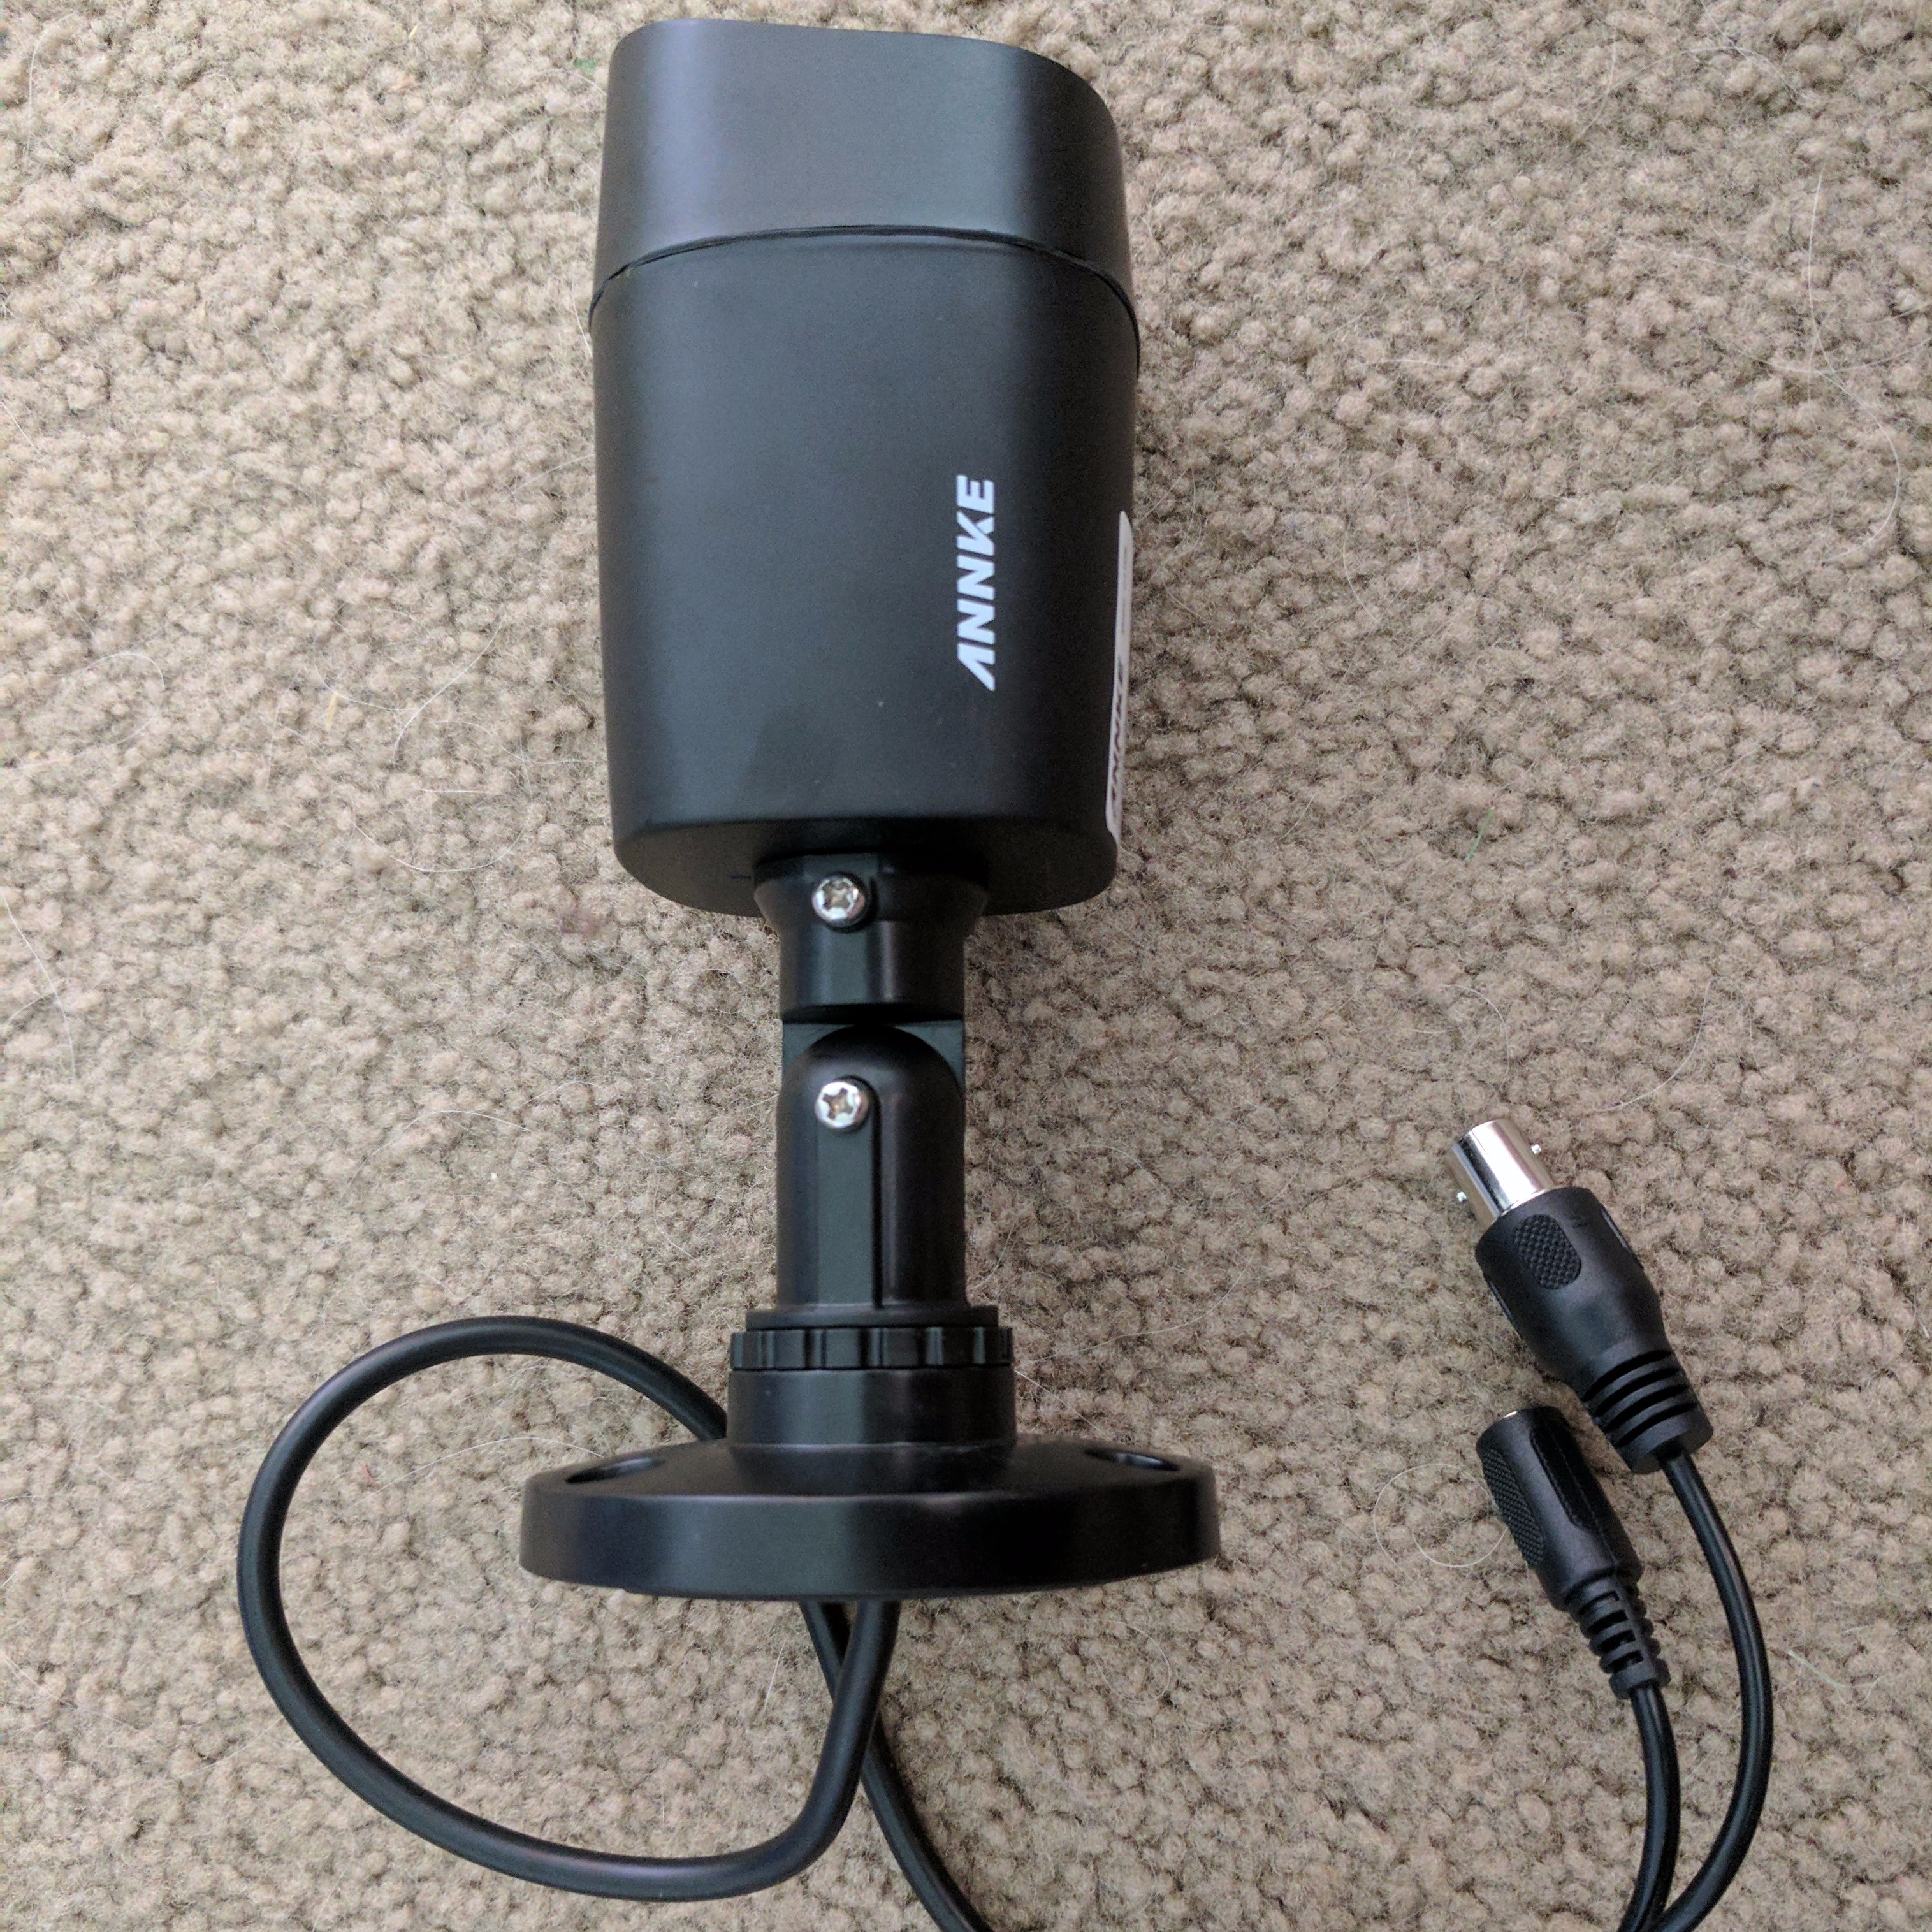
Each camera is equipped with infrared LEDs, providing 66 feet of night vision.
Additionally, the cameras have an IP66 ingress rating, meaning they are rain and dustproof.
The remainder of the system is primarily composed of cables and power adapters.
I can’t imagine any DVR system being completely inconspicuous; however, this system does a fine job blending into the background. The DVR would blend in with any entertainment center containing your everyday media devices, and the cameras could be tucked away into just about any corner.
Setup
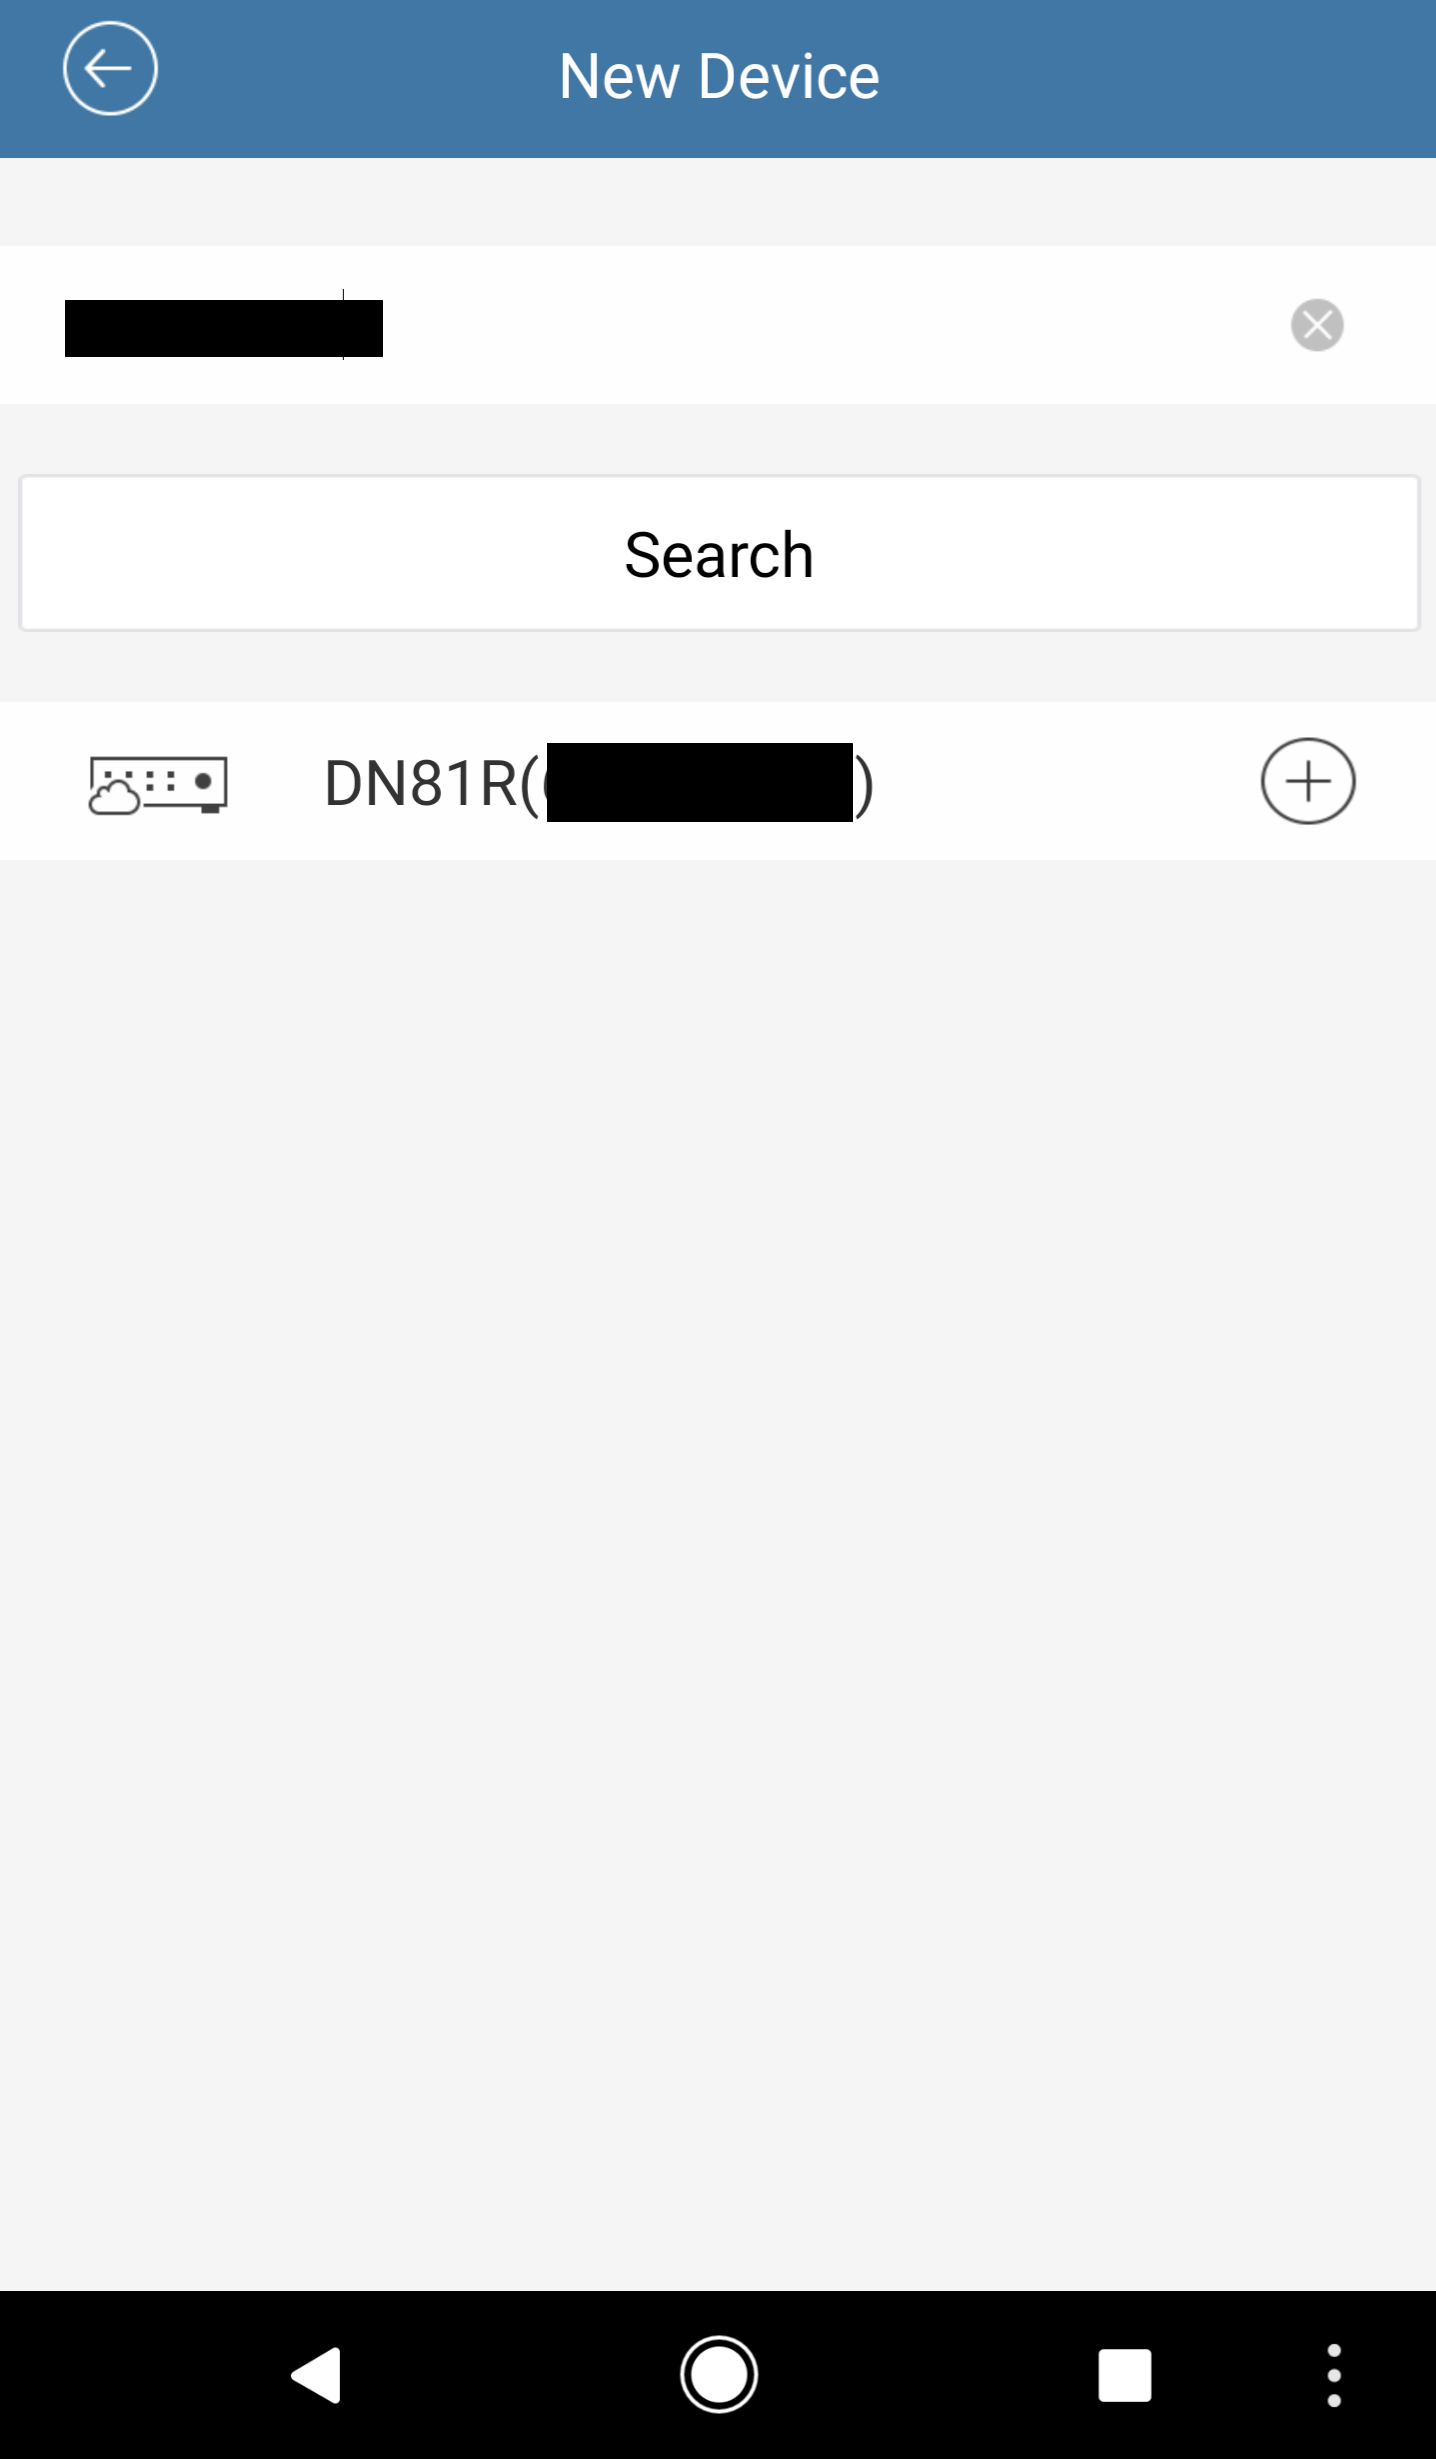
The system isn’t particularly difficult to set up; however, the included user manual is of no help. The manual immediately skips from describing the LEDs and ports on the DVR, to explaining how to install a hard drive; there is absolutely no mention of how to connect the cameras or power adapters. Fortunately, if you’re somewhat tech-literate, the process is pretty easy to figure out.
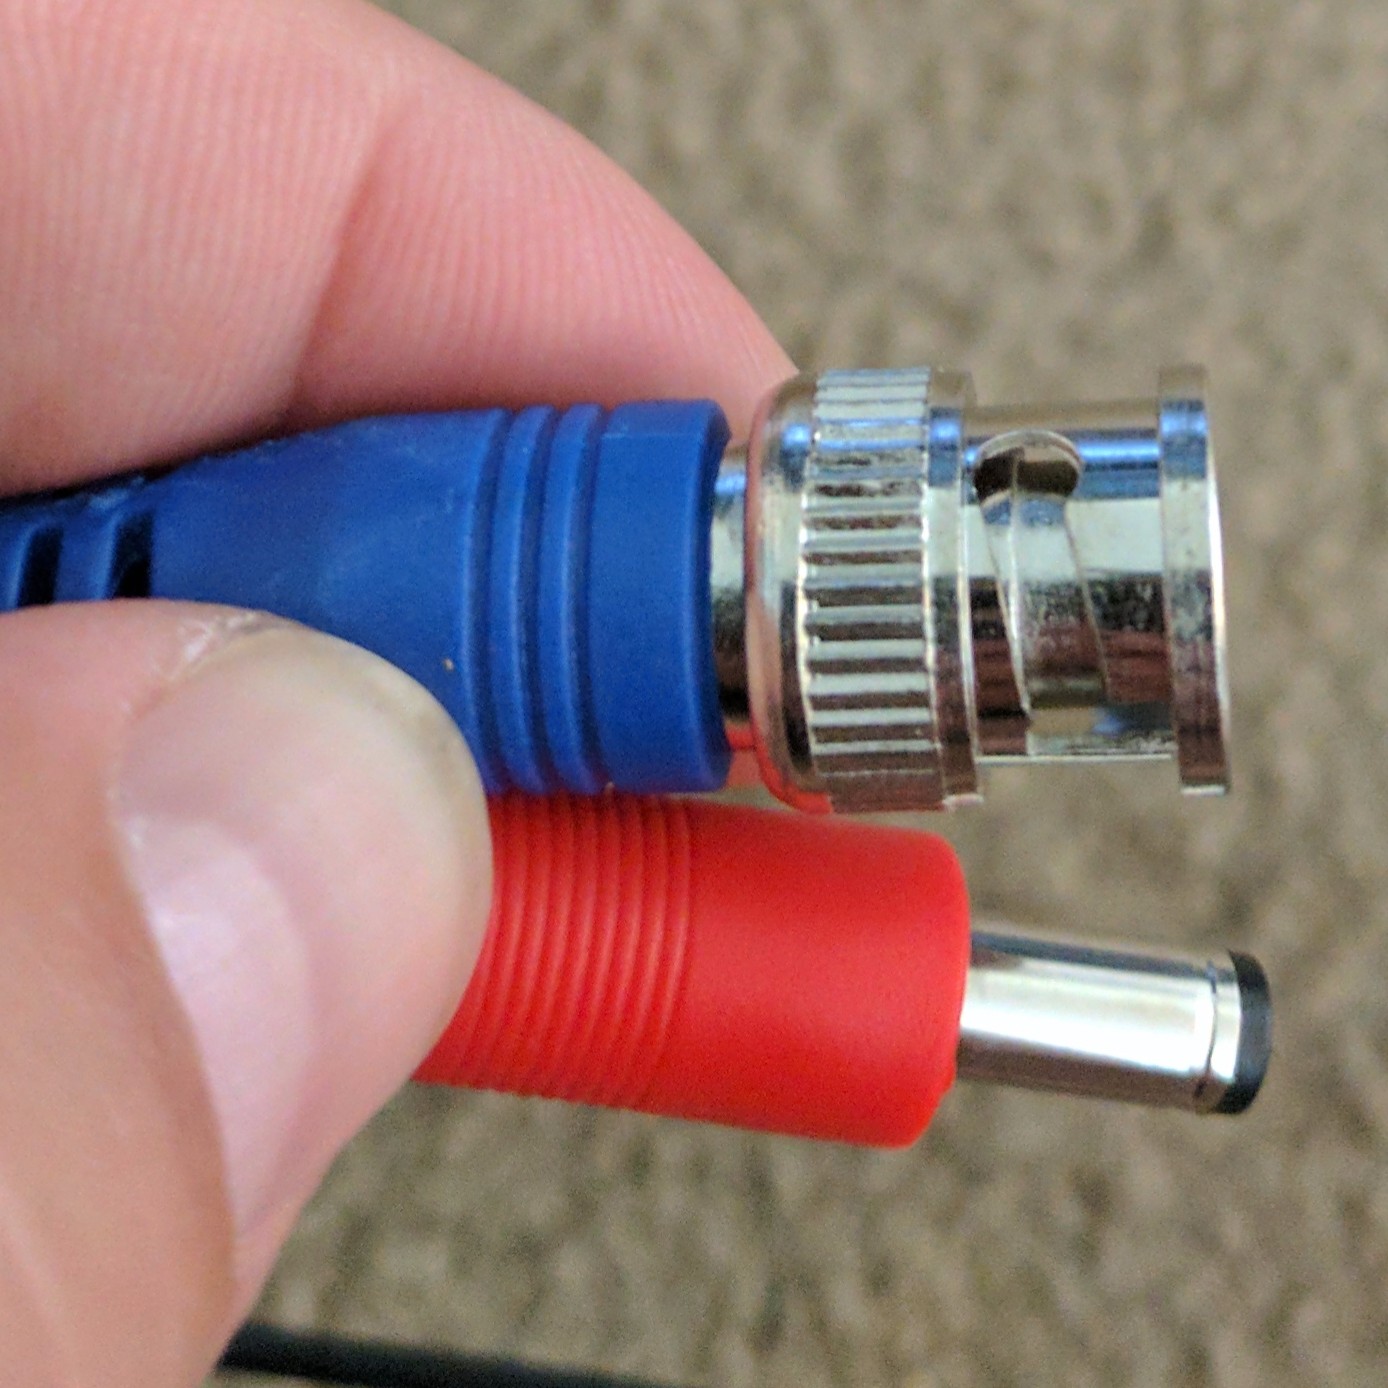
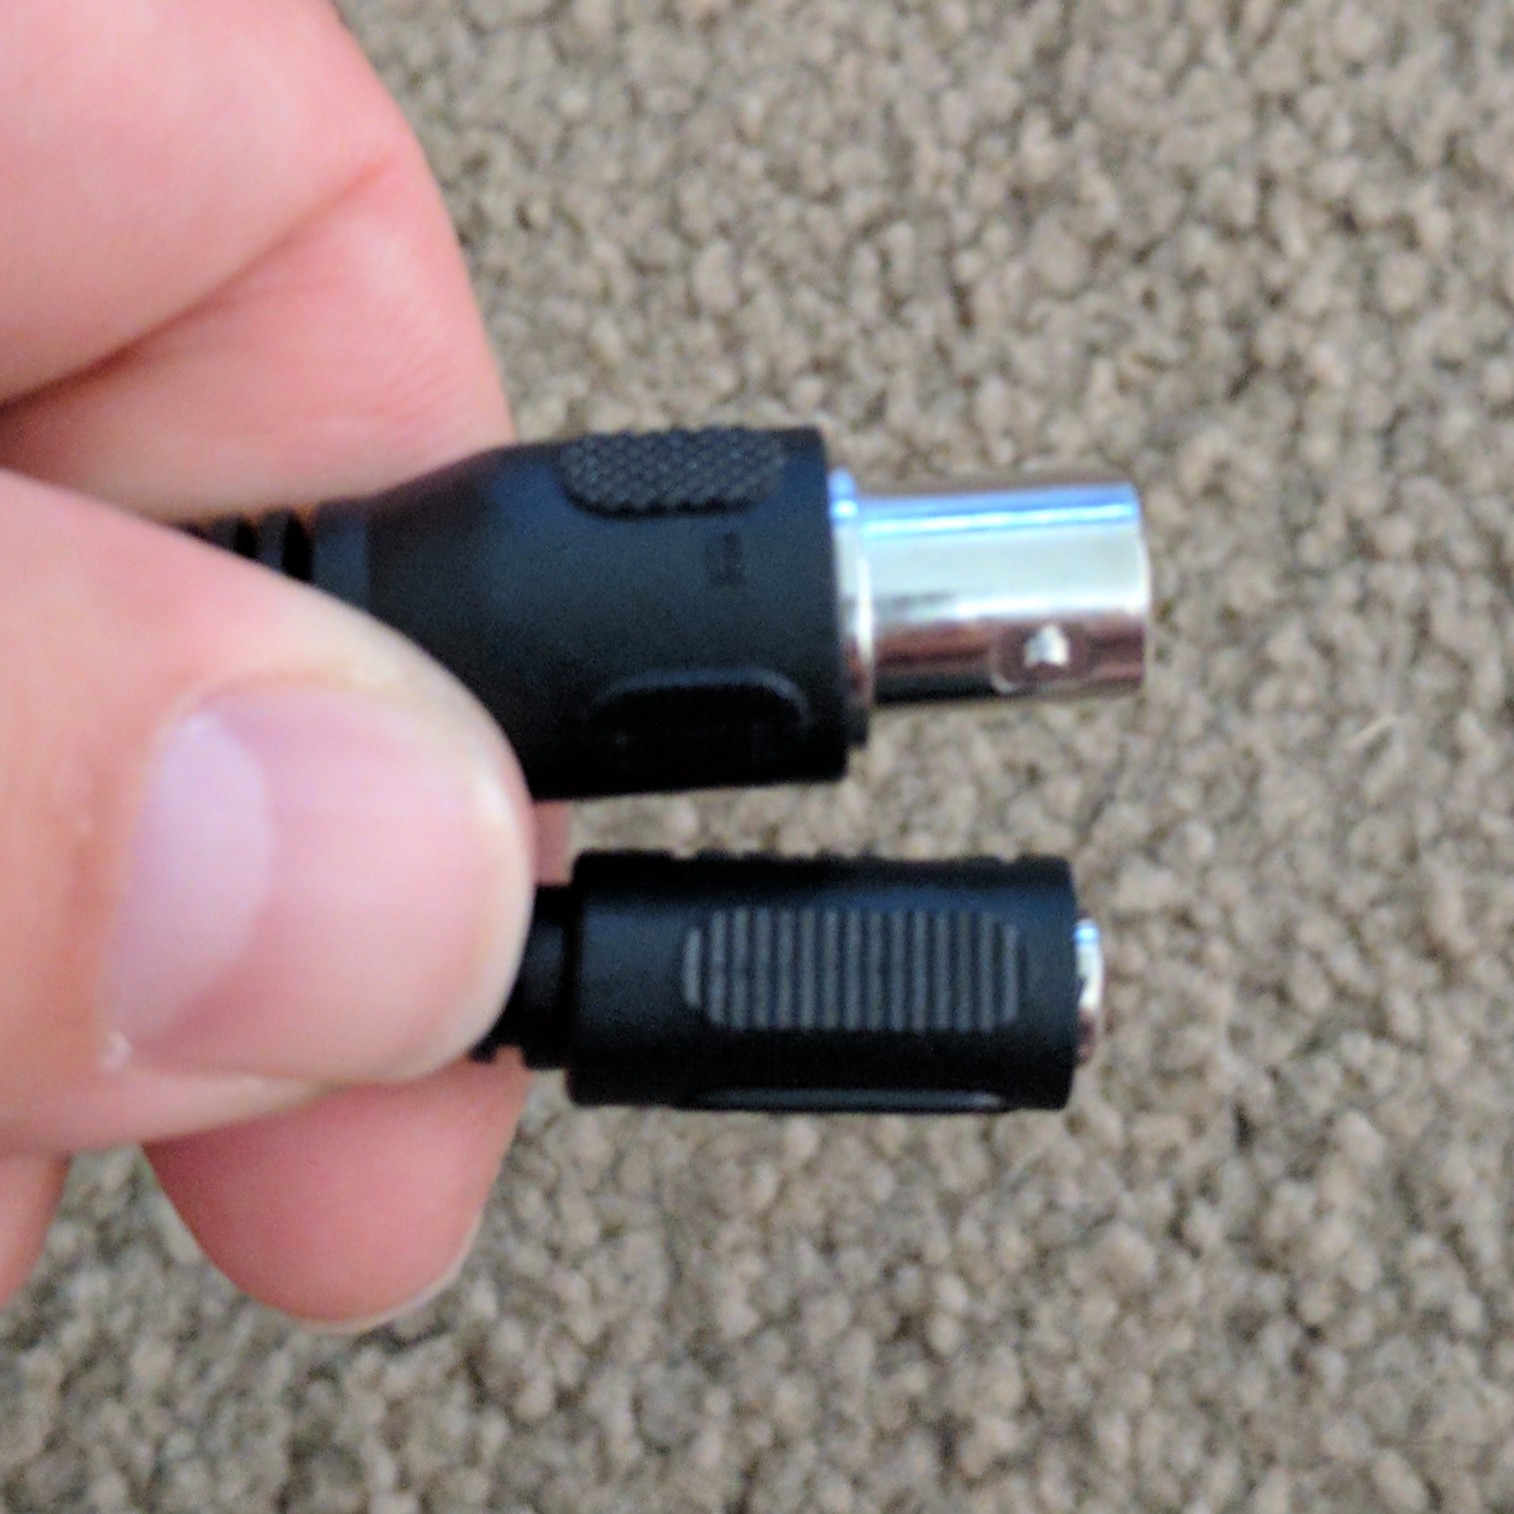
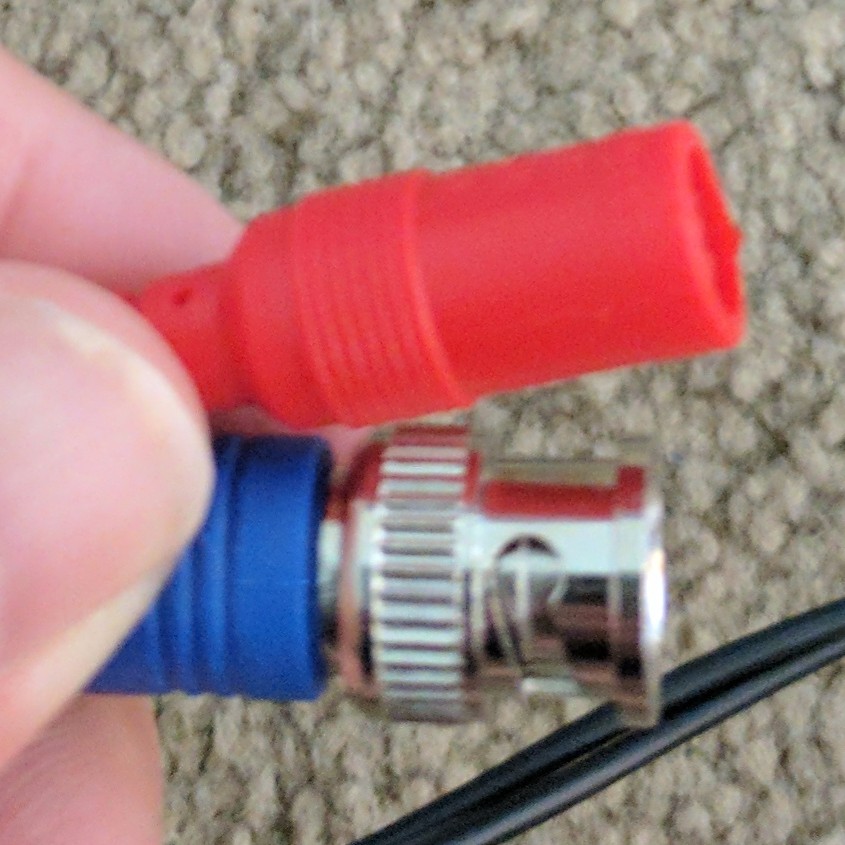

First you attach the plugs from “cable end A” into the plugs at the end of the camera. You then plug the blue end of “cable end B” into one of the video ports on the rear of the DVR. Next you plug the red end of “cable end B” into one of the power adapter splitters. You then plug the splitter into one of the power adapters.
Once you’ve installed the cameras you can plug the DVR into a HDTV or computer monitor. You then attach the system to your router, plug in the remaining power adapter, and plug the mouse into the USB port.
Once all the hardware is set up, you can begin the on-screen setup; this is a pretty simple process.
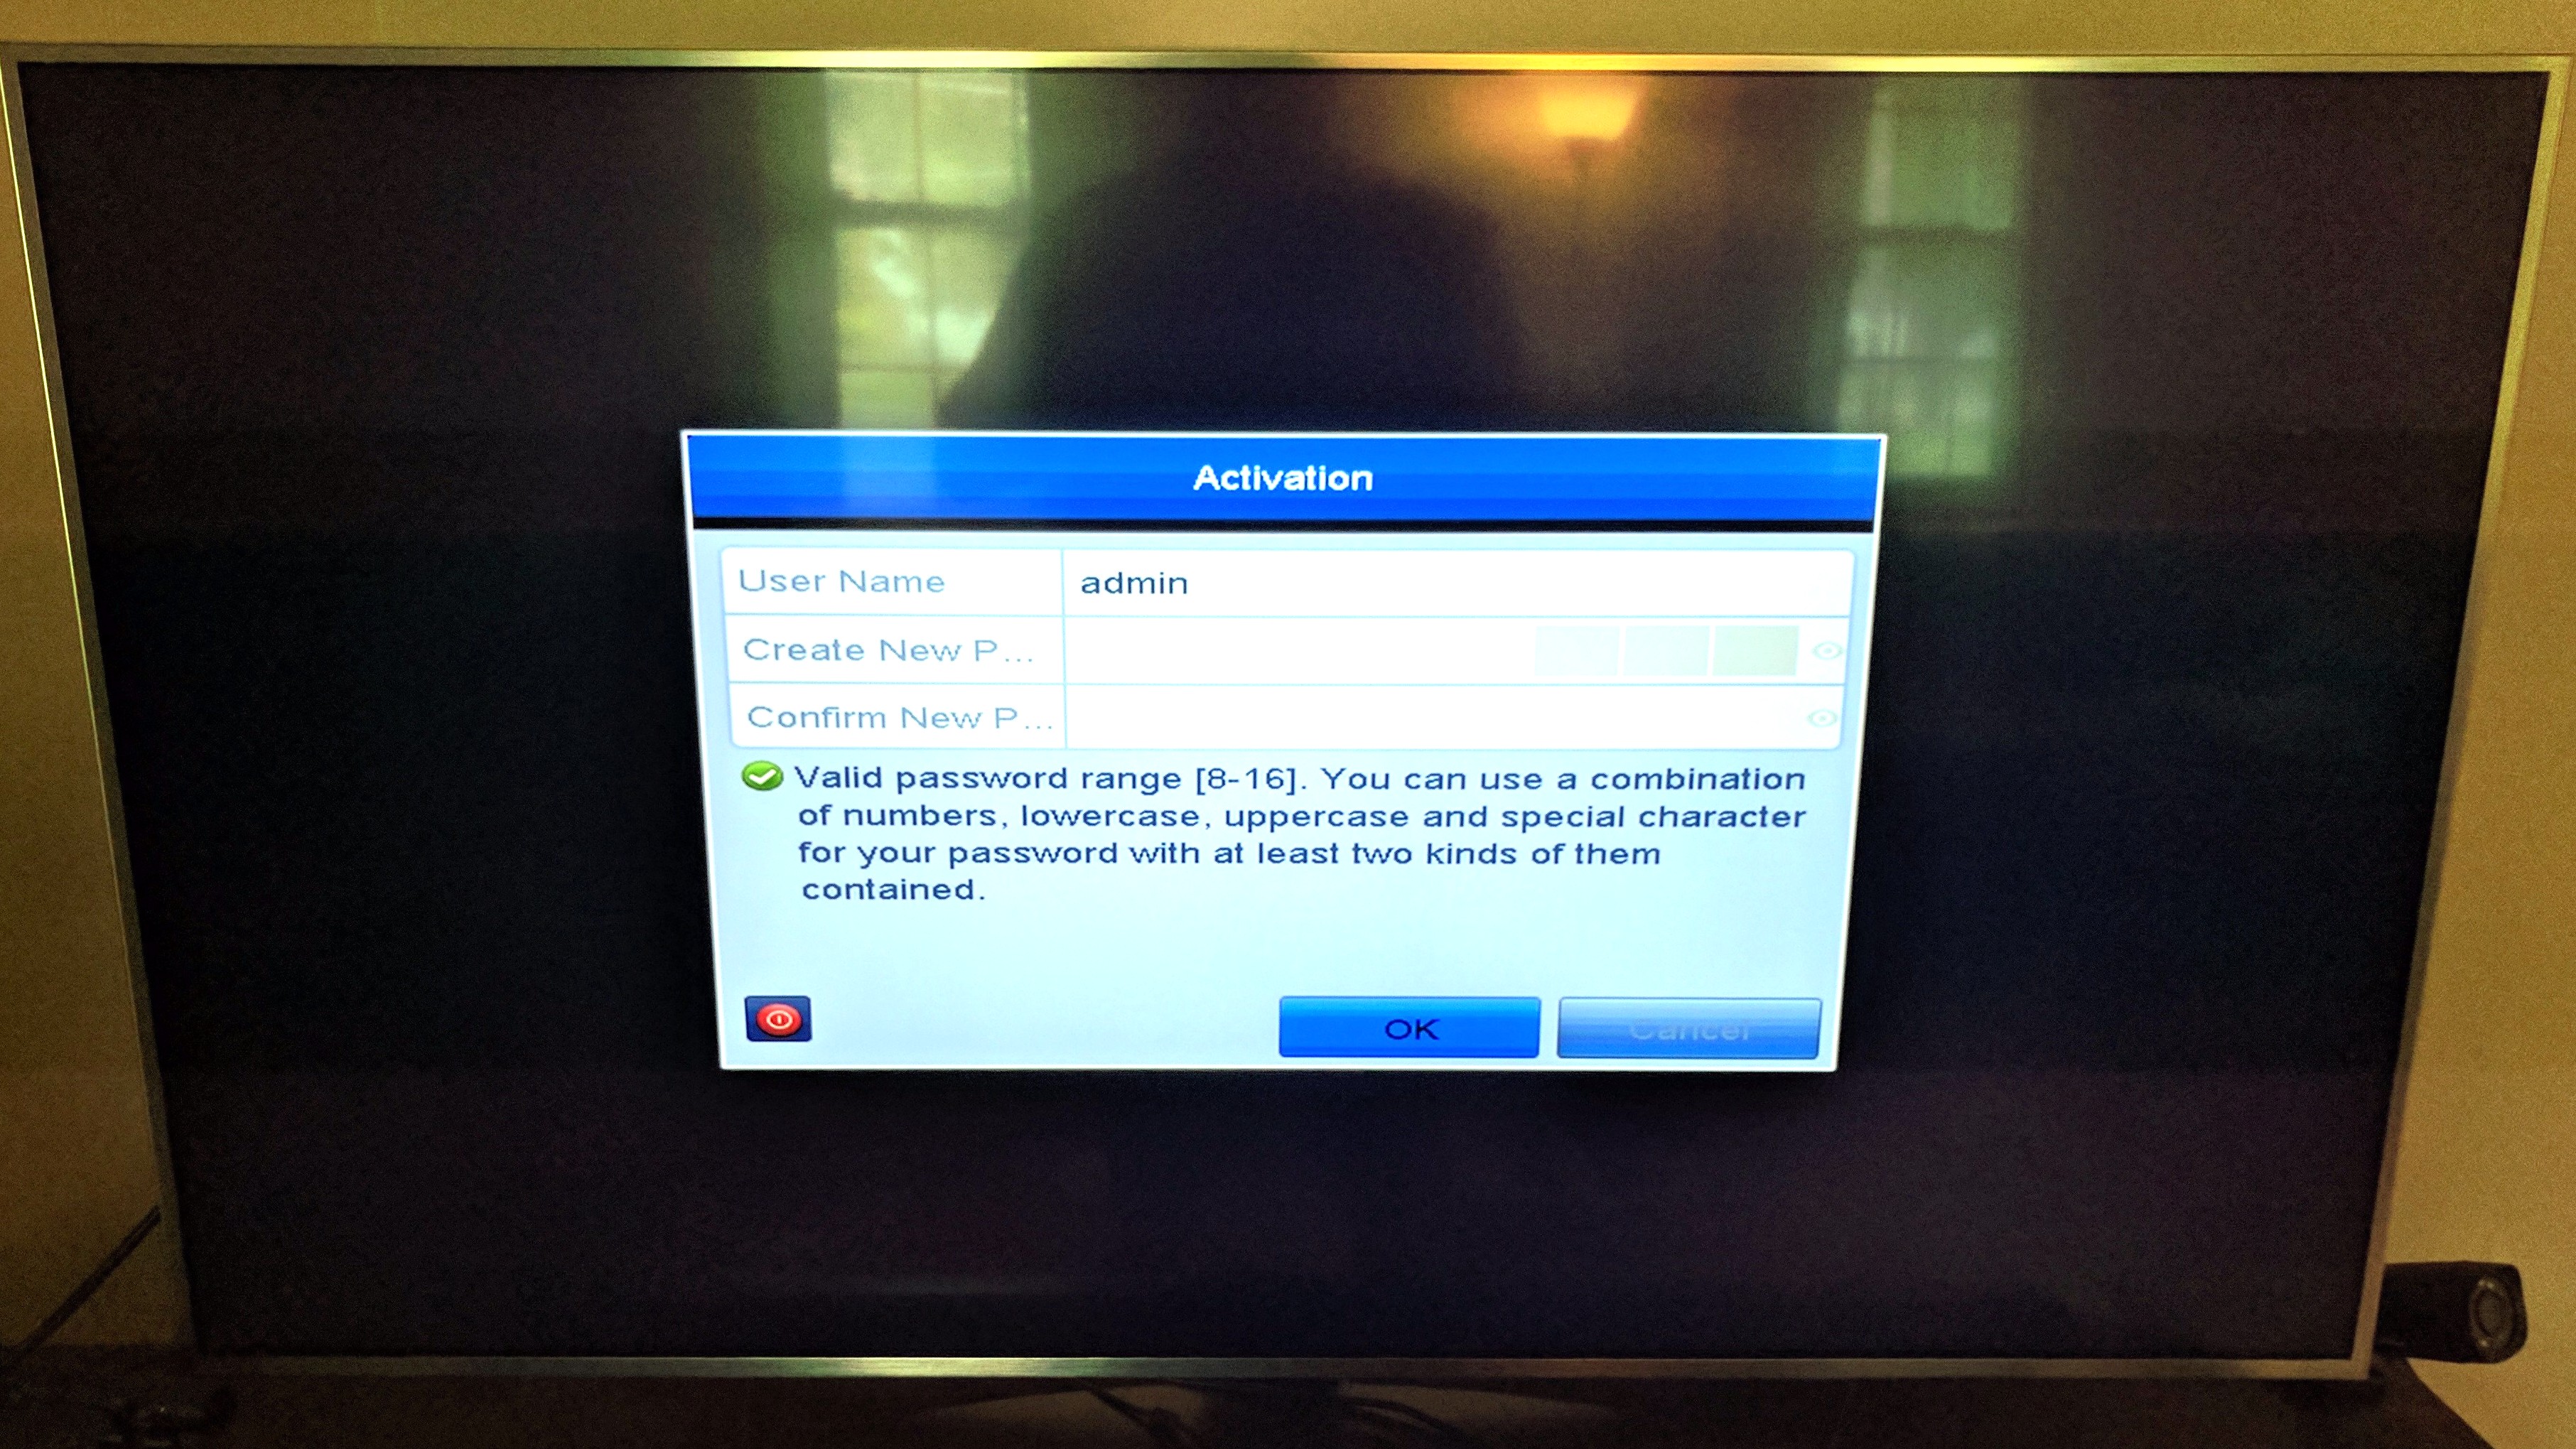

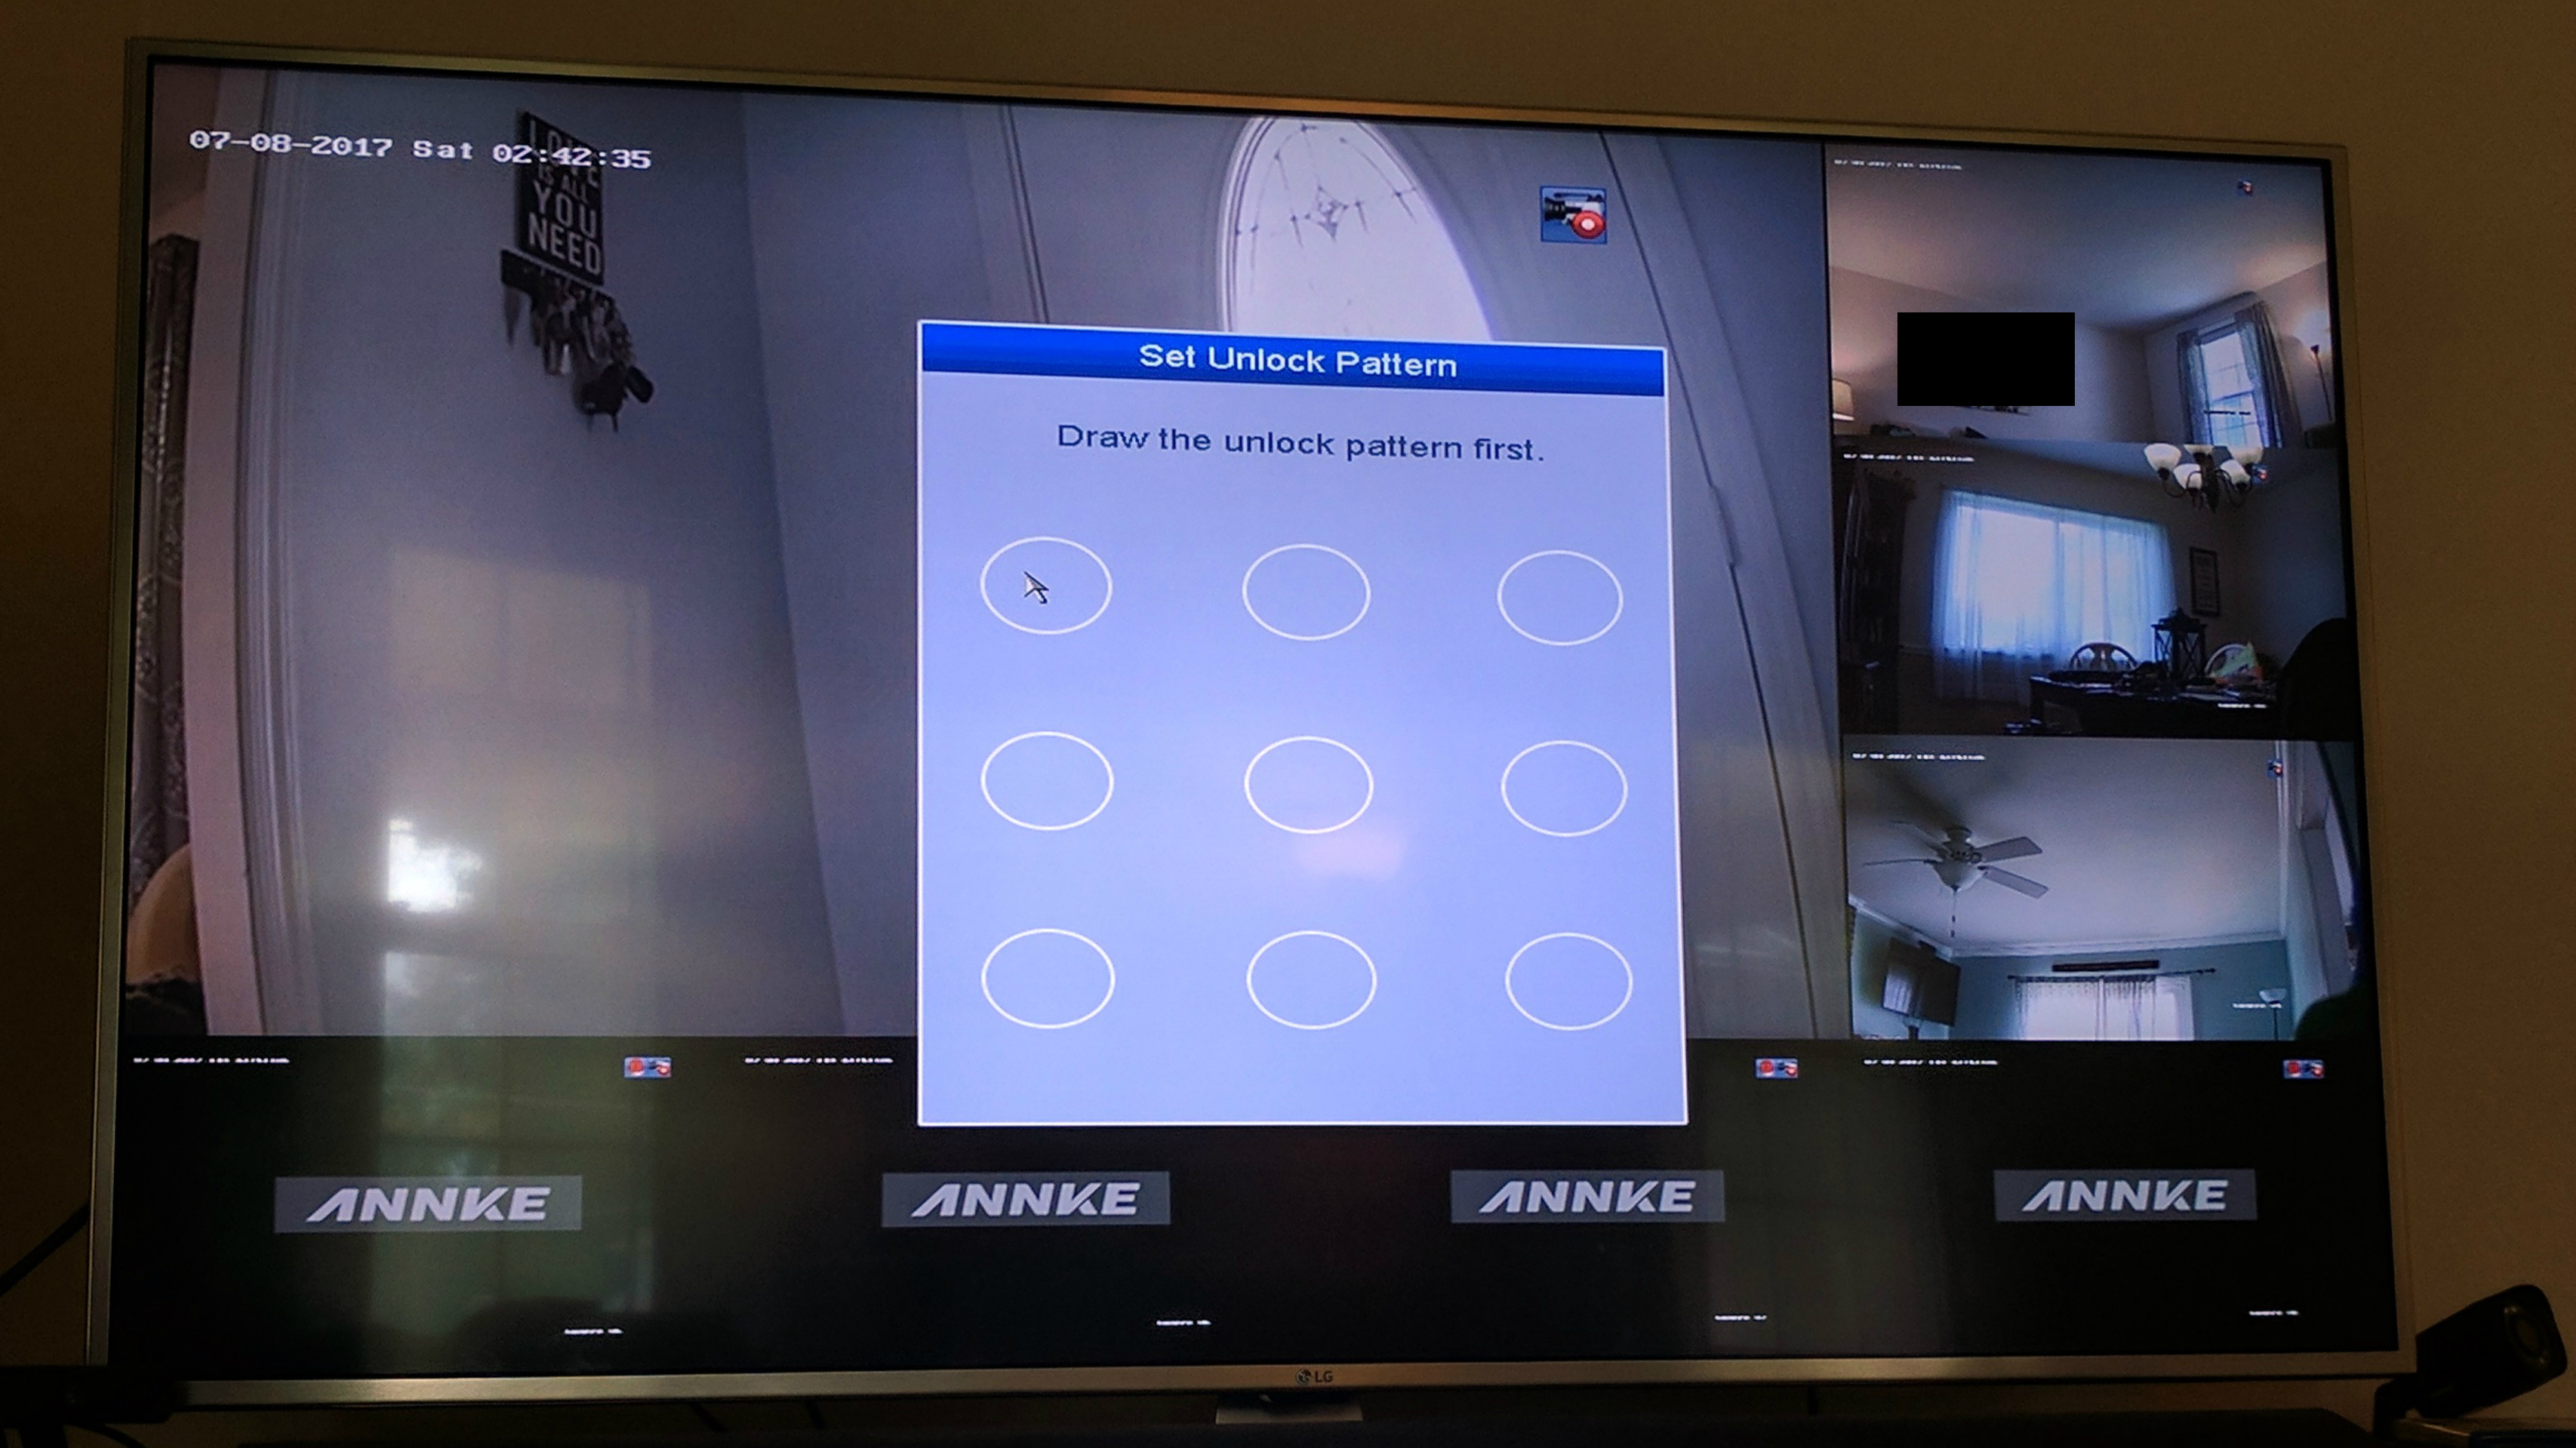
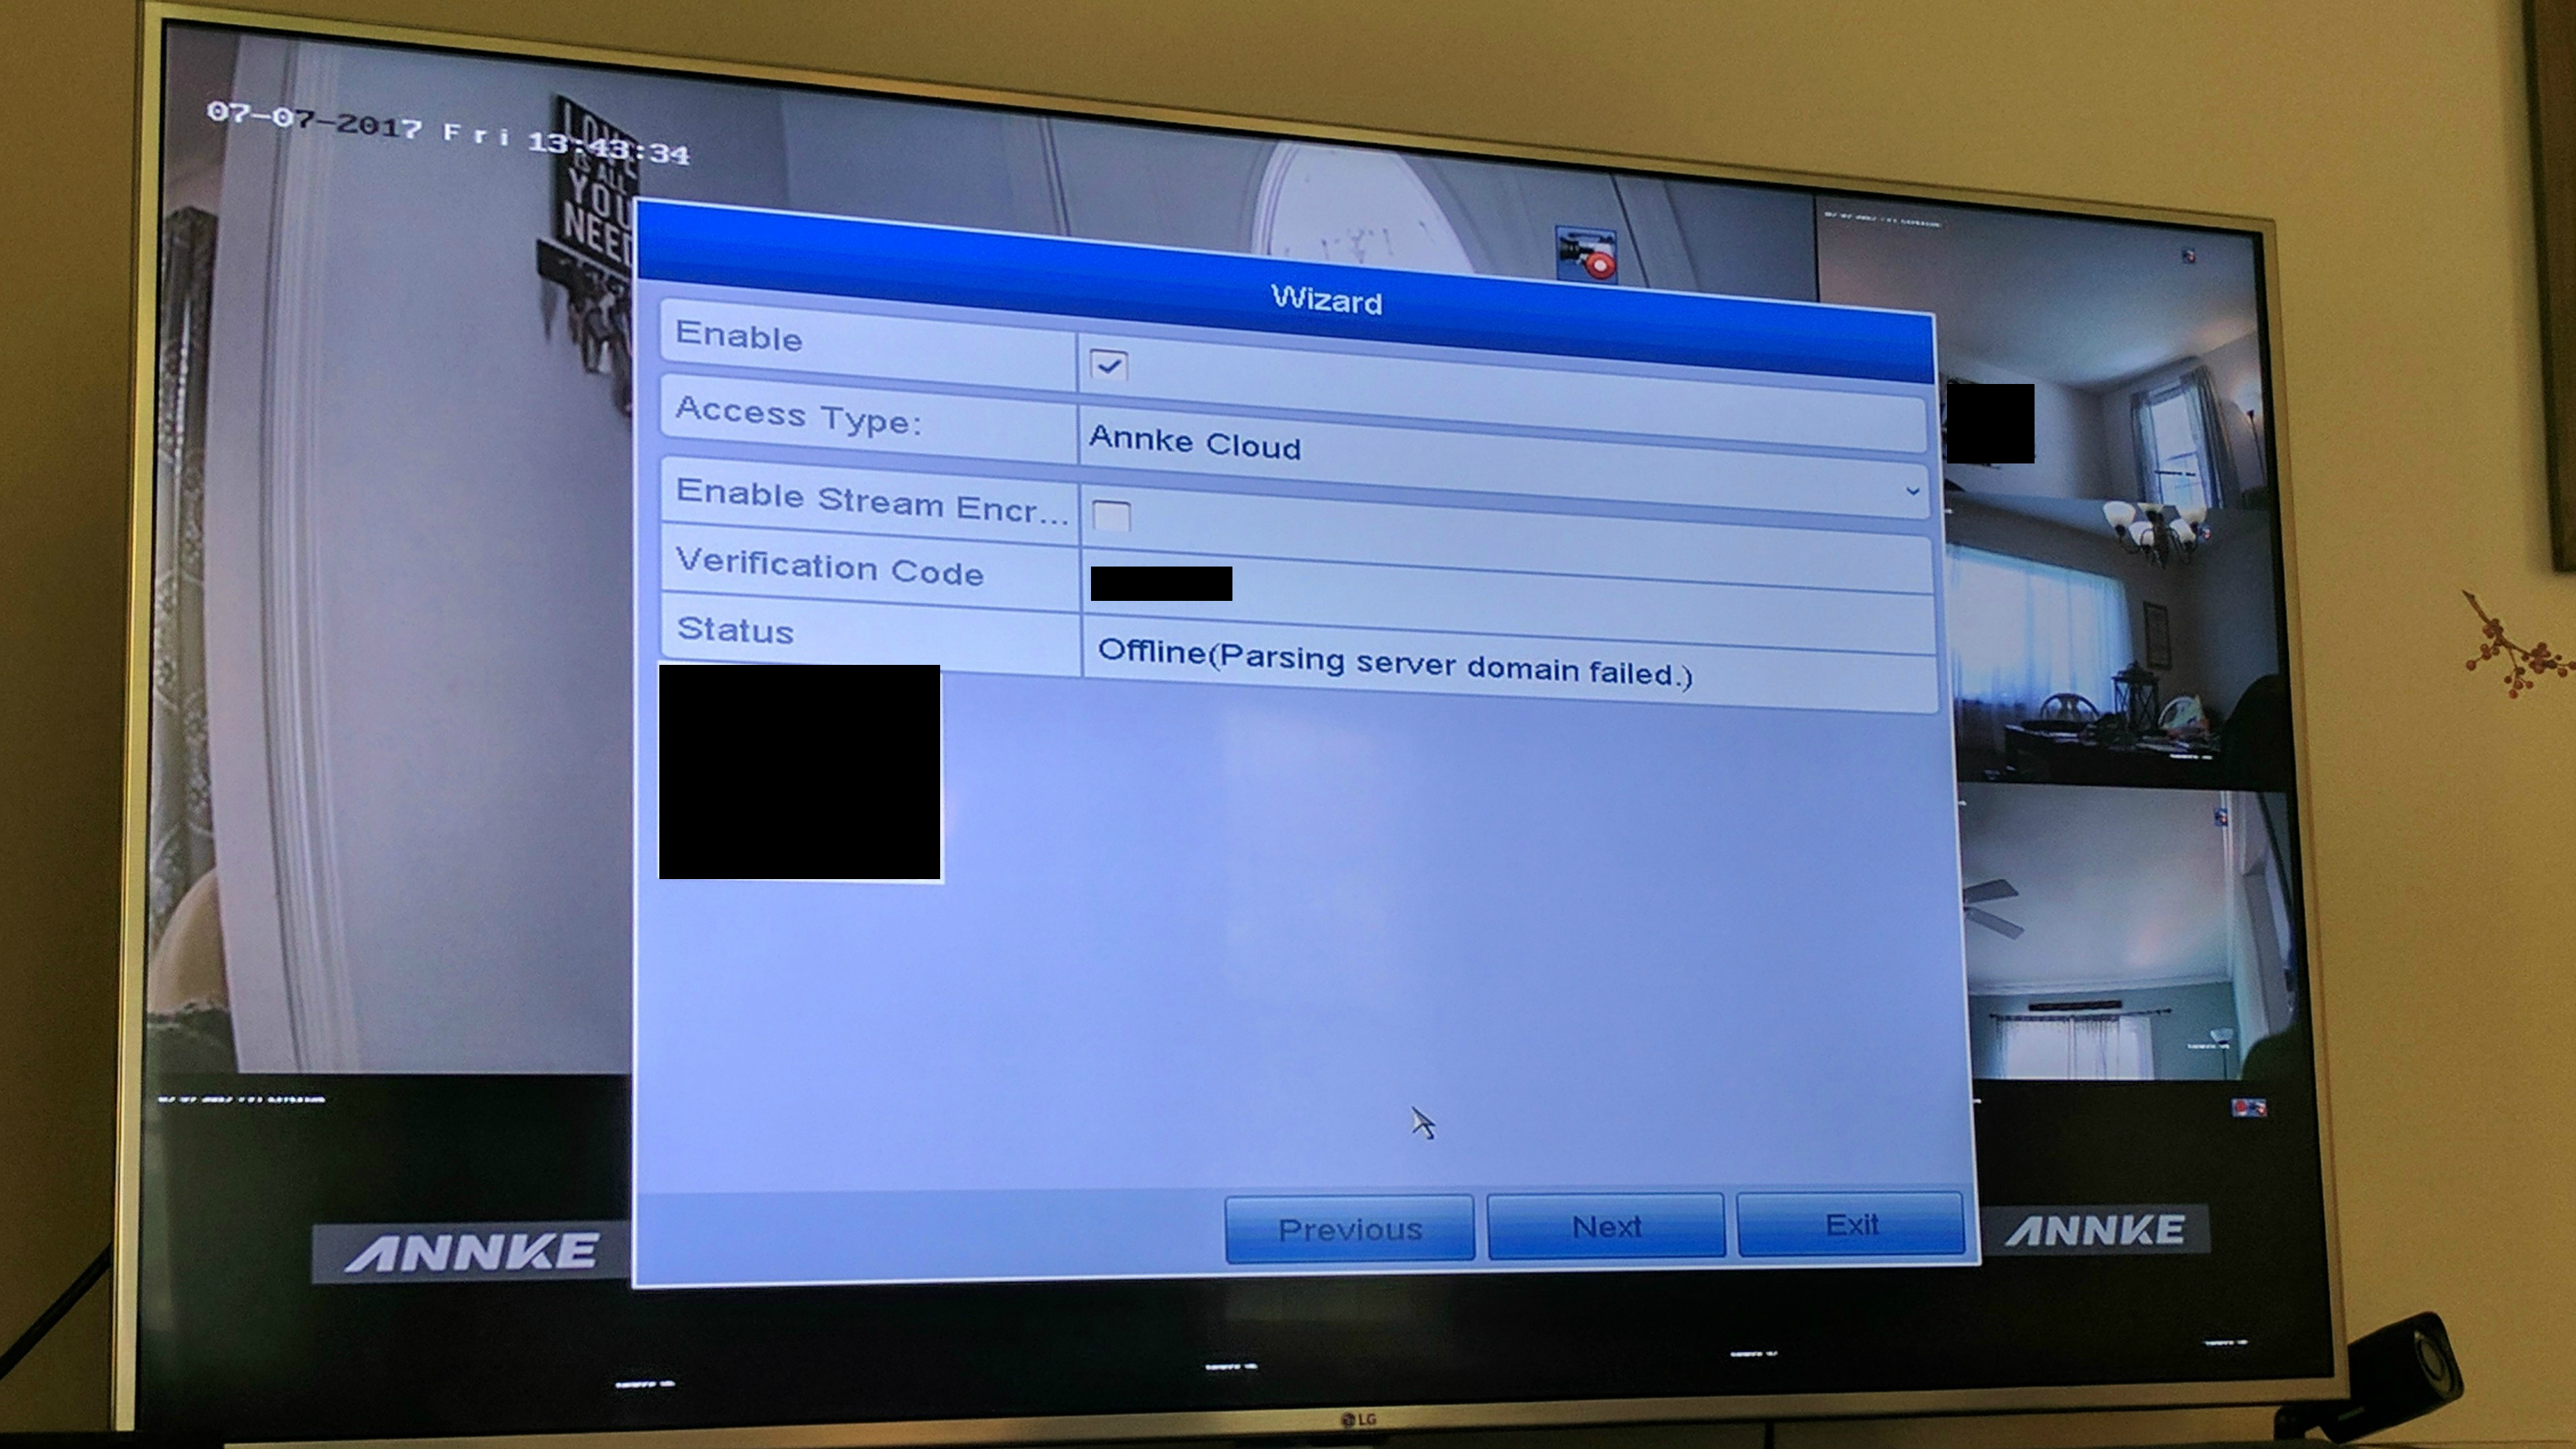
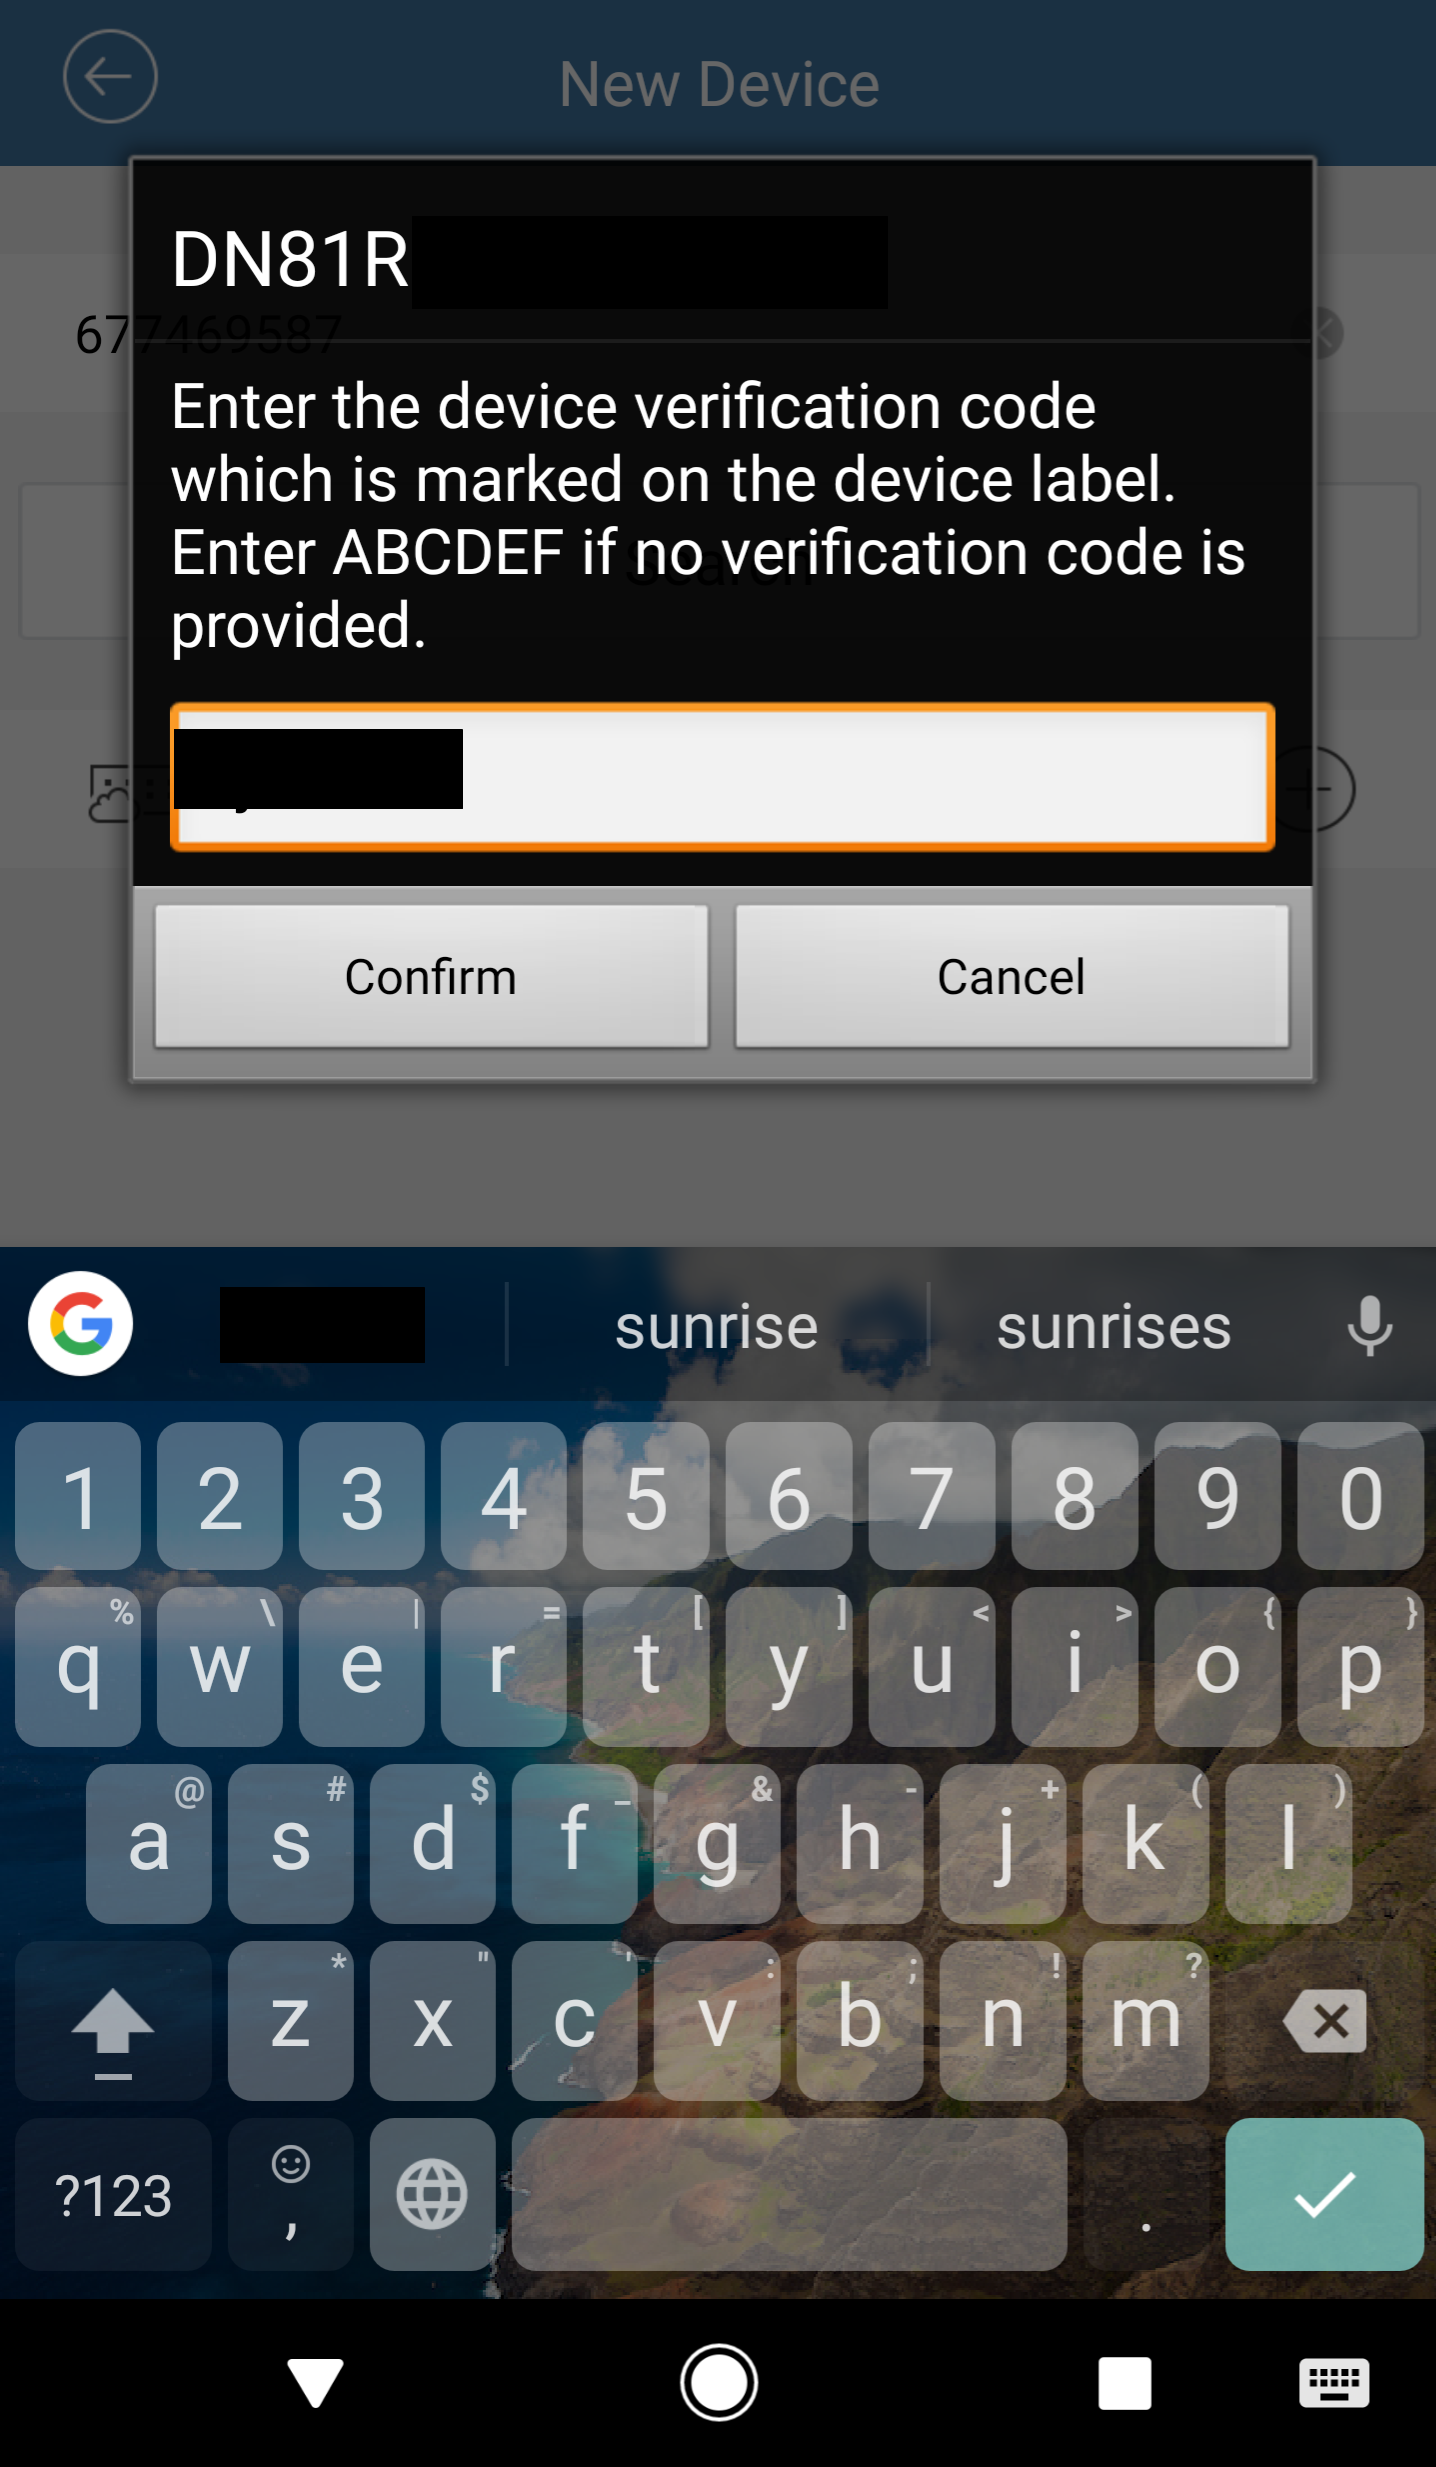
The first time you turn on the system you will be asked to activate it. This requires nothing more than choosing an administrative password for the system. You next choose an unlock pattern in order to avoid having to reenter a password repeatedly. Finally, you go through the setup wizard.
Once you’ve completed the wizard, the DVR system is ready to operate. For the most basic use, this is all you need to do. I’ll discuss more advanced use later.
Performance
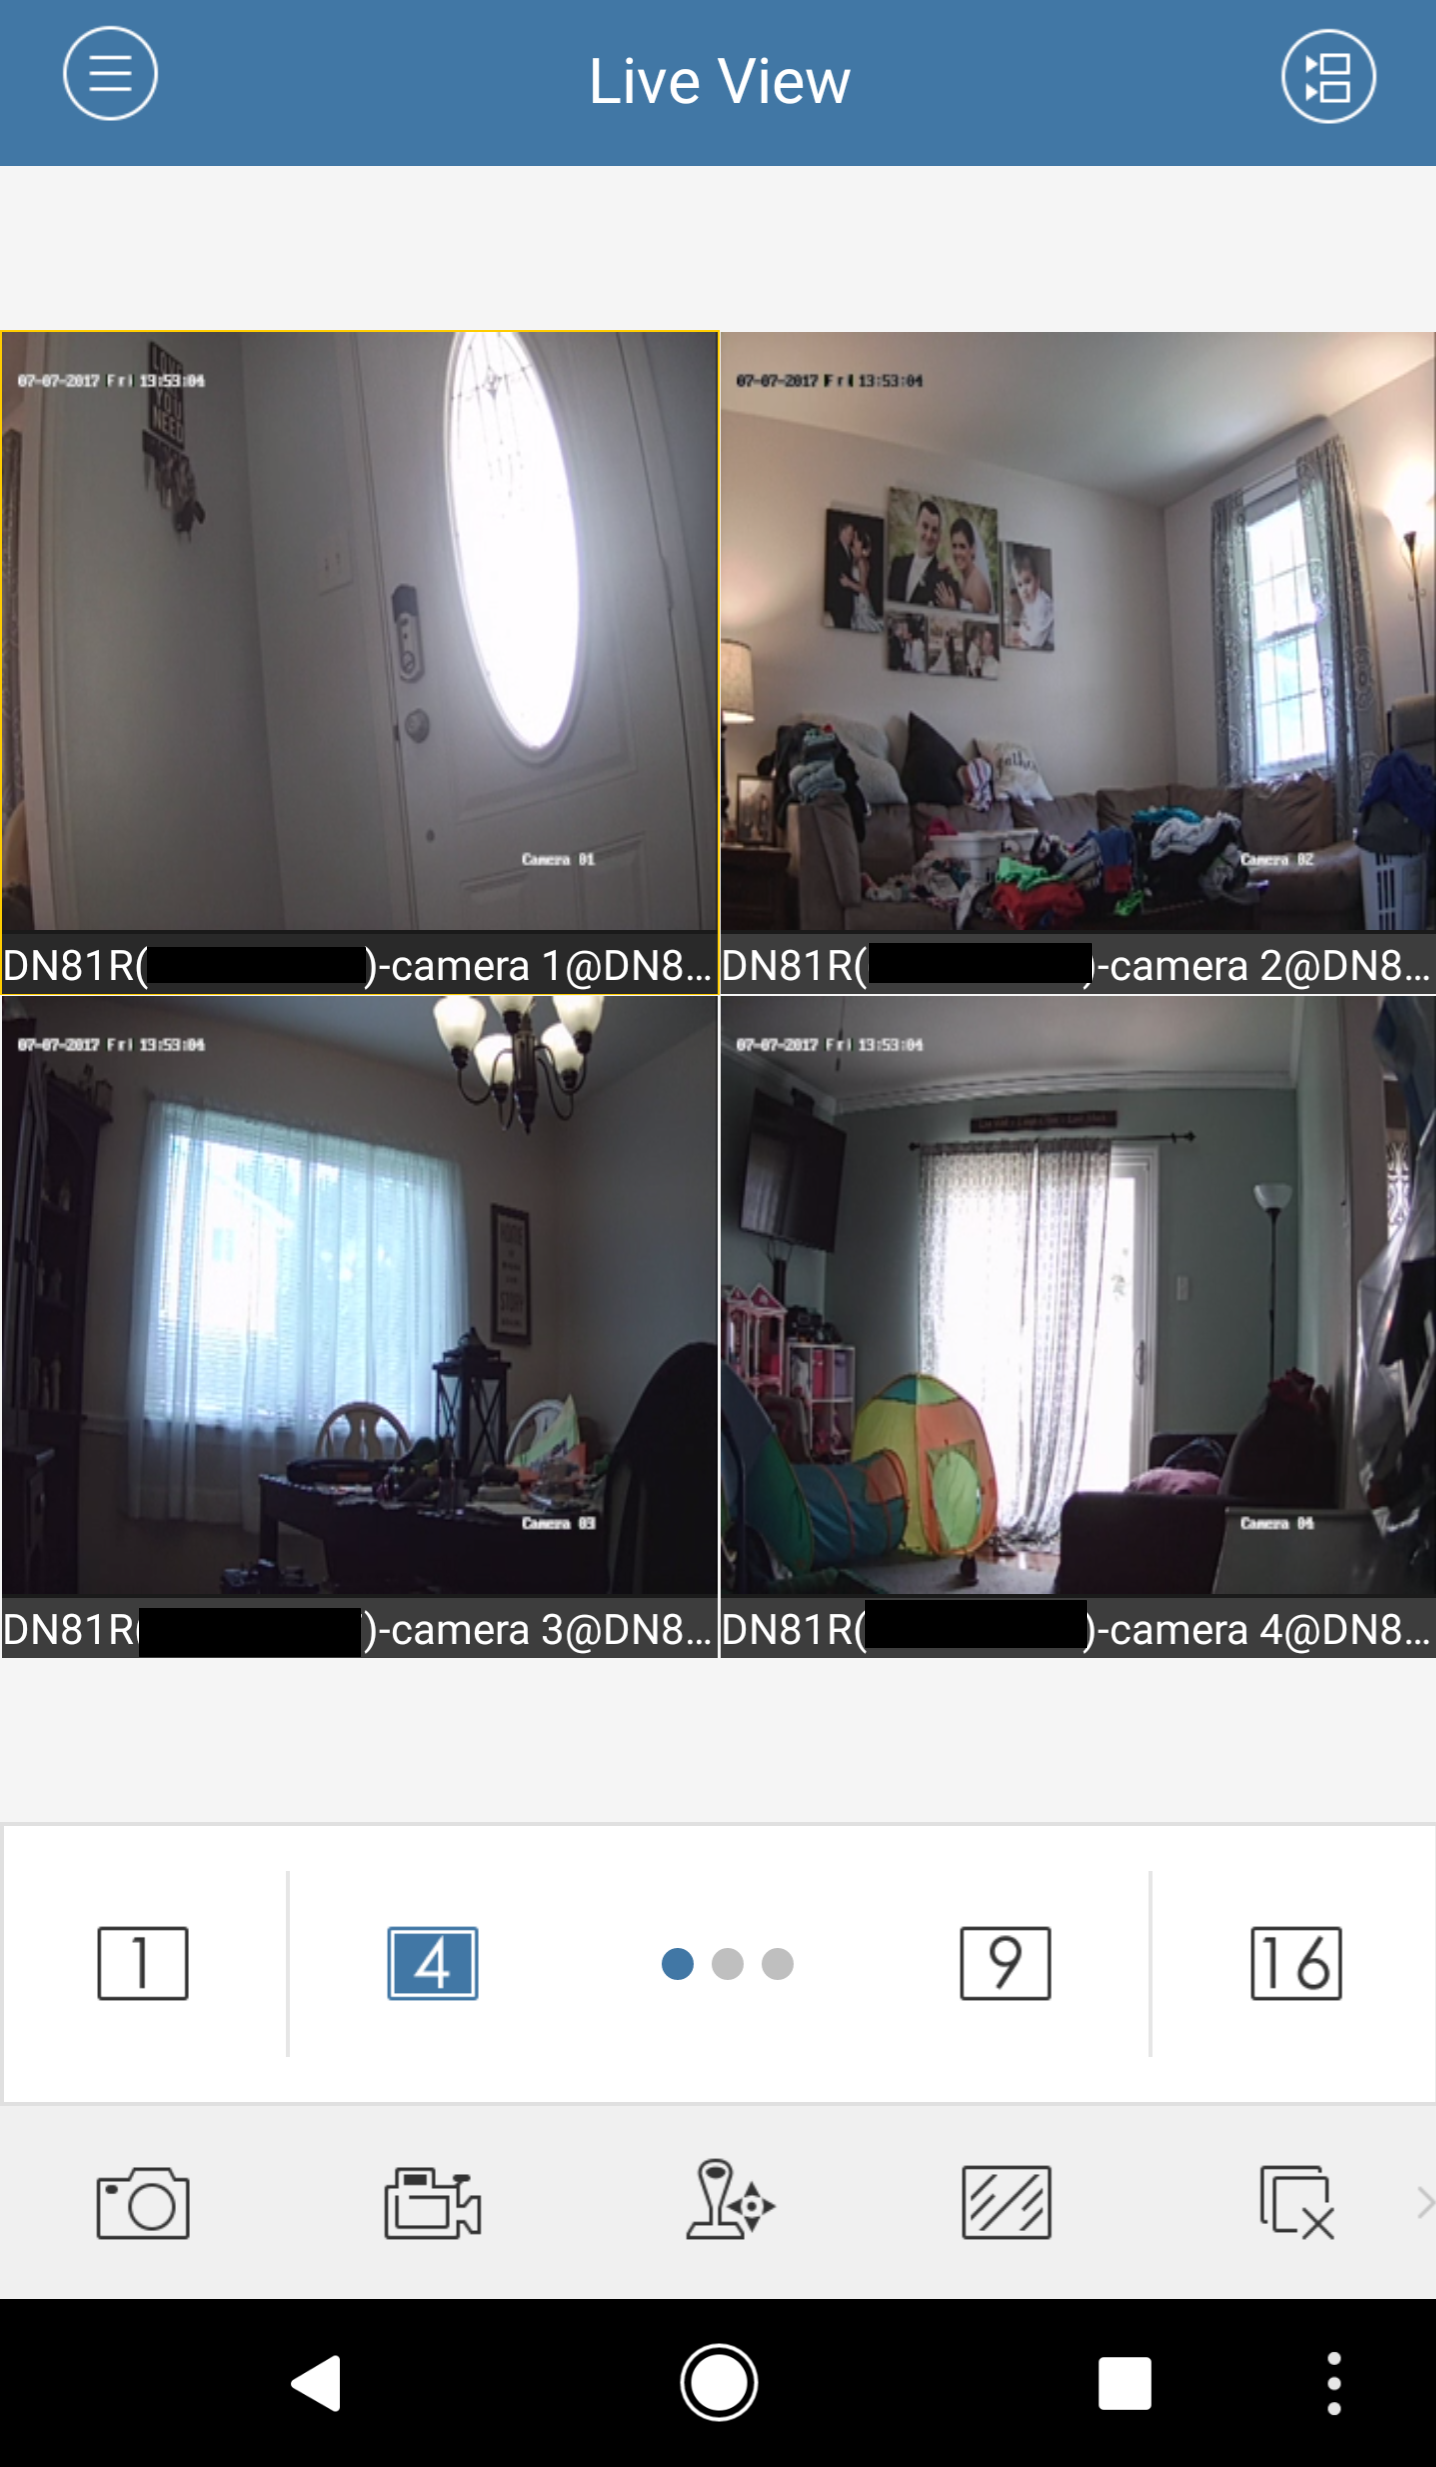
Although I’ve never had a DVR system for my home, I’ve utilized and interacted with them countless times at work. I was very pleased with how well the Annke system worked compared to others I’ve seen.
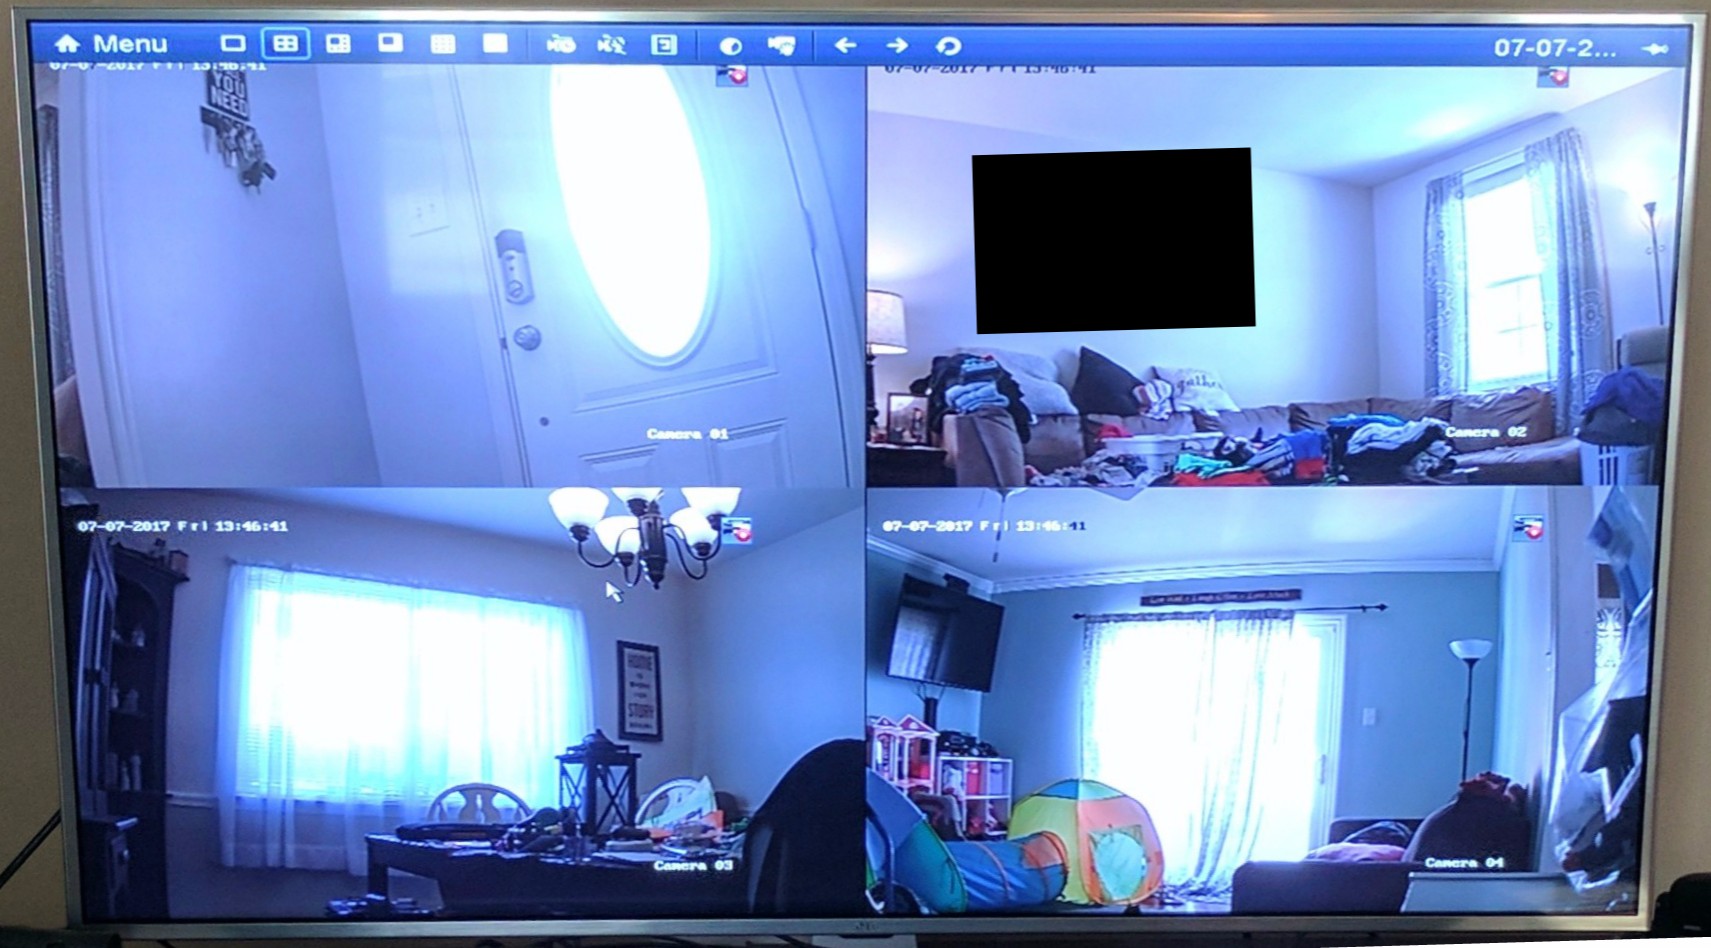
The system was easy to use and the picture quality was generally very good; although, in low light situations the image was a bit darker than I would like.
Truthfully, the basic use of the DVR system is so simple there isn’t a lot to write about. You install it, go through the setup wizard, and it immediately starts streaming a live view of things.
It works wonderfully, and that’s really all there is to say.
Annke App
Not only can the system be viewed through your TV or computer monitor, but you can also access it through Annke’s app.
The app is available for Android and iOS.


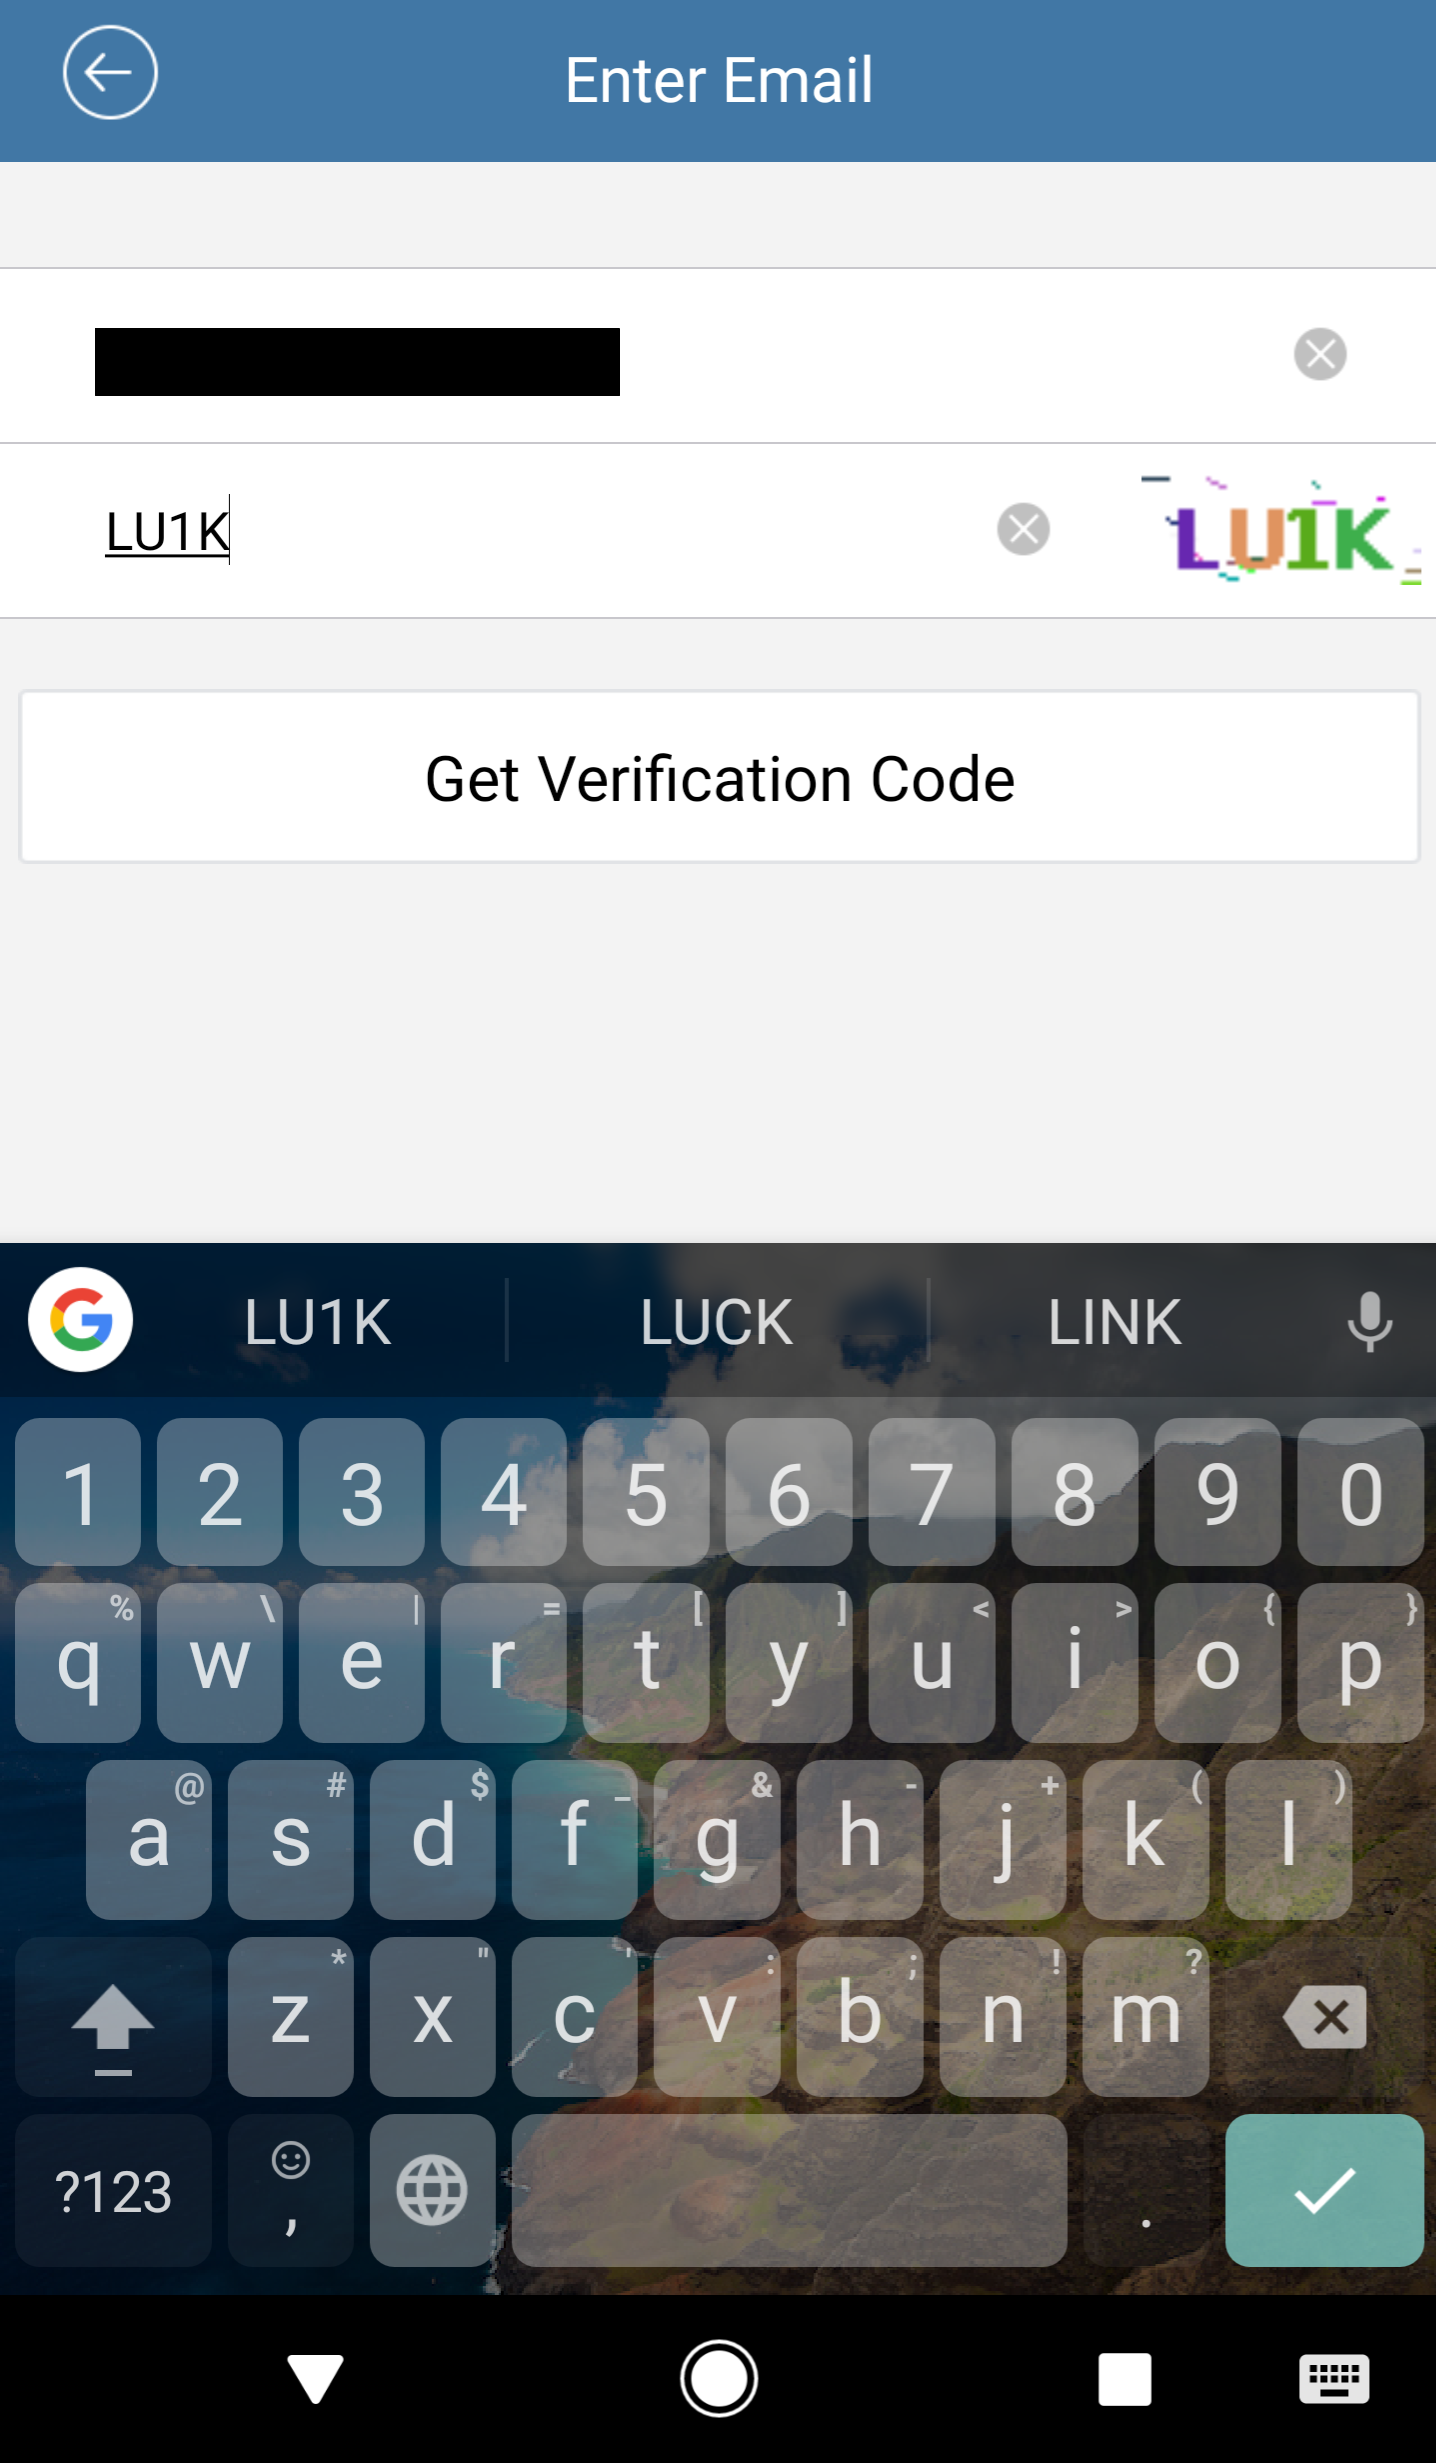

After you download and install the app, you’ll go through an easy setup wizard where you’ll choose your location, set up your mobile account, and connect your system.
After you’ve completed the wizard, you should have access to your live view.
As with the basic use of the DVR, the mobile app is wonderfully simple to use.
Advanced Use
So here’s the thing, this DVR would be great for a basic home surveillance system, but it also has a ton of features that would make it great for protecting a business or any other institution. In fact, it has so many features that I couldn’t have possibly gotten around to trying them all.
In order to take advantage of all the extra features, you’re going to want to install a hard drive in the DVR. (according to its Amazon listing, the system does not include a hard drive; however, the sample they sent me included a 1 TB hard drive.)
Once a hard drive is installed you can choose from several different recording features.
You can set the DVR to record continuously or only record during specific hours on specific days.
You can choose to have it record when motion is detected or when specific types of motion, AKA “events”, occur.
Examples of events are as follows: face detection/face capture, line crossing detection, people gathering detection, fast moving detection, parking detection, unattended baggage detection, etc.
Admittedly, I didn’t come close to testing all the different triggers; however, I did set a motion alarm and it appeared to work well, consistently.
As with recording, there are a handful of different ways to playback events.
You can choose to playback an event by time period, by event type, by user created tags, by using smart search to analyze video footage, and by going through system logs.
If the DVR is connected to a network there are another dozen options to consider, including connecting to a Network Time Protocol sever, configuring email settings for email alerts, monitoring network traffic, etc.
This is just scratching the surface; you can set on-screen labels, place a black privacy box over certain areas, run hard drive diagnostics, and create backup files.
The amount of features available is borderline overwhelming, but in a good way.
My only issue with all the features was the lack of instruction in the included user manual. While some features were covered, most didn’t appear to be. I was able to locate a 110 page advanced user manual on Annke’s website; however, based on the diagrams inside, it wasn’t the manual for the exact model I was reviewing.
Conclusion
I’m impressed with the Annke DVR; it can function as a basic home surveillance system or work as a full featured security DVR.
The system provides good video quality and an abundance of features.
Everything is fairly easy to use and set up, but you have to do some digging on Annke’s website to get the correct information.
All in all, for $109.99, I’m not sure you’re going to find a better deal.
Source: The sample for this review was provided by Annke. Please visit their site for more information and Amazon to order.

HP 14 Laptop, Intel Celeron N4020, 4 GB RAM, 64 GB Storage, 14-inch Micro-edge HD Display, Windows 11 Home, Thin & Portable, 4K Graphics, One Year of Microsoft 365 (14-dq0040nr, Snowflake White)
(as of April 25, 2026 12:04 GMT -05:00 - More infoProduct prices and availability are accurate as of the date/time indicated and are subject to change. Any price and availability information displayed on [relevant Amazon Site(s), as applicable] at the time of purchase will apply to the purchase of this product.)
Dell 15 Laptop DC15250-15.6-inch FHD 120Hz Display, Intel Core 3 Processor 100U, 8GB DDR4 RAM, 512GB SSD, Intel UHD Graphics, Windows 11 Home, Onsite Service - Carbon Black
(as of April 25, 2026 11:54 GMT -05:00 - More infoProduct prices and availability are accurate as of the date/time indicated and are subject to change. Any price and availability information displayed on [relevant Amazon Site(s), as applicable] at the time of purchase will apply to the purchase of this product.)Product Information
| Price: | $109.99 |
| Manufacturer: | Annke |
| Retailer: | Amazon |
| Requirements: |
|
| Pros: |
|
| Cons: |
|
Gadgeteer Comment Policy - Please read before commenting
Hmm. Wired and 720p? I guess for $100 you can’t complain. I was wondering – you said you can watch the video over their mobile app? Is that only on the local network or anywhere on the Internet? If so how does the app link to the recording hardware?
Hi there,
I was wondering if you could help solve a problem I am having with this set up. I do not have the equipment to use remote viewing so I watch on a monitor then back up relevant footage on usb and then use a conversion program to watch the footage on any media player which allows me to send footage to the police etc.
My problem is that footage from the camera 1 port is always corrupt.. This happens on a 4 channel and an 8 channel dvr, I’ve changed cables, cameras and which ports they go into and it is always port 1 that has corrupt footage and this is the 3rd dvr this has happened on . I would greatly appreciate any advice, thanks.
COULD YOU PLEASE TELL ME WHERE AND WHAT HARD DRIVE DO I NEED FOR THE 1080P DVR I HAVE 2 CAMERA’S WITH IT PLEASE
You can use any HDD made for CCTV. I believe Seagate makes a Barracuda line. and Wester Digital makes a purple line? just search for a cctv HDD and that should work.
Thanks lol all i need now is the Manuel for my DN81R cant find mine .
Hi how do i get the manuel for my DN81R cant find mine dont know where wires go had someone to set it up for me but the idiot put wire through gap in window so when i shut the window it snapped hence why i had to buy new cable so im going to try and do it my self wish me luck .
You will need extension(long)30cm long drill bits for going through walls. First a 1/4 inch/6mm, then a 1/2 inch(15mm) then use a long 30-40 cm long rat tail file, or you can use a forstner drill bit on both sides of the wall using a preliminary 1/4 inch6mm drill through as a guide. Avoid wires(they will be vertical in line with wall switches), and wall studs(usually every 18 inch centered from corners, with extra framing around doors and windows if you test drill from the inside you will be sure to miss them). Buy long 4 inch10cm screws to attach the camera through vinyl, wood or metal siding and stucco. You can drill through rock and brick with special drill bits for concrete(they are even cheaper than regular drill bits), and have water to cool them they will get very hot drilling through concrete.
hi,im sorry if i sound thick but here goes,looking at annke 1080 lite security system,and reading it plugs into a router,i no longer have a router i am wireless.my box to my sky and stuff is in the living room but i want the system in my study/office. sorry thankyou.
Hi, just setting this system up for the first time. I just have two cameras. Followed the above as this is really helpful.
Understand where the two blue cables connect to and have plugged the two red ones into the splitter cable. I don’t seem to have anywhere to plug that remaining cable into. It says a power adapter but I don’t seem to have that.
Can anyone help?
Hi
I’ve got my self a set up dn41r is there an upgrade cameras I can use
The standard cam not great
hi were you able to view the cctv using your smartphone? using 4g network?
hi were you able to view the cctv using your smartphone? using 4g network?
Hi, am able to use the camera by ONLY using it on my smartphone? I have a macbook but I bring it with me to work. so i’m unsure of the set up at home if i dont use our tv or my laptop. i don’t have a hard drive to save/record , is it possible to use it just for live footage?
Thanks!
Annke do not honor the warranty, in fact the warranty is only three months. So, I have a dead system 6 months old and Annke customer support say… so sorry the warranty is for technical support only.
Consumer Affairs say this is illegal under consumer law, but that makes no difference to them as they are not Australian based (They say they are in NSW on Ebay) but are in China. Id give them zero stars if I could.
Id advise people to buy Australian, rather than this crap.
I’ve been having some issues with Annke support team.the email Communication is terrible I had purchased a new Annke 8 channel / 8 cameras system under a month in a half ago trying to get them to replace 2 power Adapter & 4 way power splitter and I’m getting the run around. I will put the word out how well their customer service handles people secondly I’m a camera installer and I will recommended the Nite Owl product to my customers instead of Annke.
What voltage are the power supply