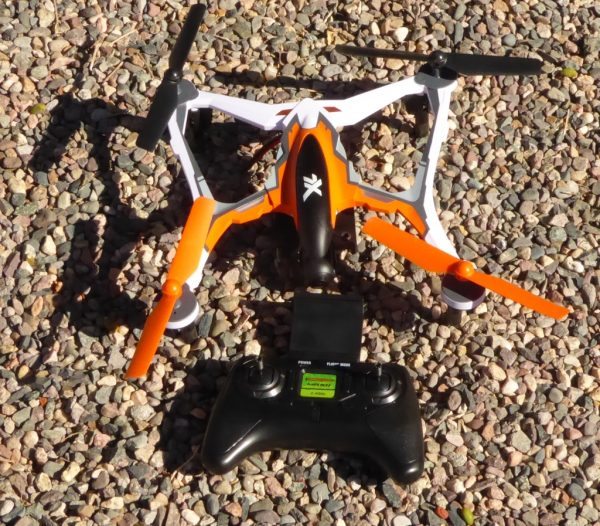
I will admit, that along with being a gadget freak I am a tech geek. One item that has fascinated me since becoming fairly mainstream has been drones or quad copters. With several models now available and with varying features including video camera kits drones are becoming more than toys. Prices have started to come down as well making drones more affordable. When Dromida offered us the chance to review their XL FPV drone I was ready to take it for a flight.
Note: Images can be clicked to view a larger size.
A few of things before I get into the specs and review of The XL FPV. Drones, as fun, as they may be have caused issues in the US interfering with normal aircraft activities. The FAA has rules and requirements for registering and flying drones in the US so check with them before you fly. In the case of the Dromida XL FPV (weighing more than 0.55lbs) I am required to register it. The next thing is the social responsibility. On the social side, being equipped with a camera your drone has the ability to circumvent a lot of privacy measures so be mindful of this. Lastly is safety. From a safety perspective, the XL FPV does have some weight to it and can cause damage or injury if it runs into objects or people. Now back to our regular scheduled review.
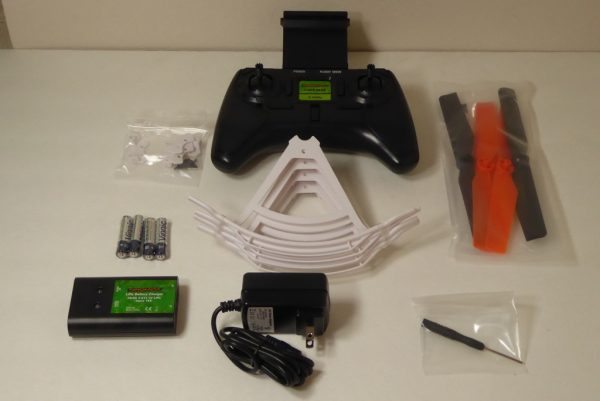
The XL FPV comes with the following:
- XL FPV drone
- Tactic DroneView camera
- 2.4GHz radio system
- Rechargeable LiPo battery
- Battery charger
- “AAA” batteries
- 4GB micro memory card
- Camera mount
- Extra blades
- Blade guards
- Screwdriver
The XL FPV has the following specifications as listed on the Dromida web page:
- Diagonal size: 14.6 inches
- Weight: 18.5 ounces
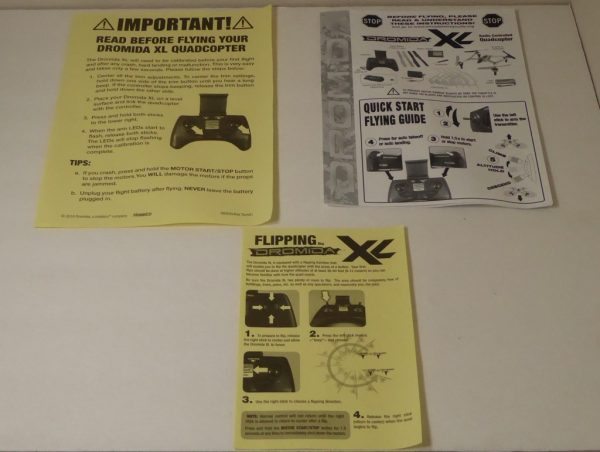
If you are like me, I think instructions are for the other guy or gal. That being said ,I would recommend reading and following the instructions for this product. As you can see there are three sets of instructions, the main book, and two quick guides. The instructions were pretty good but basic. Overall, I would give them about an 8 out of 10 for detail and information, but I do wish they would have included info for the FAA rules in the instruction manuals.
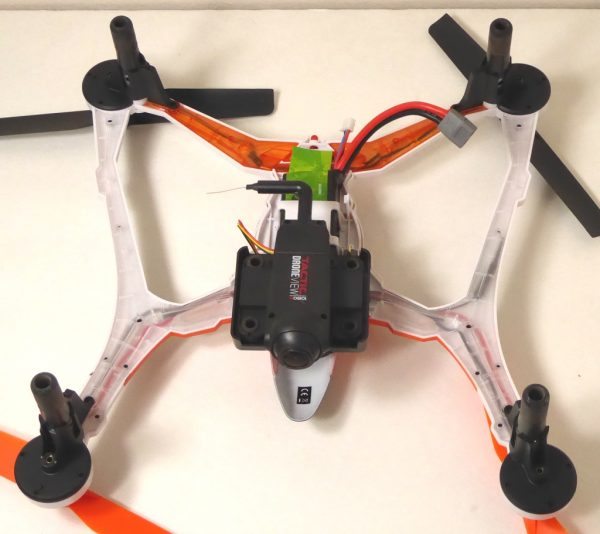
Looking down from the top of the XL FPV you can see the four rotors (orange being the front of the drone), the rear and front lights. The lights are used during flight and in various synching activities between the drone and the controller. My XL FPV is considered the orange colored model. Beside orange, the XL FPV comes in green, red and blue. The graphics layout is the same on all models , but the rear light lens covers correspond with the drone color (red, orange, blue or green).
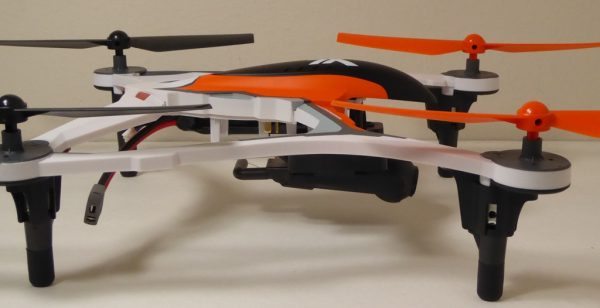
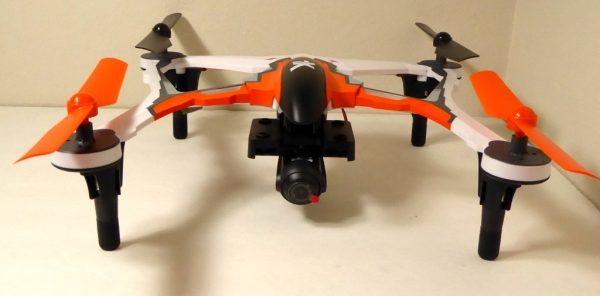
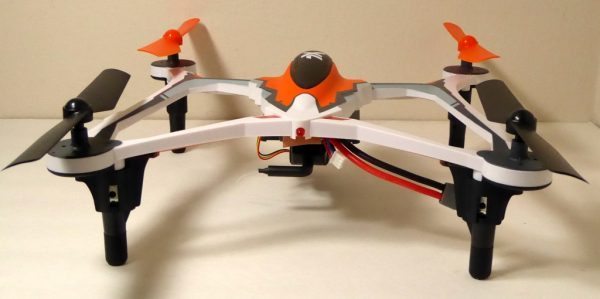
Both sides of the drone are the same. You can see the rubberized landing pads that stick down below the drone. You can also see the camera and camera mount of the XL FPV. The XL XPV is the same as the Dromida XL with the added camera mount and camera.
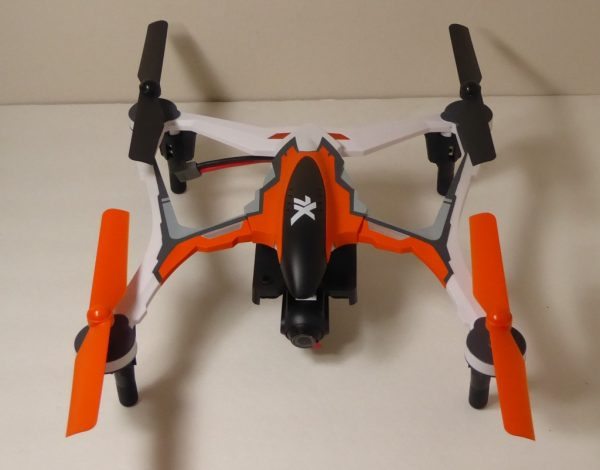
Looking at the front of the XL FPV you get a little better look at the camera and the mounting system. Although the instructions showed how to install the camera and mounting system, my drone already had the camera and mount installed.
From the rear, you can see a red LED and the back of the camera with the antenna.
From the bottom of the XL FPV, you get a better look at the WiFi enabled Tactic DroneView camera, the landing pads, and the battery.
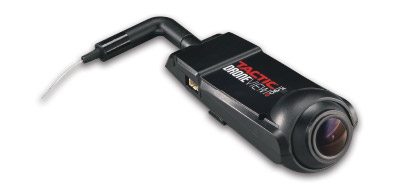
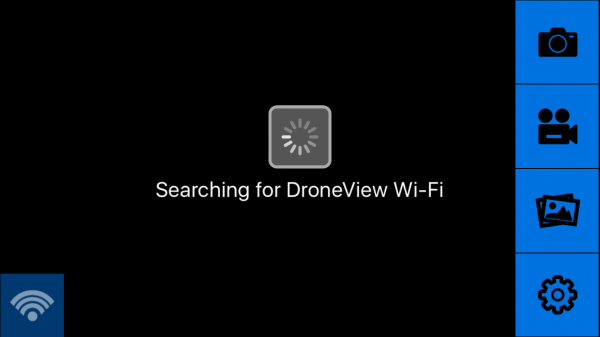
As I stated above the XL FPV comes with a camera, the camera they include is a Tactic DroneView camera that shoots video and pictures in 1080p HD. The camera works with the DroneView Mobil App for Apple and Android devices. The DroneView camera can also be remotely used without the DroneView app, this feature is available on the XL FPV so no mobile device or app is needed to record pictures or video.
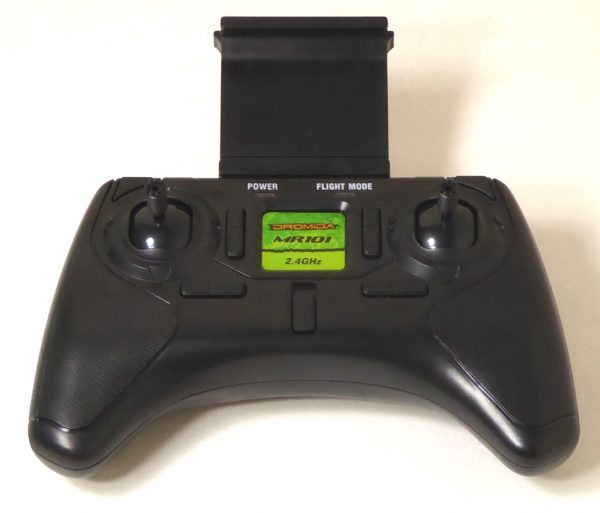
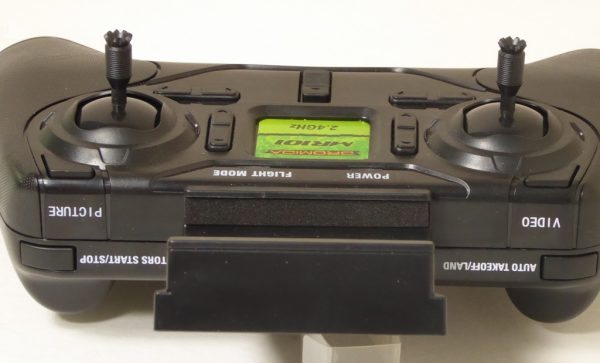
The remote controller for the XL FPV is not as intimidating as it may look. The top holds the power switch towards the bottom center. There are two joysticks on each side with 4 trim adjusters (up/down, left/right for each joystick). Above the DROMIDA MR101 sticker are two labeled LED indicators, power and flight mode. At the top, outside corners are buttons to activate the camera. The left is for video and right is for pictures. This feature allows you to shoot videos and pictures without the DroneView app. The joystick controller layout has the left joystick controlling the drones power by sliding the stick up and down. When you move the joystick left and right it rotates the drone. The right side joystick controls the left/right and forwards/backwards flight of the XL FPV. The piece extending out from the top front is a mobile device holder. The mount holds your device in by using tension.
The front of the controller unit has two buttons, the motors start and stop button and the auto takeoff and land button. The auto takeoff and land feature was a great help for me when first learning to fly the drone. The controller works on 4 “AAA” batteries.
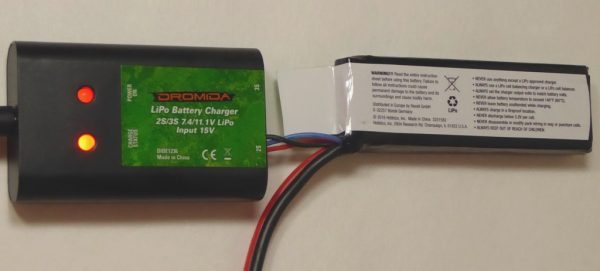
The XL FPV comes with a rechargeable battery and a charger. The charger has two LED lights on the top of it, one is a power indicator that lets you know that the charger is on. The second LED indicates that the battery is charging when the battery is plugged in. The LED will turn green when the battery is charged. The information provided with the drone states that you will get about nine minutes of flight time on a full charge.
I will admit, flying the drone for the first time was kind of scary. I do not have a lot of open space to fly so I flew it out of my driveway. Although I won’t technically say that I crashed my first flight, I did use the flower bed and house to cushion the landing. As you can see from this video I have gotten better. You may or may not be able to tell, but I use the auto takeoff and land feature when I fly the XL FPV. It is nice to have the drone pop up to about four feet and hover allowing you to get you bearings. Left, right, forward, back and rotate are the basic functions of the controller. There is one special move that I have not tried yet, it is an auto flip. I have not gotten up the nerve to try it yet.
As you can see , video shot from the XL FPV is good. I did notice some interference from the drone but overall the video is good. I will note that is is not a good idea to crash into a palm tree.
So, what’s my bottom line here? Fun, fun, fun. First let me say, that I would consider the Dromida XL FPV to be on the upper level of an entry level drone. That being said if you are looking for an upgrade to your current entry level drone or a nicer entry level drone the XL FPV is filled with a lot of nice features. Learning to fly this drone is not difficult and it held up to some bumpy and hard landings. The included camera works well and takes nice pictures. The instructions provided are more than adequate, but I wish the had an advanced users manual with more in-depth information. The auto takeoff and landing feature along with the ability to take video and pictures without the DroneView app allows you to get up and flying out of the box (or as soon as you can get the battery charged). At a price of $249.99 from the Dromida website, the XL FPV is priced in line or even better than a lot of the competition. If you are thinking of getting a drone for you or a family member this year the Dromida XL FPV should be on your list to check out.
Source: The sample for this review was provided by Dromida. Please visit their site for more info and Amazon to order.

