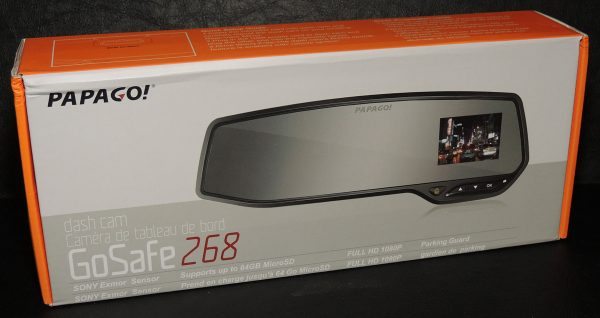
I have been reluctant to step into the dash cam market because I felt it was too much effort to install one and run the wiring through the car. Also, I didn’t feel like having a camera hanging from my window. When fellow Gadgeteer, Dave, asked if I could review the Papago! GoSafe 268 dash cam, I agreed, because the install was supposedly simple and I wouldn’t have anything hanging from my window. Let’s see how well it worked.
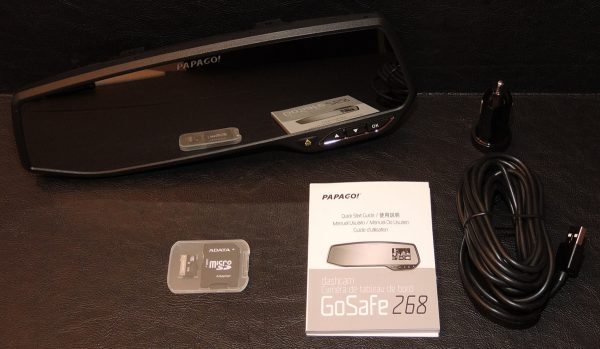
What’s in the box:
- GoSafe 268 Dashcam
- 12V-24V power cable with detachable cigarette charger
- Quick User Guide
- Warranty Card
- 8GB Micro SD Card with Adapter
One thing that intrigued me about this dash cam was the rear view mirror. It simply clips on to your current mirror, and then you can adjust the camera as needed. The reason Dave needed my assistance with this review is that it requires a basic rear view mirror, and my Ford Focus had just that. Keep that in mind if you are looking to buy this. The maximum dimensions that the dash cam can accommodate is 2.2 cm thick and 7.5 cm high.
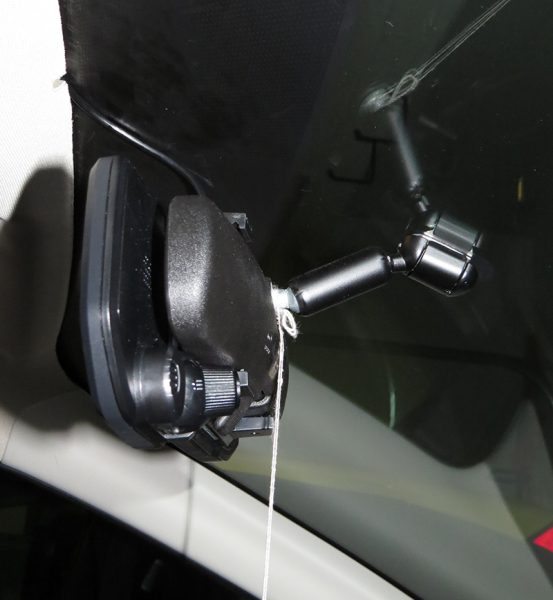
After installing the SD card and clipping on the mirror, I plugged in the power cable and threaded it up through the top of my windshield, over to my passenger side door insulation, and snuck it under to hide it until it reached the bottom of my dash. I then snaked it around behind the glove box, then along the center console to my cigarette charger port. I ended up using three pieces of tape to temporarily hold the cord in place. One above the mirror, one just before the door frame, and one near the center console. It actually was easier than expected to get the cord in place and there was plenty of cord left over that I hid under the seat.
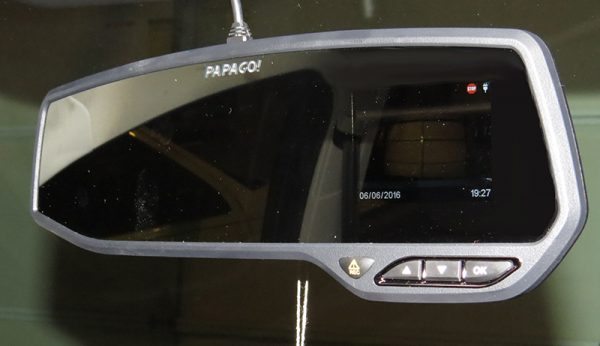
So, now that we have it installed, let’s look at the actual mirror itself. All of the ports are located on the top side of the mirror, which I will note, made getting the SD card a little difficult to get out. Starting from left to right on the above picture, the ports go as follows: GPS slot, Micro SD card slot (supports up to 64 GB SD cards), Mini USB port, AV out port, and then lastly, the power button.
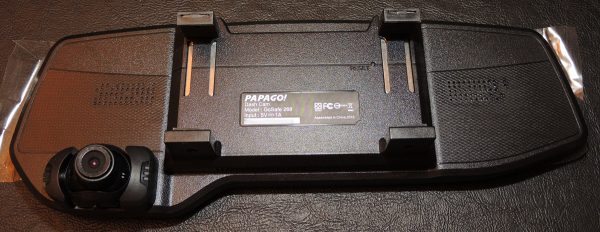
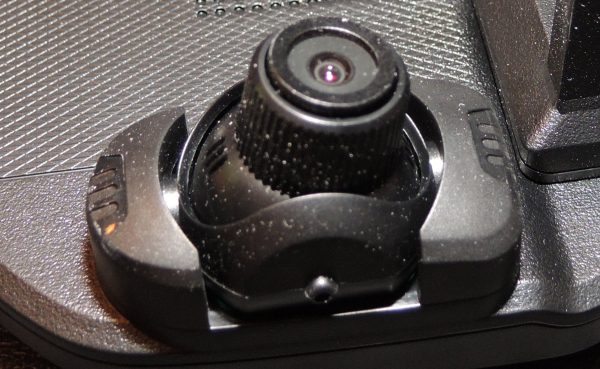
The backside of the unit is where the camera and speakers are located. Also, in the above picture, you can see the clips for attaching the dash cam to your mirror. Basically, I just rested the top clasps on top of my current mirror, then pulled it downward to stretch them to where the bottom ones can be attached. It wasn’t too hard to do, and I didn’t feel like it was damaging the mirror, even though I attached it and removed it several times.
I’ll talk about the mirror itself now. It took quite a bit of time for me to get used to the mirror being wide-angle and everything in general being ‘smaller’ than my standard rear view mirror. “Objects in mirror are closer than they appear” is the best way to describe it. However, with its wide-angle capabilities, I could see outside of my passenger side rear window, which helped eliminate the blind spot there. During the nighttime hours, there was no glare from the headlights of the cars behind me, which was awesome. During the day/evening, the glare of the sun in the mirror was reduced significantly. I really enjoyed that part about the mirror, because it is a pain to fiddle with your mirror while driving! After three weeks, I was very comfortable driving around with the mirror in place.
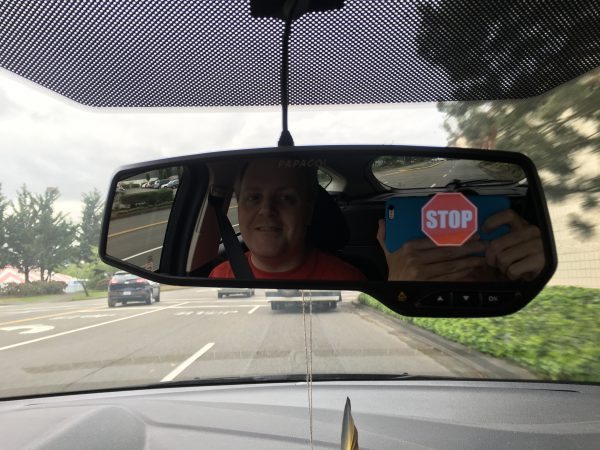
Some of the safety features included with the dash cam are: Stop sign recognition (shown above), stop and go traffic alert (which worked, but only after you were knee deep in traffic), driving fatigue reminder, and a headlight reminder. I disabled the traffic alert, and most likely will keep the stop sign recognition turned on. During the day, the stop sign recognition worked great. It didn’t miss a single one that I was aware of. When it was dark, it didn’t detect them nearly as well. Whenever an alert would go off, it would make a beeping sound, and show an icon, like in the picture above, on the screen. The screen display can be turned on or off while the dash cam is powered on.
You can also replay videos directly from the dash cam. You simply find the video file you want to play on the menu, and it will play on the screen on the right side of the mirror, with sound included via the speakers on the back of the mirror. It was much nicer to play the videos on my computer, but if you need to quickly view something, it is great to have the ability to do so on the screen.
There is a small, rechargeable battery within the dash cam, and when unplugged, the camera will record when it senses an impact to the car. You can adjust the sensitivity levels within the settings. A few times, the camera would record 10 seconds after I closed the door when I had it in the most sensitive settings. Thankfully there were no incidents to cause recording other than that when I was parked. The recordings are saved onto the Micro SD card and won’t be overwritten by the standard recording mode.
The camera itself has a Sony Exmor sensor can record up to 1080p quality. I thought the quality was pretty good, as you can see in the video below. It can be adjusted up/down and left/right to the correct recording angle for your vehicle. It could easily see out of my windshield and I could easily make out the license plate of the car in front of me. I thought that the video quality in the dark was very good. The video below shows the quality in the dark, though my dirty windshield deters from the overall quality. It picked up the sounds inside of the car very well, as my first ‘dark’ recording had to be scrapped due to Game of Thrones spoilers. Our voices were so clear that you could hear every word. I actually had to adjust the volume of the daytime footage when uploading it to YouTube, because it picked up the radio so well that my speakers on my computers were booming. It definitely gets a positive rating from me in audio quality.
Being able to record everything that goes on in front of me was great, but to me, one of the most important features of a dash cam is the ability to go back and replay footage when an accident occurs. The Papago GoSafe has a built in G sensor that will save a video file of the minute before and after it senses an impact. Once again, thankfully I didn’t have an accident while using the camera. You also have the ability to save the video file currently recording from being overwritten when space is needed by pressing the far left triangle button. A yellow triangle on the display will indicate that the current recording will be saved.
The biggest question I had coming into this review was: Will I leave this on my mirror, or take it down when I am done? As of right now, four weeks after receiving the Papago GoSafe 268 dash cam, I will keep it on my mirror and find some clips to install the cord properly in my car. Along with the excellent video quality, I feel the discrete nature of having a dash cam built into a mirror is a major plus, and one of the reasons I will continue to use it. If you don’t want to have a camera hanging from your windshield, I would look into the Papago GoSafe 268 dash cam.
Source: The sample for this review was provided by Papago. Please visit their website for more information.
2026 Updated 85W Retractable Car Charger, 4-in-1 Fast Car Phone Charger with 2.6ft Two Retractable Cables and USB C+USB A Car Charging Block Cube, Compatible with iPhone 13 14 15 16 17 Pro Max, Plus
$9.99 (as of February 1, 2026 07:08 GMT -06:00 - More infoProduct prices and availability are accurate as of the date/time indicated and are subject to change. Any price and availability information displayed on [relevant Amazon Site(s), as applicable] at the time of purchase will apply to the purchase of this product.)Miracase Phone Holders for Your Car with Metal Hook Clip, Air Vent Cell Phone Stand Car Mount, Universal Automobile Cradle for Garmin GPS Fit iPhone Android and All Smartphones, Dark Black
35% OffProduct Information
| Price: | Approx $200 |
| Manufacturer: | PAPAGO! |
| Pros: |
|
| Cons: |
|




Gadgeteer Comment Policy - Please read before commenting
Can this be set to continuous recording instead of loop recording, if so how long
will it record on a 16gb-32gb card. does anyone know?