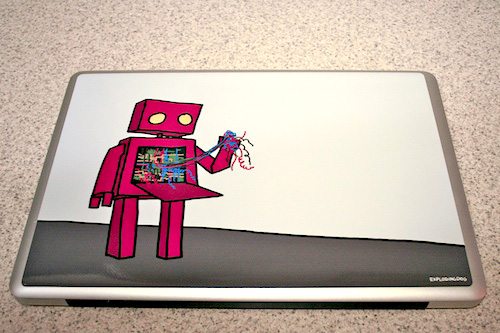
We love our electronics, don’t we? I don’t know anyone who doesn’t have, at the very least, a notebook computer and an MP3 player. Most of my friends add in an iPhone or other smartphone. I, personally, have always used Invisible Shield products for my more important electronics and have gotten quite good at applying them and have been fairly happy. While the clear skins have always done well by me, what if you want to add a bit of style to your device while adding a reasonable amount of protection?
MusicSkins provide “the premier music and music related device skins on the planet” according to their website. In my research I can say with confidence that:
A. They seem to have more artists represented than any other brand I could find.
B. They support an obscene number of device types.
I selected two products (at first) for review. I started off with a 15″ laptop skin. These are sized to fit many different laptops and, instead of covering all exposed surfaces, seem to focus on giving you a chance to show some love for your favorite band instead of providing maximum protection.
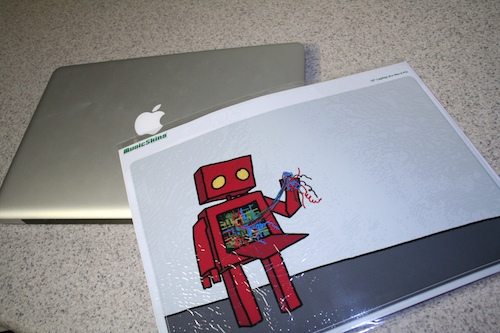
The skin, once pulled out of it’s protective shipping envelope, is remarkably bright and high quality. Given that I selected a mostly gray image, I was surprised at how vivid the colors were. I consider myself a stickler for photo print quality and with the 15″ skin I received, I was extremely satisfied.
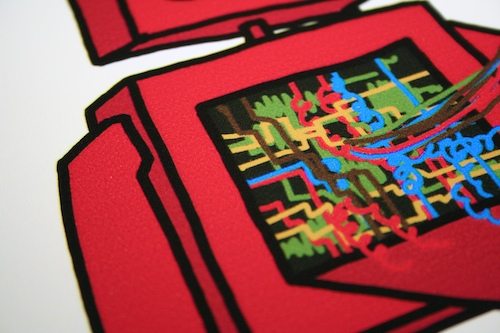
As you can see, the quality of the printing is very high and colors are vibrant and sharp.
Application was far easier than any such product I have ever worked with. Far from the nightmare of nerves that applying a “wet” application skin can be, this was practically like applying a static cling sticker! I made sure to clean the surface of my aluminum unibody MacBook Pro with a spritz of alcohol and a microfiber cloth before applying the skin. Though I was unable to find any instructions on application in the package from MusicSkins, the instructions on their site are very straightforward:
- Clean Your Device
- Examine Your MusicSkin & Apply Your MusicSkin
- Take your time. It might take a couple tries to get your skin on perfectly. Be gentle you don’t need to pull hard to remove the skin. It will re-apply very easily.
- Pick a starting point on your Skin on the edge (preferably the largest area of the Skin).
- Line it up over the top of your device as closely as possible. A good guide is to find a couple of buttons on your device close together and start applying the Skin there.
- Carefully apply the Skin to the device making sure it lines up with all the button openings and curves on your device.
- If the Skin does not line up correctly, carefully peel it off and try again. Repeat this process until you are stylin’!
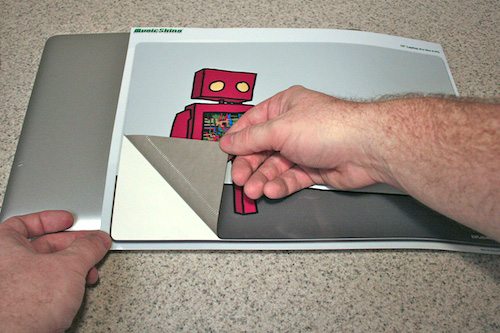
The skin is made of vinyl and peels off of the backing quite easily. Though I had to use my fingernail to peel up the skin, there was no damage done to it in the process – or any of the next four times I decided to position it. The material they use is made by 3M according to the backing and is very easy to work with.
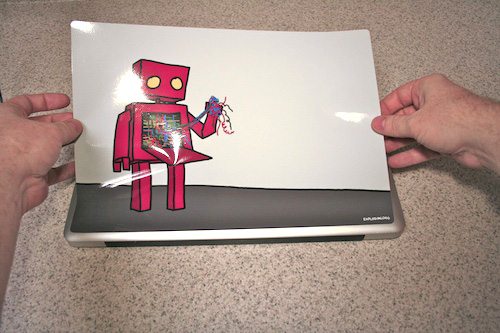
As you can see, the material is, while not rigid particularly, at least thick enough to hold its shape a bit. It makes applying as seen above quite easy!
Smoothing out the skin revealed a fantastic surprise. You don’t have to worry about bubbles at all! As seen in this close-up, there are diamond shaped channels running under the surface that don’t especially show up once the skin is applied, but greatly help in smoothing out any trapped air bubbles.

And what does our final product look like? I think it came out very very well. As I said before, this generic size skin is more for looks than for protection, but it looks really nice. Aside from a VERY slight alignment issue, it went on perfectly as you can see:
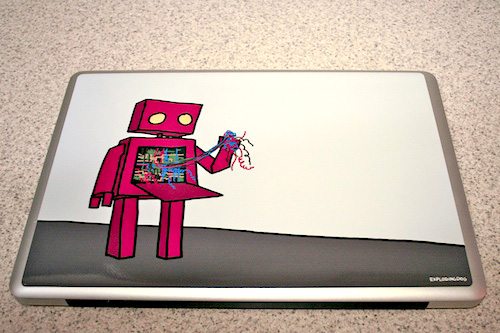
Some of you might be thinking what I was thinking just the moment I finished this. As a hint for our Windows users out here, here’s a photo:

This photo inspires totally different reactions in the few people I’ve shown it to. Some folks are over the moon that their beloved Apple logo shows through. Others (such as myself) would far prefer to see the design without the branding. My solution:

The thinnest, totally opaque material I could find was a sheet of aluminum foil. To keep the foil in place, I applied a single drop of water to the foil then peeled up the skin, applied the foil to the Apple logo and reapplied the skin. Problem solved!
A surprisingly cool addition to the MusicSkins site is an area to download matching wallpaper for your device. Unfortunately, I was not able to find a notebook resolution version of my skin, but I did find an iPhone sized version. I might be buying the matching iPhone skin soon.

Now that I’ve gone through the basics, I’ll talk about the second product I got from MusicSkins.
For the second skin, I tried out their custom skins and selected another laptop skin, this one intended for a generic “small” netbook. Taking a look at the dimensions on the site, I was confident that the larger size would not have looked quite right on my Dell Mini 9.
For their custom skin line, they include a flash based skin editor that includes options such as adding text and photos to any base color. I chose to use a photo that I found on Flickr using the Creative Commons search feature. I have long been a fan of the big trees at the Sequoia National Park and a fast search found the perfect photo. As you can see below, their skin editor is fairly straightforward.
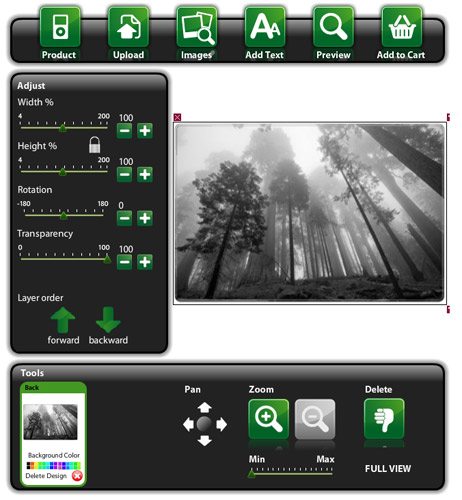
About 90 seconds later, I was checked out and all done!
How do custom photos compare to the stock images they supply? Here are some photos I took of the custom skin, applied using the same methods as my first skin.
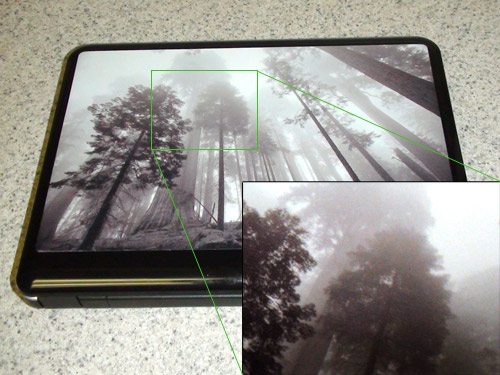
On the one hand, the image appears slightly lower resolution than I would expect as I supplied a very high res (8 MP) image. On the other hand, the photo still looks quite good and does NOT suffer from the number 1 issue that most black and white photos suffer from in digital printing – a green cast. Though my camera may have added in a bit of a nasty hue, I assure you the photo looks very nice in person.
All told, I am very happy with the MusicSkins products I’ve gotten so far and will almost certainly choose them over other options for my iPod Video and my iPhone, both of which could use some protection.
Trullypine Laptop Cooling Pad with 12 Quiet Fans, Slim Portable for 12-17.3 Inch Laptop Cooler Stand with 5 Height Adjustable, Ergonomic Gaming Cooling Fan Pad with Two USB Ports & Phone Holder (Gear)
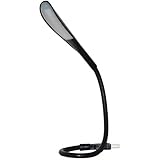
$22.49 (as of January 16, 2026 17:18 GMT -06:00 - More infoProduct prices and availability are accurate as of the date/time indicated and are subject to change. Any price and availability information displayed on [relevant Amazon Site(s), as applicable] at the time of purchase will apply to the purchase of this product.)i2 Gear USB Reading Lamp with 14 LEDs Dimmable Touch Switch and Flexible Gooseneck for Notebook Laptop, Desktop, PC and MAC Computer + On/Off Setting (14 LED, Black)
9% OffProduct Information
| Price: | $30.00 for 15" stock skin $20.00 for 9" custom skin |
| Manufacturer: | MusicSkins |
| Pros: |
|
| Cons: |
|


Gadgeteer Comment Policy - Please read before commenting
That is awesome! Thank you for the advice. MusicSkins is exactly what I was looking for. I am so sick of all these generic skin companies selling a crap product and have wack designs. I am getting a Bob Marley MusicSkin TODAY!