
REVIEW – I’ve been reviewing quite a few mechanical keyboards over the past year or so and have come to realize that I’m super picky when it comes to what makes me like a particular keyboard. There’s a short list of features that I consider crucial for me. That list includes an analog knob that controls volume, clicky switches, wired connectivity (I don’t like dealing with charging, ok?), and overall aesthetic. When Leobog asked me if I would like to review the EPOMAKER x LEOBOG K81 Pro Wireless Mechanical Keyboard DIY Kit, I accepted because it would be the first barebones kit that I’ve had the chance to review, and it had a knob. Ha! Let’s assemble, type on it, and see if barebones are where it’s at when it comes to mechanical keyboards.
What is it?
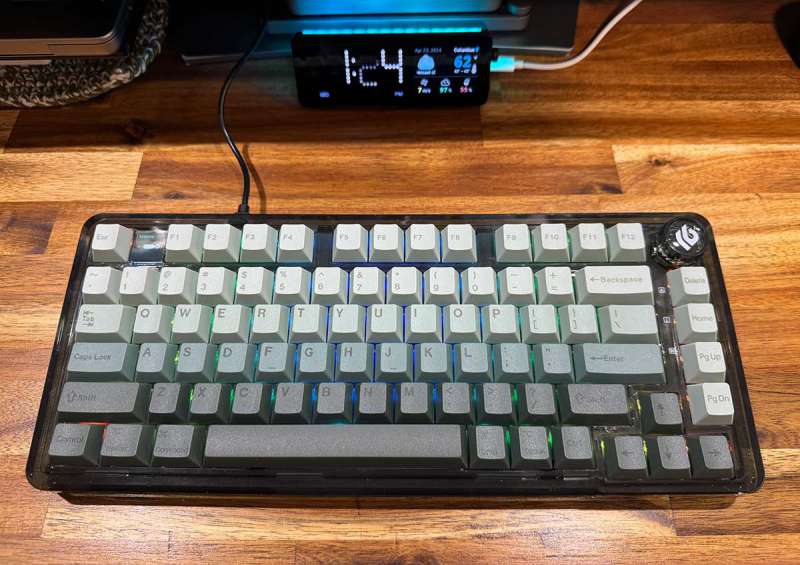
The EPOMAKER x LEOBOG K81 Pro Wireless Mechanical Keyboard DIY Kit is a budget barebones kit for a 75% layout mechanical keyboard that only includes the board, case, and cable. It does not include switches or keycaps (although Leobog was nice enough to include some to make this review easier).
What’s included?
- EPOMAKER x LEOBOG K81 Pro keyboard
- Coiled USB cable
- Keyswitch/cap puller tool
- User guide
Tech specs
Click to expand the specs
- Triple Mode: Bluetooth5.0/2.4Ghz/Type-c Wired
- Transparent acrylic case
- Multi-functional Knob and 0.85 Inch LCD Display
- Hot-swappable PCB & Plate Mounted Stabilizer
- Gasket Mounted
- Poron Plate foam & PET case foam for sound-dampening
- Dynamic RGB Lighting
- 3000mAh Battery
- NKRO
Design and features
As mentioned this is the first barebones kit I’ve had the opportunity to review. I thought it would be fun to install the switches and caps from “scratch.”
Note that I didn’t try any mods or hacks, as I’m not to that point in my mechanical keyboard journey (yet). I assembled and tested this keyboard as-is. With that disclaimer out of the way, let’s get started.
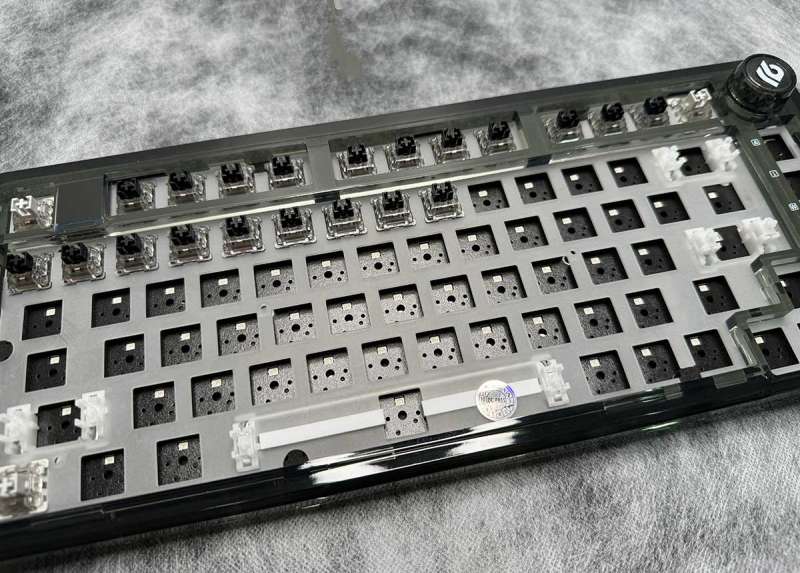
The first thing I did after unboxing the EPOMAKER x LEOBOG K81 Pro (watch my unboxing video below) was disassemble it. Taking it apart helped me learn a lot about mechanical keyboards that I didn’t know until now.
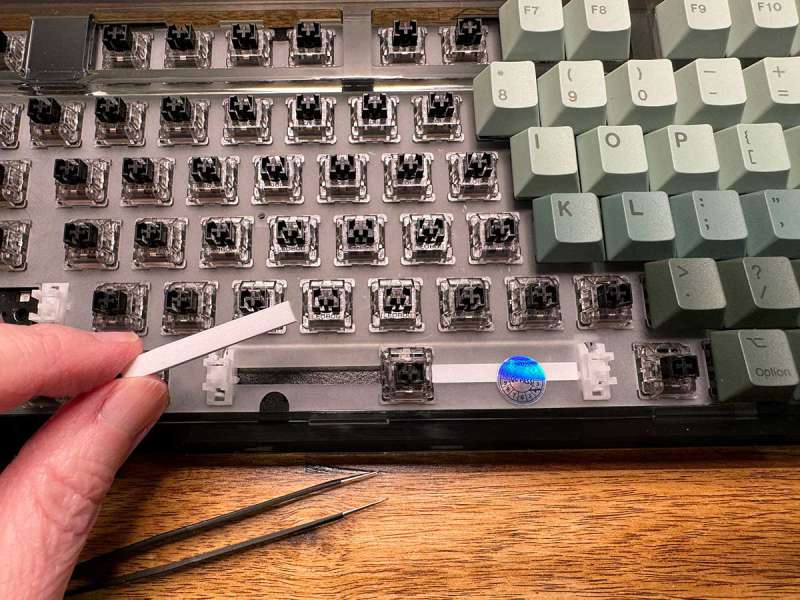
The first thing I noticed was the two narrow white foam sound-dampening strips under the spacebar.
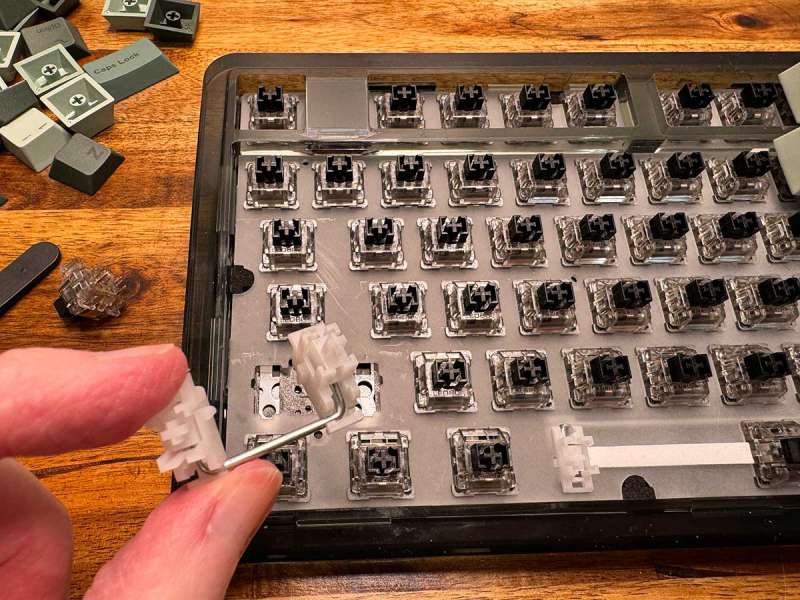
I then looked at the plate-mounted stabs (stabilizers) that come pre-cut and pre-lubed. Stabs look like two switches connected with a wire and are used under large keys like the SHIFT, ENTER, BACKSPACE, and SPACEBAR.
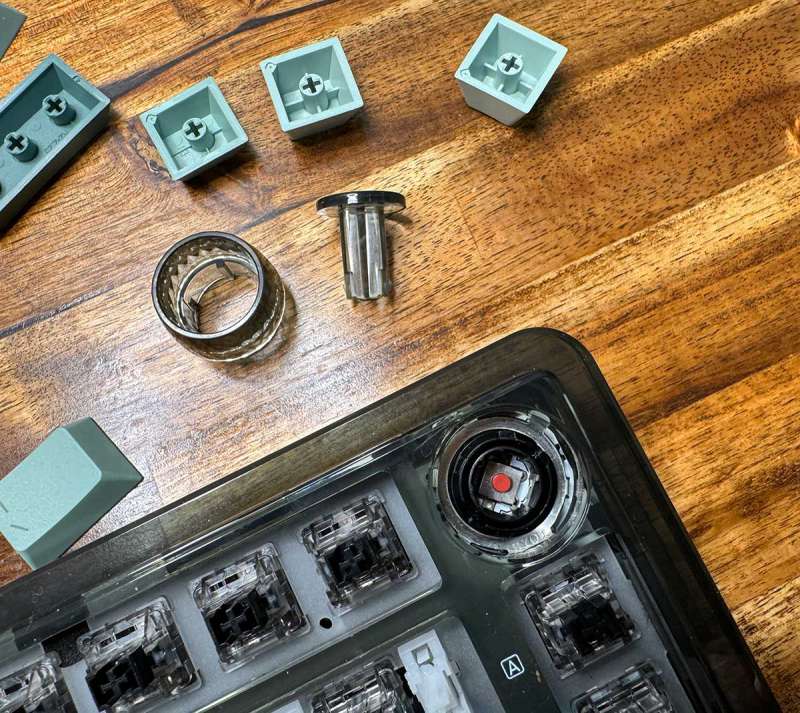
I popped off the analog knob and removed the foam-covered screws holding the top of the acrylic case. Strangely, the screws were barely tightened.
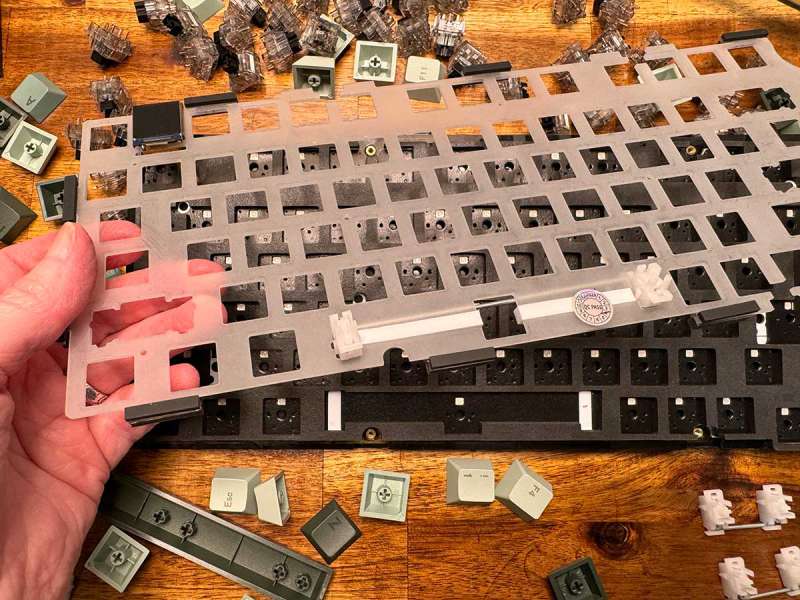
The top layer is a polycarbonate switch plate with glued foam pads around the edges.
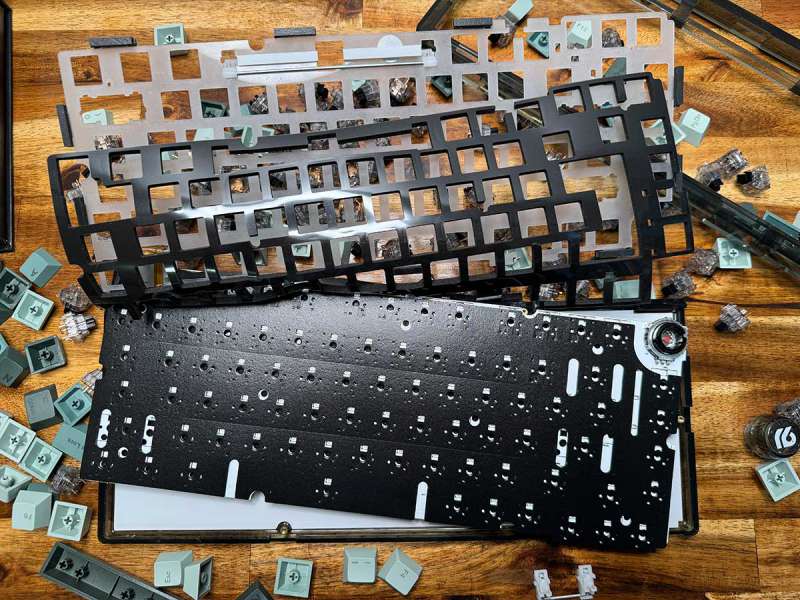
Below the PC layer is a Poron foam switch pad and a silicone pad.
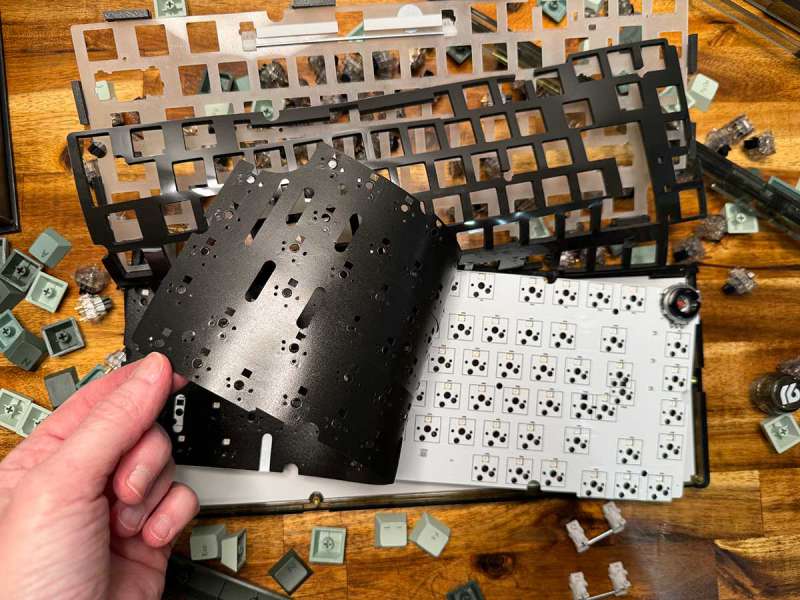
I’m learning that different types of gaskets translate to different sounds that you can get from the keyboard, aka thock.
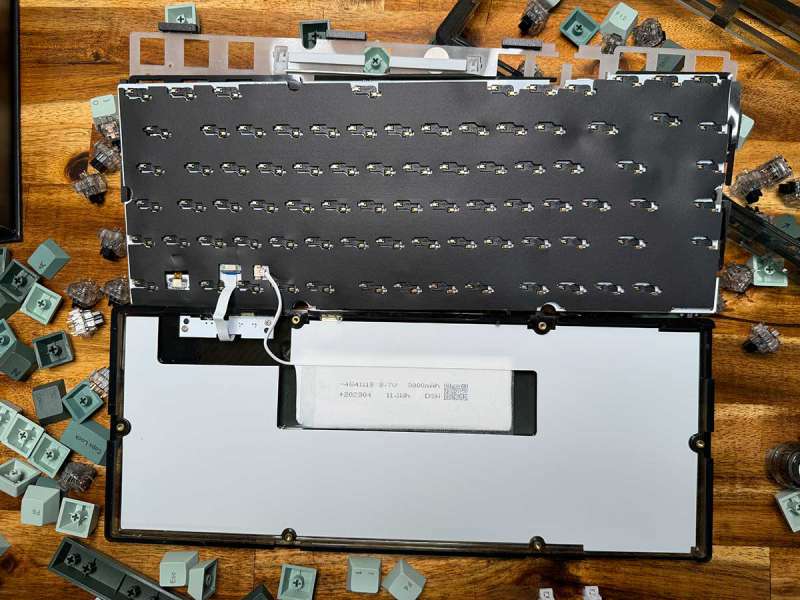
Under the circuit board itself is another layer of foam with a PET bottom pad which has a cutout for the battery.
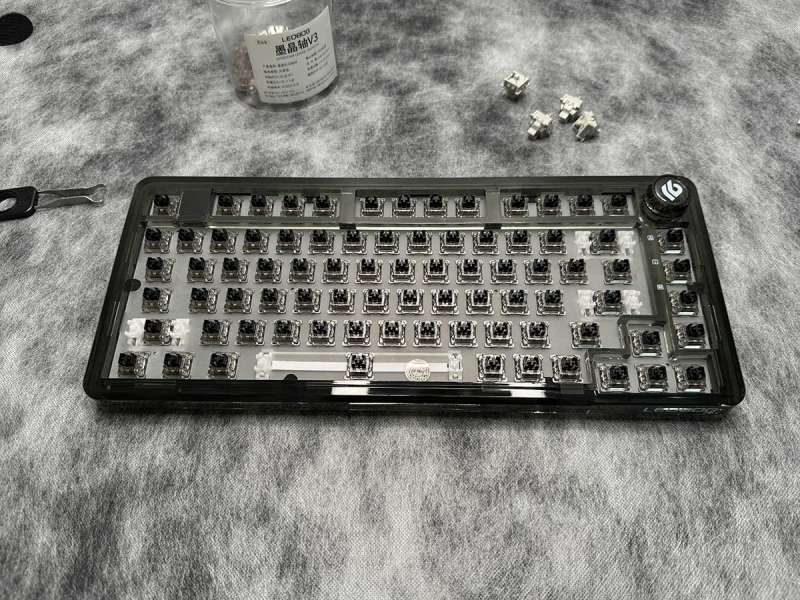
I put the EPOMAKER x LEOBOG K81 Pro back together and installed the switches that Leobog was kind enough to include with the keyboard sample.
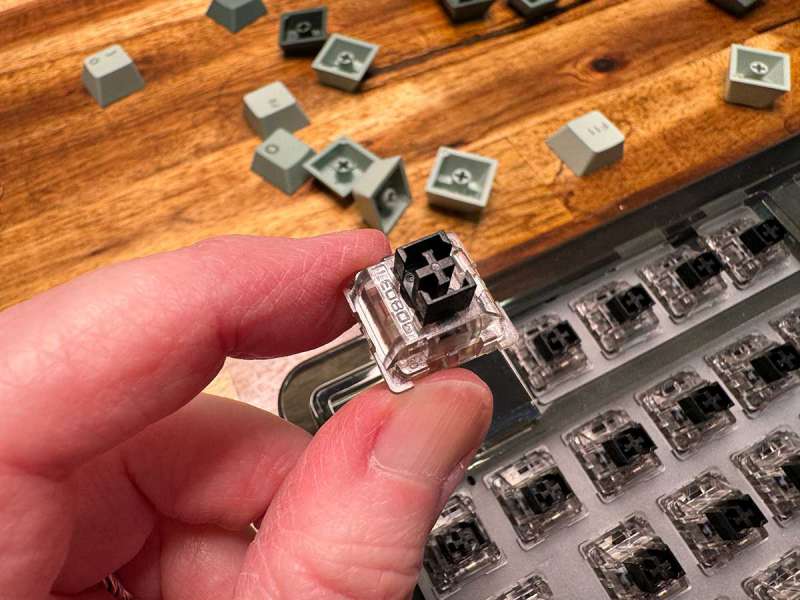
Don’t forget that this barebones kit does not include switches… The Leobog Ice Crystal 5-pin linear switches were sent to me as a convenience for review purposes.
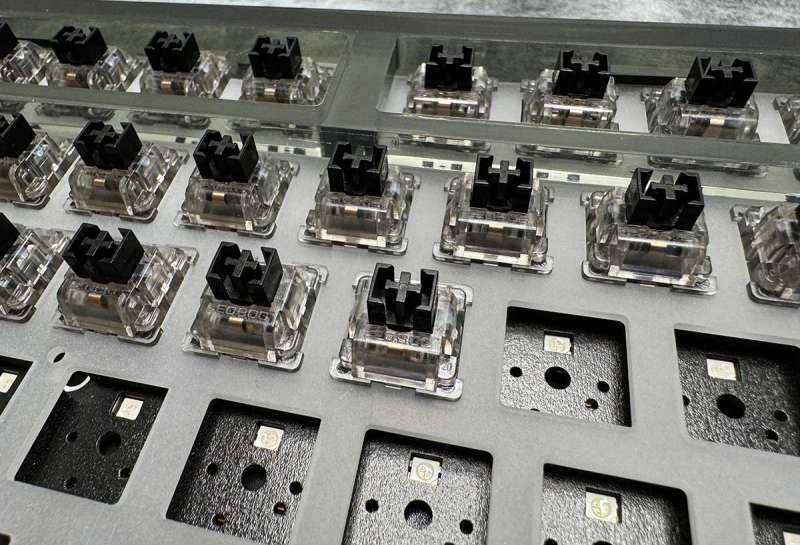
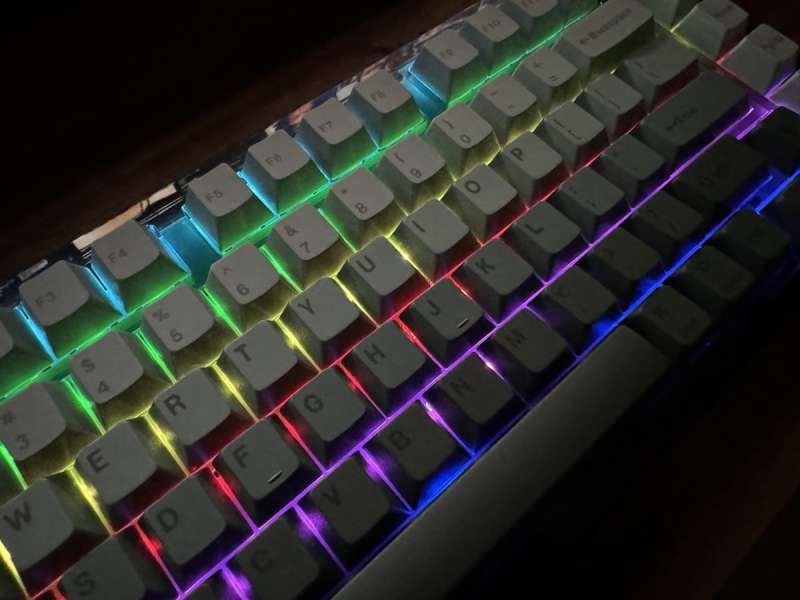
This isn’t a switch review, but the Leobog ice crystal switches were easy to insert into the K81 Pro keyboard. The clear switch body allows for the north facing LEDs to shine through for the lighting effects available with this keyboard.
With the switches inserted, it was time for the caps, and like the switches, LEOBOG sent me a set of caps.
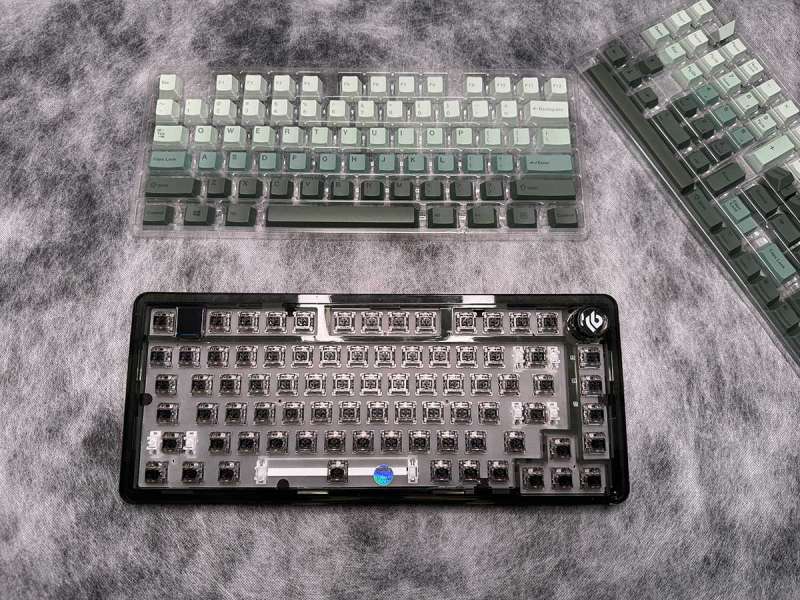
The set of green caps was a great choice for the green K81 Pro.
Of course, if you don’t like linear switches or green caps, you can purchase whatever you like because that’s the whole point of a DIY barebones keyboard kit.
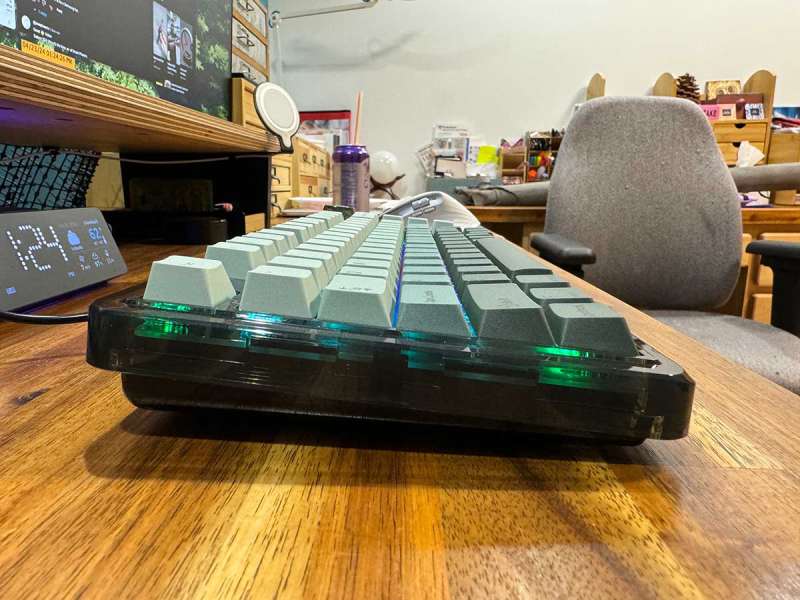
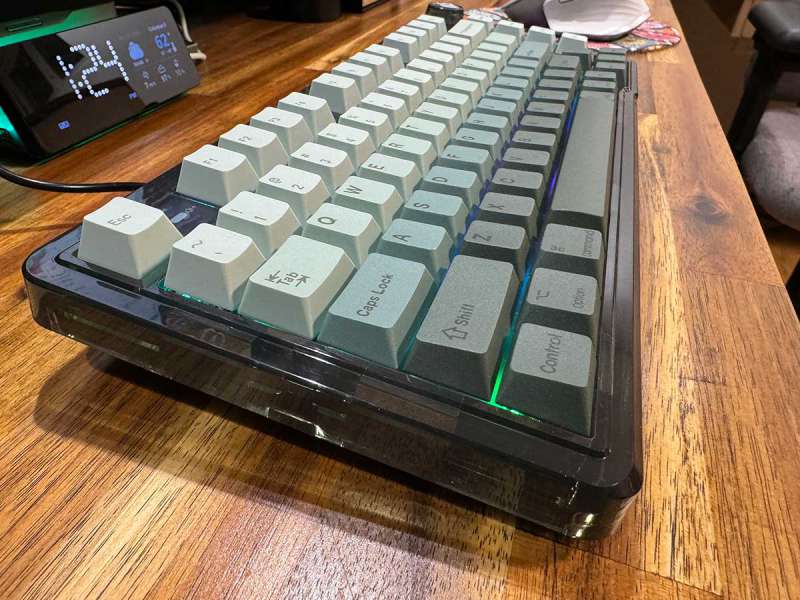
Here’s a side/profile view of the keyboard, which will differ depending on the keycap set used.
The image above also shows how the RGB lighting effects shine through the case.
I should also mention that this keyboard does not have flip-out feet on the bottom that you can use to adjust the keyboard angle for better ergonomics. This might bother some people, but the keyboard has a built-in angle, so it didn’t bother me that I couldn’t raise it further.
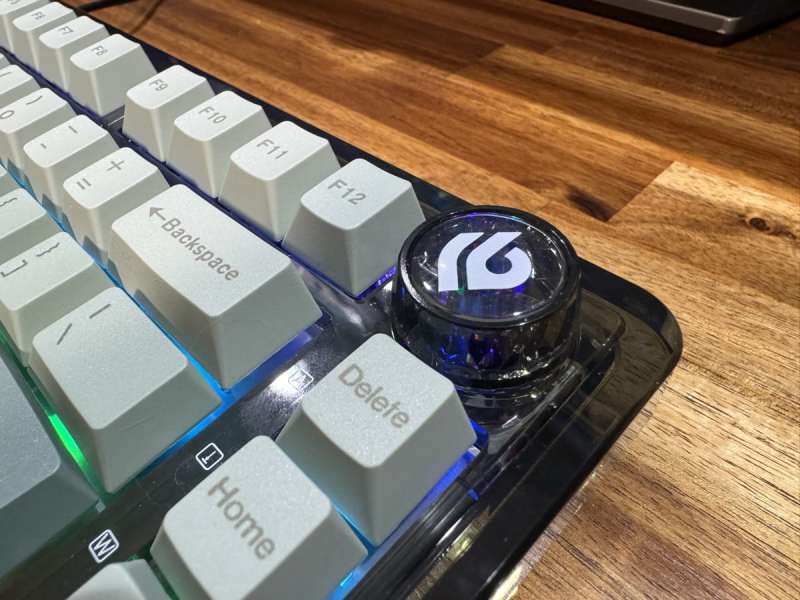
Although you can’t tell from the image above, the lighting effects also shine through the knob. The knob is an endlessly turning knob that can also be pressed.
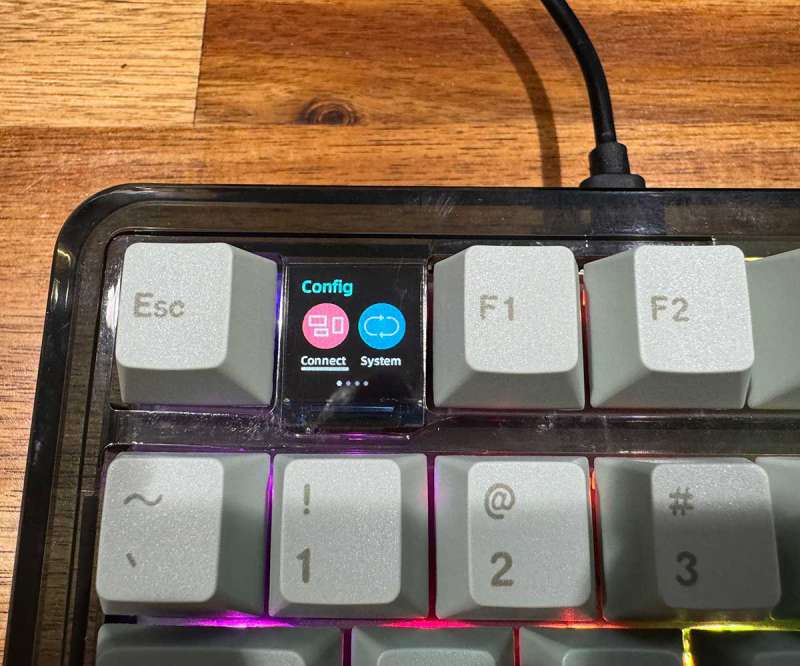
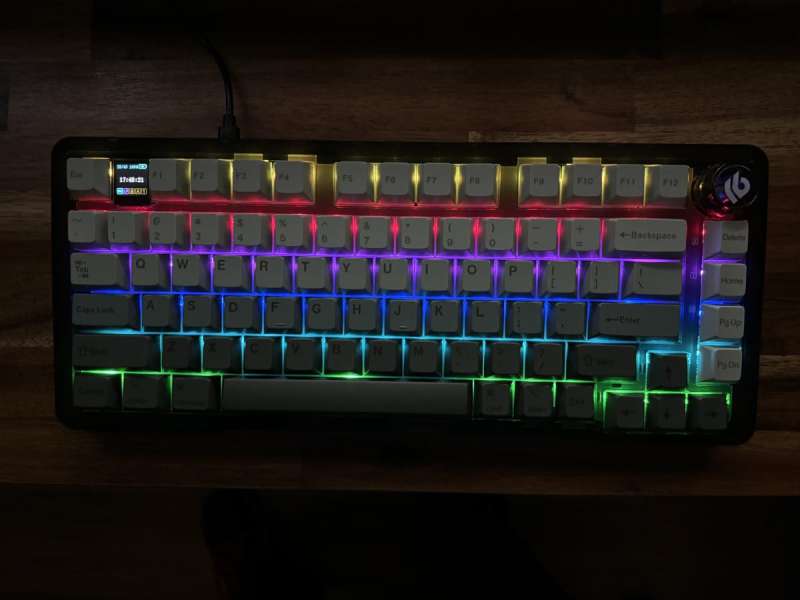
Unlike many mechanical keyboards with knobs that I’ve reviewed, this one doesn’t default to a volume controller. The knob on the EPOMAKER x LEOBOG K81 Pro scrolls through the keyboard settings options on the tiny color display between the ESC and F1 keys.
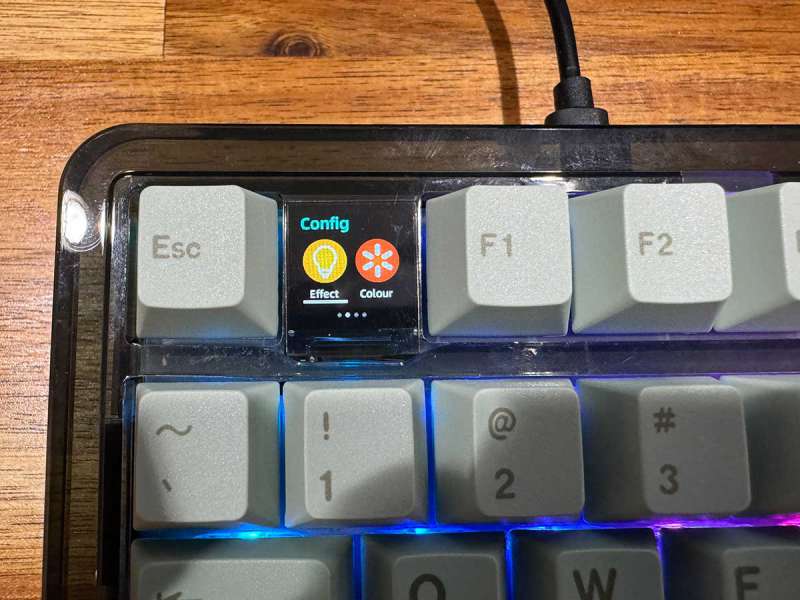
The settings options include choosing connection type (Bluetooth, Wired, Dongle) and format (Win, Mac, Android, iOS), lighting effects, and LED colors.
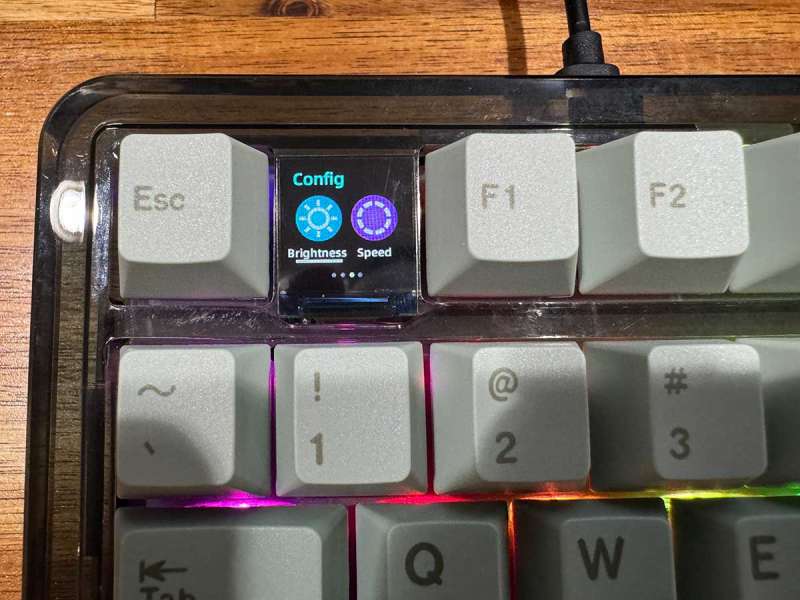
You can also change the brightness and speed of the lighting effects.
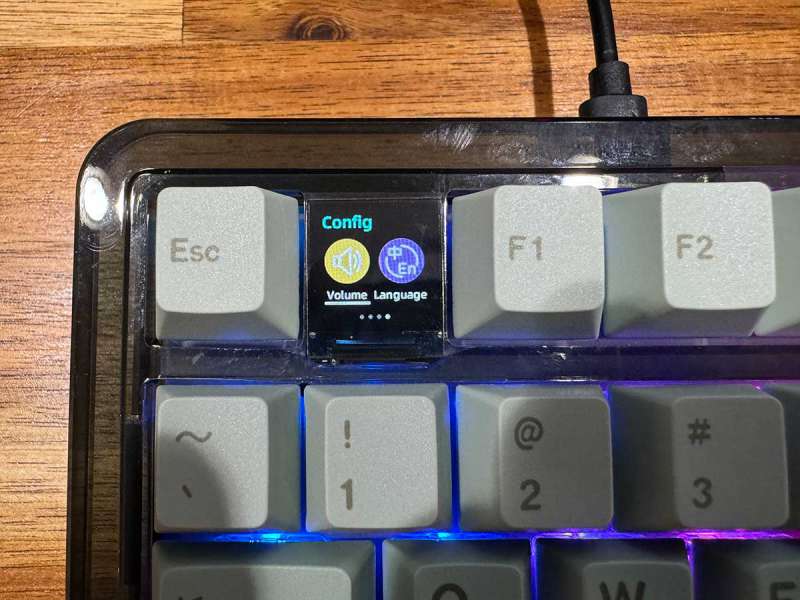
If you want to use the knob as a volume controller, you have to choose that mode in the menus.
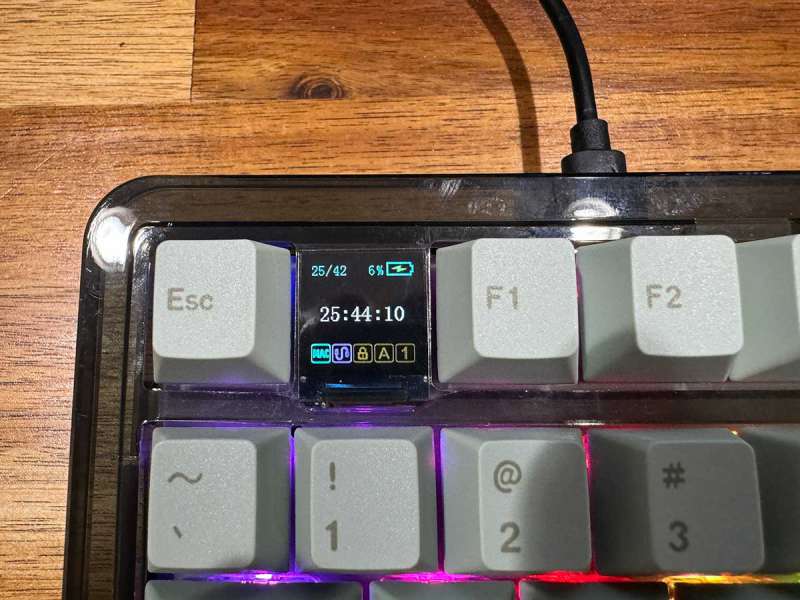
A status screen also shows the time of day, battery charge level, and connection type.
The EPOMAKER x LEOBOG K81 Pro mechanical keyboard looks nice if you like translucent plastic. I have to be honest and say that plastic isn’t my vibe. I also don’t care for the fact that the plastic shows fingerprints and greasy smudges if you happen to eat at your desk like I do (don’t judge me).
Unboxing, assembly, hear it, and see it in action
The EPOMAKER x LEOBOG K81 Pro sounds pretty good, and I liked typing on it, which surprised me because I normally prefer tactile switches vs. linear switches.
I like the 75% layout as it gives me all the keys that I need without taking up a lot of space on my desk like a full-sized keyboard would do.
What I like about the EPOMAKER x LEOBOG K81 Pro kit
- Easy to customize mechanical keyboard kit
- Multiple gasket layers
What needs to be improved?
- Nothing
Final thoughts
The EPOMAKER x LEOBOG K81 Pro barebones DIY mechanical keyboard kit was the perfect way for me to try building a mechanical keyboard from the ground up. Now, I feel confident about exploring mods.
Price: $99.99
Where to buy: Leobog and Amazon
Source: The sample for this review was provided by Leobog. Leobog did not have a final say on the review and did not preview the review before it was published.