REVIEW – My husband and I enjoy attending the local Parade of Homes that they hold once a year in the San Antonio, Texas area. My favorite part, besides seeing how some of the super-rich live, is seeing some of the new technology that has become available in the housing market. One of the new items that caught my eye this year is the hexagon-shaped LED lights I saw in several of the garages in these custom homes. The lights look really cool, and they provide a ton of light for the area. When we had our house built four years ago, I had them install several can lights in the garage, anticipating that I would work in that area on various projects. Of course, you can never have enough lighting, so when I saw the Enbrighten UltraBrite Hex Lights come up for review, I immediately volunteered to review them.
⬇︎ Jump to summary (pros/cons)
Price: $159.99
Where to buy: Amazon
What is it?
Enbrighten UltraBrite Hex Lights are twenty four LED light bars that let you combine them into multiple hexagonal type shapes. They can be remote controlled and have three different light levels. They can work with an existing light switch, a standard plug, direct wire, or an existing light fixture with an E26 adapter.
What’s included?
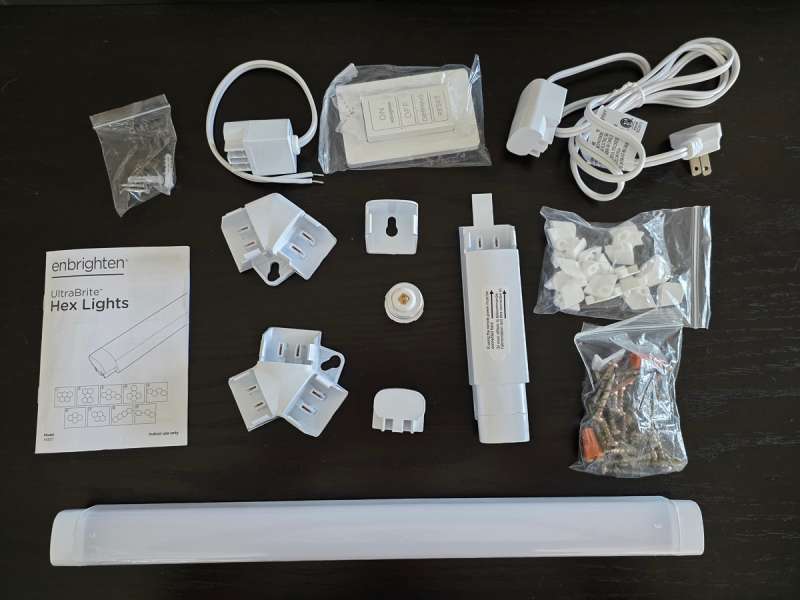
- Twenty-four individual light bars light the one at the bottom of the picture above.
- User manual
- Two light bar end caps – only needed if you don’t make complete hexagons in your design.
- Ten 3-way connectors
- Twelve 2-way connectors
- A single connector end cap
- Twenty five self anchoring screws
- Twenty two rubber keyhole covers
- Direct wire adapter
- Five foot plug in cord
- Pre installed 3M tape on the back of all the connectors
- E26 socket adapter
- Remote with wall mount
- Remote Magnet
- Wall mount hardware
- Two wire nuts
Tech specs
- 24,000 lumens — 1,000 lumens per bar — of 5000K bright white light.
- Directly wire the lights using traditional residential wiring, plug into a standard outlet or screw in the included E26 adapter to a light fixture.
- Three levels of lighting.
- Connect up to a total of 50 bars.
Design and features
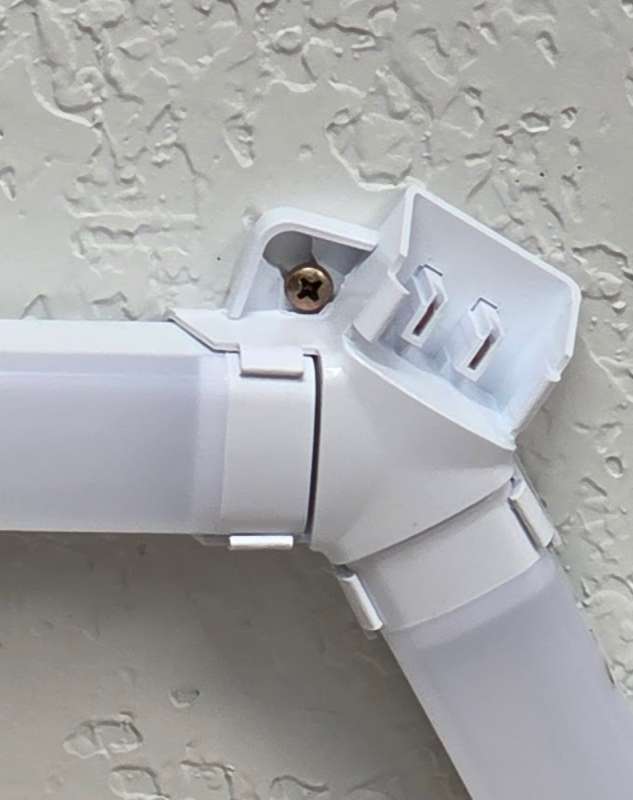
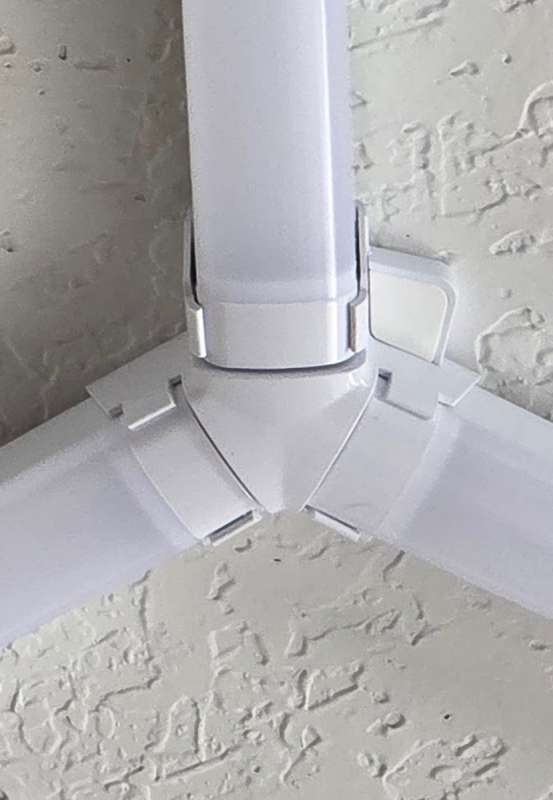
The light bars all snap into three way or two way connectors. The connectors all have 3m tape on the underside. Once you have your first hexagon stuck to the ceiling you can then anchor the connectors in place with the provided self tapping drywall screws.
If you have an existing light switch that controls the power to where you plugged the lights into, you do not need to use the remote. In my case, I plugged the lights into an existing outlet that is in the ceiling of my garage that is constantly powered on, so I needed to use the remote to control the lights. They give you several mounting options for the remote. They have a wall plate you can screw into the wall and the remote will snap into the middle of the plate. You can also use the provided magnetic strip that has 3M tape on the back and attach it directly to the back of the remote.
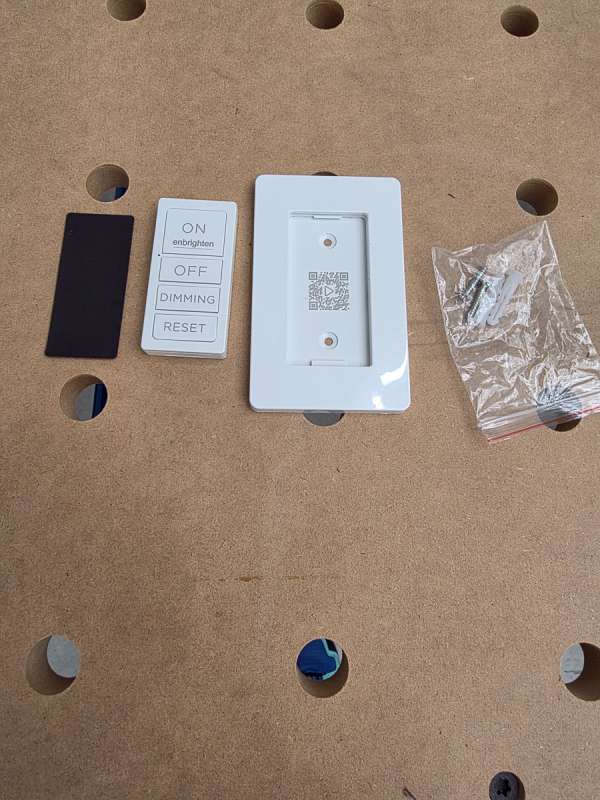
I chose to use the magnetic strip option and mounted the remote on the side of my toolbox.
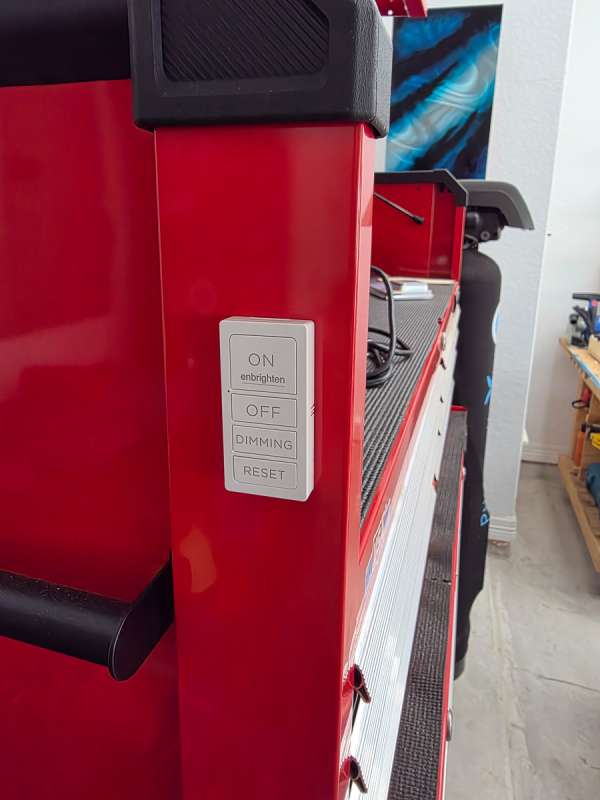
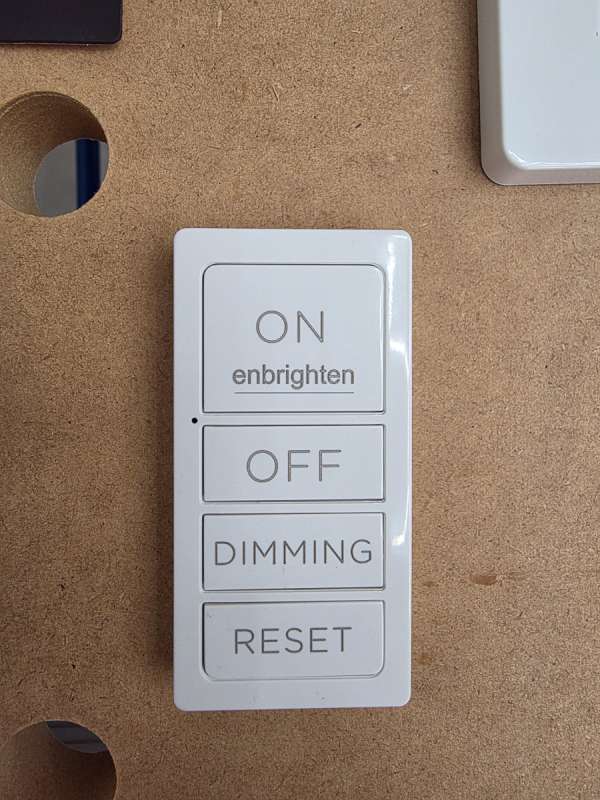
The remote itself is very simple. There are the basic on and off buttons. The remote worked with the lights right away. I made sure to include the remote extension to the end of my hexagon install before plugging the plug into it. I did not have to do any programming for the remote at all. It just worked.
The dimming button works by pressing the button and waiting a few seconds. The lights will flash and make a double-click sound, and all the light bars will be set to a lower setting. You can press it twice to get to the lowest setting. If, for some reason, some of the light bars are not at the same light level as the others, you can press the reset button, which will cause the lights to flash and all resume displaying at the brightest setting. I plan to leave the lights on the highest setting.
Another nice feature is the rubber keyhole covers they give you to cover up where the screws are. This leaves you with a clean finish.
Assembly, Installation, Setup
The first thing to note is that the installation of these lights will go much easier if you have a second set of hands to assist you. I had my husband helping me, and I am happy I did. I also highly recommend using scaffolding to install these lights instead of a ladder. The scaffolding allowed me to move around and ensure that all the connectors were seated firmly on the ceiling at once. If I were on a ladder, I would have part of the hexagon dangling until I could move the ladder to press it firmly against the ceiling.
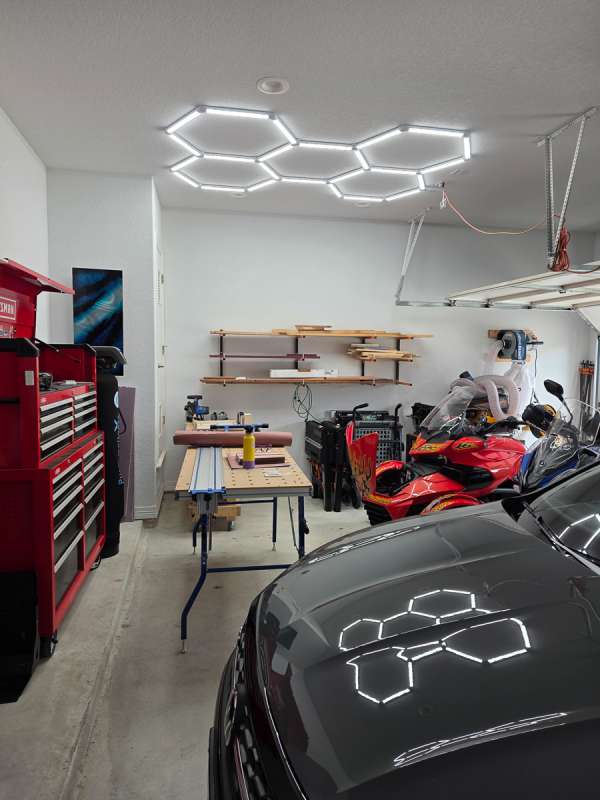
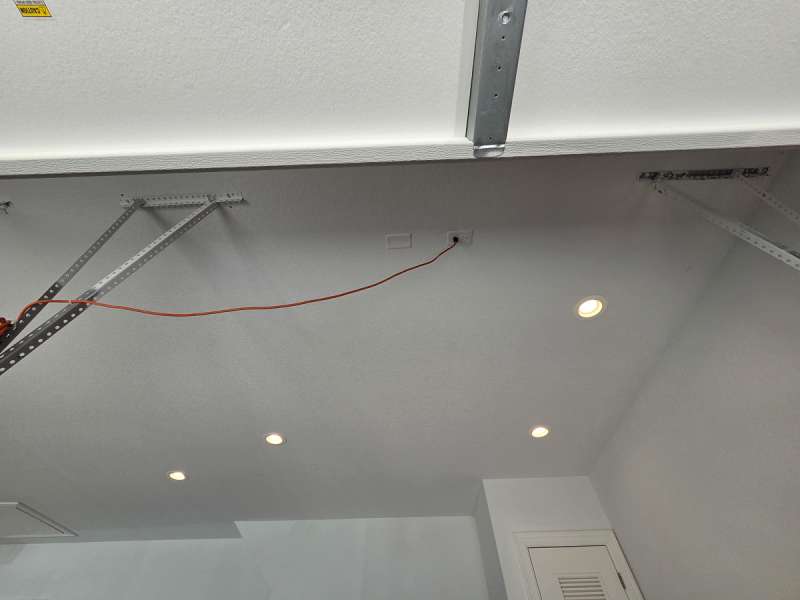
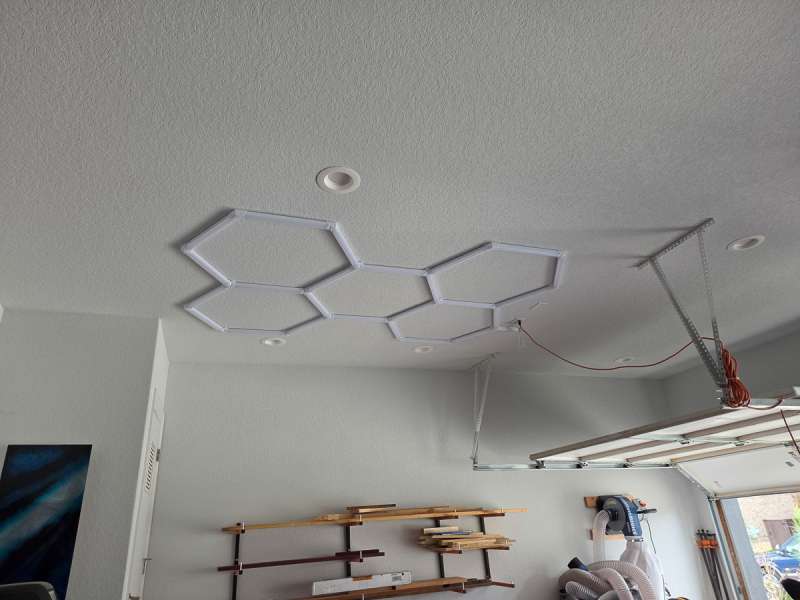
We have a 3-car garage. We always park our two cars in the main garage. The third garage is used to store my motorcycle, the hubby’s Spyder, and all of my woodworking tools, as well as other miscellaneous tools. When I do woodworking, I can pull the bikes out and use the space. I made sure all of my main tools are on wheels and they sit nicely on the side of the garage. It can be super hot in San Antonio, and I often have to leave that third car garage door open to let in some air. When I do that, I block several of the can lights. My goal is to install the hex lights just in front of where the third car garage door sits when open.
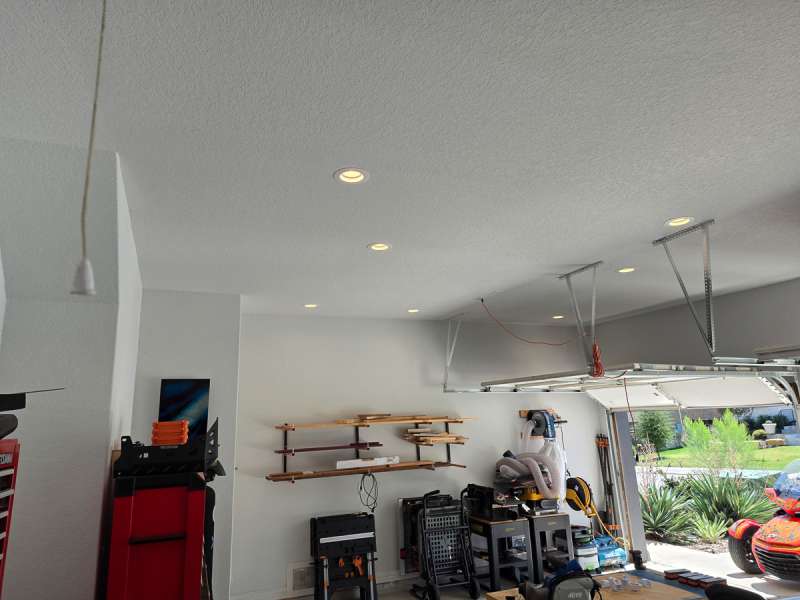
Here is another picture of the ceiling standing under the open garage door. Ignore the red extension cord coming out of one of the sockets. I use that cord to power a battery tender trickle charger for my motorcycle.
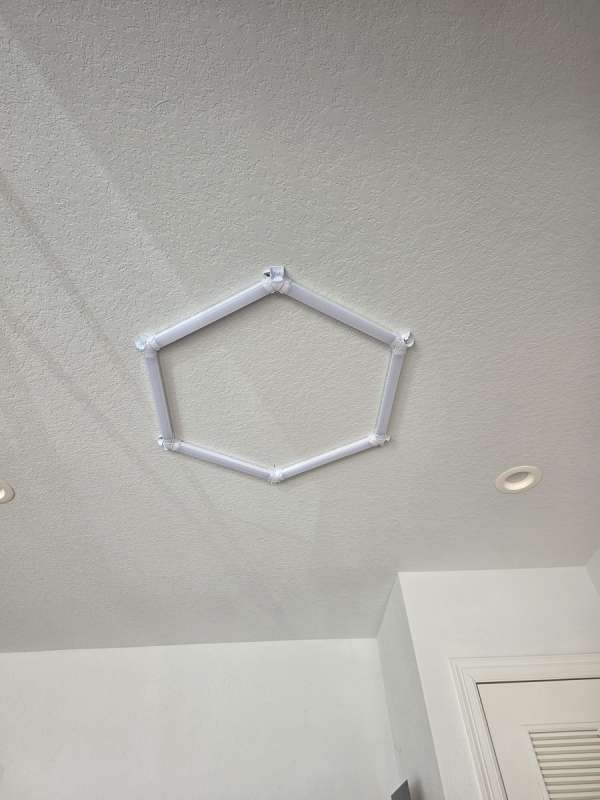
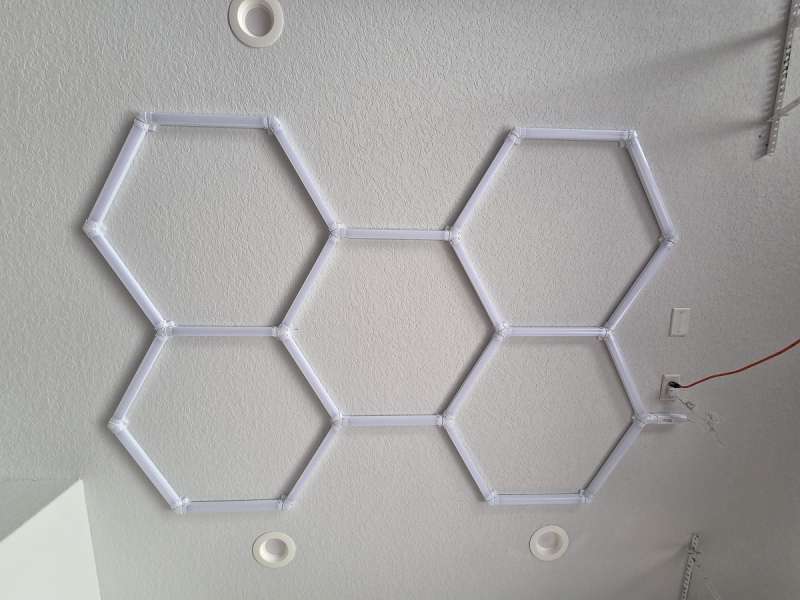
Following the instructions, we first set up our design on the floor. This let us visualize where it would be and figure out how to place it on the ceiling. You need to install your center hexagon first. I measured from the front wall of the garage to the top of my center hexagon (67 inches), and then from the side wall of the garage to the top of the center hexagon (63.5 inches). We then assembled our scaffolding. I clambered aboard and took a tape measure to mark where the top three-way connector would go on the ceiling. I then measured 3 feet towards the garage door and 63.5 inches from the side wall to mark where the bottom 3-way connector will go.
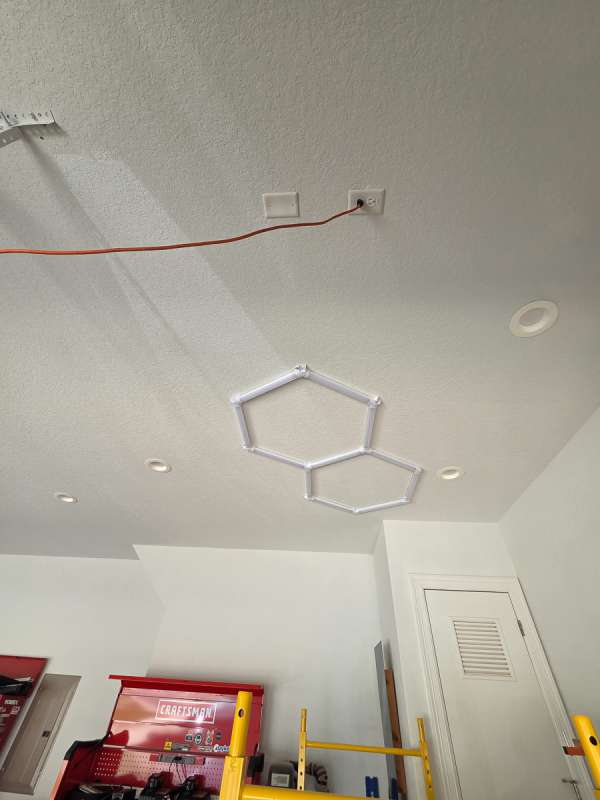
You can see on the bottom right side of our layout that we have the extension added so we can use the provided remote control.

We snapped all six pieces of the center hexagon together and removed the covers from the 3M tape on the bottom of the connectors. I then climbed onto the scaffolding and placed the top and bottom 3-way connectors on top of the two marks I had made on the ceiling. I was able to walk around on the scaffolding and press each connector so it stuck to the ceiling. Word of caution: Ensure you have it in the desired location before pressing the connectors to the ceiling. That 3M tape will stick and stick hard. I then took the provided self-tapping drywall screws and screwed each connector to the wall. I did have to predrill a few holes in the install, as some of the connectors were over studs.
From that point on, it was a matter of assembling each of the next hexagons on the floor, pulling the 3M backers off the connectors, and then snapping them into place on the ceiling. Again, I want to emphasize that you should ensure the two ends that will connect to the already mounted 3-way connectors from the hexagon are in place before attempting to press any of the other connectors to the ceiling.
It took the two of us about four hours to install these lights. I think if you have a lower ceiling in your garage (ours is 10 feet), two people on ladders could get this job done. We took more time because we had to bring and assemble scaffolding from a storage shed in our backyard.
Performance
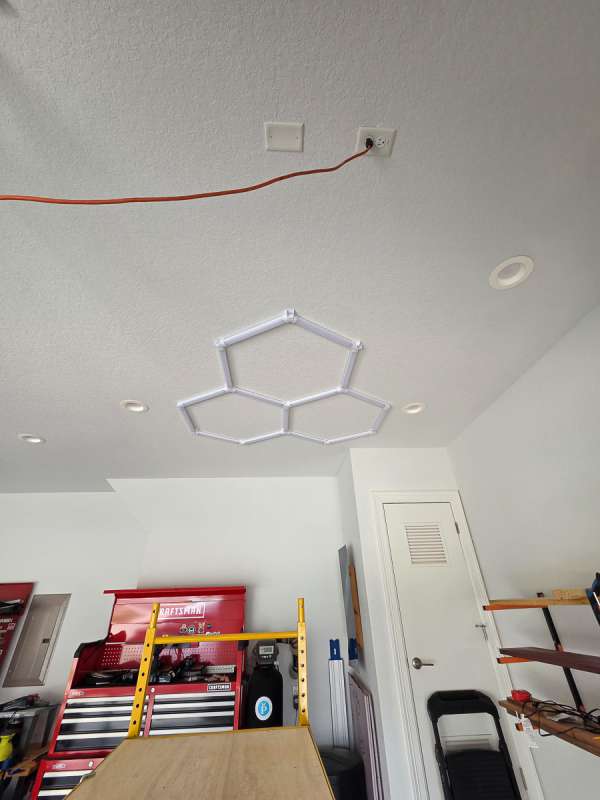
I am extremely happy with these lights! They really light up the area well. It was very cloudy outside when I took this picture. No direct sunlight was coming in the door. Another bonus of these lights is that they are perfect for seeing your paint imperfections on your car. I also like detailing my cars. Having the right light to highlight those spots that you missed or that need to be corrected is a bonus. The remote worked right out of the box. I also loved that they had numerous options for powering up the lights.
The only thing I would change is that I wish it were easier to disconnect a single light bar from a connector if needed. If a light bar does go out, it will be very difficult to remove it from the connector without damaging the connector or pulling it from the ceiling. A locking tab could be a nice feature for the future.
Final thoughts
I highly recommend the Enbrighten UltraBright Hex Lights. I think they provide excellent lighting and offer good flexibility in terms of layouts and power options. They are super lightweight and do not require studs to mount them to the ceiling. Just be sure you have a good friend on hand when installing these puppies!
What I like about the Enbrighten UltraBrite Hex Lights
- Multiple options to power them up.
- Lots of design options.
- Very lightweight and bright.
What needs to be improved?
- Provide a locking tab mechanism to facilitate easy removal of the bar from the mounting clips, if necessary.
Price: $159.99
Where to buy: Amazon
Source: The sample of this product was provided for free by Enbrighten. Enbrighten did not have a final say on the review and did not preview the review before it was published.
Check out these other reviews!
- Linkind Smart Solar Pathway Light (SP6) review
- Enbrighten VIBE WiFi Modern Color-Changing LED Cafe Lights review

2-Pack LED Video Light Kit, NiceVeedi Studio Light, 2800-6500K Dimmable Photography Lighting Kit with Tripod Stand&Phone Holder, 73" Stream Light for Video Recording, Game Streaming, YouTube
(as of June 16, 2026 14:03 GMT -05:00 - More infoProduct prices and availability are accurate as of the date/time indicated and are subject to change. Any price and availability information displayed on [relevant Amazon Site(s), as applicable] at the time of purchase will apply to the purchase of this product.)