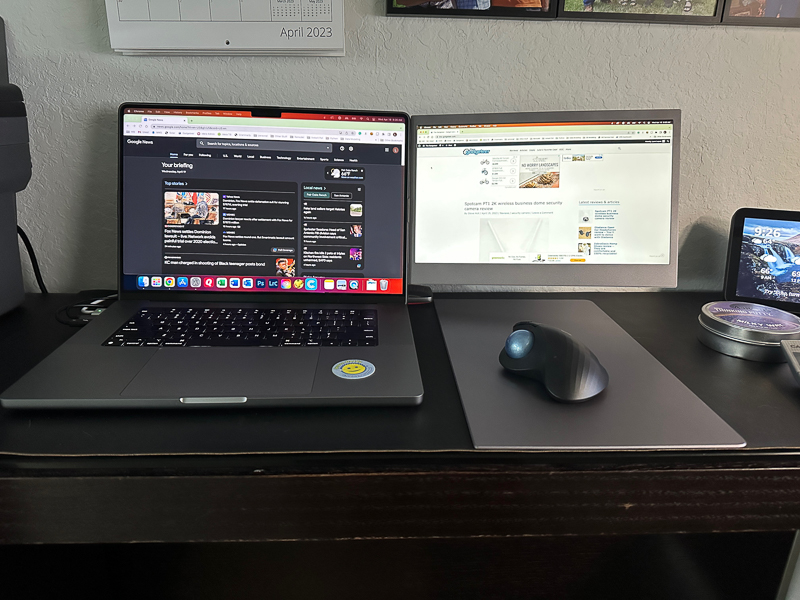
REVIEW – I used to work from home full time. Now I work from home one day a week. My main computer setup for the work side of my desk has two 27-inch monitors. At work, I have the same setup. My personal laptop is a MacBook Pro 16 that I got this past Christmas. I chose that size because I knew the laptop would sit on my side desk next to my main workstation, and I wanted as much screen real estate as possible. I love the laptop, but I hate the fact that it only has one screen. Yes, I know, first-world problems! CopGain has come out with a portable monitor that attaches to the back of Macbook Pro/Air laptops and will provide you with a second screen. Let’s see if it makes my personal computing experience a happy one.
What is it?
The CopGain P1M Portable Monitor is a portable monitor for the MacBook Air/Pros. It attaches to the back of the laptop display by fitting perfectly over the back of the case. The monitor then swivels out to the right of the laptop display, giving you a second monitor.
What’s in the box?
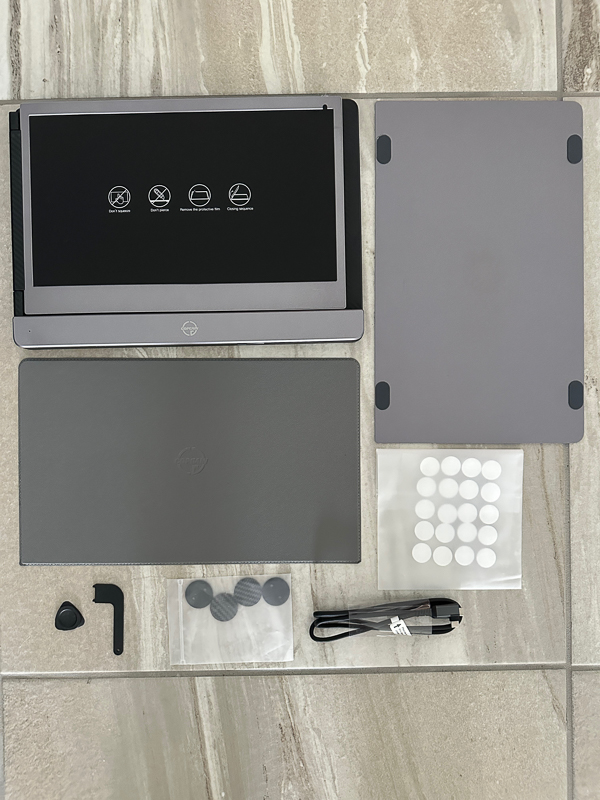
- CopGain P1M Portable Monitor – monitor and mounting bracket all in one
- Two different protection pads. One is made of a leather-like substance, and the other is aluminum.
- Two different tools to aid in the removal of the P1M
- Pack of nano transparent tape
- USB-C cable for when you want to use the portable display not attached to the laptop
- carbon fiber look metal caps that cover the tape if you choose to use them
Hardware specs
- 14 inch IPS screen for the 16 inch MacBook Pro
- 16:9 ratio at 300 nit
- Contrast-1000 : 1
- Full HD / 1920*1080P
- USB-C port and built in USB-C cable
Setup
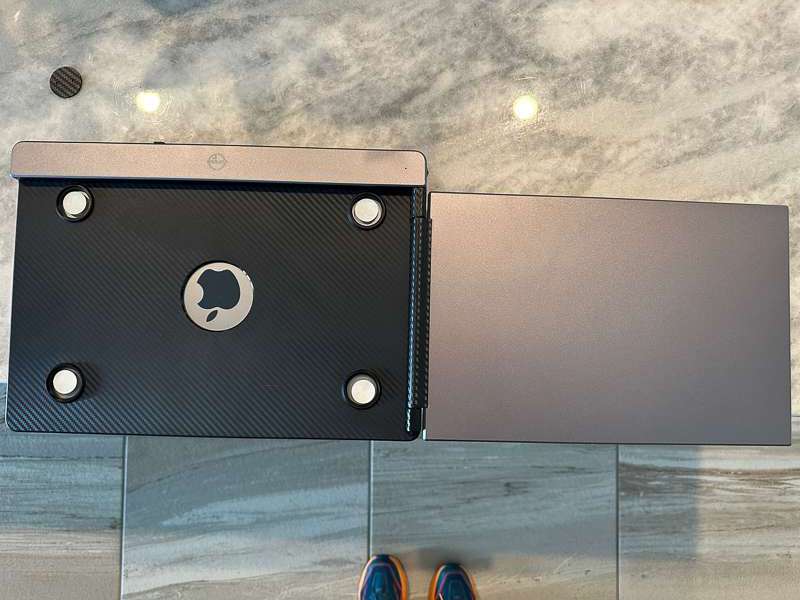
To install the CopGain P1M Portable Monitor, push the monitor bracket to the back of the laptop’s display. This bracket is lined with a felt-like material and does not scratch the laptop. Their website says it snaps into place. I found that it pushed into place. There was no audible click or snap. Once the bracket was in place, even without the tape, it did not move. That was why CopGain provided the small tool that looks like a guitar pick to help you pry the bracket off the back of the laptop. That pick is plastic and will not scratch the laptop. The picture below shows the bracket installed on the laptop with the monitor folded out to the right. The Apple logo is slightly off-center. It did bug my OCD a bit!
At this point, you are done mounting the monitor to your laptop if you are only going to use it occasionally. You can easily pop the bracket back off when you do not need it. The other option for a more long-term mounting solution is to use nano tape and decorative covers. The picture below has the nano tape installed in the four holes of the bracket corners.
The nano tape is double-sided. So one side sticks to the laptop, and the other will stick to the decorative cover. The metal covers allow the CopGain P1M Portable Monitor to stick magnetically to the bracket when folded back behind the laptop. Giving the nano tape a few hours to set completely is good. The tape on the two covers on the right side of the bracket came off when I unfolded the display from the bracket to test the magnetic capability. I used another set of nano tape and did not fold the display back for a few hours, and it now stays on as it should. I personally love the carbon look of the bracket and the covers.
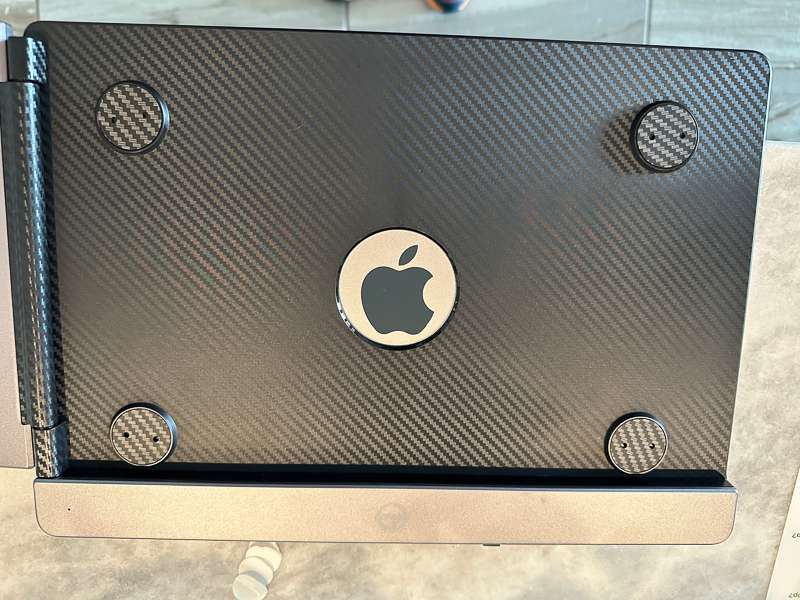
Should you ever want to remove the monitor from the laptop after you mount the covers with nano tape, CopGain provides this nice tool to help you do so. It has two points that fit into the holes on the cover, allowing you to twist it off the tape.
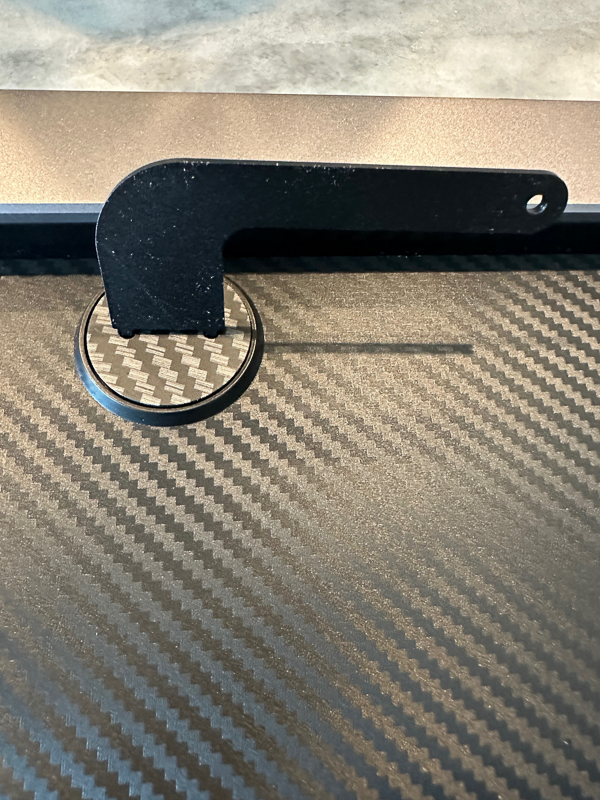
The picture below shows the CopGain P1M Portable Monitor folded back on top of the bracket while the bracket is installed on the laptop.
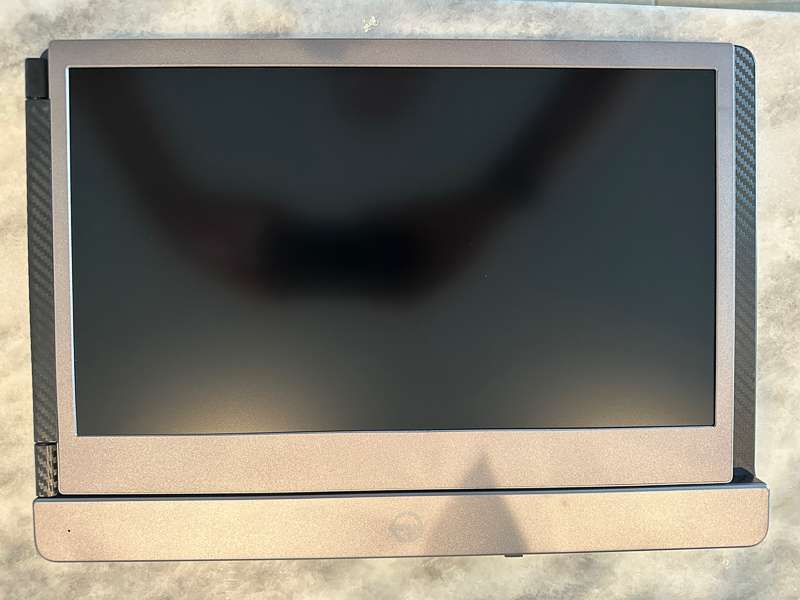
If you are going to carry around the laptop with the extra display mounted, you have a couple of choices on how to protect that extra display. The picture below shows the leather-like cover placed over the display. It stays in place with magnets. The other option is to use the aluminum cover that is provided. The picture below shows the soft cover over the display.
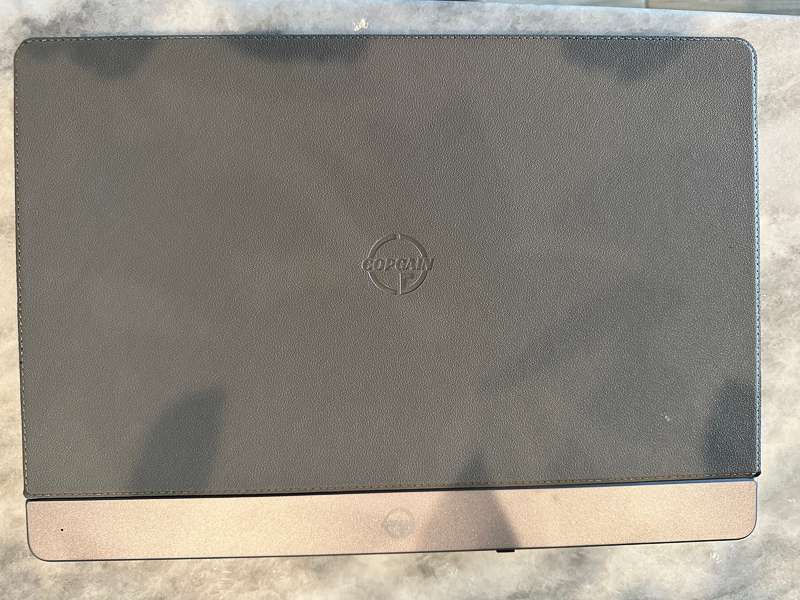
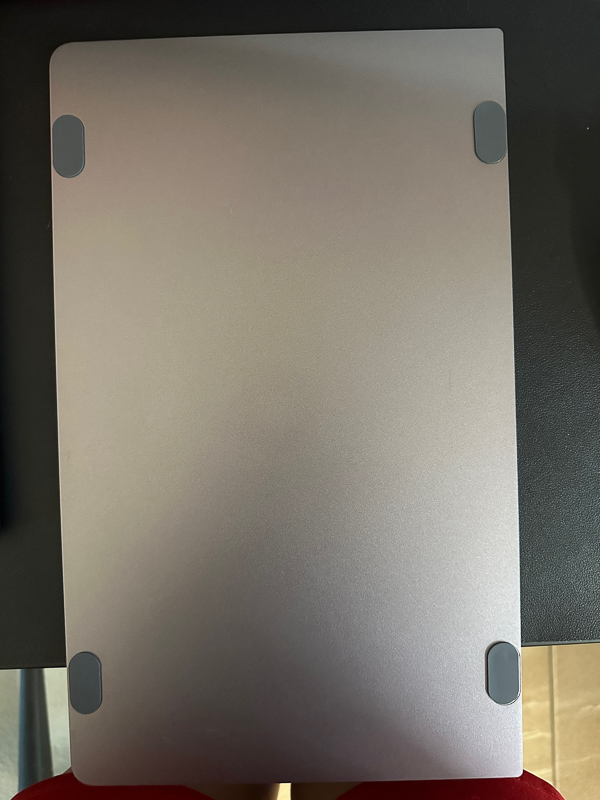
This is a picture of the metal cover. It has rubber feet on it to protect the display. I chose to use the softcover going forward since it would have less chance of me damaging the screen as I put it into place. Both the soft and metal covers can then be used as mouse pads when you fold out the display.
As you open the laptop, on the right side of the CopGain P1M Portable Monitor, you will find a jog dial. That jog dial will control the volume on the display and the brightness of the display.
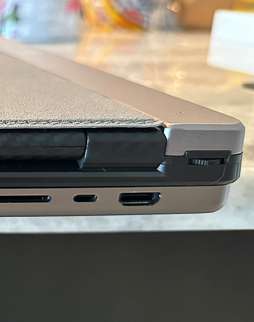
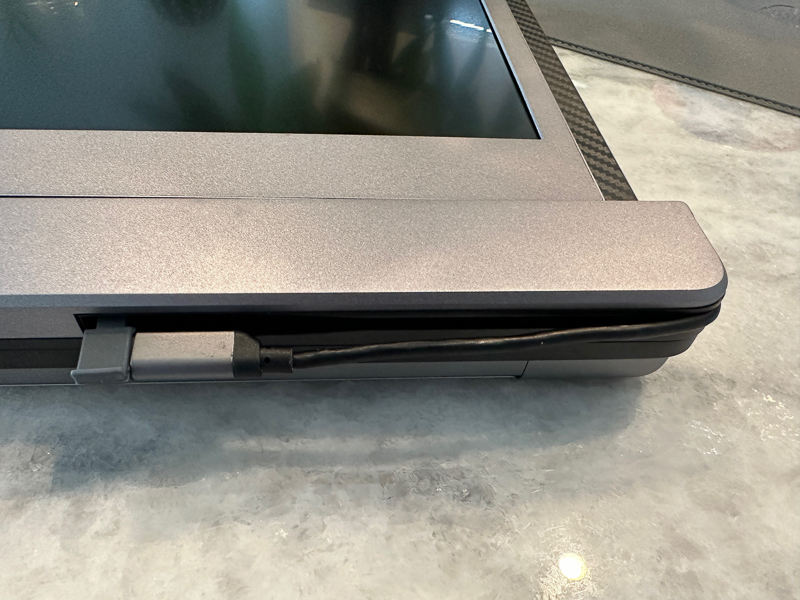
On the back of the P1M, you will see two small holes that look like USB-C ports but are really speaker holes. On the right side of the back, you will see a small darker grey square. That is a rubber clip that holds the end of the attached USB-C cable that wraps around the corner of the bracket. I love that the cable is part of the bracket and not something extra you have to remember to bring along. Everything is in a nice single package.

On the left side of the bracket, you will see a single USB-C port. That is the port you would use with the external cable should you choose to use the display when not attached to the laptop.
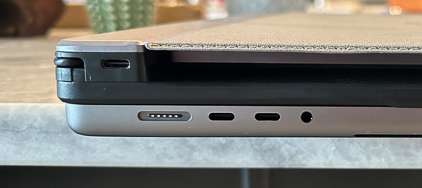
The picture below shows how you pull out the rubber clip in the back of the bracket to expose the installed USB-C cable.
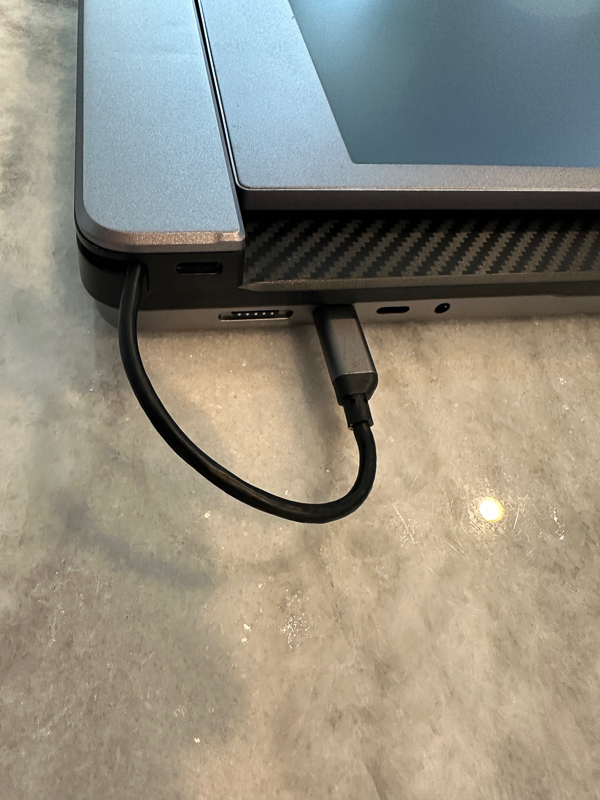
Once you remove it from the rubber clip, you unwrap it from the bracket and plug it into the USB-C port on the laptop. Note that the USB-C port on the bracket stays unused if you use the CopGain P1M Portable Monitor mounted to the laptop.
Performance
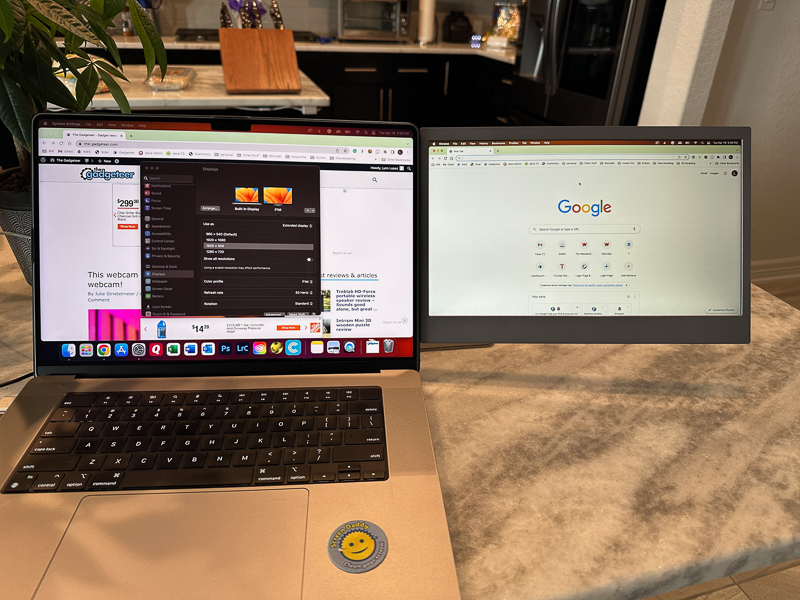
The picture below shows the display in use with the monitor set at its highest resolution. I used the display settings in iOS to set the monitor as an extended monitor to the right of the main display. It works seamlessly. You can also choose to use the speakers on the CopGain P1M Portable Monitor vs. the speakers on the MacBook. I found the speakers on the P1M adequate in that I could hear sound and understand what people were saying in videos, but they were a poor substitute for the sound on the MacBook Pro. The sound quality between the MacBook Pro and the P1M was night and day. I don’t think I will ever use the sound on the P1M. The speakers might sound better on the MacBook Air or the smaller versions of the Pro.
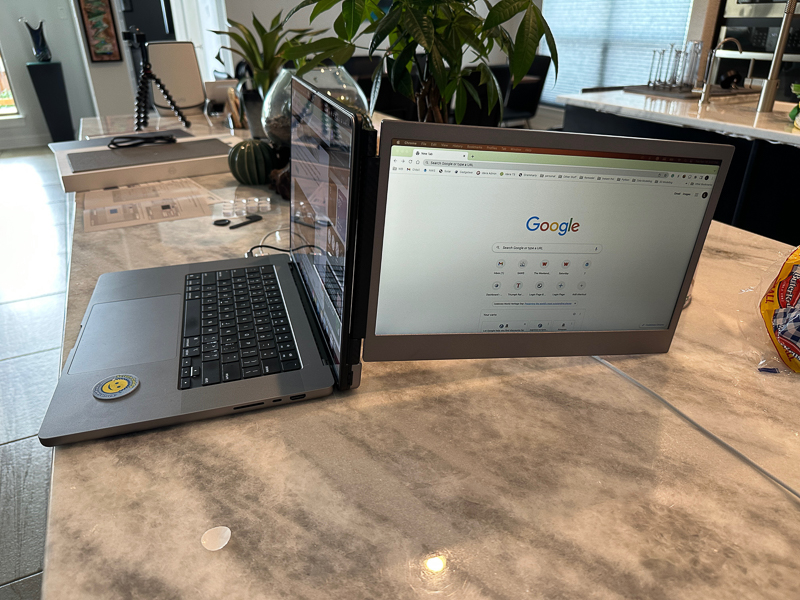
This picture shows how you can move the display to the side should you choose to show something to a client or person sitting to the side of you. The P1M does sag a bit.
The picture below shows my personal laptop in its normal workspace with the CopGain P1M Portable Monitor. I am using the aluminum pad as a mousepad. I don’t need a mousepad because I use a trackball mouse, but I like how it looks, and it feels cool on my wrist. I often have the Finder app open on the right side and an app like Lightroom or Photoshop open on the main display. Once you have started using more than one monitor, you become spoiled and can’t go back. I am really enjoying having the P1M.

What I like
- High-quality and good-looking materials used in the bracket like
- USB-C cord is integrated into the bracket.
- Two covers are provided for display protection.
- You can choose to use the monitor on the side without it being mounted to the laptop with the included extra USB-C cable
What I’d change
- Nothing I can think of.
Final thoughts
I think the CopGain P1M Portable Monitor is a great addition to my MacBook Pro. Anyone looking for an extra display on their MacBook needs to consider the P1M display. I am using it daily and don’t plan on takin git off my laptop.
Price: $249.99
Where to buy: CopGain and Amazon
Source: The sample of this product was provided by CopGain.


