REVIEW – There are just some of those days that you really need an outlet. Some people take up running, or baseball, or pickleball. I craft. And on those days that I feel a little extra stabby, the Clawlab tufting kit has provided all the necessary items to stab a work of art.
⬇︎ Jump to summary (pros/cons)
Price: $569.00 on sale for $459.00
Where to buy: Clawlab.com
What is it?
A kit containing all the necessary items to start the hobby of tufting. Including yarn, fabric and backing, frame, and tufting gun.
What’s included?
- Metal frame to hold fabric
- Monk fabric
- Nonslip backing
- Variety of yarn
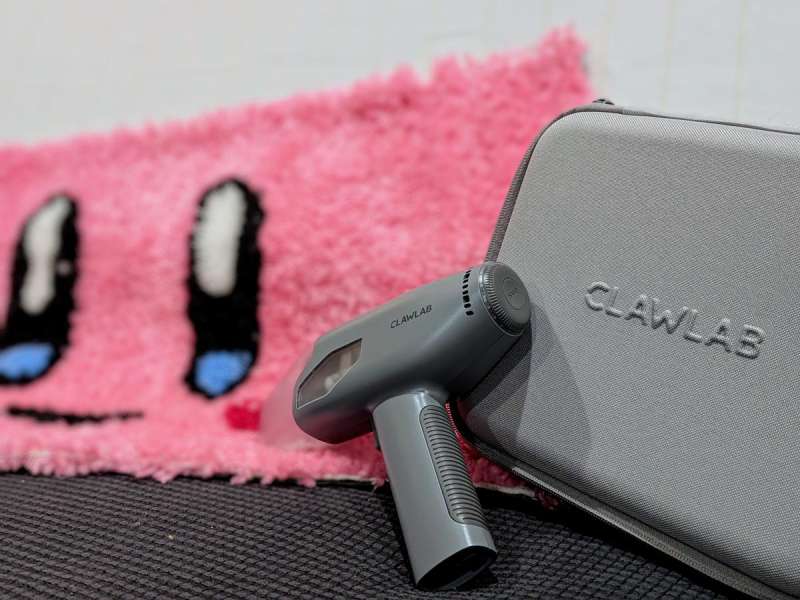
- Tufting gun
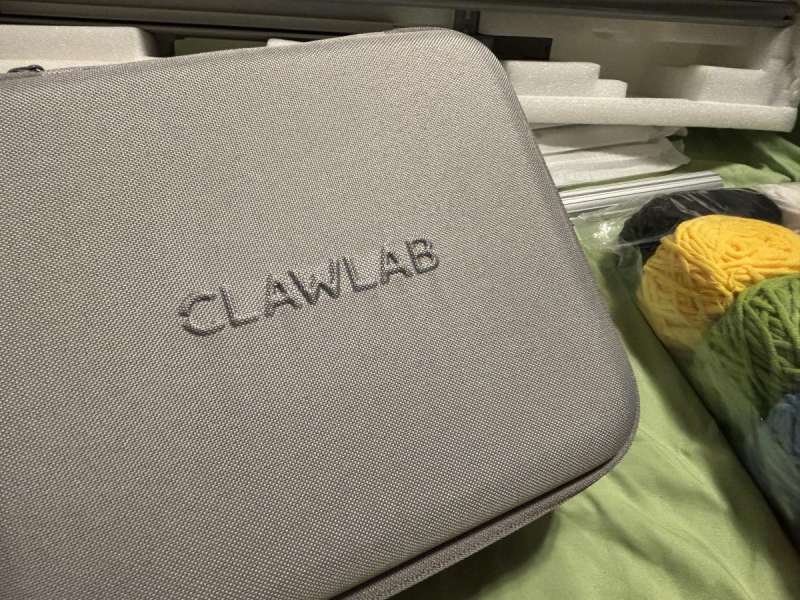
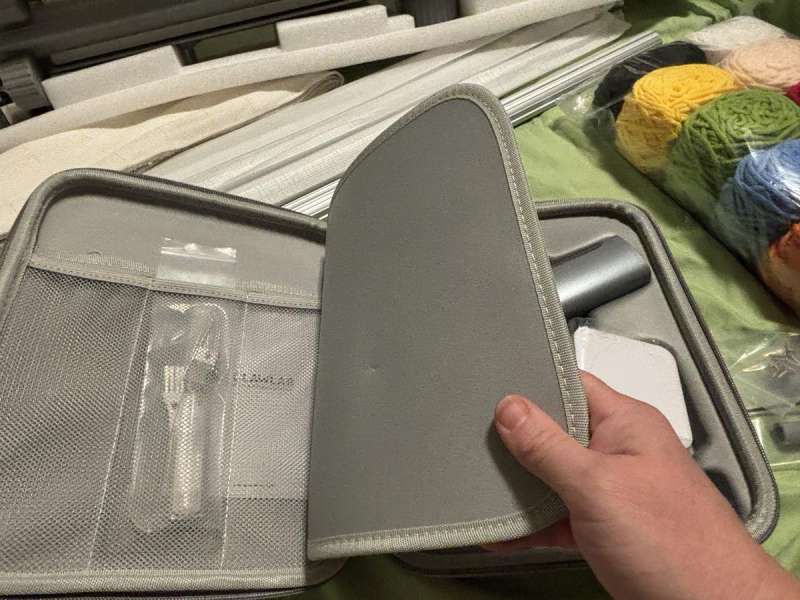
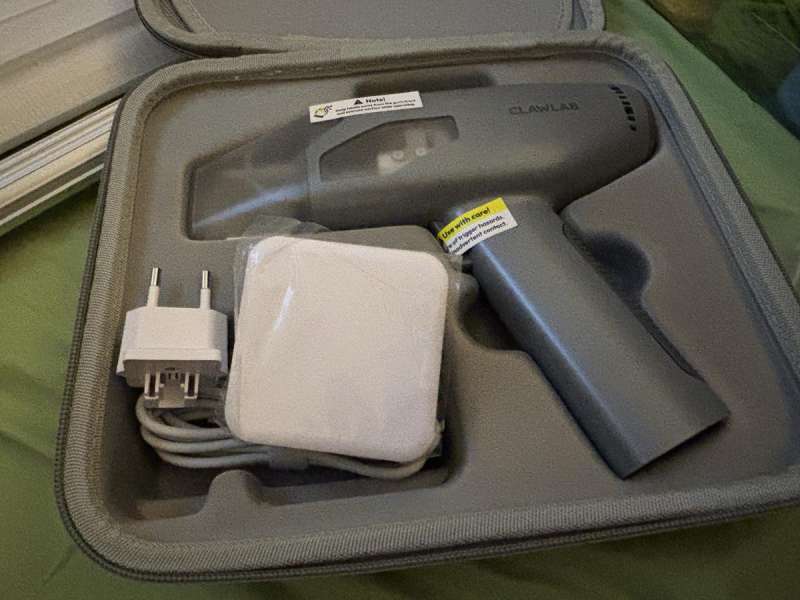
- Case for gun and accessories
- Yarn threader
- Extra screws and tools
- Lube
- Plug adapter for other regions
- Instruction manual
Design and features
This tufting kit from Clawlab has everything that you need to start and finish a project. The only part you need to provide is creativity. Honestly I had no idea what tufting was when I first saw this product. I went on YouTube and found so many videos of things that you can make. It is amazing. I am hooked! (pun intended) Tufting is taking a piece of fabric, preferably monk fabric, placing it tight on a frame, drawing an image on the canvas, and creating your masterpiece. The easiest way to put an image on your material is using a projector and trace something. After the image is traced, label what color goes in which spot, take the tufting gun, thread the yarn, and fill in the lines. Nothing too complicated with the process in theory.
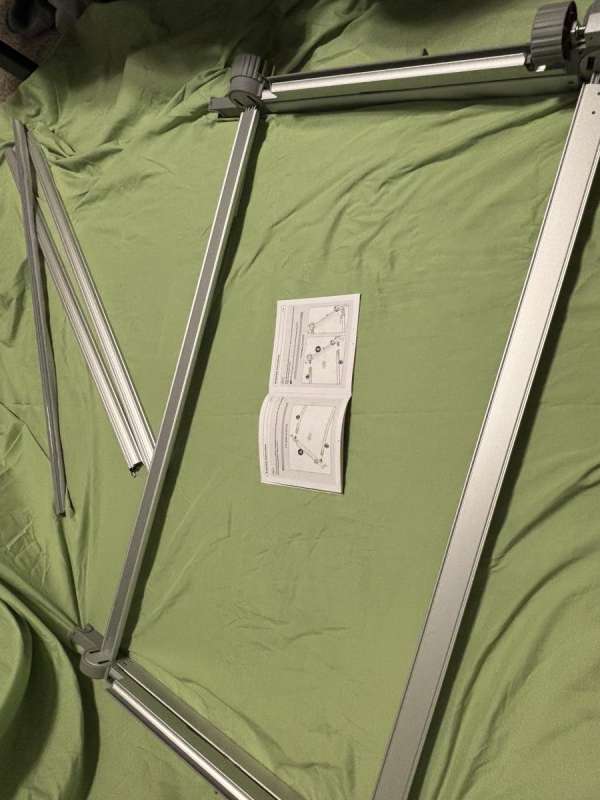
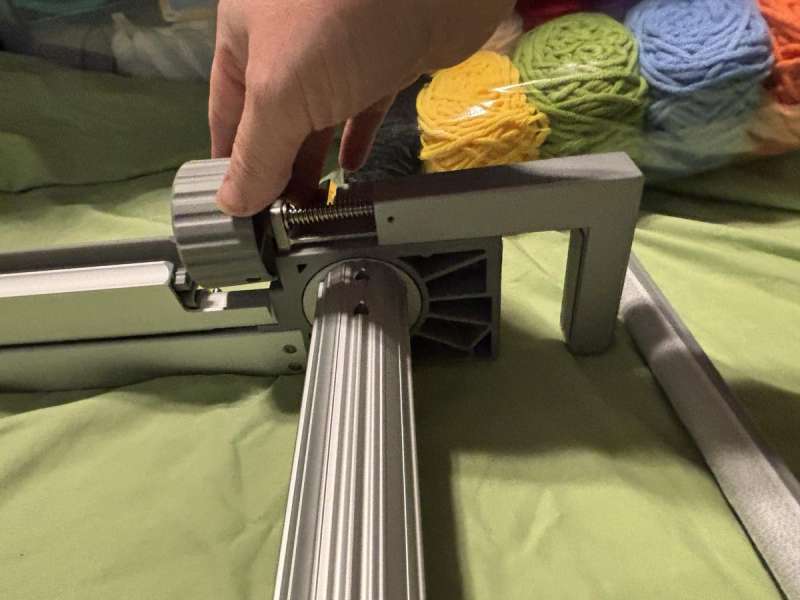
Start with the frame. I was a little nervous after I saw some of the YouTube videos of people that had made their own frames and would line it with carpeting tack strips. They advised you to wear gloves when you pull on the fabric, and many other precautions were mentioned. So when this kit came I was very relieved to see how safe it was without losing the effectiveness.
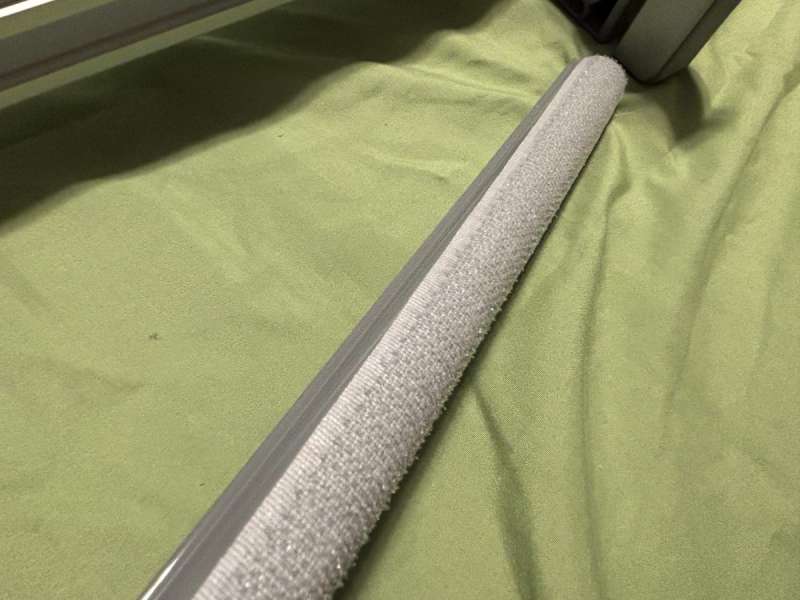
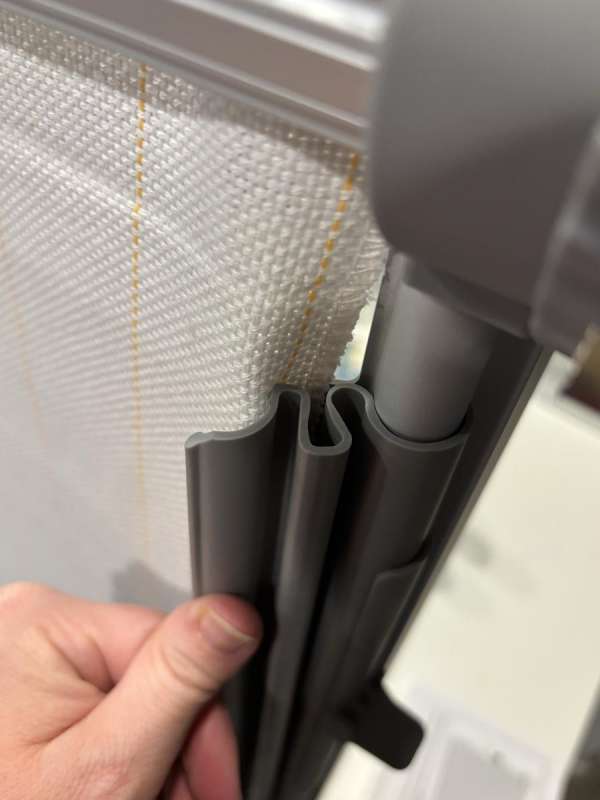
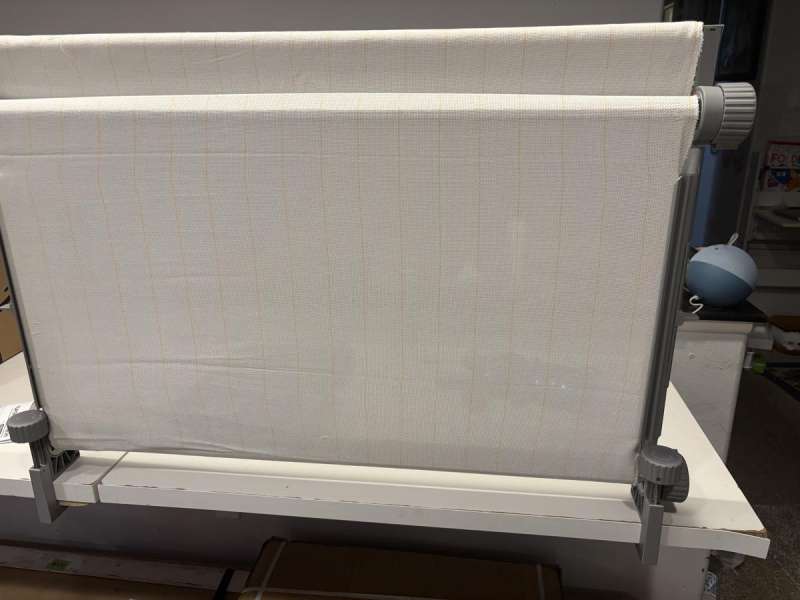
Assembling this frame only took about 15 minutes. The frame itself comes in four pieces that you screw together to create a large square area. This area is where you will fit your material. There are knobs on the top and bottom rollers that pull tight to create your blank canvas. The top and the bottom bars are actually split in half long ways. One stationary side, and the other half of the bar that can slide back and forth, but only enough to be able to place some fabric through the slot. Above the top rail is a metal dowel that has some velcro on one side.
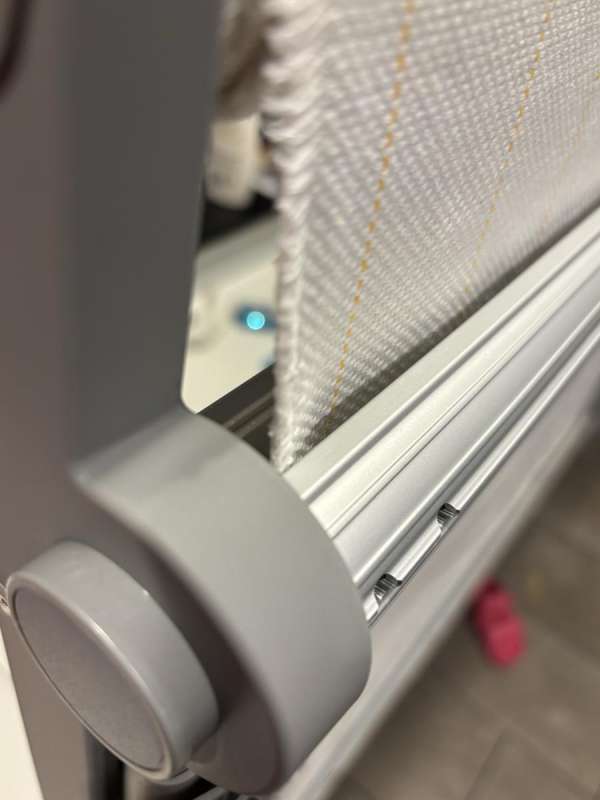
Roll the fabric along the dowel and place it in the notched areas above the main roller on the frame.
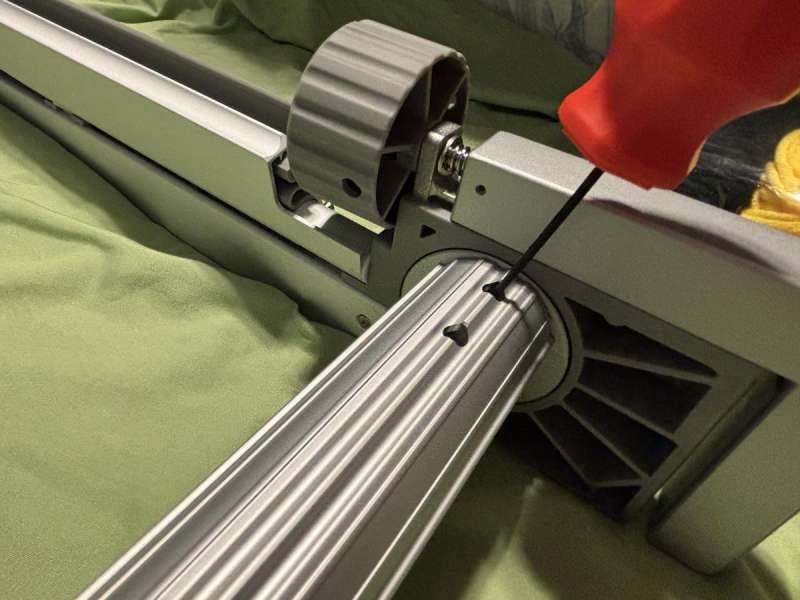
Once you get the fabric threaded through the slits, start twisting the knobs on the top and bottom rollers. The top one will go clockwise, and the bottom one is counter clockwise. Twist the fabric around the rollers until it is as tight as you can get it. This will help make the rest of the process much easier. Occasionally throughout the project I would twist the top or bottom a little to readjust things, but as a whole, it worked great.
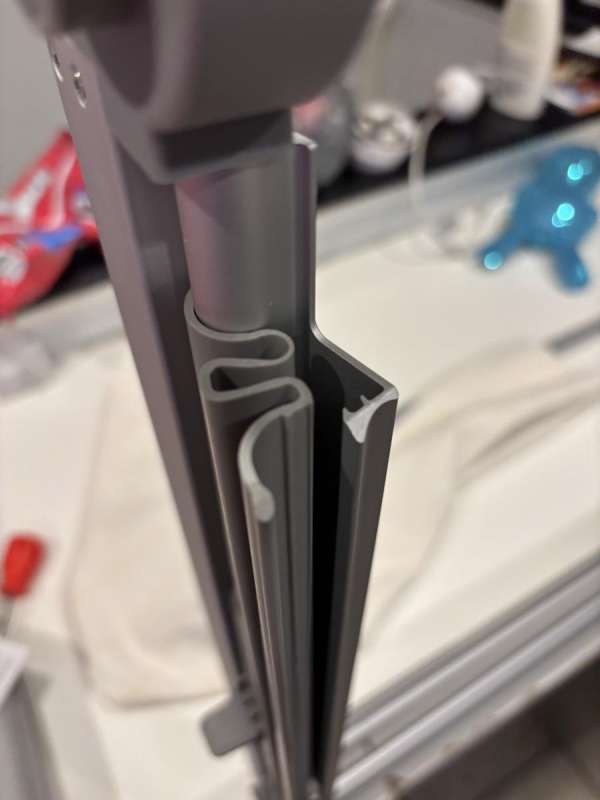
Each side has little slide clips. The best way I can think to describe them is to think of those chip clips that clamp all the way along the top of the bag. It opens up a space between the bar and a snug plastic covering. After you place the fabric in between the two pieces, you push them closed as much as you can, and slide the little handle on the side all the way up. This will close and lock the sides, so make sure your fabric is as tight as you can make it. As you slide the handle up, the side rotates outward to increase the tension even more.
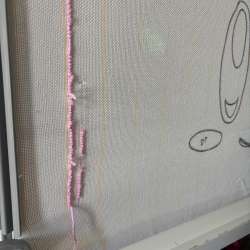
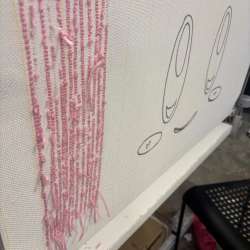
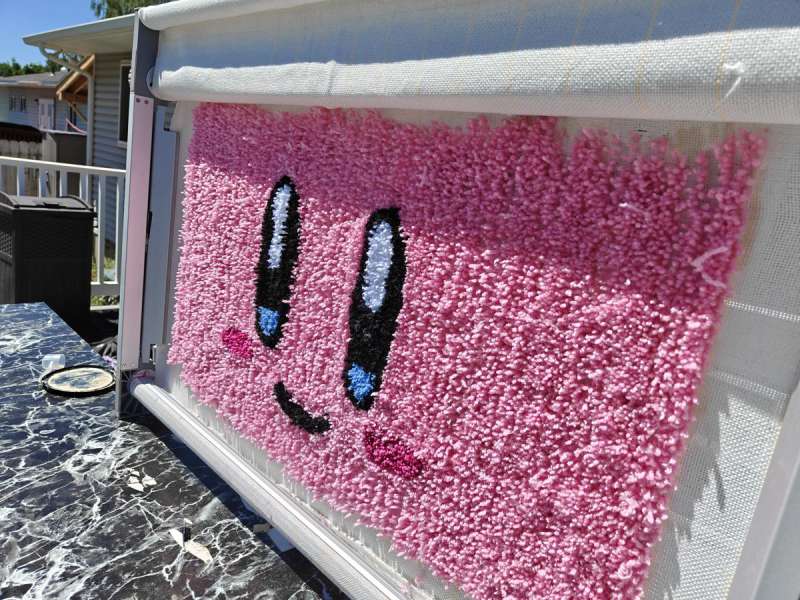
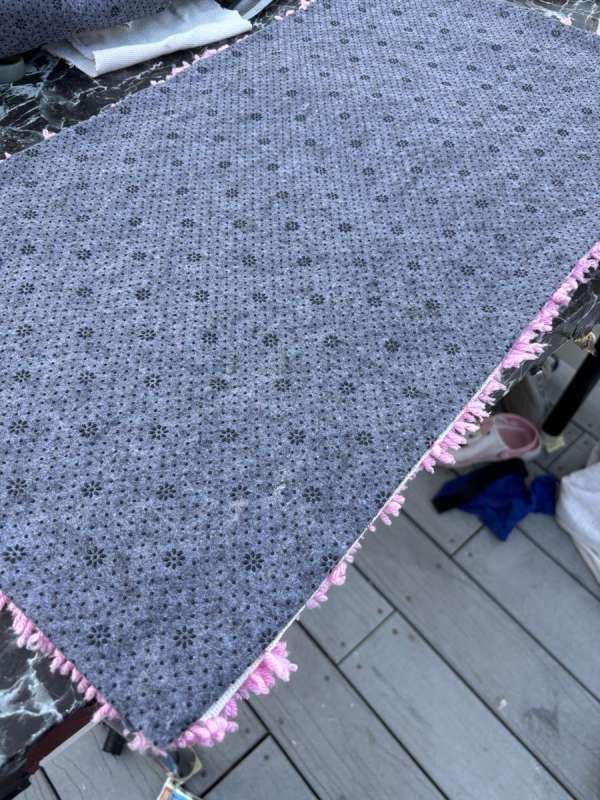
Once the fabric is snug it’s time to draw what you want to make. Some of the products I’ve seen are so intricate and beautiful. I am working up to that point, but decided I should start with something much easier. My family loves everything Nintendo. So I decided to keep it simple and do a version of Kirby that I could really dumb down and not get too discouraged if things were not looking exactly the way I wanted. I hate when I try new things and get a little over zealous at the beginning, and then I stop doing it altogether because I get overwhelmed and don’t want to keep going.
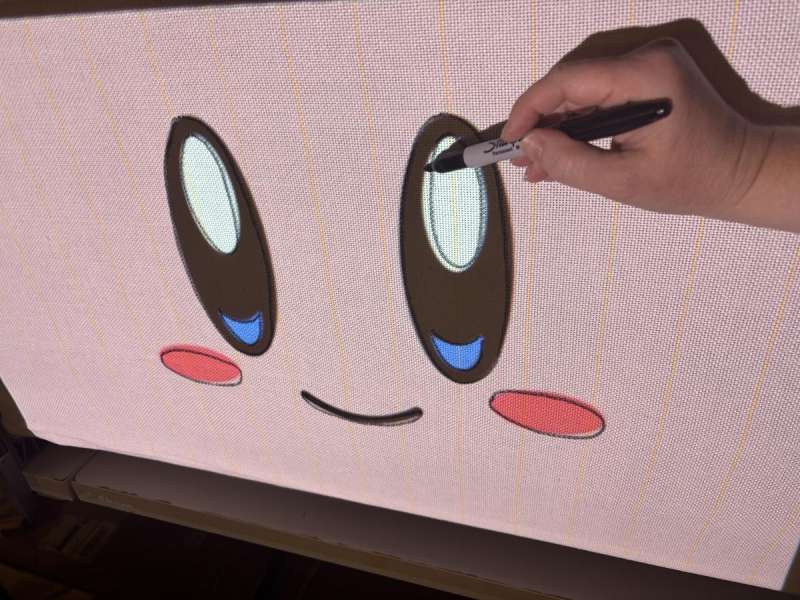
I feel that the easiest way to get the picture you want, exactly the way you want, is to use a projector. After you have the image placed where you want, trace the image onto the fabric. Feel free to write what each color is in the sections. You will be covering everything up so you don’t need to worry about any of the marker showing.
The tufting gun itself was a lot more manageable than I had initially thought. Seeing some of the guns they use on YouTube were daunting at how intense they looked. Clawlab has made an excellent design with this tufting gun. There are safety features and easy instructions to follow.
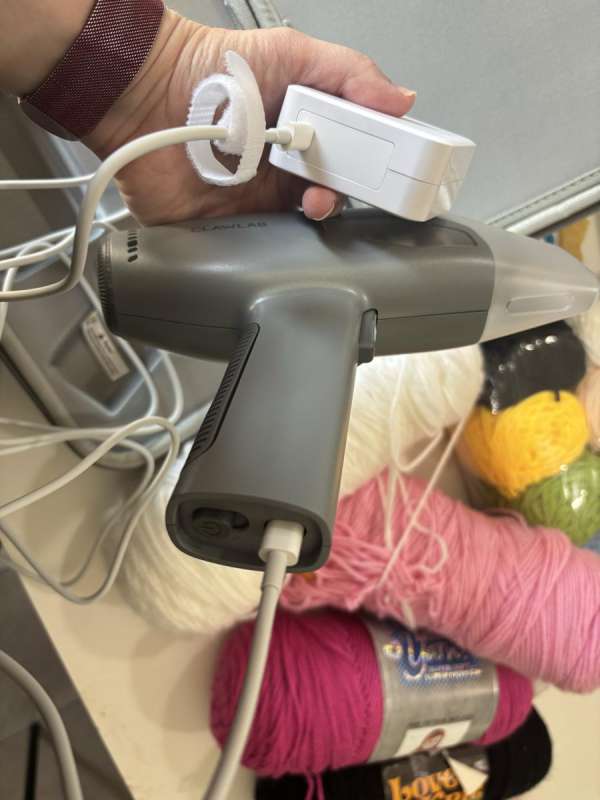
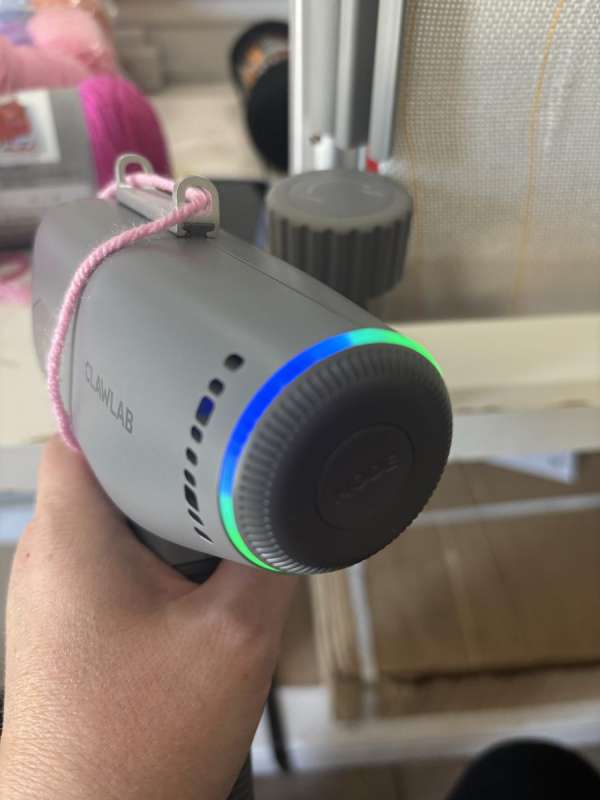
The brick is a modular 65w USB-C, akin to a MacBook charger, that plugs into the base of the tufting device. The very back of the gun has a twistable ring, and lights up different colors. If the gun is not in use for more than a minute, it goes into a standby mode which disables the trigger. Just push the middle of the ring, which is a button, and it puts it back where you were. There are multiple speed settings as you twist the ring on the back of the gun, indicated by a color ring that increases the faster you make the gun. It’s best to play around a little to find out what works for you. I like going at a slower speed around outlining edges, but it’s pretty great to have it faster when you have larger areas of the same color.
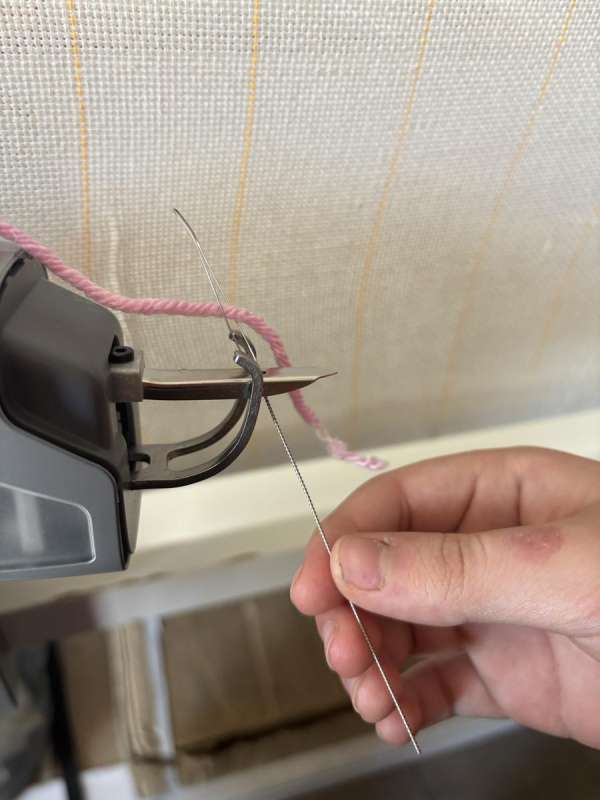
This kit comes with three small wires with loops on one end to use for threading the yarn through the needle. They are very easy to misplace, but incredibly helpful when threading the yarn through the gun. It also comes with ten spools of yarn. They aren’t huge, but enough to play around and figure out if you actually like this sort of craft. I have already bought more yarn to fill in where my colors are dwindling quickly. When I was first attempting to put the yarn onto the fabric, I would get two or three stitches in, and then the machine would become unthreaded. After this happened multiple times, I started getting frustrated and wondered if I was doing something wrong. So I looked it up on YouTube, my new best friend, and saw the different ways that their guns were threaded. I also noticed that most of them were using more than one strand of yarn at a time. I looked through the kit that was sent, and they do have an attachment to put onto the needle of the gun to help guide the yarn. I think the main problem of mine was that my yarn wouldn’t unravel fast enough from the spool. It needs a lot of slack. If there was tension at all, it would just become unthreaded.
At one point, I felt like I was trying to rub my tummy, pat my head, and jump on one foot while chewing bubblegum, all at the same time. I needed to figure out how to make my life easier. So I 3-D printed a spool spinner, and this worked better than before, but not as great as I was hoping. Eventually, I put a long pole through the middle of the yarn and placed it in a crate so it was floating, and could freely rotate. This seemed to work best for me. I’m sure there are plenty of different ways to make this easier, and I will keep experimenting with different ideas. The main thing is to keep your yarn freely flowing.
The gun itself naturally wants to go in an up direction. So when planning out how you want to fill in your picture, make sure you start at the bottom and go up during your design. It doesn’t work trying to start at the top going down. The yarn won’t attach properly. By using the momentum the gun provides, you can easily get into the rhythm, and adjust things as needed.
I don’t think it’s possible to put too much yarn into your picture. It is very satisfying to watch your picture appear as the yarn goes through the canvas. I even felt that I had used a lot of yarn, but could still find patches of thin spots. I am grateful I didn’t try to do something too intricate to start with, but will definitely be trying more things. I also started with something big. If I were to do it again I would probably go about half that size for a first project.

Once you’ve completed all the yarn in your picture you are almost done. It is seriously one of the most relaxing hobbies I have discovered in a long time. Each step was relatively simple and quick, and had enough variety to keep me interested.
The next step is to glue the backing onto the flat side of the yarn. The kit doesn’t come with glue. Most of the videos I watched showed people using carpet adhesive and slathering it on. Once the glue is dry or slightly tacky, you can now release the frame and pull your fabric free. The carpet adhesive I used said to wait around 24 hours. Of course all glues can vary and you can use your own discretion. The last thing you need to do is add the anti-slip backing that is included in the kit. I used fabric spray adhesive, but I’m sure there are also other options available. A lot of people use hot glue around the edges to keep it from coming undone or separating.
While I was applying the carpet glue, I felt that there was quite a lot of yarn that would come free and stick to the spatula that I was using to put the glue on. I’m pretty sure that most of that yarn came out from the areas that I was figuring out how everything worked, so maybe wasn’t the tightest or best quality of stitches, but maybe there are also better ways to apply the glue so it doesn’t get caught on the edges of the spatula.
After all the pieces are put together, a lot of people will take a carpet razor and even things out, or add more definition to certain areas. This makes everything look really nice, and finishes things smoothly, but isn’t essential.

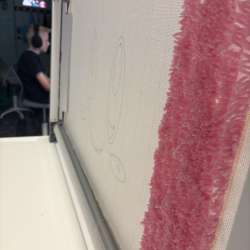
One of the drawbacks of this hobby is how much space it takes. While the frame does clamp onto so many different surfaces, you still need at least 3 feet of space to work in. The yarn also takes up a lot of space and can quickly become a problem if it becomes tangled. However, I feel that this hobby has been so much fun and my kids keep asking for different designs, it hasn’t been put away yet. If you are lacking creativity, Pinterest has plenty of ideas, and it feels like the sky is the limit. This is also a very forgiving hobby, in the fact that you can easily take out the yarn you’ve put in and try again. If you mess up, it’s no big deal.
Final thoughts
I have found my new hobby. I love being able to sit down and be creative, the process feels almost therapeutic to me. I told my husband that yarn is a lot cheaper than therapy. The kit comes with all the things you need to get started, and has some excellent safety features, and a beautiful carrying case to keep it protected. I inherited a lot of yarn from my grandma when she passed, and didn’t think I would ever use it all in this lifetime, but now I’m excited to be able to make some beautiful creations and be able to honor her memory in some way. There are endless options of what to make and you get to choose your own difficulty. I highly recommend this to anyone with a little bit of free time and some yarn.
What I like about Clawlab tufting kit
- Kit comes with everything you need to start
- Beautiful carry case
- Plenty of safety features.
- Projects can be as easy or difficult as you want
- Clamps on to tables
- Needle threaders are awesome
What needs to be improved?
- Frame does not collapse for easy storage
- Instruction videos from the particular company to show using their equipment and troubleshooting
- Doesn’t come with adhesive
- I wish the needle threaders came in bright colors so they wouldn’t be so easy to lose
Price: $569.00 on sale for $459.00 at time of review
Where to buy: Clawlab
Source: The sample of this product was provided for free by Clawlab. Clawlab did not have a final say on the review and did not preview the review before it was published.
Made By Me Create Your Own Window Art, Paint Your Own Suncatchers, DIY Arts & Crafts Idea, Craft Kits for Kids, Crafts for Kids & Toddlers, Toddler Arts and Crafts
$9.97 (as of September 30, 2025 13:55 GMT -04:00 - More infoProduct prices and availability are accurate as of the date/time indicated and are subject to change. Any price and availability information displayed on [relevant Amazon Site(s), as applicable] at the time of purchase will apply to the purchase of this product.)
Now retrieving an image set.