REVIEW – My first experience with a laser engraver was about a year ago when I reviewed the WAINLUX K10 Mini Laser Engraver. It was a good entry-level device that allowed me to understand how engravers work and what’s possible. That first engraver was 3W and had a working area of 80mm x 80mm. At the end of the review, I knew I wanted to do and learn more. So when the Acmer P2 33W Laser Engraver Cutting Machine became available, I happily volunteered to review it! Was I still left wanting after this review? Read on…but no, I found a keeper!
⬇︎ Jump to summary (pros/cons)
Price: $1399.00 Retail / Currently on sale for $790.00
Where to buy: Acmer Laser
What is it?
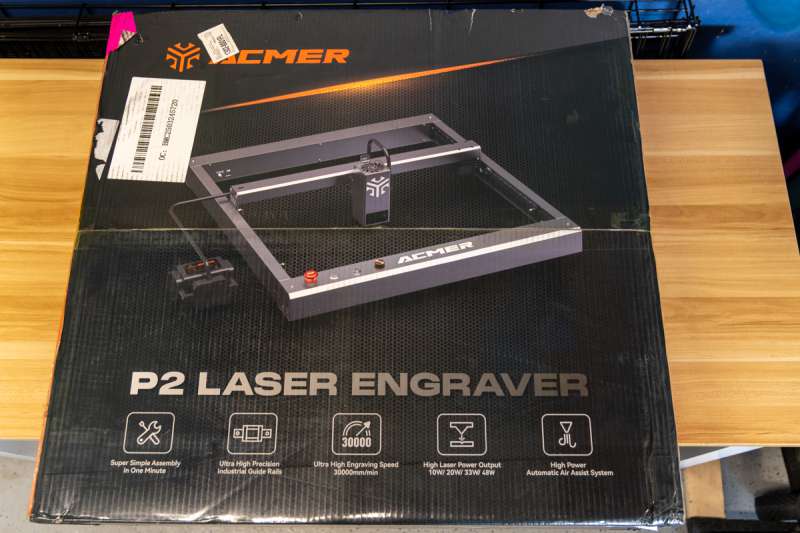
The Acmer P2 33W Laser Engraver Cutting Machine is a powerful 33W diode desktop laser engraver. The review unit I received had the most powerful 33W laser module. As the name suggests, this unit not only engraves but cuts through material too! It comes 95% pre-assembled and can be ready to go in about 5 minutes.
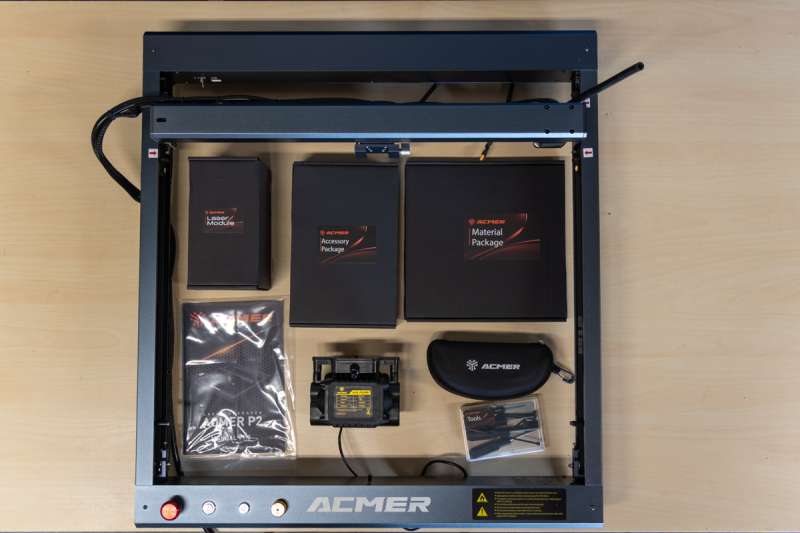
What’s included?
- Acmer P2
- 33W Laser Module
- Power adapter
- Air Assyst
- Laser glasses
- USB A cable
- Roller adapter cable
- Keys (x 2)
- Card reader
- MicroSD card
- Laser Lens (x 2)
- Tools
- Brushes (x 1)
- Wrench (x 1)
- Screwdrivers (x 4)
- Sample cutting materials
- Test-carved plywood (x 1)
- Blank plywood 200 x 200 x 2 mm (x 2)
- Blank plywood strips 200 x 100 x 6 mm (x 2)
- Aluminum cards (x 5)
- Cork coaster (x 1)
- Acrylic (x 1)
- Stainless Steel (x 1)
- Manual
Additional Accessories (not included)
- E10 Honeycomb Laser Bed w/Pins
- M4 4-in-1 Laser Chuck Rotary Roller
- Metal Heightening Risers
Tech specs
- Laser Type: Diode laser
- Laser Output Power: 33,000 mw
- Power Supply: 24V/8A
- Communication Method: USB / App
- Spot Size: 0.08×0.1 mm
- Product Size: 650 x 597 x 200 mm
- Machine Weight: 6.5 kg
- Focal Length: 5 mm
- Laser Wavelength: 450 ± 5 nm
- Laser Module Design Life: 8,000 hours
- Maximum Engraving Speed: 500 mm/s
- Working Area Size: 420 x 400 mm
- Compatible Software: LaserGRBL / LightBurn / Acmer App
- Compatible Systems: MacOS, Windows, Android
- Engraving Materials: Wood, Bamboo, Paper, Plastic, Leather, PCB Board, Aluminum Oxide, Non-reflective Coating and Lacquered Metal, Ceramic, Glass
- Engraving File Format: NC, DXF, BMP, JPG, PNG, etc
- Fuselage Material: Aluminum Profiles
- Maximum Thickness of Cutting
- Plywood: 30 mm
- Black Acrylic: 25 mm
- MDF: 8 mm
- Warranty:
- Structural Components: 12 months
- Laser Module: 6 months
- Consumables (transmission belts, etc): 3 months
Design and features
While the WAINLUX K10 mini laser engraver was well suited for its purpose, I wanted to see what more was possible. I wanted something more powerful, something that had a bigger working area, and could handle round engraving (on insulated bottles, glasses, etc). I wanted something more industrial. Well, the Acmer P2 33W Laser Engraver Cutting Machine is all that!
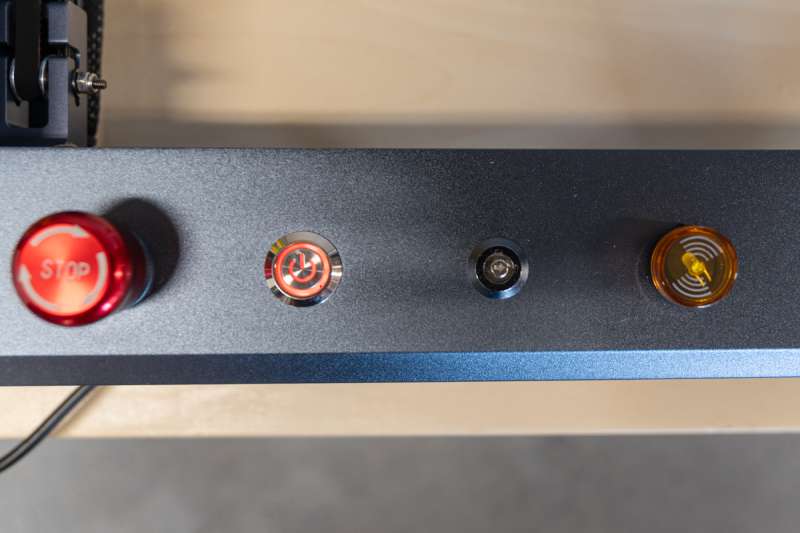
First off, let me share the safety features. There are six layers of safety:
- Flame detector: when smoke of flame are detected, an alarm will go off and the engraver will stop
- Alarm lights and buzzers: A bight yellow alarm indicator light goes off in any malfunction or accident
- Observable shield (on the laser module): filters 97% of UV rays
- Child safety lock: a keyed switch needs to be turn on to operate
- Emergency stop switch: pressing the Emergency stop button immediately stops everything
- Gyroscope tilt detector: The engraver will automatically stop when 15º of tilt is exceeded.
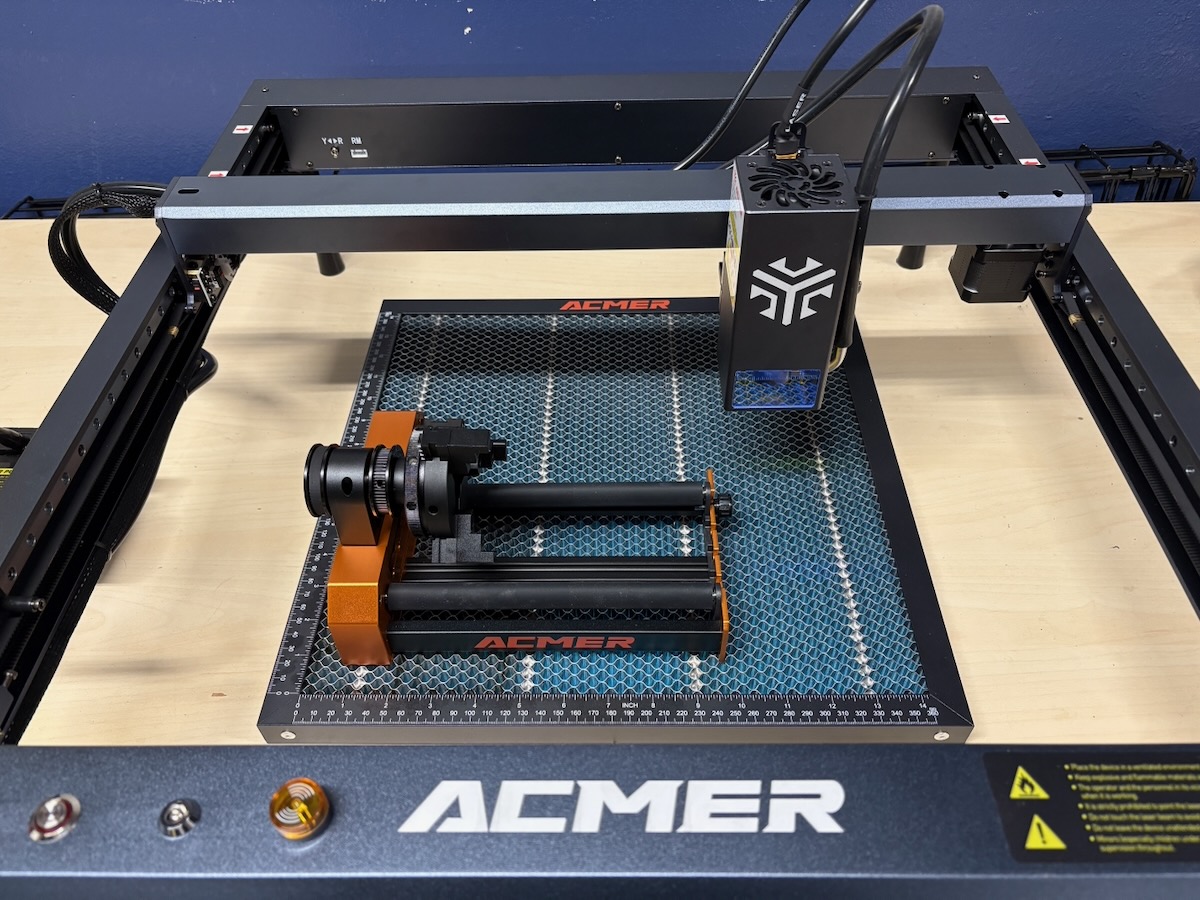
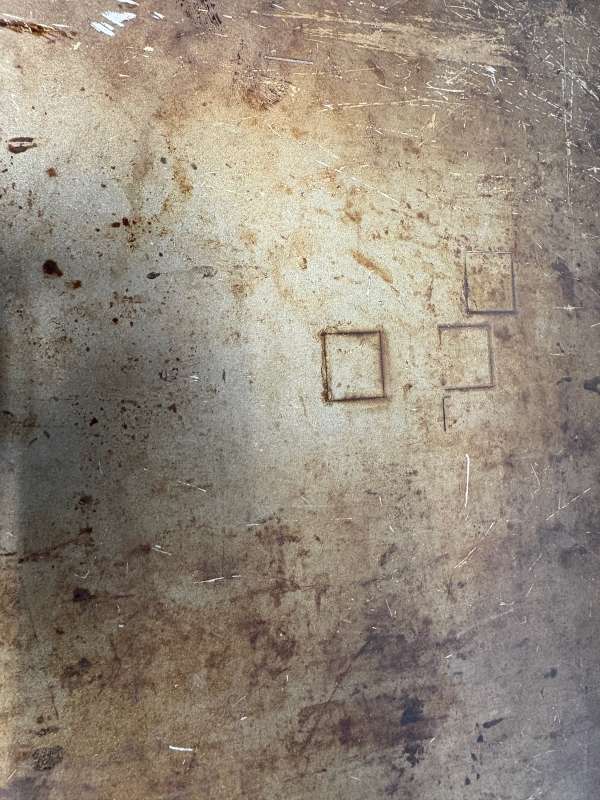
Let’s talk about the 33W laser module! In researching diode laser engravers, I usually see the powerful models using 20W lasers, not the Acmer P2 33W Laser Engraver Cutting Machine! This powerhouse can cut plywood up to 30mm, dark acrylic up to 25mm, MDF up to 8mm, and stainless steel sheet up to 0.1mm. On the Acmer website, they show a 20mm piece of wood and an 8mm slab of black acrylic being cut in one pass! Funny story….While I was waiting for the honeycomb laser bed, I used an old cookie sheet to protect my work surface. Well, a few mis-typed parameters resulted in some perfectly etched squares in the cookie sheet – lol!
I didn’t realize that the Acmer P2 33W Laser Engraver Cutting Machine was pre-configured in mm/sec, but all the documentation and online tutorials listed the recommended power and speed in mm/min. This caused a lot of confusion, but once I went into the Device Settings in LightBurn and sorted that out, my results were much improved!
The working area was great! Having 420 x 400 mm to work within made the process so much easier. This left me plenty of room to build out some jigs to repeatedly engrave multiple items at once. I 3D printed a couple of different jigs to print metal dog tags.
Something to bring up….alignment is KEY to getting perfect results! This was something that I’ll probably end up creating a template to make sure the honeycomb laser bed is aligned with the Acmer P2 33W Laser Engraver Cutting Machine. This is crucial, especially when attempting to engrave again or to do multiple items. When aligned perfectly, the measurements in the software are exact and set you up for success.
Some of the other features of the Acmer P2 33W Laser Engraver Cutting Machine are:
- 500 mm/s maximum engraving speed
- Ultra-fine 0.08 x 0.1 mm engraving accuracy
- 30,000 mm/min industrial rails
- Standard 30L/min Air Assist
- Pre-assembled
- Lots of Accessories:
- Honeycomb Laser Bed (see below)
- C4 Laser Air Assist Pump
- M4 4-in-1 Laser Chuck Rotary Roller (see below)
- AP2200 Smoke Air Purifier
- Z-Axis Module
- R20 Larger Laser Enclosure Box
- A500 LightBurn Camera
- Auto Conveyor Feeder
- L80 Engraving Area Expansion Kit
- M2 Laser Rotary Roller
- L60 Engraving Area Expansion Kit
- Metal Heightening Risers (see blow)
- And more!
Assembly, Installation, Setup
One of the most welcoming aspects of the Acmer P2 33W Laser Engraver Cutting Machine was how quickly I was able to get up and running. Their website states “within 1 minute”…..maybe….but for me, it was closer to 3-5 minutes. Still, pretty amazing!
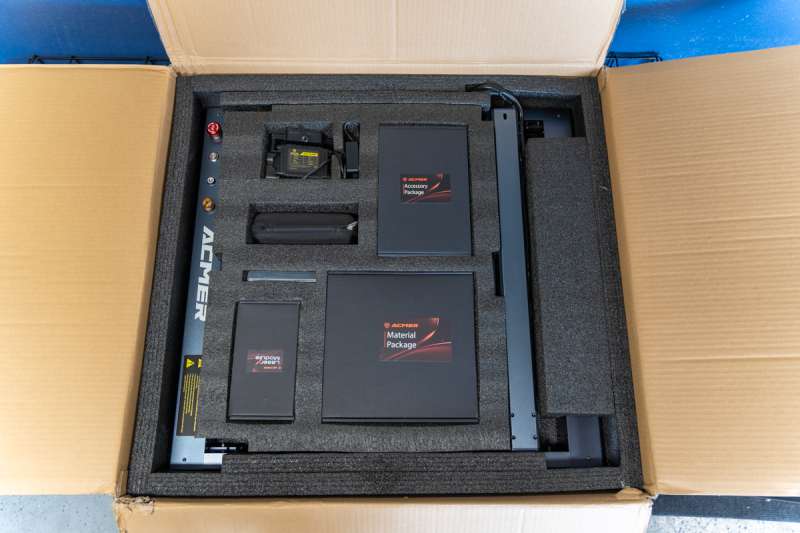
After unpacking everything (and a lot was included), I set the Acmer P2 33W Laser Engraver Cutting Machine on an empty wooden table. Originally, the Honeycomb Laser Bed was not sent along with the laser engraver, so I used an old cookie sheet to protect the surface of my table (good thing too).
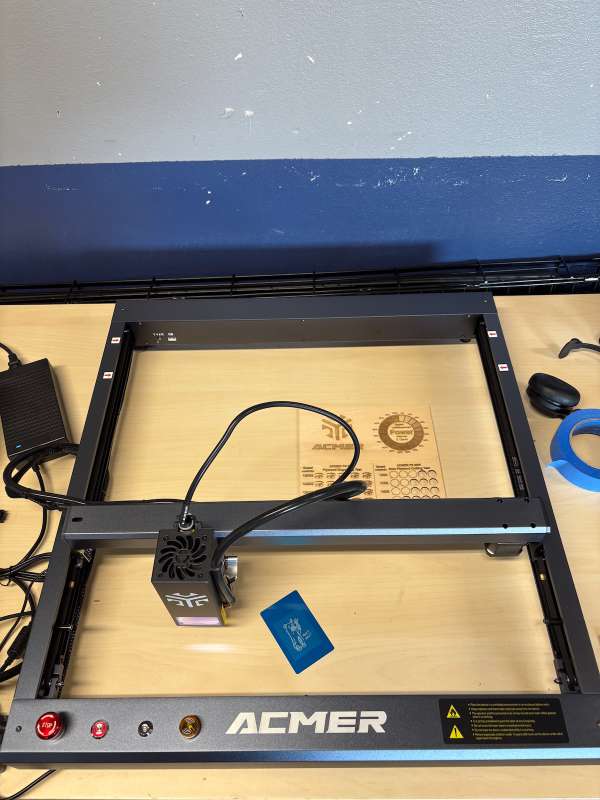
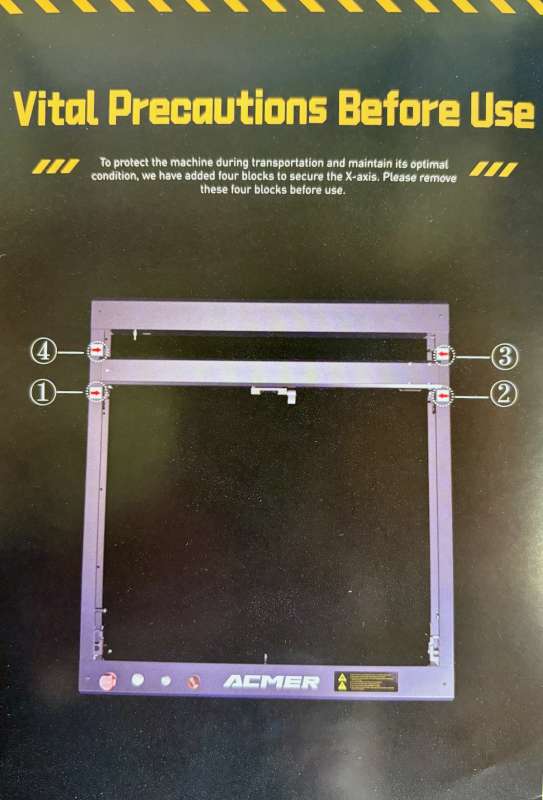
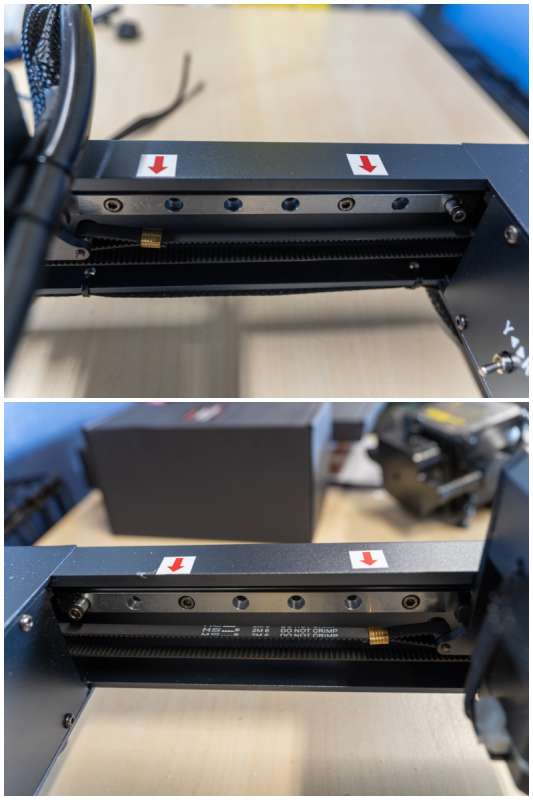
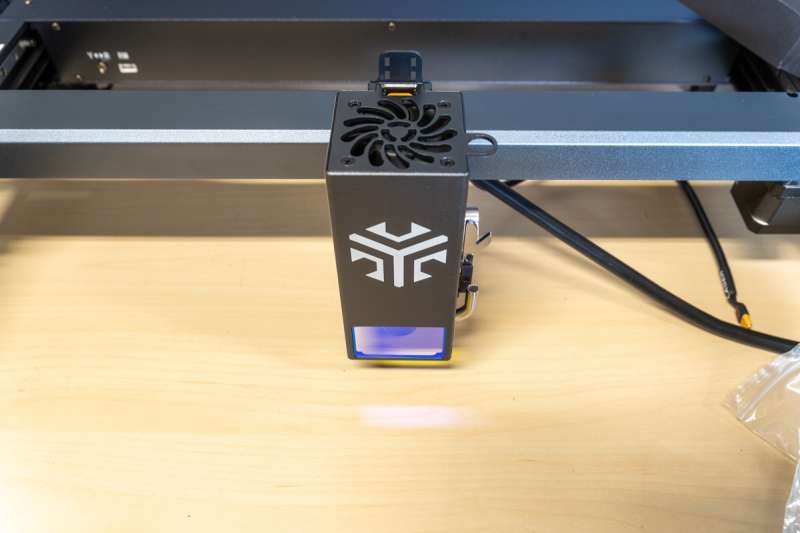
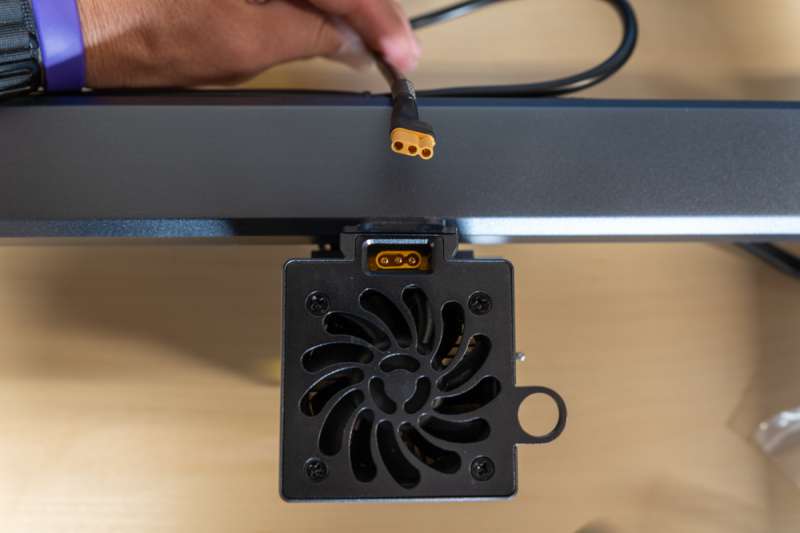
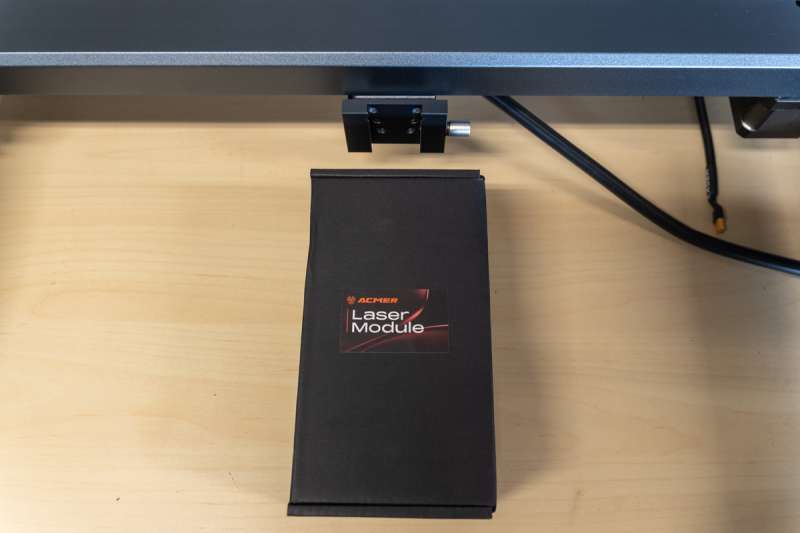
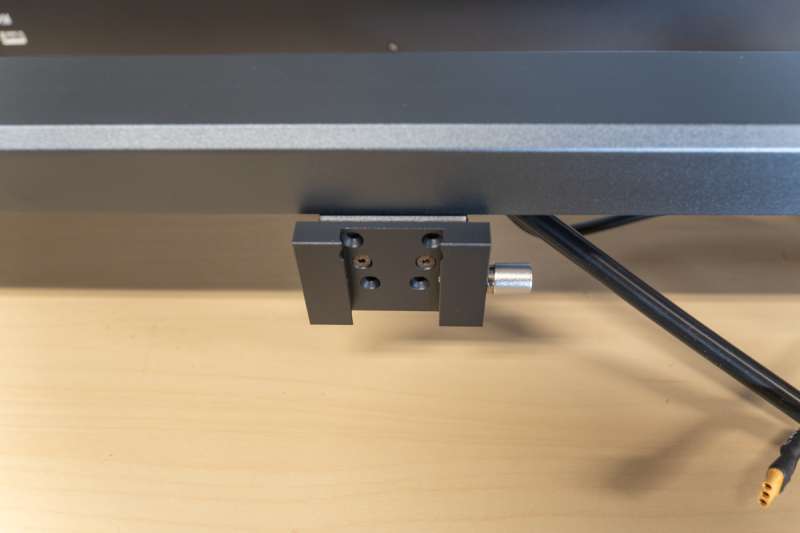
After setting the frame on the tabletop, I followed the separate instruction sheet to remove the gantry locks. I found the laser module and slid it into the slot and tightened the screw. Quick note, this design is what allows you to upgrade or change the laser module in the P2 product line. Then I connected the laser module wire. It only fits one way, and then I secured it with a zip tie (included).
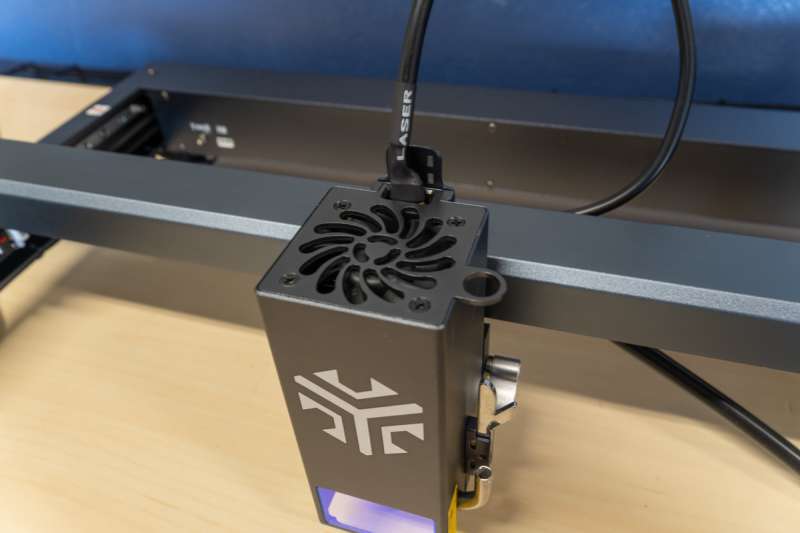
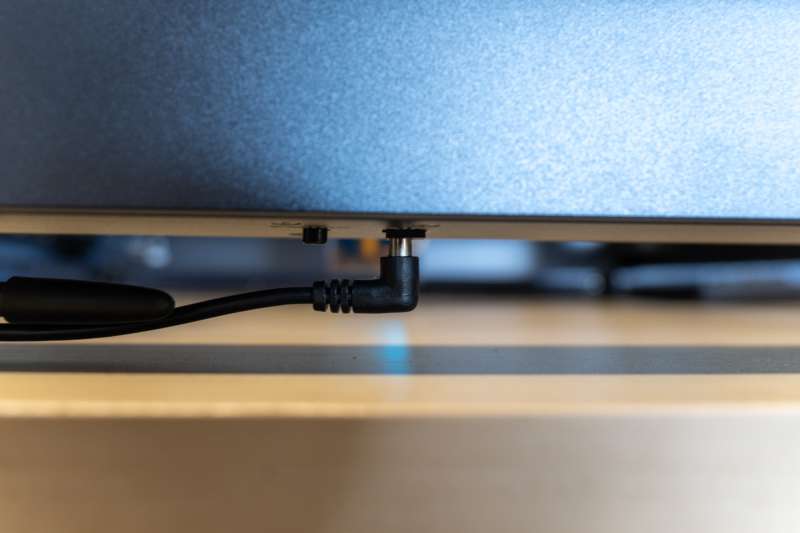
I connected the hose end nearest to the power button to the Air Assist pump. I routed the other end of the hose down the guide on the side of the laser module and connected it to the connector on the laser module. The power for the Air Assist pump plugs into the underside of the frame, along the front edge, labeled AIR. You’ll also see the flame detector next to the plug.
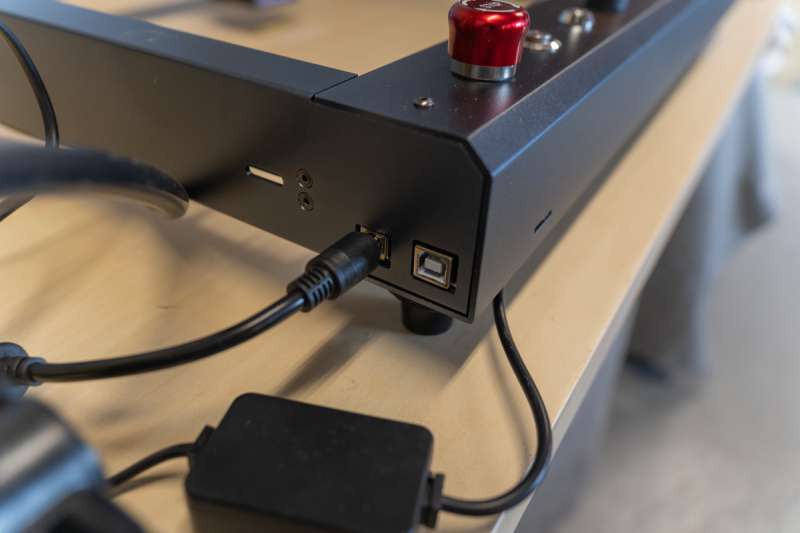
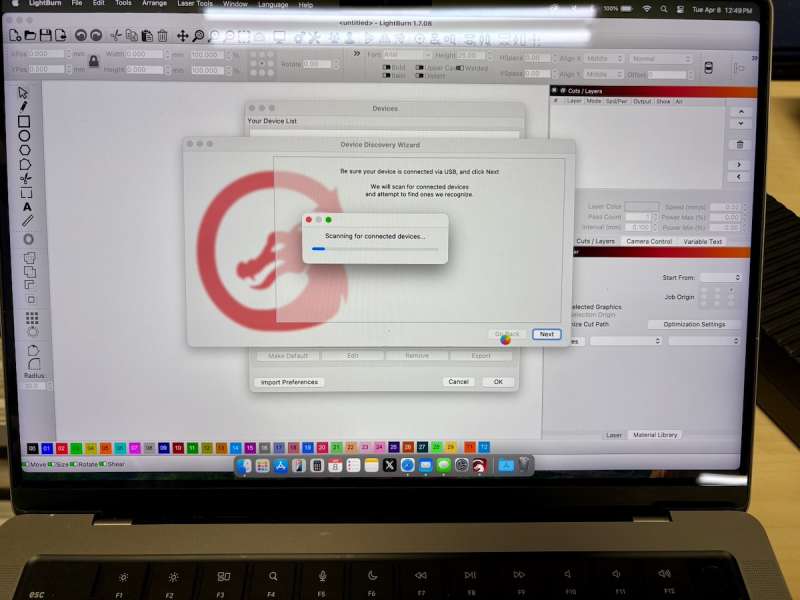
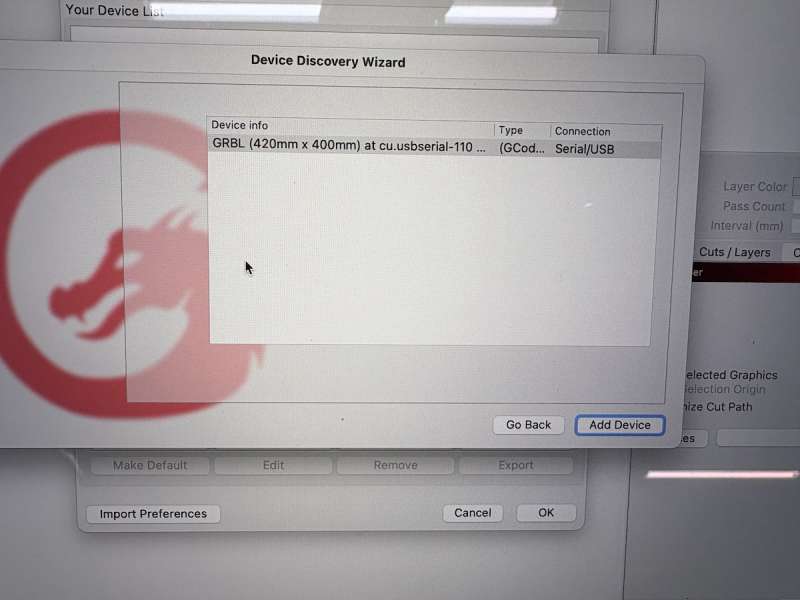
After all the hardware was connected, it was time to figure out what software and connection type to use. The easiest for me was using the included USB cable. I was using a MacBook Pro and needed an USB-A to USB-C adapter (which I have many). A Wi-Fi connection is also an option, but that means your computer, phone, or tablet is connected to the Acmer P2 33W Laser Engraver Cutting Machine and not the internet.
Regarding the supported software: LaserGRBL, LightBurn, or the Acmer App (called MKSLaser on iOS), only LightBurn is compatible with macOS. If you use Windows, you have the option of the free LaserGRBL software. LightBurn does have 30 days of free, unlimited usage, but it’s $99 for the LightBurn Core software or $199 for the Pro version afterward. From what I read, LightBurn is heavily used in the laser engraving community.
The iOS app is pretty rudimentary and will work in a pinch for simple jobs. I found the lack of details and control to be too limiting.
Hardware, check. Software, check. Connection, check. That’s pretty much all you need to do to start the fun of engraving!
Performance
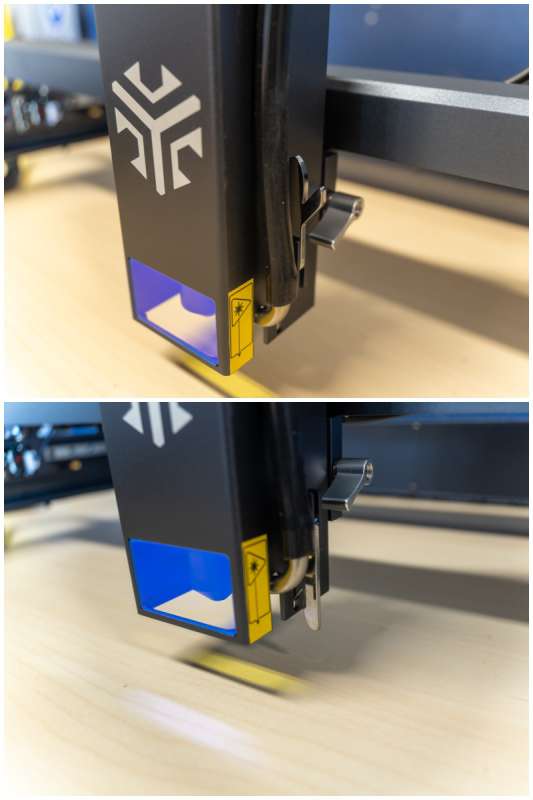
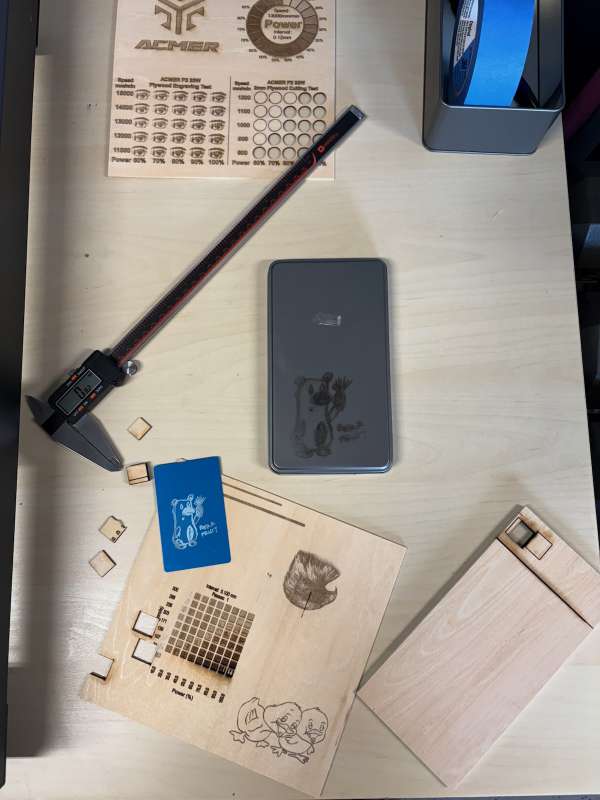
I did a few different tests during this review. One was cutting the included plywood sheet (200 x 100 x 6 mm). After I dialed in the settings, I was easily able to cut it square out in one pass without an issue (even left a few imprints on my cookie sheet). I can see this being so useful when cutting out wooden models or when precise and exact cuts and dimensions are required. Focusing is made easy by the flip-down gauge.
I engraved a few sheets of aluminum business cards, and that got me thinking to try some metal dog tag engraving to be given away as gifts. I placed an Amazon order, and the next day I had 25 dog tags to play with! I learned a couple of things that might help you in LightBurn. One is choosing the right type of ‘mode’. ‘Line’ is basically the outline, whereas ‘Fill’ is the pattern filled in. I know this sounds so simple and makes complete sense, but for me (as well as many others on the Facebook group), this mode setting gets often overlooked. I was engraving text. Line would outline each letter, while Fill would engrave the inside of the letters. Another thing I figured out was to get the clearest small text; you need to install some SHX fonts. The normal fonts will always be outlined (when Line is chosen). So even the smallest lettering will be outlined and be unreadable. Meanwhile, SHX fonts are simple, open path fonts. For SHX fonts, only 1 line is used, essentially a fill that is one line-width. I hope that helps.
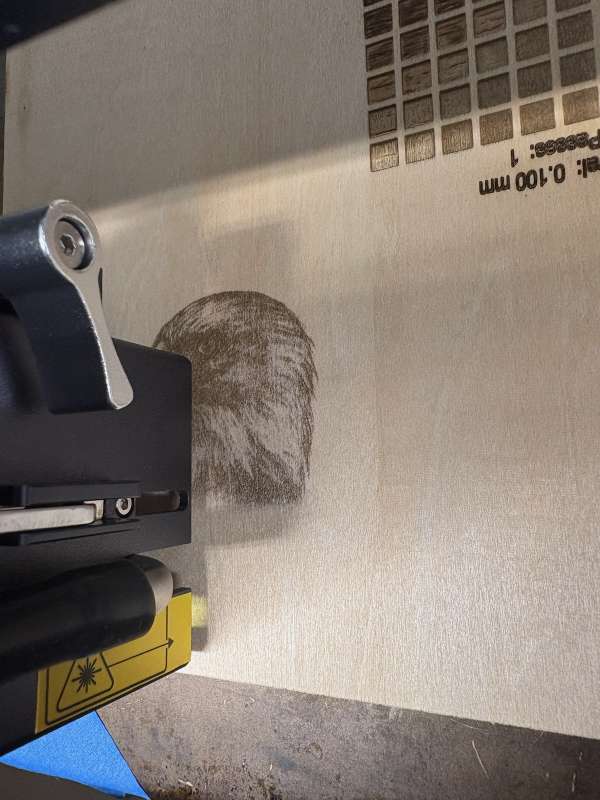
Another test I was curious about was the laser engraving of pictures. I tried the included eagle clipart, and it turned out pretty good. I decided to try to print a picture of my daughter. That didn’t come out so well, well, pretty bad actually. Using the Preview feature in LightBurn showed that my settings (power and speed) would produce good results, but it came out so dark – so no shareable pic lol! No fault of the Acmer P2 33W Laser Engraver Cutting Machine, just user error with learning new software.
Honeycomb Laser Bed
I did receive the Honeycomb Laser bed. This replaced my jerry-rigged table top protector (cookie sheet). And this came with measurements, pins to lock down the item to be engraved, and an additional steel protective sheet. For the P2, I would recommend getting the bed that is 500 x 500 mm (E10).
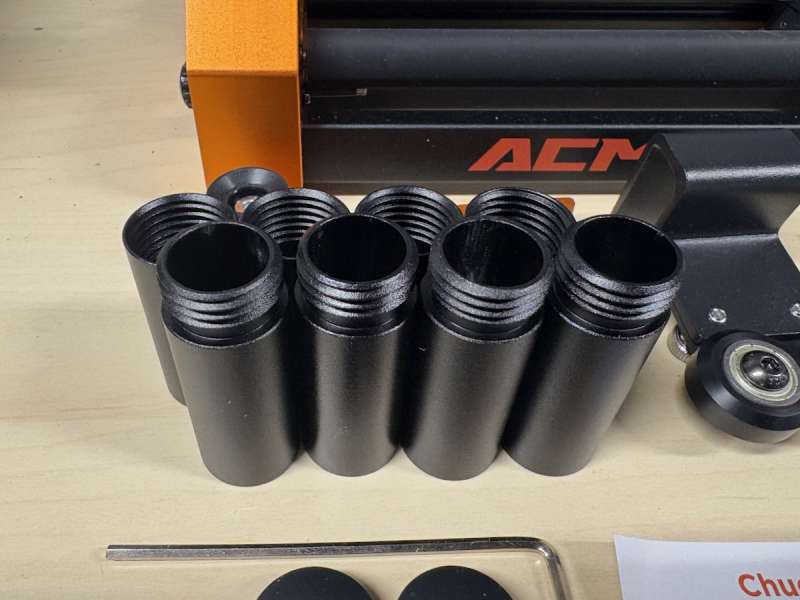
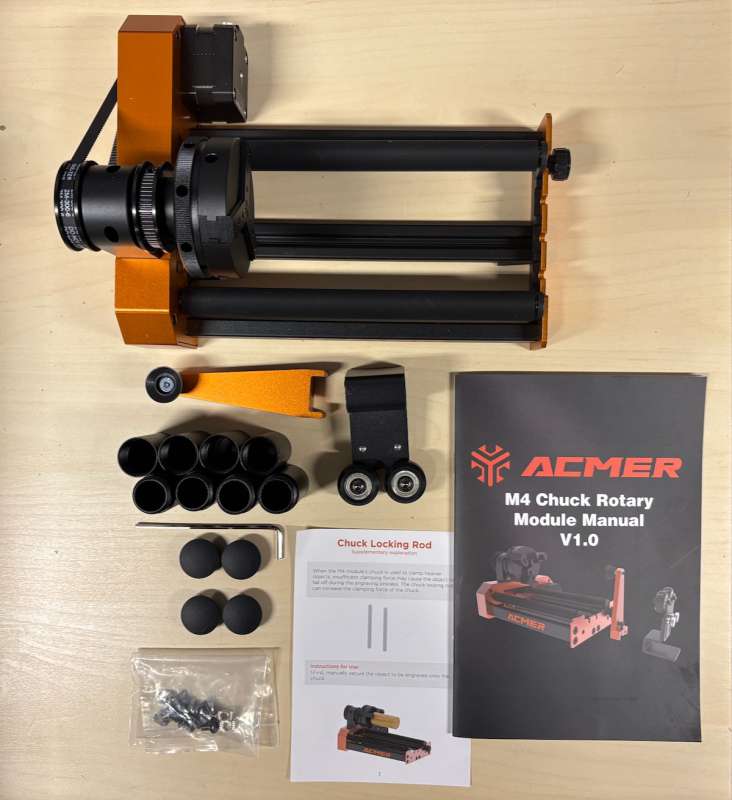
M4 4-in-1 Laser Chuck Rotary Roller & Metal Risers
This is a new product from Acmer. They continue to offer rollers (M1, M2, and M3), but the M4 is the first offering a chuck attachment in addition to the roller function. These rotary options are required to engrave cylindrical objects such as:
- Wine glasses
- baseball bats & baseballs
- rings
- cups with handles
The Metal Risers are required due to the height of the M4 4-in-1 Laser Chuck Rotary Roller. I also removed the Honeycomb Laser Bed. Depending on your object, you may need to find ways to increase the height even more.
The Specs of the M4 4-in-1 Laser Chuck Rotary Roller:
- Size: 250 x 175 x 125 mm
- Weight: 1.6 kg
- Roller Maximum Spacing: 78 mm
- Roller Recommended Engraving: Length ≤ 370 mm (uniform density cylinder)
- Chuck Recommended Clamping Diameter Range:
- Stepped Claw: (1-100 mm)
- Right Angle Claw: (1-134 mm)
- Spherical Rod (inner diameter 9.5-95 mm)
- Ring: 16-75 mm (sphere)
- Chuck Size: Ø64 mm
- Width Adjustment: 4 levels
- Engraving Diameter Range: 3 mm ≤ D ≤ 150 mm
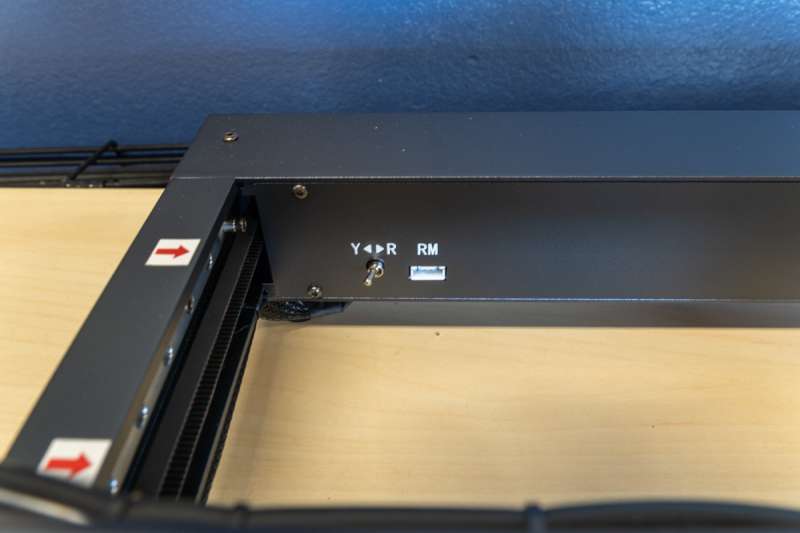
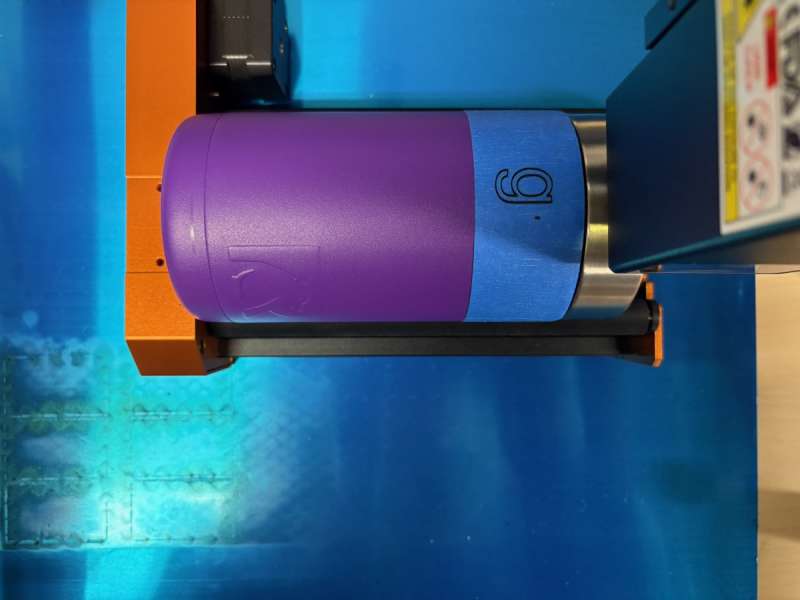
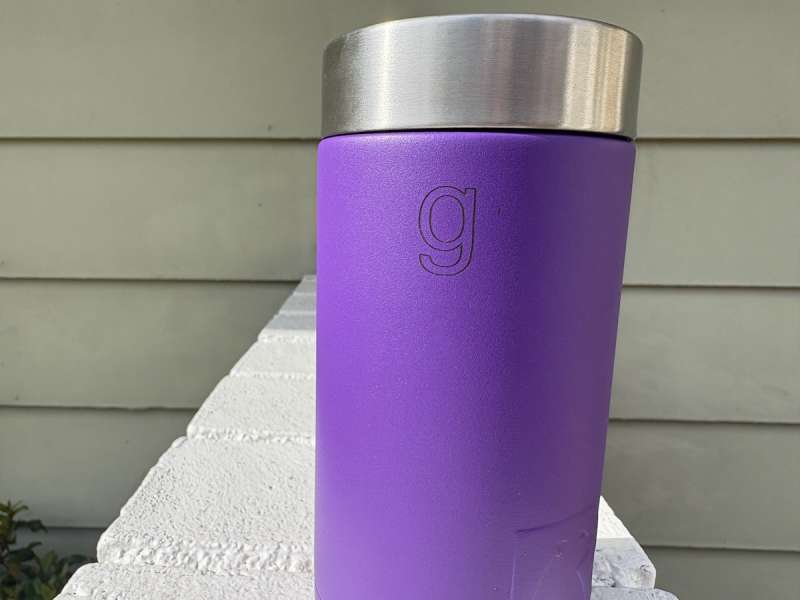
I used the roller function as I couldn’t get a tight enough fit using the chuck when engraving an Rtic tumbler (maybe because the base is slightly rounded). Oh, and be sure to switch the toggle from ‘Y’ to ‘R’!
Final thoughts
I appreciate you reading to this point, I know this was a long review. There is so much to using a laser engraver and using it well.
Short answer, I highly recommend the Acmer P2 33W Laser Engraver Cutting Machine. It does so much; cuts through thicker material, engraves fast and accurate, and has so many accessories to really take your projects to the next level.
With a tool like the Acmer P2 33W Laser Engraver Cutting Machine, the time invested in learning powerful software like LightBurn will be worth it. This machine is so capable, and all that’s needed to unlock its full potential is the willingness to learn and experiment with what’s possible. There is a lot of headroom to grow your designs and projects.
What I like about the Acmer P2 33W Laser Engraver Cutting Machine
- Powerful!
- Pre-assembled
- Up and running quickly
- Fast
- Number of Accessories
What needs to be improved?
- Included instructions could be better
Price: $1399.00 ON SALE $790.00
Where to buy: Acmer Laser
Source: The sample of this product was provided for free by Acmer. Acmer did not have a final say on the review and did not preview the review before it was published.
Check out these other reviews!
- EM-Smart Dual 20W Fiber & 20W Diode Laser Engraver Review – double the capability!
- AlgoLaser alpha MK2 20W diode laser engraver review – a new level of creativity
- Creality Falcon2 Pro 40W laser engraver review – a great laser engraver with tons of features
L39 Ultra Slim UV Protective Filter for Leica Q3 43 Q2 Camera with Moisture-Proof Case & Removal Tool 19 Layers Mulit-Coated UV Ultraviolet Filter 99.3% Light Transmission Water Oil Scratch Resistant
(as of March 24, 2026 01:56 GMT -05:00 - More infoProduct prices and availability are accurate as of the date/time indicated and are subject to change. Any price and availability information displayed on [relevant Amazon Site(s), as applicable] at the time of purchase will apply to the purchase of this product.)