REVIEW – It has been over two decades since I built a PC from the motherboard up. I remember the fun of shopping for all the components, from the motherboard to the video card to the case, power supply, etc. When I was offered the opportunity to review the SunFounder Pironman 5 Raspberry Pi 5 mini PC case, I was happy to accept the challenge. Let’s find out if I still have the knack to build a “PC.”
What is it?
The SunFounder Pironman 5 is a DIY kit for building a case for the Raspberry Pi 5.
What’s included?
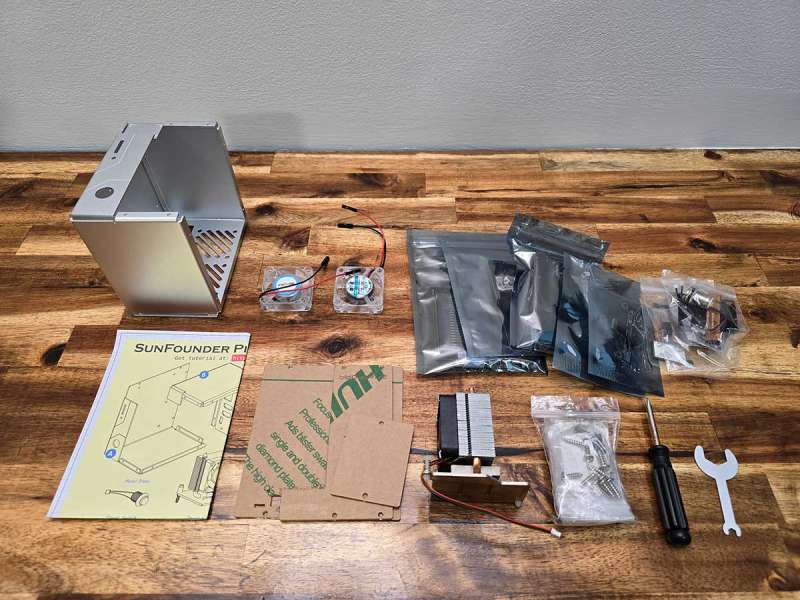
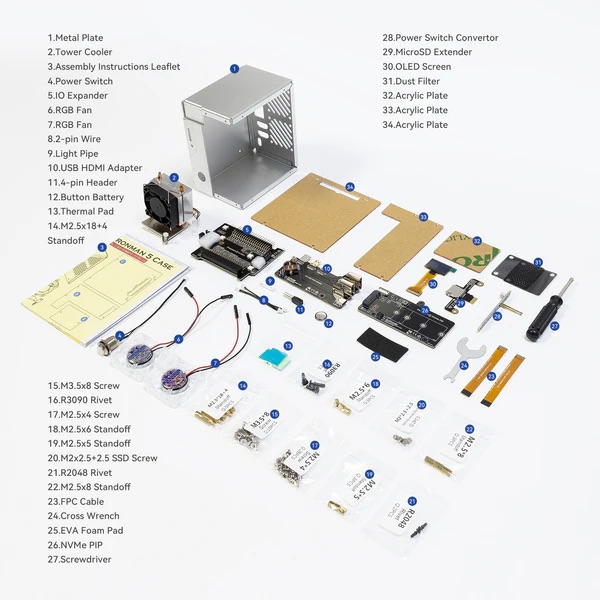
This kit includes everything you see above, but it doesn’t include the Raspberry Pi 5 or an SSD, which you’ll need to purchase separately. You should also be aware that this kit can be purchased with a power adapter (US or UK) or without one. SunFounder sent me the kit without the power adapter, which caused me some issues. See more about that further down in the review.
Tech specs
Click to expand Specs
Spec1
Spec2
Spec3
Spec4
Assembly required – a lot of it
Before we start, I just want to make it obvious that this is a kit for building a case that houses a Raspberry Pi 5. I won’t be going into how to set up or use the Raspberry Pi. I’m just going to talk about my experience building the case and how it performed once I completed the build, challenges along the way, etc.
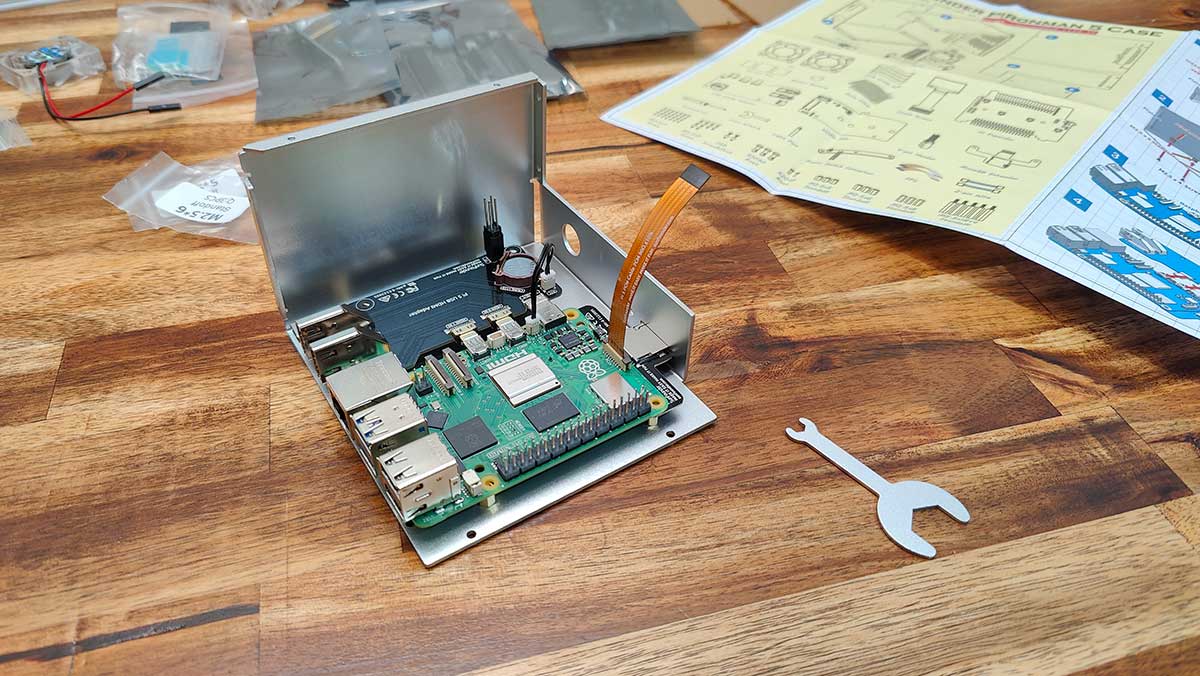
Good news – The SunFounder Pironman 5 kit has everything you need (minus the Raspberry Pi 5, a monitor, keyboard, mouse, SSD). The step by step instructions are clear and easy to understand with large clear images.
The kit even includes a wrench and a Philips screwdriver. The bad news is that the screwdriver is crap. At least the screwdriver that came with my kit was crap. The tip was blunt so that it wouldn’t fit in the tiny Philips screws. No problem though, I’m The Gadgeteer! I have several screwdriver sets, so I took out my Magnet Driver Space Rocket screwdriver set and got busy!
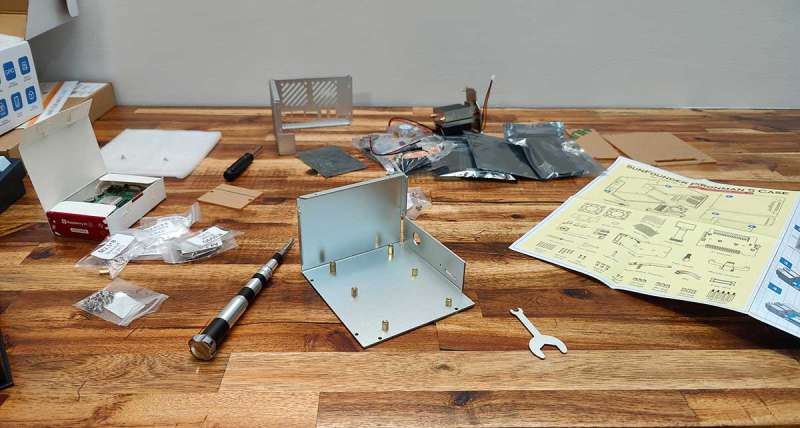
The Pironman 5 case is an aluminum chassis that is made up of two parts. The first step had me attaching standoffs.
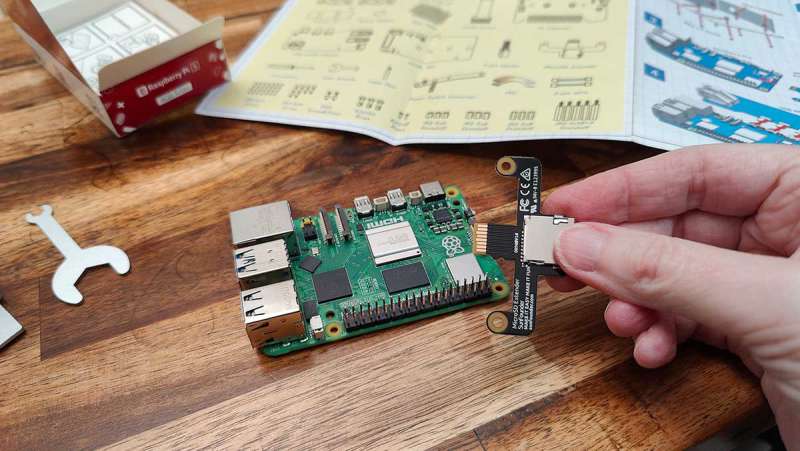
Next up was to insert the MicroSD extender board into the Raspberry Pi 5.
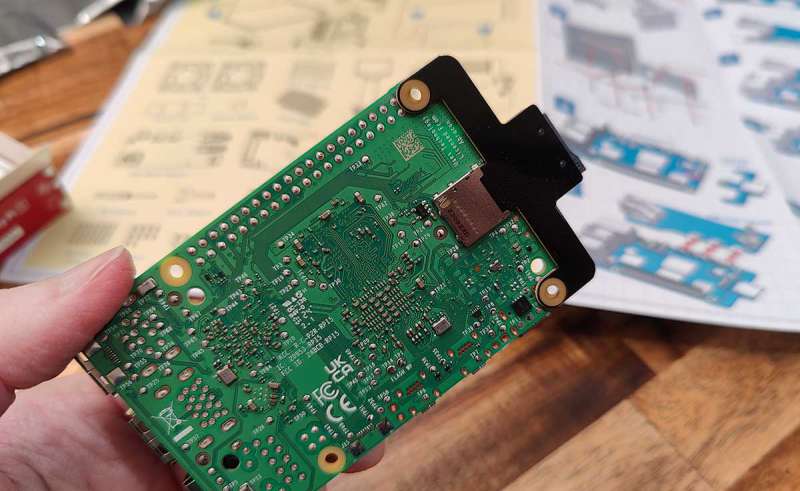
This board fits easily into the slot on the Pi 5 board.
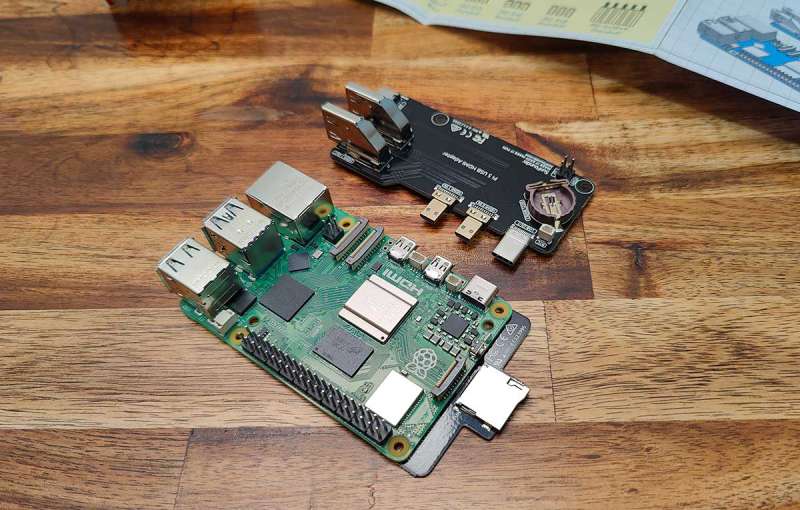
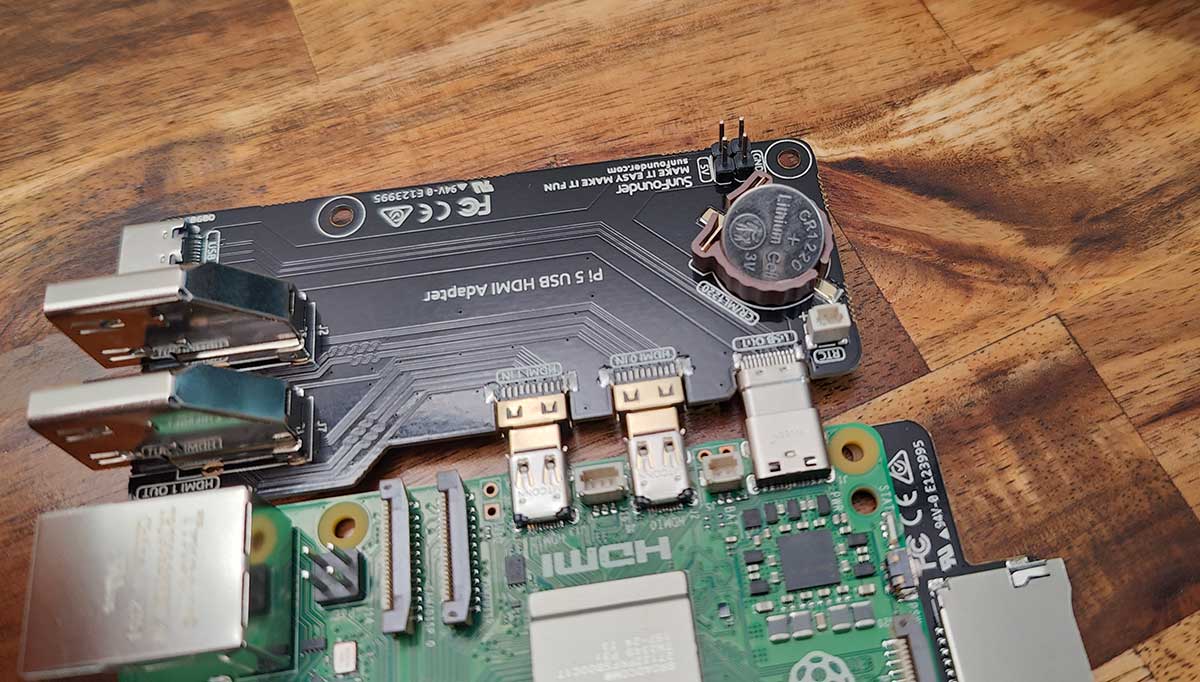
Then I attached the USB HDMI adapter Raspberry Pi 5. This adapter that is included with the Pironman 5 kit adds 2 HDMI ports to the Raspberry Pi 5.
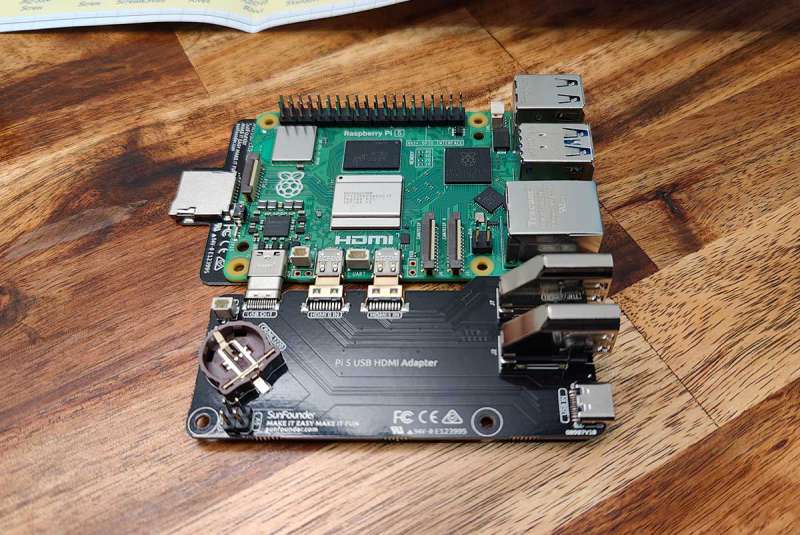
Here’s the Raspberry Pi 5 with the micro SD Extender and USB HDMI Adapters attached.
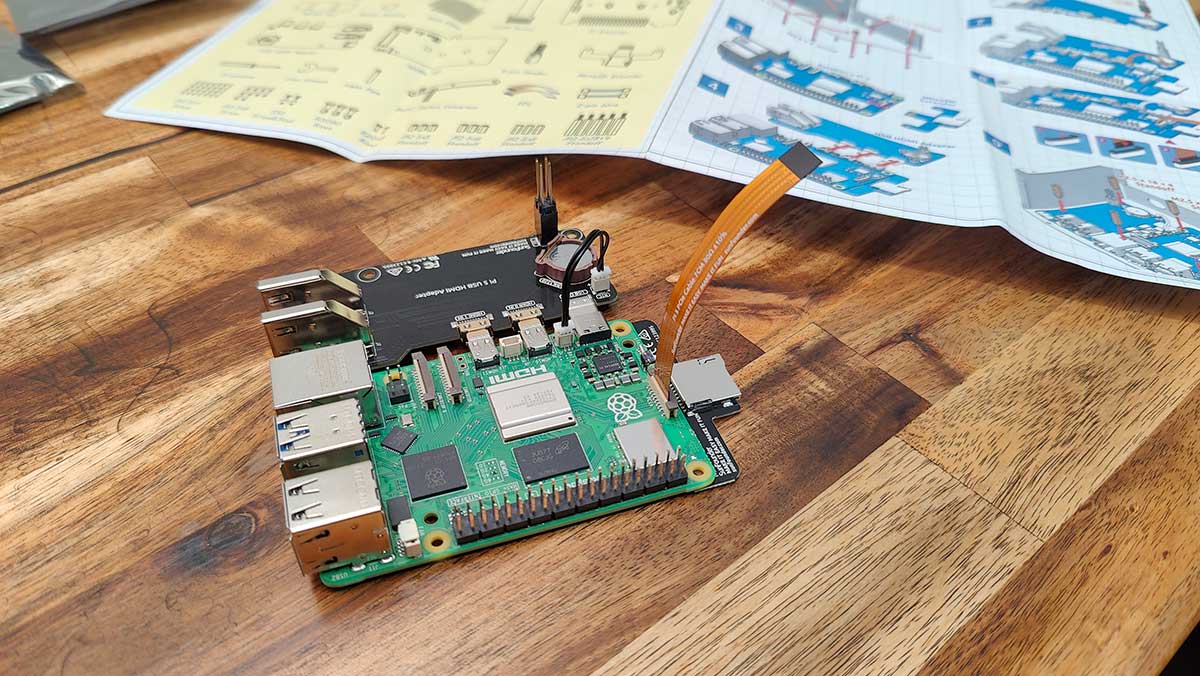
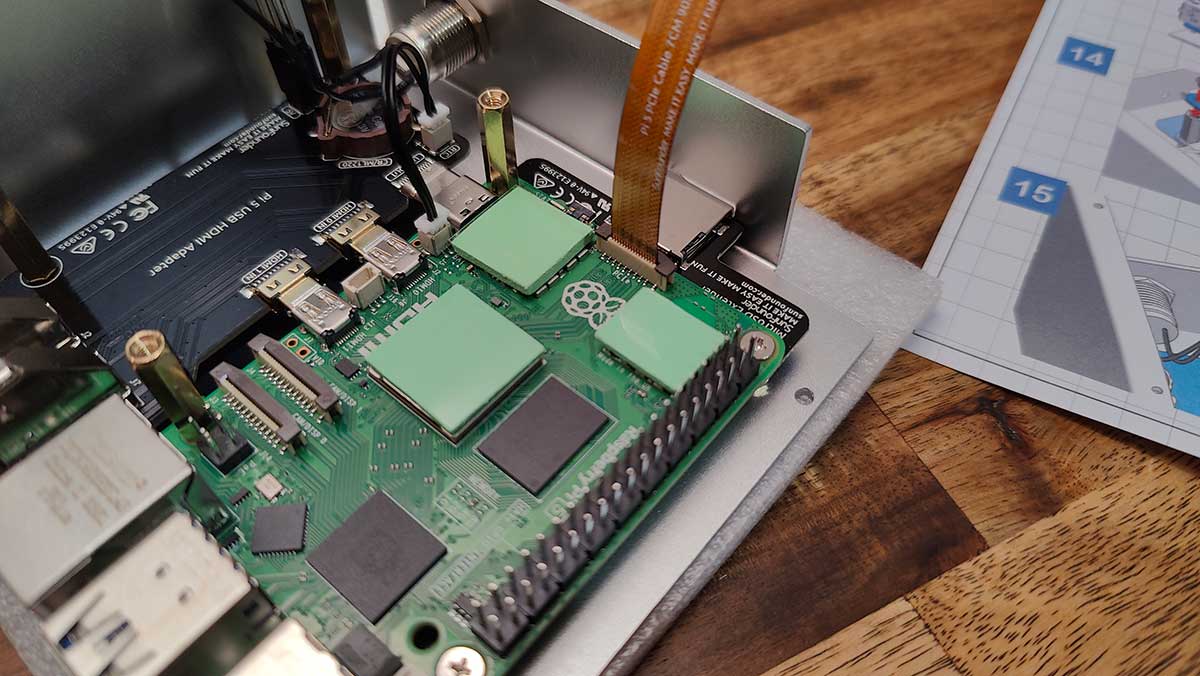
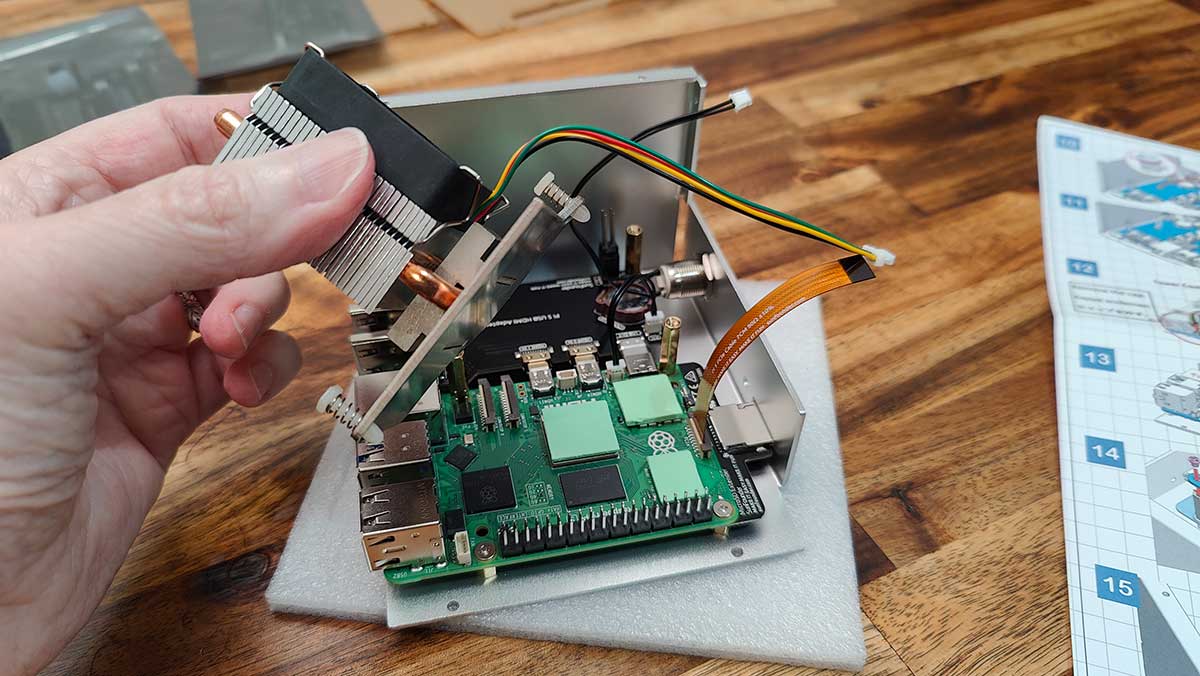
The next steps included adding header pins, ribbon cables, power button, and the large thermal cooler. All of the steps were easy to understand and complete.
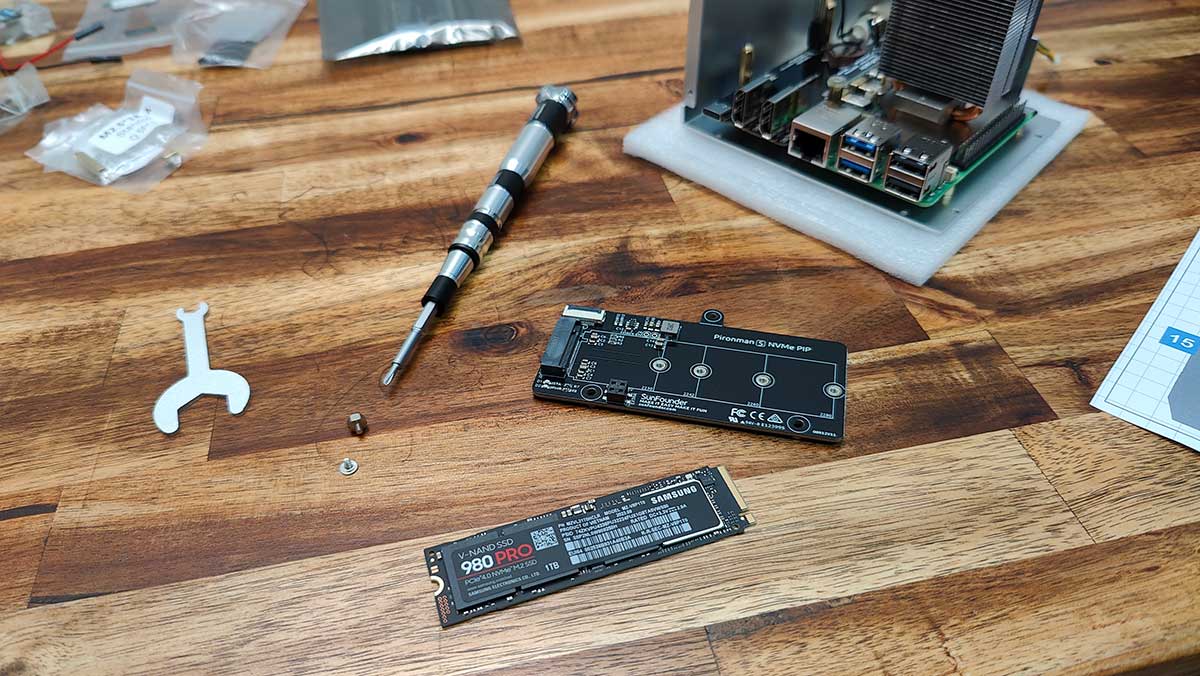
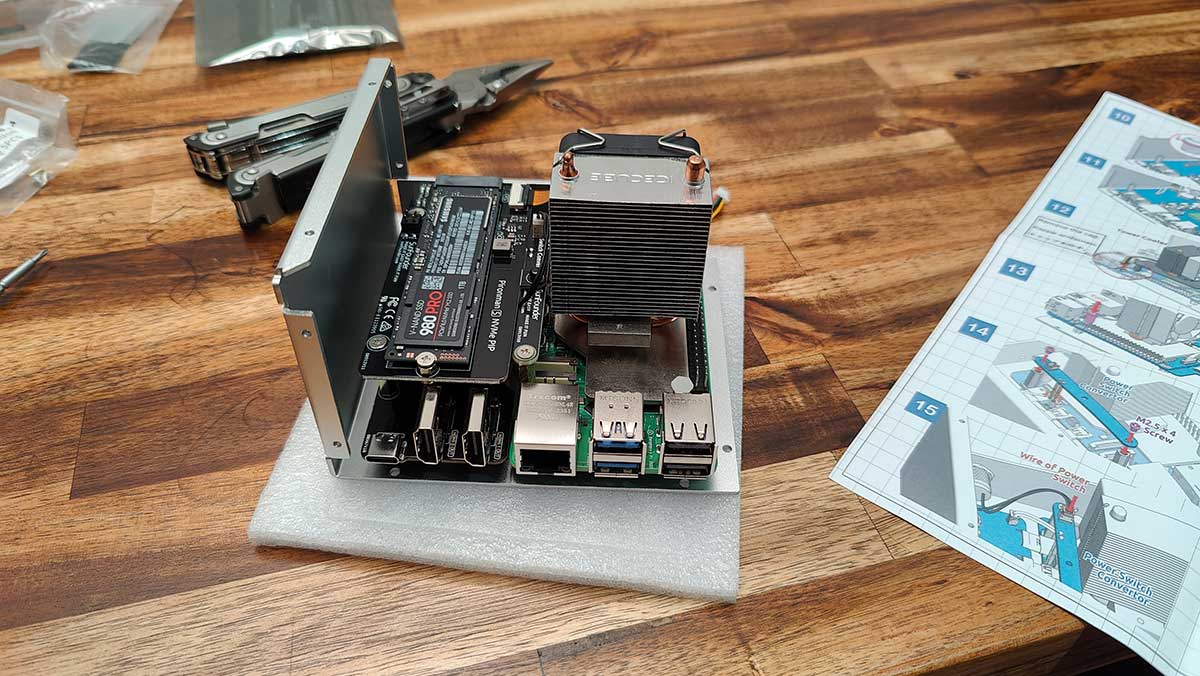
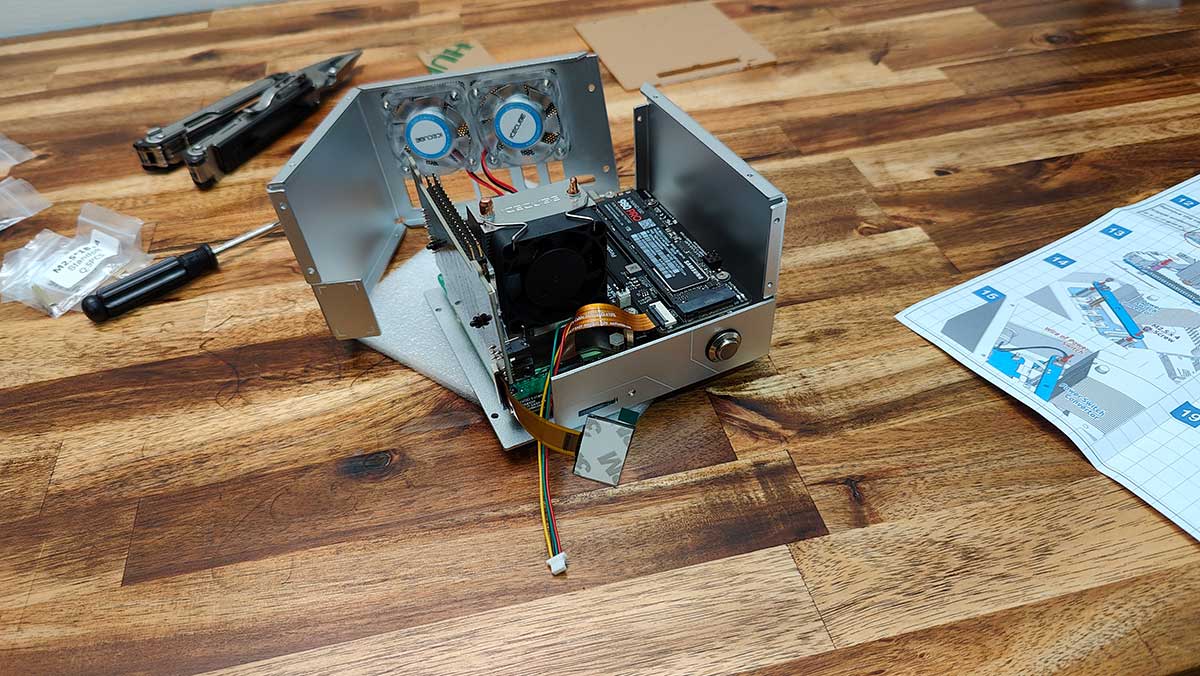
The Raspberry Pi 5 uses a micro SD card for the OS, but the Pironman 5 kit allows you to put the OS on an NVMe SSD. It’s up to you to supply the SSD.
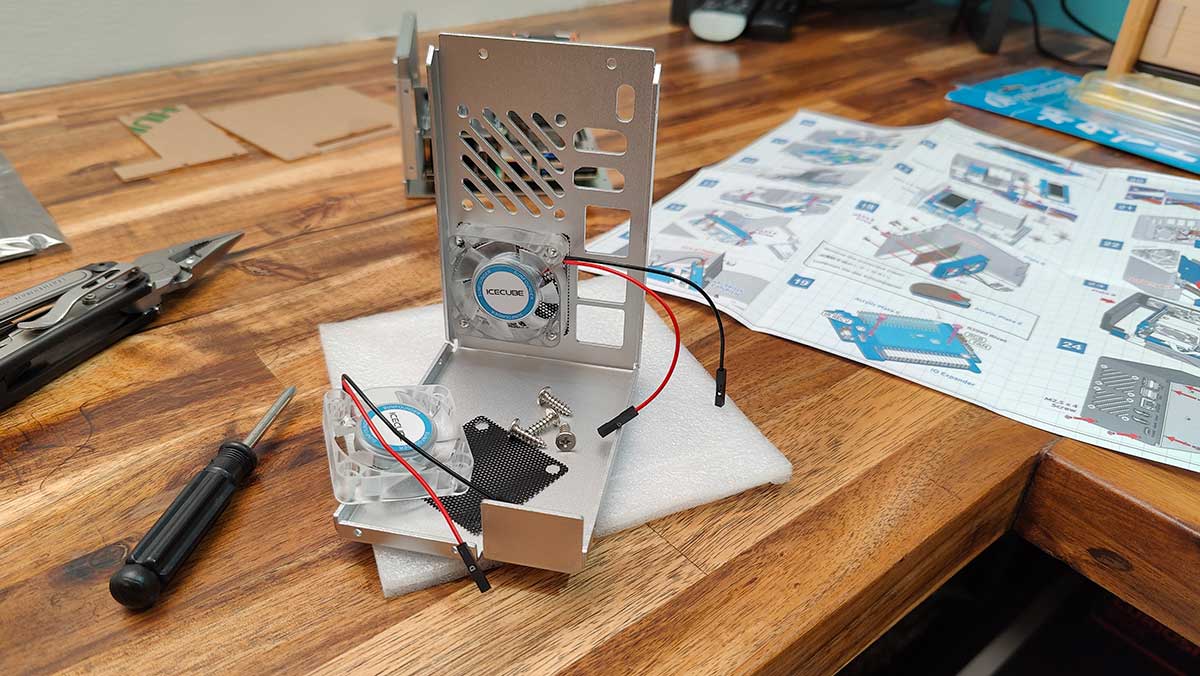
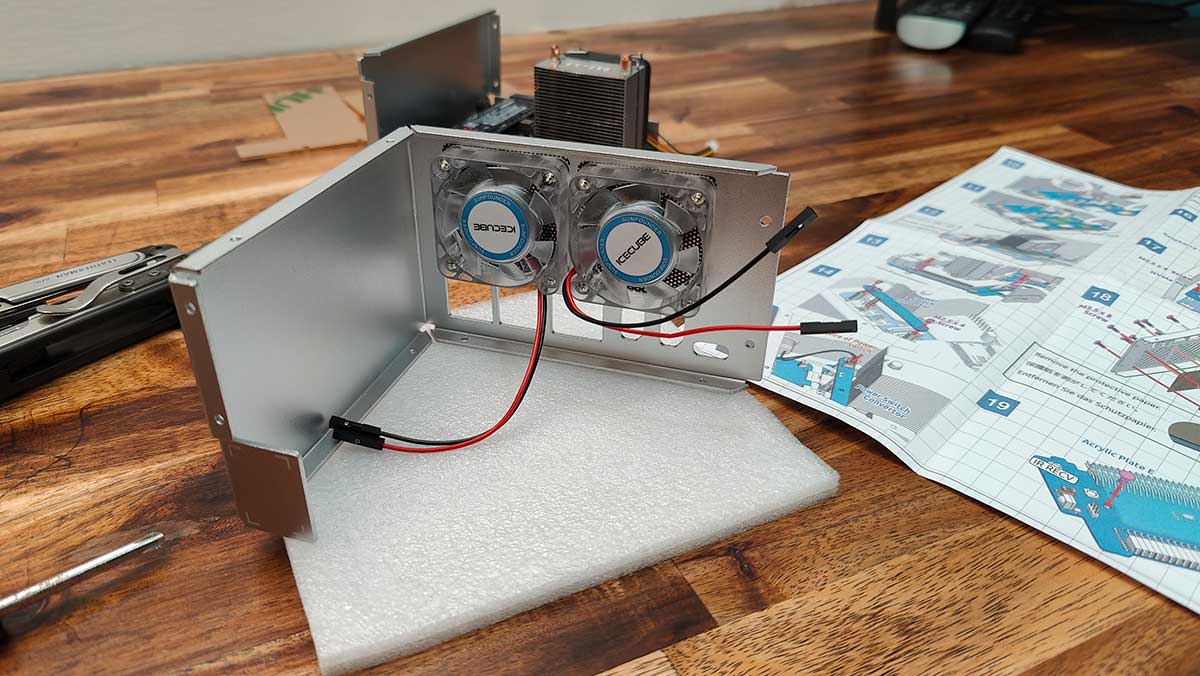
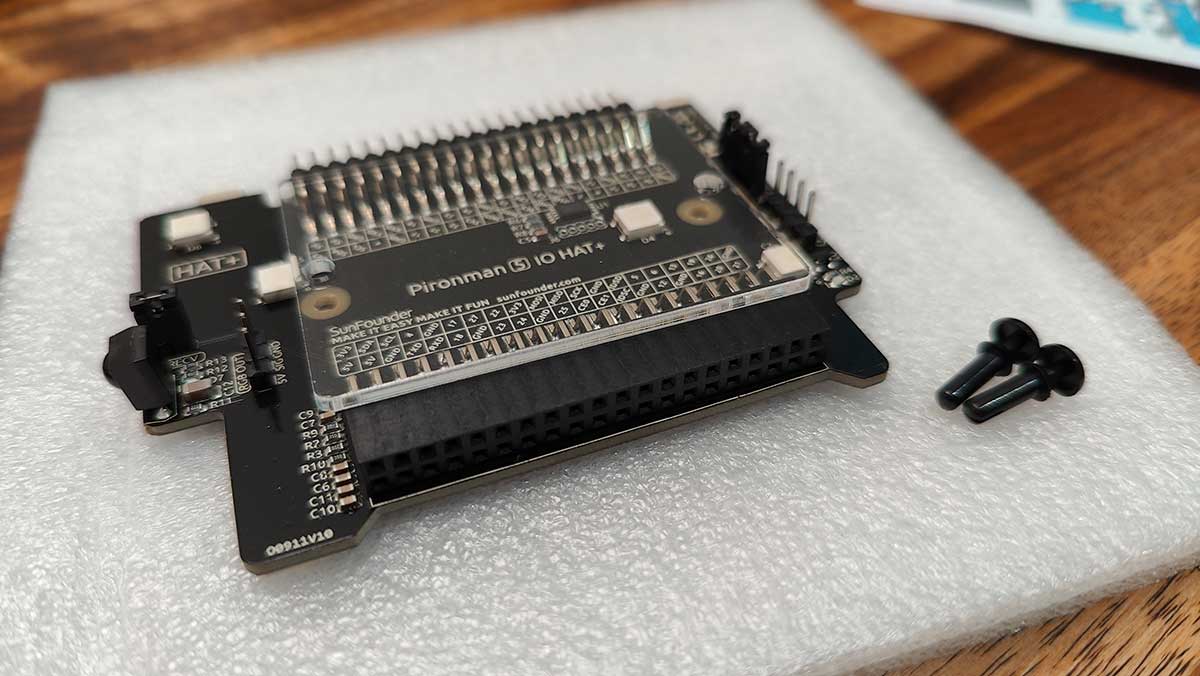
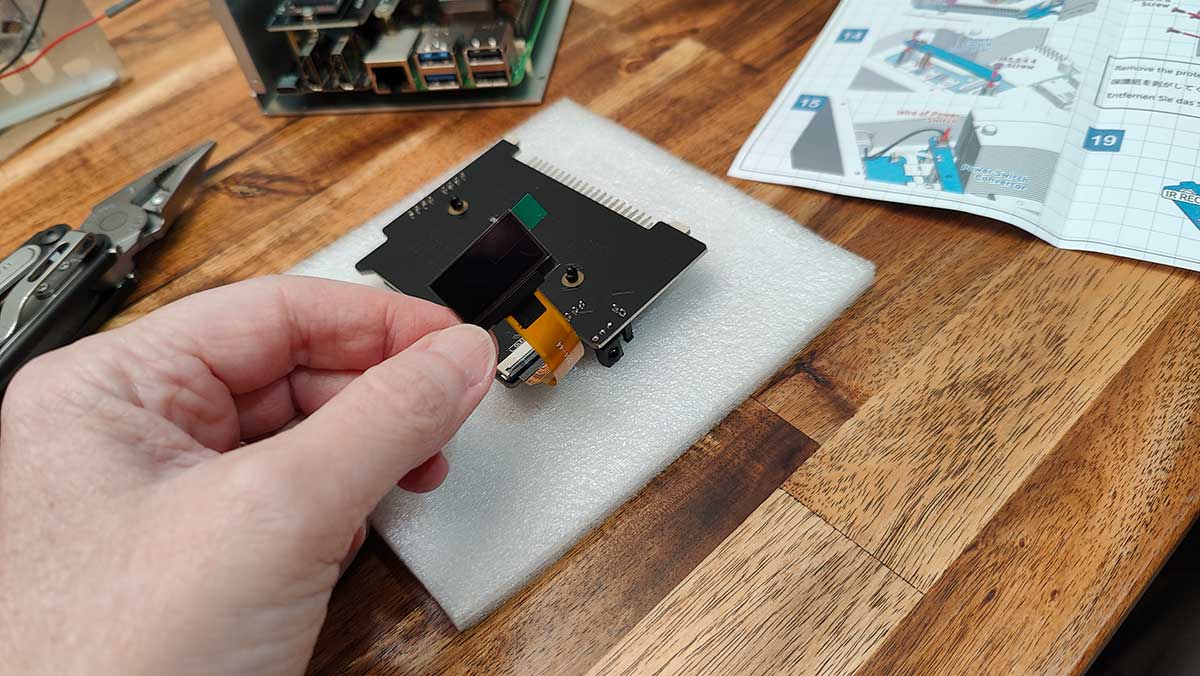
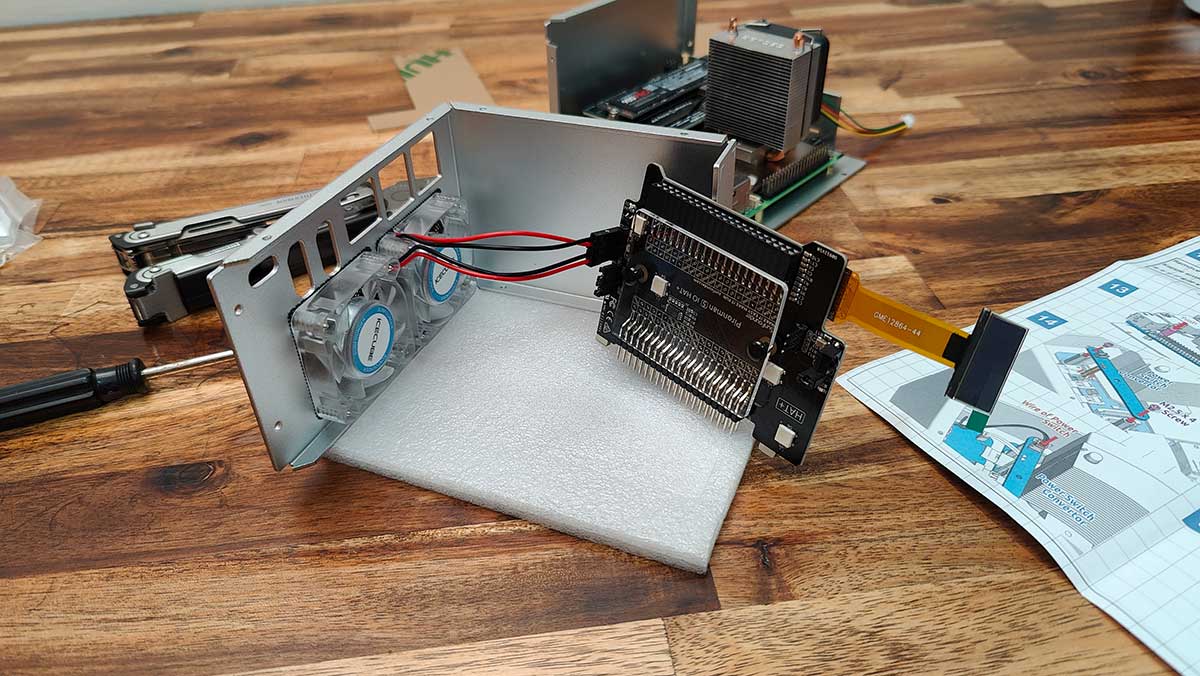
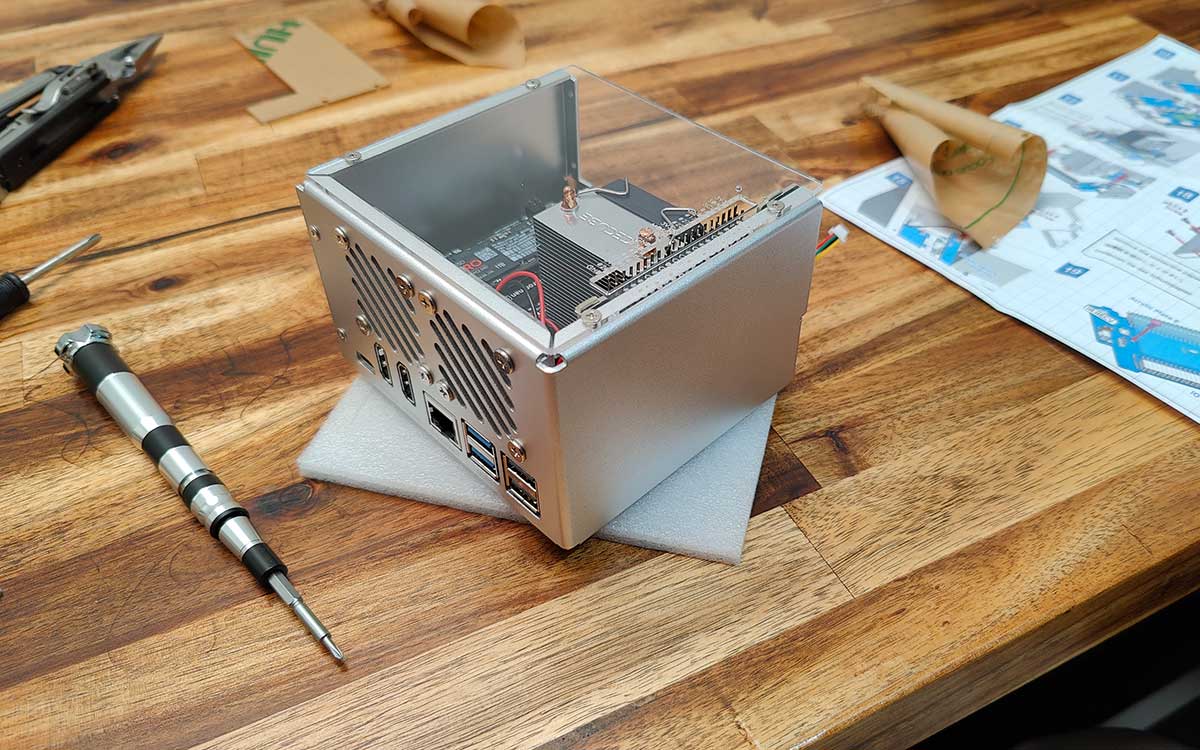
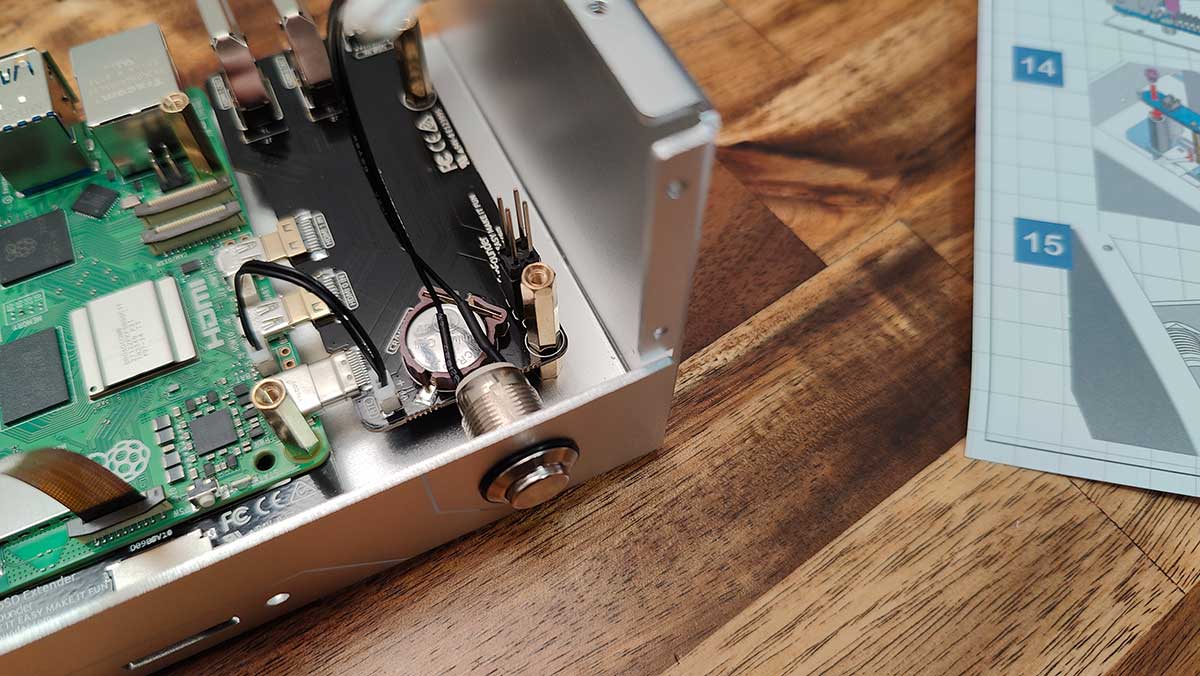
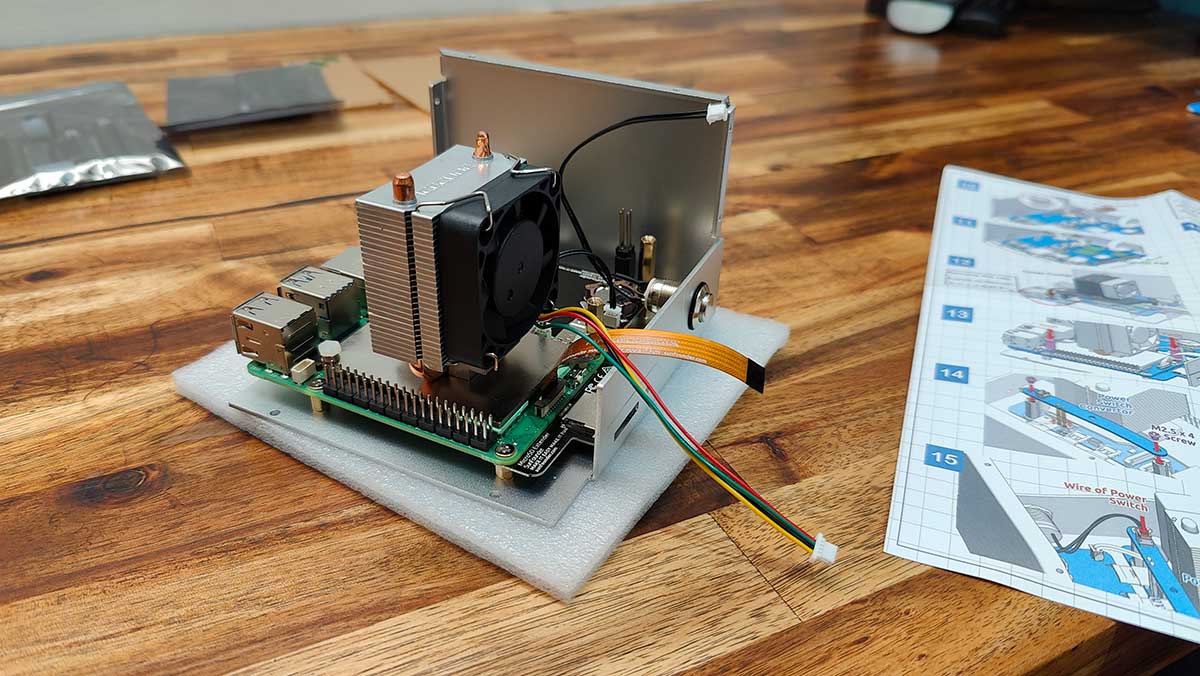
About an hour into the build, I could see light at the end of the tunnel when I attached the two fans to the other part of the chassis. Next was the IO expander board which the little OLED display connects to.
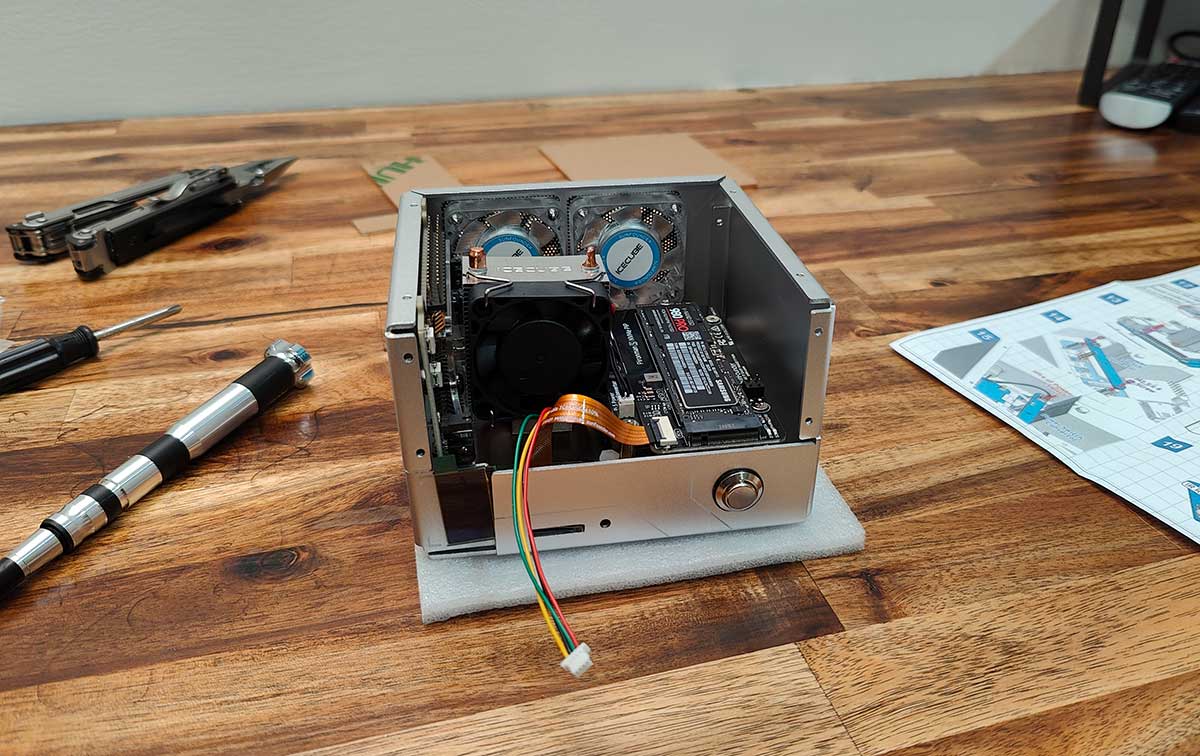
And then, it was time to bring the two halves of the case together along with the acrylic plates that allow you to see the inner workings of the Raspberry Pi 5.
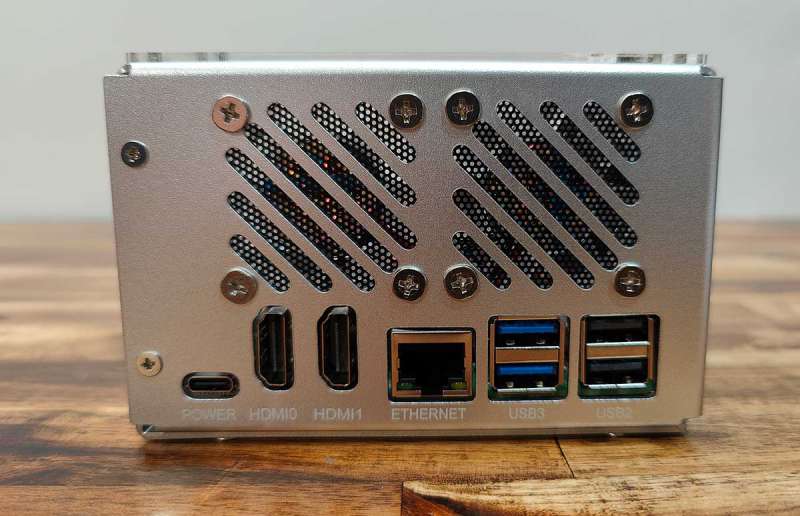
Here’s a look at the ports and fan grills. As you can see, all the ports and connectors line up perfectly with the case. I had no issues lining up the screw holes. The whole build was easy and fun.
I took a lunch break while doing the build, but the whole thing, start to finish, took me about 90 minutes. It took me longer because I accidentally discovered that I had missed hooking up the thermal cooler cable until after I had already started the final assembly of the two chassis halves.
Spoiler, this wouldn’t be the only time I would have to unassemble things…
Once everything was assembled, I connected a keyboard, mouse, and a Viotek USB monitor and powered it up with the Raspberry Pi OS installed on a micro SD card. It booted fine, but the keyboard wouldn’t work. A warning on the monitor complained that the power adapter that I was using was not 5V/5A and didn’t have enough power for accessories. I tried a handful of other USB adapters and had the same issue. I ended up ordering a power supply from Amazon that worked like a charm.
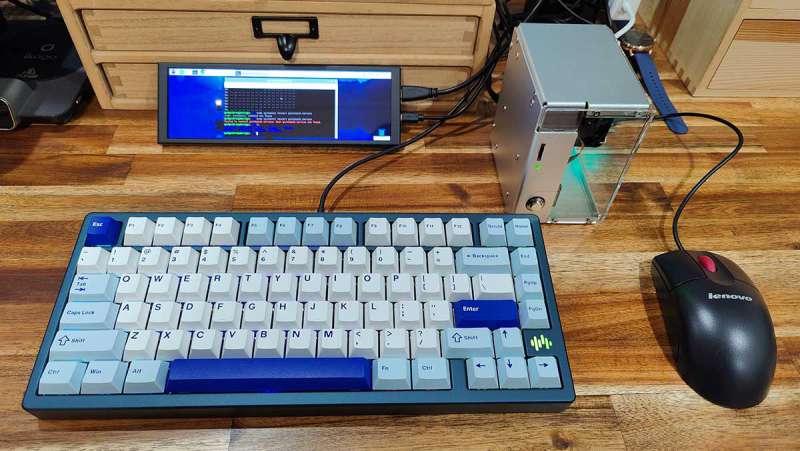
I also tried the Elecrow strip display and it worked great too. What didn’t work great though was the built-in OLED display. As you can see from the photos above, it’s off.
This prompted me to unassemble the case to make sure that I had the ribbon cable correctly inserted into the connector. After reassembling, the display still wouldn’t come on which prompted an email to SunFounder. They gave me the link to instructions for installing a module that activates the display and other features. The link to this info should be included with the written instructions.
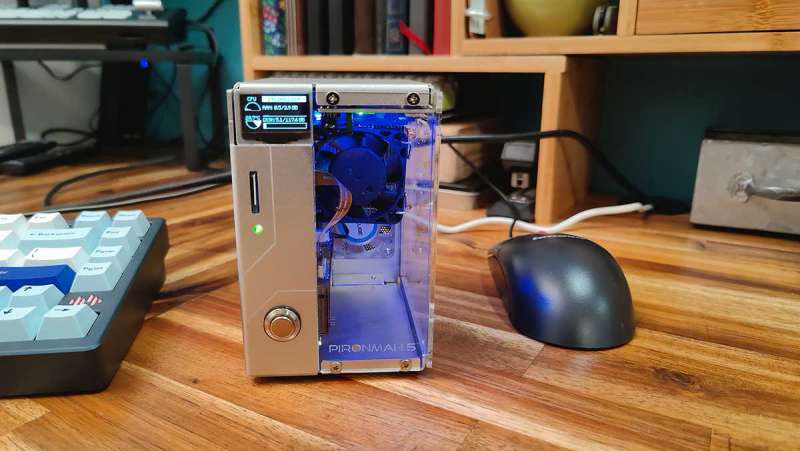
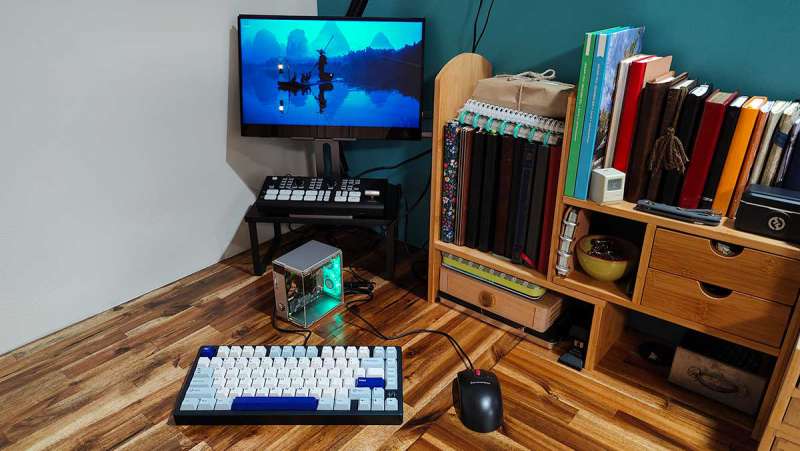
A few commands were typed into the Raspberry Pi 5 terminal, rebooted, and the OLED display came alive! The display shows the IP address, CPU load, temperature, RAM, and disk space.
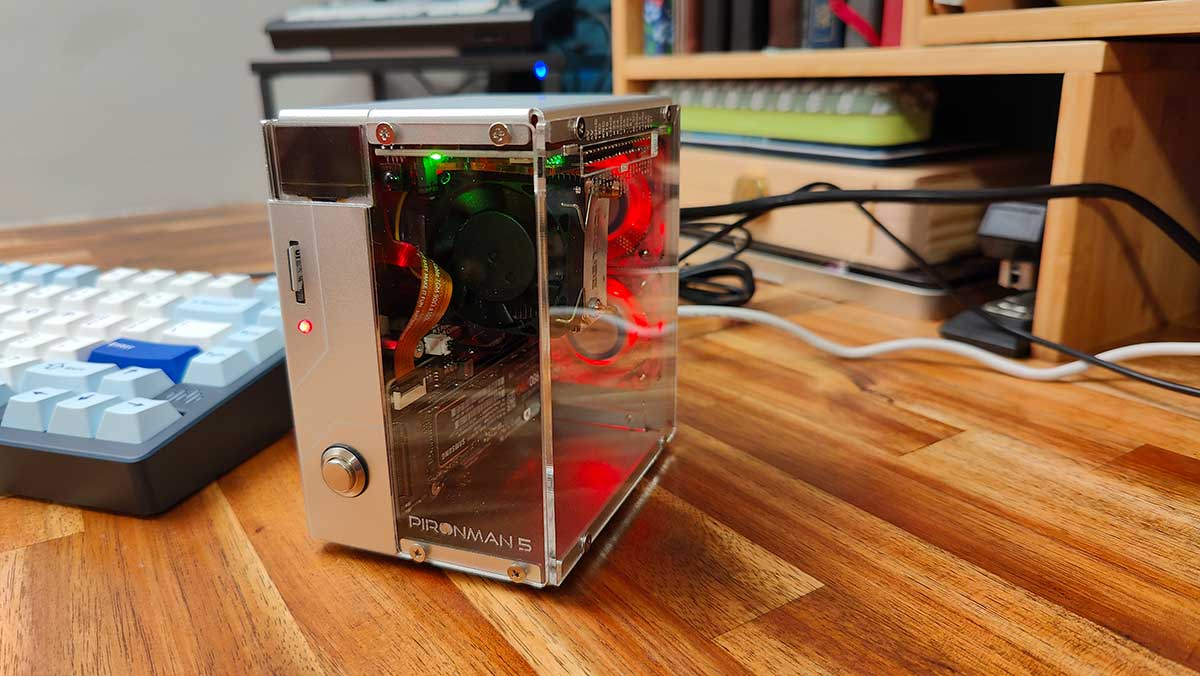
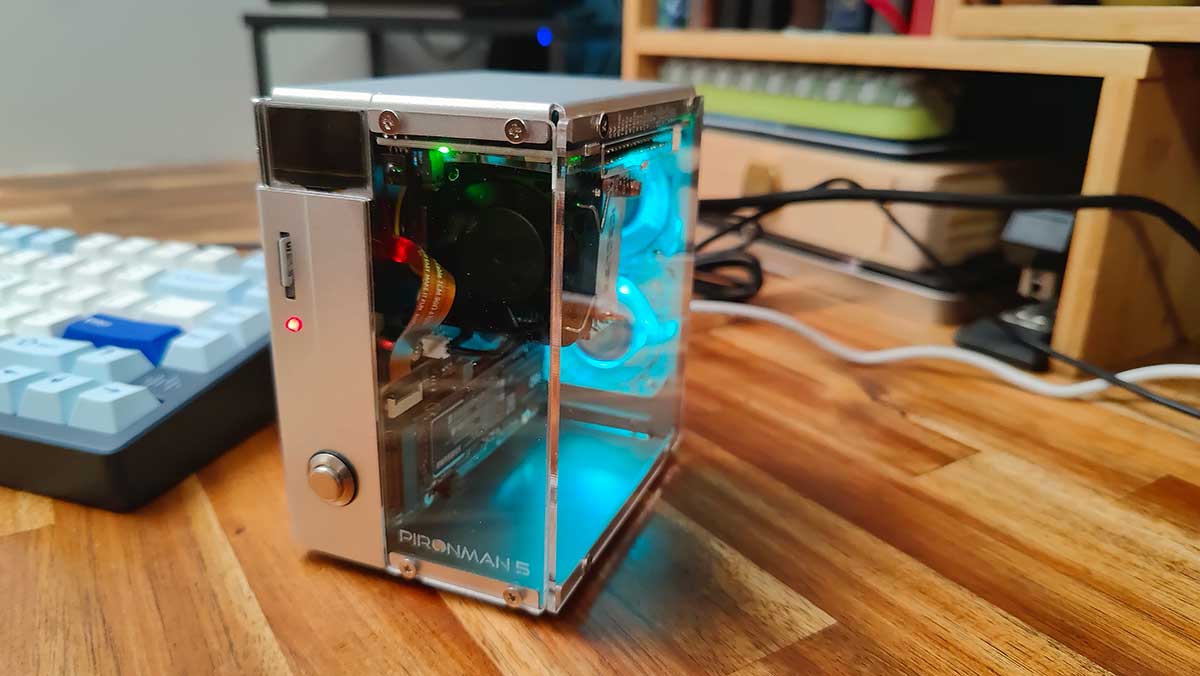
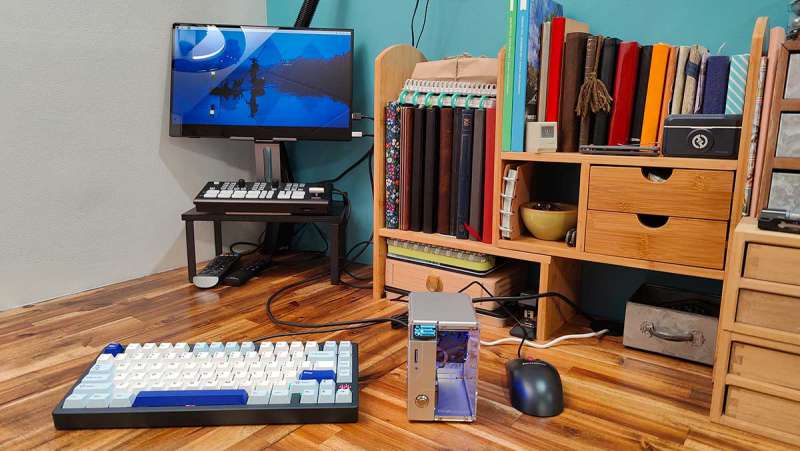
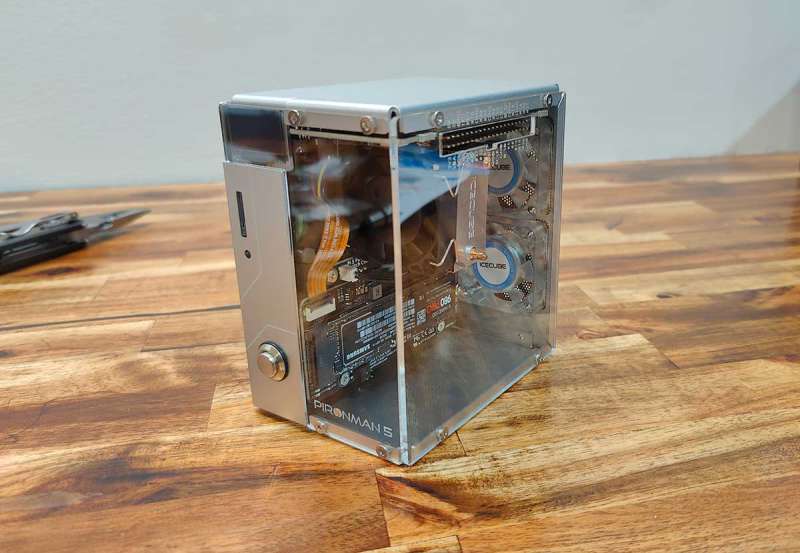
Assembled and running, the Pironman 5 looks like a miniature gaming rig with cycling RGB light effects. I think it looks even nicer because I built it 🙂
What I like about the SunFounder Pironman 5 Raspberry Pi 5 mini PC case
- Easy to understand instructions
- Fun build
- Great look
- Full size HDMI ports
- NVMe SSD
What needs to be improved?
- Include a better Philips screwdriver
- Include info in the written instructions that you need to install a module to get the OLED display to work
Final thoughts
With its sleek aluminum design, RGB lighting, advanced cooling system, support for NVMe SSDs, full-size HDMI ports, and the informative OLED display, the SunFounder Pironman 5 case kit has everything you need to turn your Raspberry Pi 5 info a mini tower PC. While the assembly process requires patience and attention to detail, the build was fun and educational. Despite minor issues like the need for a better screwdriver and clearer instructions for activating certain features, the Pironman 5 stands out as a top-tier option for those looking to maximize their Raspberry Pi 5’s potential.
Price: $79.99 (without power adapter) / $92.99 (with adapter)
Where to buy: SunFounder
Source: The sample for this review was provided by SunFounder. SunFounder did not have a final say on the review and did not preview the review before it was published.

2-Pack LED Video Light Kit, NiceVeedi Studio Light, 2800-6500K Dimmable Photography Lighting Kit with Tripod Stand&Phone Holder, 73" Stream Light for Video Recording, Game Streaming, YouTube
(as of March 11, 2026 18:46 GMT -05:00 - More infoProduct prices and availability are accurate as of the date/time indicated and are subject to change. Any price and availability information displayed on [relevant Amazon Site(s), as applicable] at the time of purchase will apply to the purchase of this product.)
Gadgeteer Comment Policy - Please read before commenting
Hi,
I just completed my build of the Pironman 5 case 08/16/2024 and had it up and running in less than 2 hours.
I hate to say it but the “Instructions” do tell you to go to https://pironman5.rtfd.io for the tutorial. At the top of the “yellow” page showing the parts display.
I agree with your Pro’s and some of the Con’s; I would add that the screw heads should have all been countersunk to give the case a more flush look/feel to it.
I’ve been into PC’s since the intro to the Commodore 64; I’m a Vietnam Vet who loves technology.
Ken
Ken, you’re right. I missed the tutorial link. 🙂 Live and learn, right?
Thanks for mentioning the C64. That was one of my all time favorite computers.