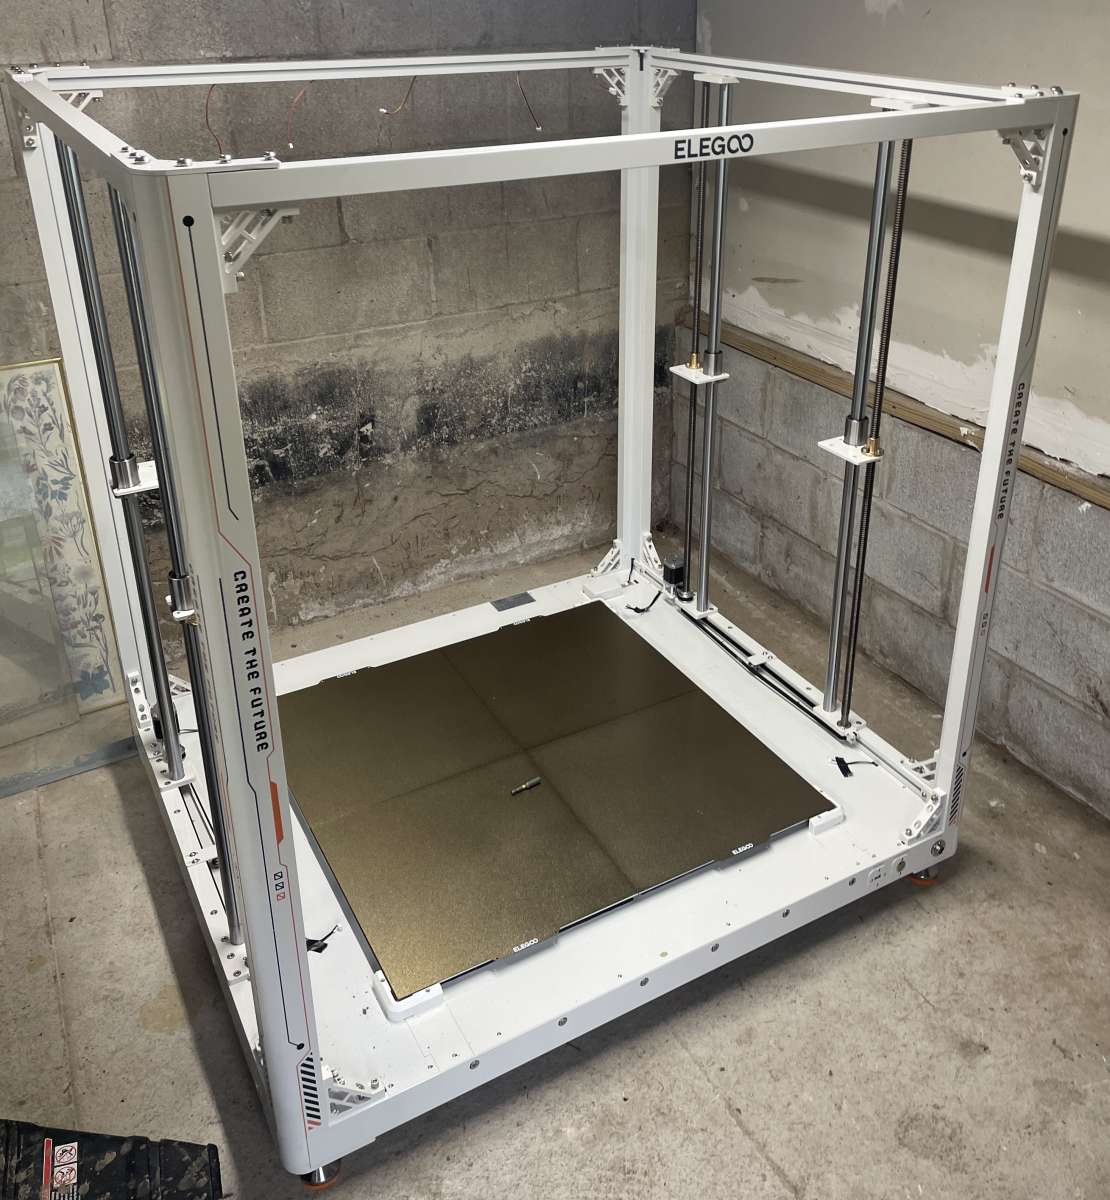
REVIEW – Does the prospect of making stuff make you giddy? Do you want to step up your 3D printer game to make some colossal stuff? Do you need a full-sized suit of armor without splicing parts together? If you answered “Yes?” to any of these, the ELEGOO OrangeStorm Giga 3D printer is fabulous! Read on!
What is it?
The ELEGOO OrangeStorm Giga is an FDM (fused-deposit modeling) 3D printer capable of generating 800 x 800 x 1000mm models using various materials.
What’s included?
- OrangeStorm Giga printer (assembly required)
- Base kit
- Z-axis left assembly
- Z-Axis right assembly
- X/Y- axis assembly
- Front top bar
- Rear top bar
- Printhead
- Touchscreen
- Levelling plates (2)
- Spool holder arm
- Spool holder spindle
- Filament breakage detector
- Z-axis end stop
- Z-Axis caterpillar track retaining clip
- Corner brackets (8)
- Filament guide assembly
- Detached 5kg spool holder
- Power cable
- Metal leveling card
- USB drive with software, manuals, and test files
- Open-end wrenches (2)
- Network cable
- Cable ties
- Spare nozzles (4)
- Nozzle cleaning needle
- Screwdrivers (2)
- Hex (Allen) wrench set (1.5, 2.0, 2.5, 3.0, 4.0, 5.0 and 6.0mm)
- Assembly bolt, screw, and washer hardware set
- Bonus USB card reader and SD card
- Installation manual
Tech specs
- Printer type: FDM Fused deposit modeling
- Build volume: 800 x 800 x 1000mm
- Print precision: ±0.1mm
- Nozzle diameter: 0.6mm
- Print speed: 30 to 300mm/s (default 150mm/s)
- Ambient environment temperature: 5 to 40°C (41 to 104°F)
- Maximum nozzle temperature: 300°C (572°F)
- Maximum heat bed temperature: 100°C (212°F) at ambient temperature of 25°C (77°F)
- Slicer software: Cura modified by Elegoo
- Input file type: STL and OBJ
- Output file format: GCODE
- Interface: USB drive, LAN network, Wi-Fi
- Input power: 100-120V/220-240V, 50/60Hz
- Rated power: 1530 Watts
- Dimensions: 1224 x 1204 x 1425mm (48.2 x 47.4 x 56.1 inches)
- Weight: 104kg (229 pounds)
Design and features
A short time ago, I picked up my ringing phone, and a pleasant person asked me if I would be available to receive two large boxes with a combined weight of about 400 pounds (it’s not 400 pounds, but that’s what the shipping company had on their paperwork). A few hours later, an 18-wheeler (an infrequent sight in my neighborhood) parked in front of my house, and the driver used a pallet jack to extract the OrangeStorm Giga from its payload. I was amazed, perplexed, and struck with the immediate thought, “Oh crap, what have I done? My wife is going to kill me.”
Of course, I’m joking; my wife is a saint and supports my gadget habit, but this wasn’t the average review sample. My garage is typically highly organized, save for vehicles undergoing surgery. I keep the back half clear of clutter for large-ish projects, but OrangeStorm dominated everything. The stacked boxes were about half the size of my car!
There’s a scene in the 1987 film Roxanne (a contemporary version of Cyrano de Bergerac) when Chris (played by Rick Rossovich) first encounters CD (Steve Martin) and, despite being previously warned, is shocked by his new boss’s generously apportioned nasal visage. He exclaims, “I mean, they said it was big, but I didn’t expect it to be BIG!” Chris, my friend, I know how you feel.
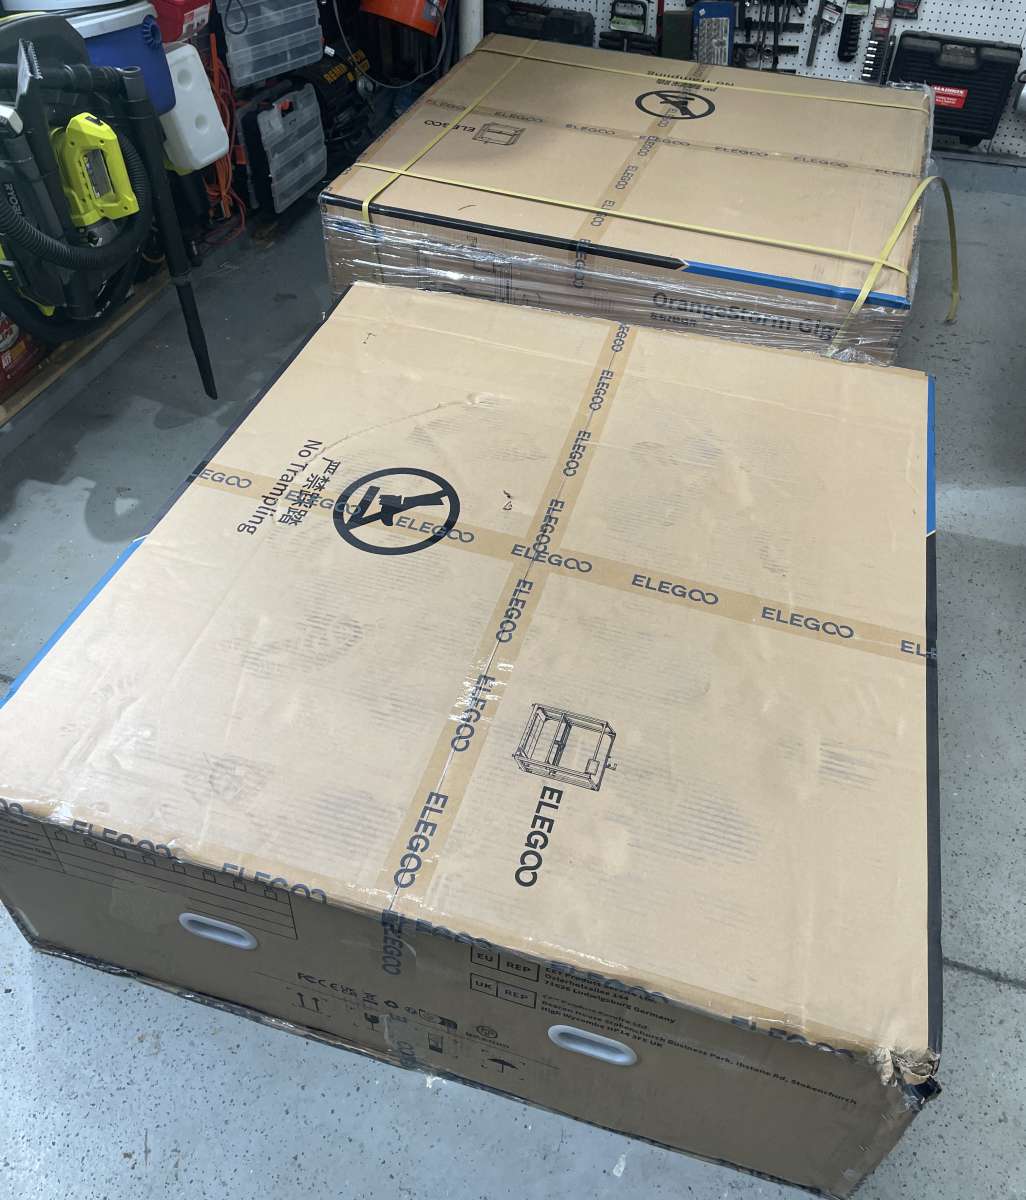
My first thought was that Elegoo sent two printers. Nope, just one that was colossally large and remarkably well packaged. I respect that they recognize the perils of freight shipping and do a commendable job ensuring perfect packaging protects the precious cargo.
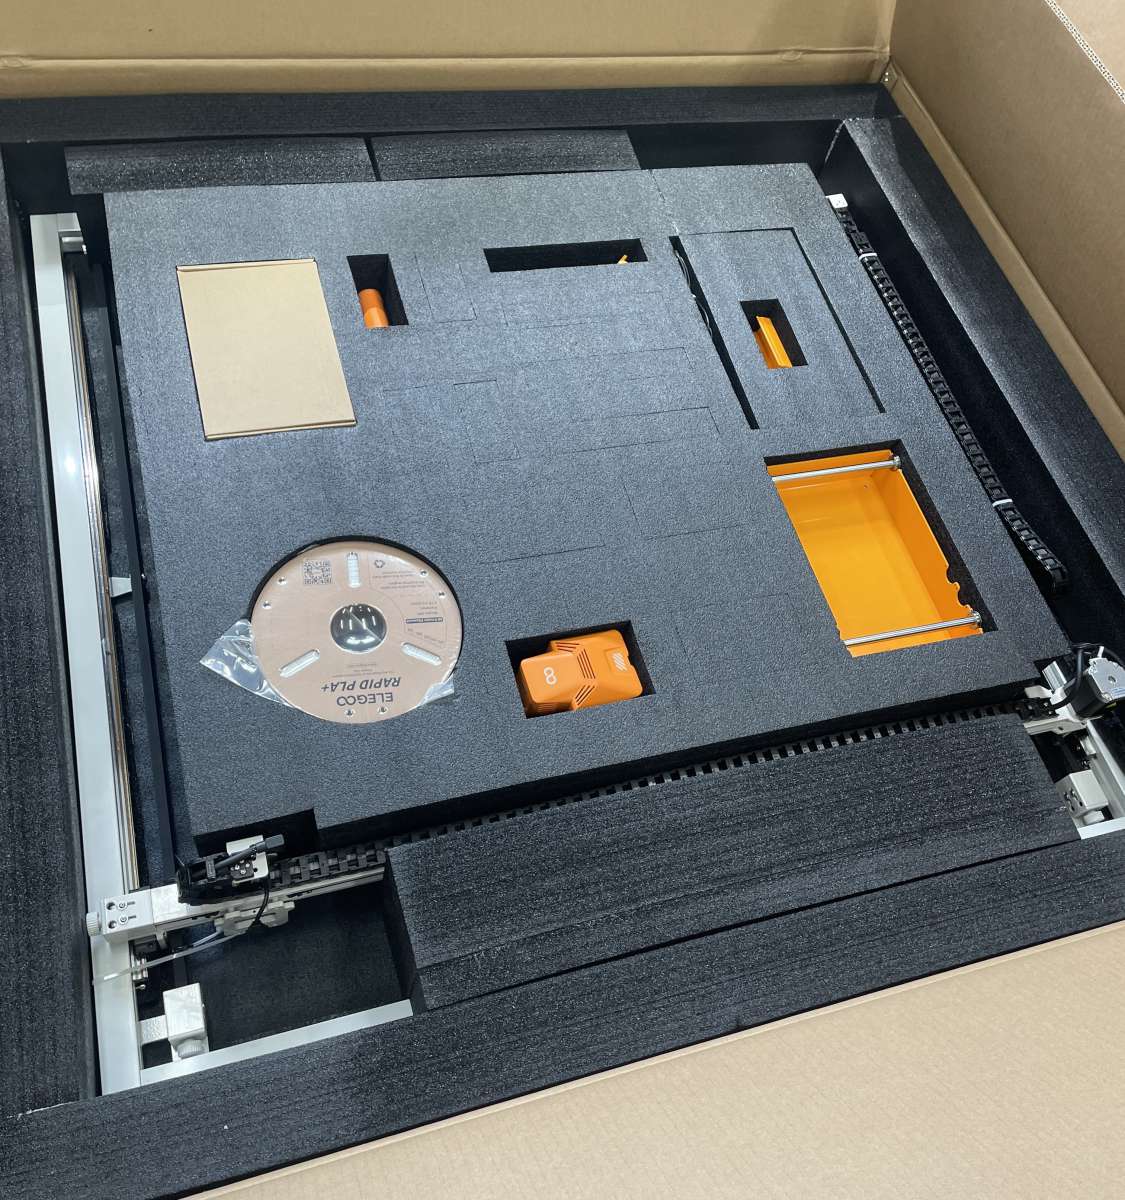
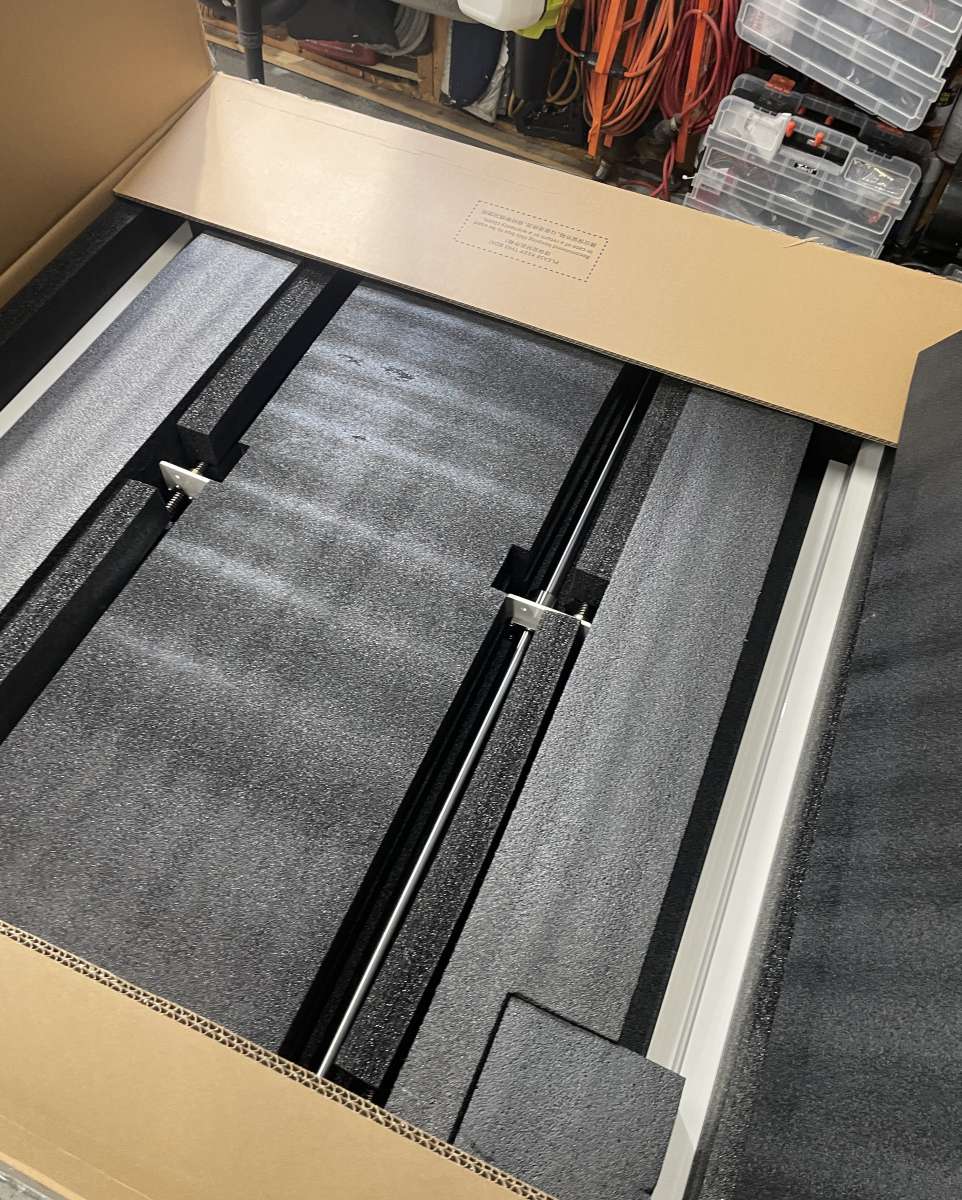
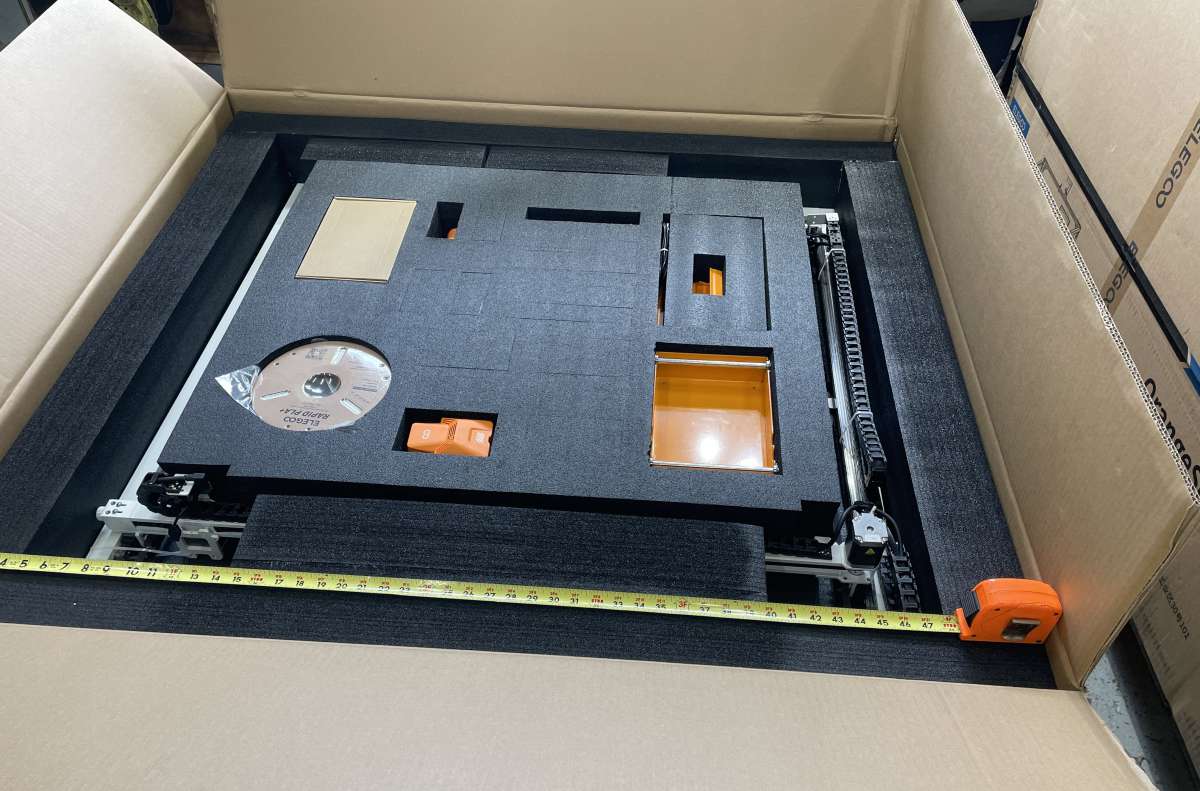
Ok, so back to the “wife is about to kill me” part. You may ask, “Why the comedic matrimonial homicidal thoughts, Dave?” The answer: It’s so big that it has its own time zone and affects things gravitationally, so where to put it was a relevant conundrum. You might think me selfish, but I didn’t feel giving the Giga a bedroom was prudent. If you’re going to get one, gently break the news about the new roommate to your sixth-grader.
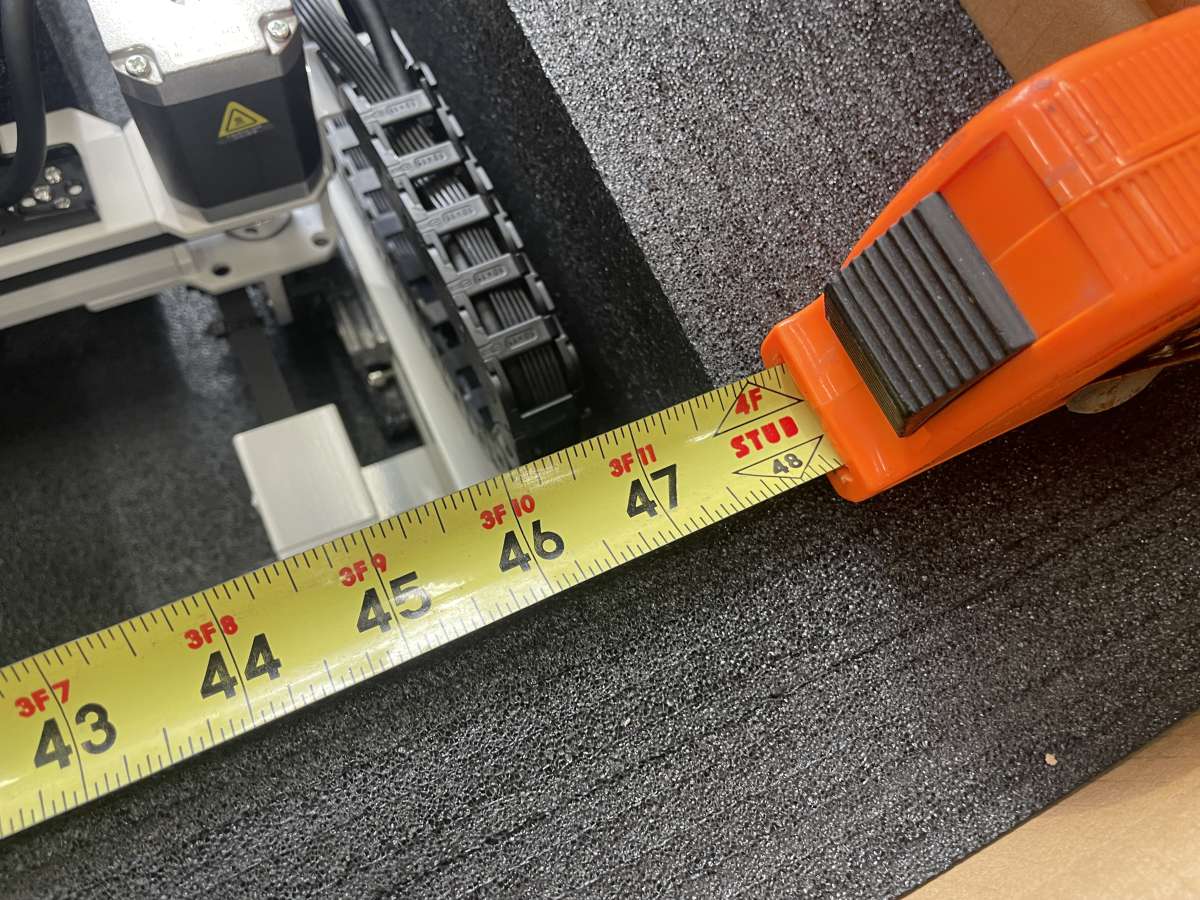
My solution: Three words – [insert dramatic pause here] Outside… Storage… Room. The location choice introduced a new challenge: weapons of mass destruction if you happen to be wood, weeds, grass, or fallen twigs filled the room. It took several weeks for the weather to improve enough for me to perform a significant junk ectomy. Thank God we’re having a family garage sale soon, and my mom is generous with her storage space and patience. The snow needed to melt, and the ground needed to dry out so I wasn’t in danger of tracking mud into my living room. My wife has lethal ninja skills with a broom, and I couldn’t think of a reasonable-sounding story to risk being on the receiving end, so the installation had to wait for ELO’s “Mr. Blue Sky” to pop up on the playlist.
Once the sky cleared and the clutter extraction was complete, I chatted with the lawn mower, table saw, rakes, and shovels about making their new companion feel welcome. They took it well, although I heard some grumbling and a few heavy sighs.
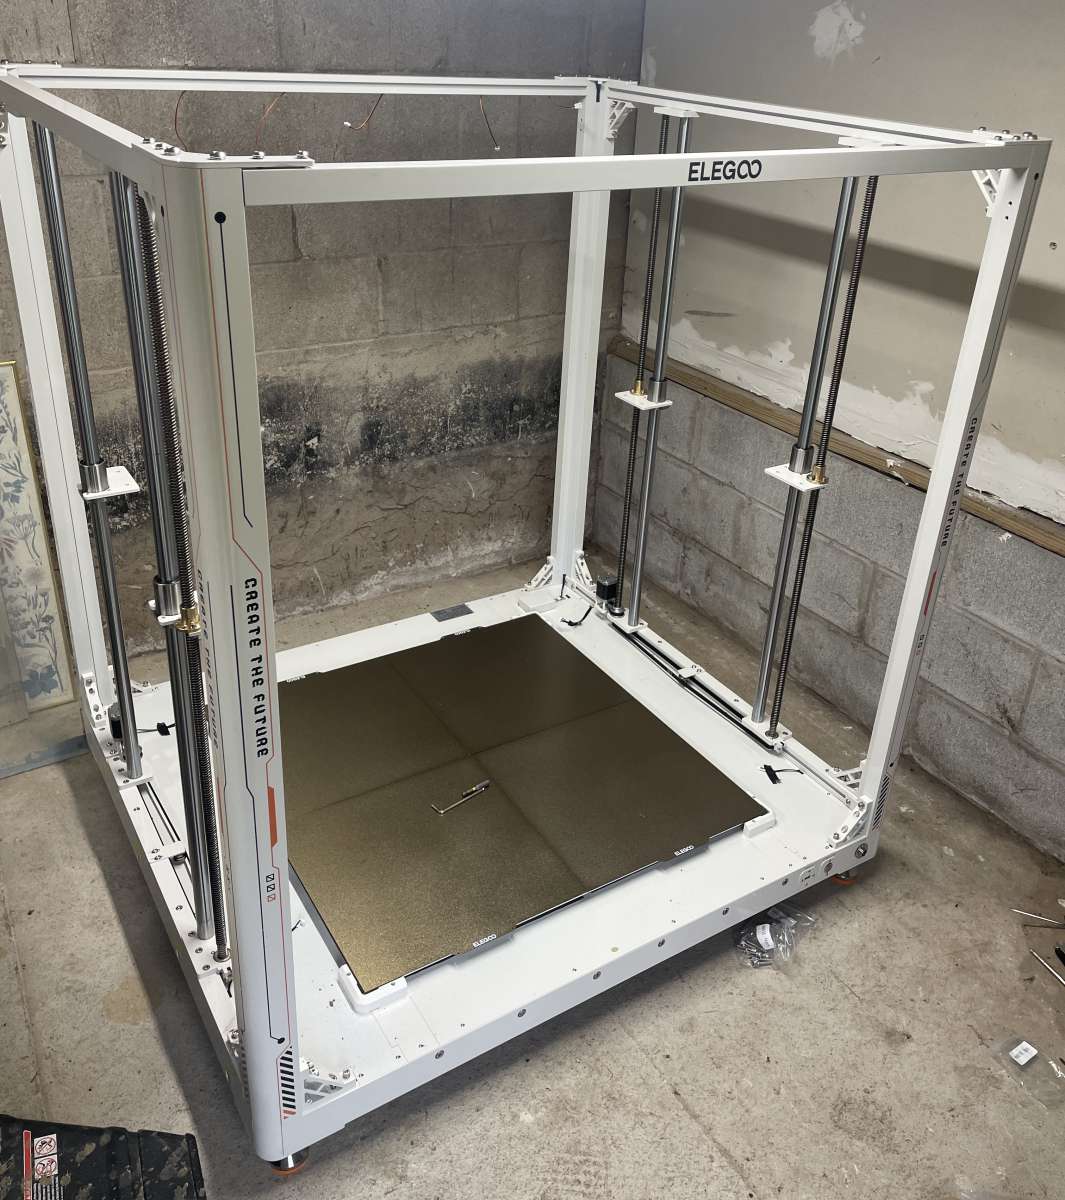
Assembly of the OrangeStorm commenced by first removing all of the parts from the boxes. Warning: the parts are heavy. If you can get some help, please do so with the promise that you’ll soon be able to print some bodacious booty.
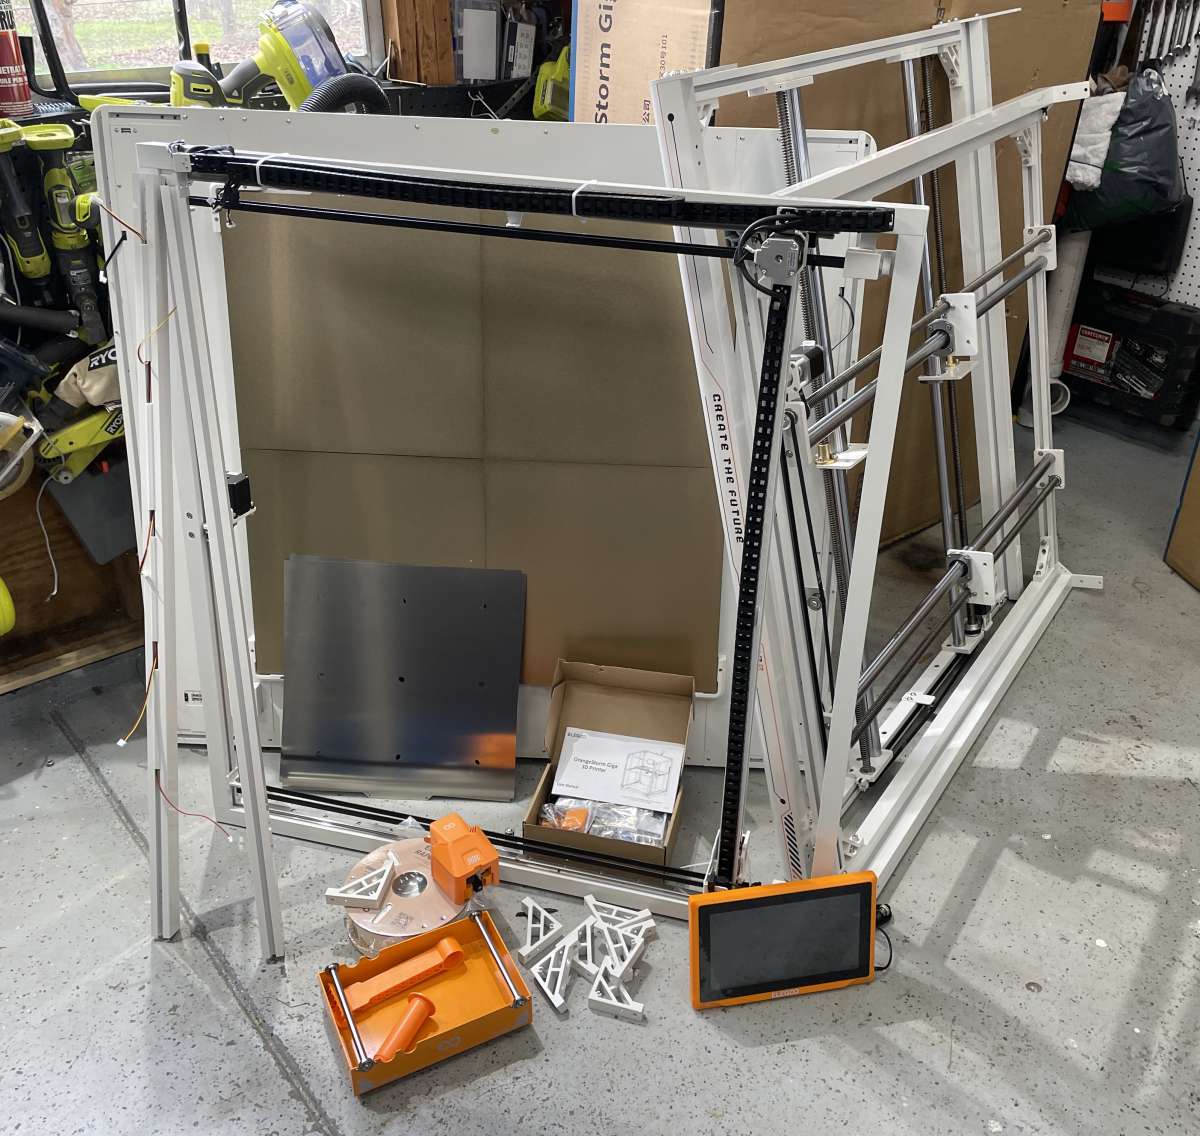
Tools are included! Yay!
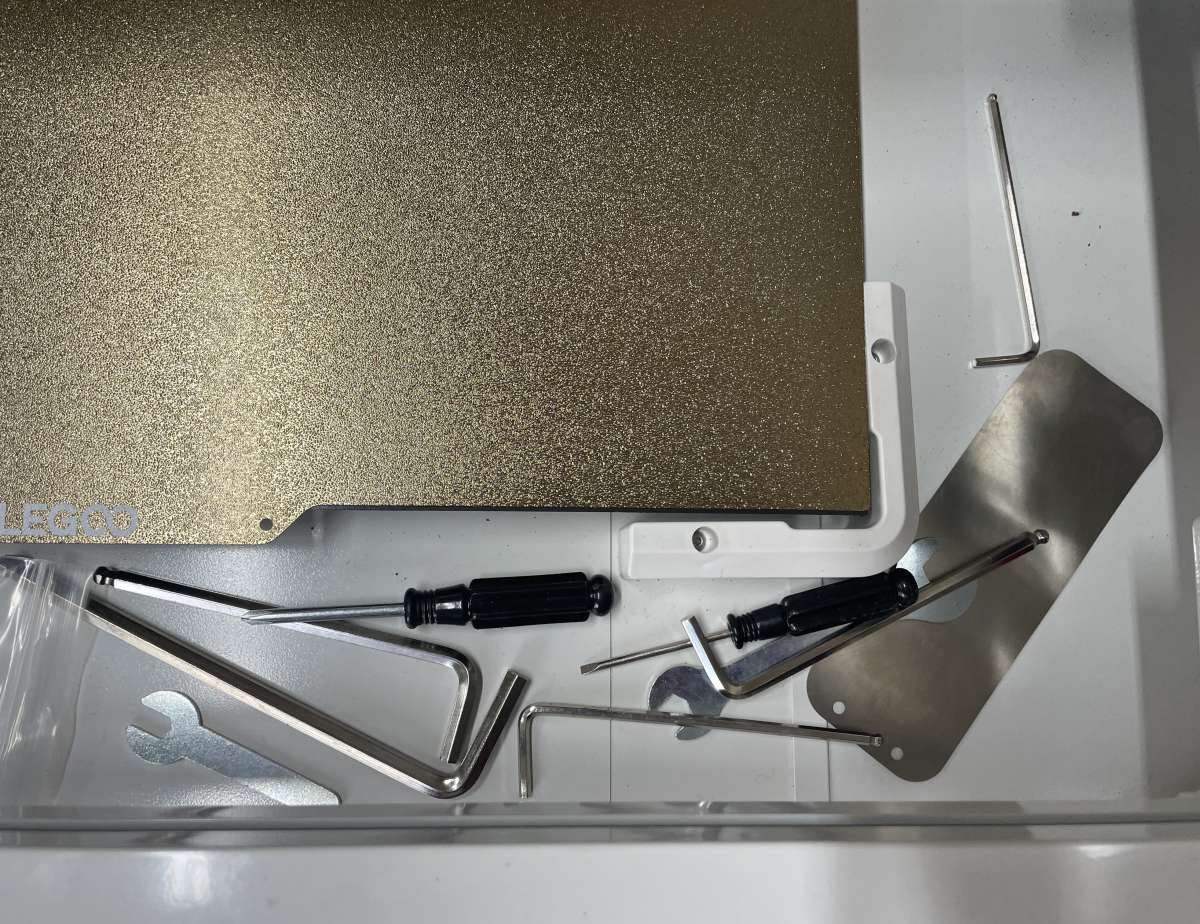
The base of the ELEGOO OrangeStorm Giga 3D printer is the heaviest part and has five power supplies inside. Yep, you read that correctly – five; one for each of the four heated beds and another one for the electronics. This beast uses a crazy peak of 1530 watts, so please be sure you have adequate power for where you’ll be plugging it in. At 120 volts, that’s 13 Amps under full load. Many circuits in my home have 15 Amp breakers, so the OrangeStorm doesn’t share sockets well. You’ll be finding a flashlight and making a trip to your circuit box if too much current is drawn. I’ll probably install a local circuit breaker for those days when I’m working long hours in the storage room.
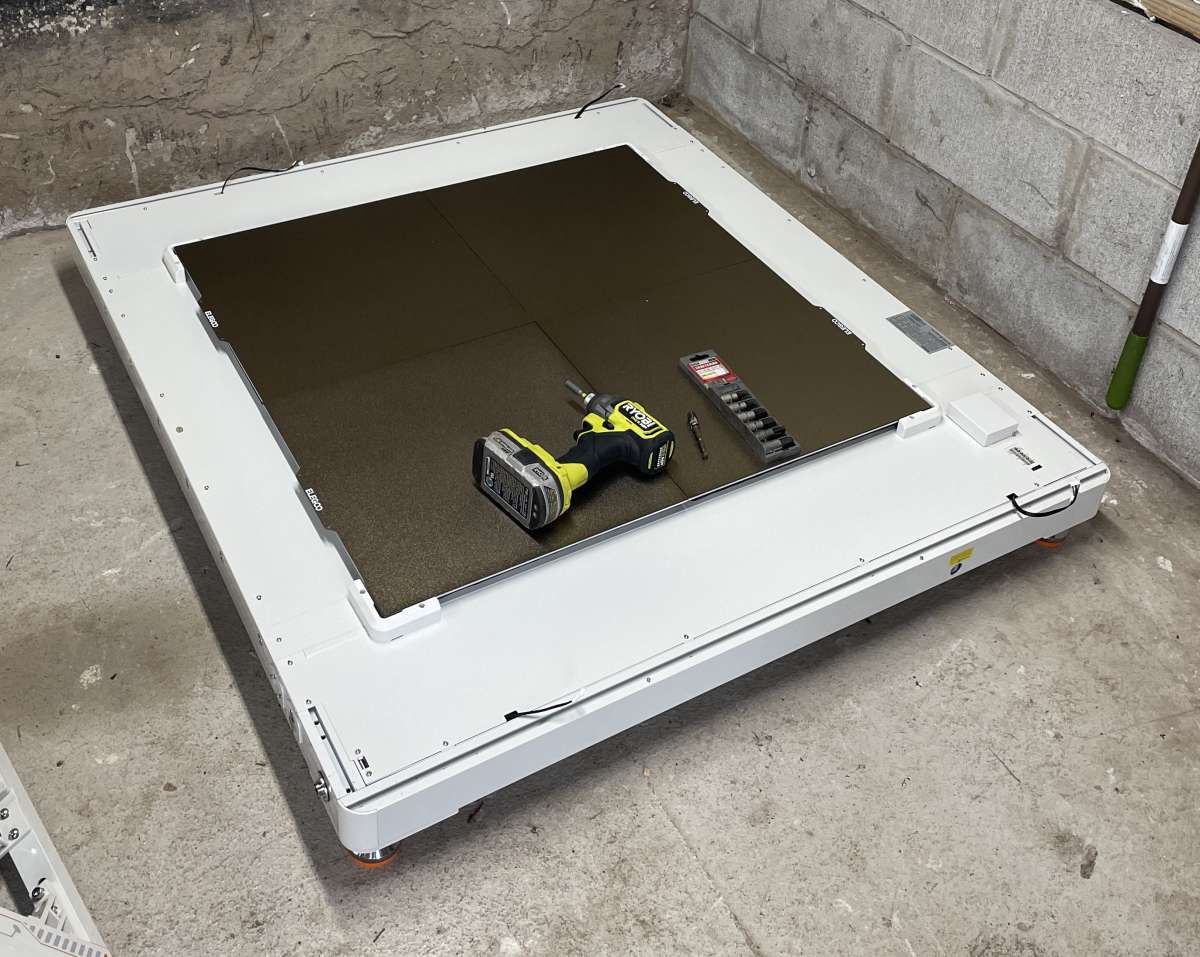
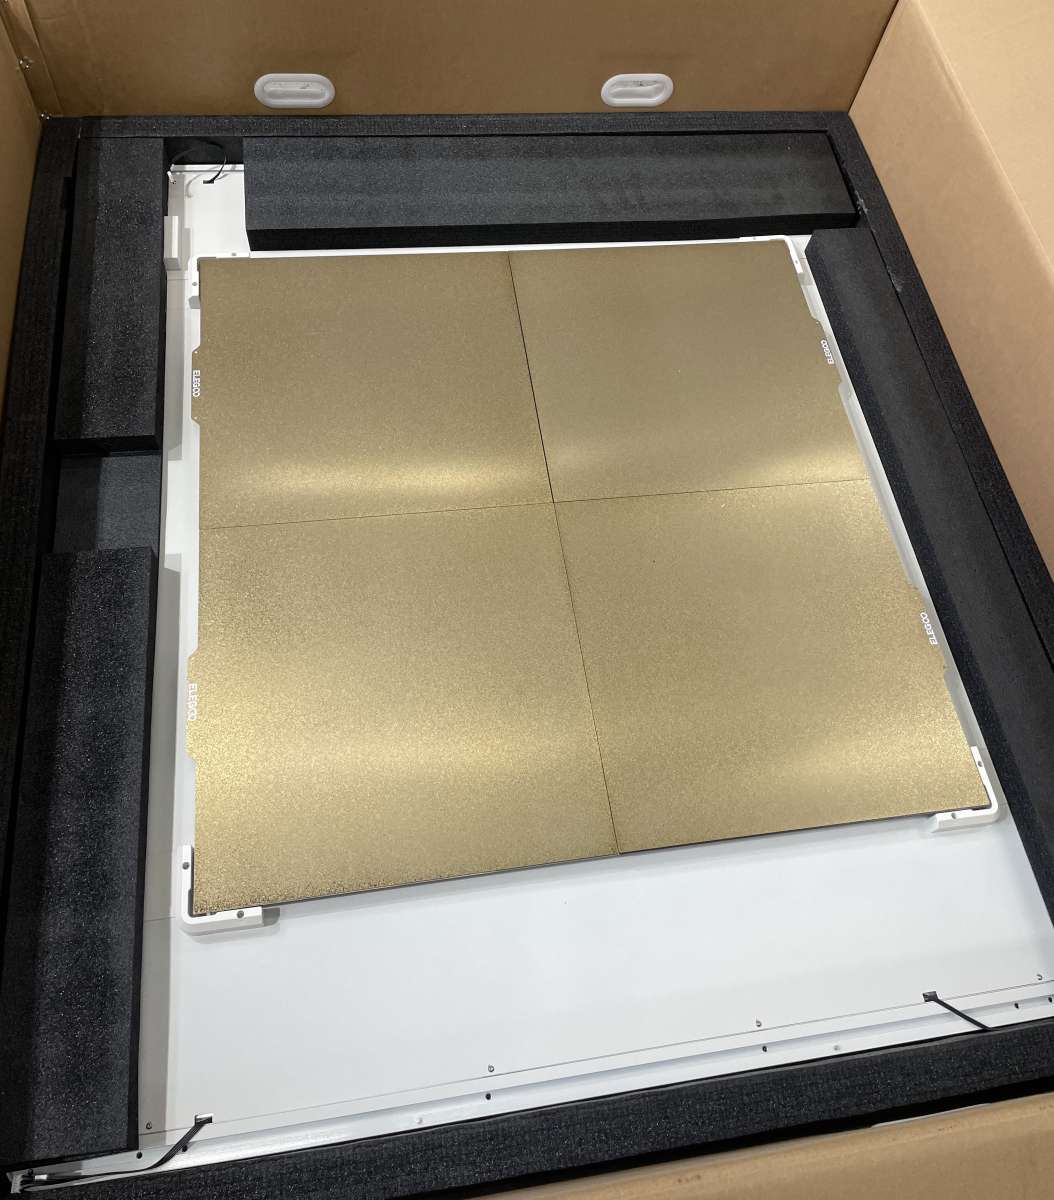
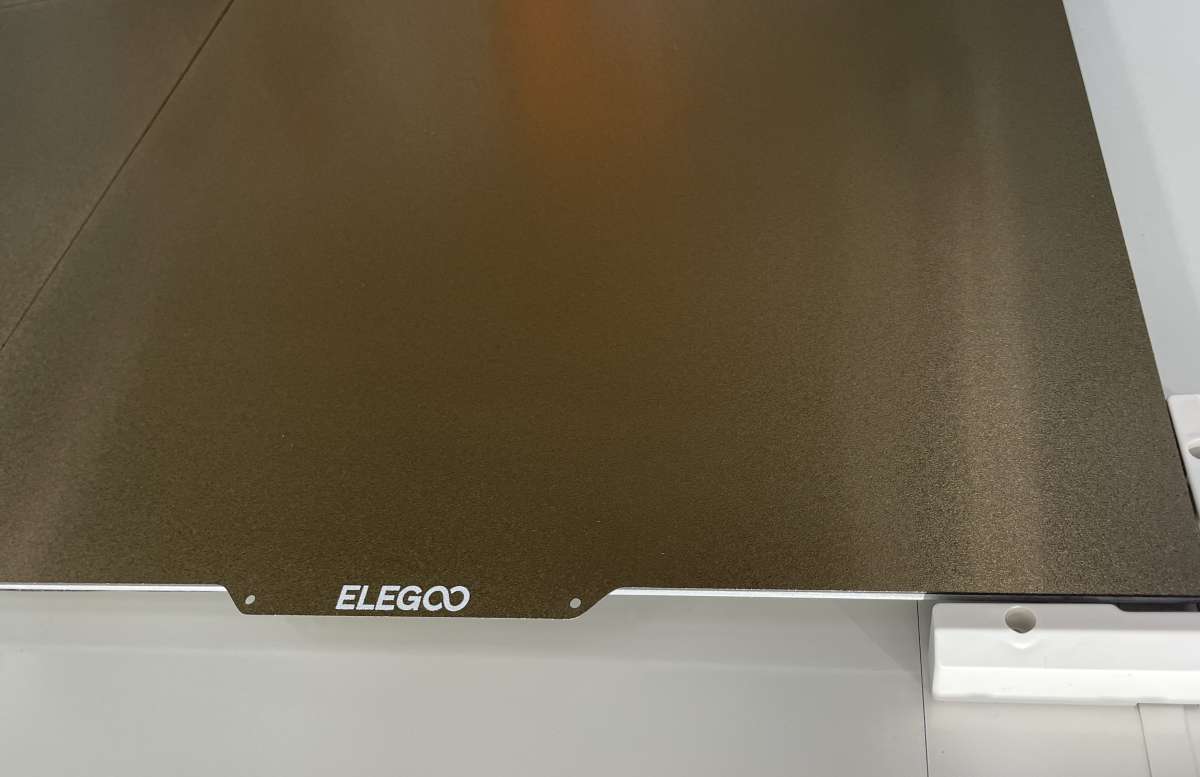
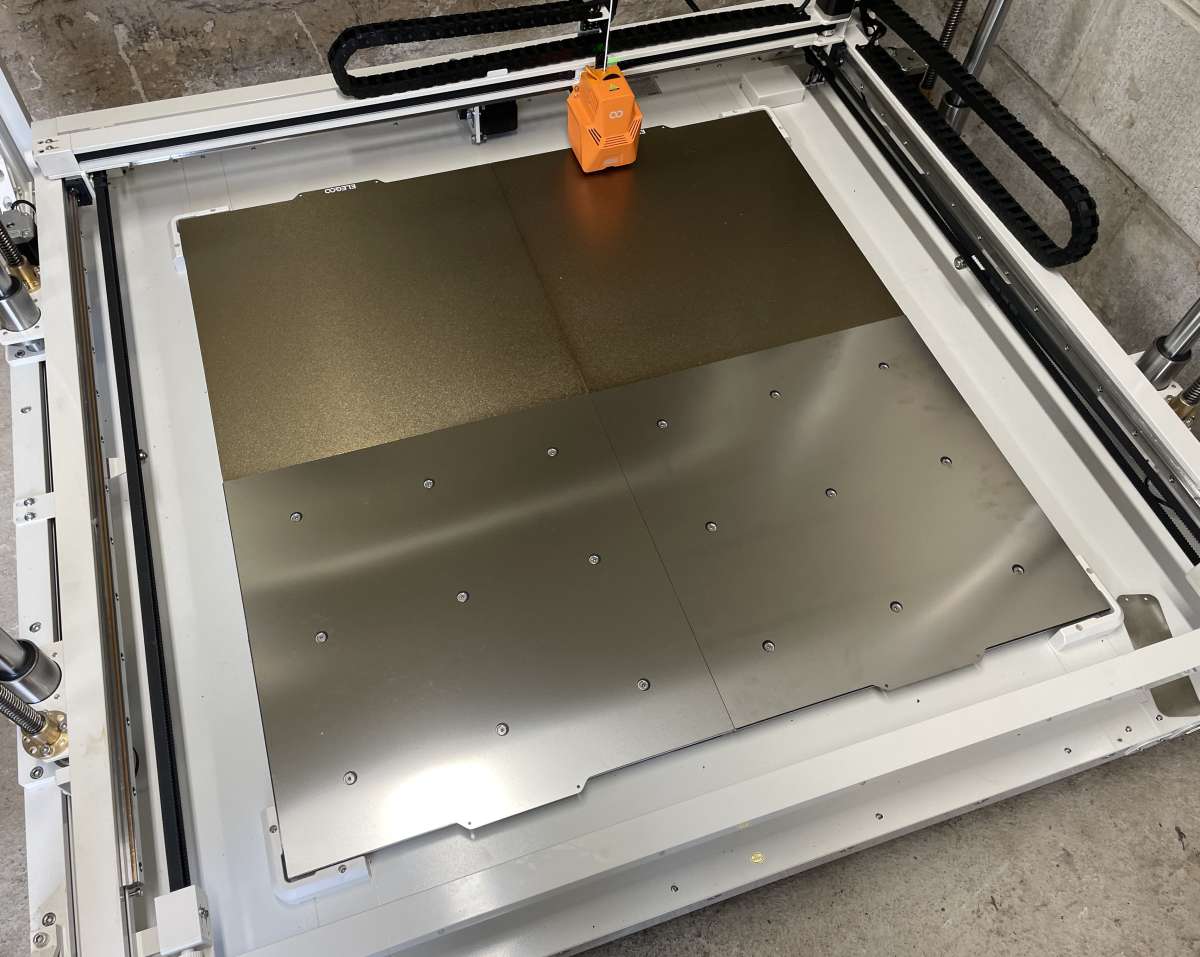
The base is divided into four sections with their own magnetic PEI build plates.
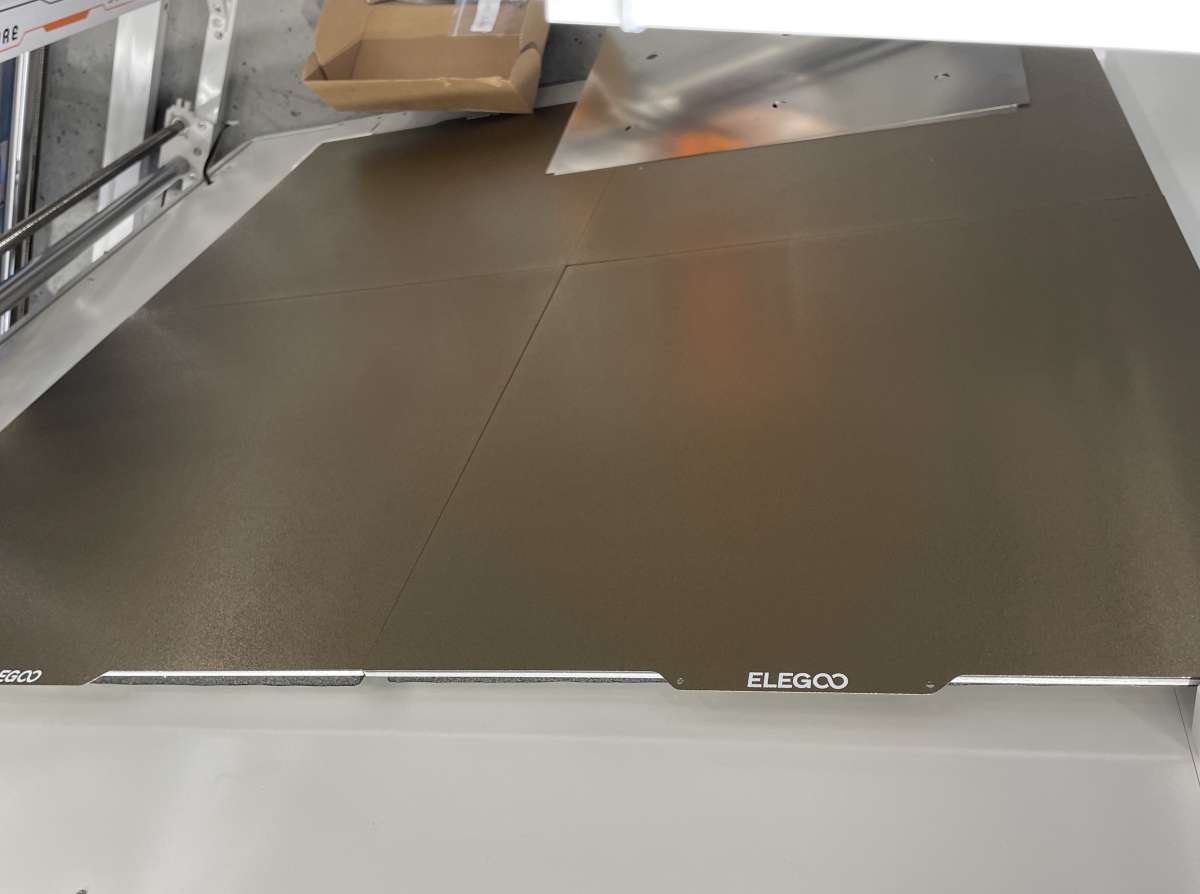
Amazingly, from start to completion, assembly took less than two hours. Elegoo has a dandy assembly video on YouTube that I started and stopped a few dozen times. I wish they had displayed the list of parts needed for each step in more than a microsecond. The manual works, too, but is nowhere as clear.
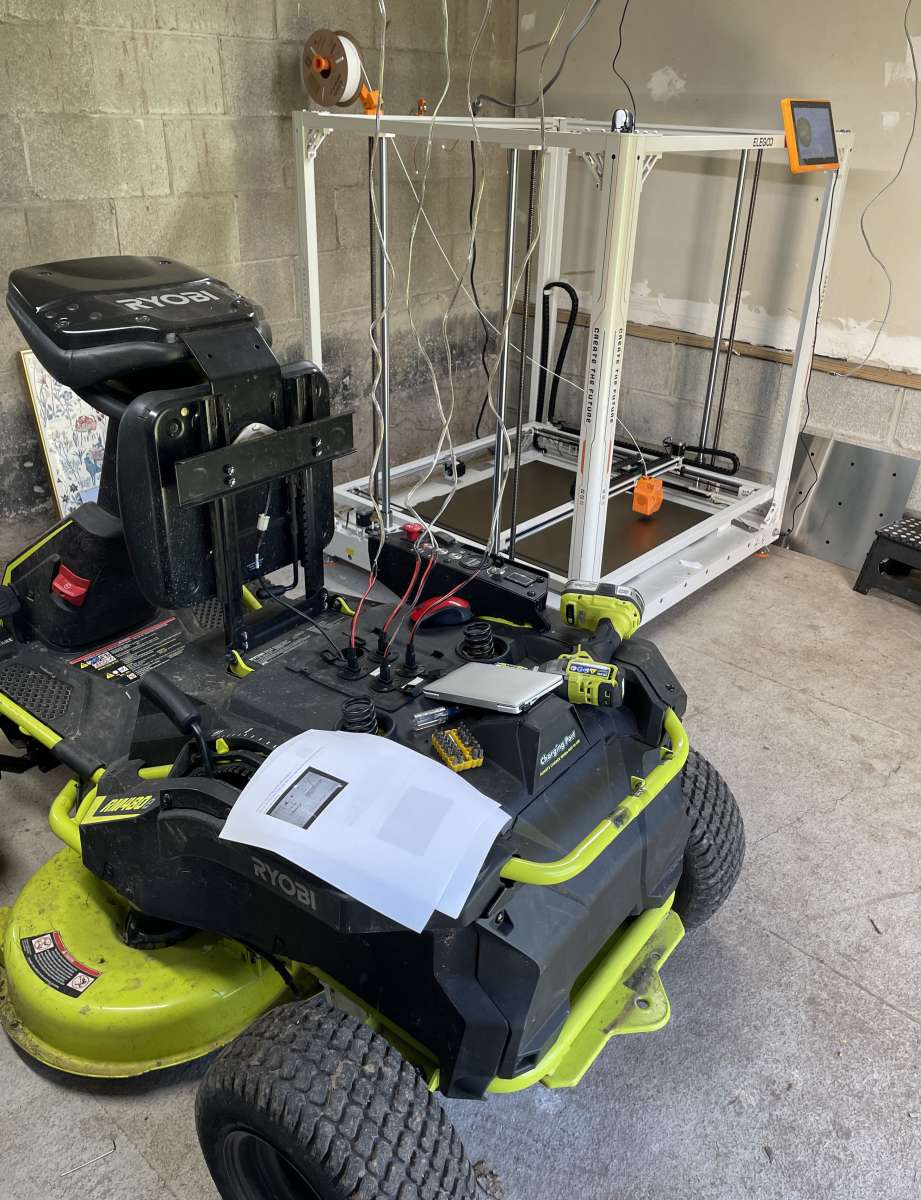
It’s bigger than my ride-on lawn mower. The wires hanging down are for the mower’s LiFePO4 battery charging and not part of the OrangeStorm.
There are a few things I find more frustrating than crappy hardware – When Santa leaves a new bike on Christmas morning, putting it together shouldn’t require a trip to Home Depot to replace stripped screws. Elegoo didn’t skimp on the quality of the parts. They’re fabulous. Exceptional job! Santa would be proud!
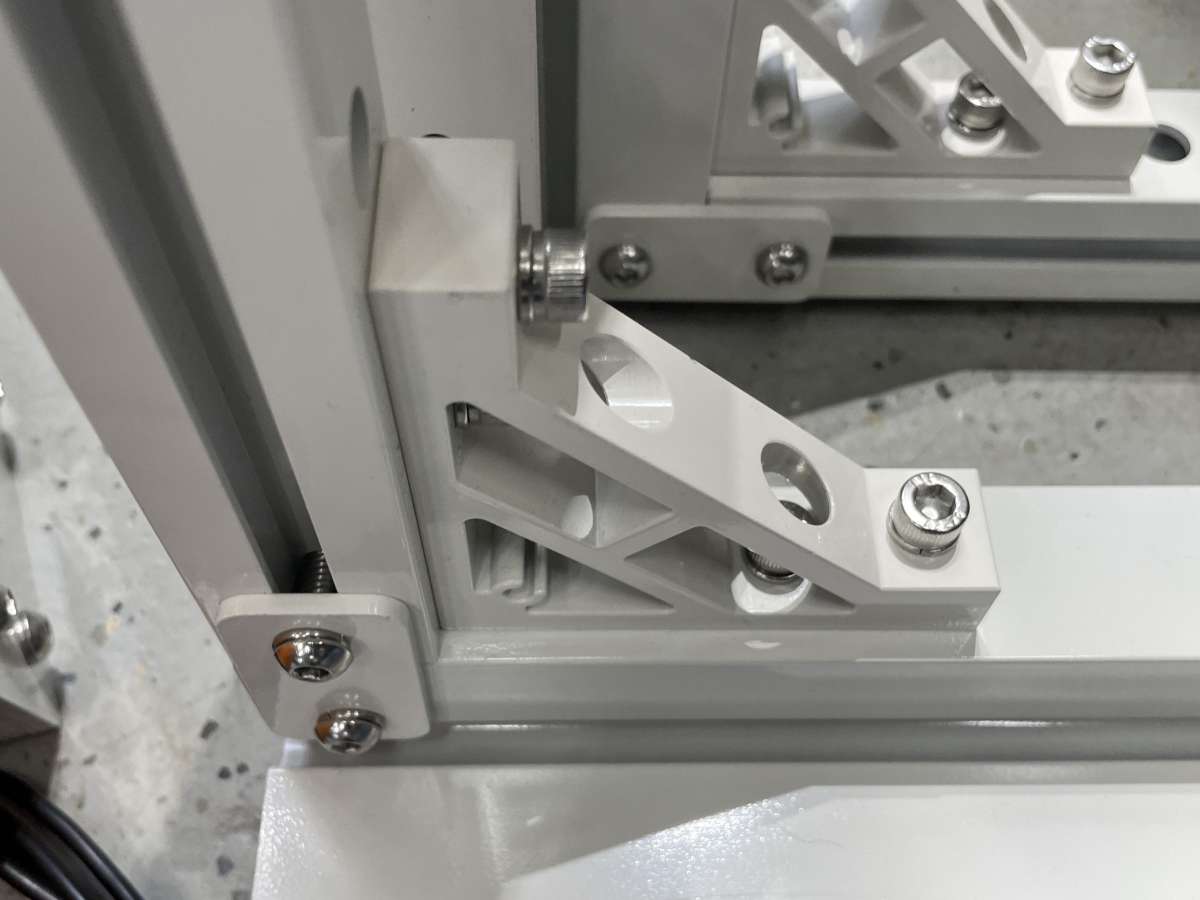
Install the screws finger-tight first, and after the machine is complete, go back and secure them all. I had no problem with alignment or binding – everything fits where it should. The only engineering question I had was why there were ten different lengths of screws? I’m not criticizing, but why not use a single size?
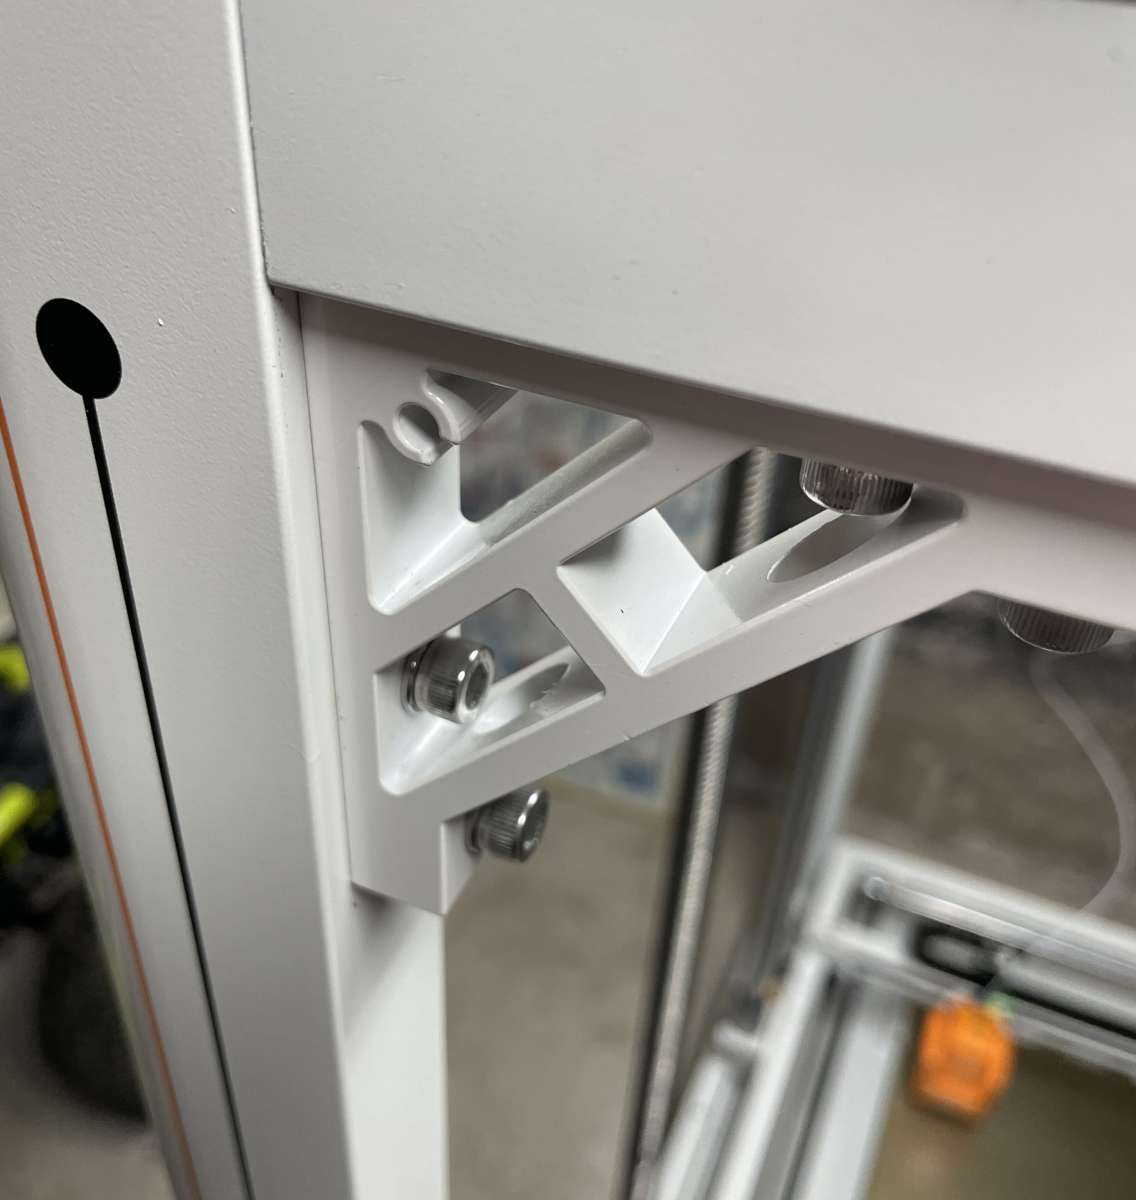
The corner brackets are strong.
Drive screws for the left and right signs are massive.
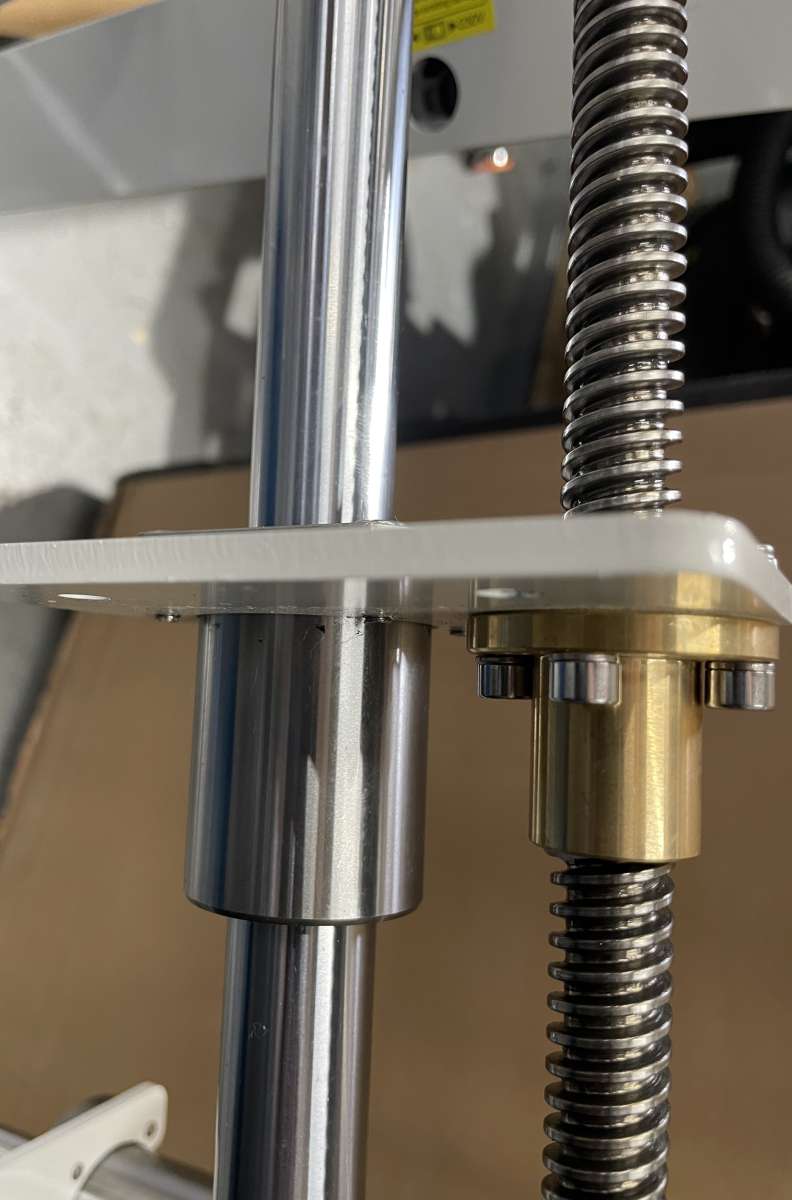
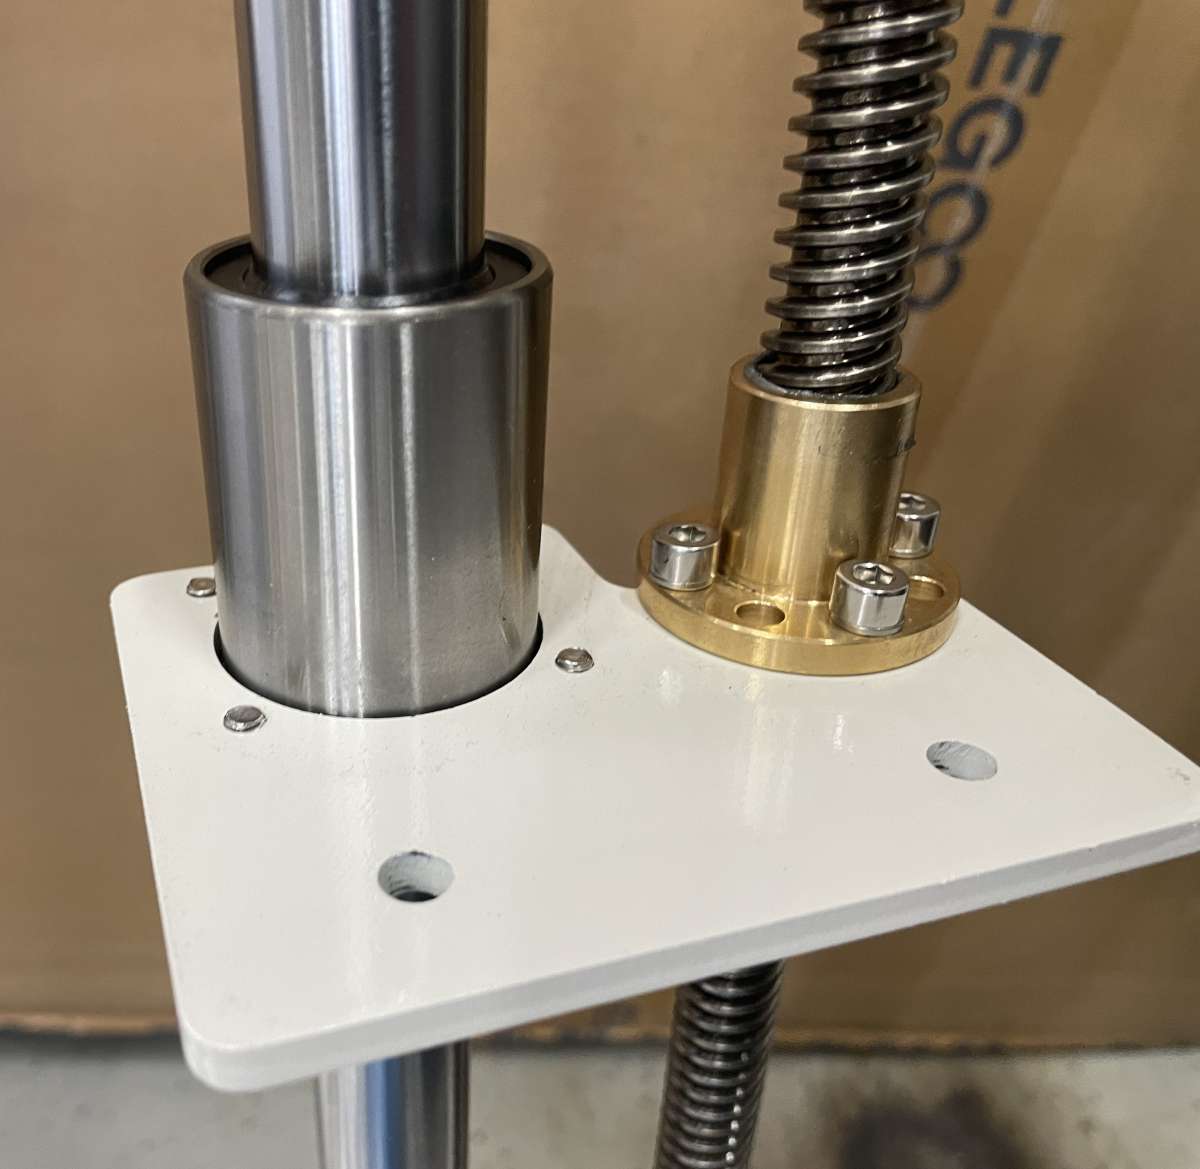
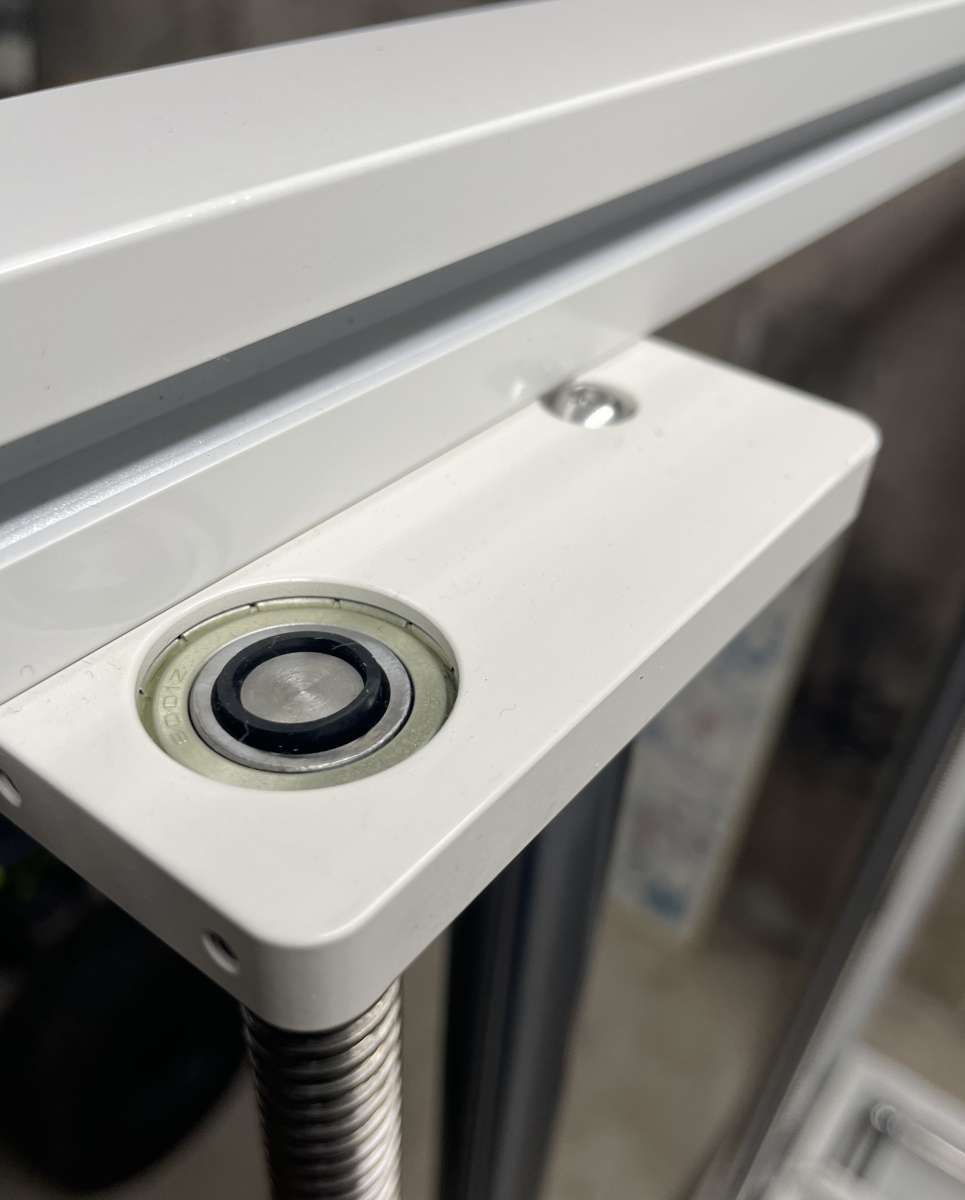
The motors are very good quality.
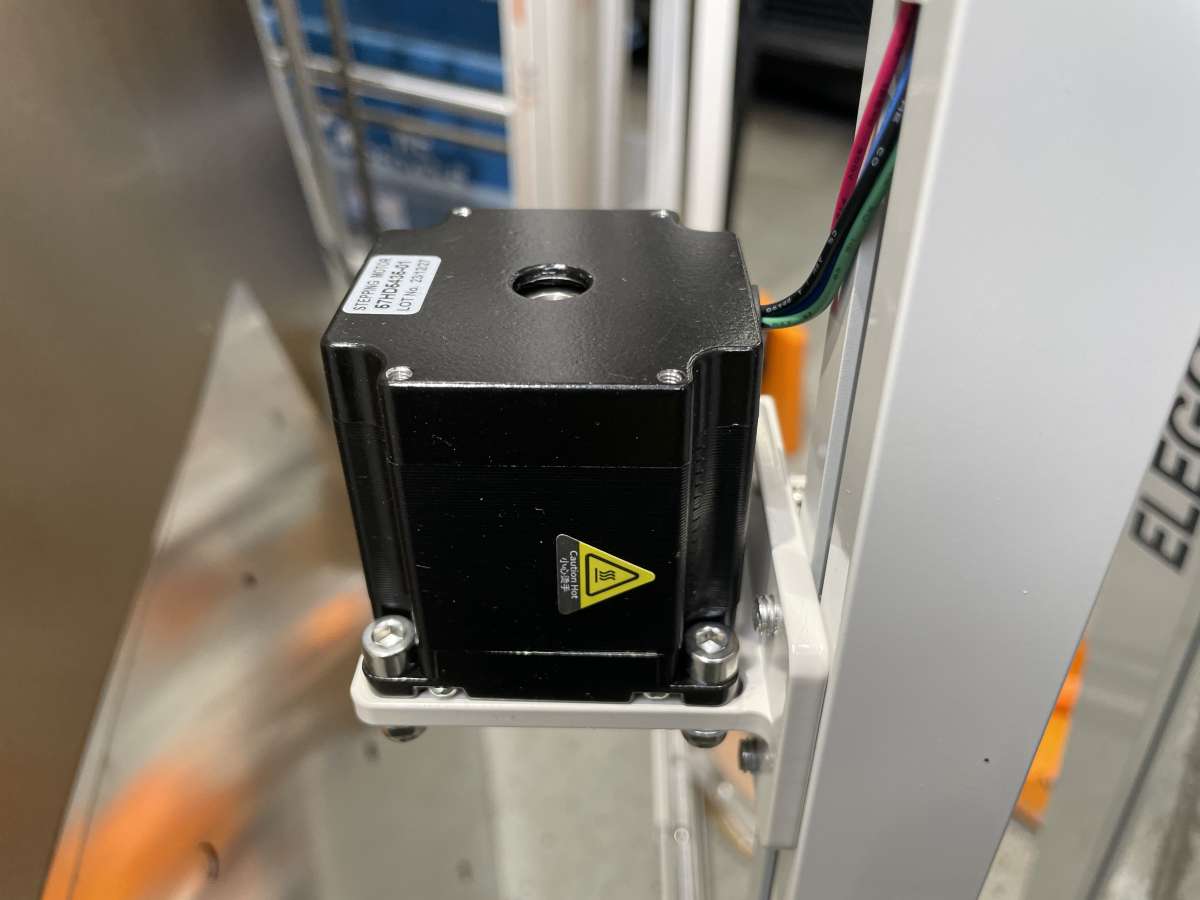
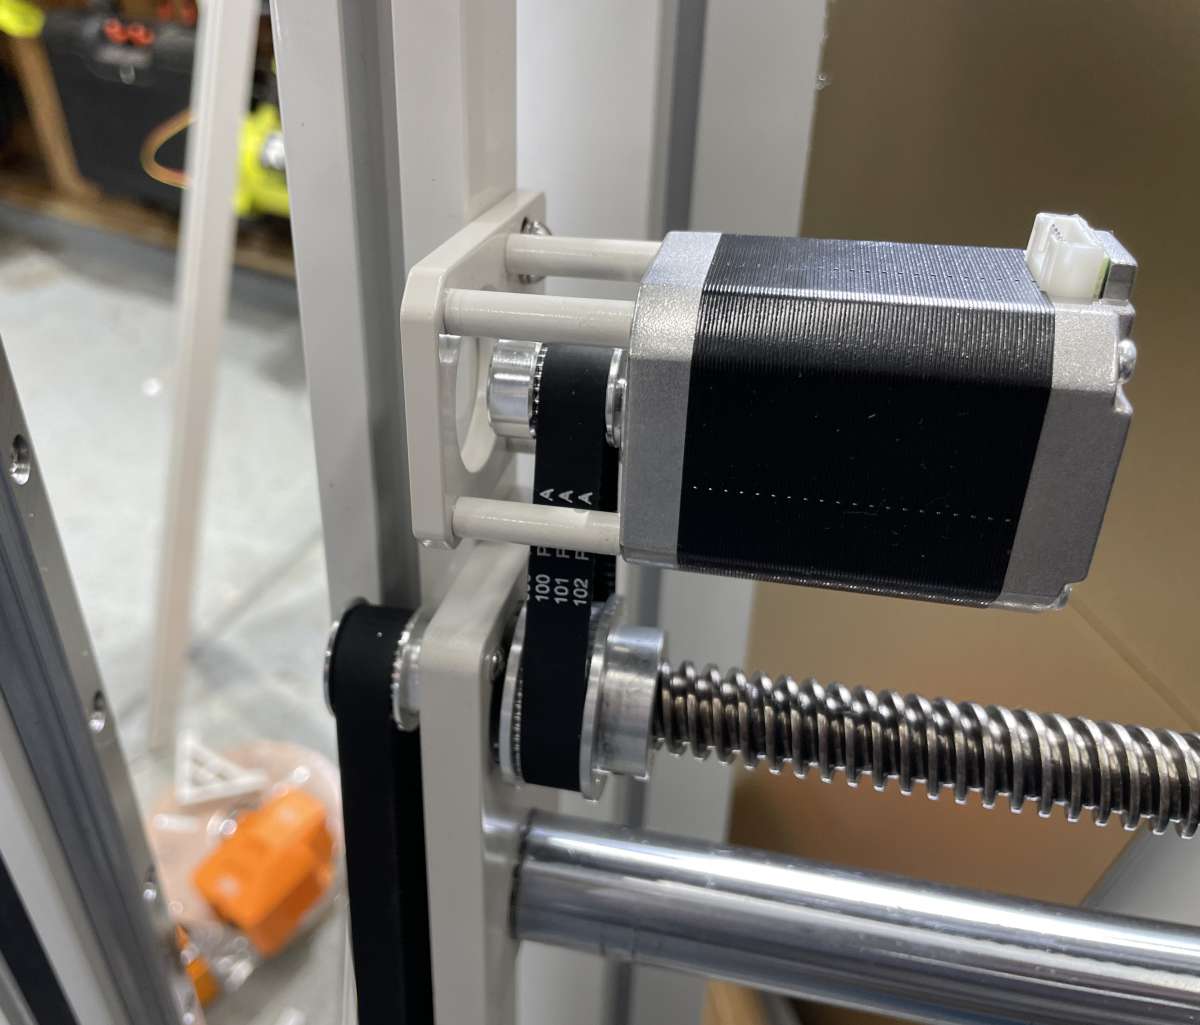
The ELEGOO OrangeStorm Giga 3D printer’s motors are belt-driven.
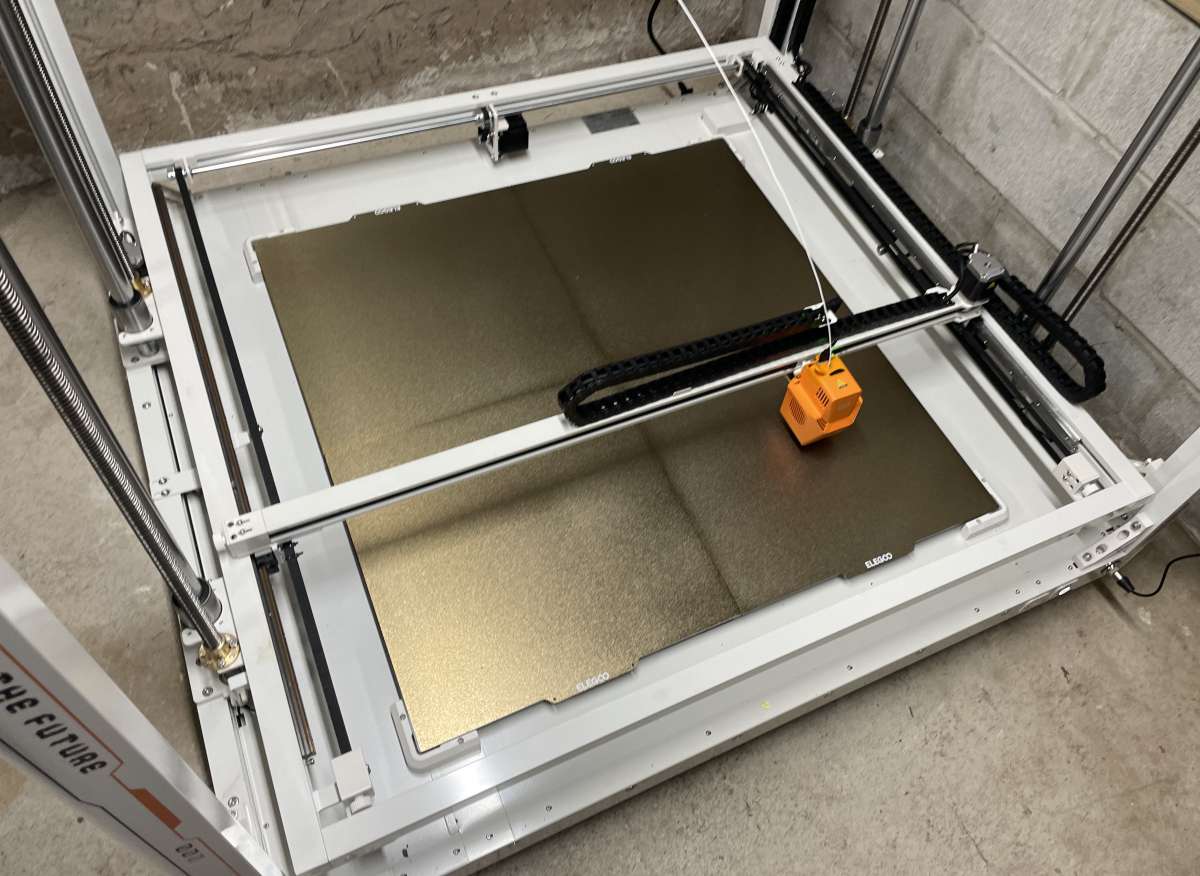
Here’s the X-Y gantry in place.
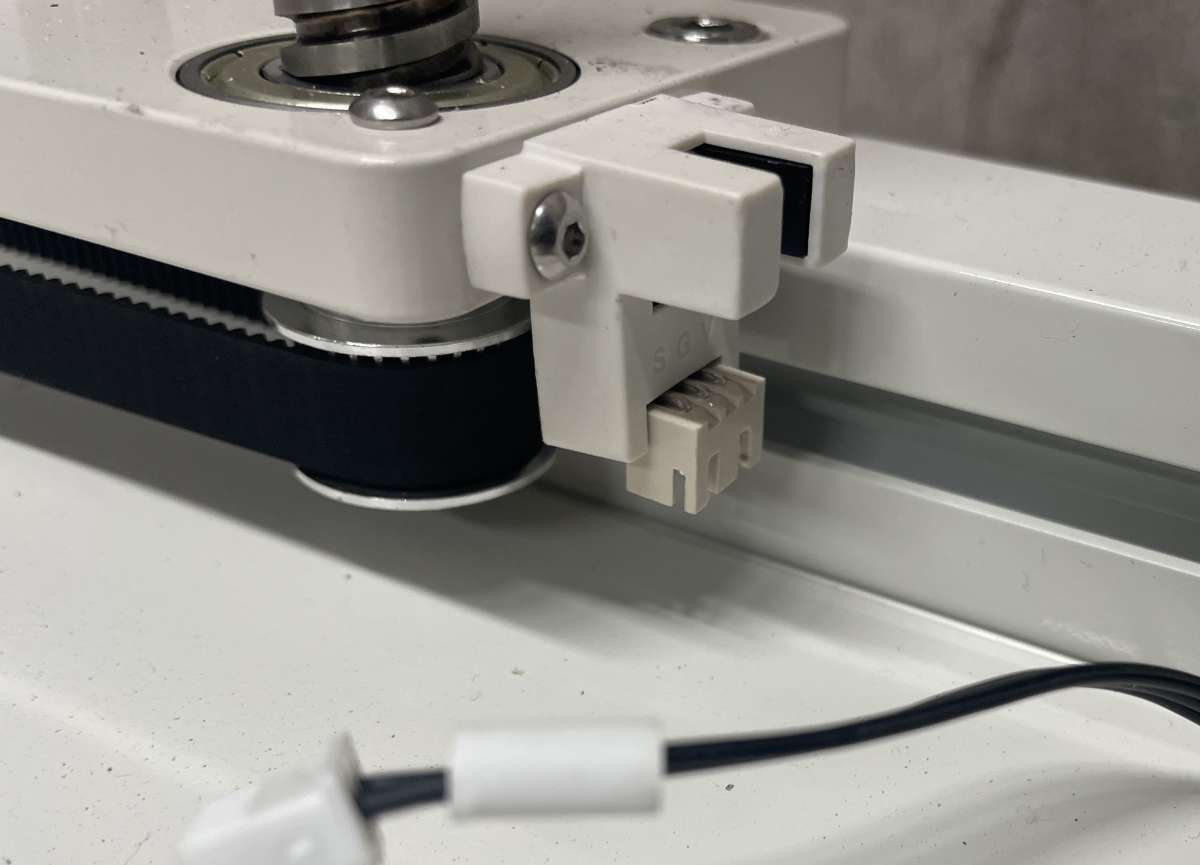
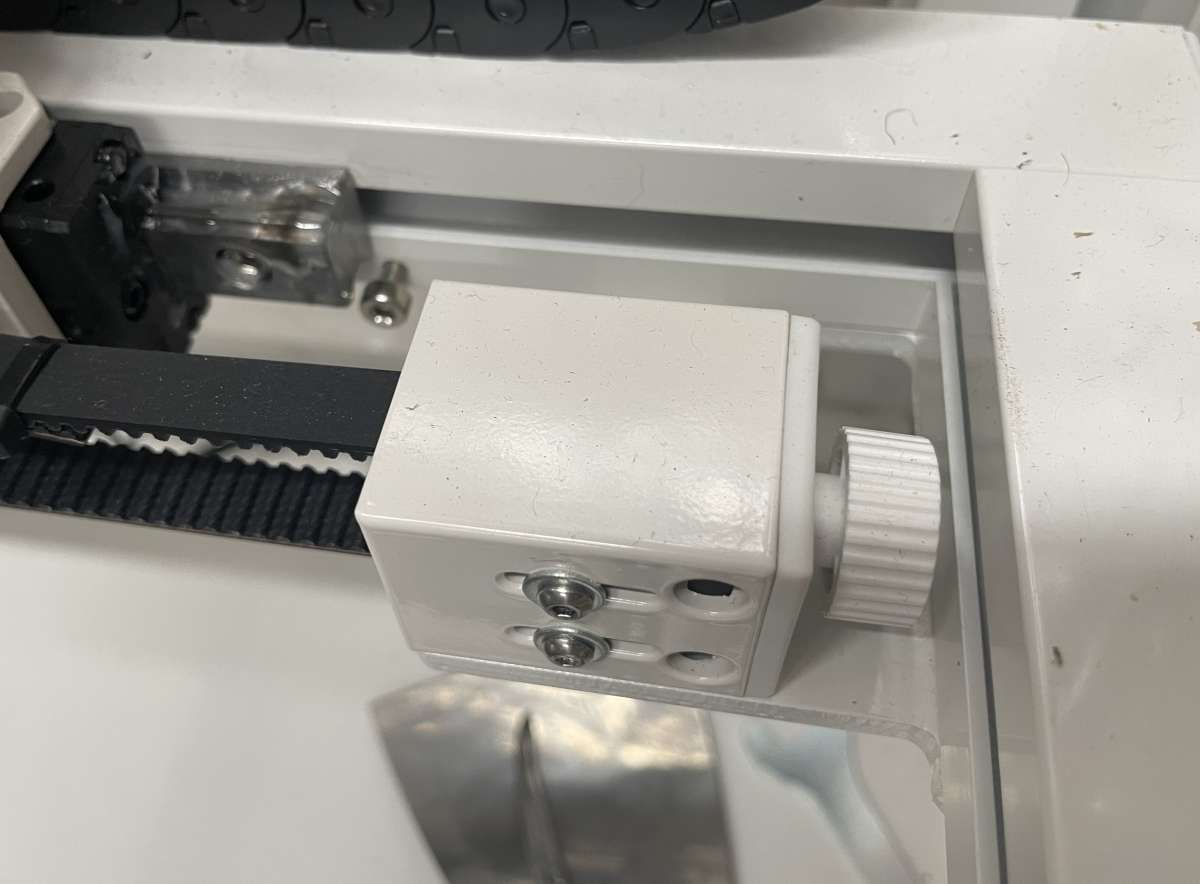
The OrangeStorm has belt tension adjusters. Nice touch!
Some 3D printers I’ve used have exposed wiring. Elegoo takes the additional step of enclosing theirs in a flexible track that should help reduce wire breakage. I’m a fan of these and have retrofitted them into some of my other 3D printers. Once the frame assembly is complete, many plugs will be connected. They keyed and labeled so there were no surprises.
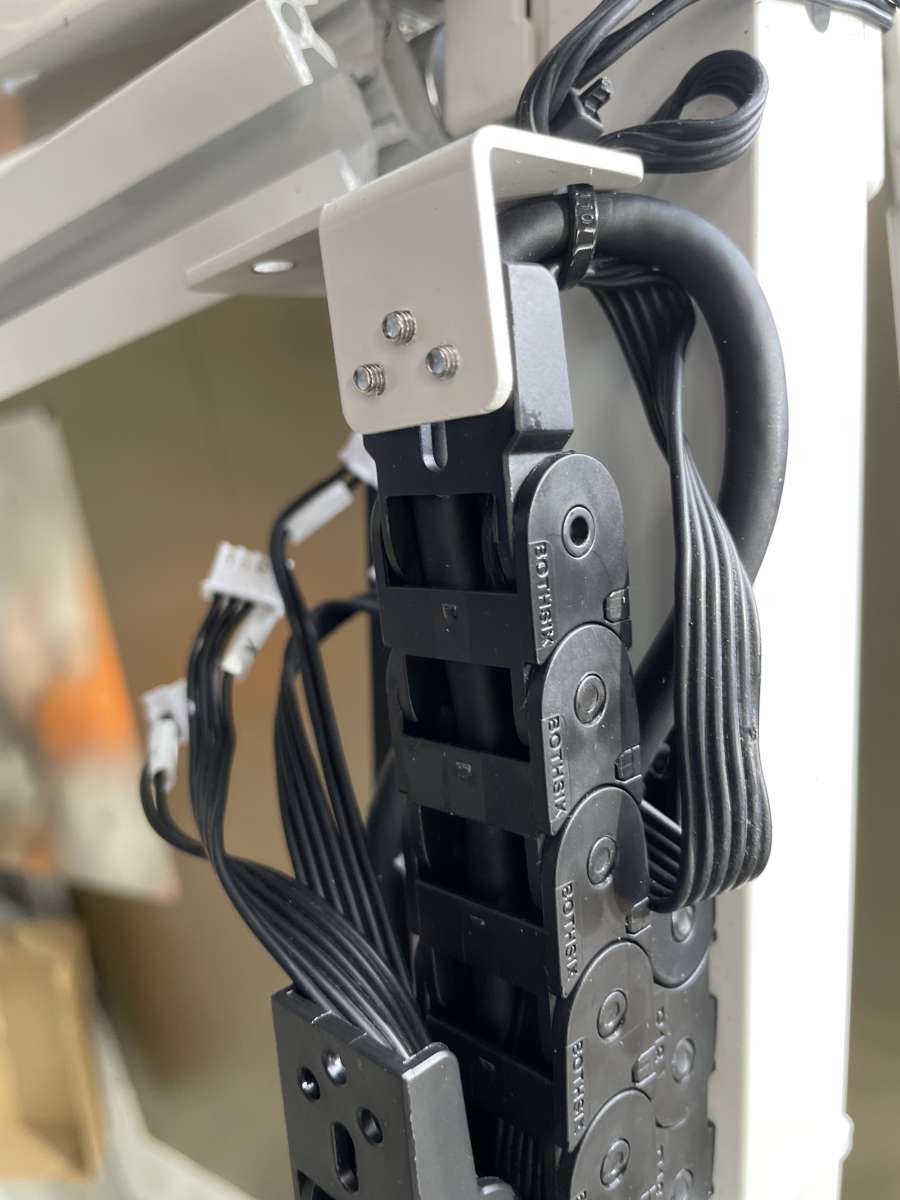
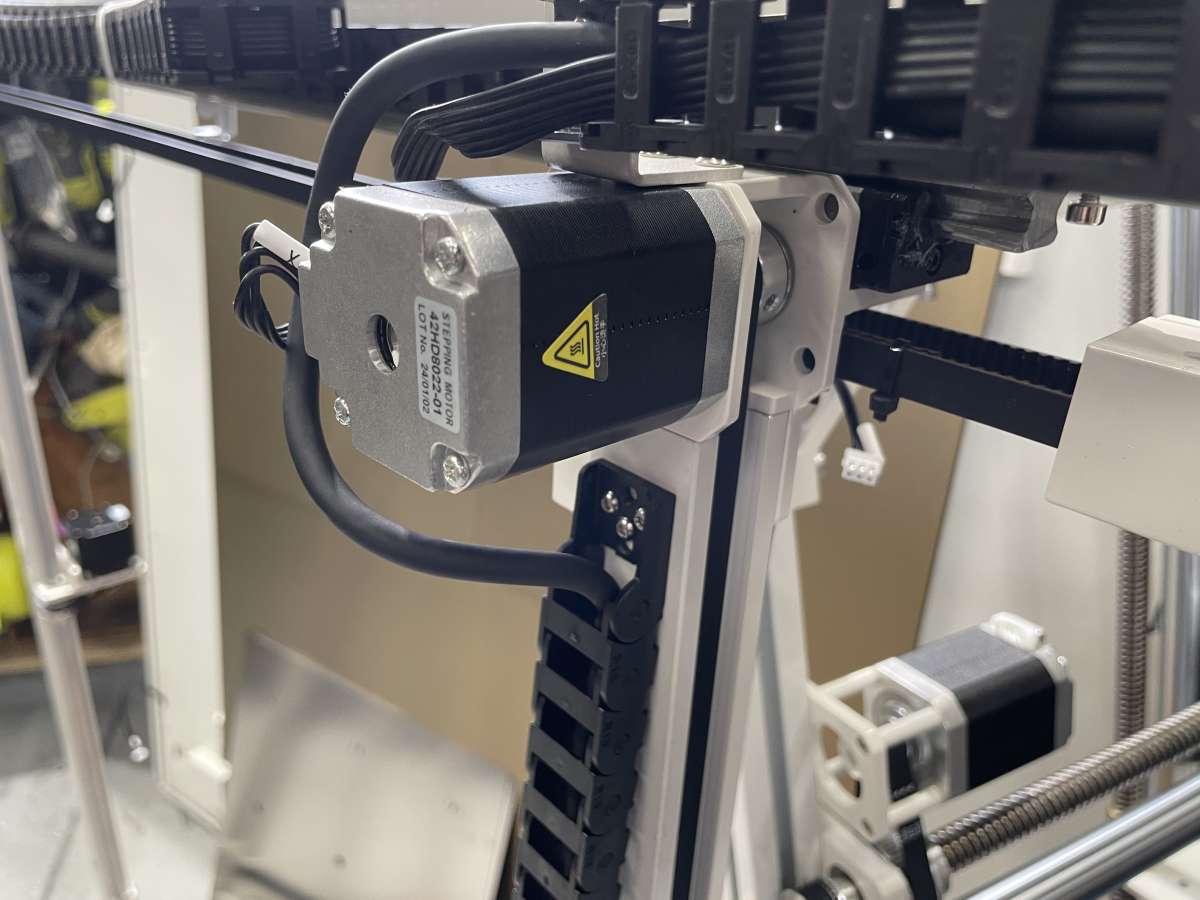
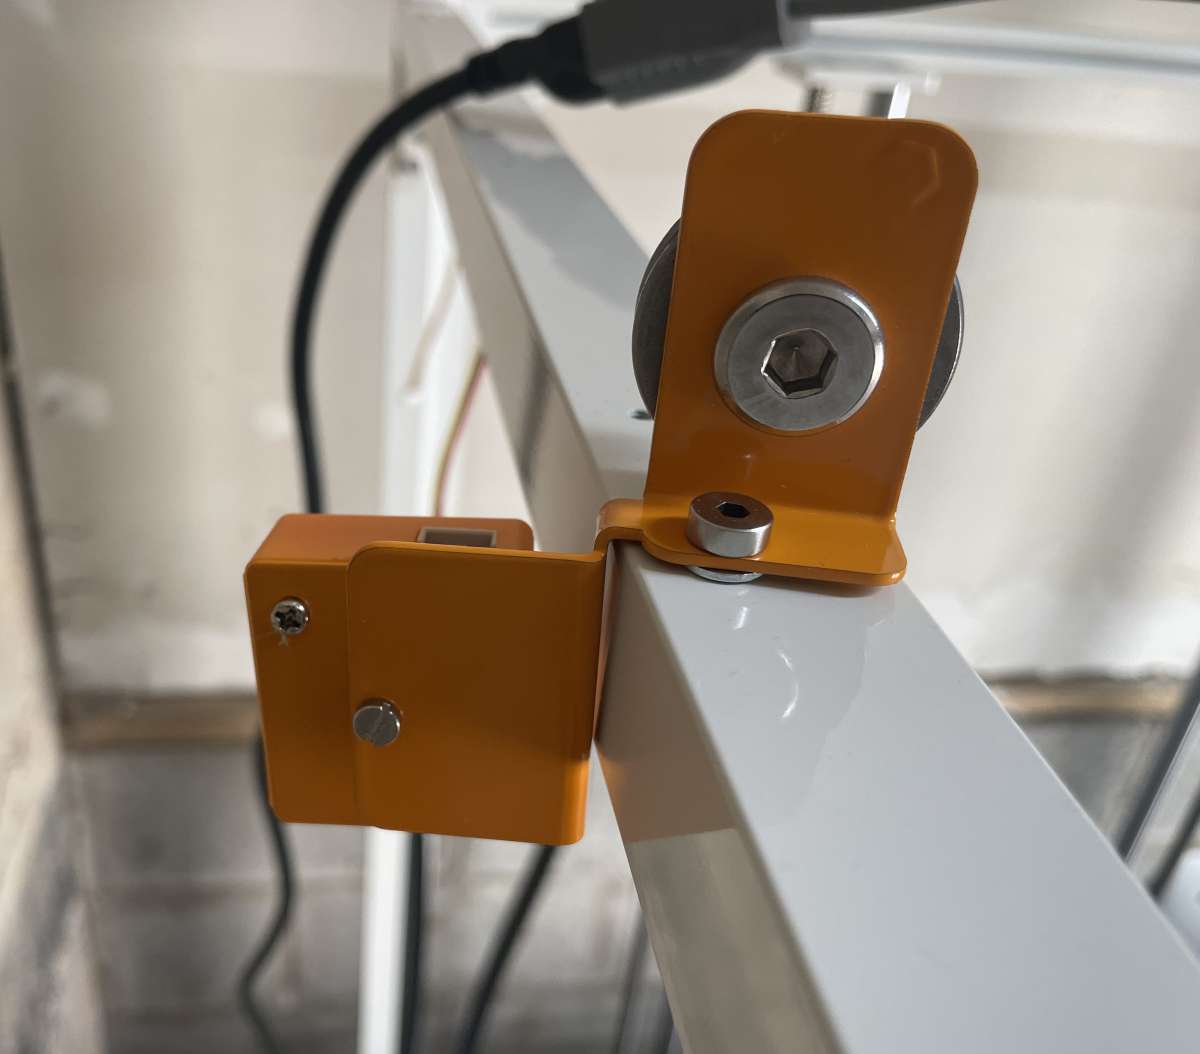
The ELEGOO OrangeStorm Giga 3D printer’s frame has a spool holder and filament detectors.
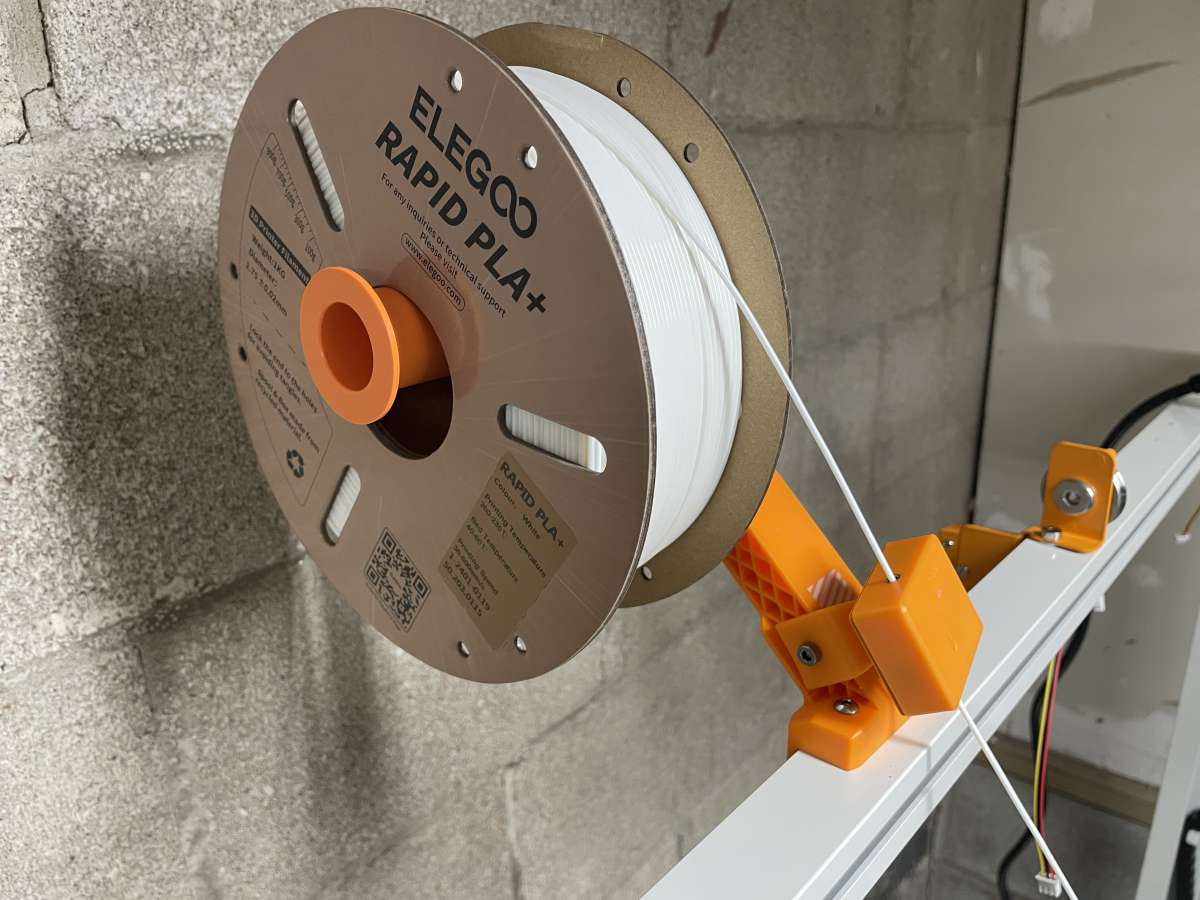
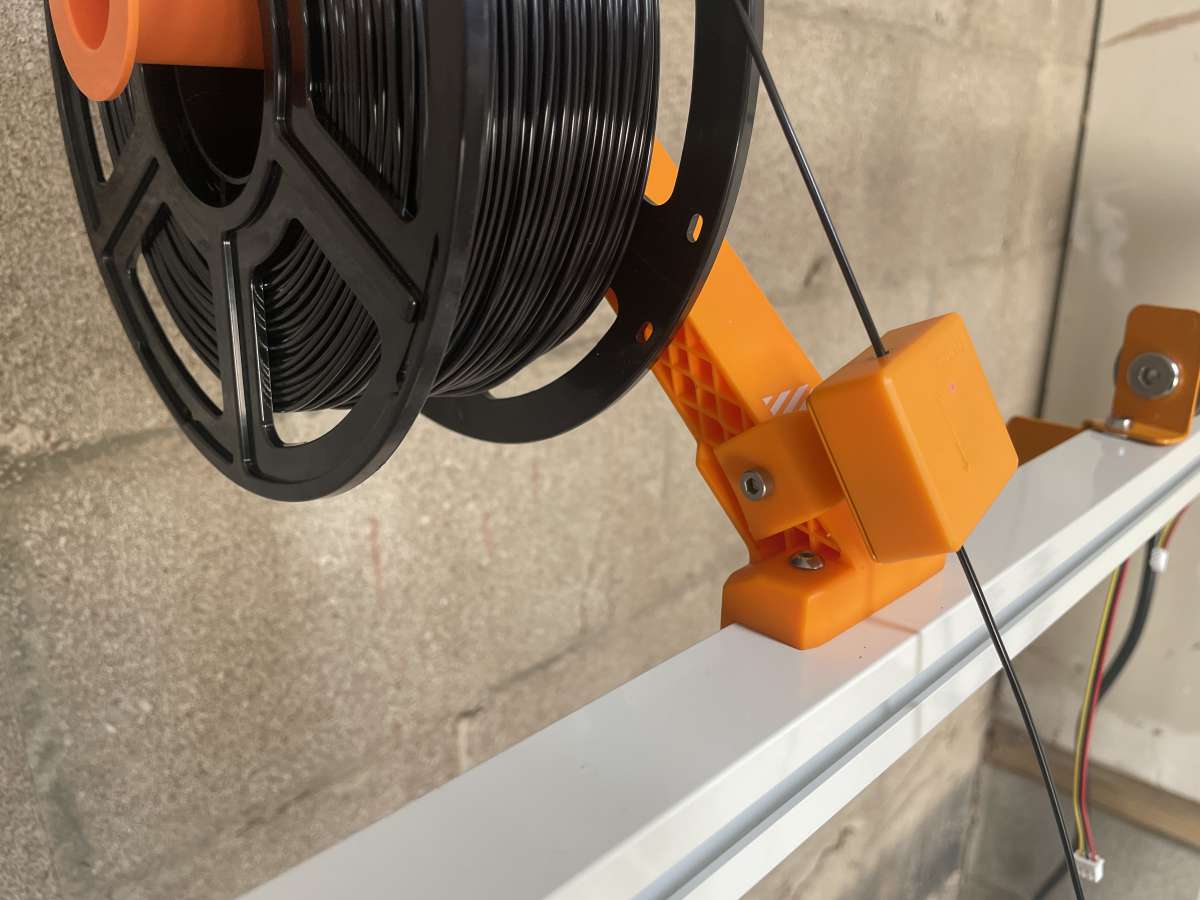
Additional plugs are also present because the printer is compatible with up to three more print heads. Yep, you can print four items simultaneously.
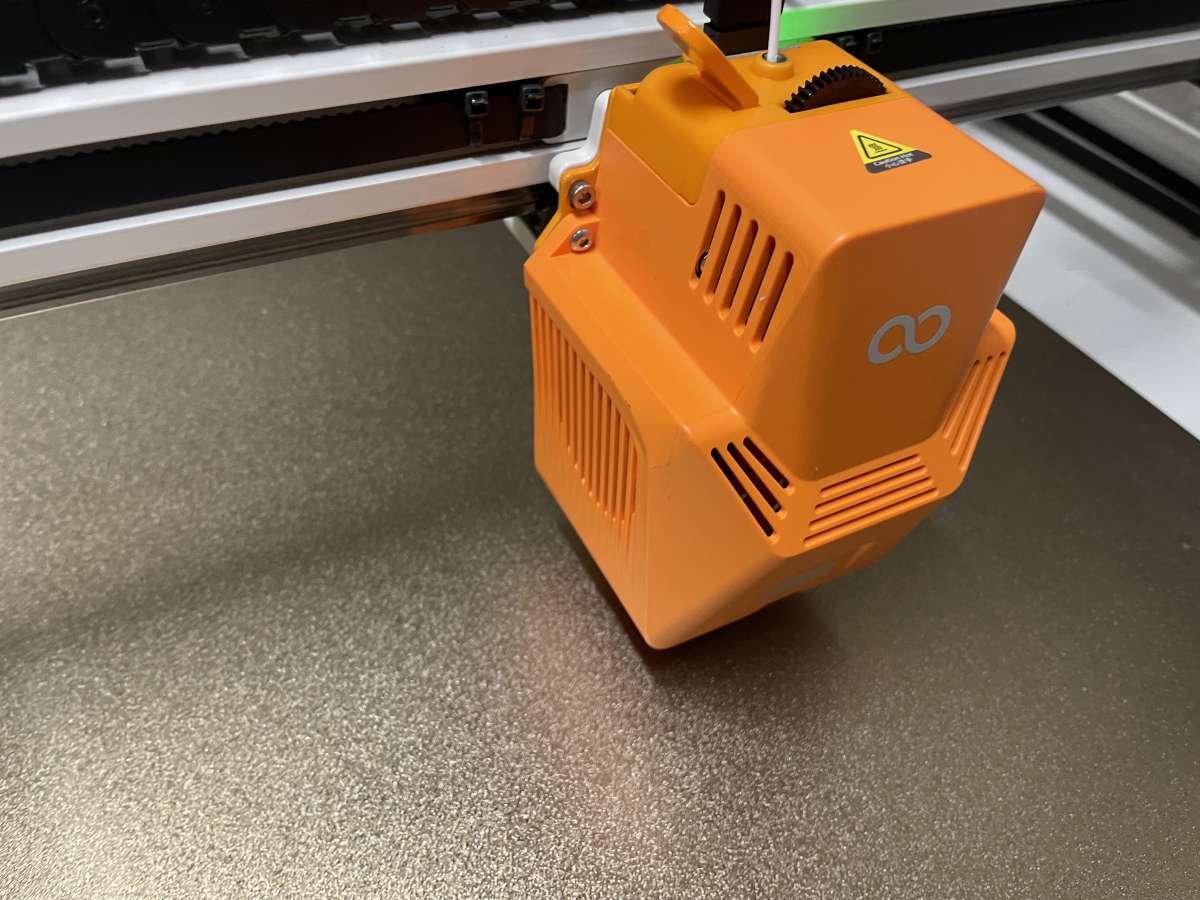
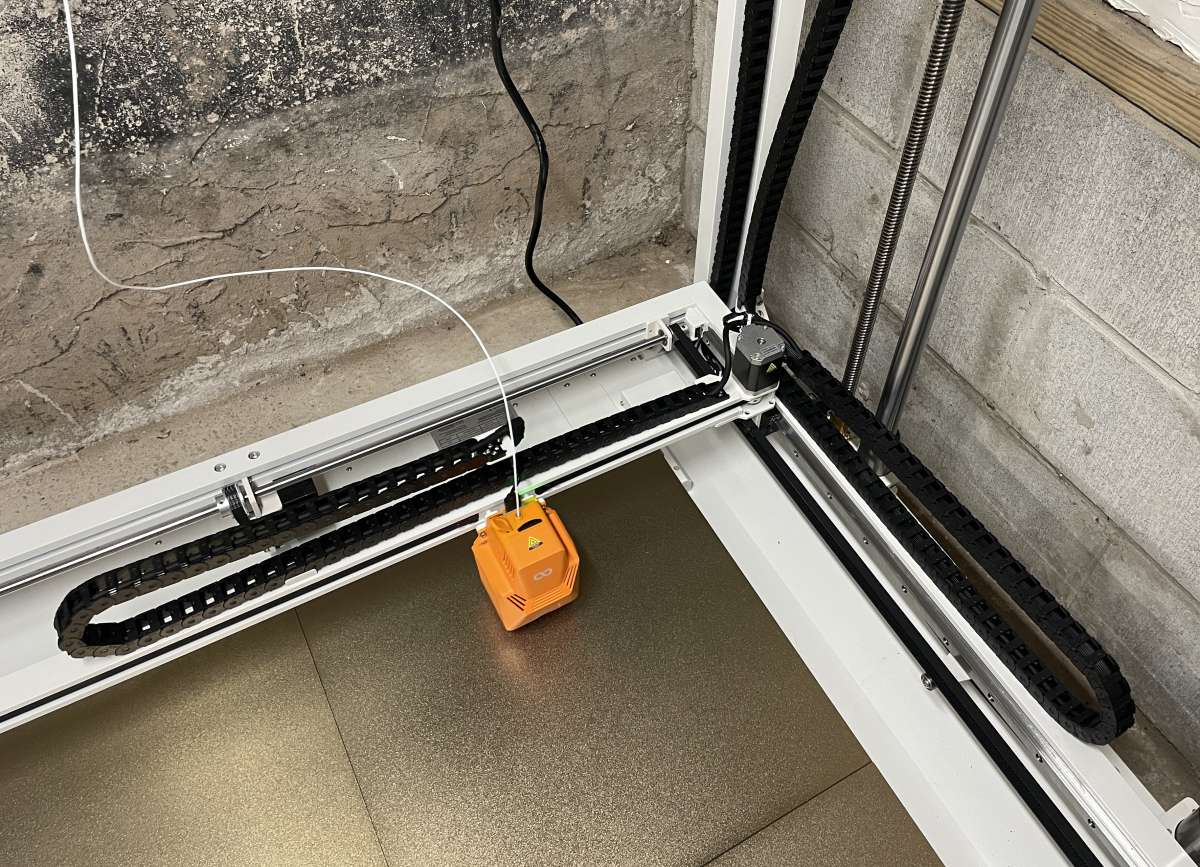
If you plan to make gargantuan prints, a 5 kg spool holder is included. Using the detached spool holder, use the other filament guide and detector.
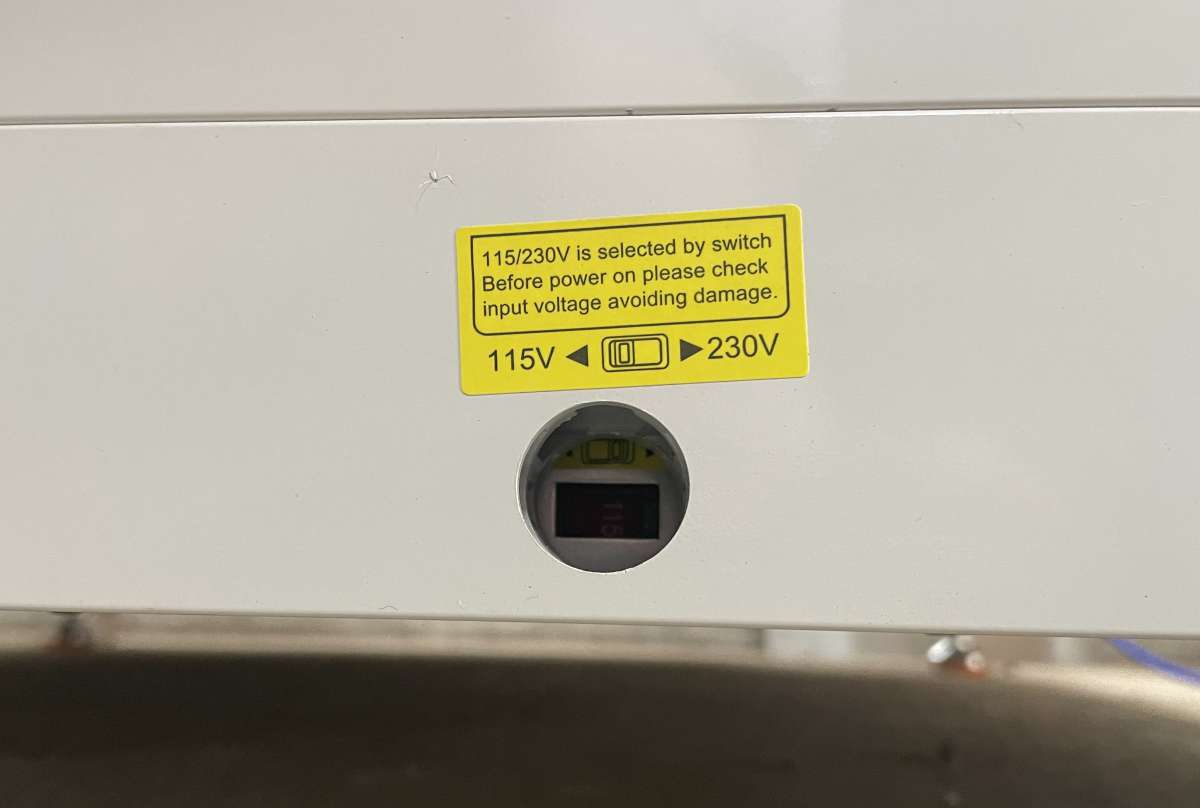
Remember those five power supplies? They all have switches for 220 or 115-volt operation. Please change them to match your power, or the printer could “go boom.”
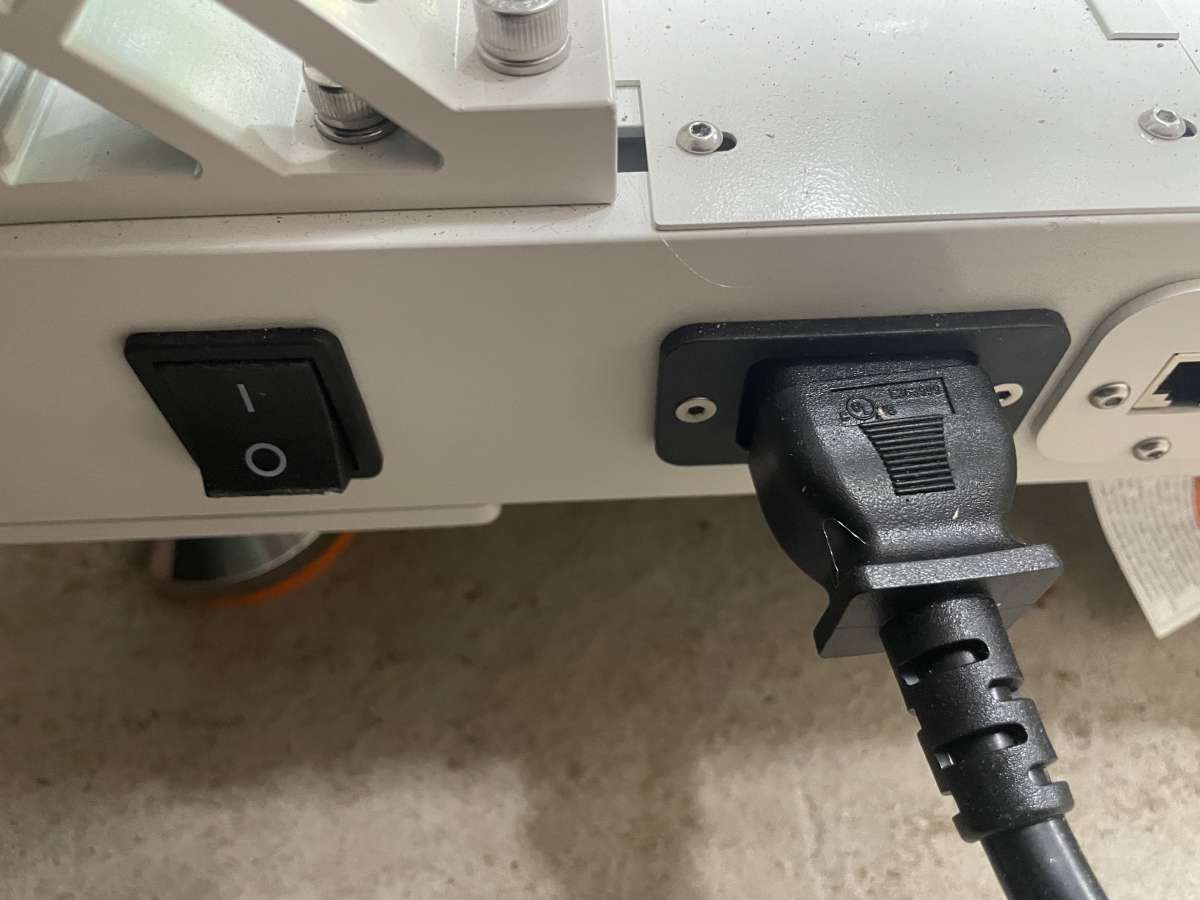
Power plugs into the back near the main switch.
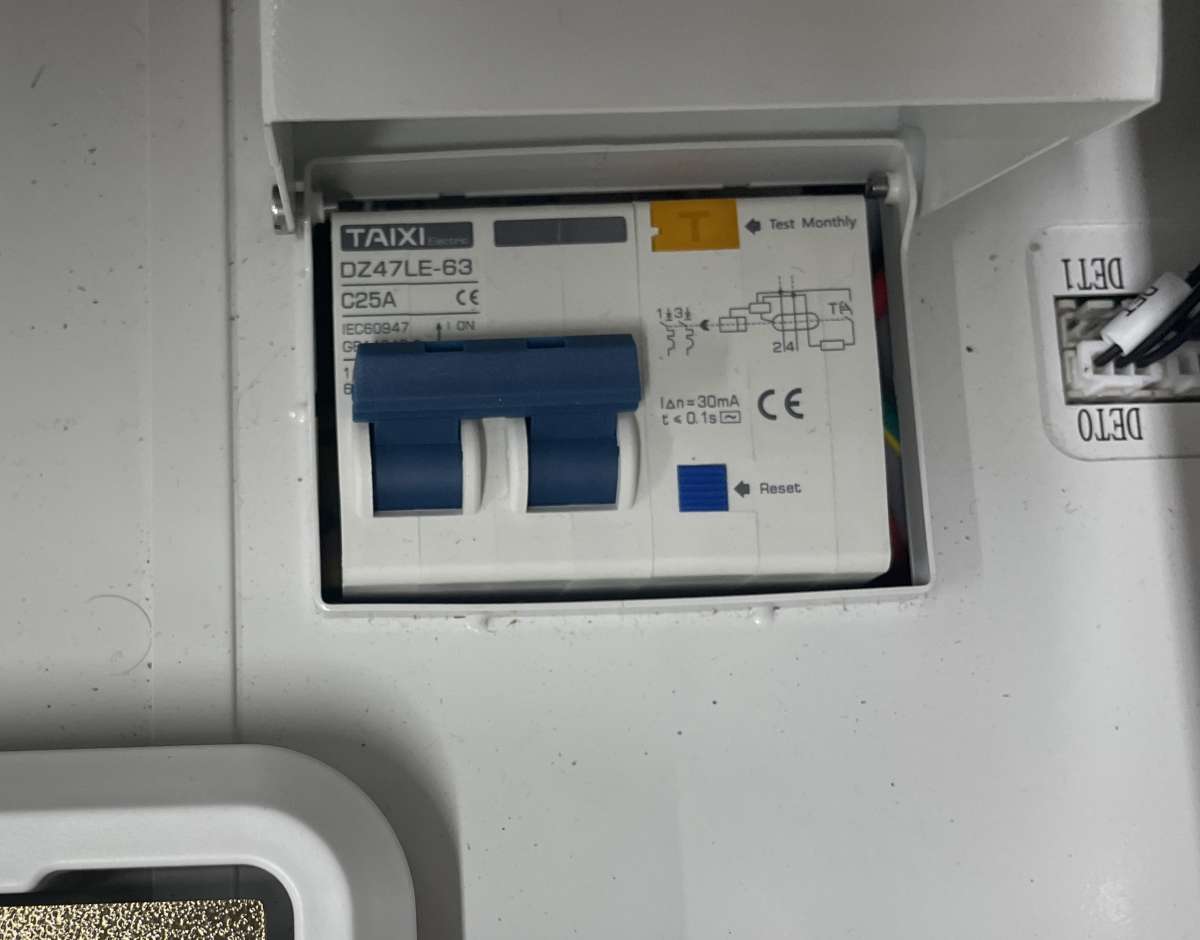
There’s also a circuit breaker under a cover.
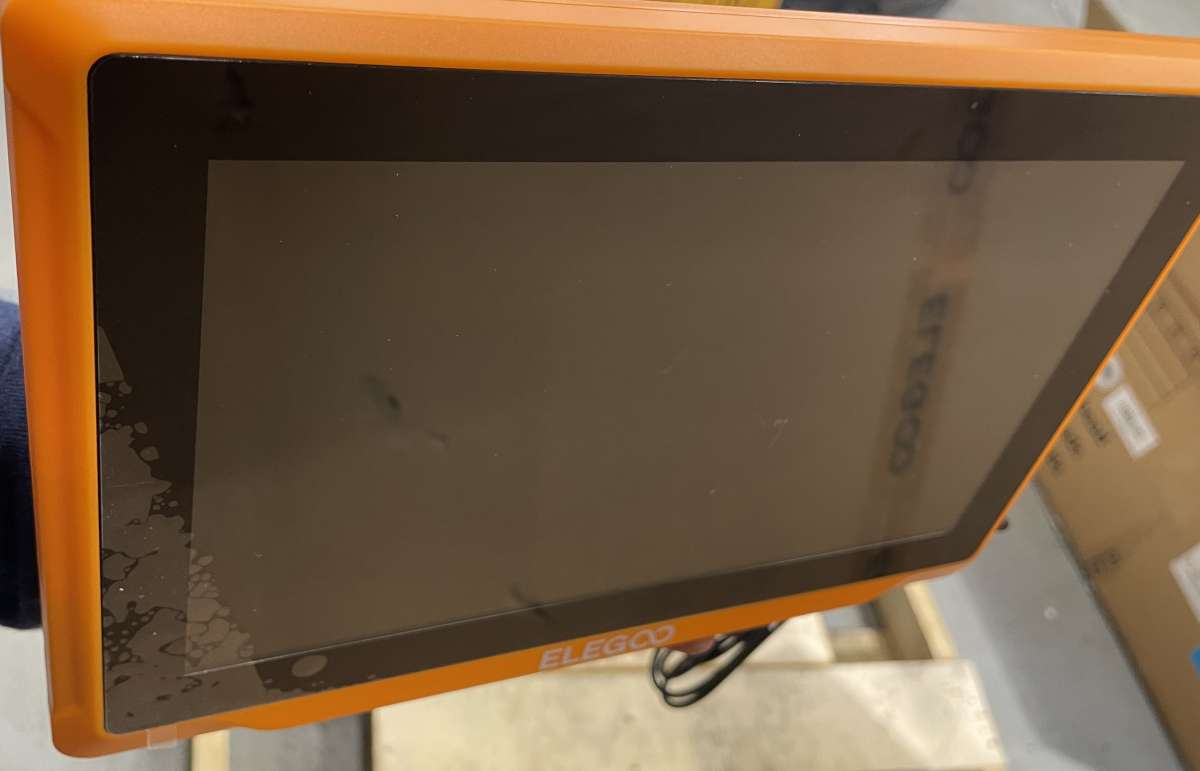
The control screen is delightfully large!
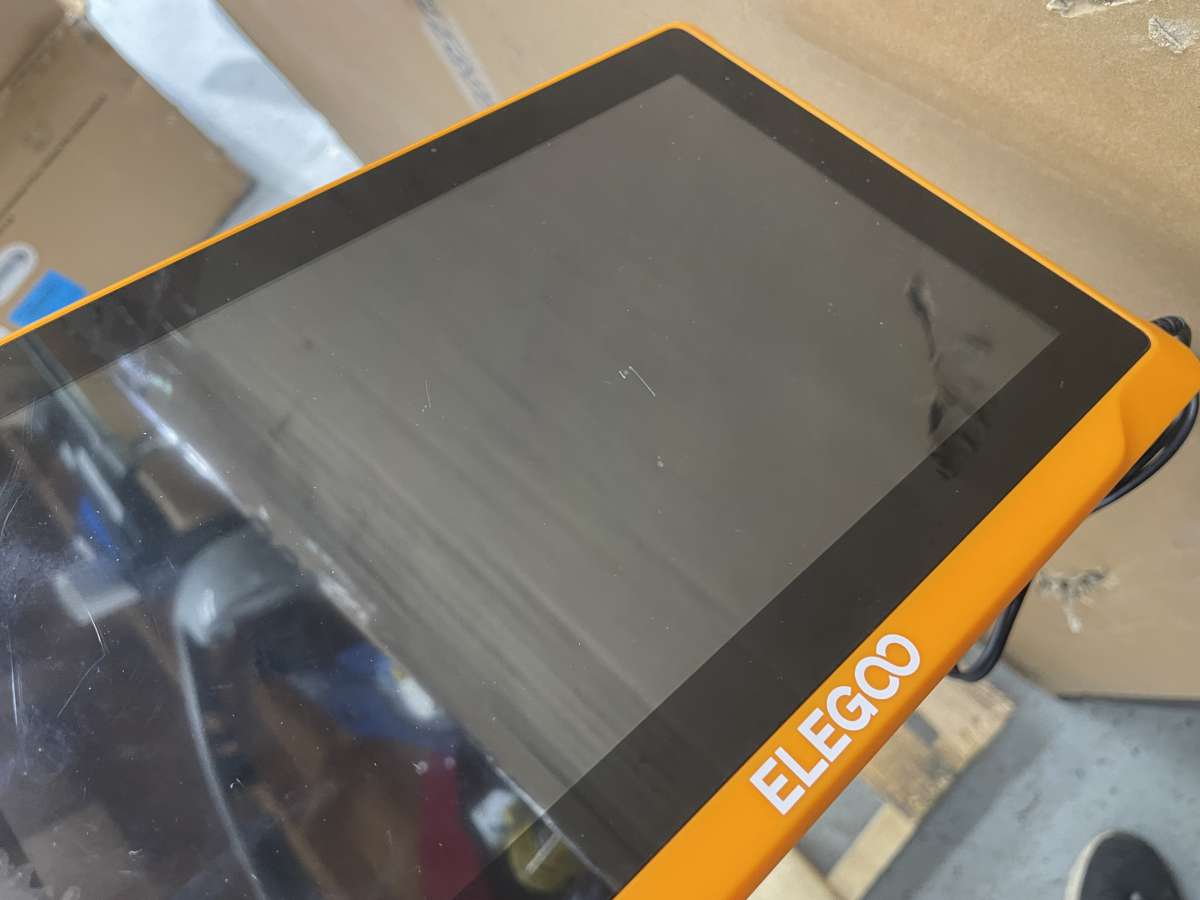
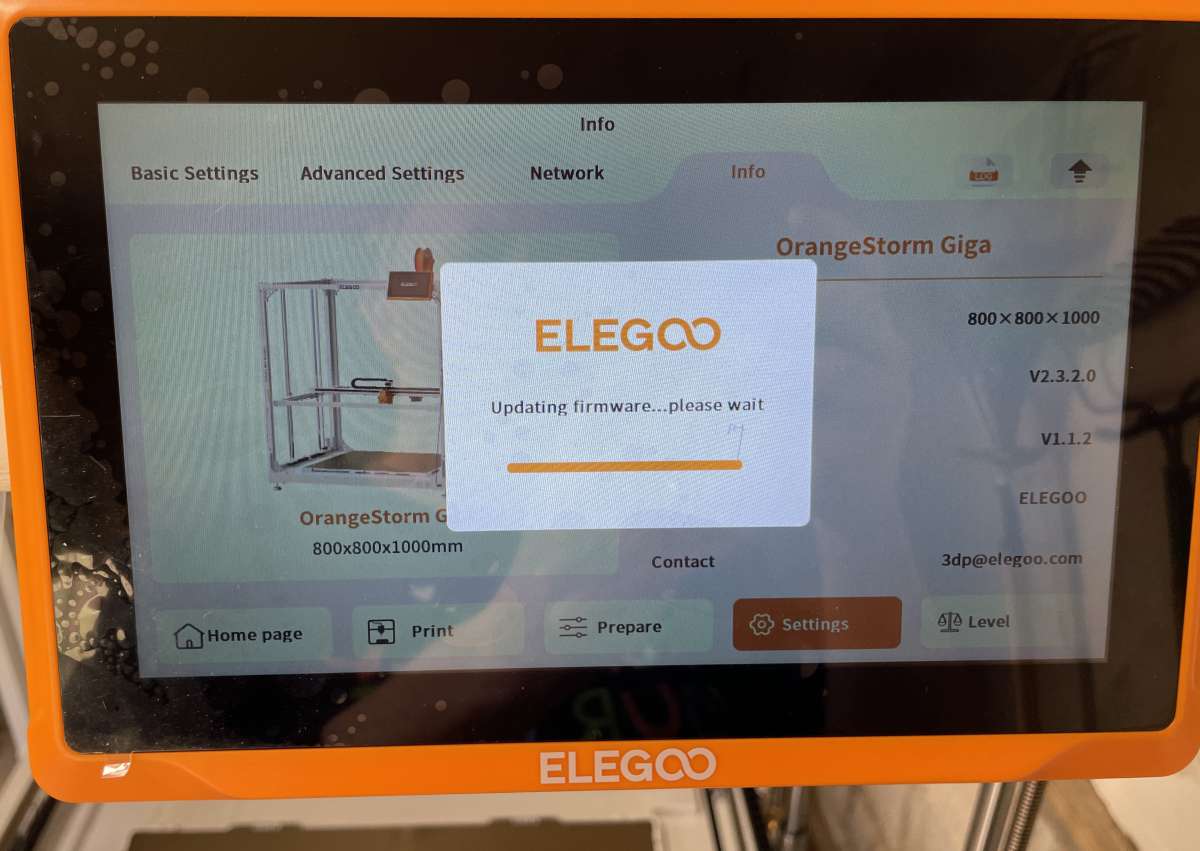
Elegoo provided a firmware update in two parts. The first is installed from an SD card accessible by removing the back cover, and the second is from the USB port. It addressed some typos and a few minor issues. There are still a few bugs, but nothing I found affected performance.
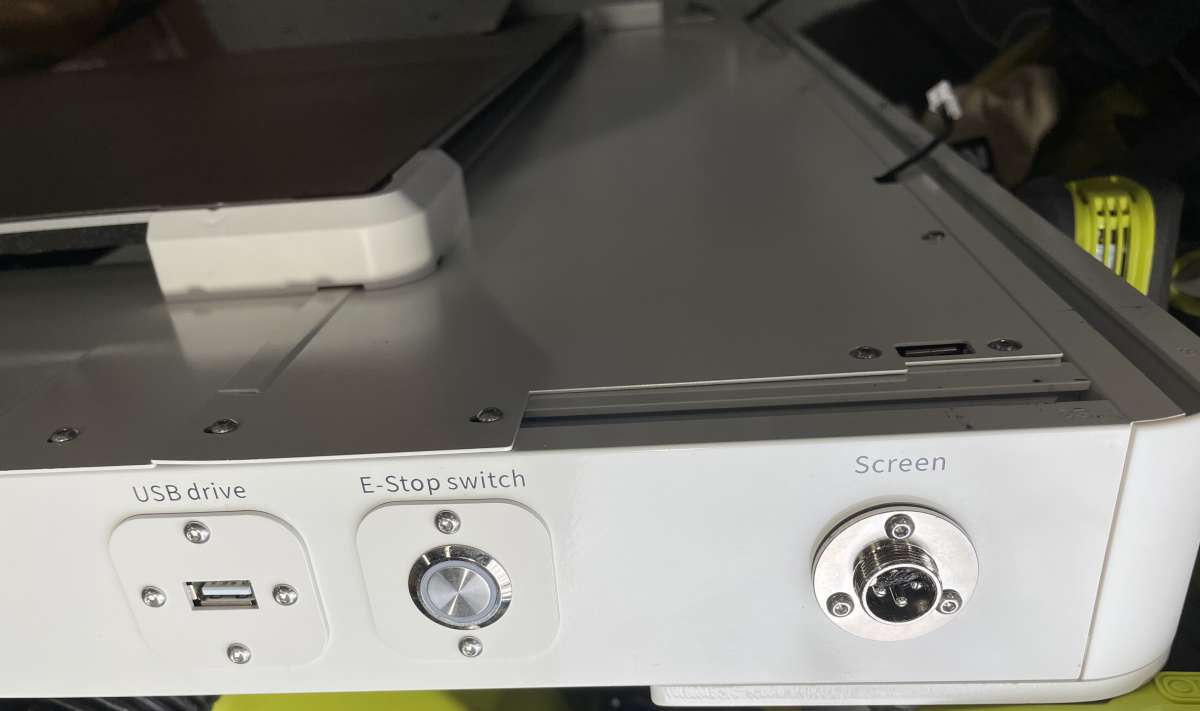
The touchscreen attaches to a port near the base in the front, and there is a USB port for project files nearby. The placement isn’t ideal and might be susceptible to damage from a wayward foot or other carpet crawler. Maybe a better location for the receptacle would be the top right corner. The emergency stop switch is on the front, too. It’s recessed and might be tough to press in a panic situation. For safety, adding one midway on each corner support might be helpful so it’s accessible regardless of where the operator stands.
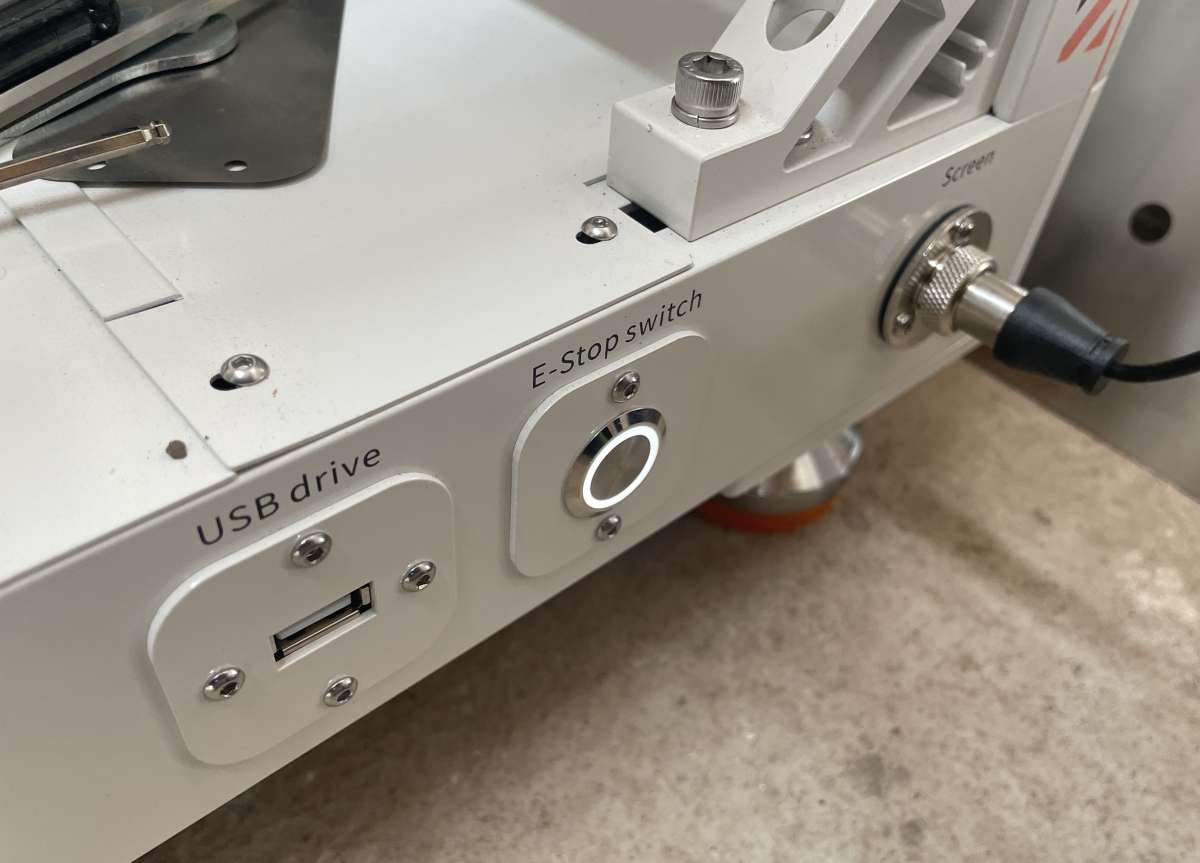
There’s also an emergency stop on the screen. When I tested it, the OrangeStorm needed a power cycle to recover.
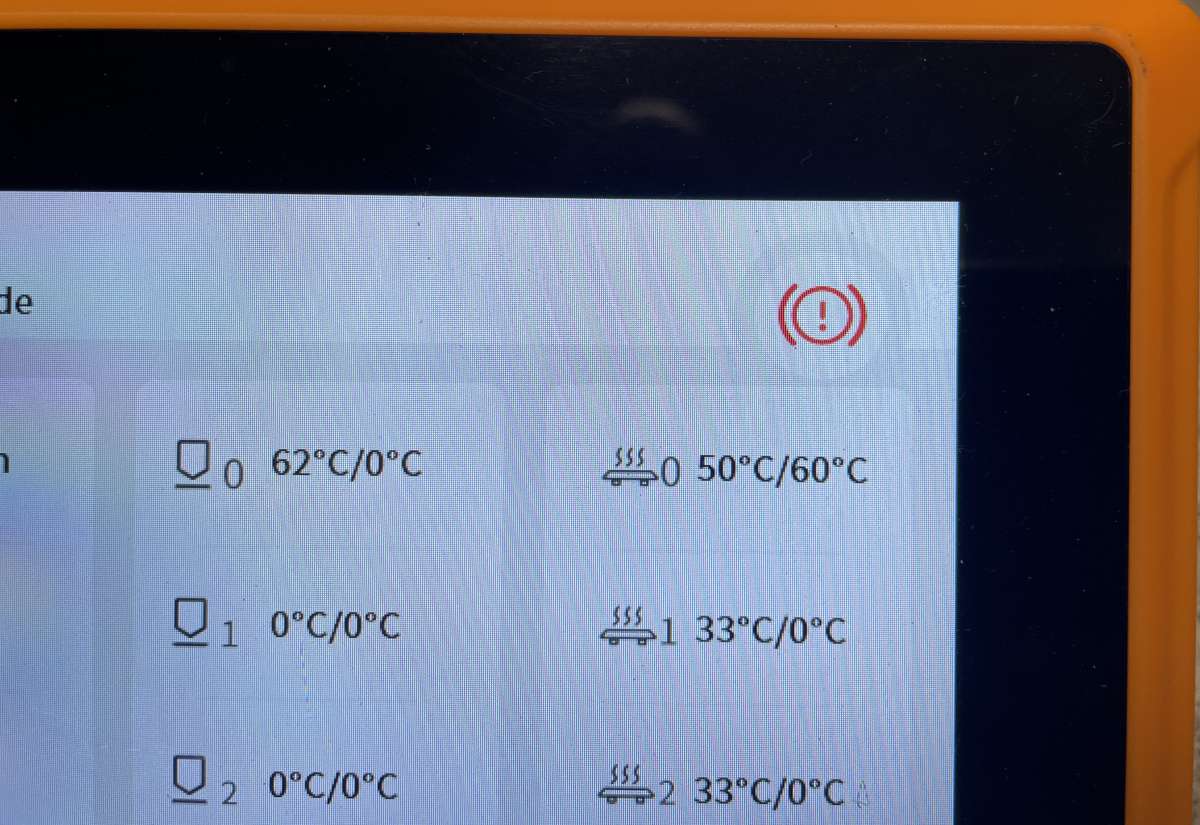
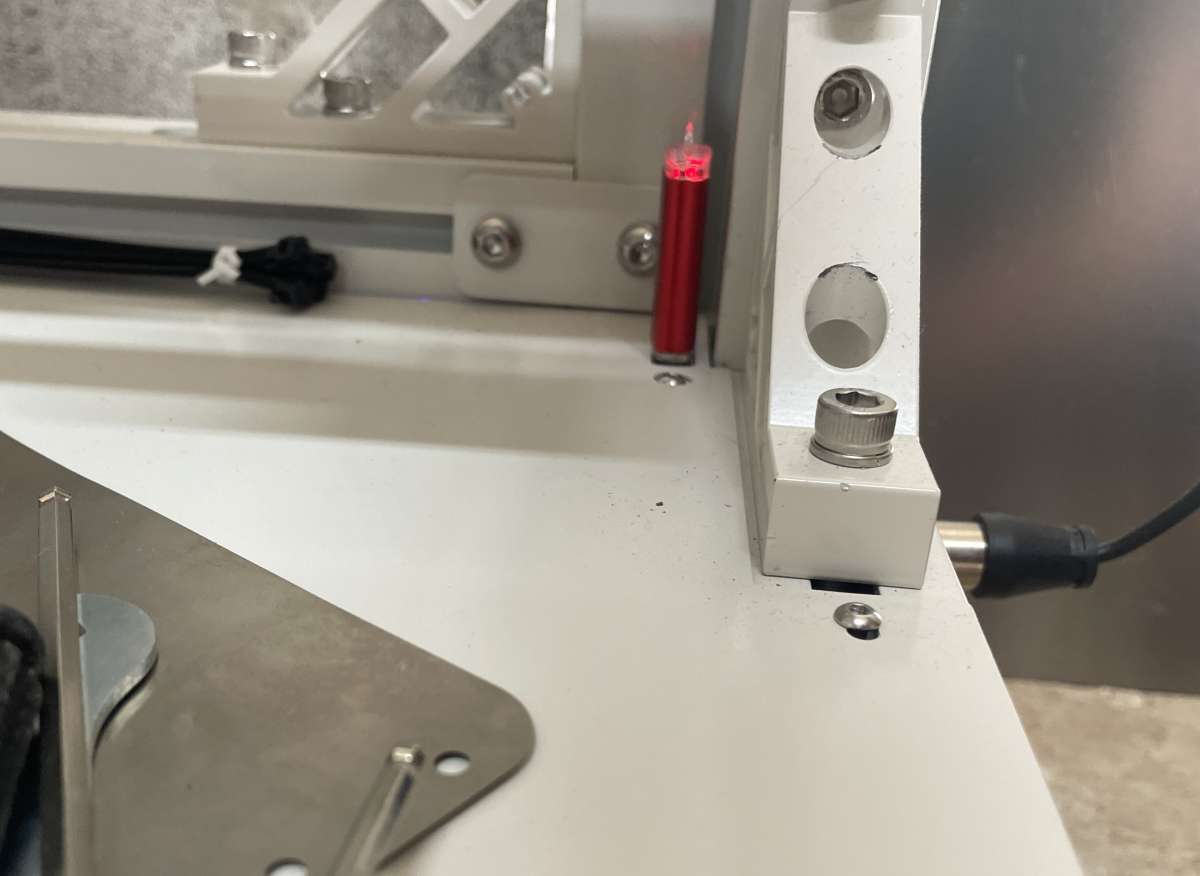
I was also concerned about the placement of the USB port but relieved to see another one inside the front right-corner support. Raise the Z-axis a few inches to access it.
Crossing my fingers, knocking on wood, and wishing on a star, I flipped the power on. A few seconds later, the touchscreen came to life. The motors chattered momentarily and moved to their home positions. Wow! That was easy!
With multiple fans, the ELEGOO OrangeStorm Giga 3D printer is relatively loud when it’s on. Maybe it wasn’t such a bad idea for me to put it in the storage room :-).
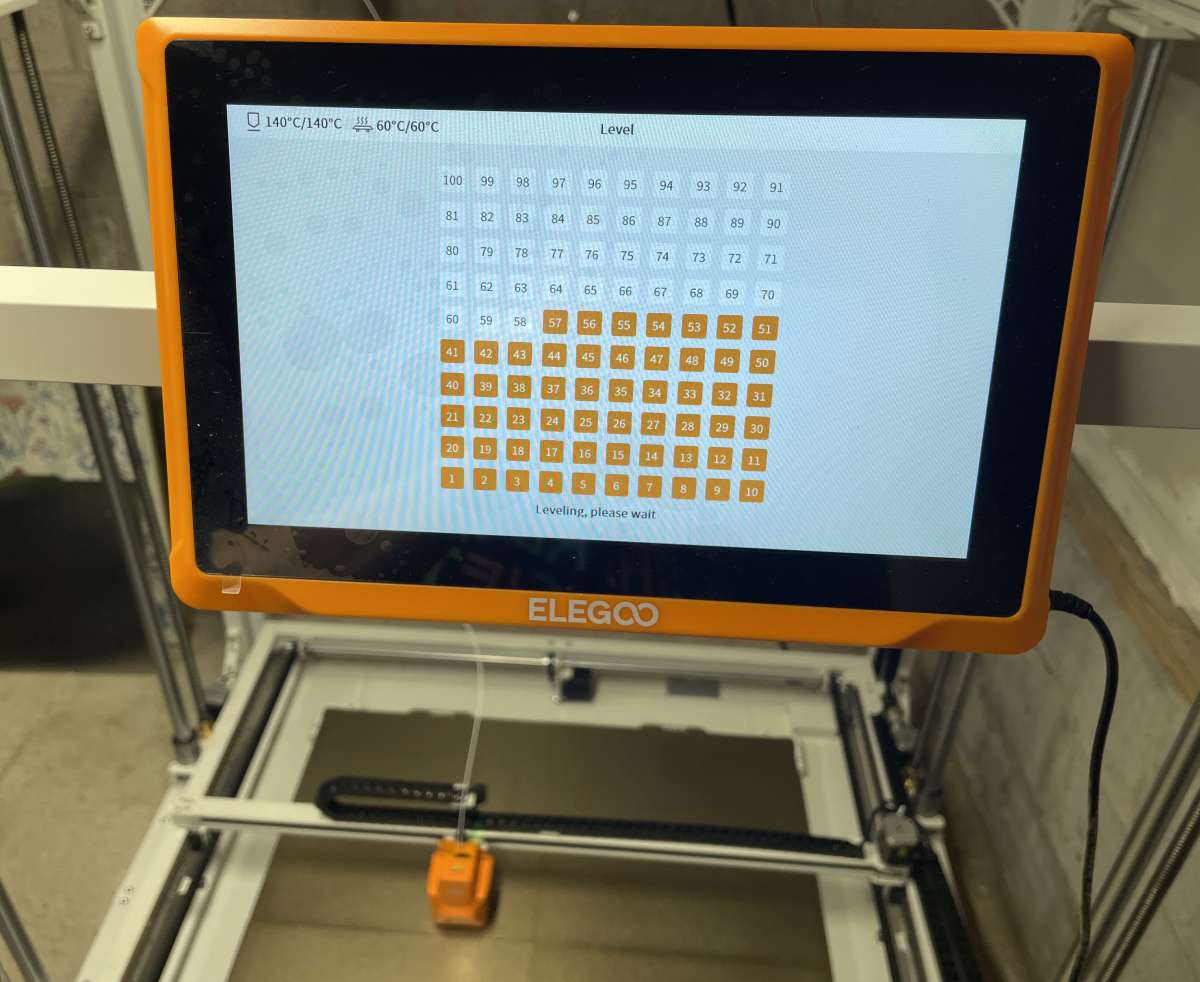
The first step is to perform an automatic leveling procedure. The OrangeStorm methodically plots 100 points. It takes a while. The last step is to use an included metal sheet to set the Z-axis offset.
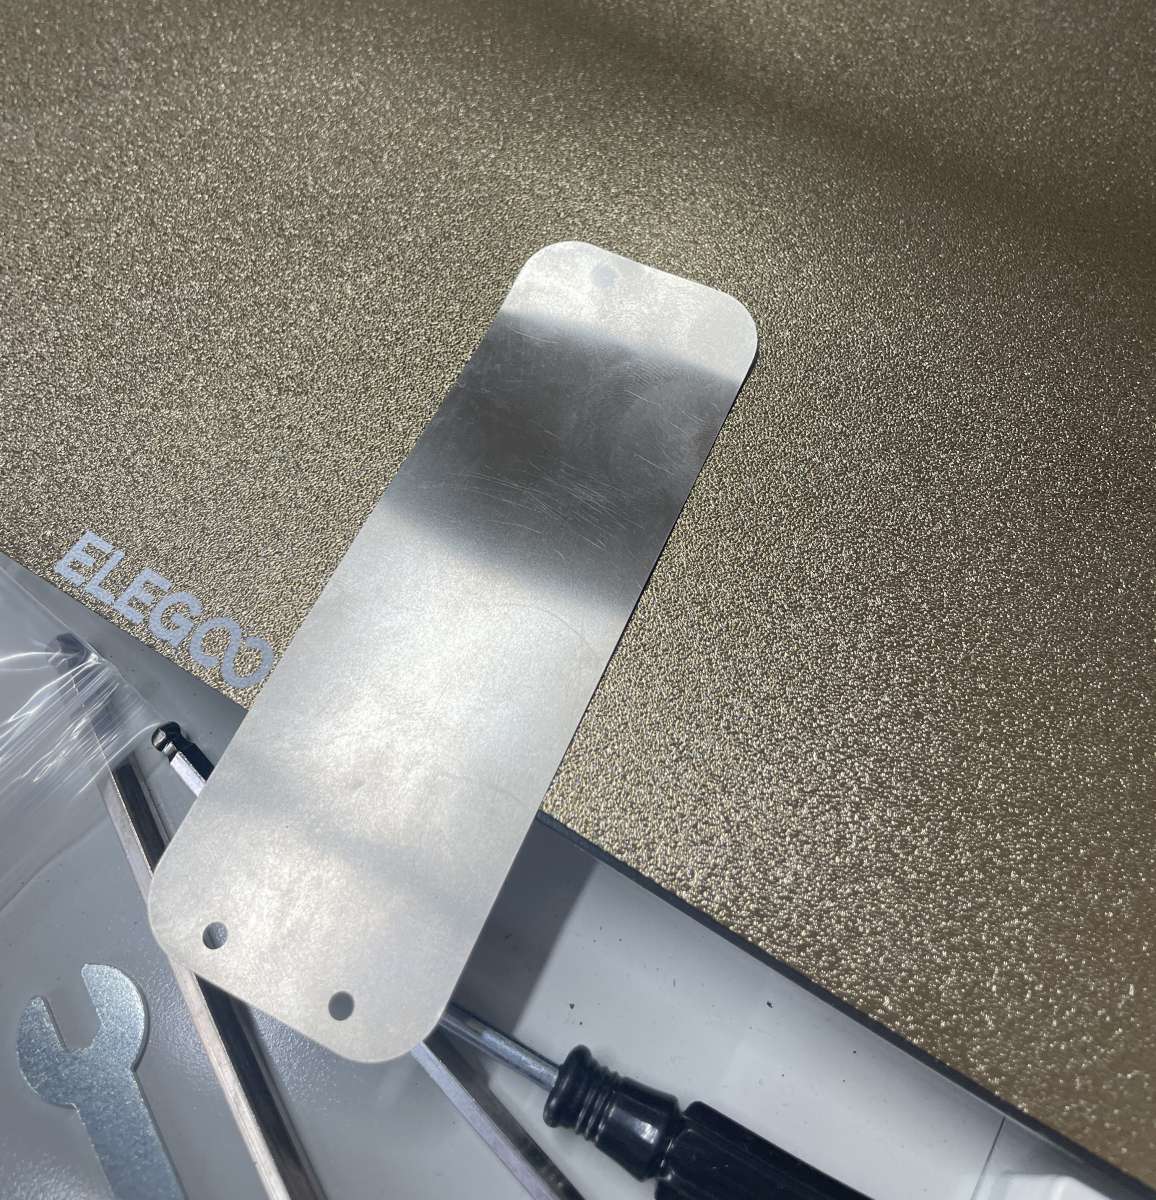
After calibration is complete, use this plate to set the Z-offset. I love this! It’s so much more repeatable than a piece of paper!
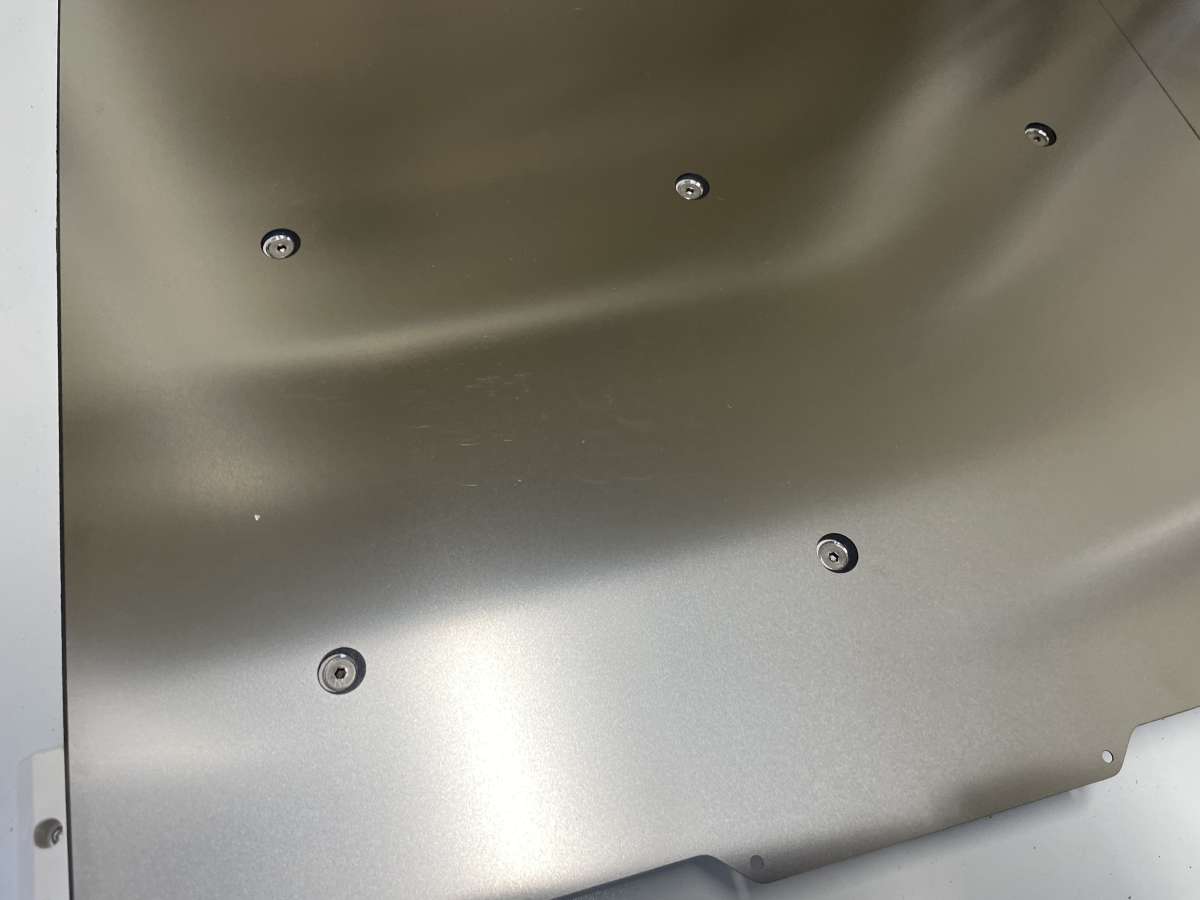
Like all other 3D printers, you must also level it mechanically. To do so, remove the PEI plates and replace them with the ones with holes. The holes align with the leveling screws. Opening the “Advanced Settings” menu and “Platform measurement” starts the procedure.
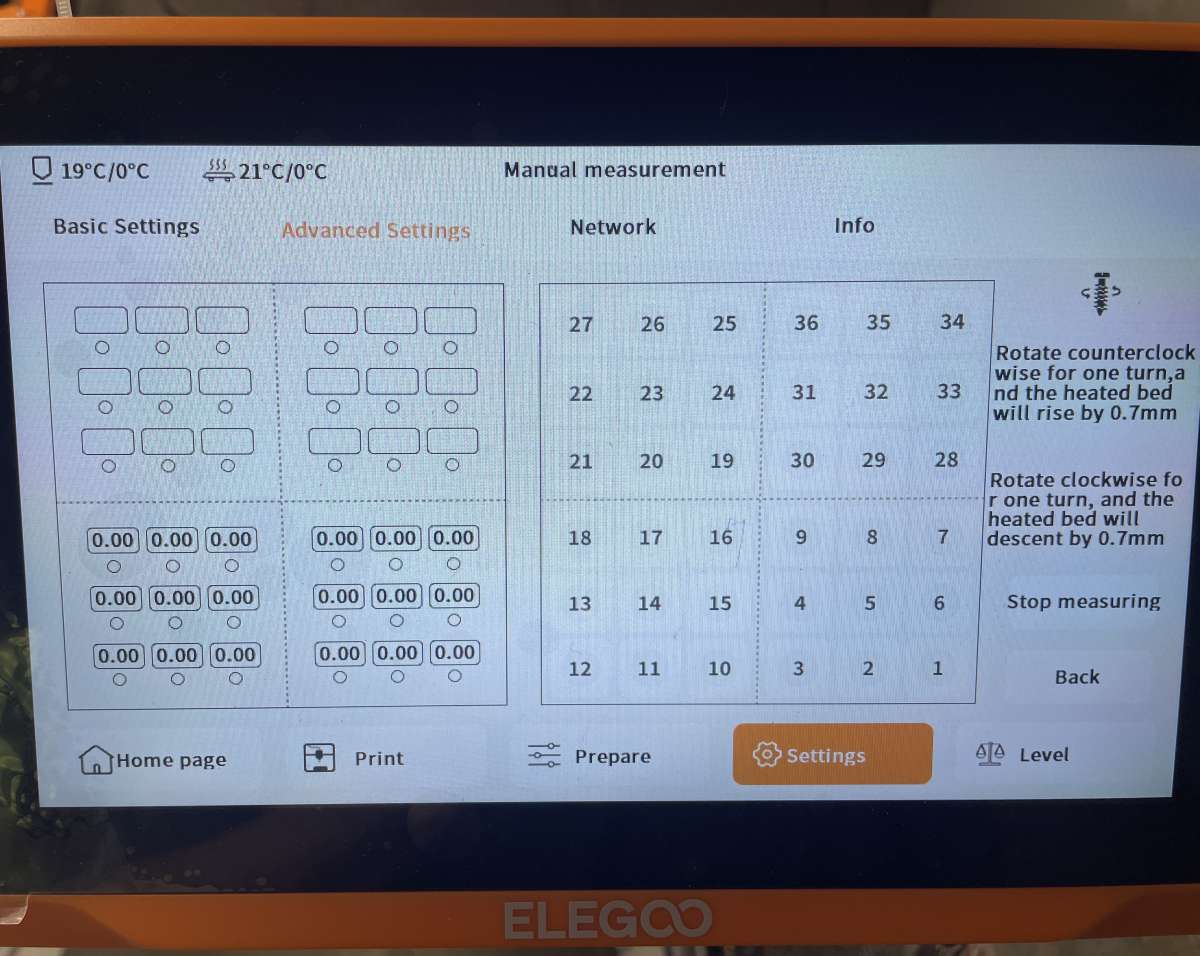
“Automatic measurement” sends the print head moving to all 18 locations near the leveling screws, and the results are displayed. A clockwise or counterclockwise 360° turn of the corresponding screw raises or lowers the plate by 0.7mm.
Tapping one of the buttons on the screen’s right moves the print head to another location for fine-tuning. Once all are leveled (0.00), the plates transfer to the back section for the remaining eighteen. The entire process took about two hours. Afterward, rerun the 100-point automatic process. Elegoo’s solution is elegant and much more straightforward than other printers I’ve used. I’m thrilled with the results!
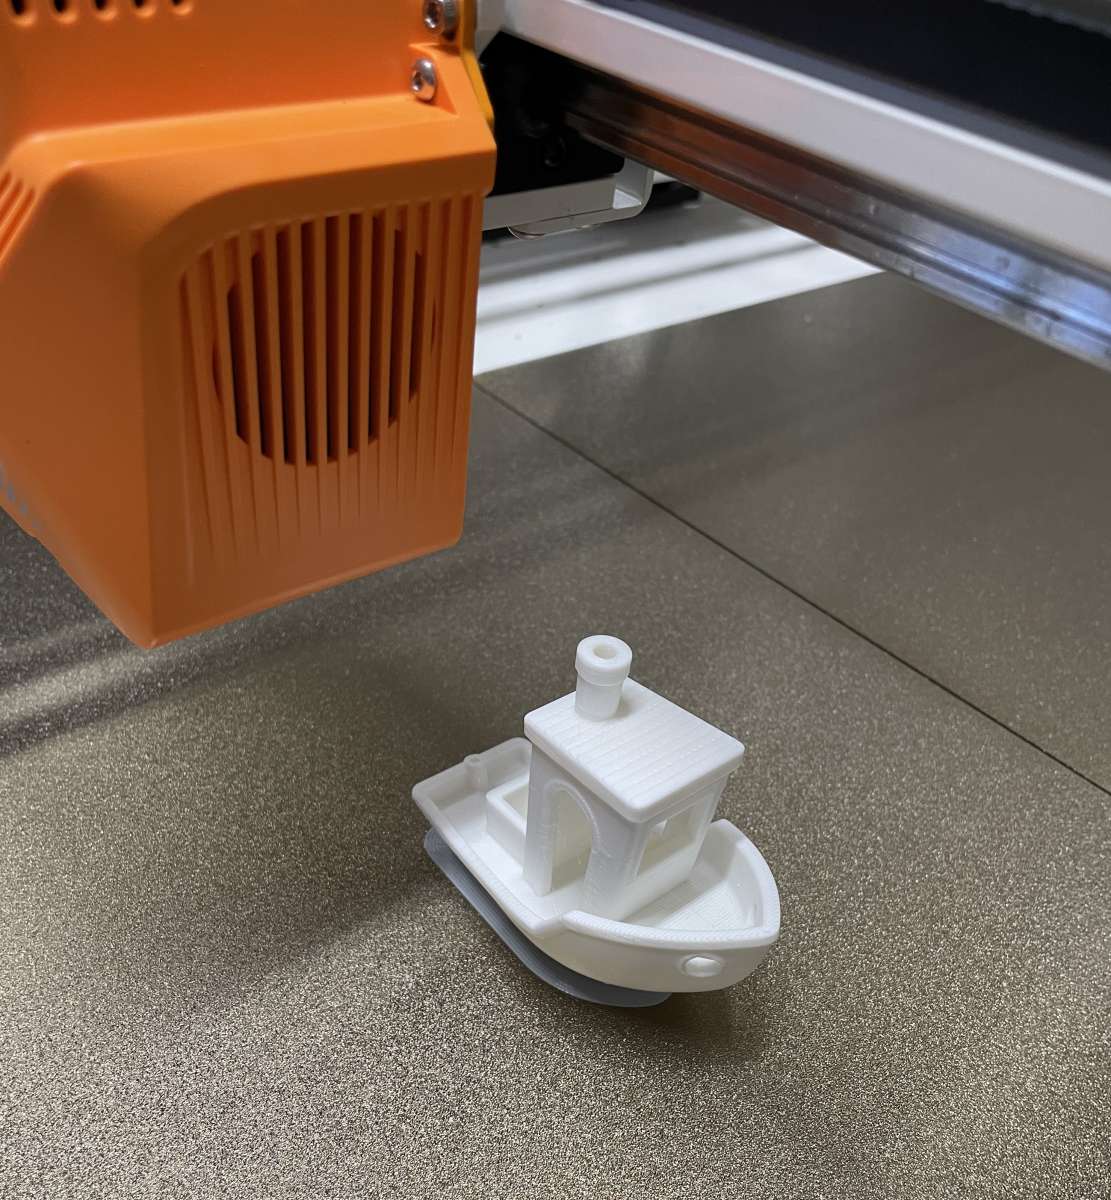
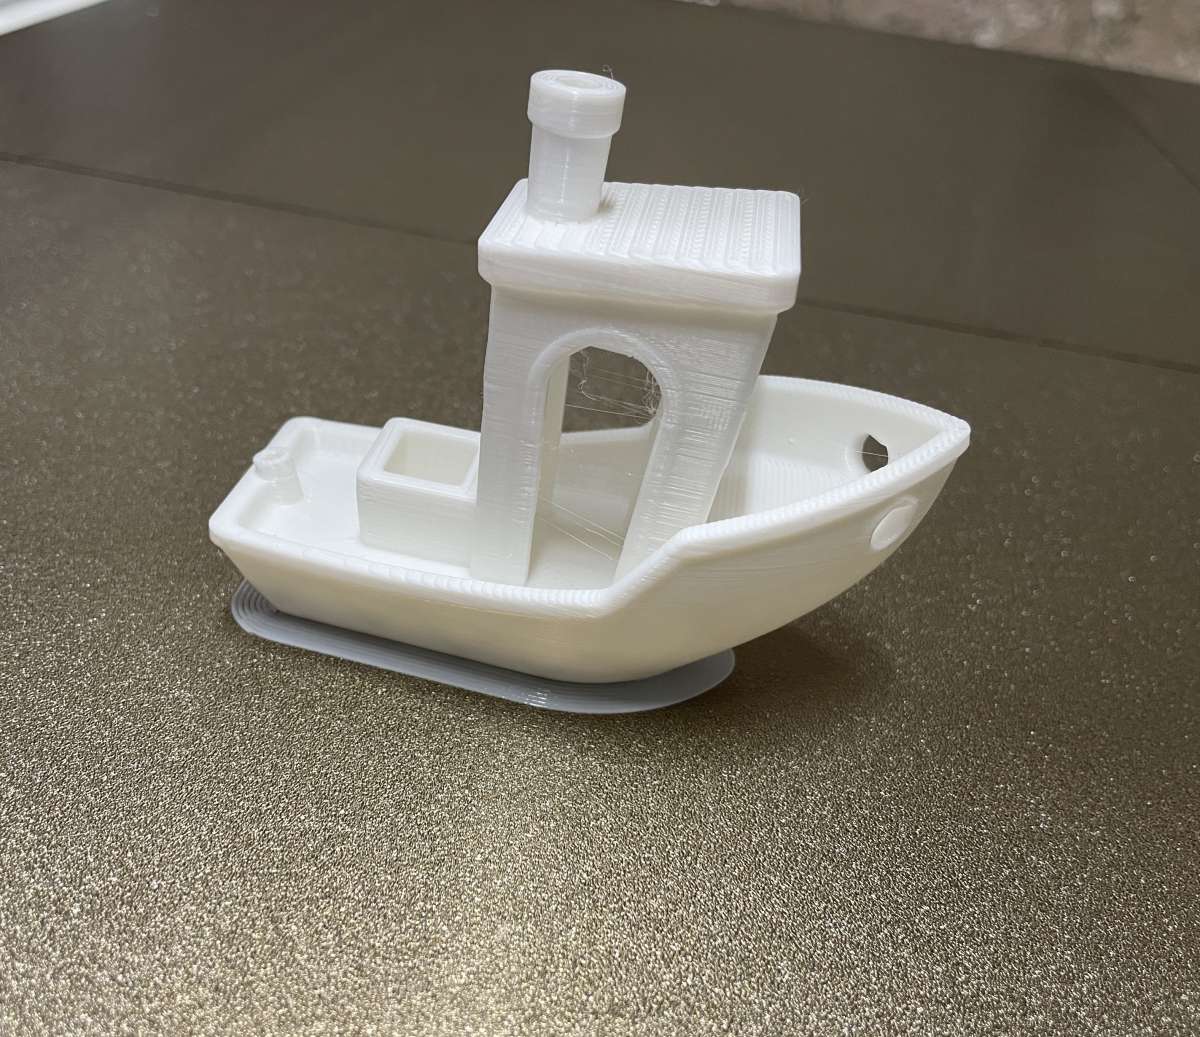
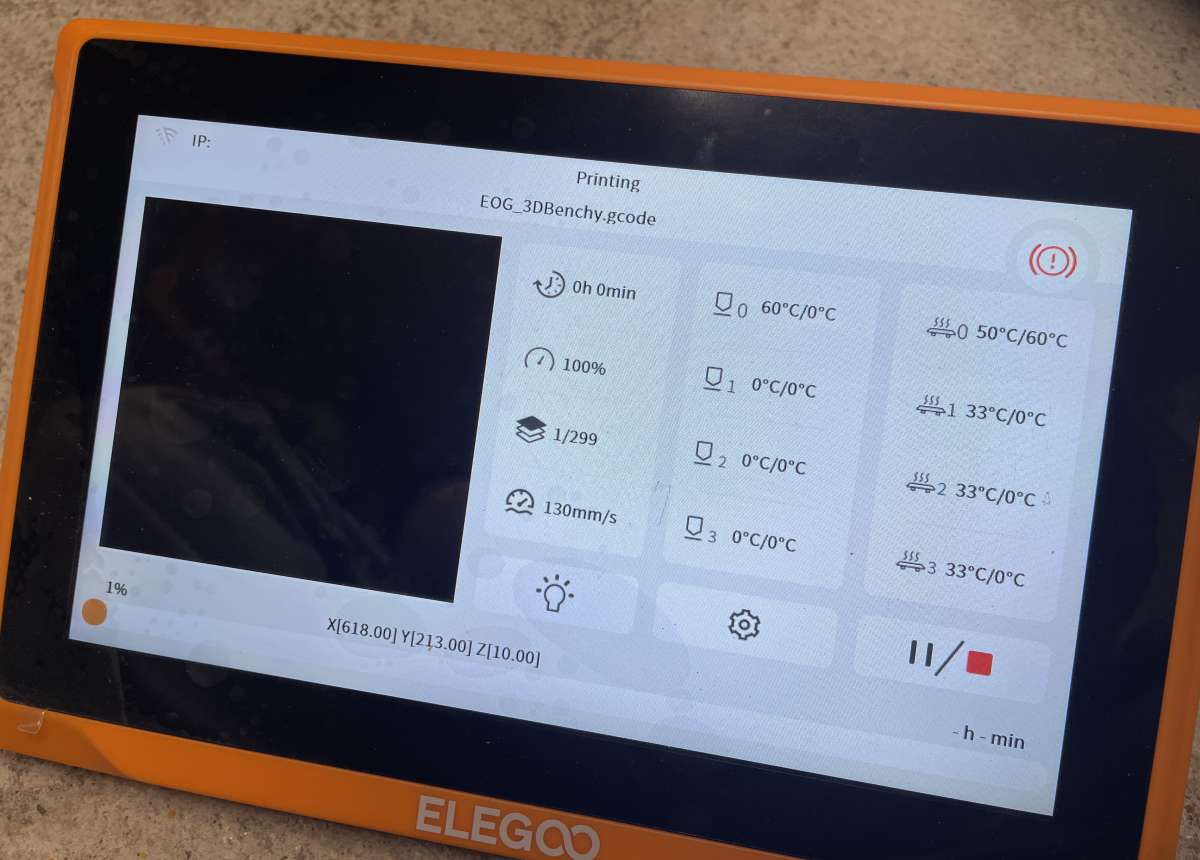
I ran the first test print from the USB stick. Yay, Benchy!
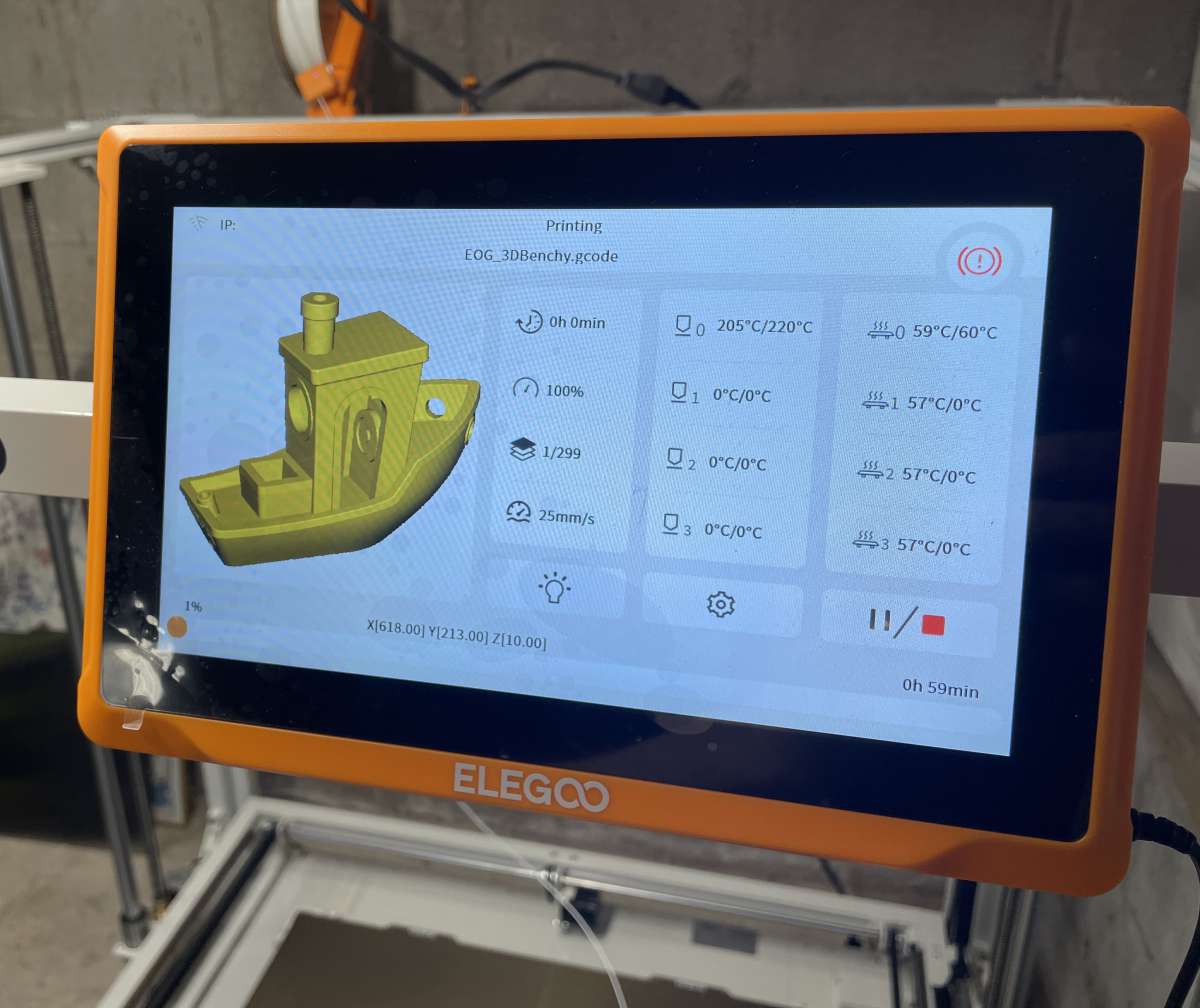
Printing was shockingly fast!
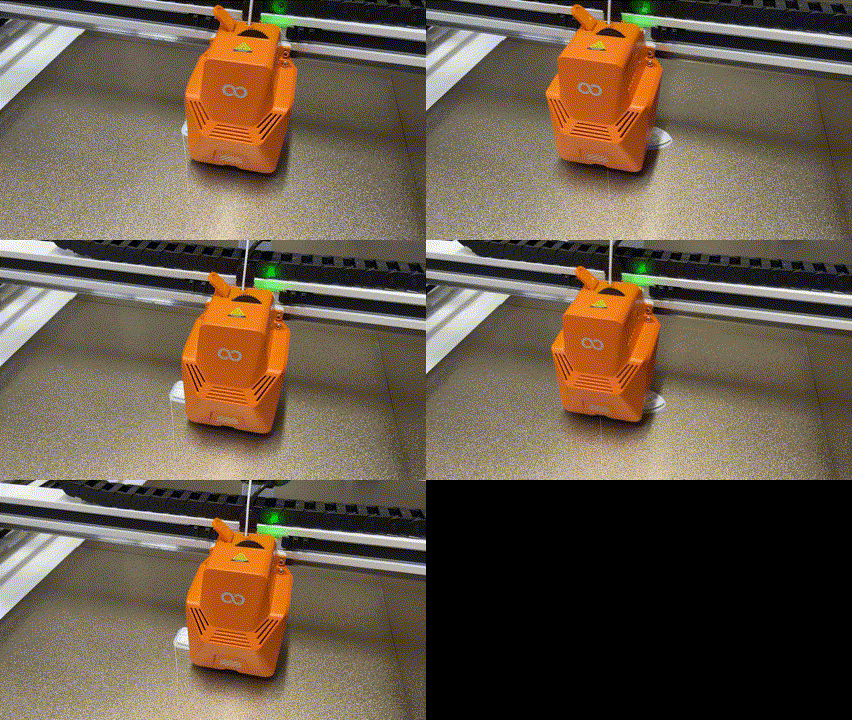
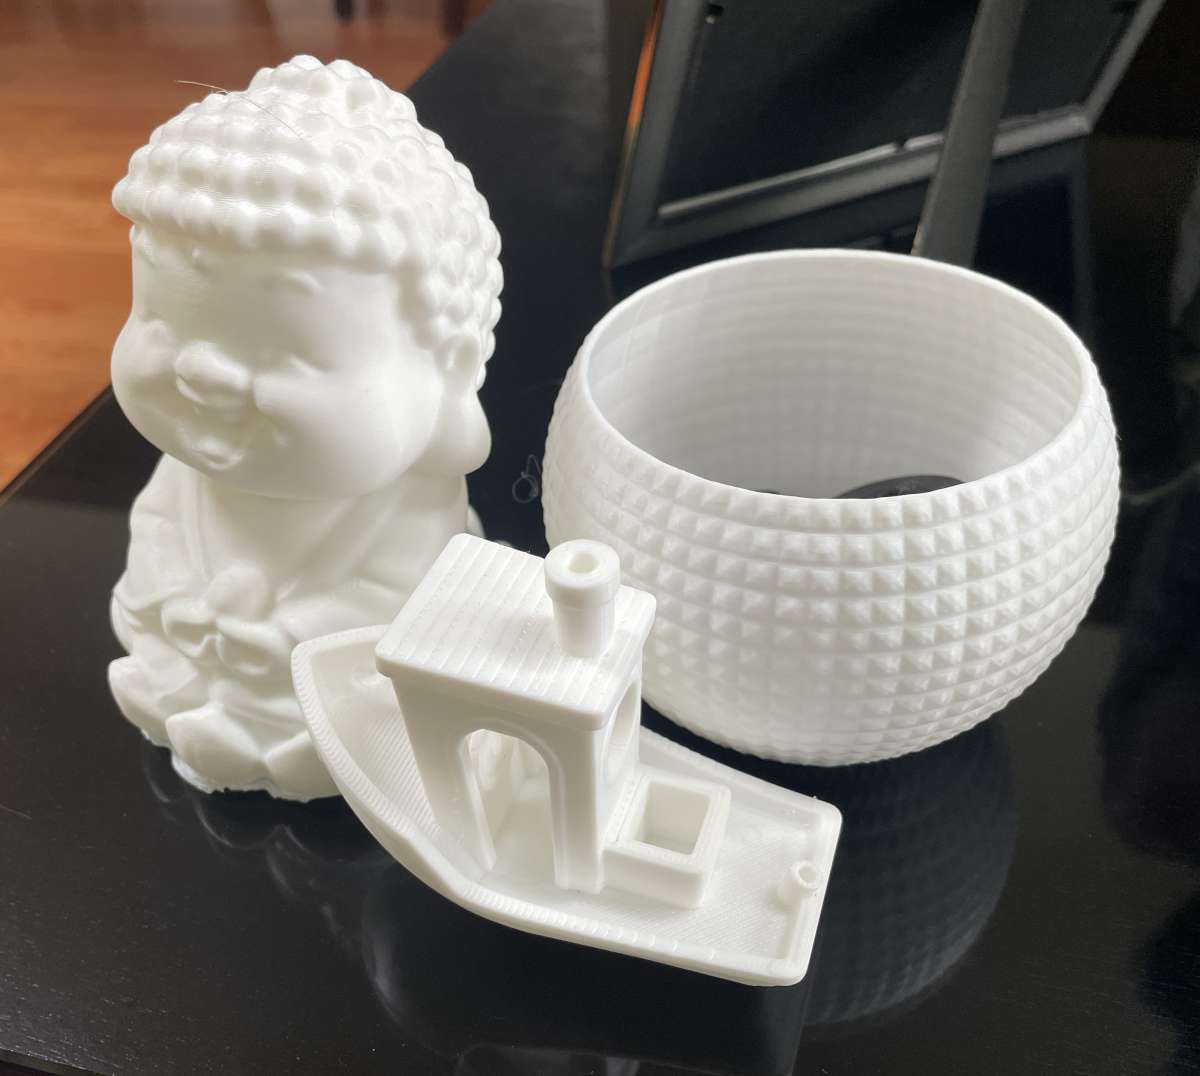
The first print was virtually flawless at an impressive speed and is the best “inaugural run” I have had from any 3D printer. There was no need for tedious fiddling, flow rate calibrations, temperature adjustments, or Z-axis tweaks. It just worked. I find this particularly encouraging because it was only 56°F the day I ran the test. This. Bravo, Elegoo!
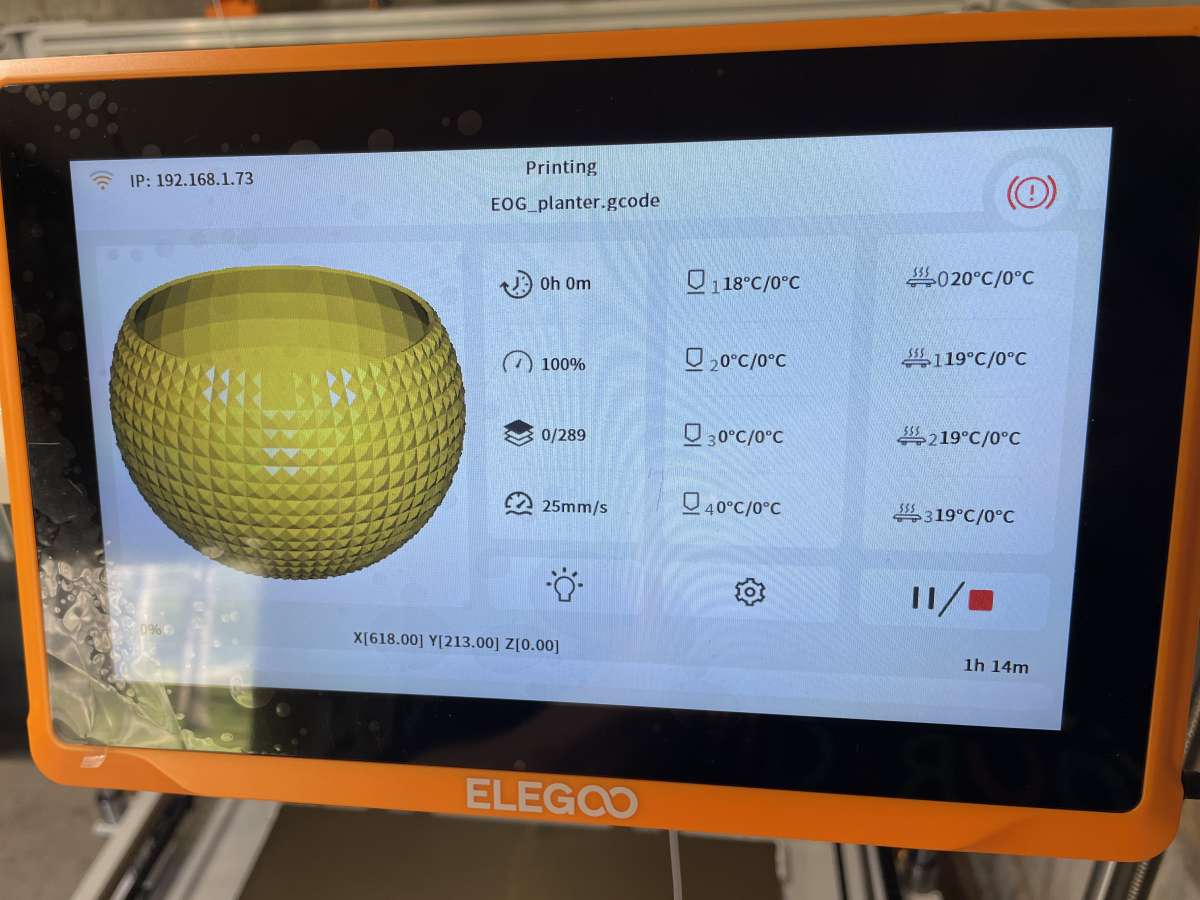
The second test print, a flower pot, was equally gorgeous!
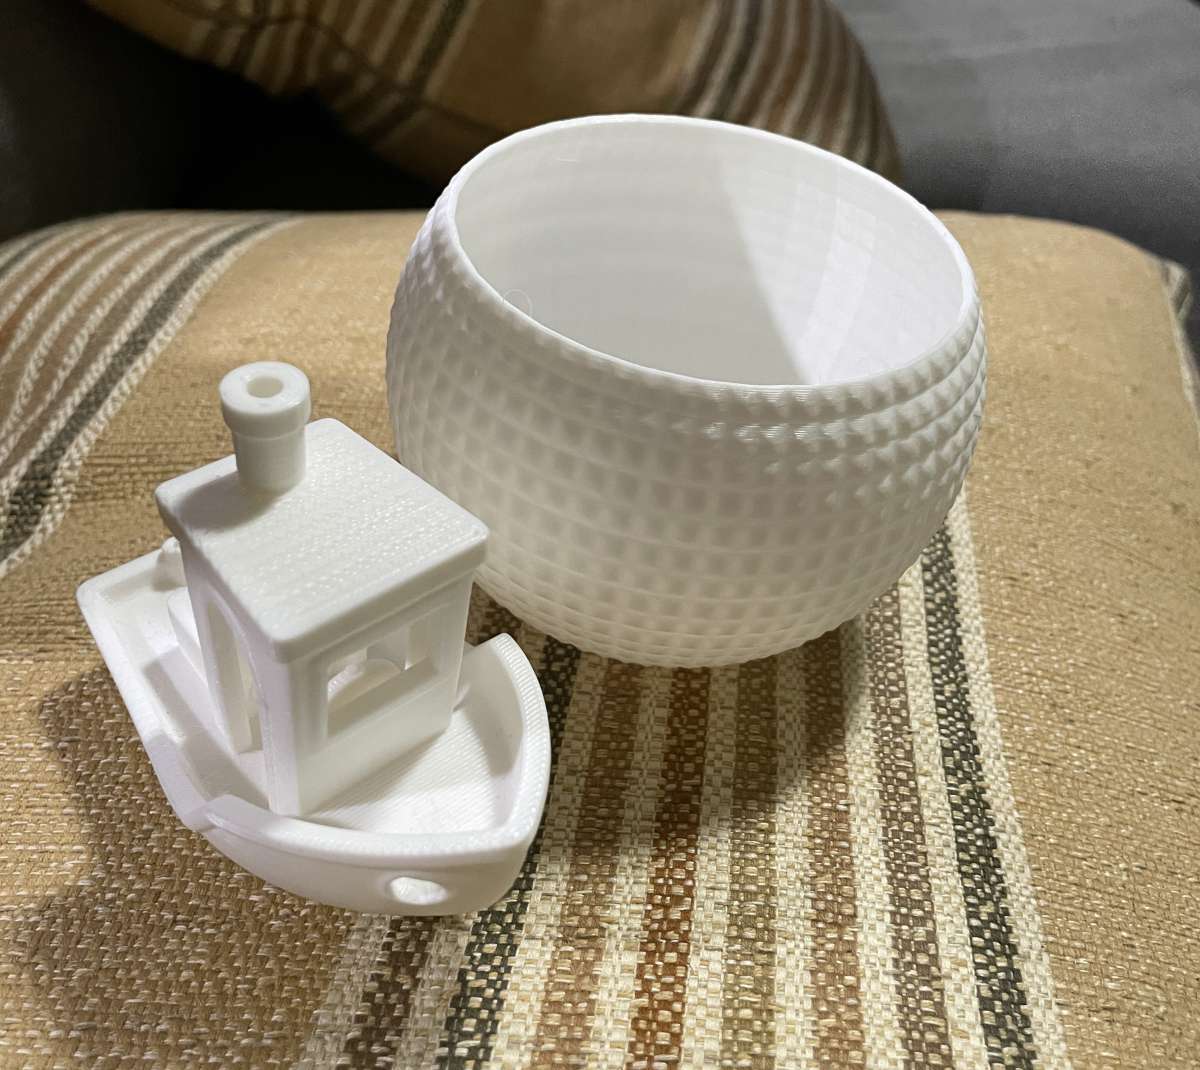
Likewise was the third, “The Buddha.” Here’s Baby Buddha and his Best Buddy Benchy!

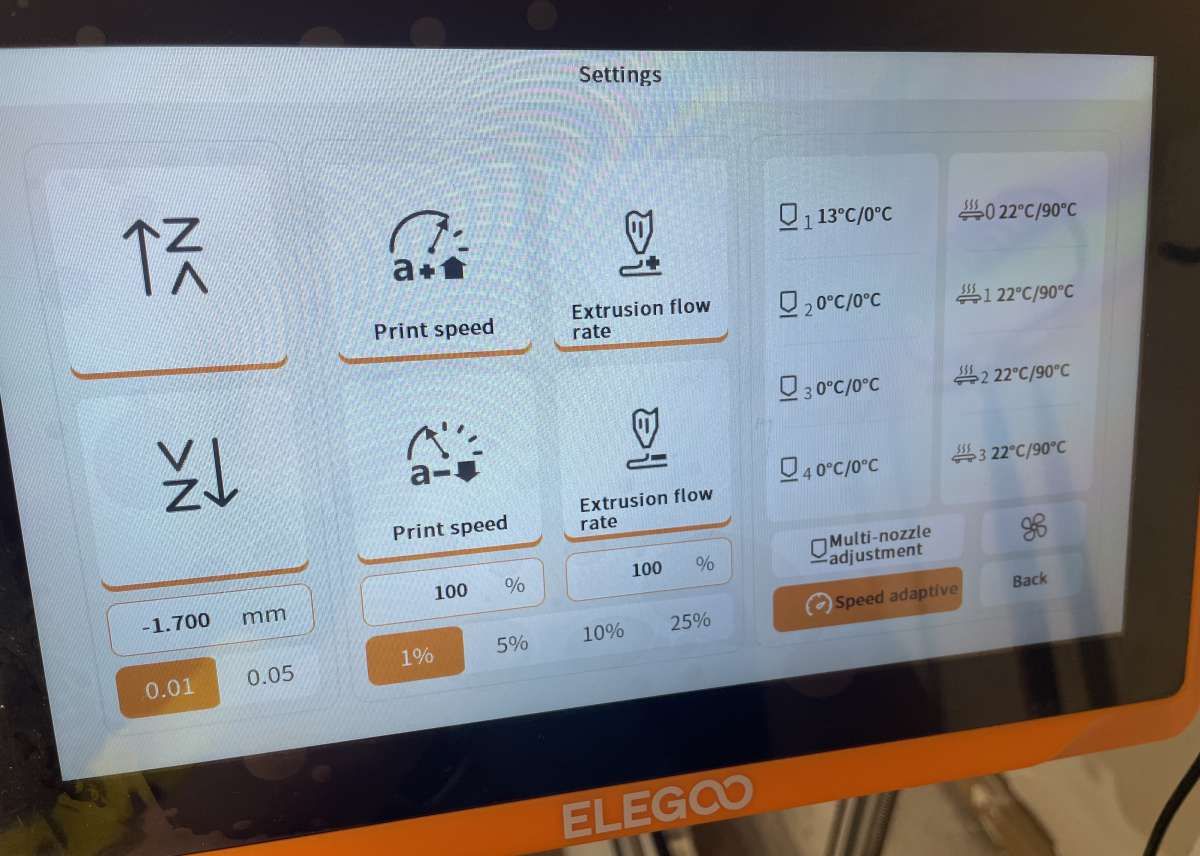
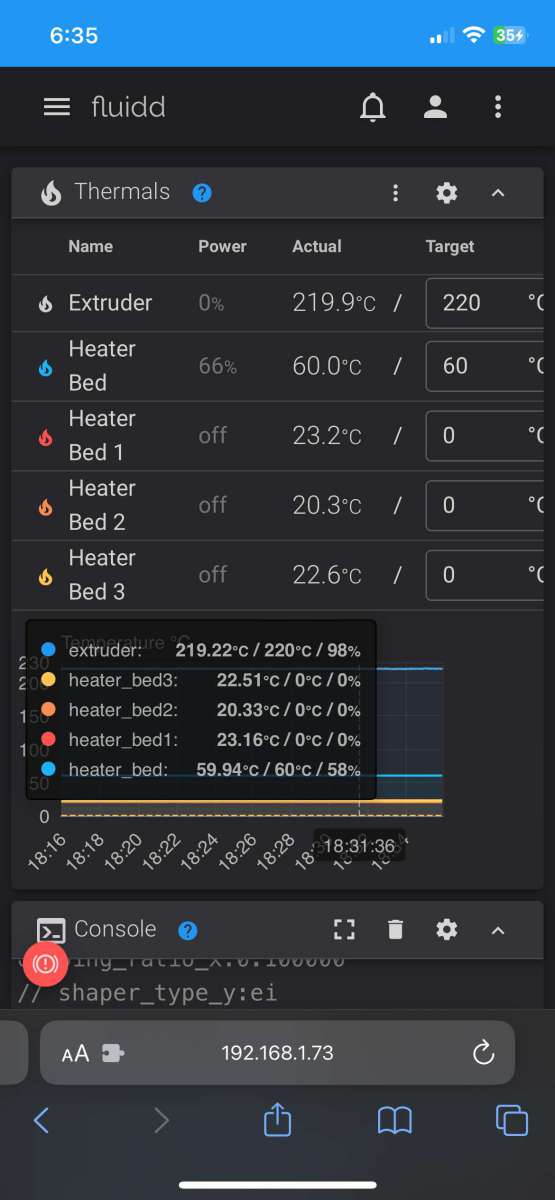
The Z-axis, print speed, flow rate, and each quadrant’s bed temperature are adjustable while printing.
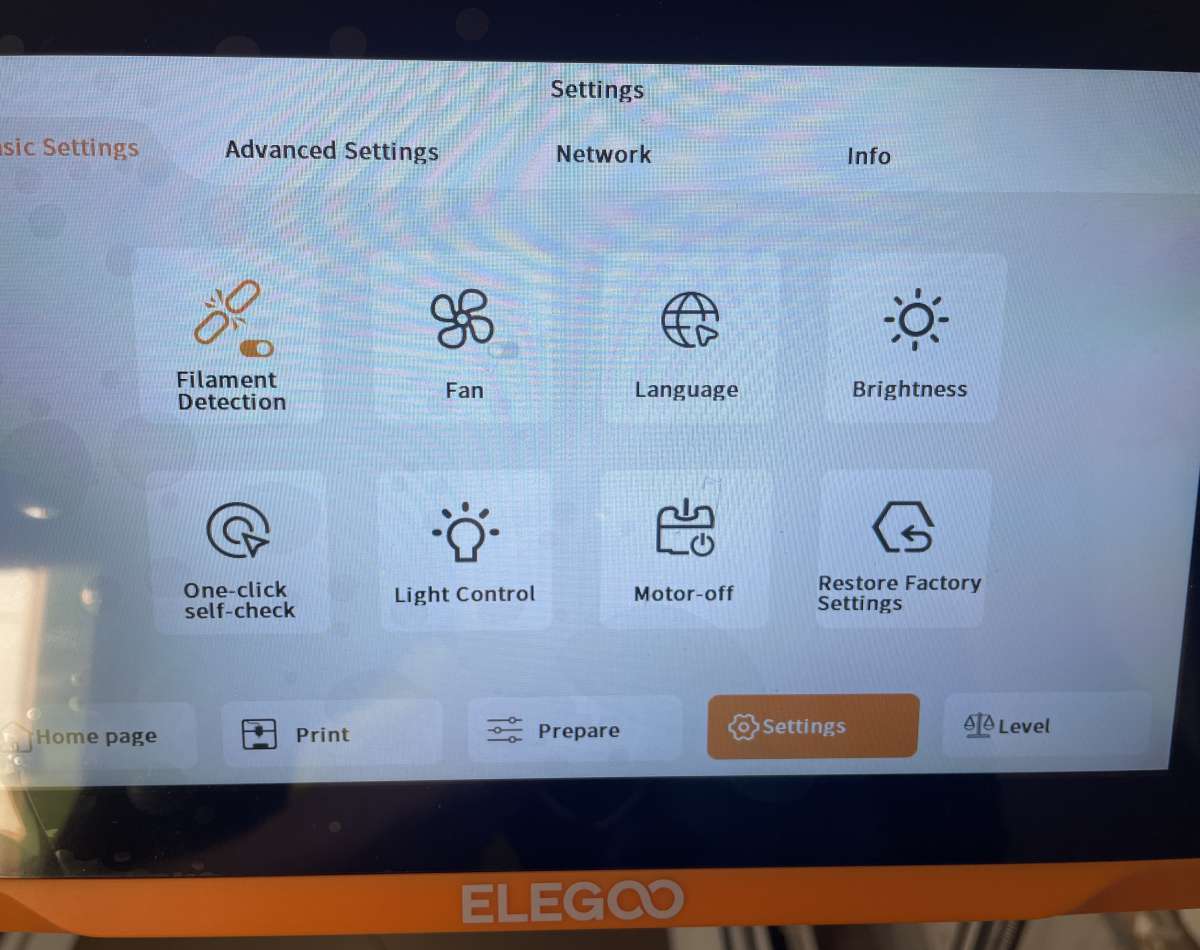
“Basic settings” contains parameters for “Filament Detector,” “Fan,” “Language,” “Brightness,” “Light Control,” “Motor Off,” and “Restore Factory Settings”)
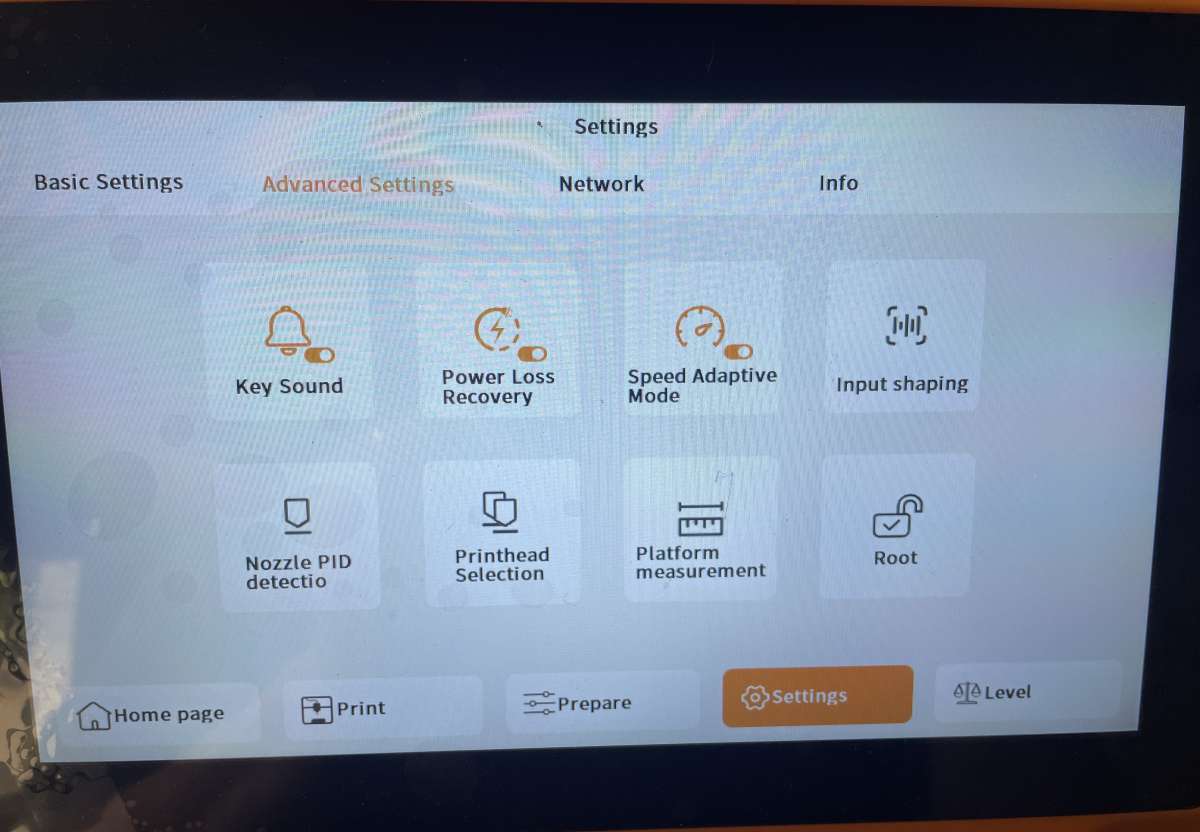
The “Advanced Settings” page has configurations for “Key Sound,” “Power Loss Recovery,” “Speed Adaptive Mode,” Nozzle PID calibration,” Printhead Selection” (up to 4 can be installed), “Z-axis tilt adjustment,” and the previously mentioned “Platform measurement)
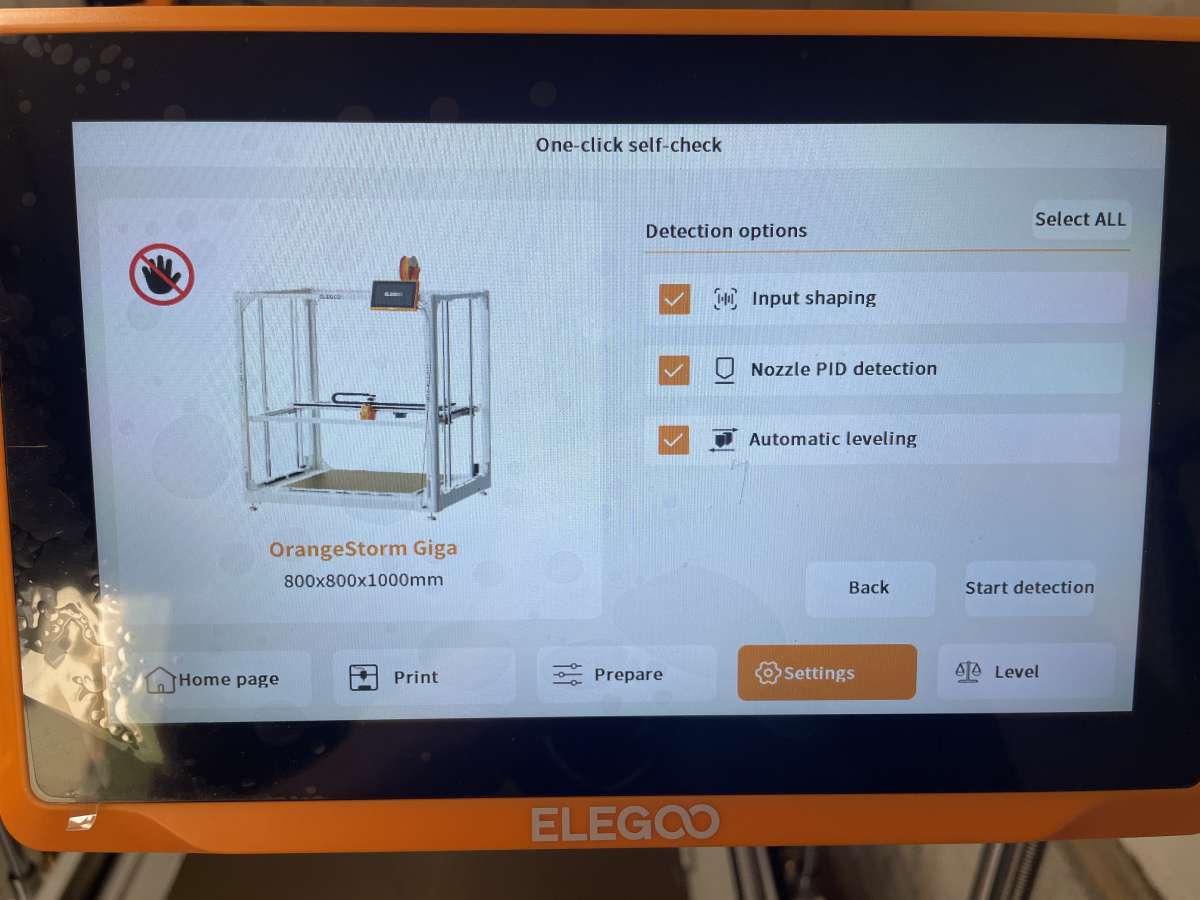
There’s a One-touch Self Check menu to enable or disable detection options.
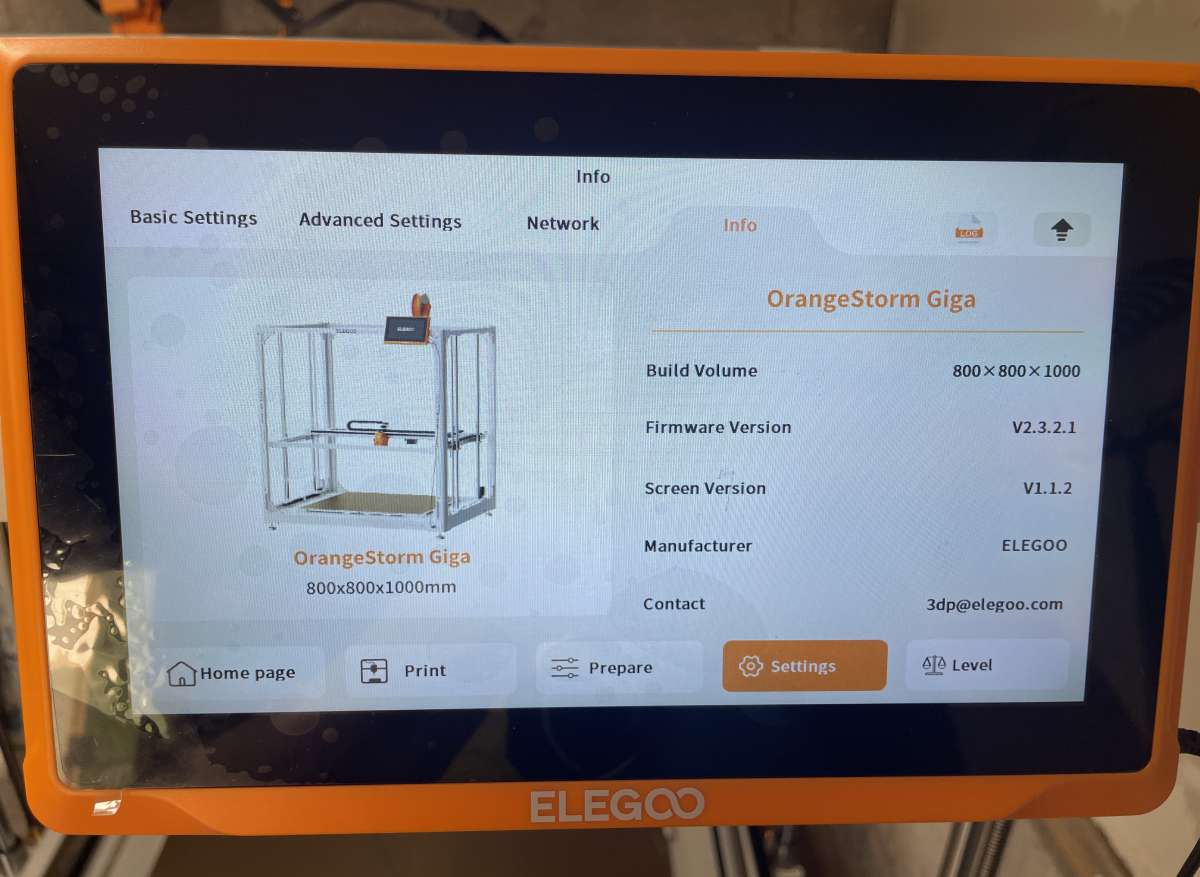
The OrangeStorm’s info page looks like this:
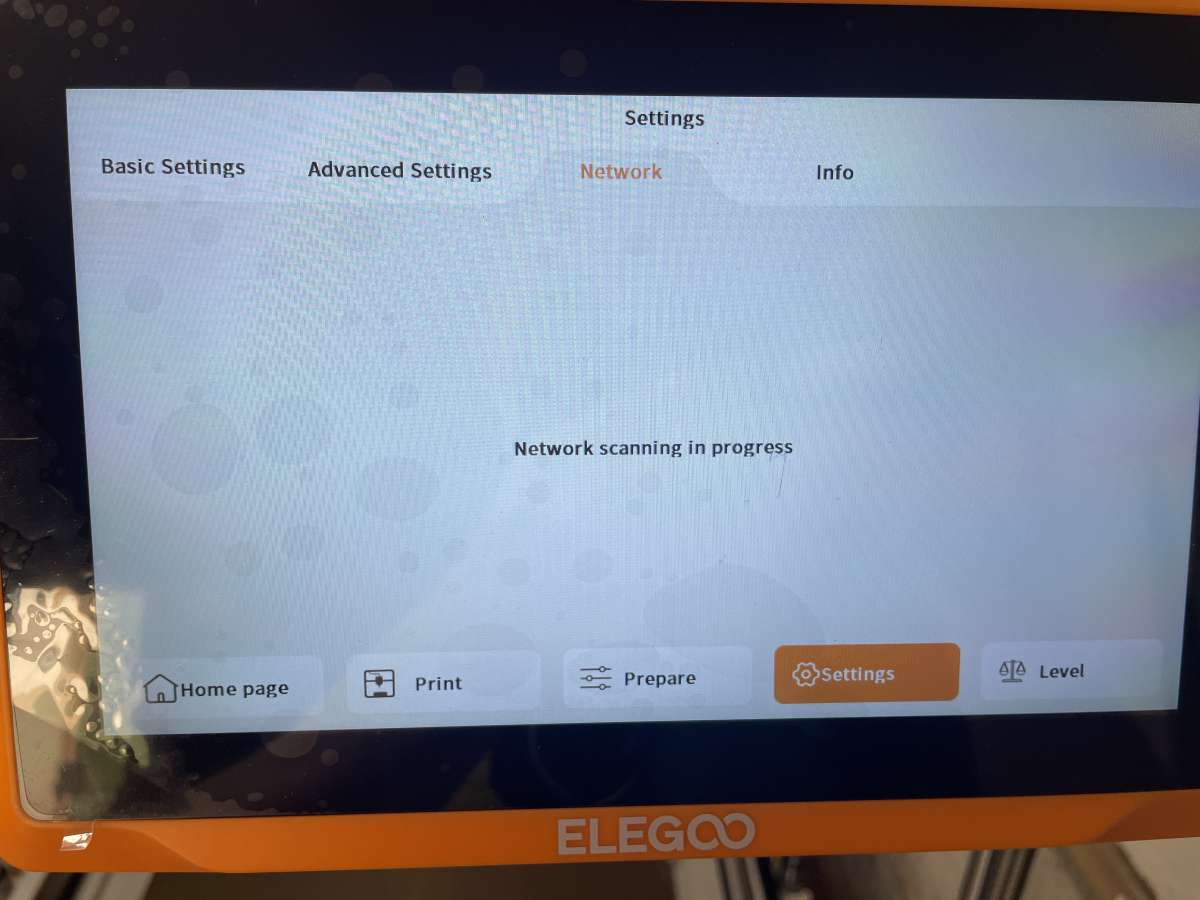
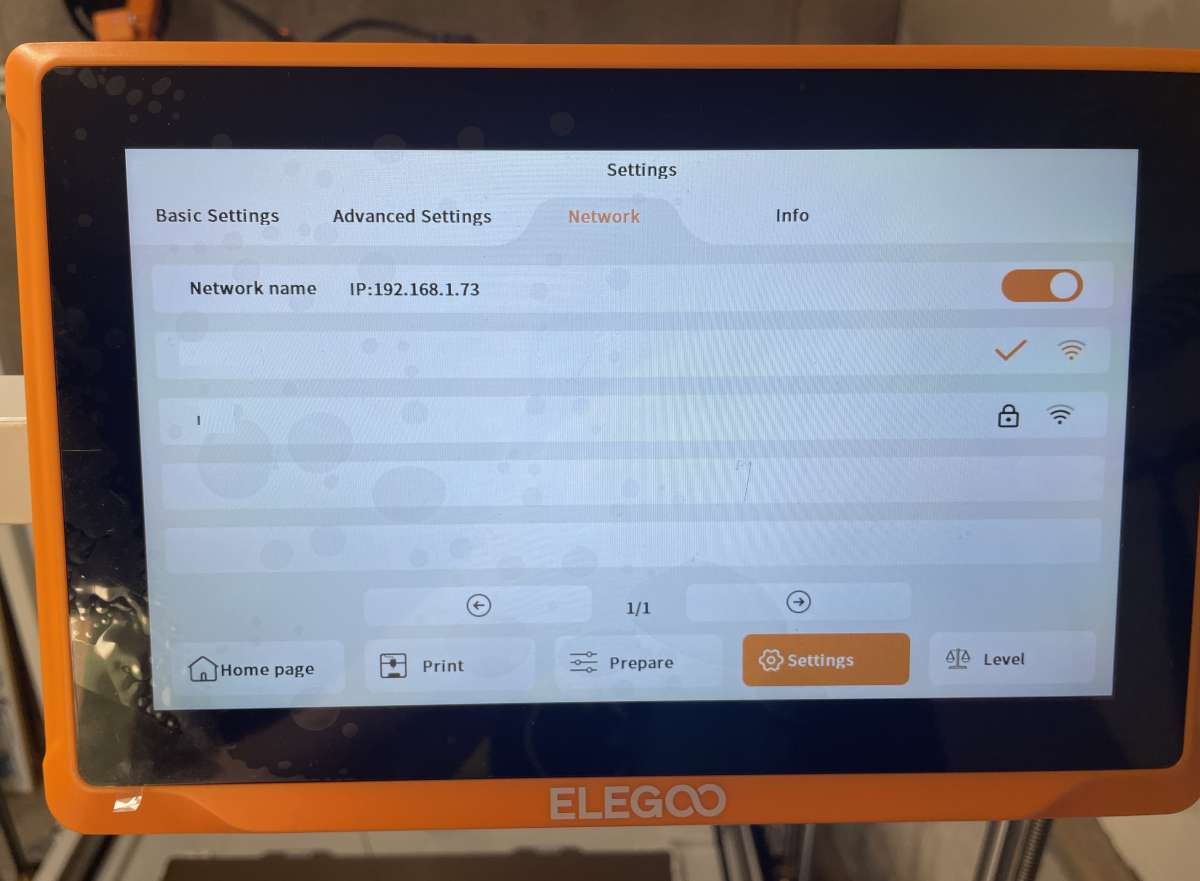
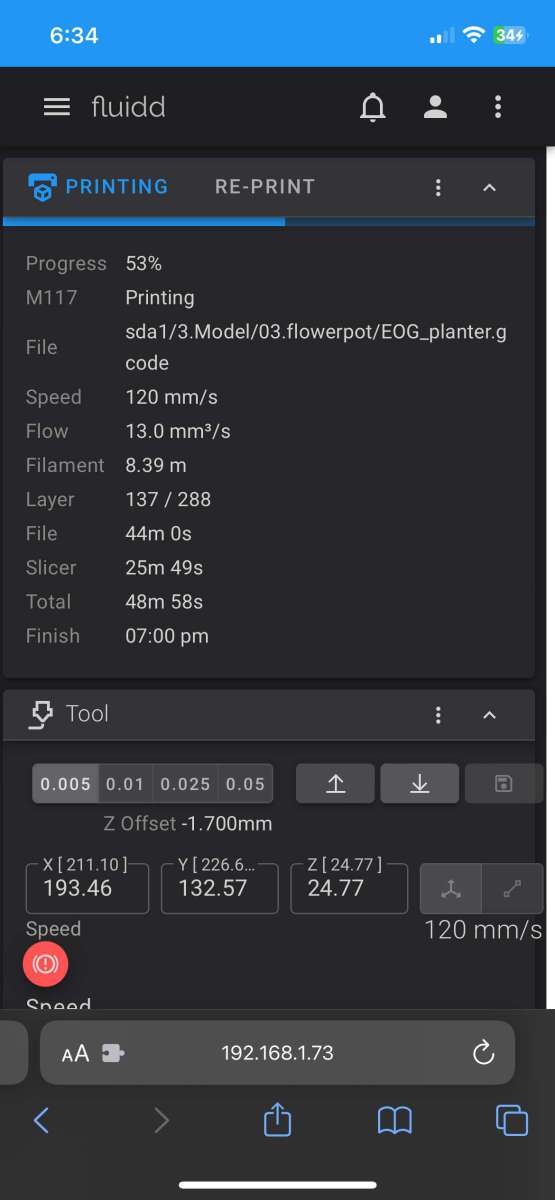
The OrangeStorm also has a tab for network connections. Once connected to Wi-Fi, opening a connection to the IP address with any browser accesses a web-based interface for monitoring the printer. It’s a great way to babysit!
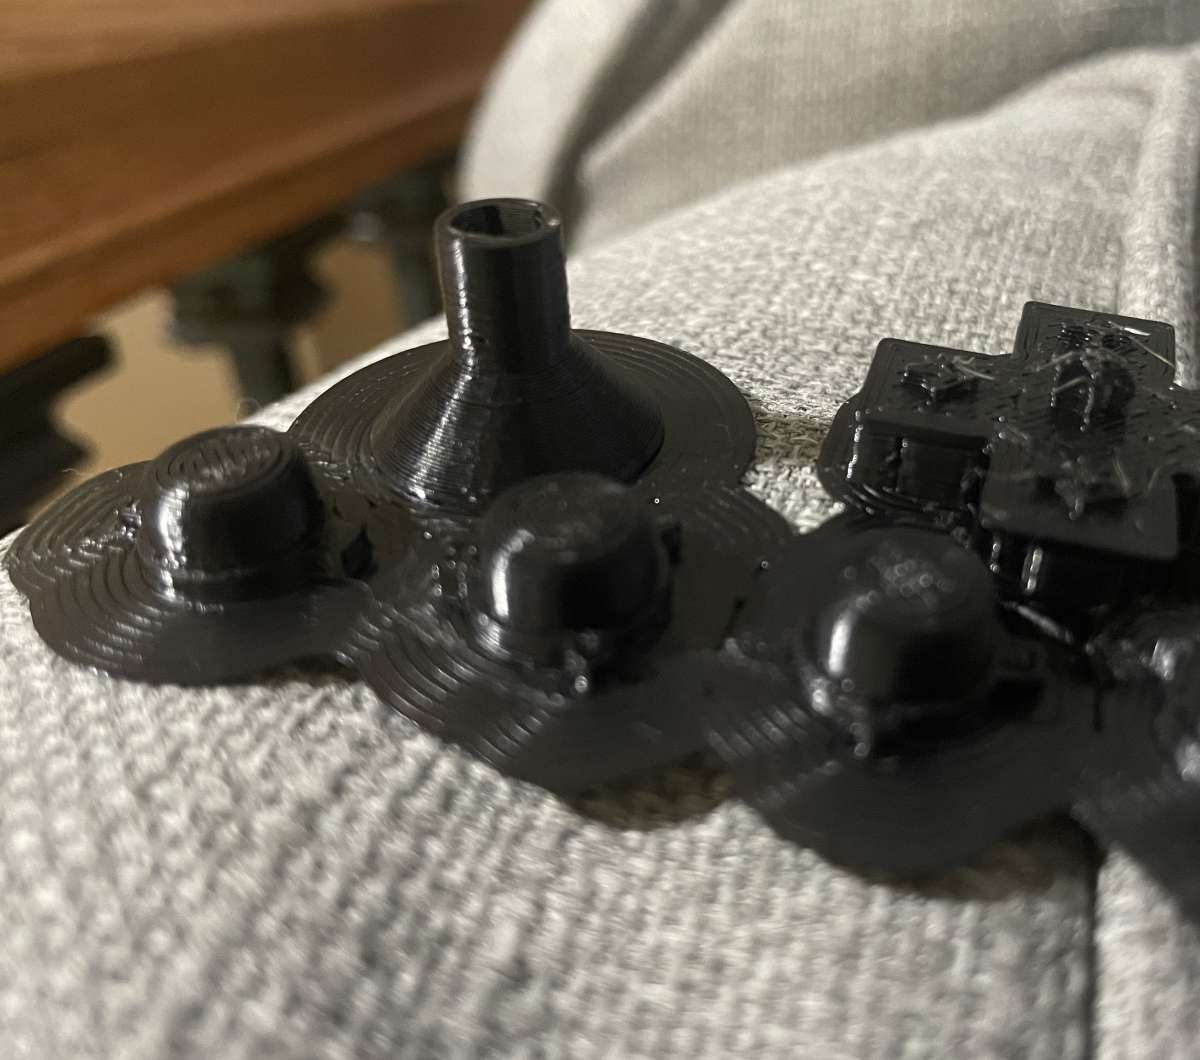
Elegoo provides a customized version of Cura slicing software. I’m not sure what’s different, but it works. The printer is wonderfully well suited to print Ironman or Stormtrooper armor. My interest leans towards making practical, usable parts, so I was eager to see how well it would perform using more robust, heat-resistant filaments. I ran my first test using ASA, changing only the bed and extruder temperatures, and was amazed they were successful, even with undried filament and an open environment at 63°F (17°C). As you can probably guess, they were rough, but with some minor tweaks, this was the result:
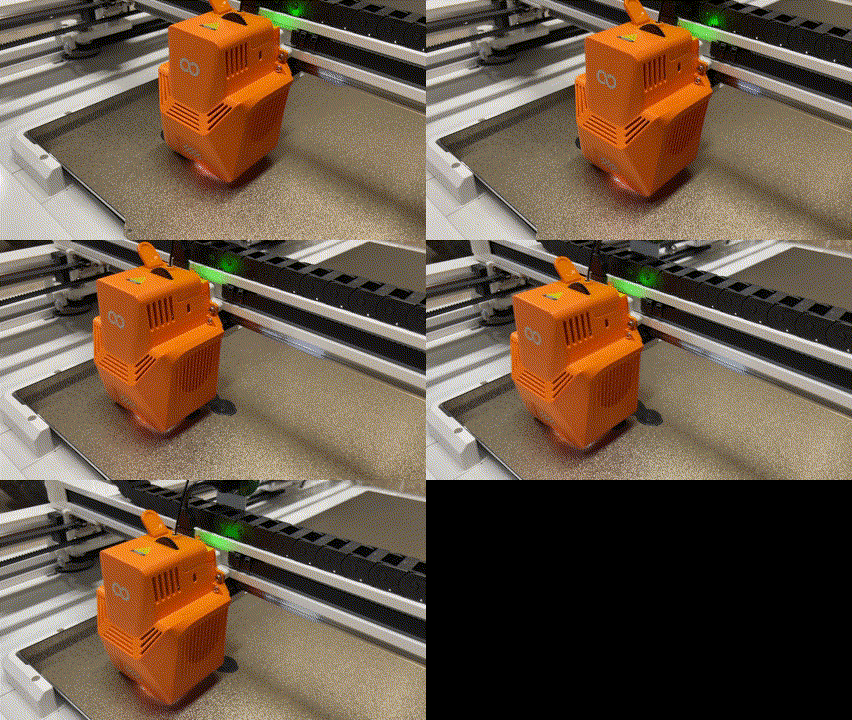
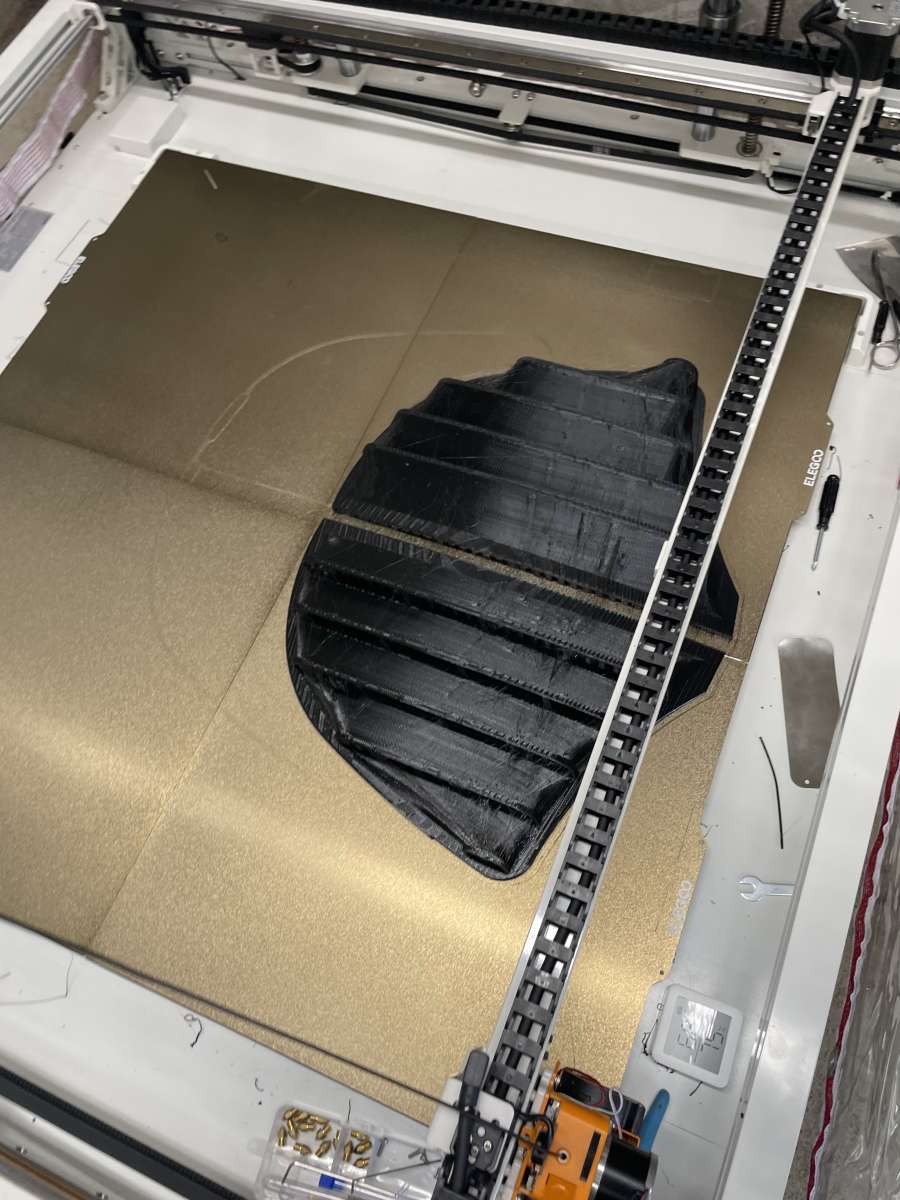
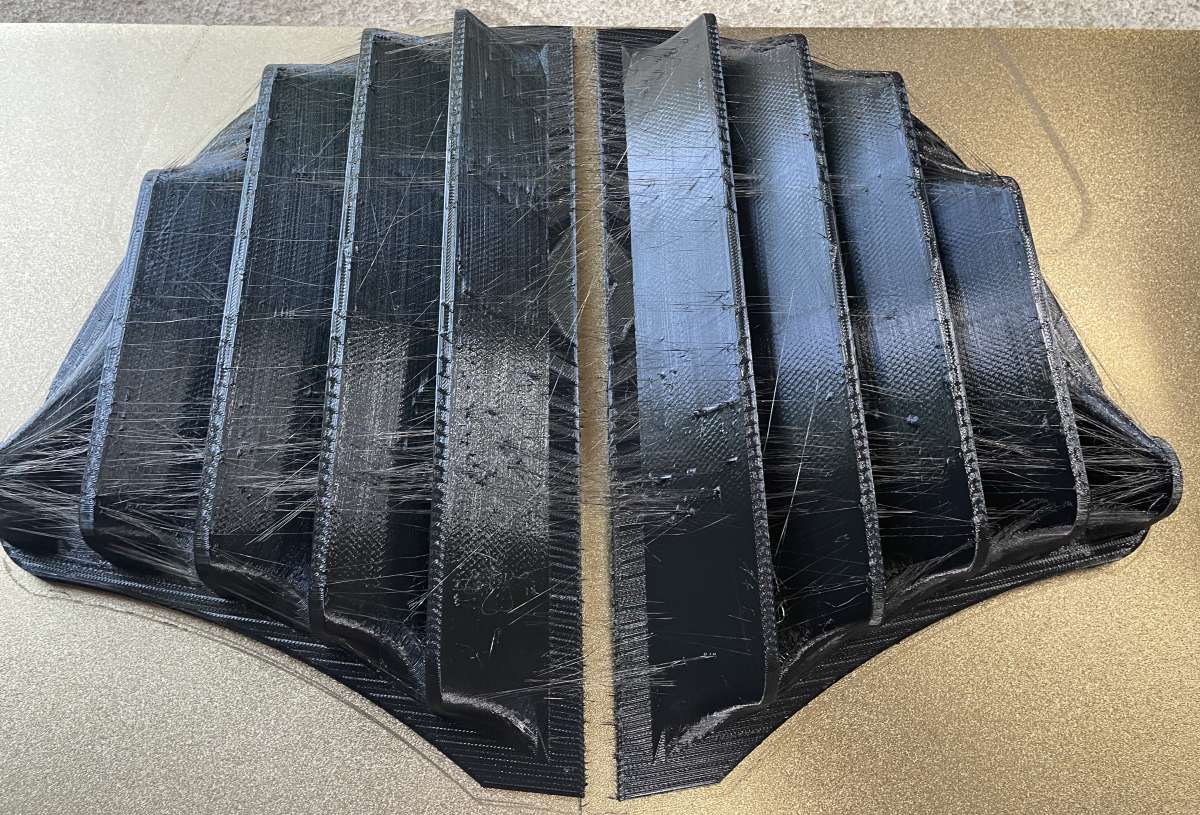
For over three years, I’ve wanted a set of side window louvers for my car. My previous attempts on smaller-format printers taught me much about temperature control and flow rate. Still, vibration caused unstable results as the print head approached the upper Z-axis limit. The ELEGOO OrangeStorm Giga is the first 3D printer I’ve used capable of printing them lying flat on the print bed, and I was shocked at the decrease in print time—28 days reduced to 35 hours.
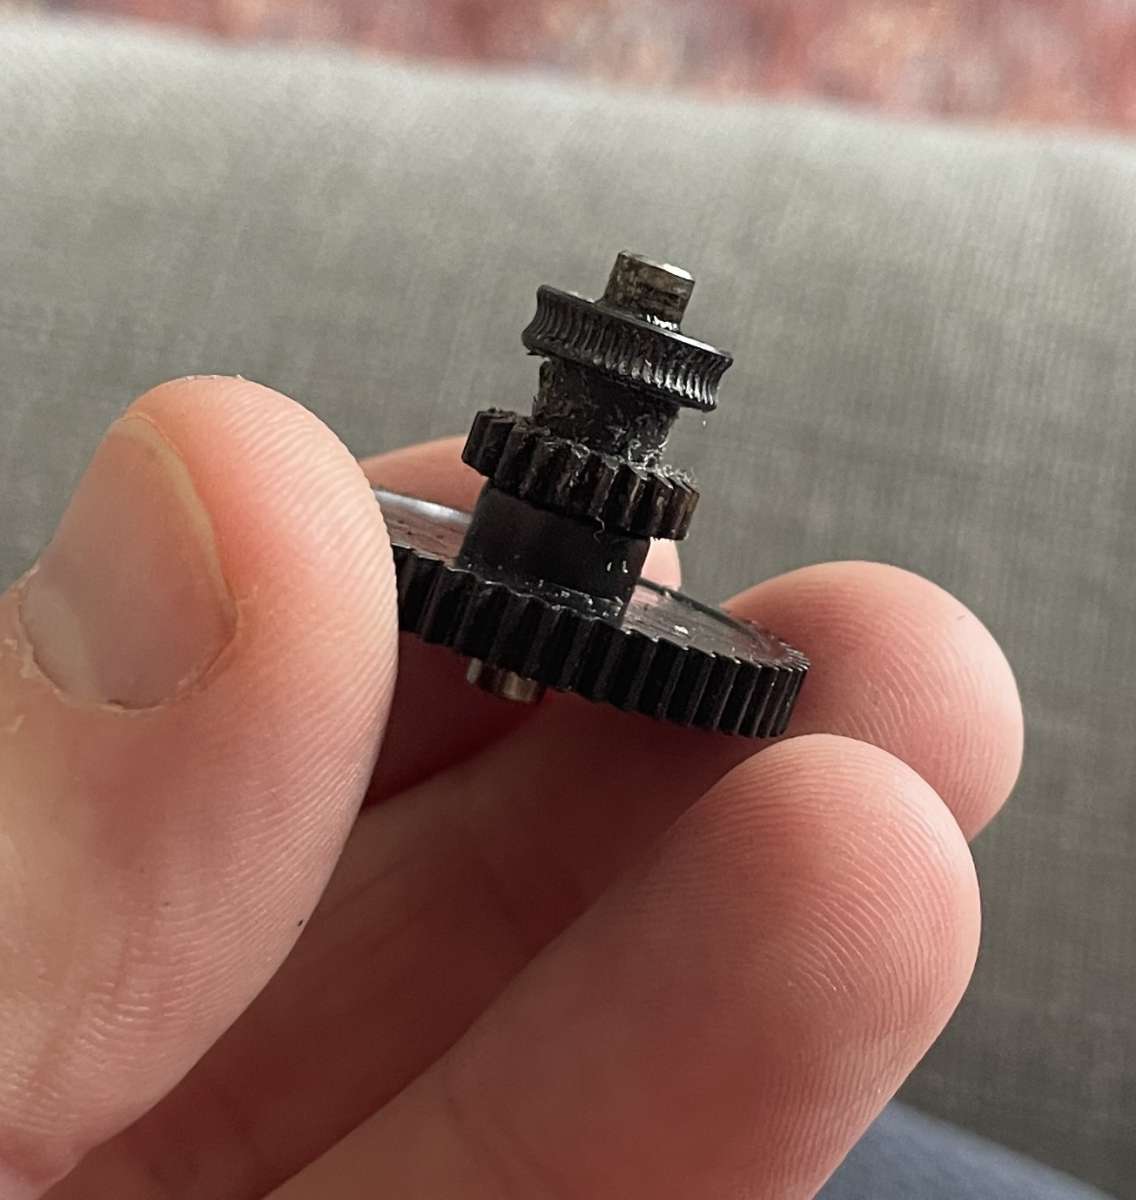
A few hours into the print, the filament broke (not the OrangeStorm’s fault :-)). Things went sideways for a while, and I found a jam in the small tube between the heat sink and heater block. A careful cleaning ensured the filament passed smoothly again, but I found a faulty heat sink cooling fan. I do not think it caused the filament break, but I contacted the Elegoo for assistance. They were responsive and sent a new print head and cooling fan. Bravo!
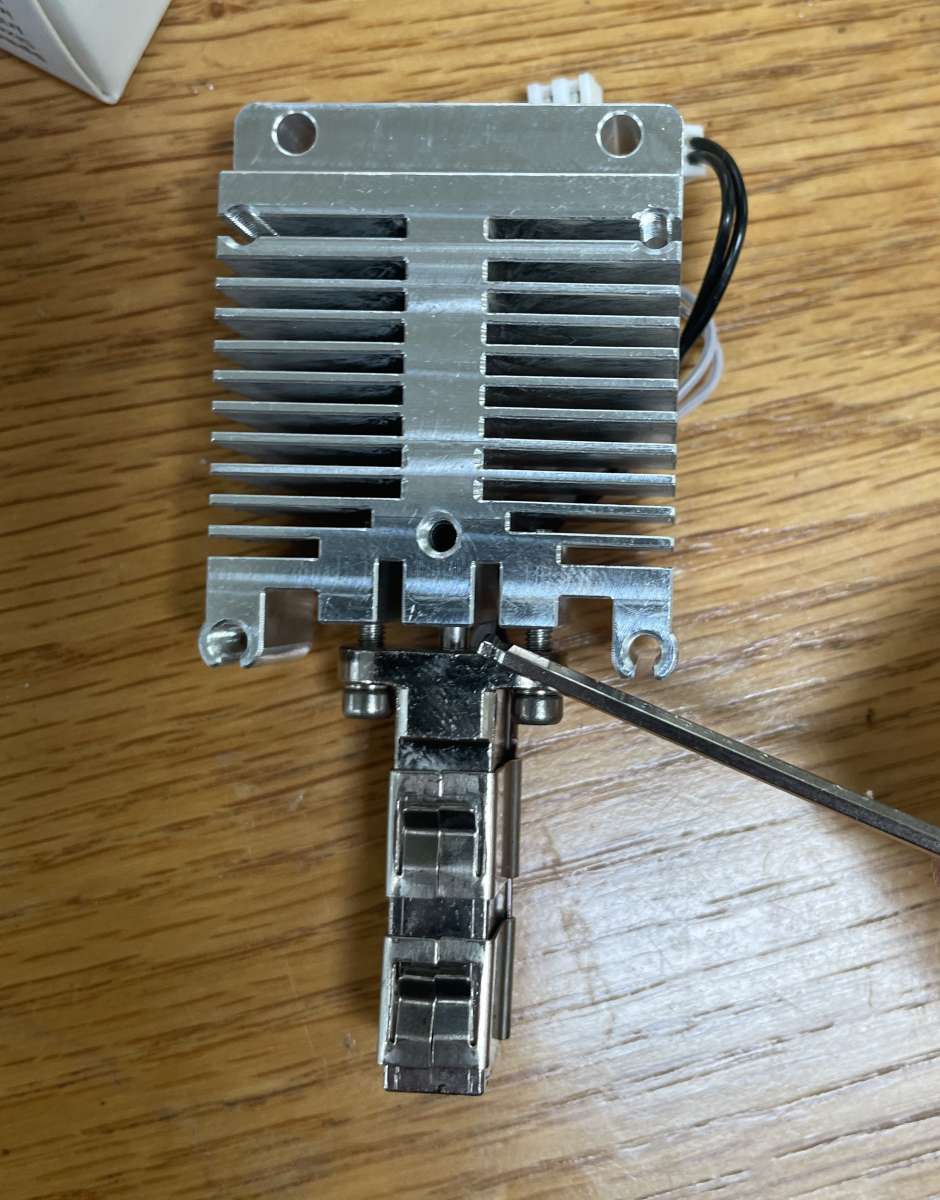
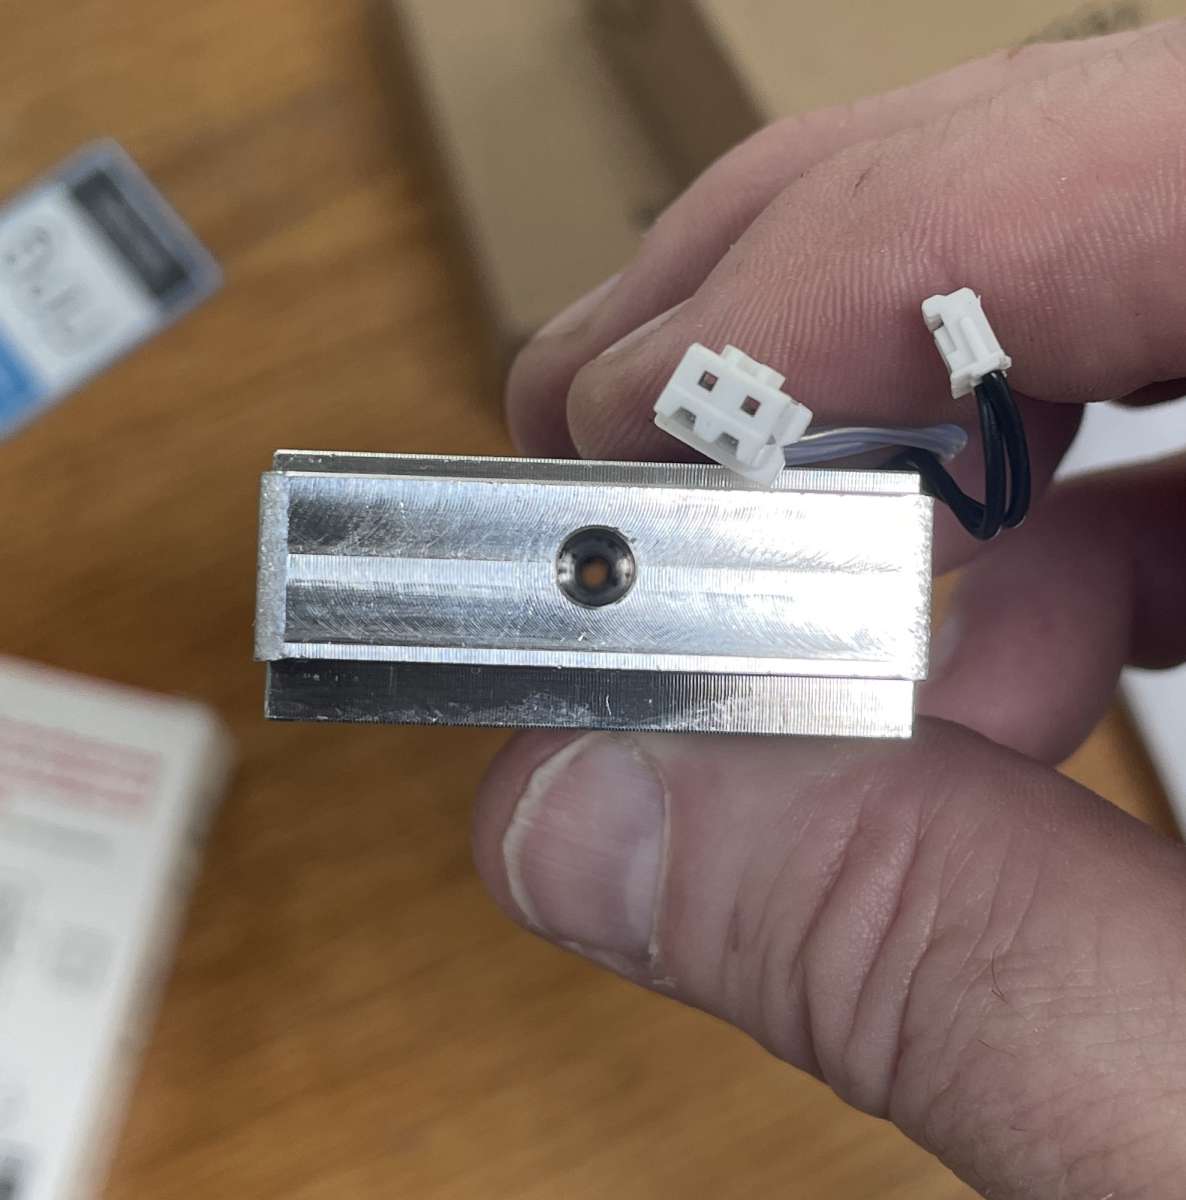
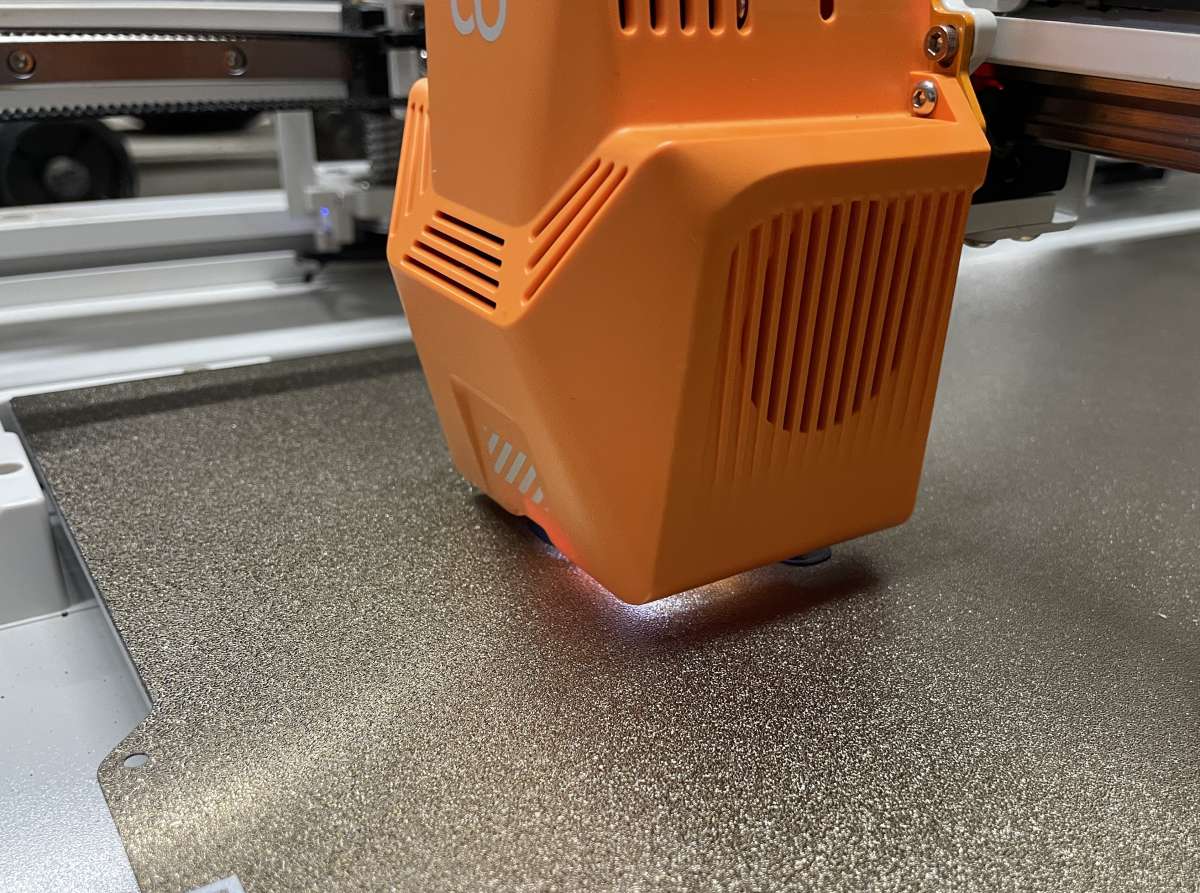
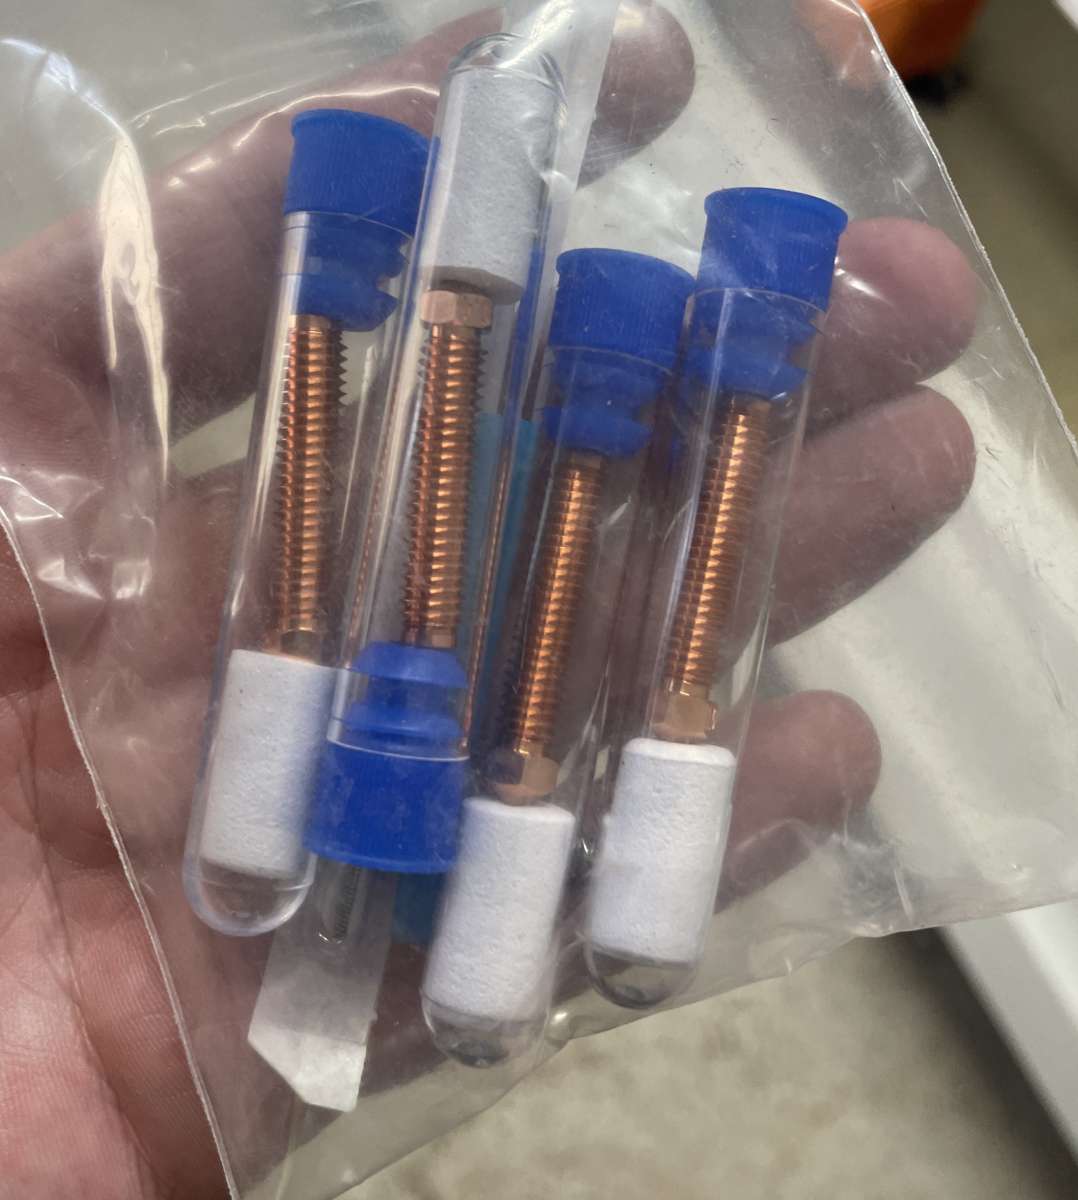
One caveat about the print head: the nozzle is 37mm long with about 27mm of threads. It’s the longest I’ve used so far and isn’t compatible with others you might have in your spare parts drawer. Elegoo provides three spares (copper 0.4, 0.6, and 0.8mm) that should last a while.
With the new parts installed, I felt great about getting to print again and decided to take a chance and run a TPU project for the first time. Two and a half days later, The OrangeStorm printed the best car louvers version thus far. There was some stringing, and the supports were challenging to detach, but the results were lovely! I’ll tweak the settings, and I’m confident they’ll improve with each print. Way to go, Elegoo! I’ll continue to try different materials, but the first results were so delightfully successful that the OrangeStorm Giga has become my go-to printer!
What I like about the Elegoo OrangeStorm Giga 3D printer
- Amazingly well packaged
- Easy to assemble with the included tools
- Very solid
- The bed leveling process was the easiest I’ve ever used.
- Huge print capacity!
- Reasonably priced
- Good customer service
- Great results!
- It is one of the simplest-to-operate printers I’ve used so far!
What needs to be improved?
- Relocate the touchscreen connection port to help prevent damage should a vacuum robot decide it wants to eat it.
- Relocate or provide multiple emergency stop switches
- There were a few typos in the software, but nothing critical.
Final thoughts
The Elegoo OrangeStorm Giga 3D printer is flippin’ huge! When it arrived, I joked with The-Gadgeteer.com’s editor, Julie Strietelmeier, that I needed to 3D print an addition for my house. Still, it assembled quickly, had flawless first prints, a stable temperature, and produced immense objects. If you have the space and an understanding partner 😉 (Thanks, Babe!), it’s fantastic! Friends, we have a new 3D printing champion! Fabulous job, Elegoo! Thank you!
Price: $2500 MSRP
Where to buy: Elegoo
Source: Elegoo provided a free sample for this review but did not provide input, guidance, or editing before it was published.



Gadgeteer Comment Policy - Please read before commenting
Your print quality is SOOO MUCH BETTER than mine. Mine has nasty Z-BANDING.
Notice yours is missing the rubber bushings (or whatever you call them) between the round copper thingies, and the white plate. Mine has them, yours is against the metal….