REVIEW – The newest dashcams have more capabilities and features than older models. Some new features include low-light sensitive high-resolution sensors, GPS, and multiple video channels. The Vantrue Nexus N4 Pro is one of the newer models from Vantrue that supports these features. I have one to review. Read on to see what I think!
What is it?
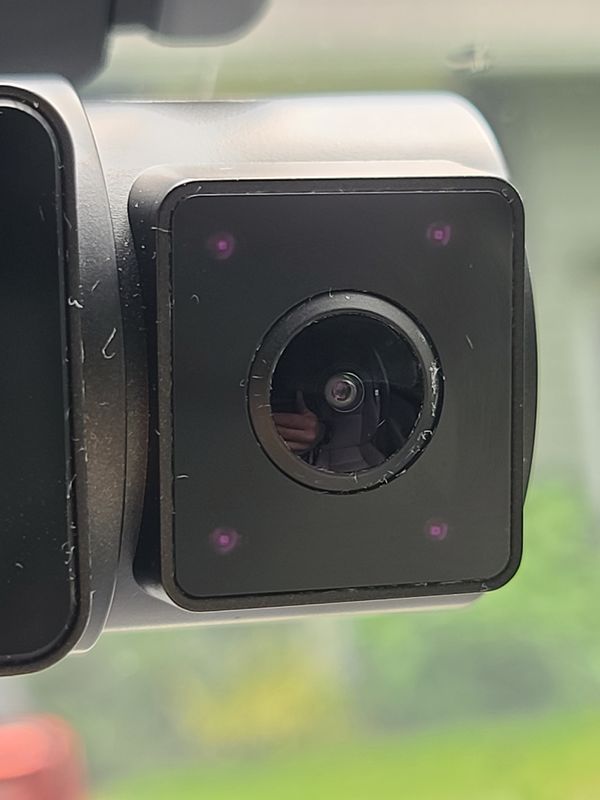
The Vantrue Nexus N4 Pro has 3 cameras that record separate feeds from the front, inside the cabin, and out the rear window. Besides these being the titles of three must-see movies, these are the areas that are most important when keeping a visual record of the vehicle. While making a recording of the front and rear of the car has an obvious benefit to ensuring the survivance of car damage and compliance with (or disregard for) traffic laws, a recording of the inside of the car provides a record of attention to (or distraction from) the road. Recently concerns about interactions with ride-sharing customers and law enforcement have made interior cameras even more desirable. The Nexus N4 pro records the windshield view with a newly developed Sony sensor and can display the current conditions on the windshield-mounted 3.19″ display. The recordings are saved to a single SD card. The Vantrue Nexus N4 Pro also has a GPS sensor and records the position and speed along with the video.
What’s in the box?
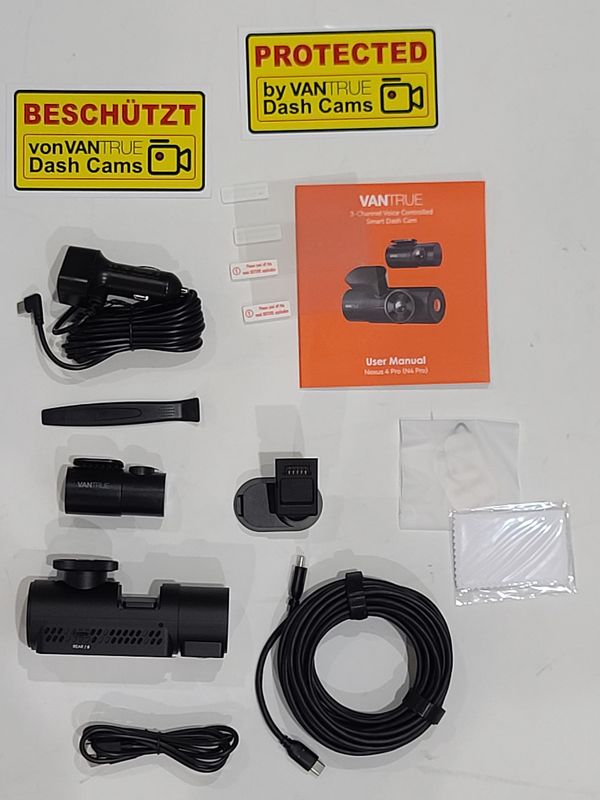
- Vantrue N4 Pro Dash Cam
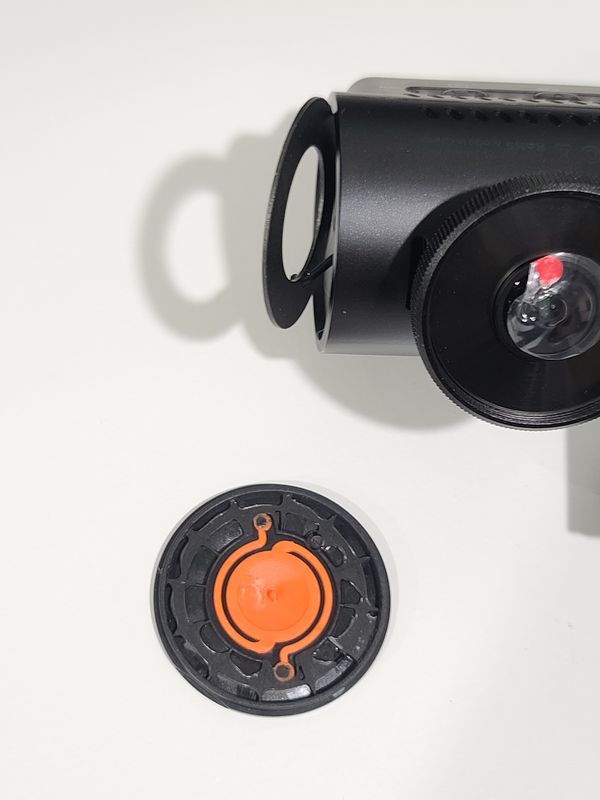
- Adhesive mount with built-in GPS and magnetic coupling
- Type-C Car Charger Cable with integral Type-C power cable.
- Rear Camera and Rear Camera Cable (20ft)
- 2 x Warning Stickers
- 2 x additional 3M Adhesive Stickers
- Dust-free Cloth
- USB-A to USB-C cable
- 2 x Electrostatic stickers
- Wiring tool / crowbar
- manual
Hardware specs
- 4K HDR +1080P+1080P resolution
- 3.19″ IPS display
- Easy Installation front camera with the Magnetic Mount
- Universal Ball Joint Design
- GPS logger
- Support up to 512GB microSD card
- Supercapacitor
- Support 4 kinds of parking modes
- Customizing Detection area
- Starvis 2 IMX678 Image Processor
- 5GHz Wi-Fi
- Cabin Cam: 4IR LED lights + HDR
- CPL Filter (optional)
- Voice Control
- Acceleration sensor
Design and features
Unboxing
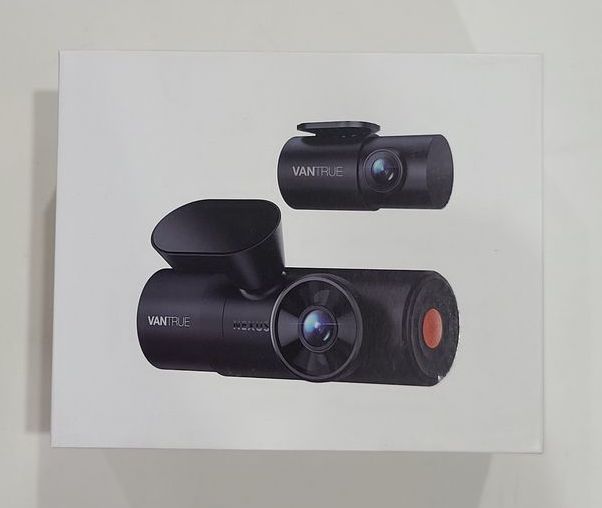
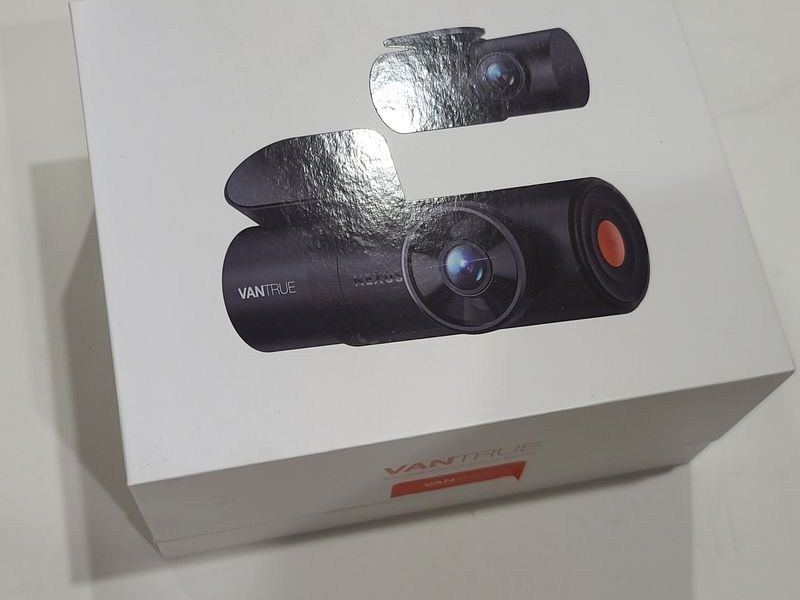
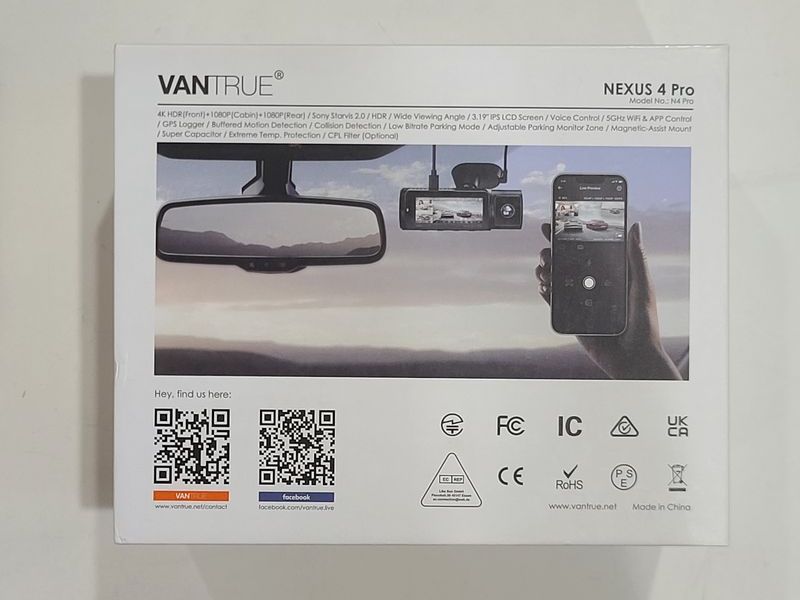
The Vantrue Nexus N4 Pro comes in a white gift box that is similar to the boxes that Apple products come in. The top of the box shows the front and rear cameras in glossy ink on a matte white background.
The bottom of the box shows the front camera installed on a windshield and connected to the app while the app is displaying the same scene. (The area displayed on the screen looks really cool but as far as I can tell the coordinates are all zeroed out. The only clue to the whereabouts is that the license plates are European.)
To open the box you need to break the seal labeled “tear and open your exclusive box”.
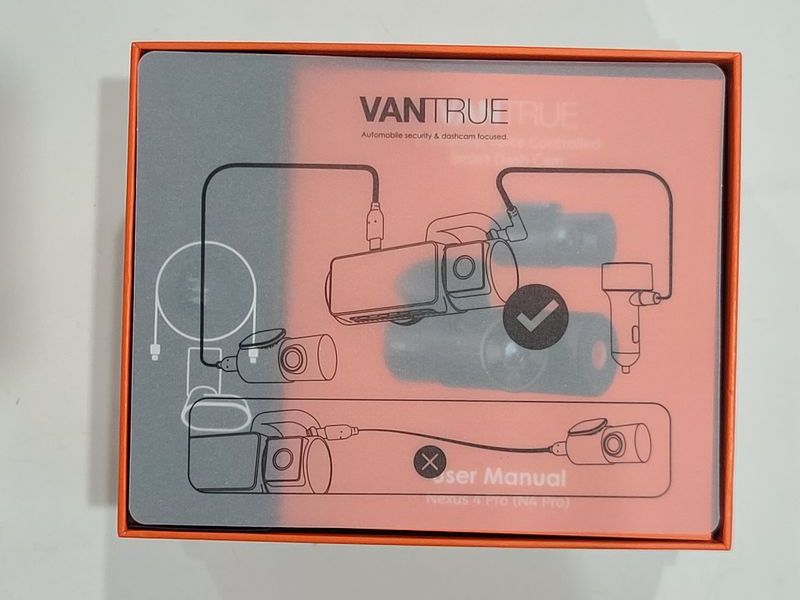
Inside the box, the contents really do create a type of experience. There is a velum sheet that shows how all of the USB type C connections are made. Because the connections are all similar I can see someone may accidently connect the power to the rear camera and the USB type A to the front.
Below the Velum sheet, there is a lengthy manual that shows how to set up and operate the camera. The camera itself is housed in protective foam. Taking each item out and being able to open it feels like a bit like eating many pieces of a chocolate Christmas Advent Calendar all at once.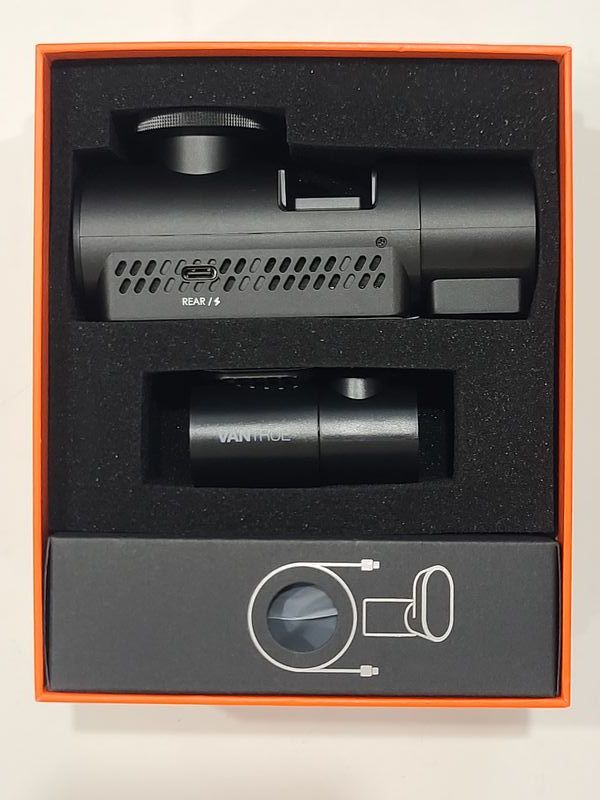
Other boxes inside contain the 11.5 ft USB power cable, 20 ft front to rear cable, and all of the adhesives that are required. The box also contains two warning labels, one in English and one in German, that say protected by Vantrue Dash Cams.
Setup
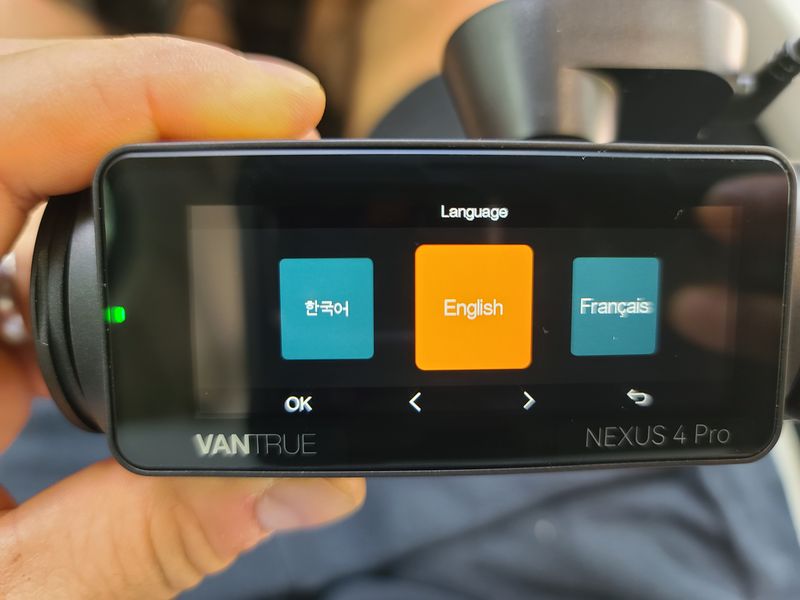
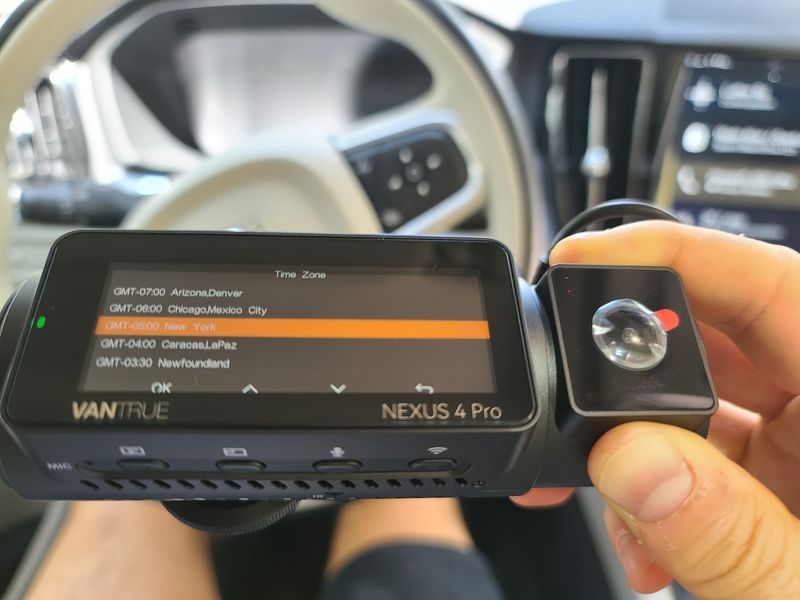
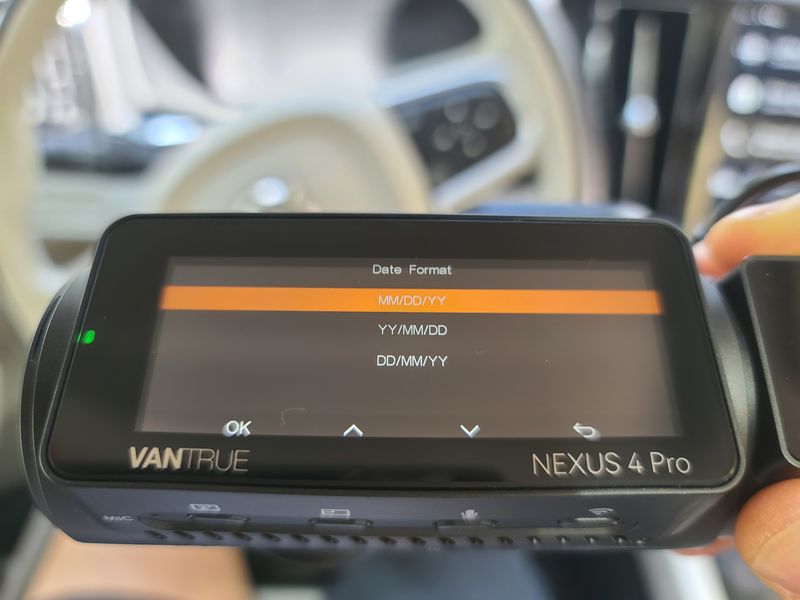
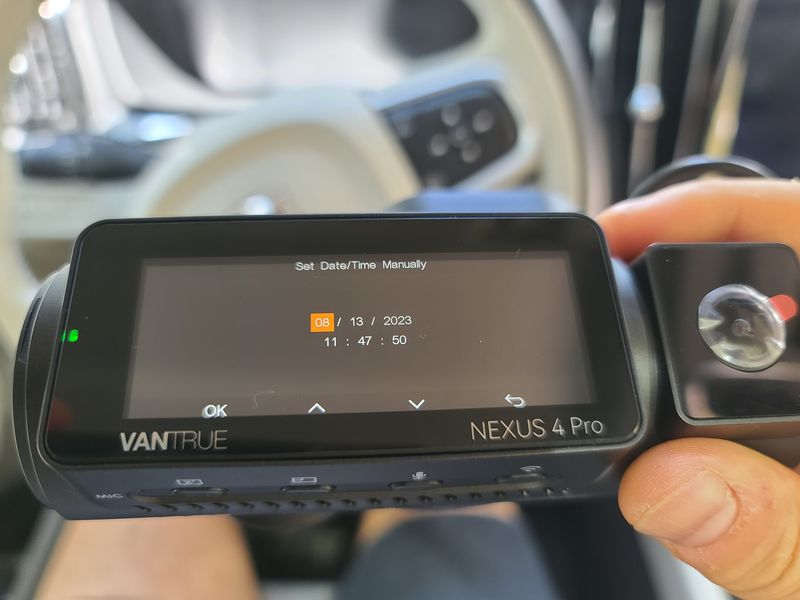
Before installing the dash cam it makes sense to bench test everything. This is so that you can verify that all the components function and so that you can use the app to see if the camera is positioned correctly. When first starting the camera there are a few compulsory settings that need to be made, like the language, time-zone, date, and time.
The app can be downloaded from the app store, from Google Play, and from the Vantrue Store (for non-google devices). Once the app is installed, the app communicates with the camera with a 5Ghz Wi-Fi access point that is established by the camera. You can connect to the camera with the default password 12345678.
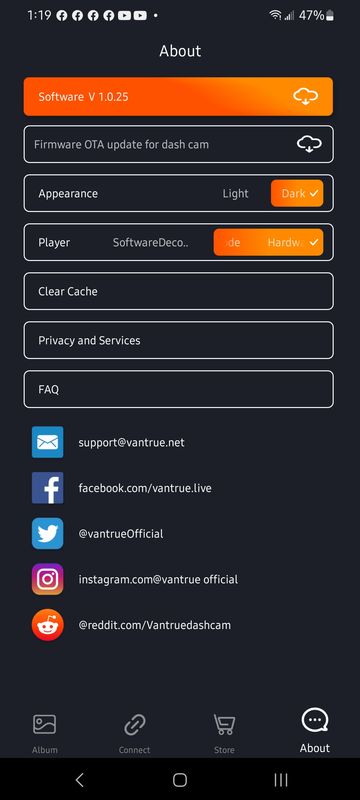
It is also good to bench-test the app to verify that the latest firmware is installed. Firmware can be updated via the Vantrue app or by downloading the .bin file from https://www.vantrue.net/Support/detail/id/257.html and copying it directly on the root of the SD card for installation on the next restart of the camera. Of course, to update the firmware in this way requires an SD card. The card can be 32 – 512 GB and must be at least U3/Class 10/A2. There is a lot of industry jargon here to dismantle, but basically, the card needs to be able to have a minimum write speed of 30MB/s. The card fits into the camera behind the side button. I had a hard time keeping the side button mounted and then I realized that it should stay attached by a magnet but the button had separated from the magnet. A bit of superglue fixed the problem.
Installing the dash cam is the most stressful activity of the setup. The fact that there is only one electrostatic film for each camera means that you only have one shot to install this correctly if you choose to use that attachment method. If you choose to forego the electrostatic film then there is one additional adhesive for each camera. I did the following to make sure that the camera was where I wanted it.
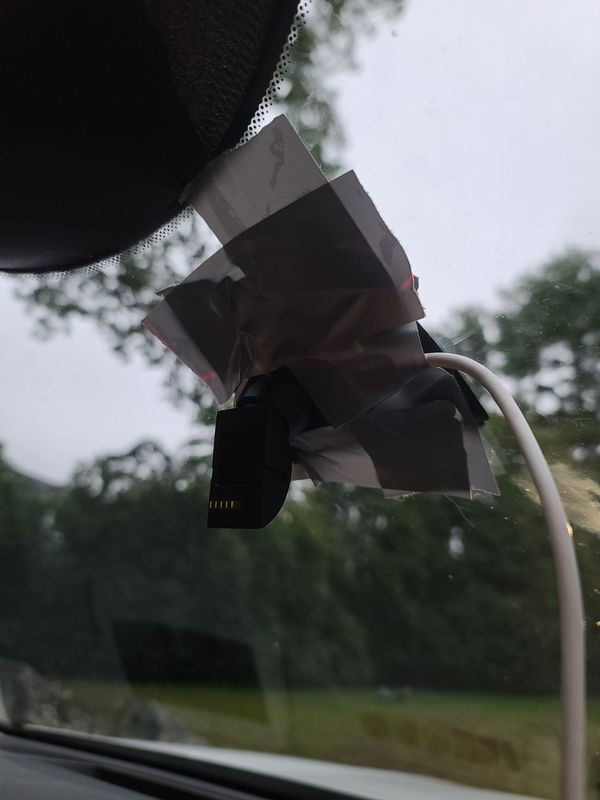
- First I wanted to see if the internal camera has a mostly unobstructed image of the driver from below the mirror. I used duct tape to position the Vantrue Nexus N4 pro to the approximate location I wanted it in the center of the dash below the mirror. I powered the camera off of a charger battery pack.
- Once I had an approximate location of the camera I left the camera in the car and used a laser level to find the center of the windshield. I used the grill and the fin antenna to locate the center. I marked the center with electrical tape on the outside of the dash. My car was on a fairly level ground so I also used the laser level to mark a horizontal mark on the outside of the windshield.
- I repositioned the camera inside of the cab so that it looked like the lens was behind the intersection of the horizontal and vertical tape marks and then I retaped it to the windshield.
- I used a template of an electrostatic film, made from an index card, to draw with a Sharpie on the outside of the windshield where the film needed to be so that the camera would be about where I wanted it.
- I thoroughly cleaned the interior window and was then able to place the electrostatic film.
- Once the film was secure I could use the camera and mounting attachment to adhere the mount to the electrostatic panel.

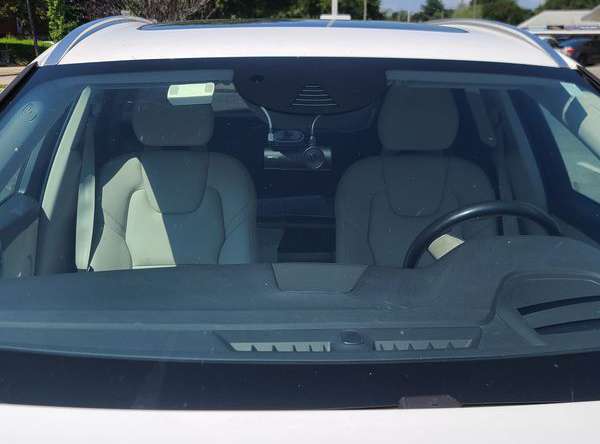
This had particularly good results for the front camera. In the rear window, I was able to use the antenna and the rear logo of the car to find the center. Horizontal lines were already identified thanks to the defrost circuitry. The only problem is that I forgot steps 3 and 4; I should have written them down. I applied the electrostatic film to the centerline of the rear window, so the camera is a bit off from the centerline, but it is nearly impossible to tell. One important task for the rear window is to power the unit before adhesion to verify which orientation is up and down. I will say that the wire goes into the left-hand side from the perspective of the lens, but it is easier to verify the correct installation by yourself. Unlike the cabin camera, which pivots on the main camera, the rear camera is a solid unit that rotates inside the plastic part that contains the adhesive. I was concerned that the camera would move if there was torsion from opening the rear door. However, the position of the camera does not seem to move since I have installed it.
I have a 2018 Volvo so the USB connections for charging in the car are in the center console. I use the front auxiliary port for my phone charger so I decided on using the back seat auxiliary port to power the camera. In theory, this would have worked out well, but to get from the back seat, along the center console, below the glove box, up the passenger A-pillar, and to the center of the windshield, I would need more than 11.5 feet of cable. I purchased an extended cable from Amazon but it is wrapped in a braid and a bit thicker than I’d like it. However, it is still hidden behind the radar cowl between the rearview mirror and the windshield. One of the things that would make the installation of the camera more accessible would be if the USB power cable was not integral to the auxiliary power adapter. In this case, I could have installed the extension in a more concealed location. Owners should be careful to not block the operation of airbags. If you are able to remove the A-pillar faring and tie the wire to the other cables running in this area then that is best.
Installing the cable to the rear camera was done along the headliner on the driver’s side, across both driver’s side windows, and to the center area above the rear hatch. There was plenty of extra cable for larger vehicles or for wiring it within the wire harness sleeve for a professional installation.
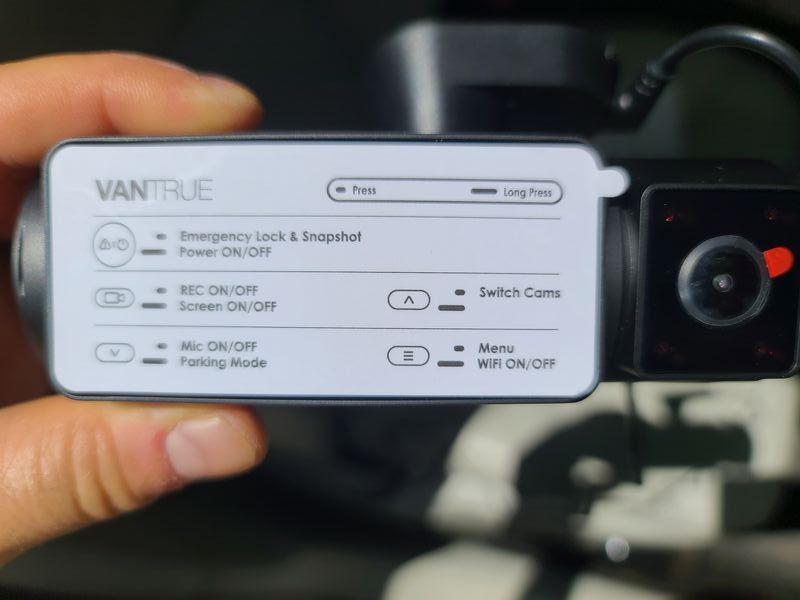
After installing the hardware the camera is ready to customize. There are 5 buttons on the Vantrue N4 Pro Dash Cam and each button does a different thing while you are recording, not recording or in a submenu. The manual explains this and there are little icons on the bottom of the screen to remind you of the functions. I think the usability would be better if there were larger prompts displayed on the screen after the first button is pressed. Luckily, all the settings that can be made on the camera can be accessed through the app as well. Unfortunately, the app needs to be connected to the camera for the settings to be reviewed. It would be great for the app to be able to change the settings offline until after the camera is reconnected.
Operation
One of the things that Vantrue differentiates the Nexus N4 Pro is the fact that the camera has supercapacitors rather than batteries. While this technology is great for operation in the wide temperature ranges that can exist in cars they have very low power density so there is not much life to them. They are really only as good as they need to be. That is, they can ensure that the last bit of the file is successfully written to the memory so that there is not a card error when the power is turned off. Vanture does make a hardwire kit and there are others sold made by third-party manufacturers but without these, there isn’t much benefit to the parking modes.
The hard wire kits each come with a cut-off so that the camera does not continue to operate. I’m hesitant to use a device that will constantly drain my battery as I’ve recently started remote work and will not be driving my car extensively. The power consumption by this unit is large so it is likely that if the unit is hard wired some sort of power-saving mode would be used. This is because I was able to determine that the unit draws between 500 to 700 mA for most of the operating modes. There are two types of collision detection modes that can be used for low power consumption: a fast start mode and a power saving mode. While the fast start mode takes about 5 – 6 seconds to start and uses about 120 mA the power saving mode only draws about 20 mA but requires 10 – 12 seconds to start. In either case, there is a very long time between the time that the Vantrue senses motion and starts taking pictures. If the camera is in low frame rate mode when these collision modes are activated then the camera will capture 5 minutes of footage in normal framerate before reverting back to the low frame rate recording.
What it does with those pictures is another issue. The high-resolution and low-compression shots that the Vantrue Nexus N4 Pro takes are stored on a memory card. The unit saves 30% of the card space for event files and uses the remaining 70% as a location for storing normal video, which is overwritten frequently with new recordings. The camera files are 237.6 MB in the front and 75.7 MB in the back and interior. This equates to about 20GB/hr. Using a higher-capacity SD card will allow for a greater amount of storage and may last longer considering that the number of overwrites will be less.
The images can be accessed by unloading the SD card from the camera and inserting it into a computer or media reader or the contents of the camera can be read directly by powering the camera and using the 5GHz Wi-Fi connection or the USB connection that is normally reserved for the rear camera.
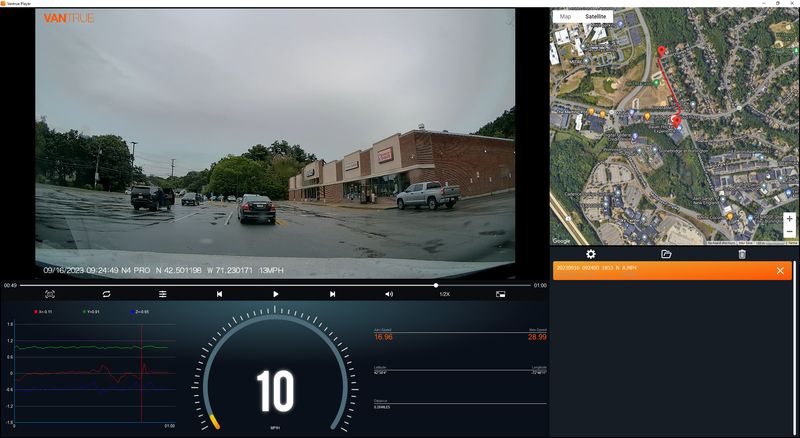
The app for the camera displays the location coincidentally when the image was taken. There is a companion app for a Windows PC that also displays similar information as well as the acceleration at the time of the recording. The acceleration recording can help pinpoint adverse events (or the recording of that stellar 0-60!)
Controlling the Vantrue Nexus N4 Pro can be done with voice commands. The commands that are listed on the screen include the following:
- Take photo
- Video start
- Turn on audio
- Turn off audio
- Turn on screen
- Turn off screen
- Turn on Wifi
- Turn off Wifi
- Lock the video
- Show front camera
- Show rear camera
- Inside video on
- Back to home page
The app doesn’t show the voice commands and also if the HDR mode is set off in the app, the setting does not persist on the camera. If the HDR mode is set in the camera it will be stored and persist.
The display is very readable in the day and night. There are IR lamps on the interior camera but they are completely unnoticeable by my eyes while I am driving and the camera is on in the dark.
Performance
I’ve included a few videos of the performance at the links below. Overall the videos are clear. I think that the enhancement that the advertisement shows is more like CSI than reality, but license plates are visible and readable.
What I like
- Design
- User interface (both verbal and button-based)
- App
What needs to be improved
- Wake from collision timing
- Durability of the magnetic cover
Final thoughts
Ideally, a dashcam is the gadget that you won’t know you have until you really need it. The number of videos that the Vantrue Nexus N4 Pro dashcam takes is impressive and the lens system and implementation are one of the best available in the market today.
Price: $379.99
Where to buy: Amazon and Vantrue
Source: The sample of this product was provided by Vantrue.
L39 Ultra Slim UV Protective Filter for Leica Q3 43 Q2 Camera with Moisture-Proof Case & Removal Tool 19 Layers Mulit-Coated UV Ultraviolet Filter 99.3% Light Transmission Water Oil Scratch Resistant
(as of June 24, 2026 18:50 GMT -05:00 - More infoProduct prices and availability are accurate as of the date/time indicated and are subject to change. Any price and availability information displayed on [relevant Amazon Site(s), as applicable] at the time of purchase will apply to the purchase of this product.)
Gadgeteer Comment Policy - Please read before commenting
Aren’t the wires running thru the A pillar attached to the Curtain Air Bag system? Surely this is not good advice or good practice.