REVIEW – I’ve been 3D printing for a while now so when Revopoint offered their POP 3 3D Scanner for review I was immediately intrigued. There have been times where I had a broken part or wanted to 3D print an object that I didn’t have or couldn’t find .stl files for which is the file format you need to make a 3D print. Let’s see how the Revopoint POP 3 3D scanner works.
What is it?
The POP 3 is Revopoint’s latest 3D medium size scanner. It allows you to 3D scan objects on the go for use in 3D animation, reverse engineering, 3D printing, product design, or any other scanning needs.
What’s in the box?
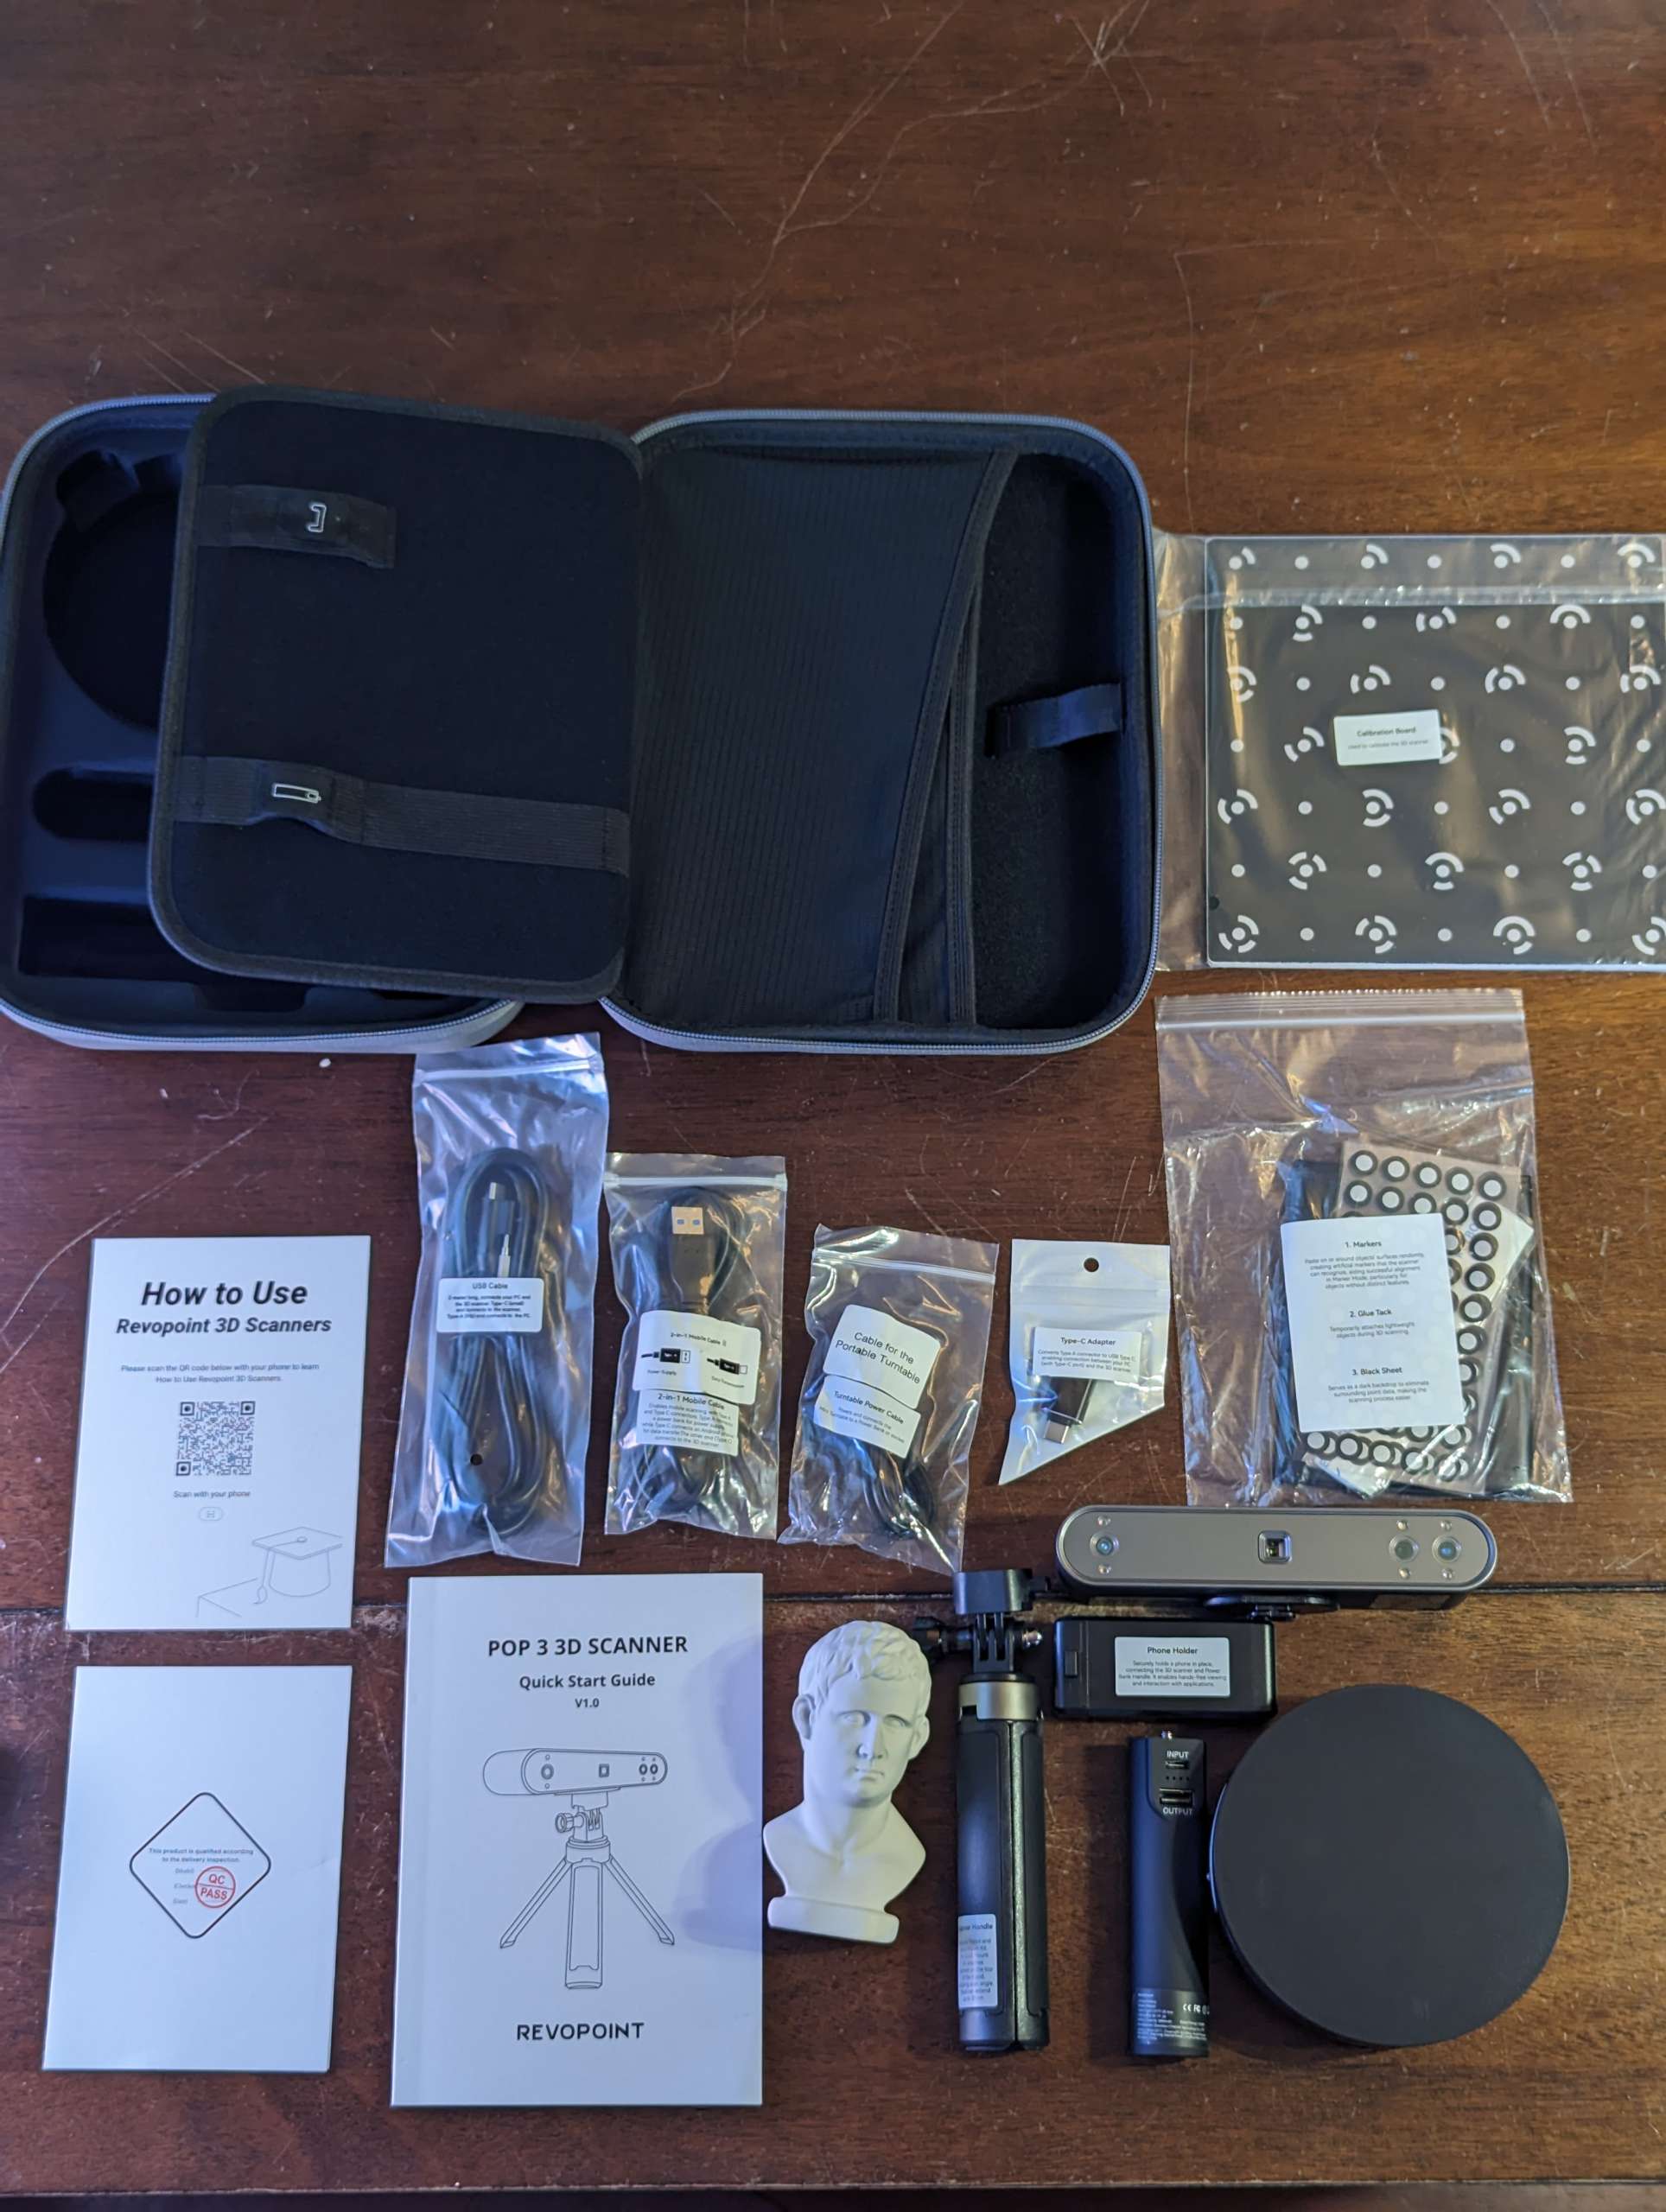
Advanced Edition Main Package


- 1x Revopoint POP 3 3D Scanner
- 1x Tripod
- 1x Power Bank
- 1x Phone Holder
- 1x Type-C Adapter
- 1x USB Type-C Cable
- 1x 2-in-1 Mobile Cable
- 1x Mini Turntable
- 1x Turntable USB-Micro Cable
- 1x Calibration Board
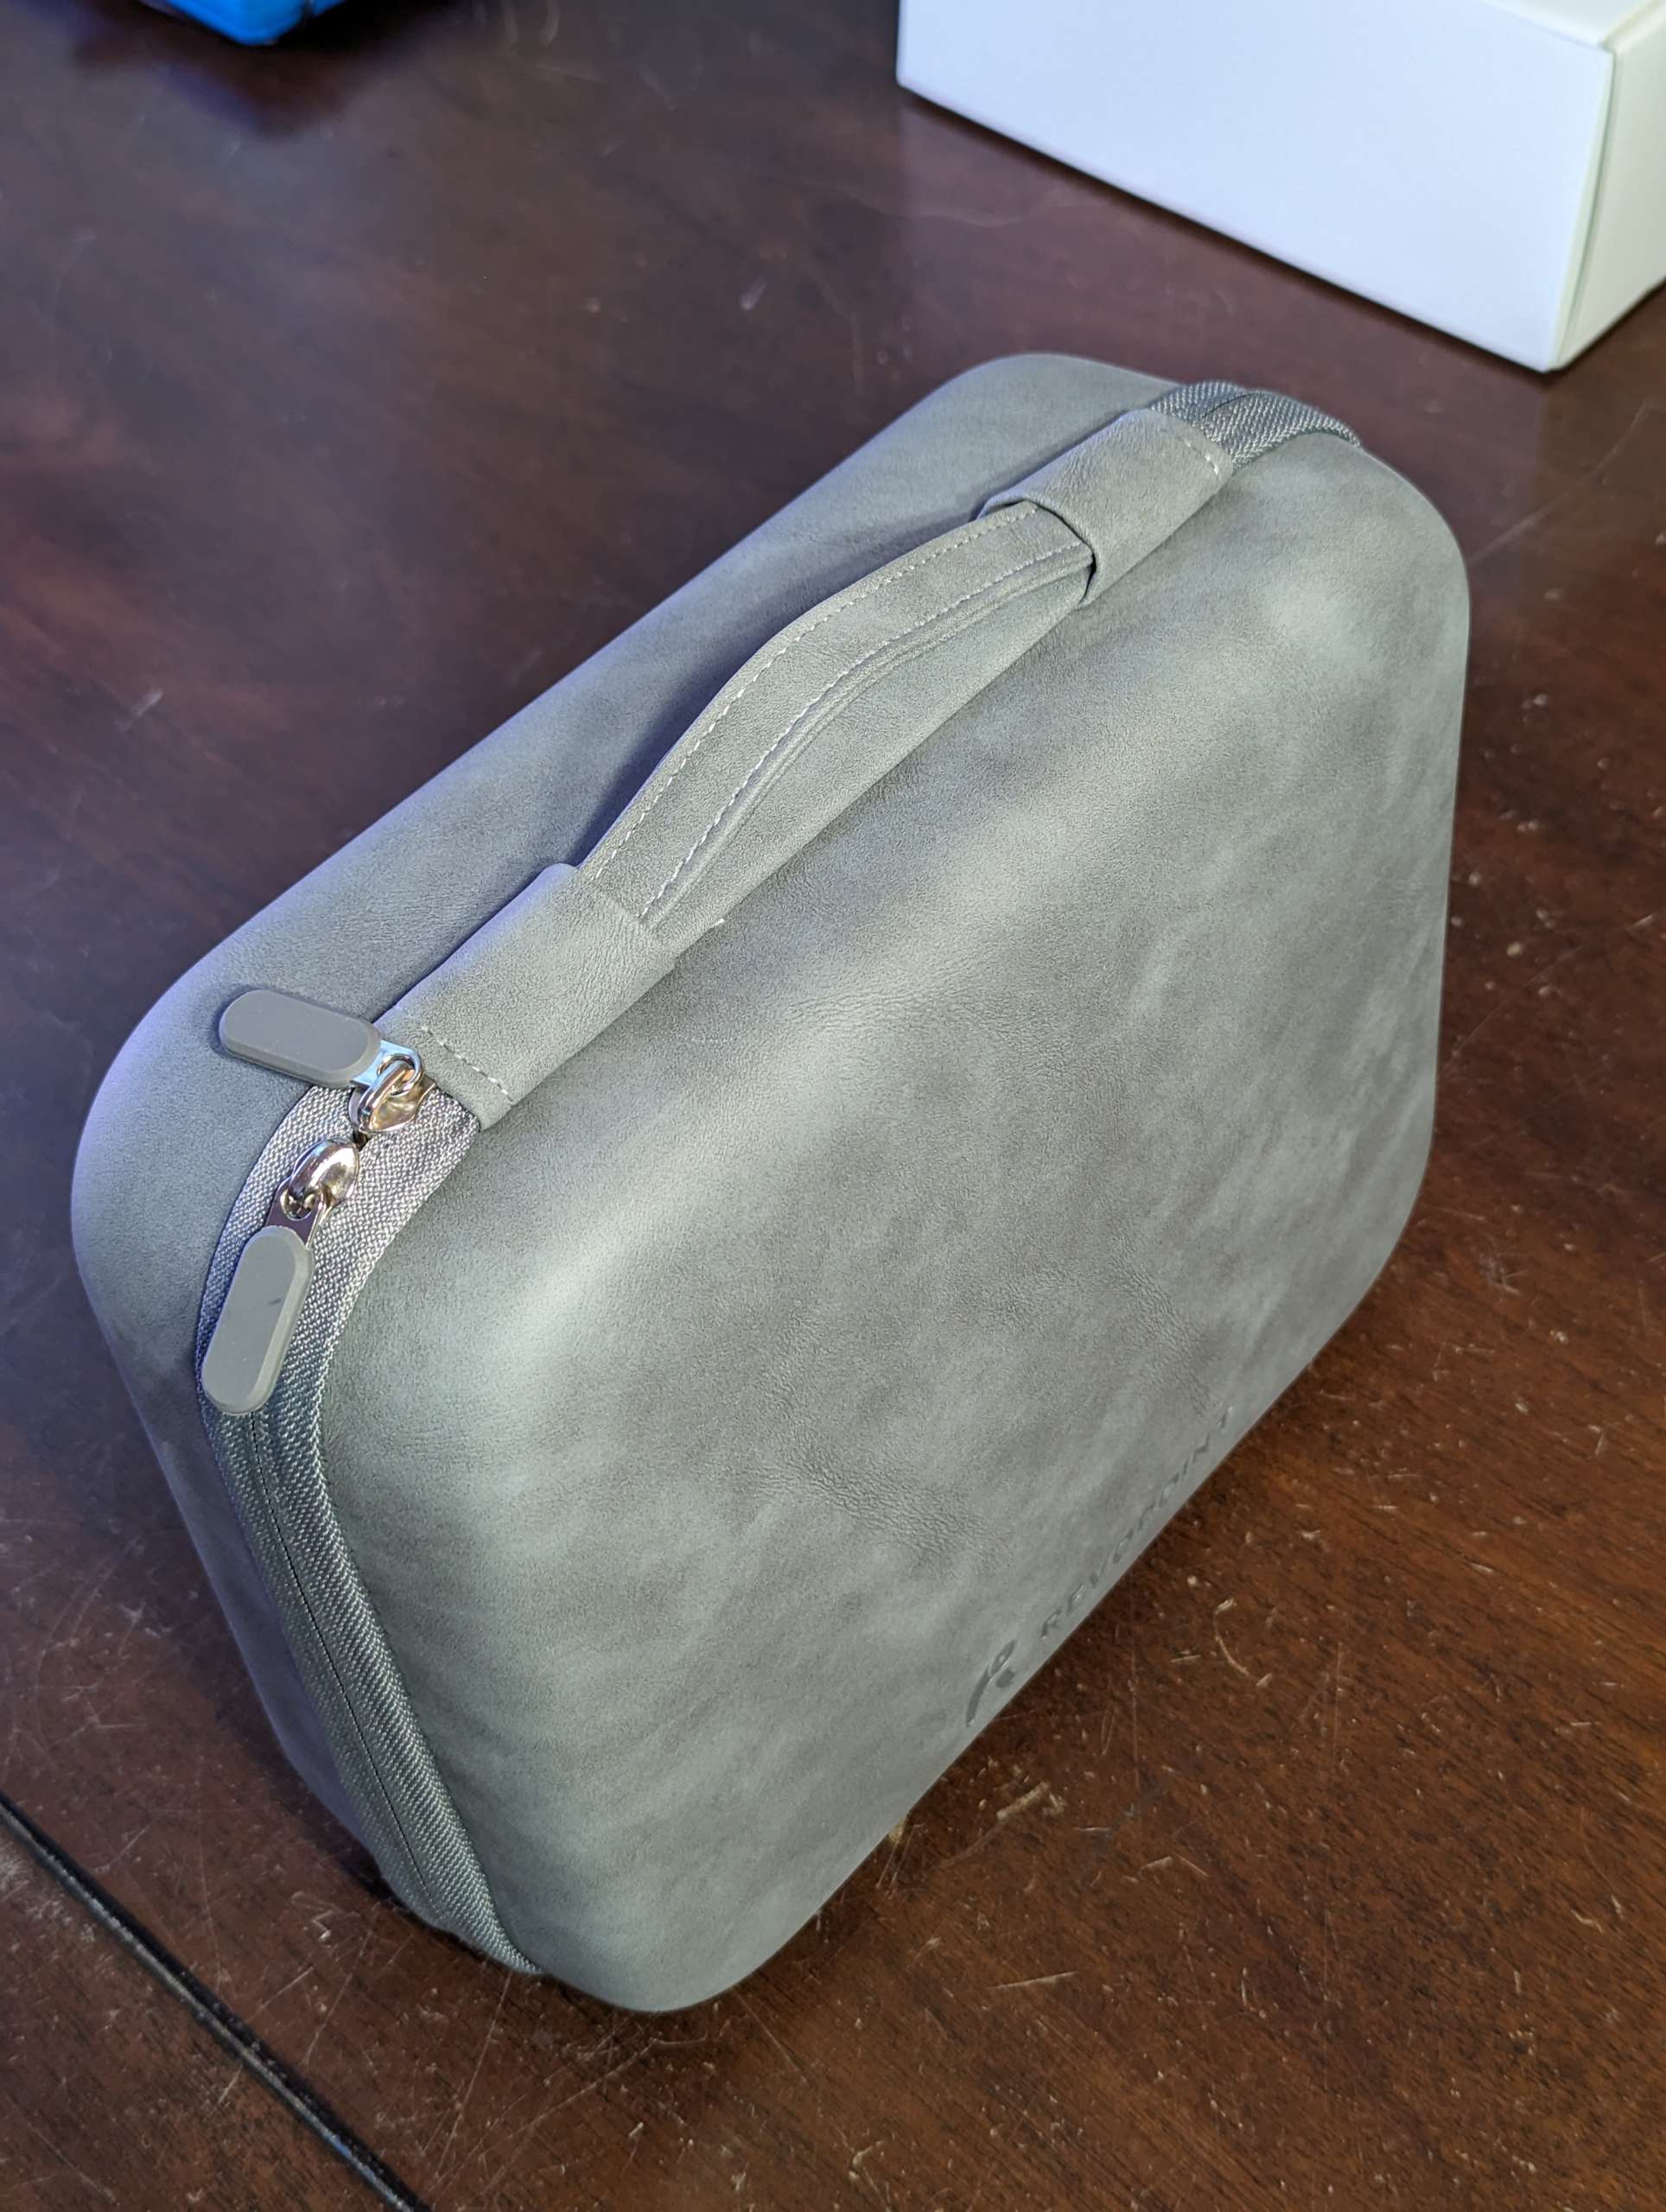
- 1x Carry Case
- 1x Sample Bust
- 1x User manual
- 1x Quick Start Guide
- 1x Warranty Card
- 1x Black Plastic Sheet
- 1x Glue Tack
- 4x Sheets of Marker Dots
Dual-axis Turntable Package
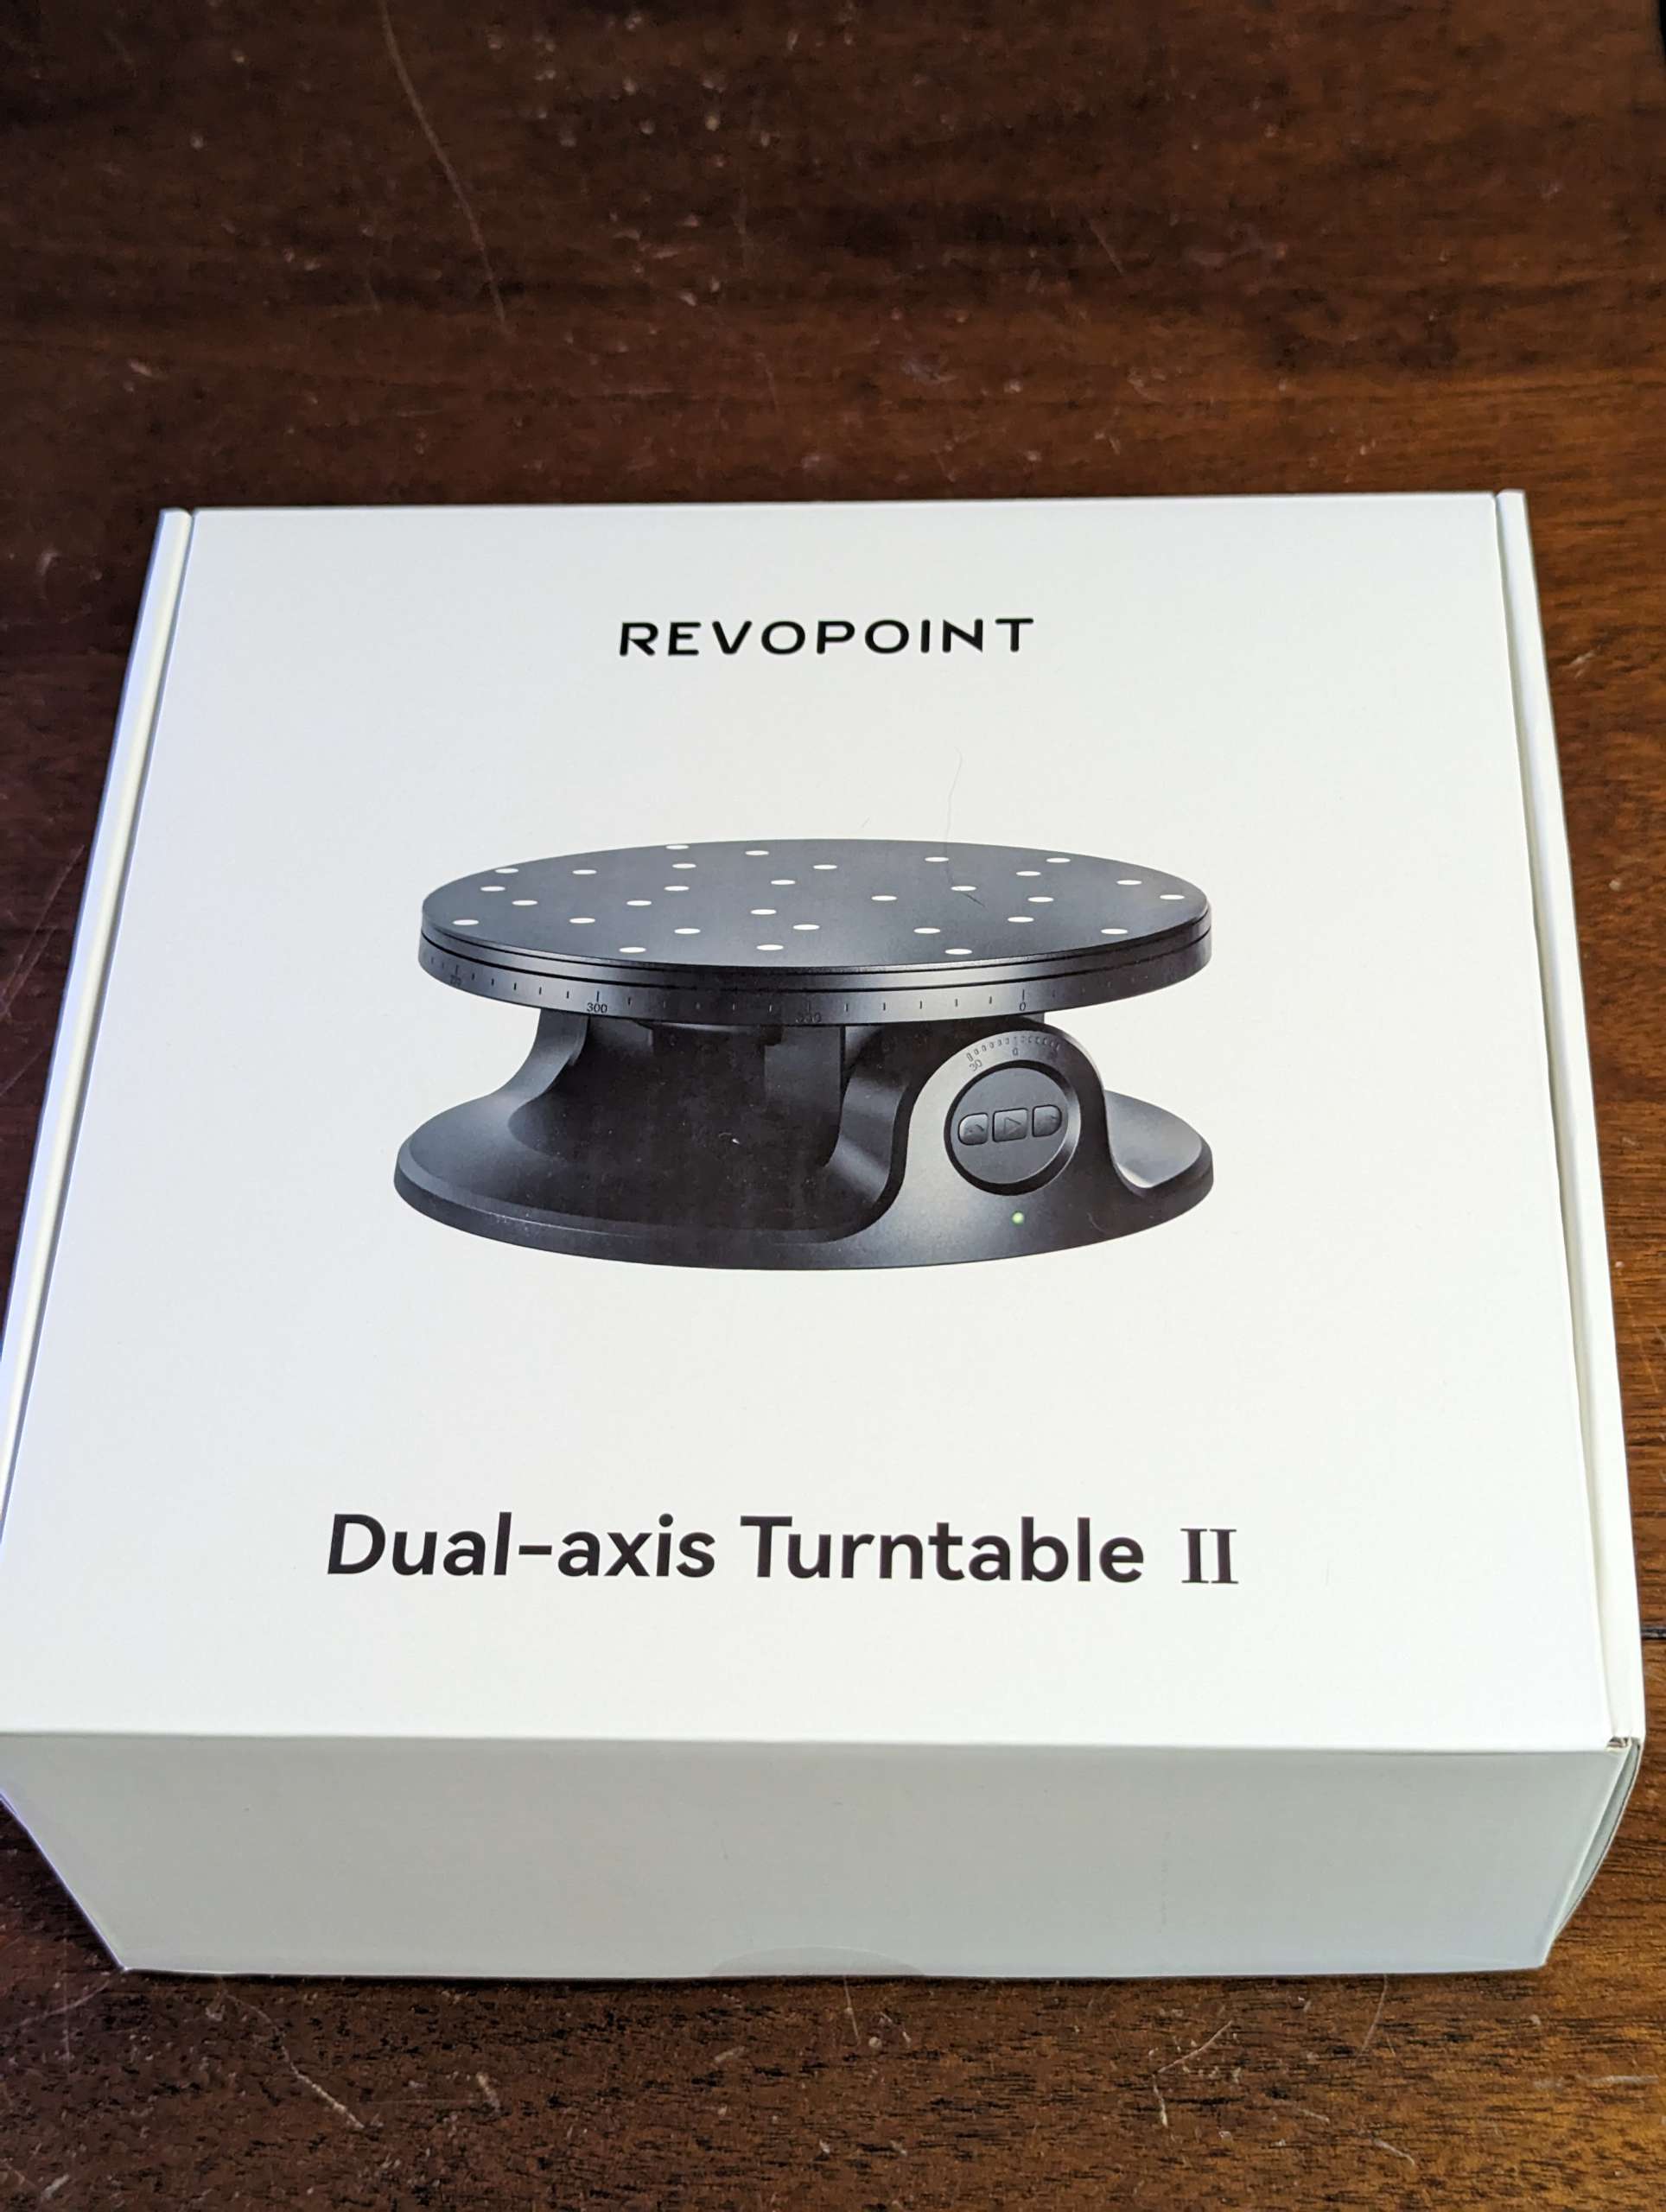
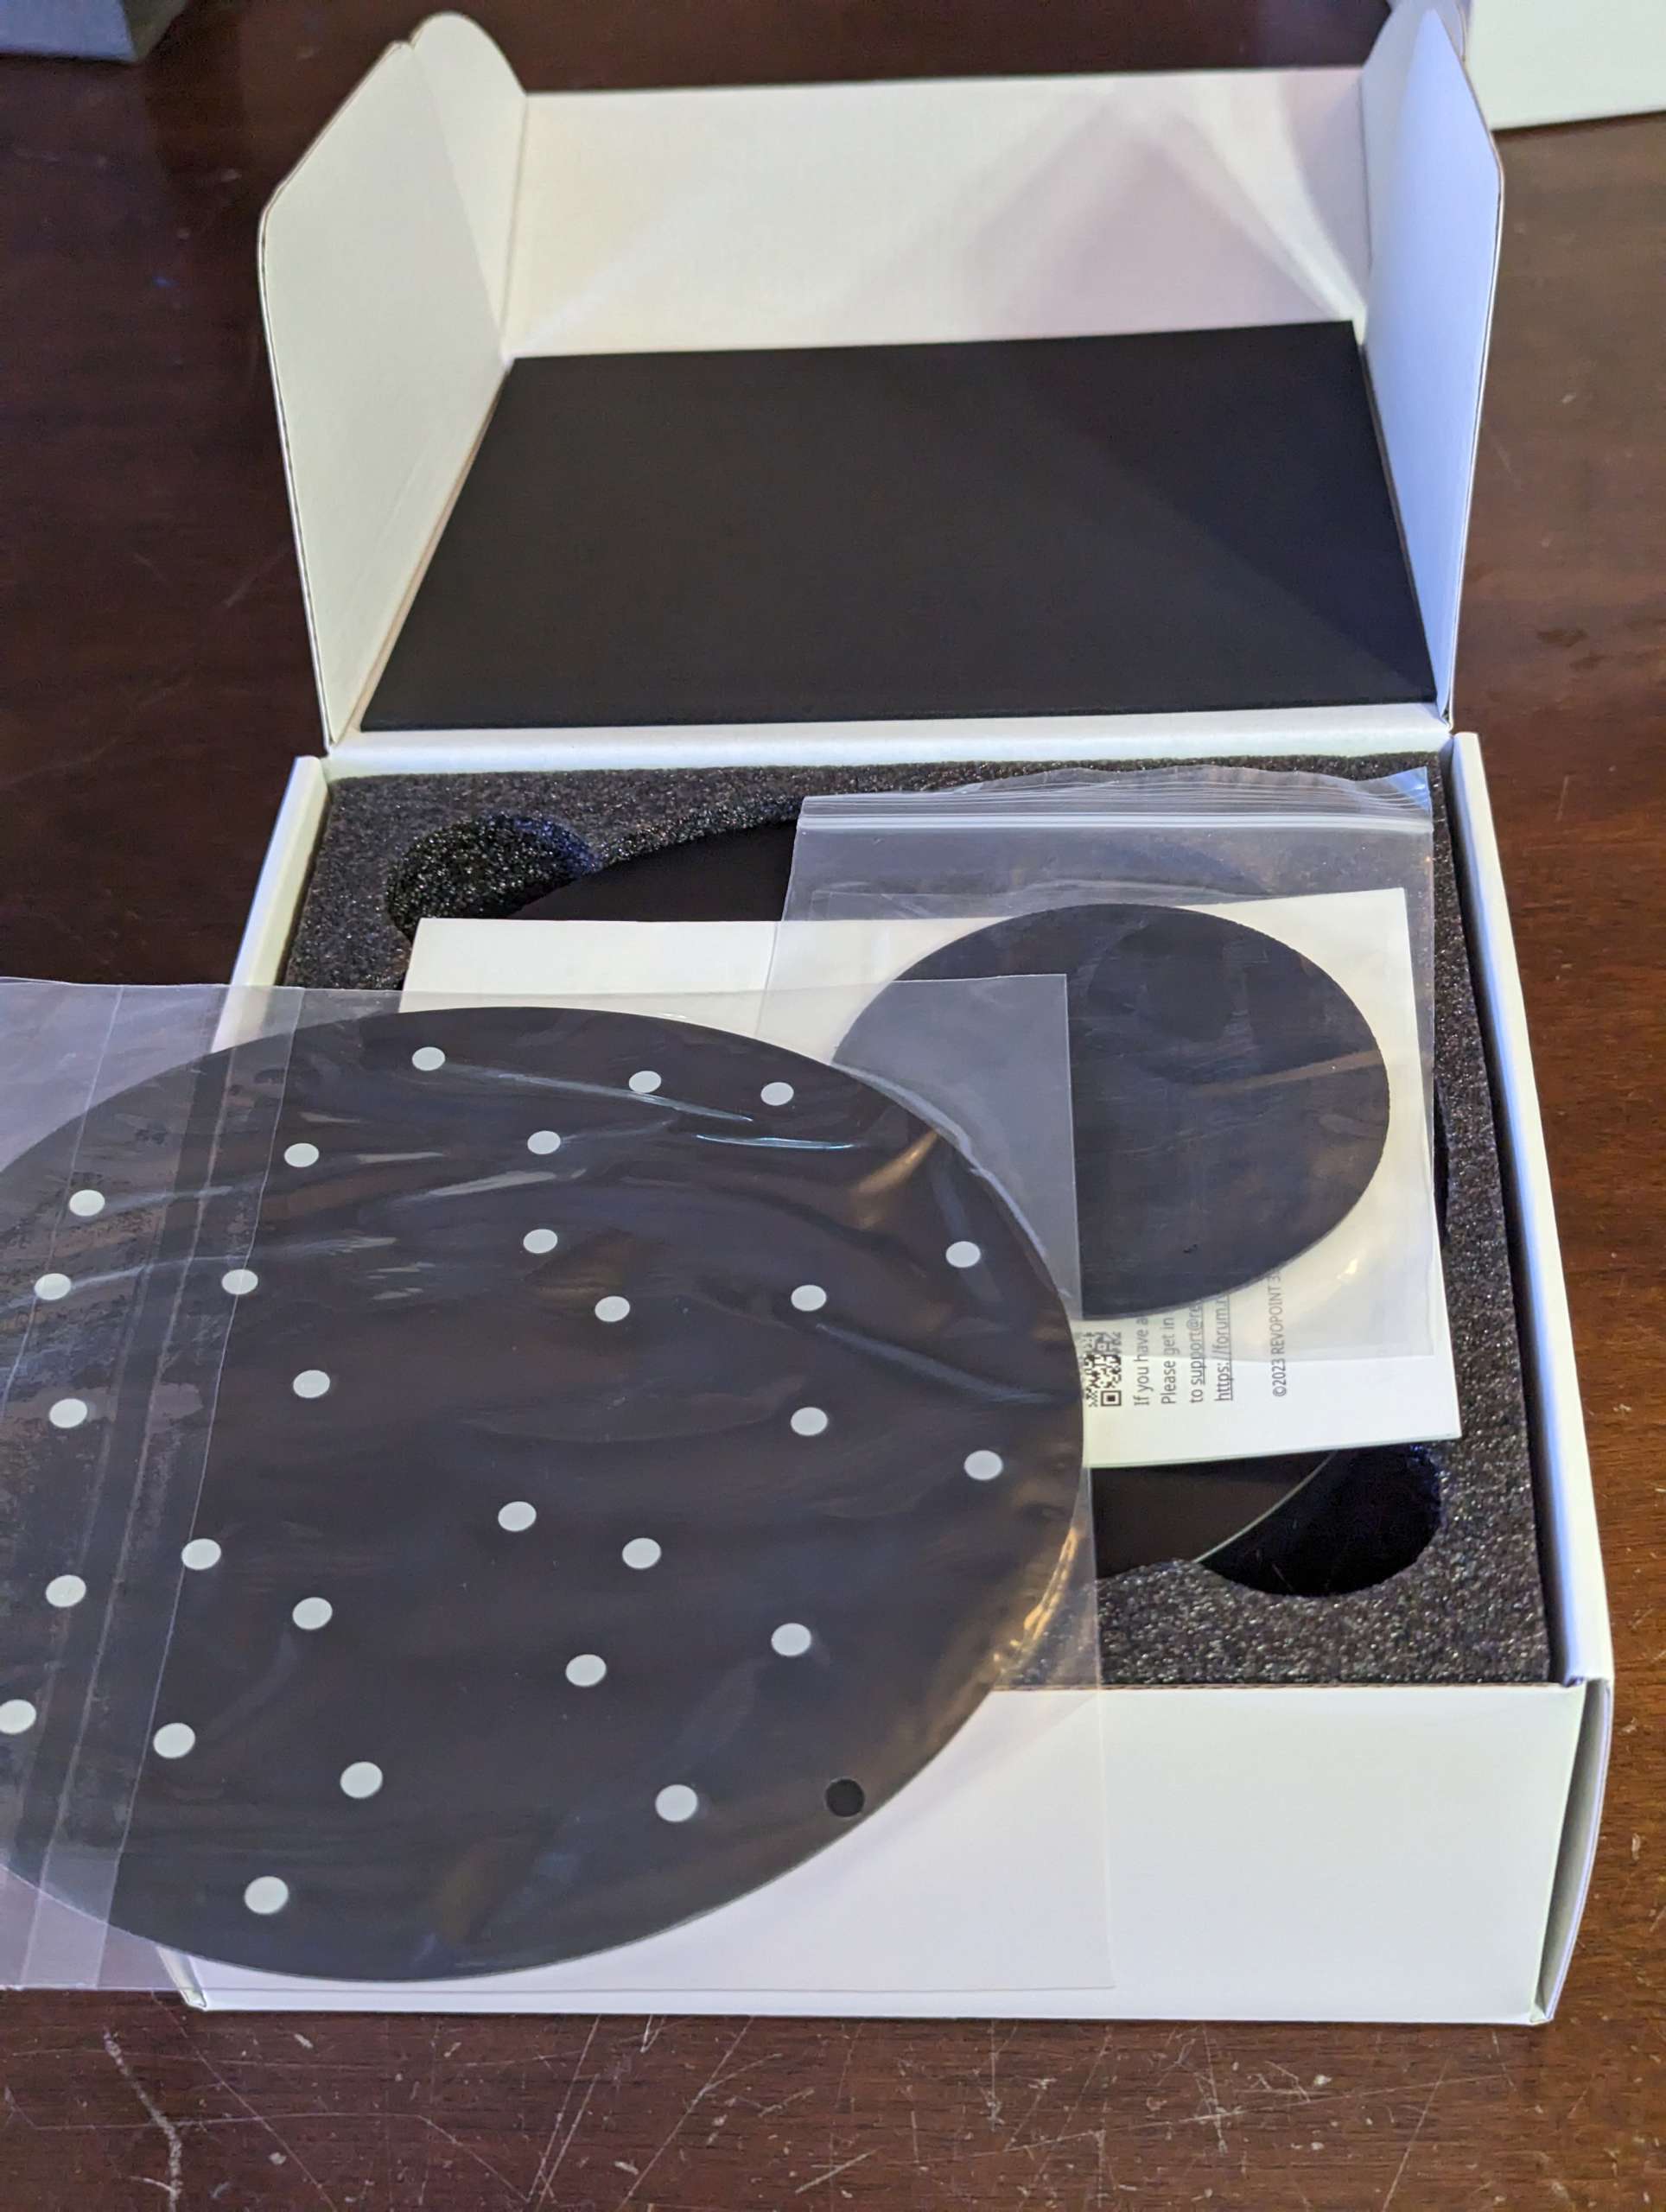
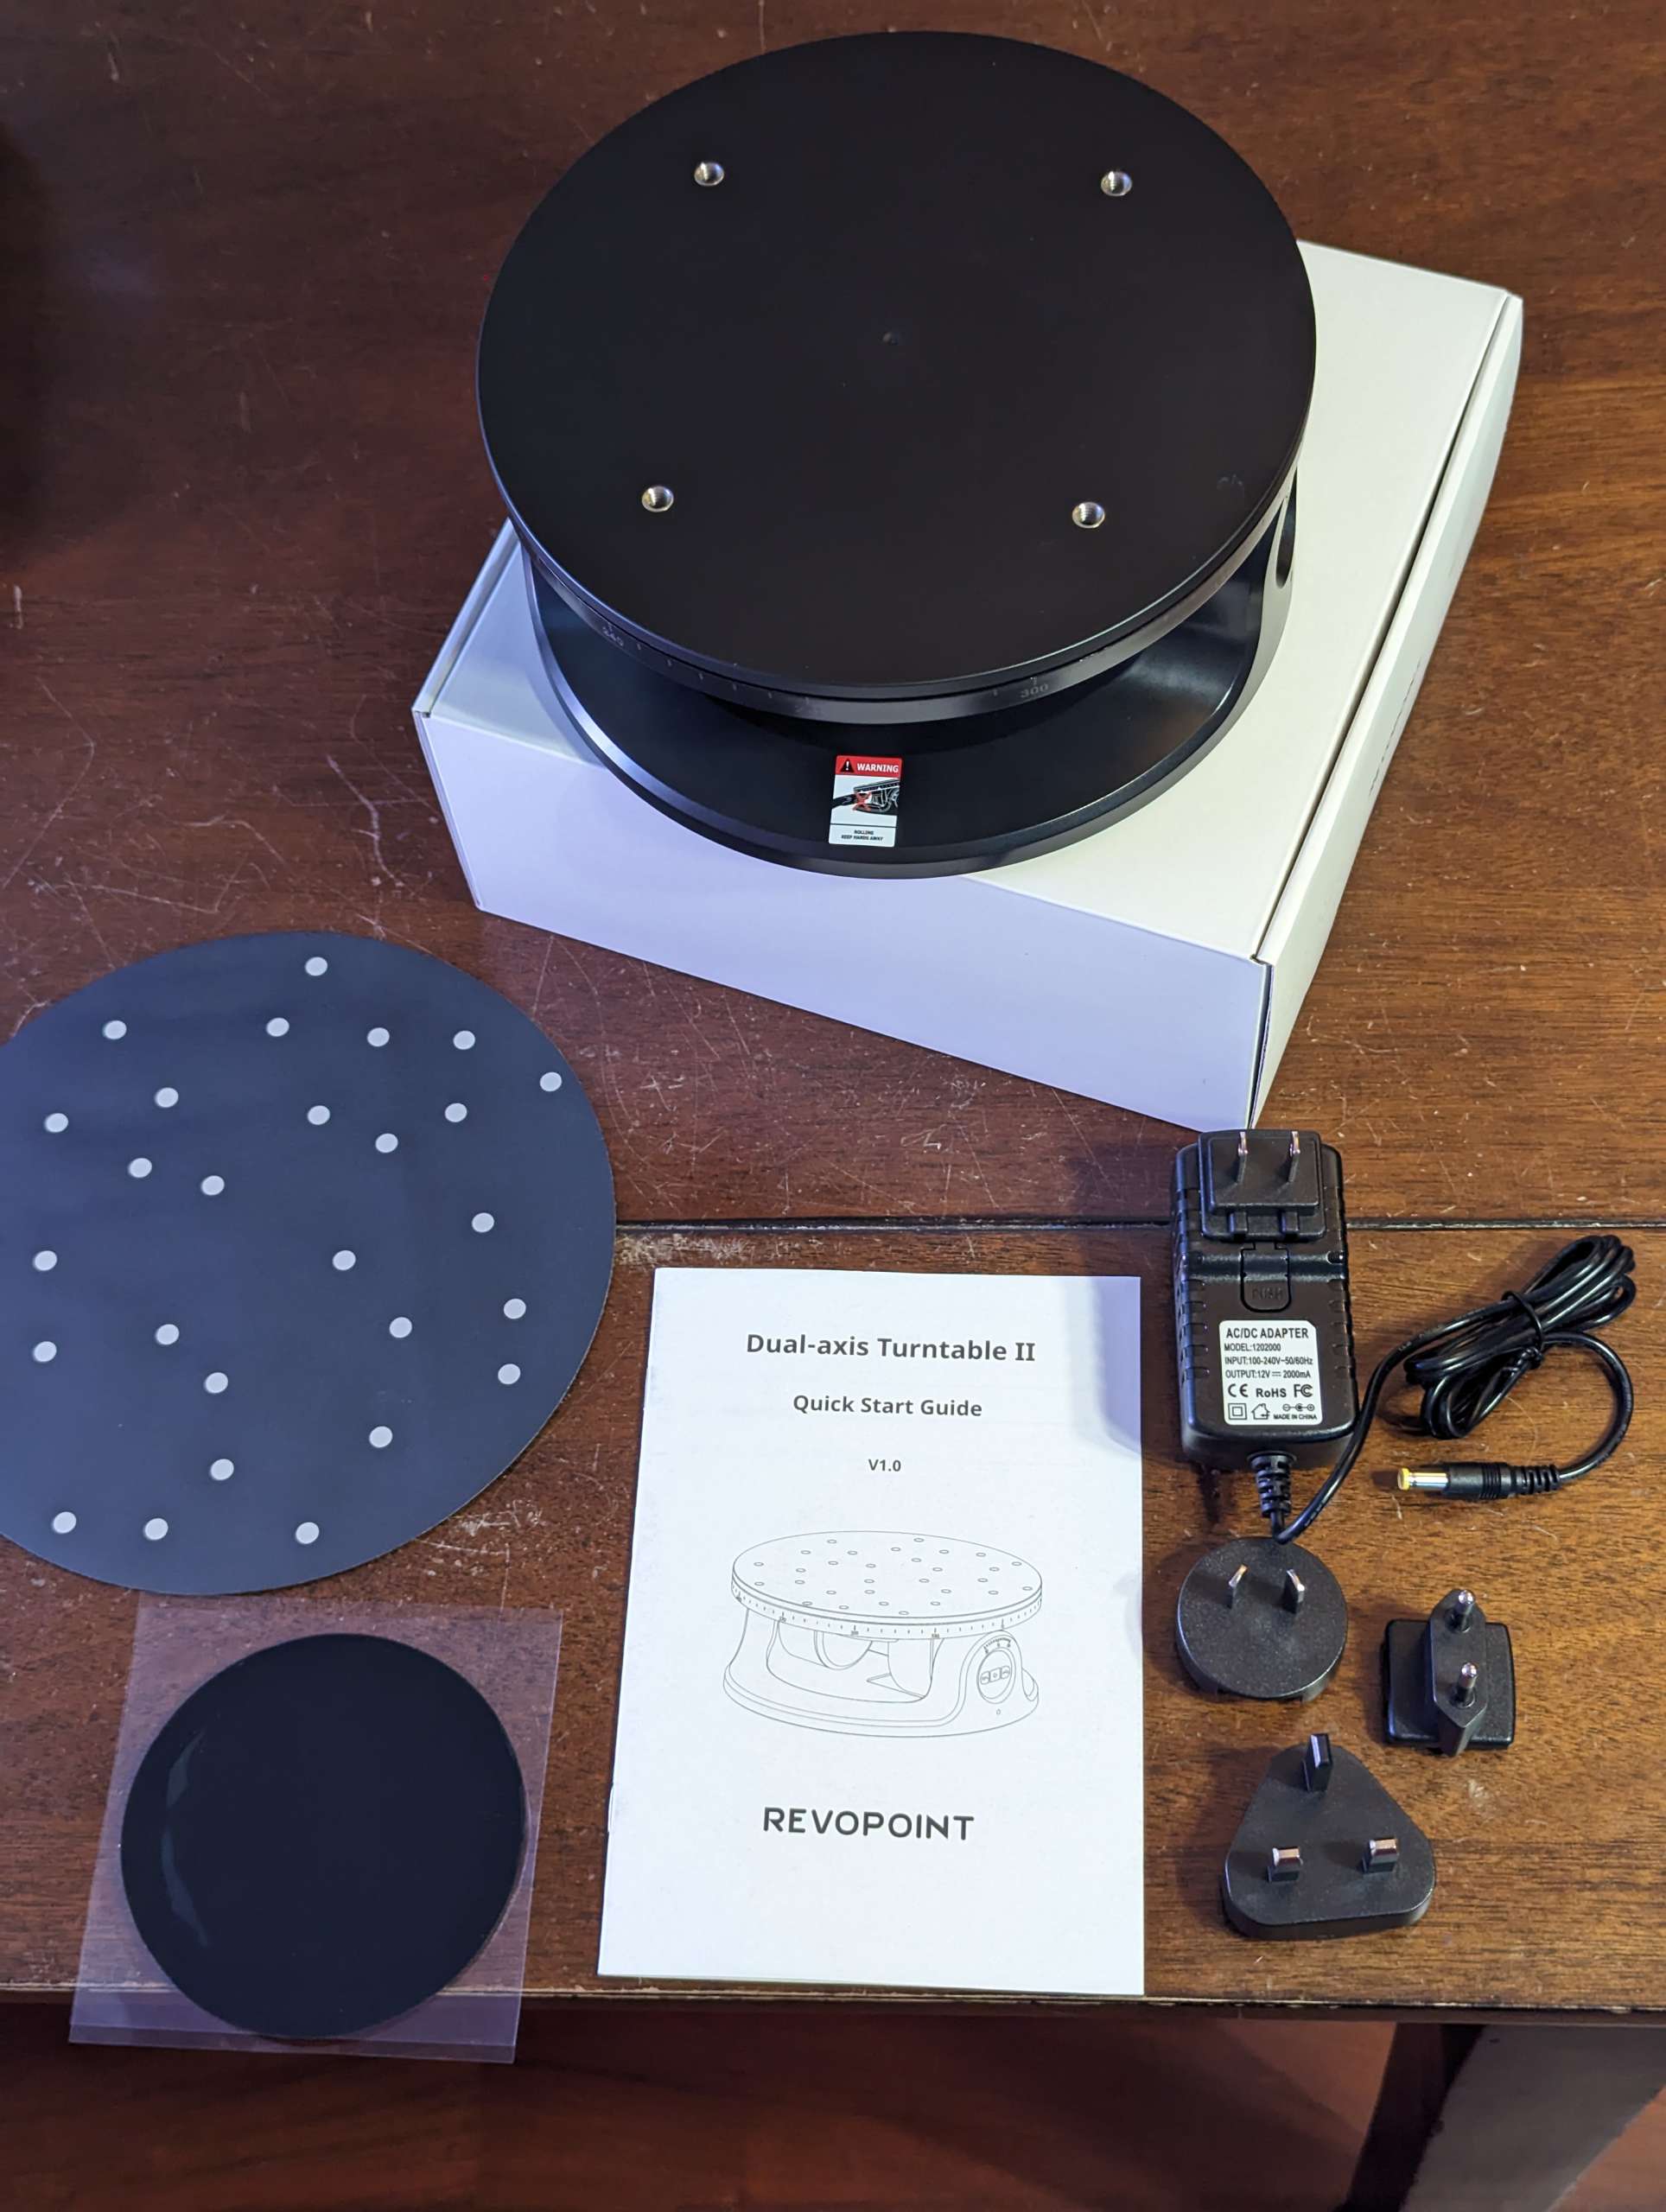
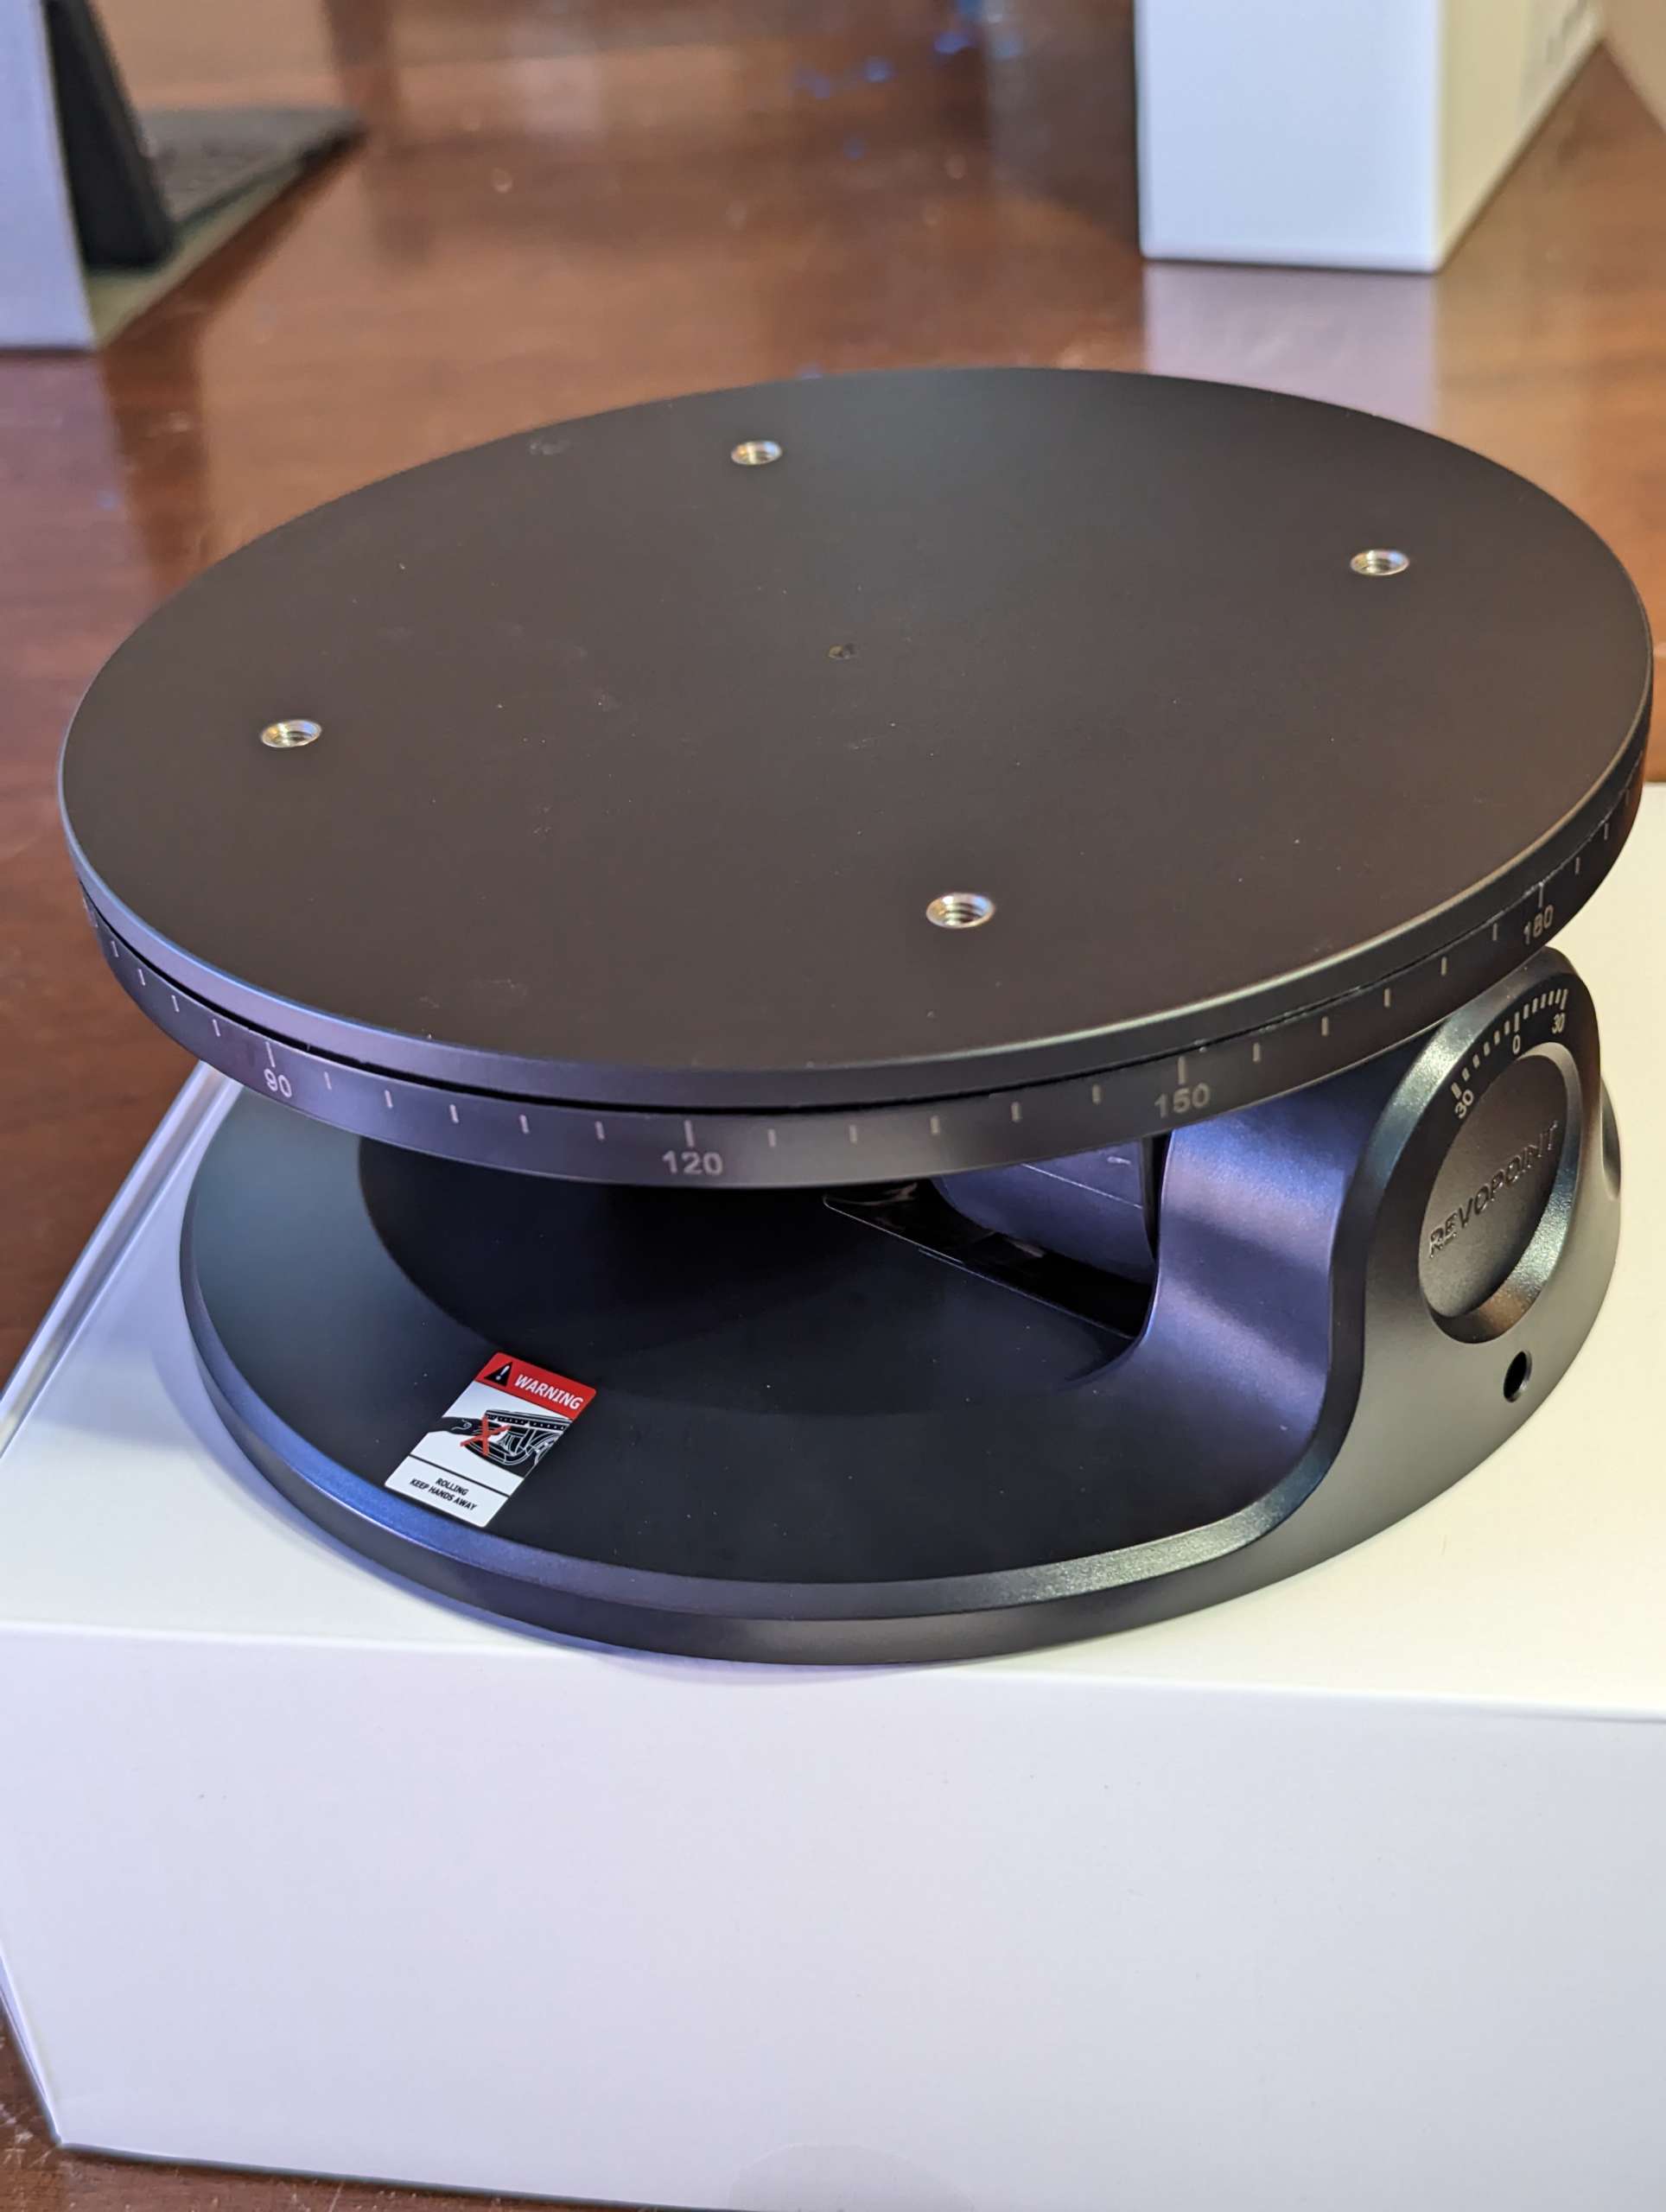
- 1x Dual-axis Turntable
- 1x Marker Topper
- 1x Reusable Sticky Pad
- 1x AC Adapter with US/EU/AU/GB plug adapters
- 1x Quick Start Guide
Hardware specs
- Output Formats: PLY, OBJ, and STL
- Technology: Biocular Dual Camera Infrared Light
- Single Frame Precision: Up to 0.05mm
- Single Frame Accuracy: Up to 0.1mm
- Special Object Requirements: Use scanning spray for transparent, dark, or highly reflective objects
- Single Capture Range: 125mm x 225mm
- Scanner Weight: 190g or 6.7 ounces
- Scanner Dimensions: 153mm x 45mm x 29mm
- Working Distance: 150mm – 400mm
- Minimum Scan Volume: 20mm x 20mm x 20mm
- Scanning Speed: 12fps – 18 fps
- 3D Printing Compatible: Yes
- IMU: 9 Axis (Inertial Measurement Unit sensor)
- Compatible OS: Windows, Android, macOS, iOS (Wifi only)
- Color Scanning: Yes
- Buttons: 3x Touch Buttons
- Light Source: Class 1 Infrared
- Connection Modes: USB Type-C to USB 3.0 Type-A
- Wi-Fi: Yes, 6.0
- Tracking Methods: Feature, Marker
Dual Axis Turntable Specs:
- Dimensions: 82mm H x 200mm W
- Speed: 18-90 Seconds per Rotation
- Max Load: 5kg or 11.02 lbs
- Turntable Weight: 771 grams or 27.19 ounces
- Control Method: Via Revo Scan / App
- Rotation Control: Direction, Speed, and Start/Pause
- Connection: Via Bluetooth
Design and features
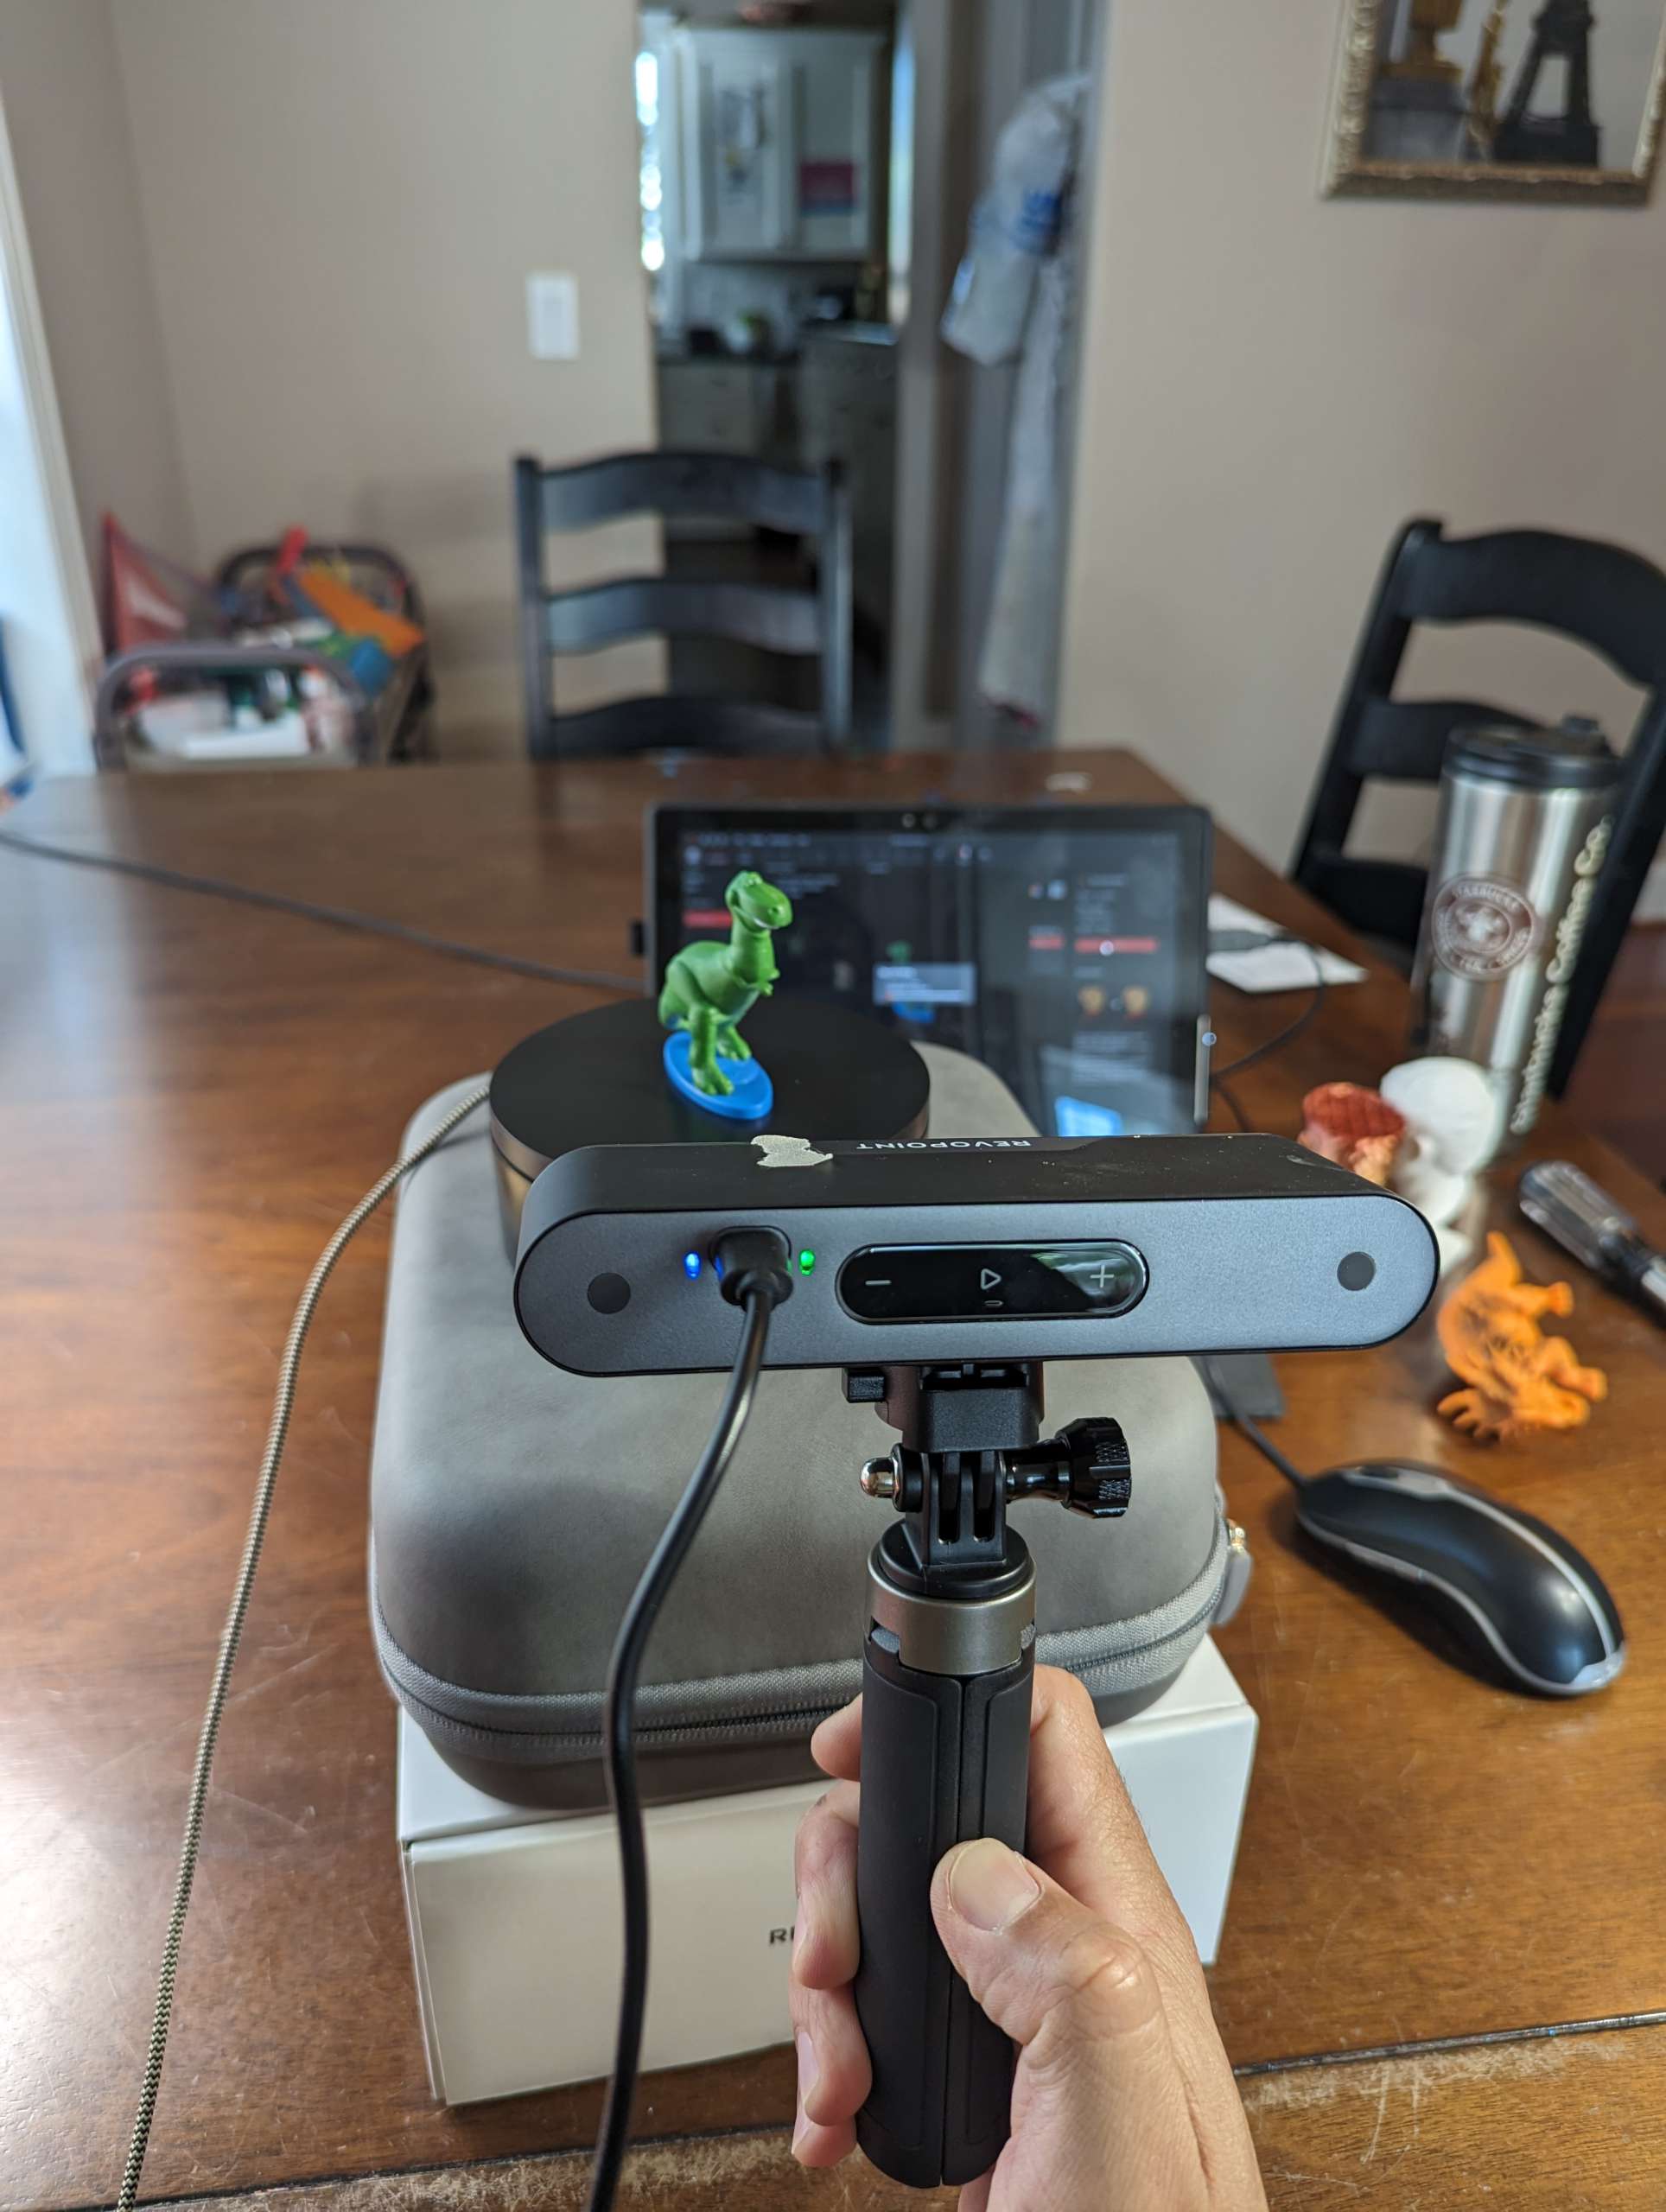
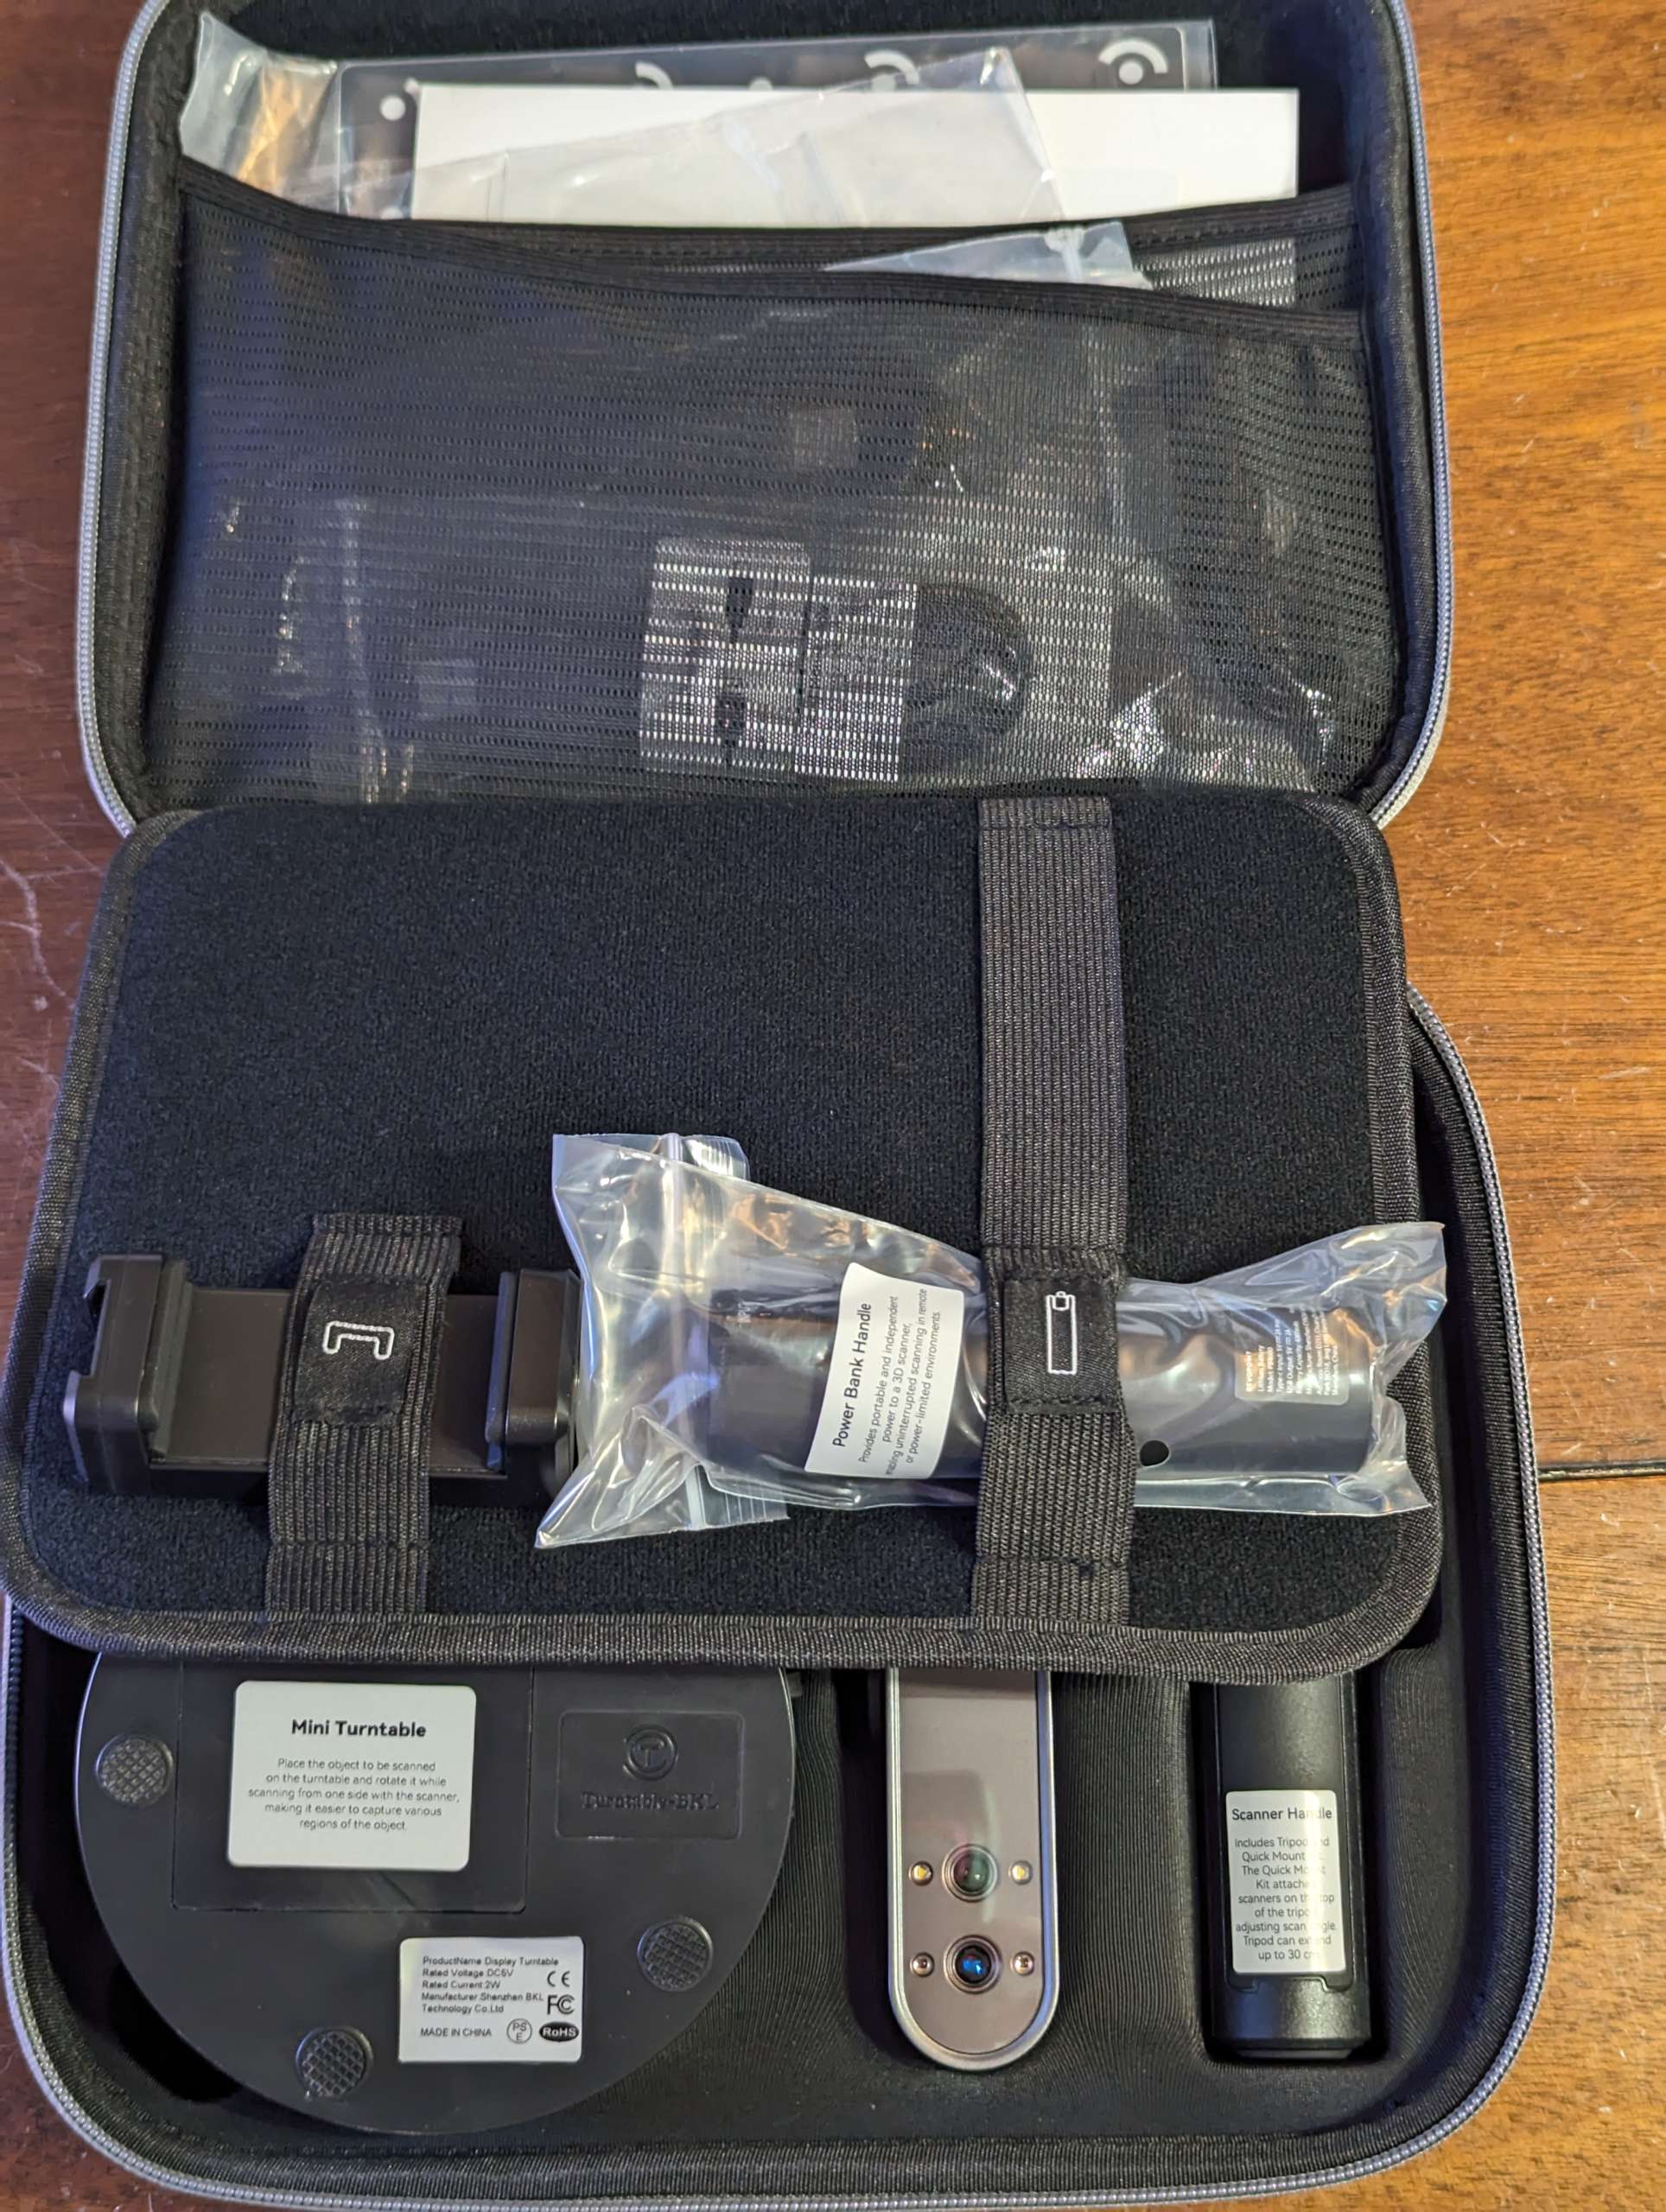
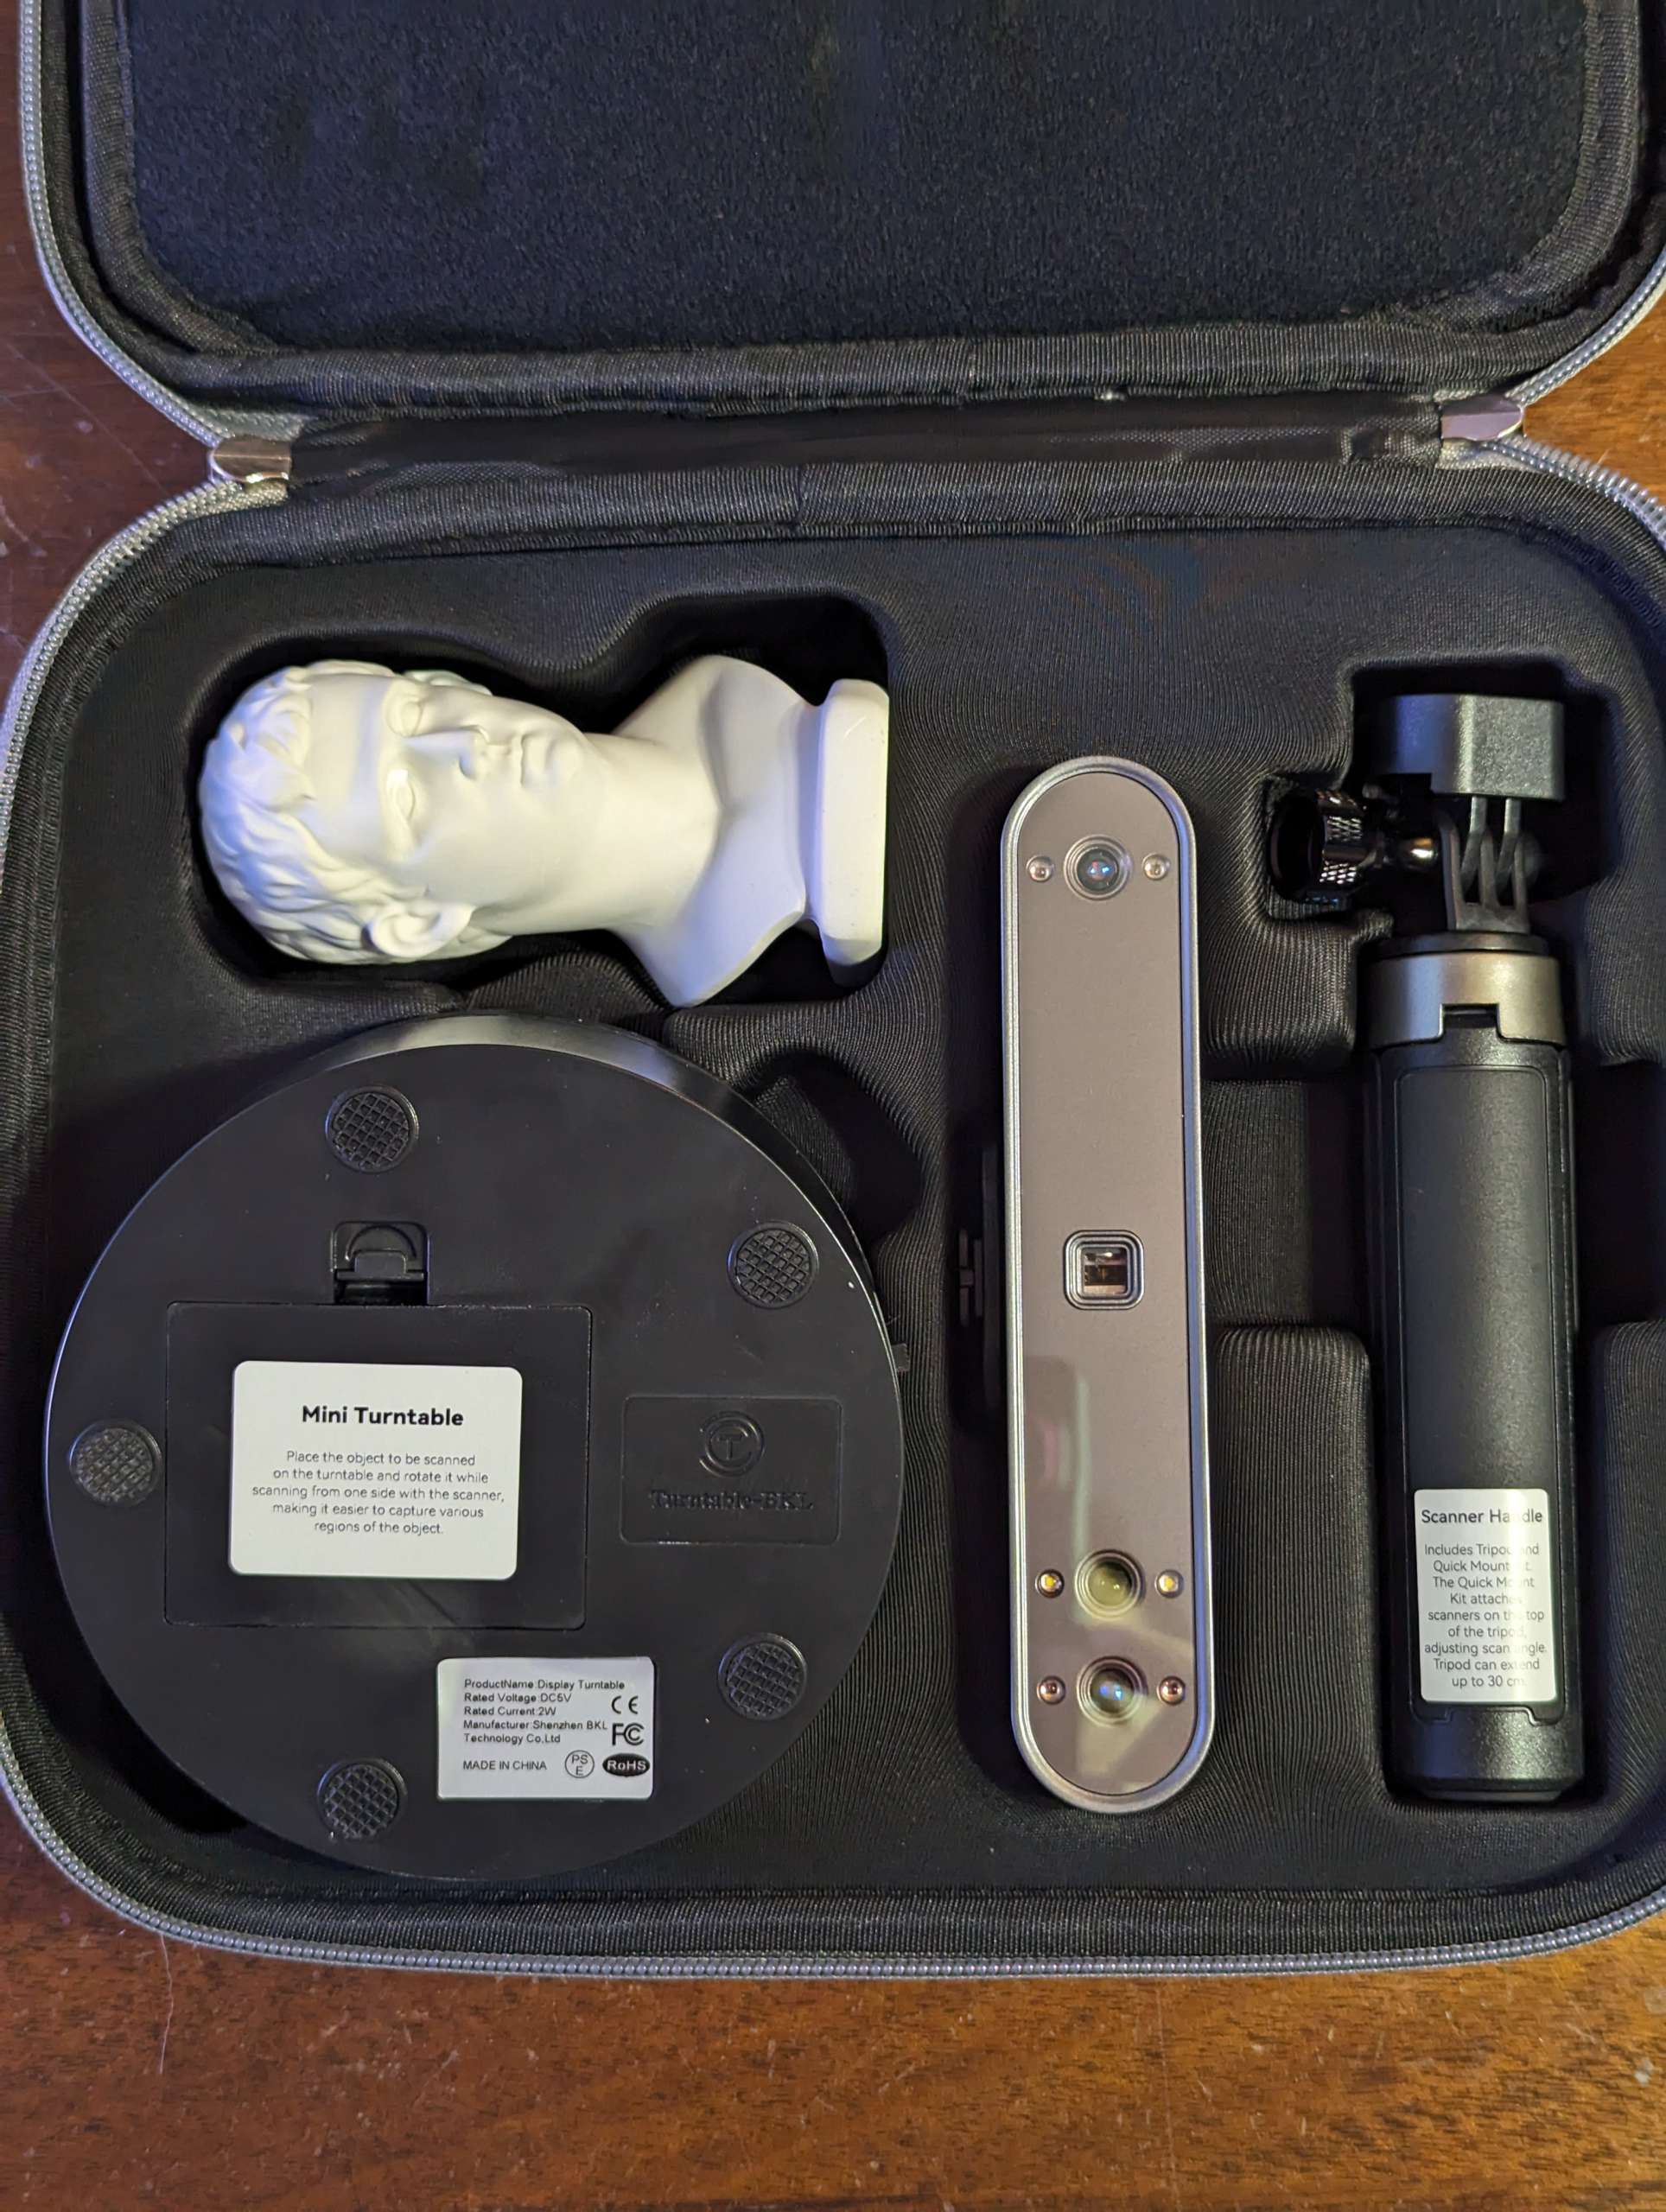
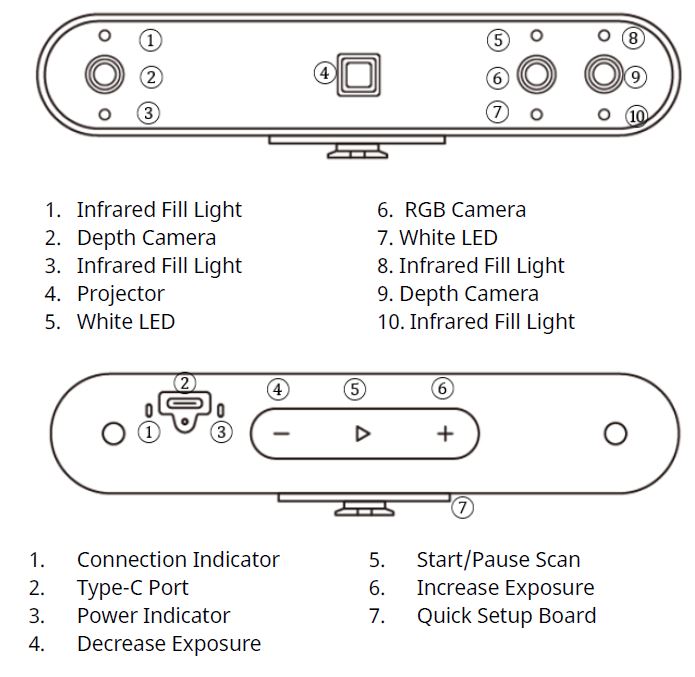
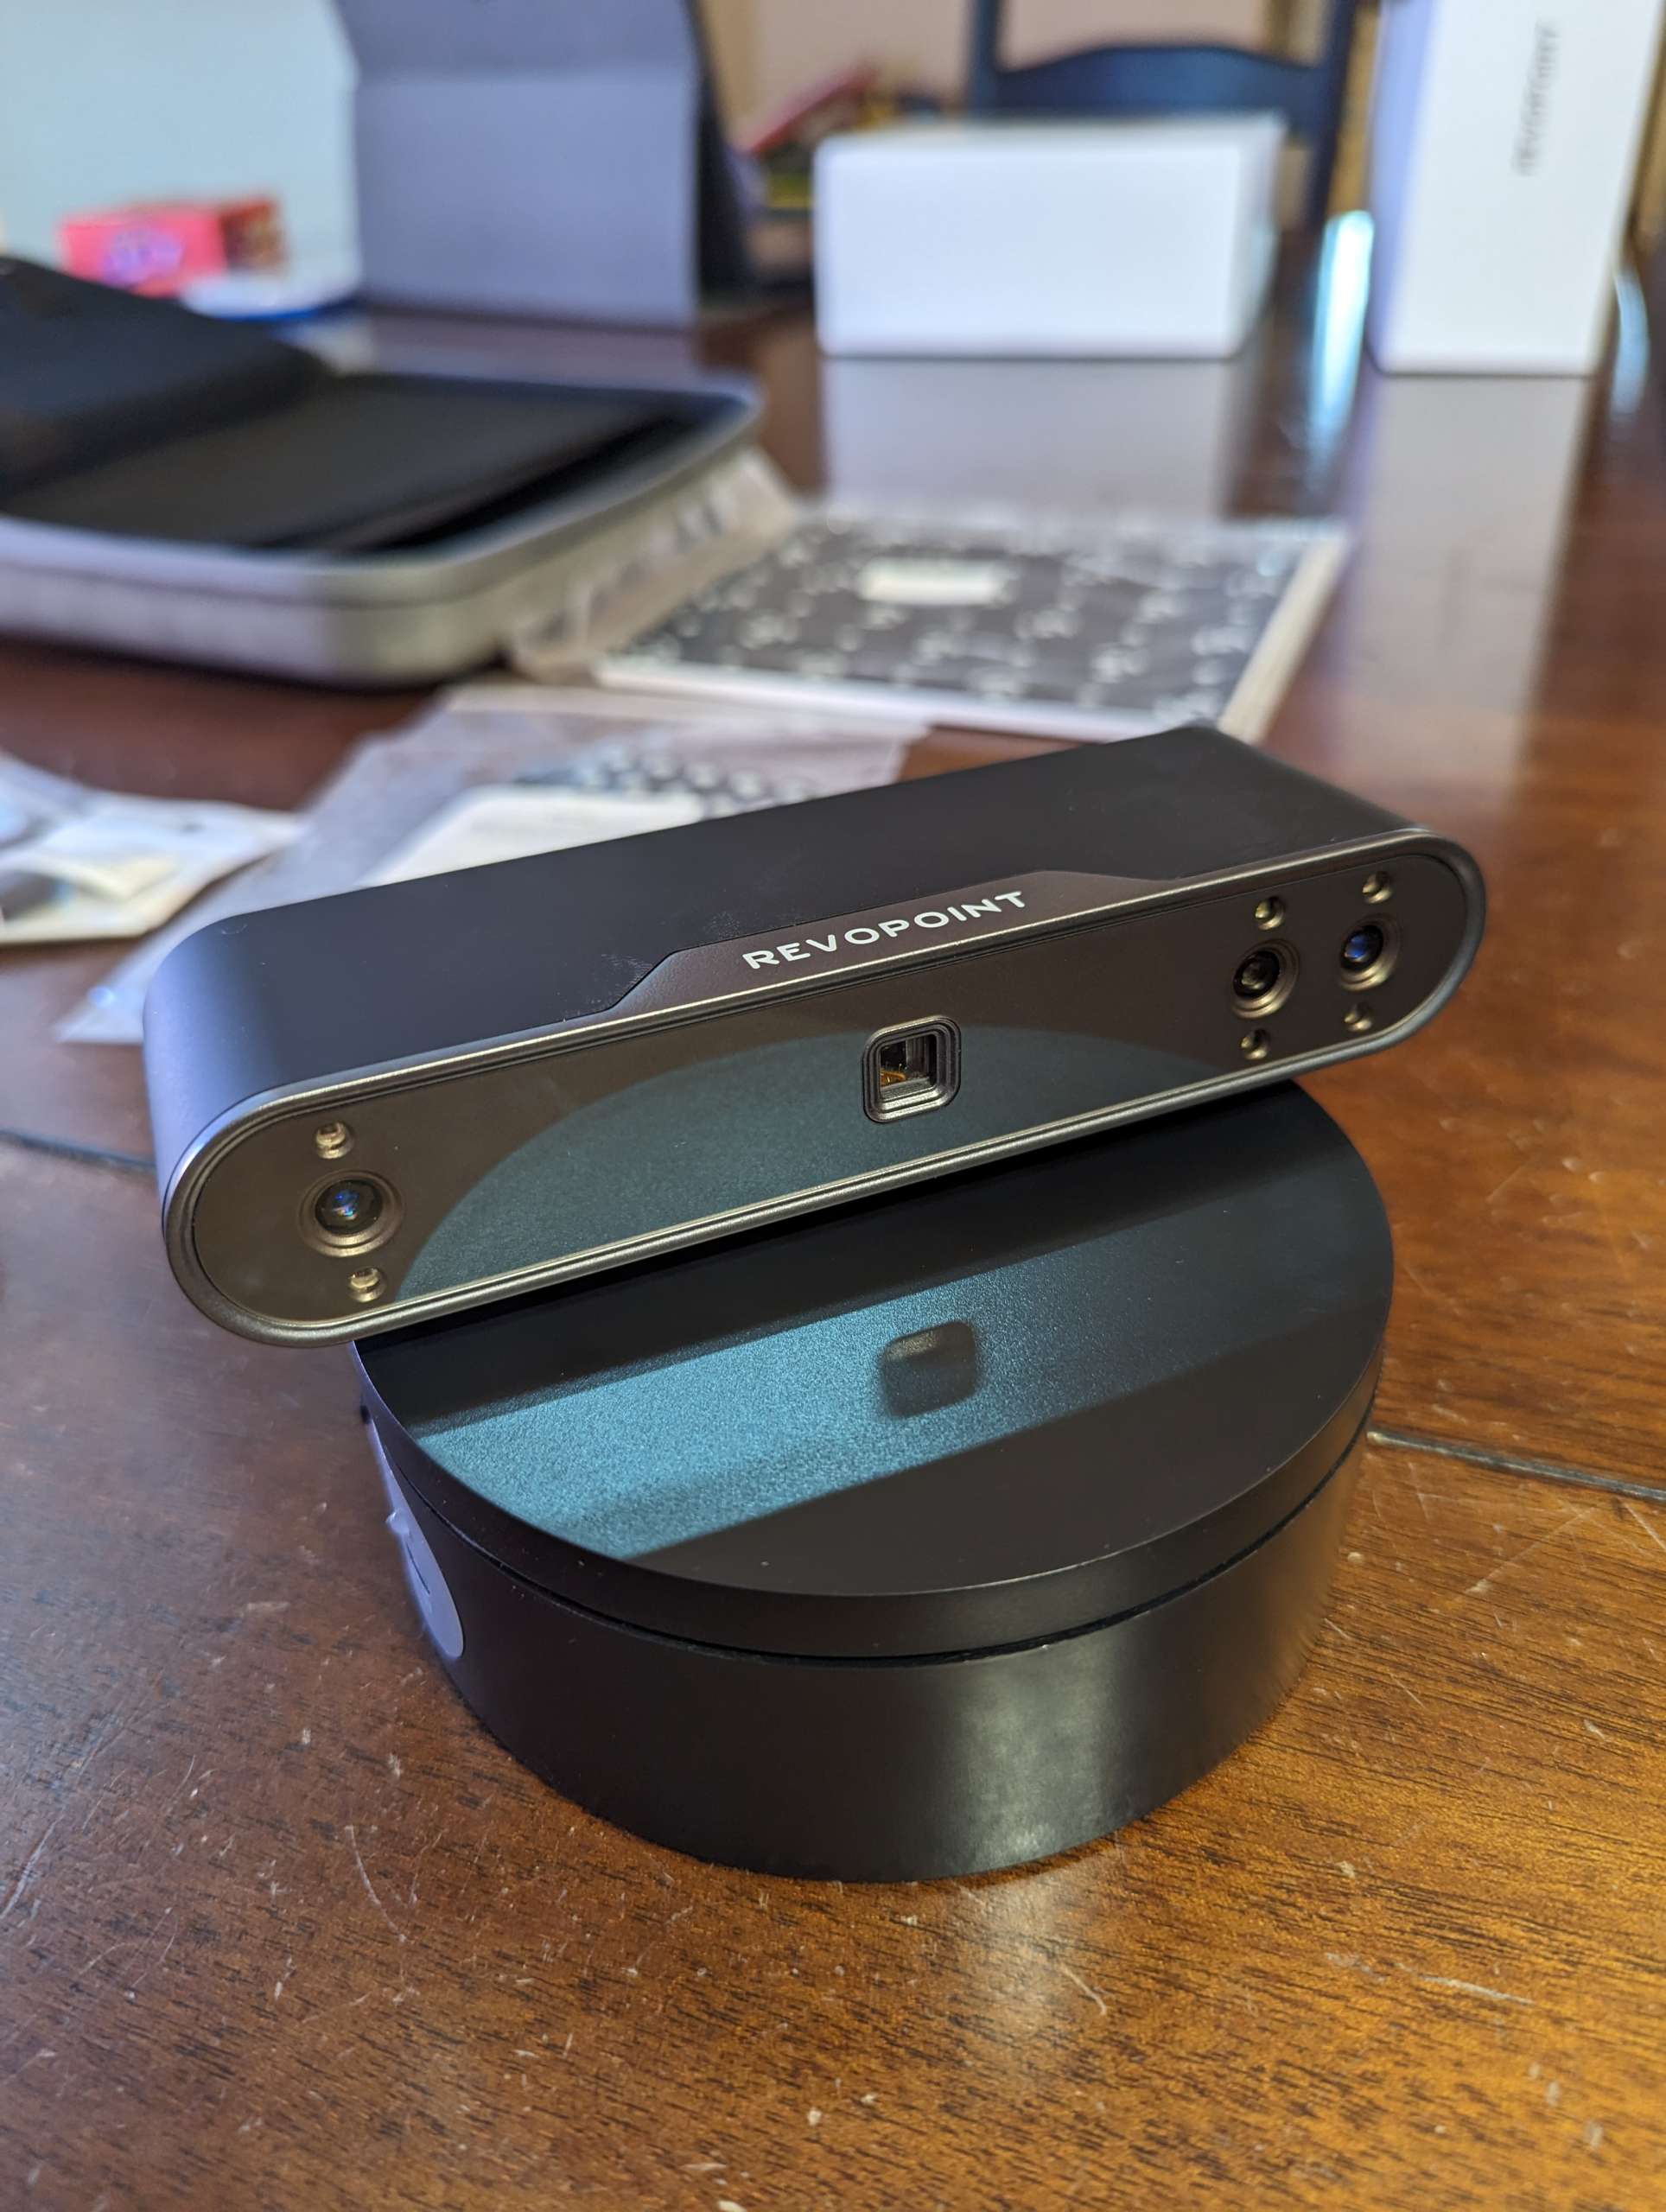
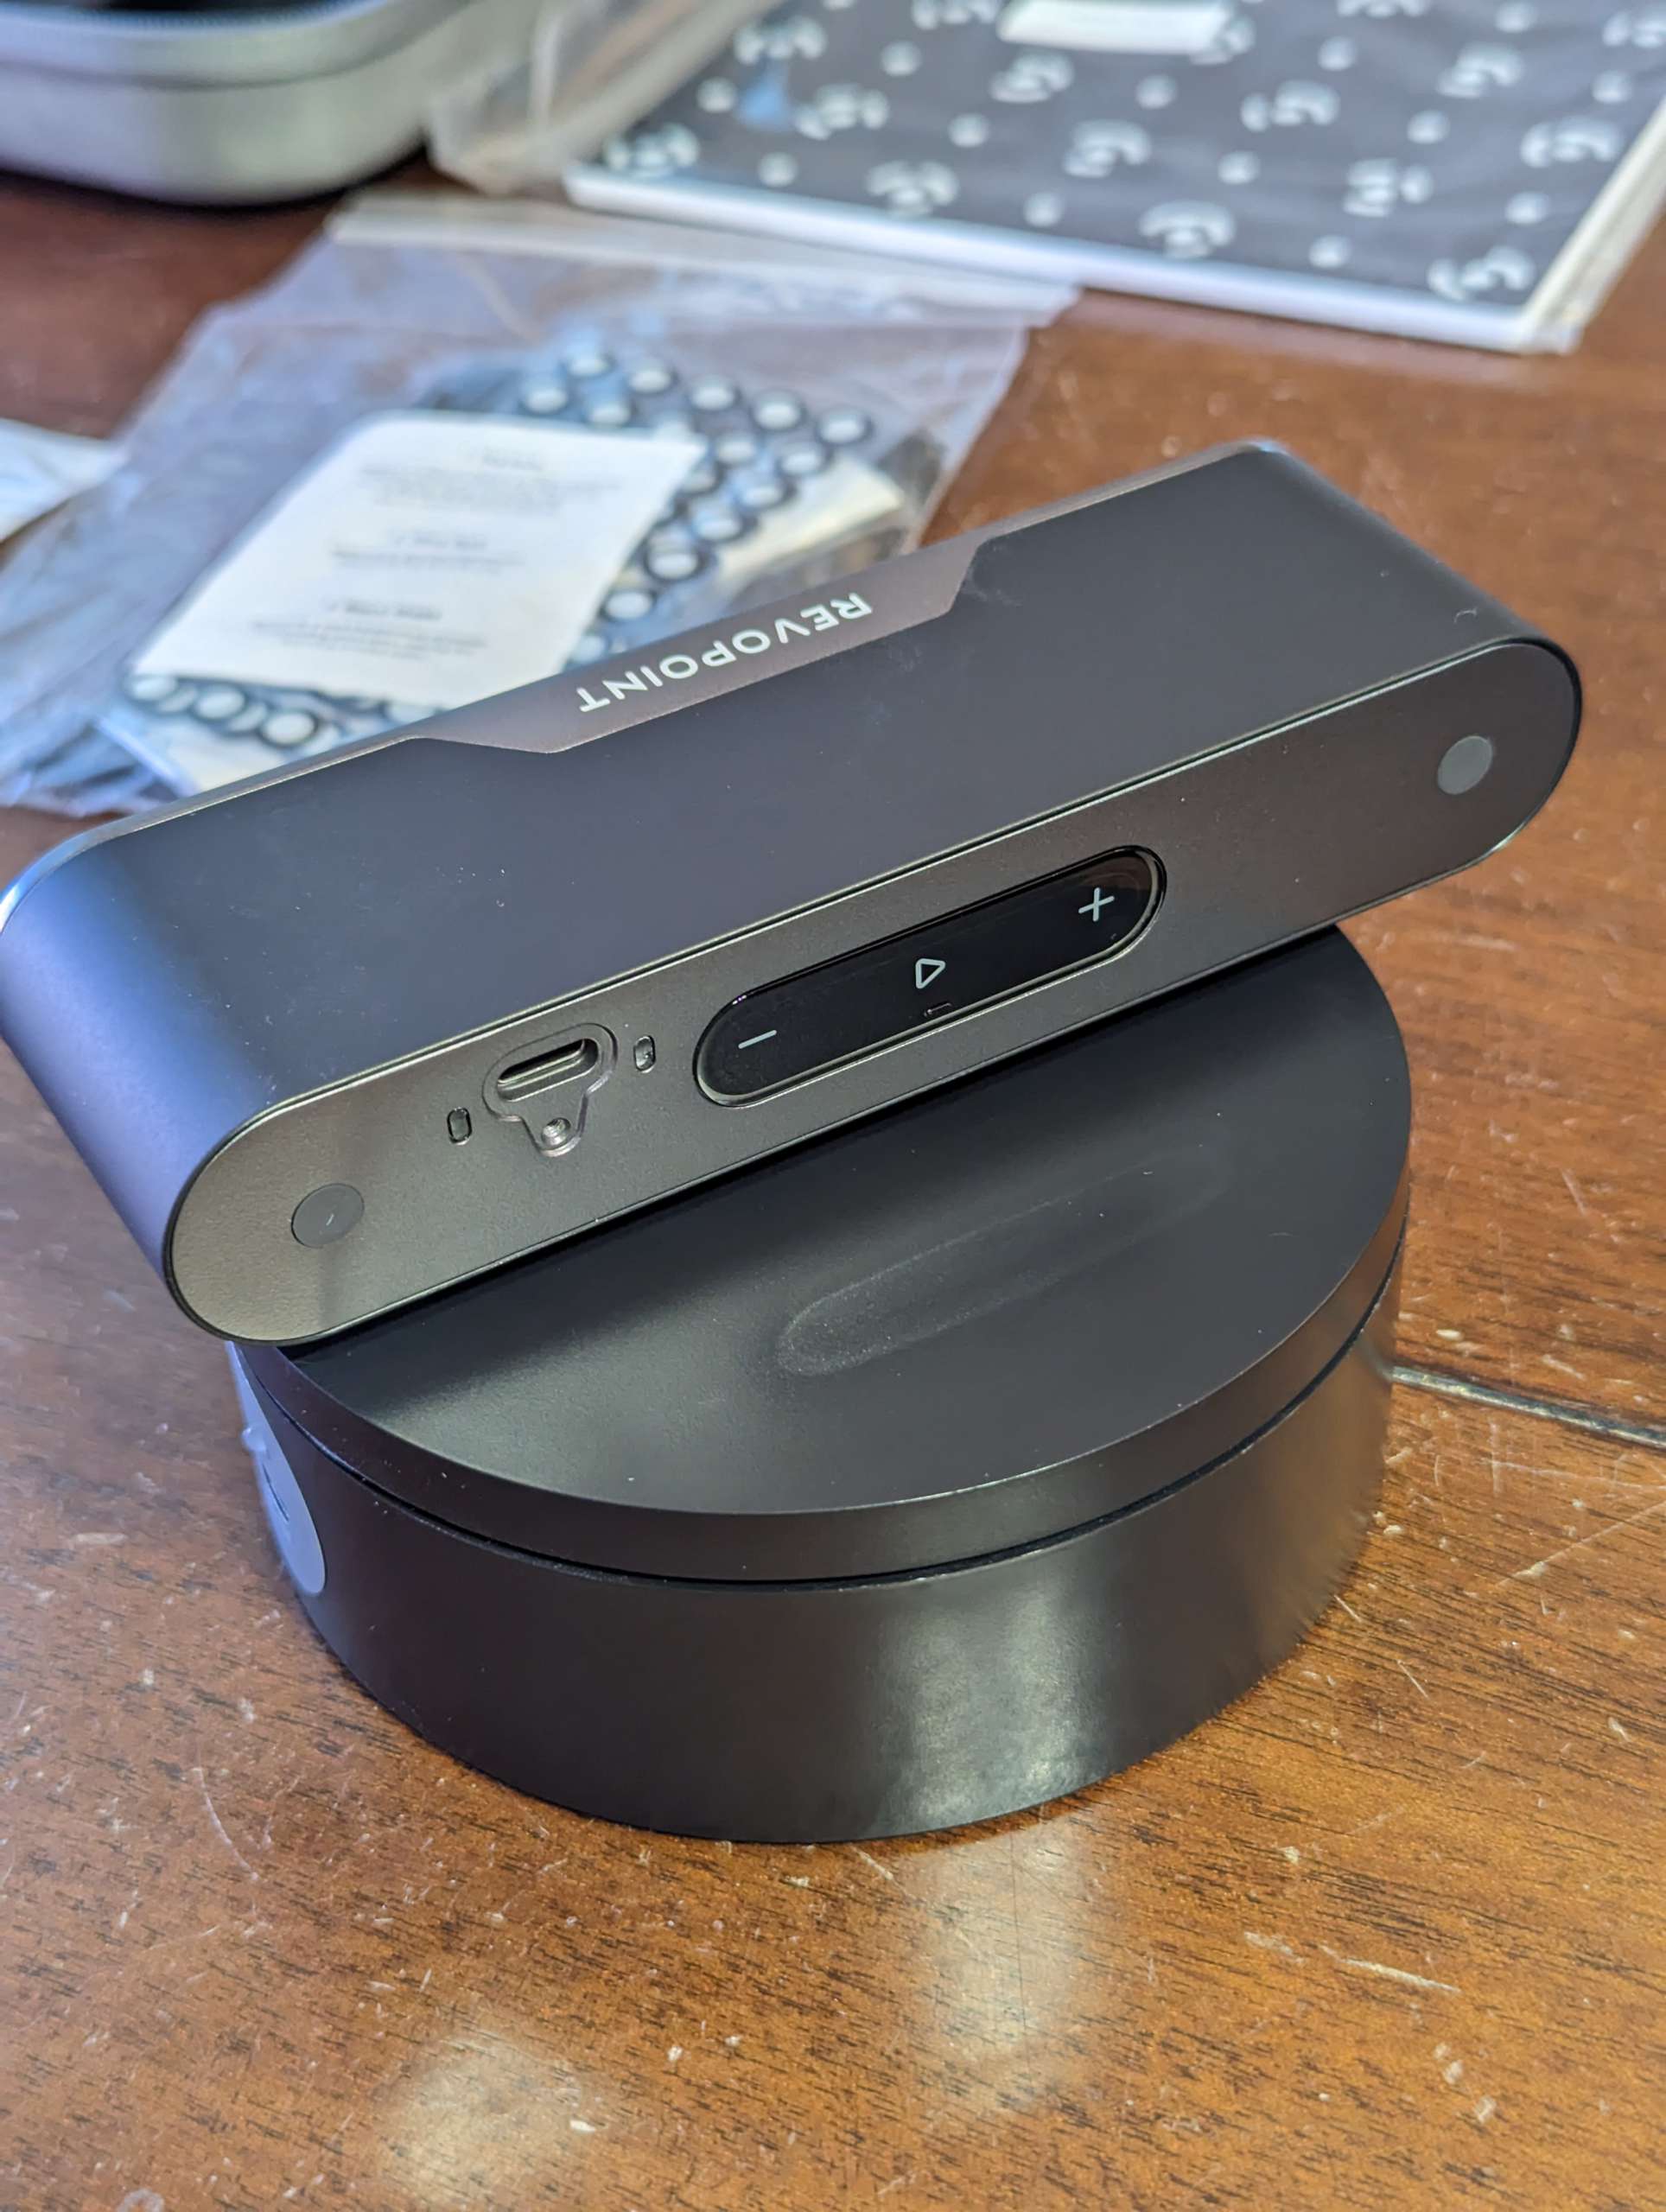
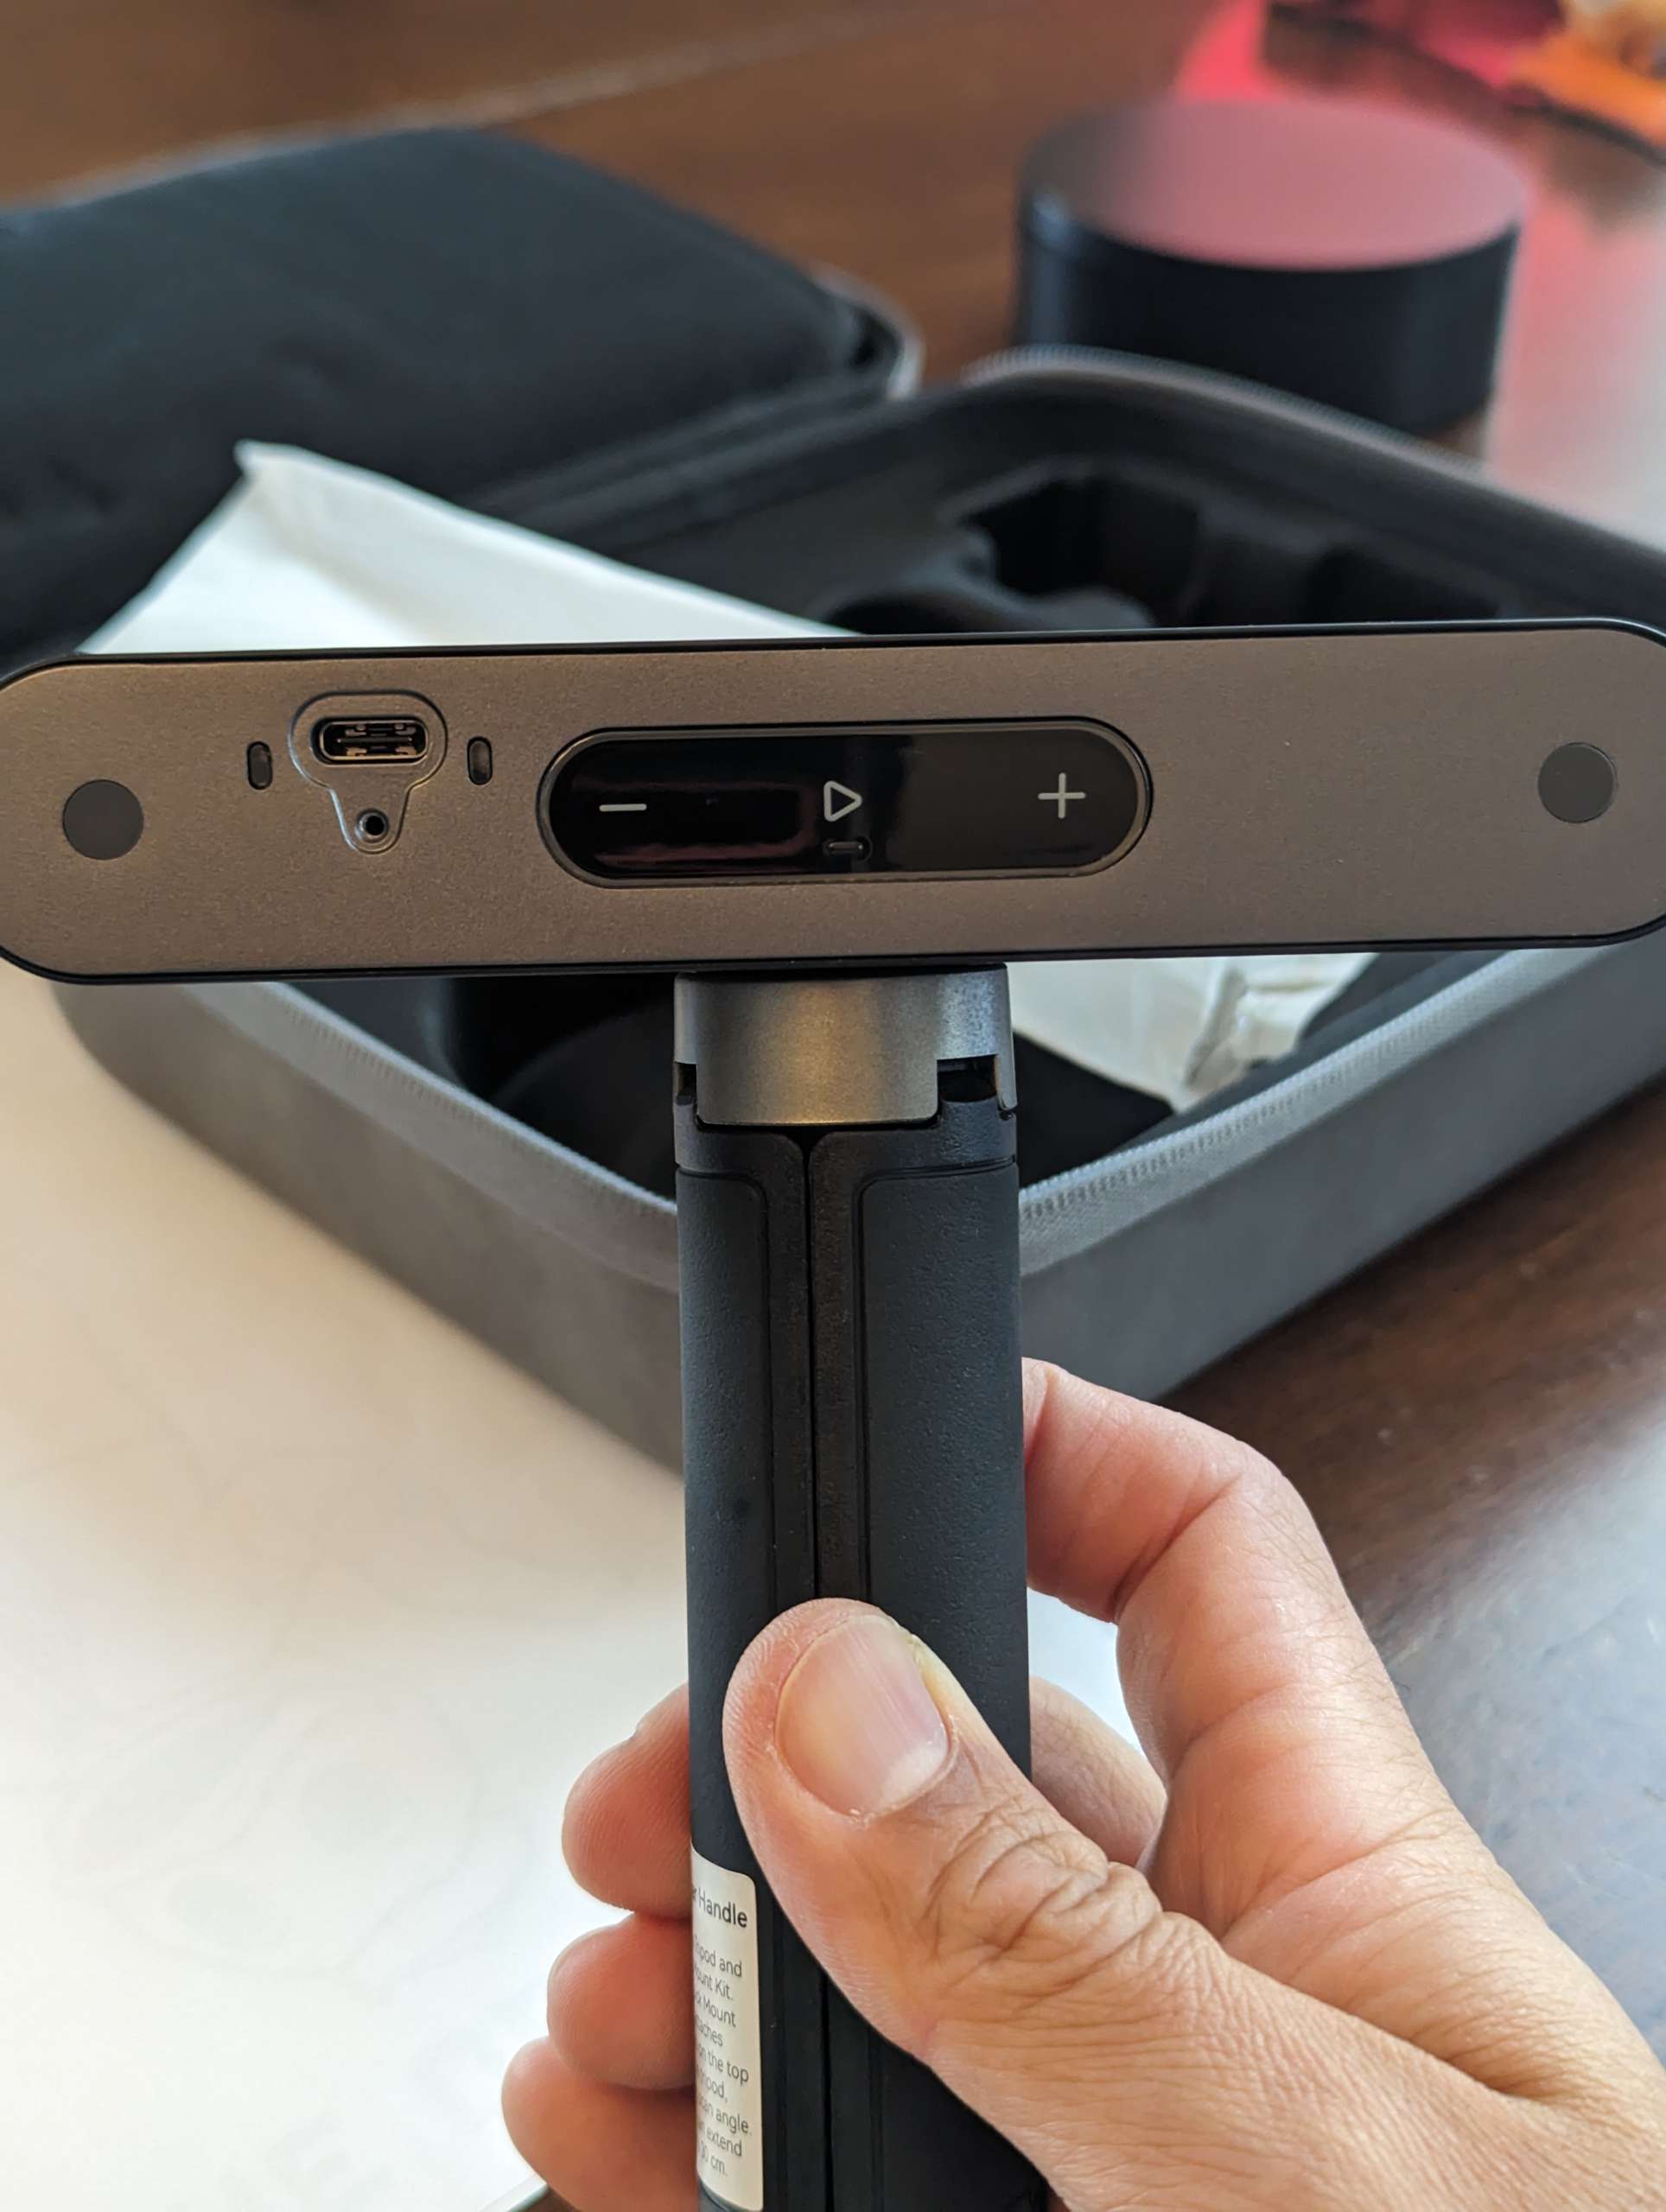
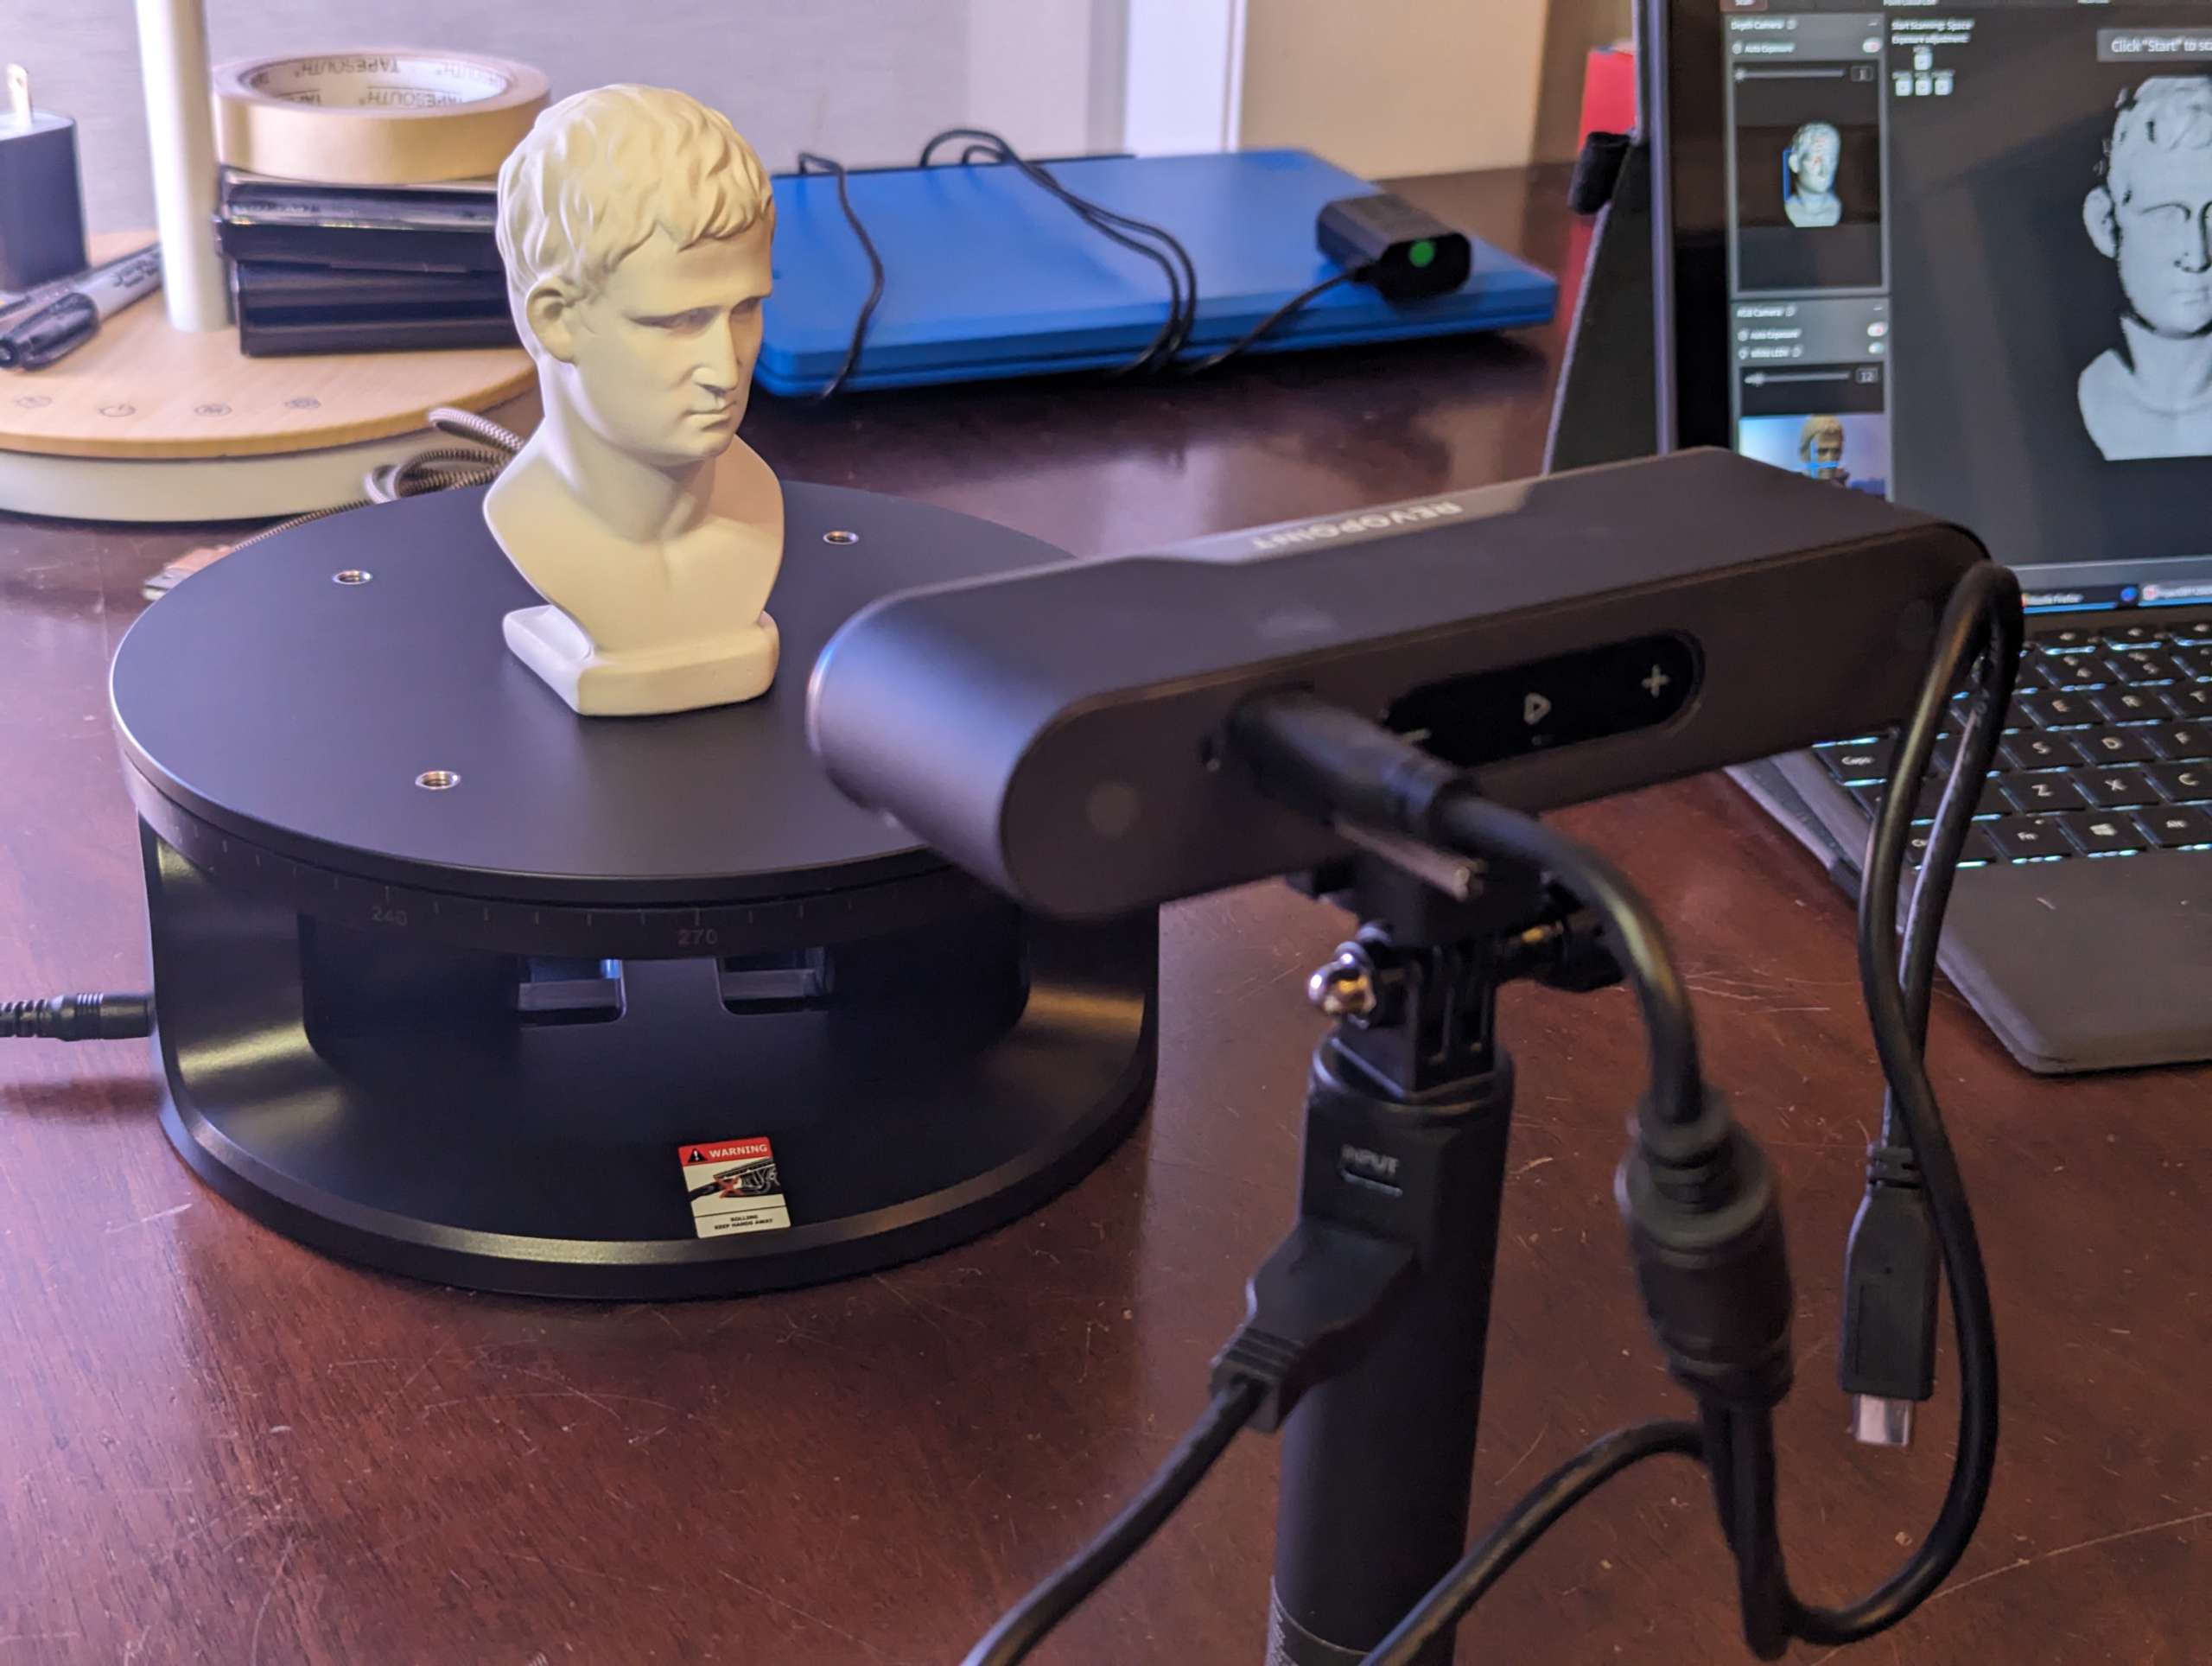
The Revopoint POP 3 3D Scanner comes in a nice zippered travel case. Upon opening it up everything was conveniently labeled and secured inside. The POP 3 scanner itself is smaller than a maple bar or long john donut. There are three touch buttons on the back to start scanning and to decrease or increase exposure. The front has the projector lens in the middle, two depth cameras on the ends, and two white LEDs.
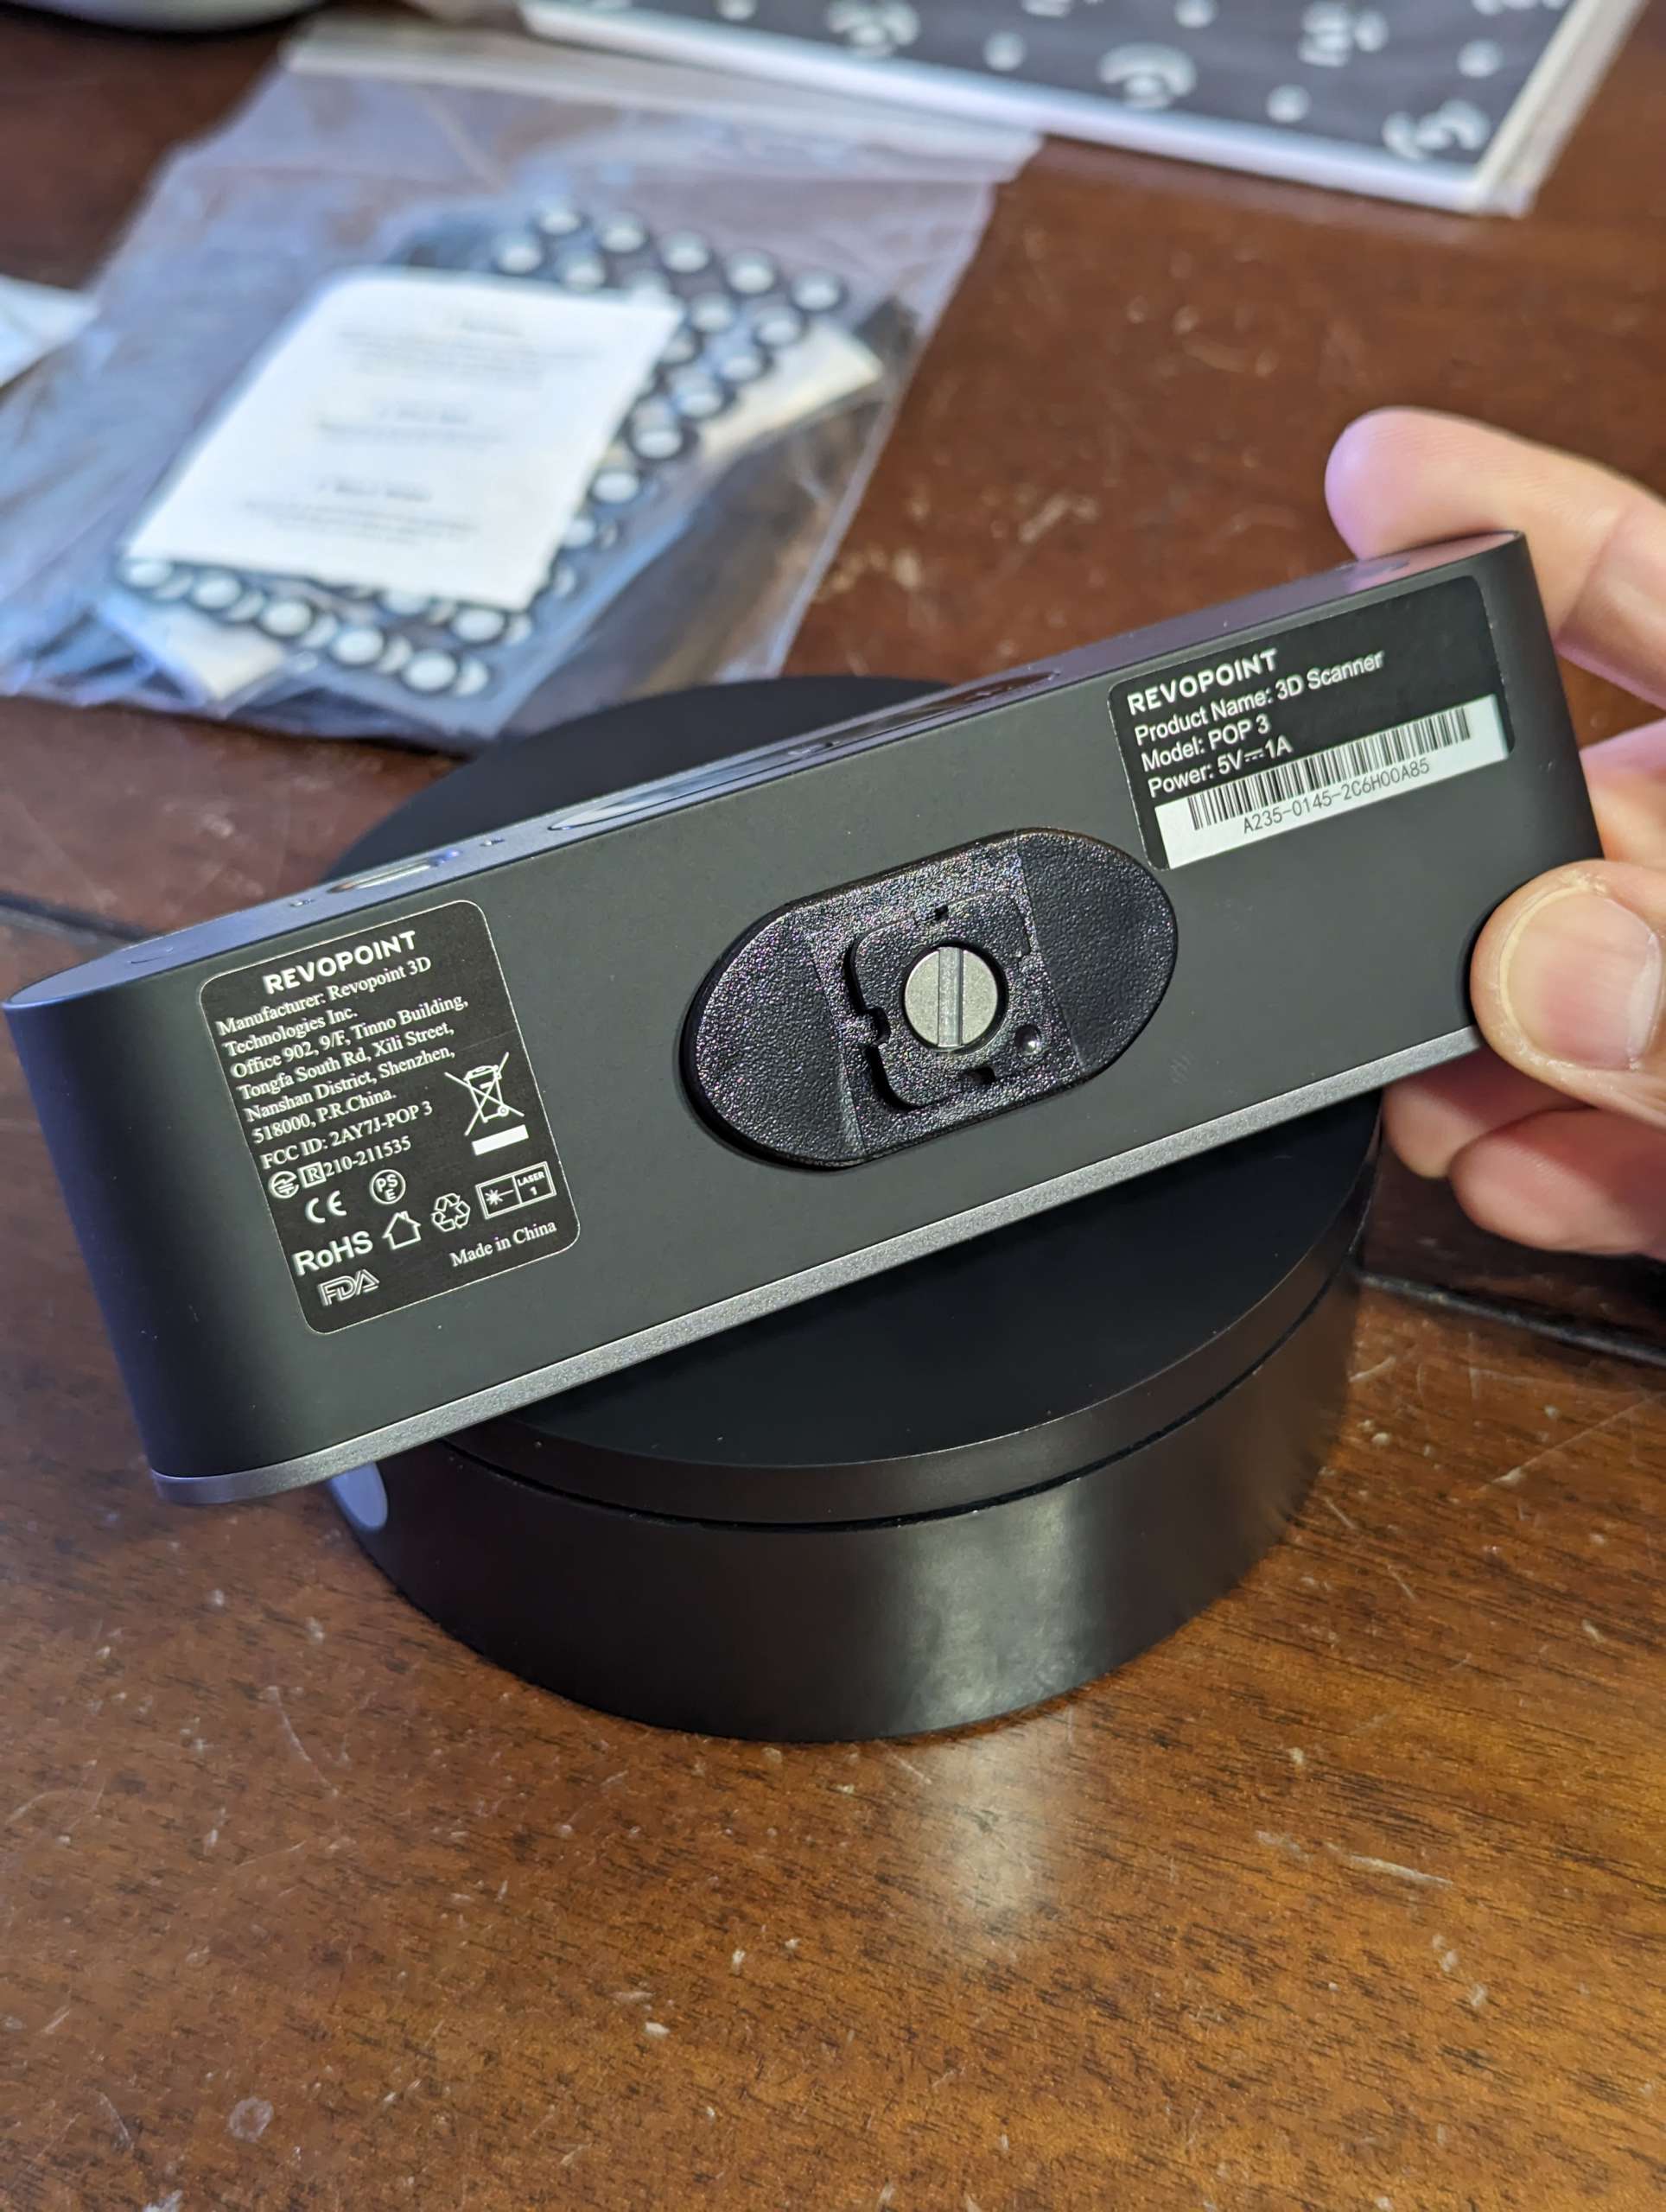
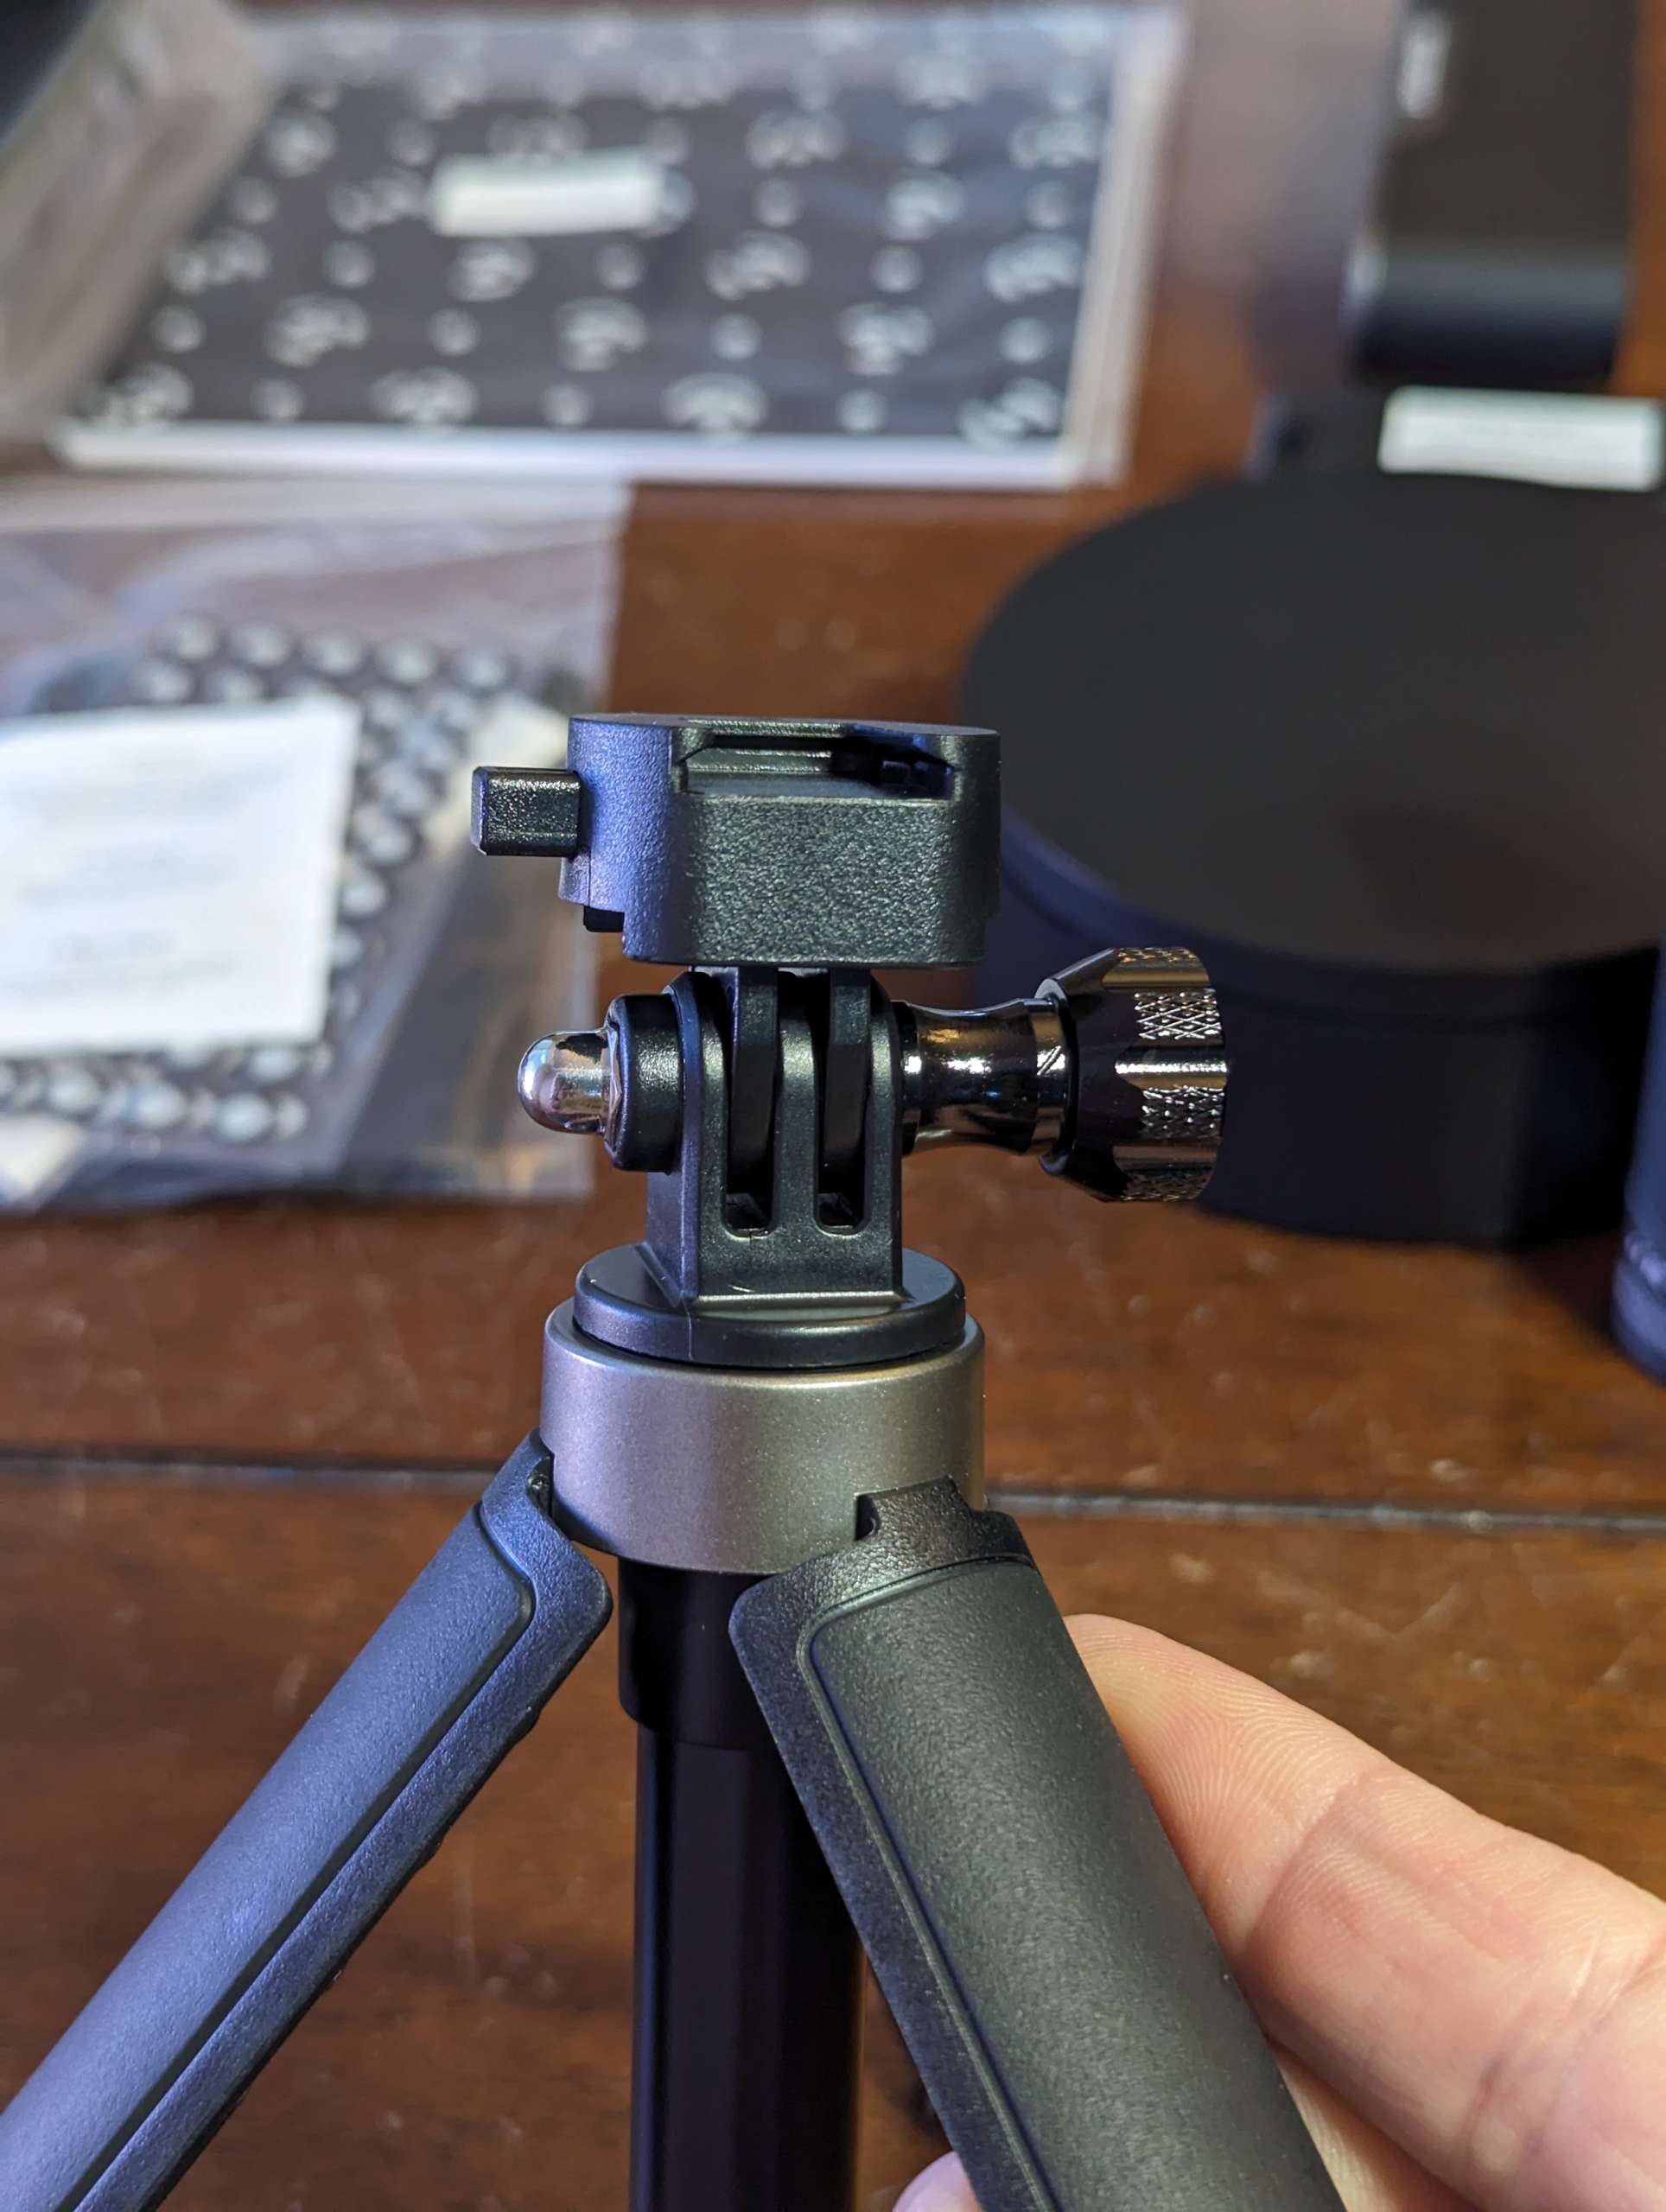
The scanner attaches to any standard tripod with a little plastic Gopro style swivel type connector. I had to be a bit delicate with it because it seemed like it will break if you over tighten it. I checked to see if Revopoint sold extra adapters but all I could find was a kit for the tripod, cell phone holder, and the adapter for $36.
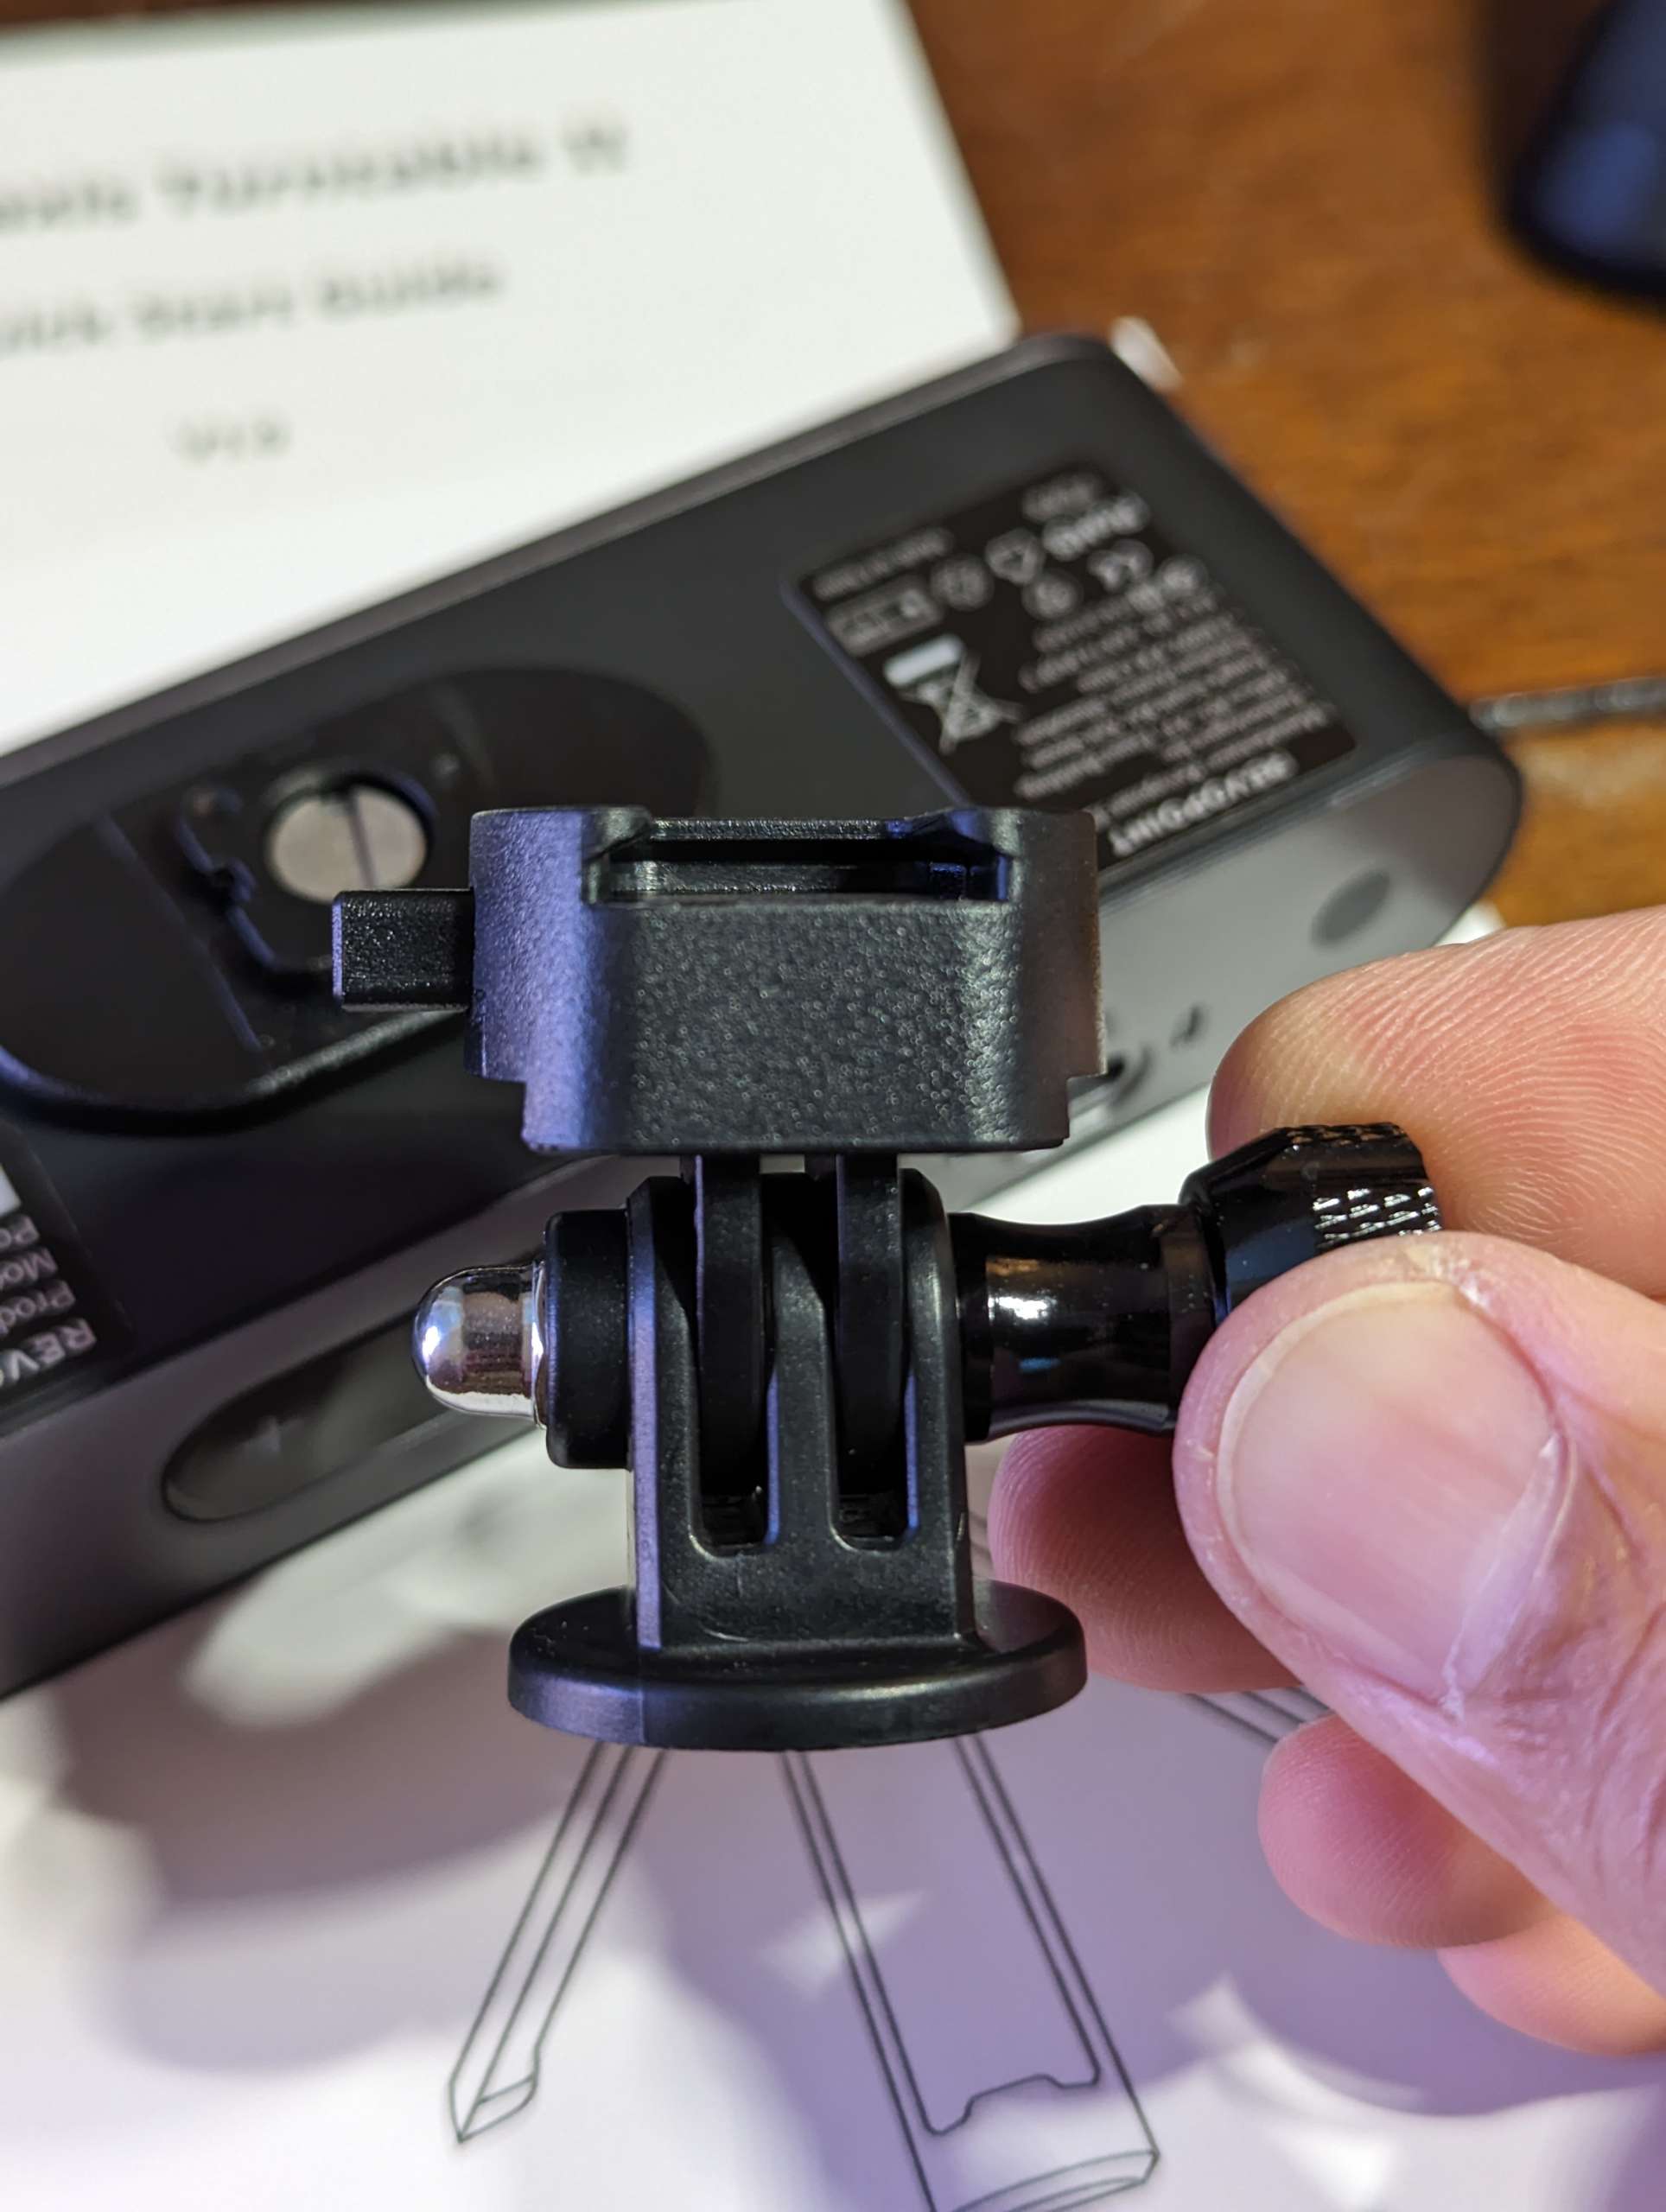
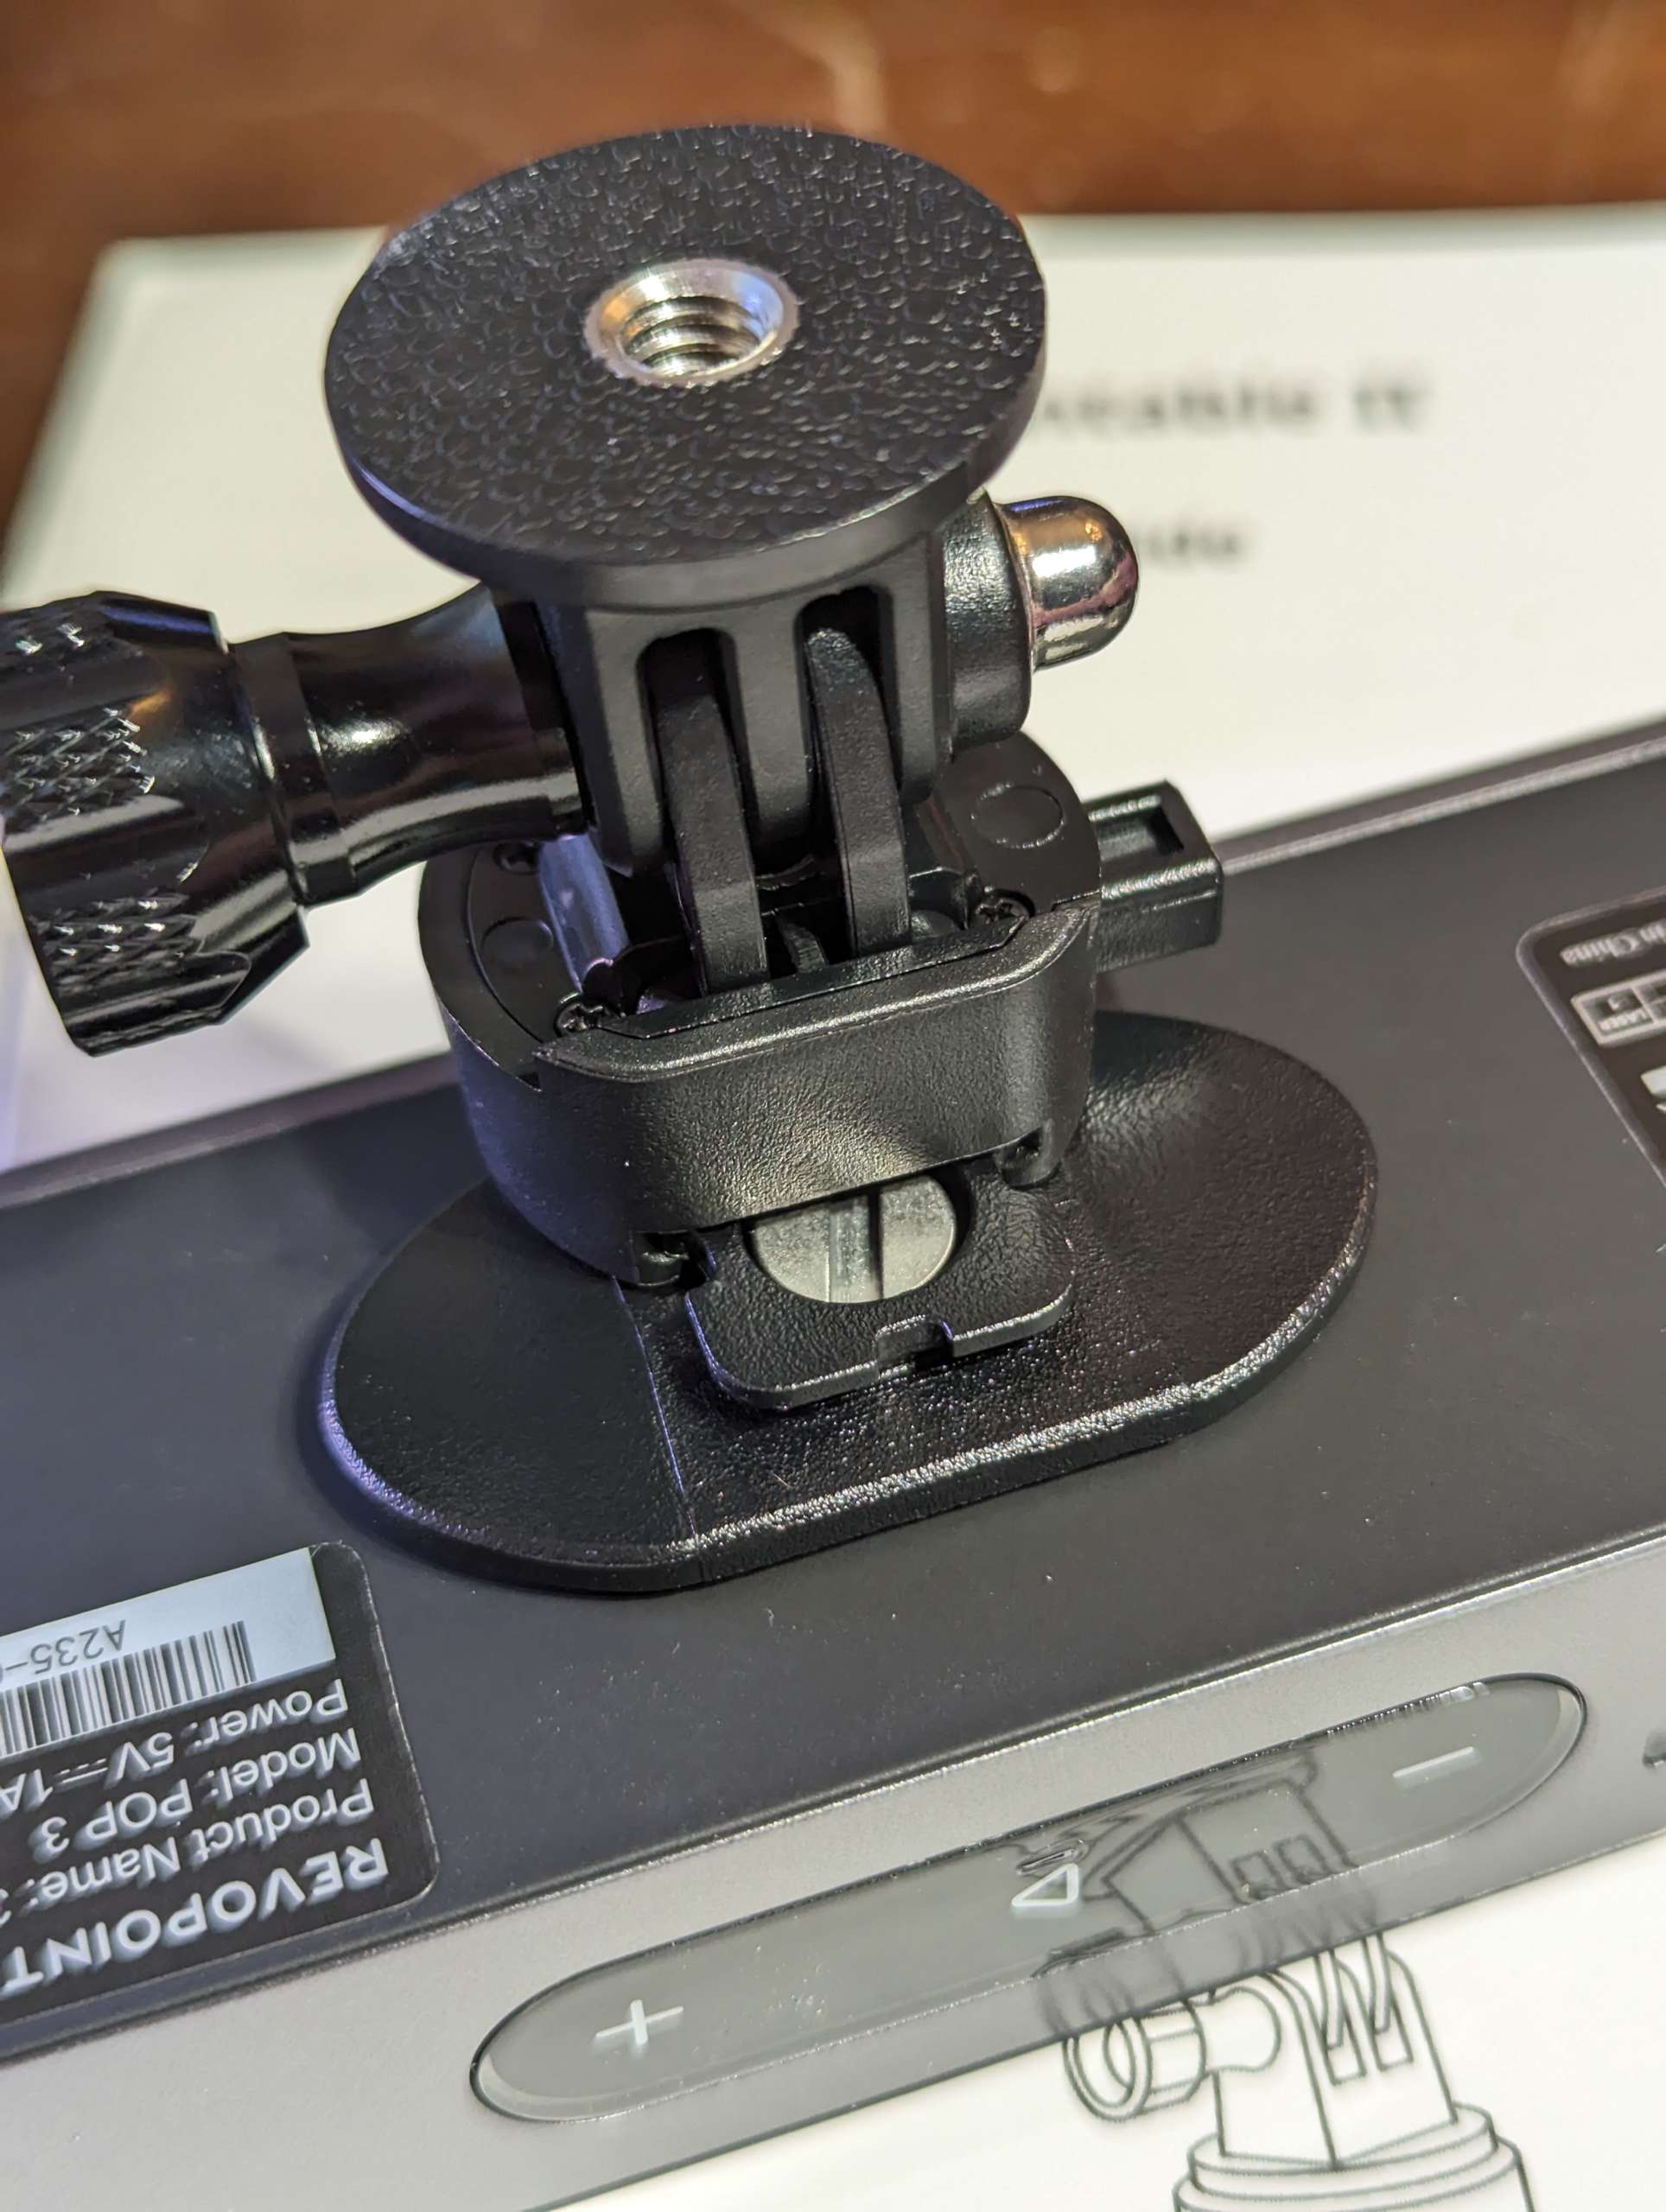

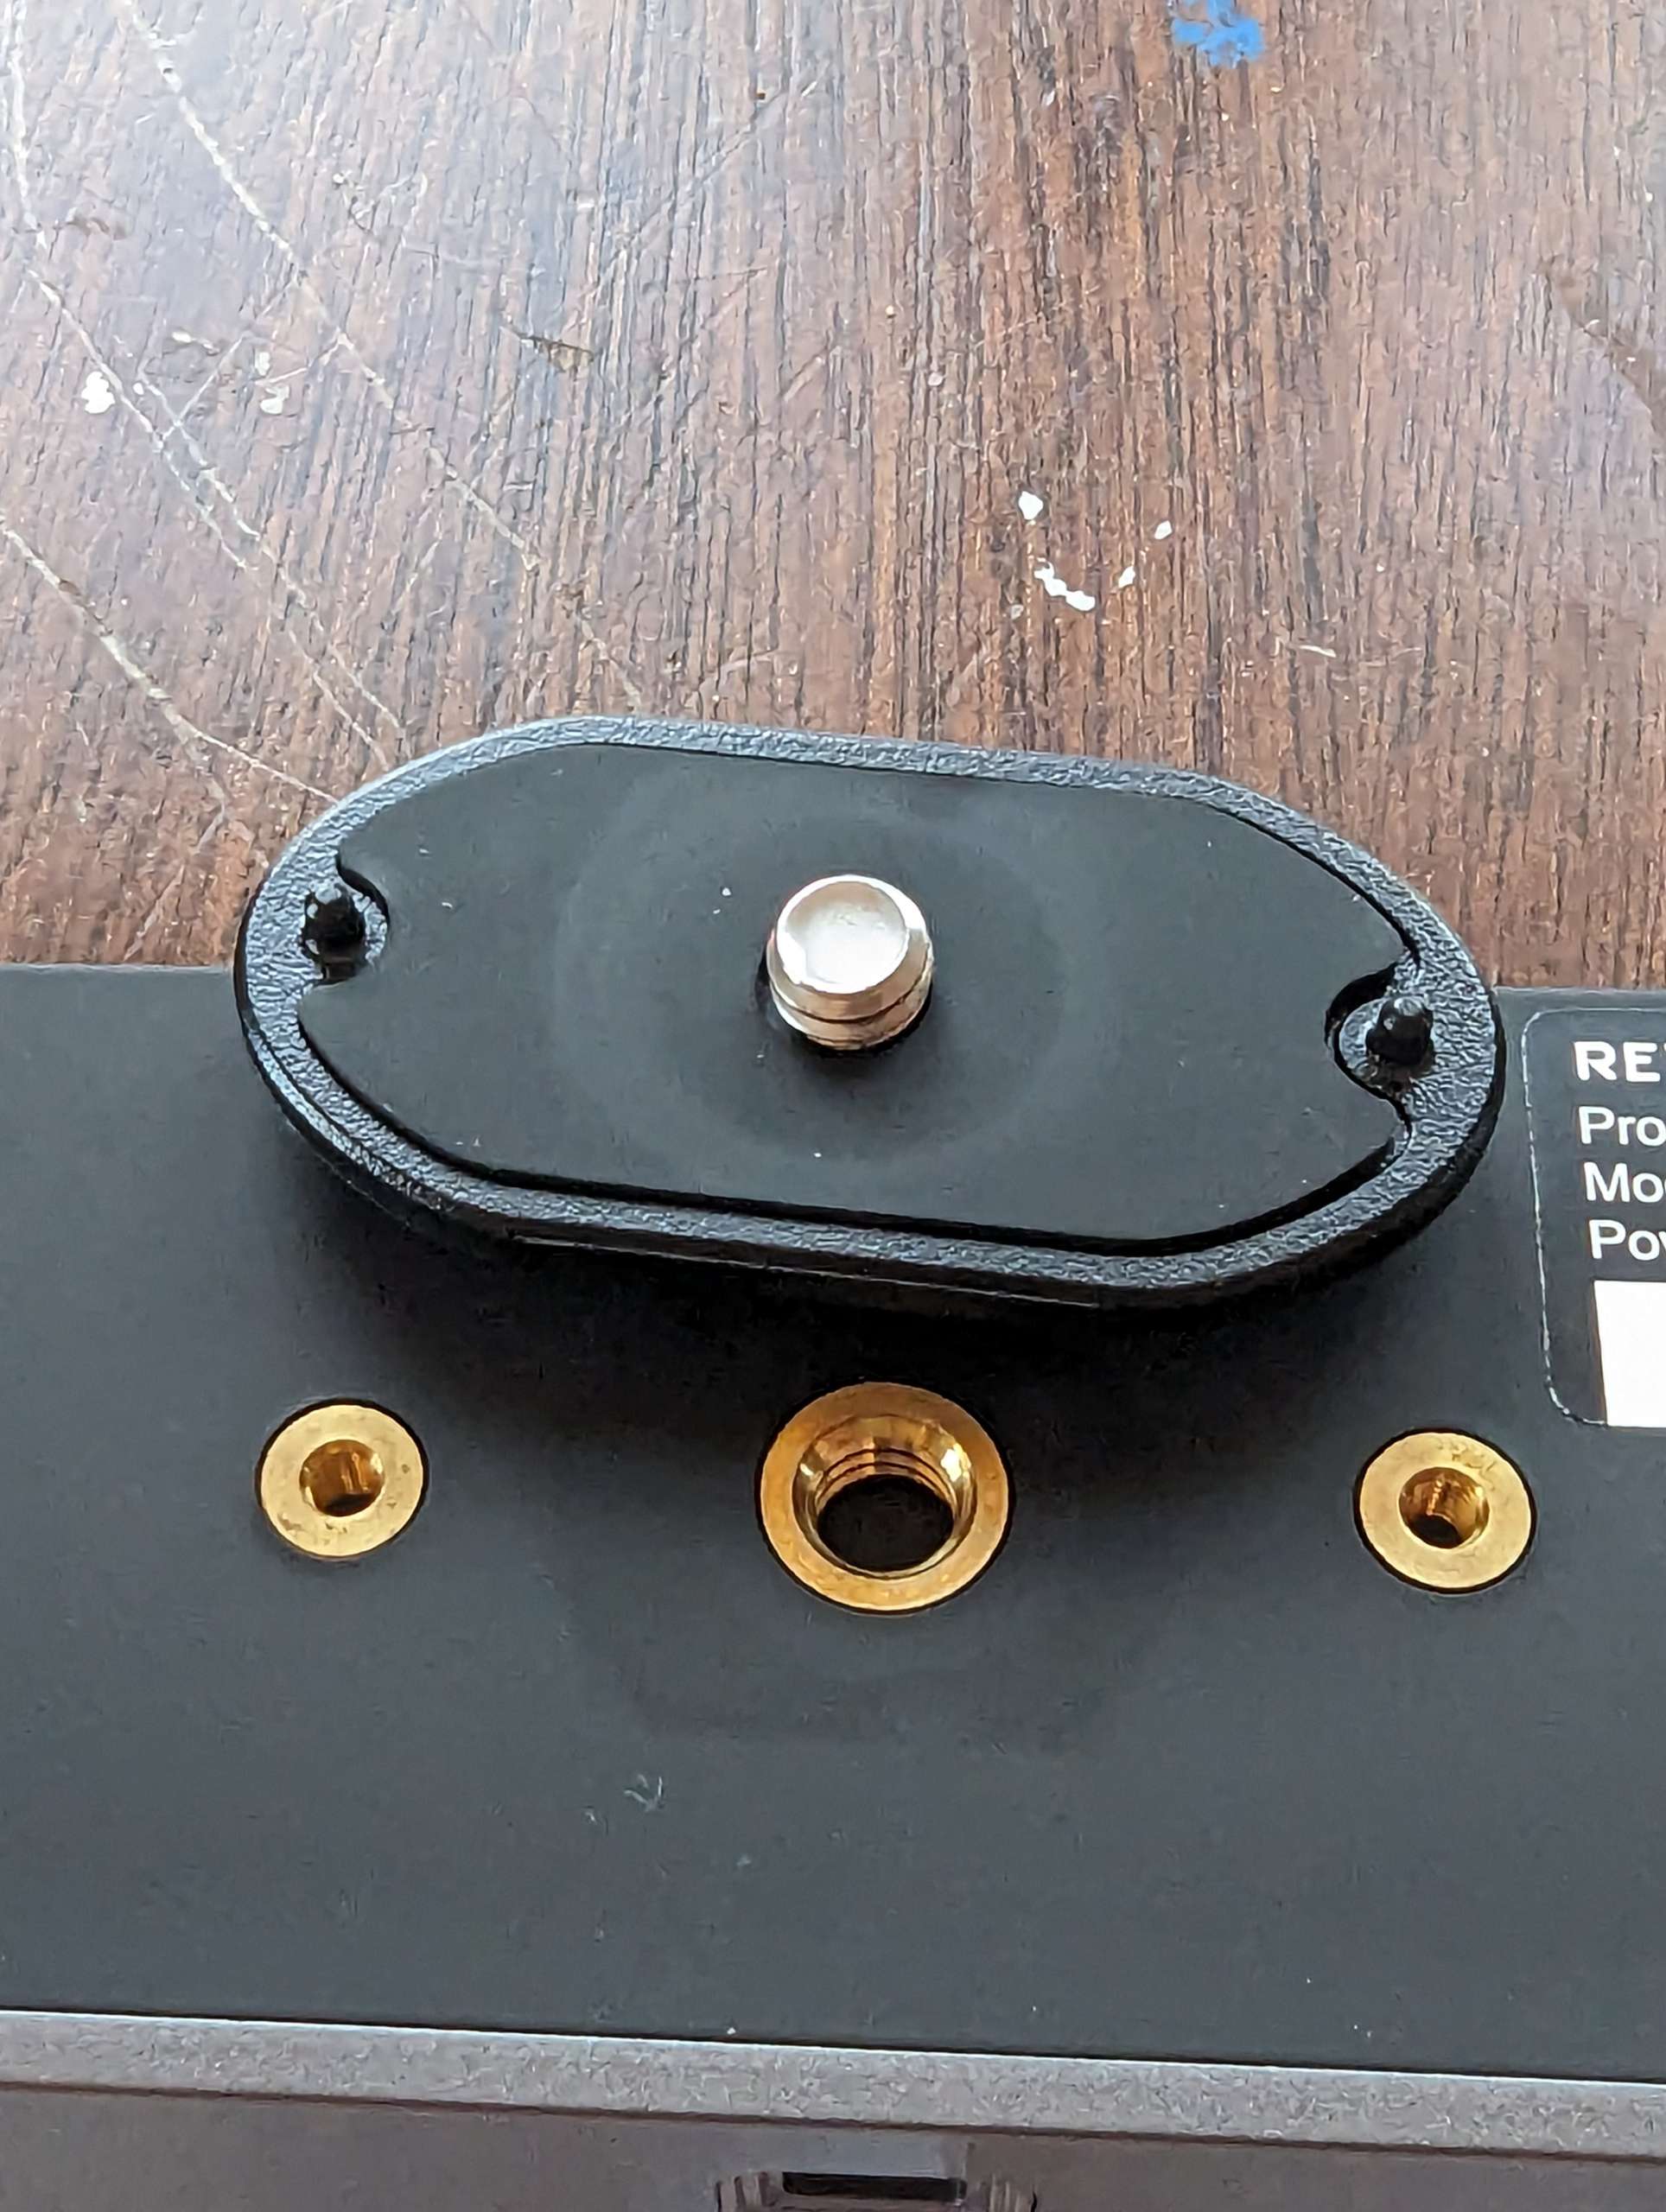
Oddly enough if you unscrew the plastic mount on the bottom of the POP 3 there is a standard tripod threaded insert so you can just attach it directly to any tripod if you want.

Setup
I started by downloading the Revo Scan 5 software here. I am using my Microsoft Surface Pro 4 with Windows 10 Pro. Setup was pretty easy. I downloaded the Revo Scan 5 for Windows version and then installed it on my Surface Pro.
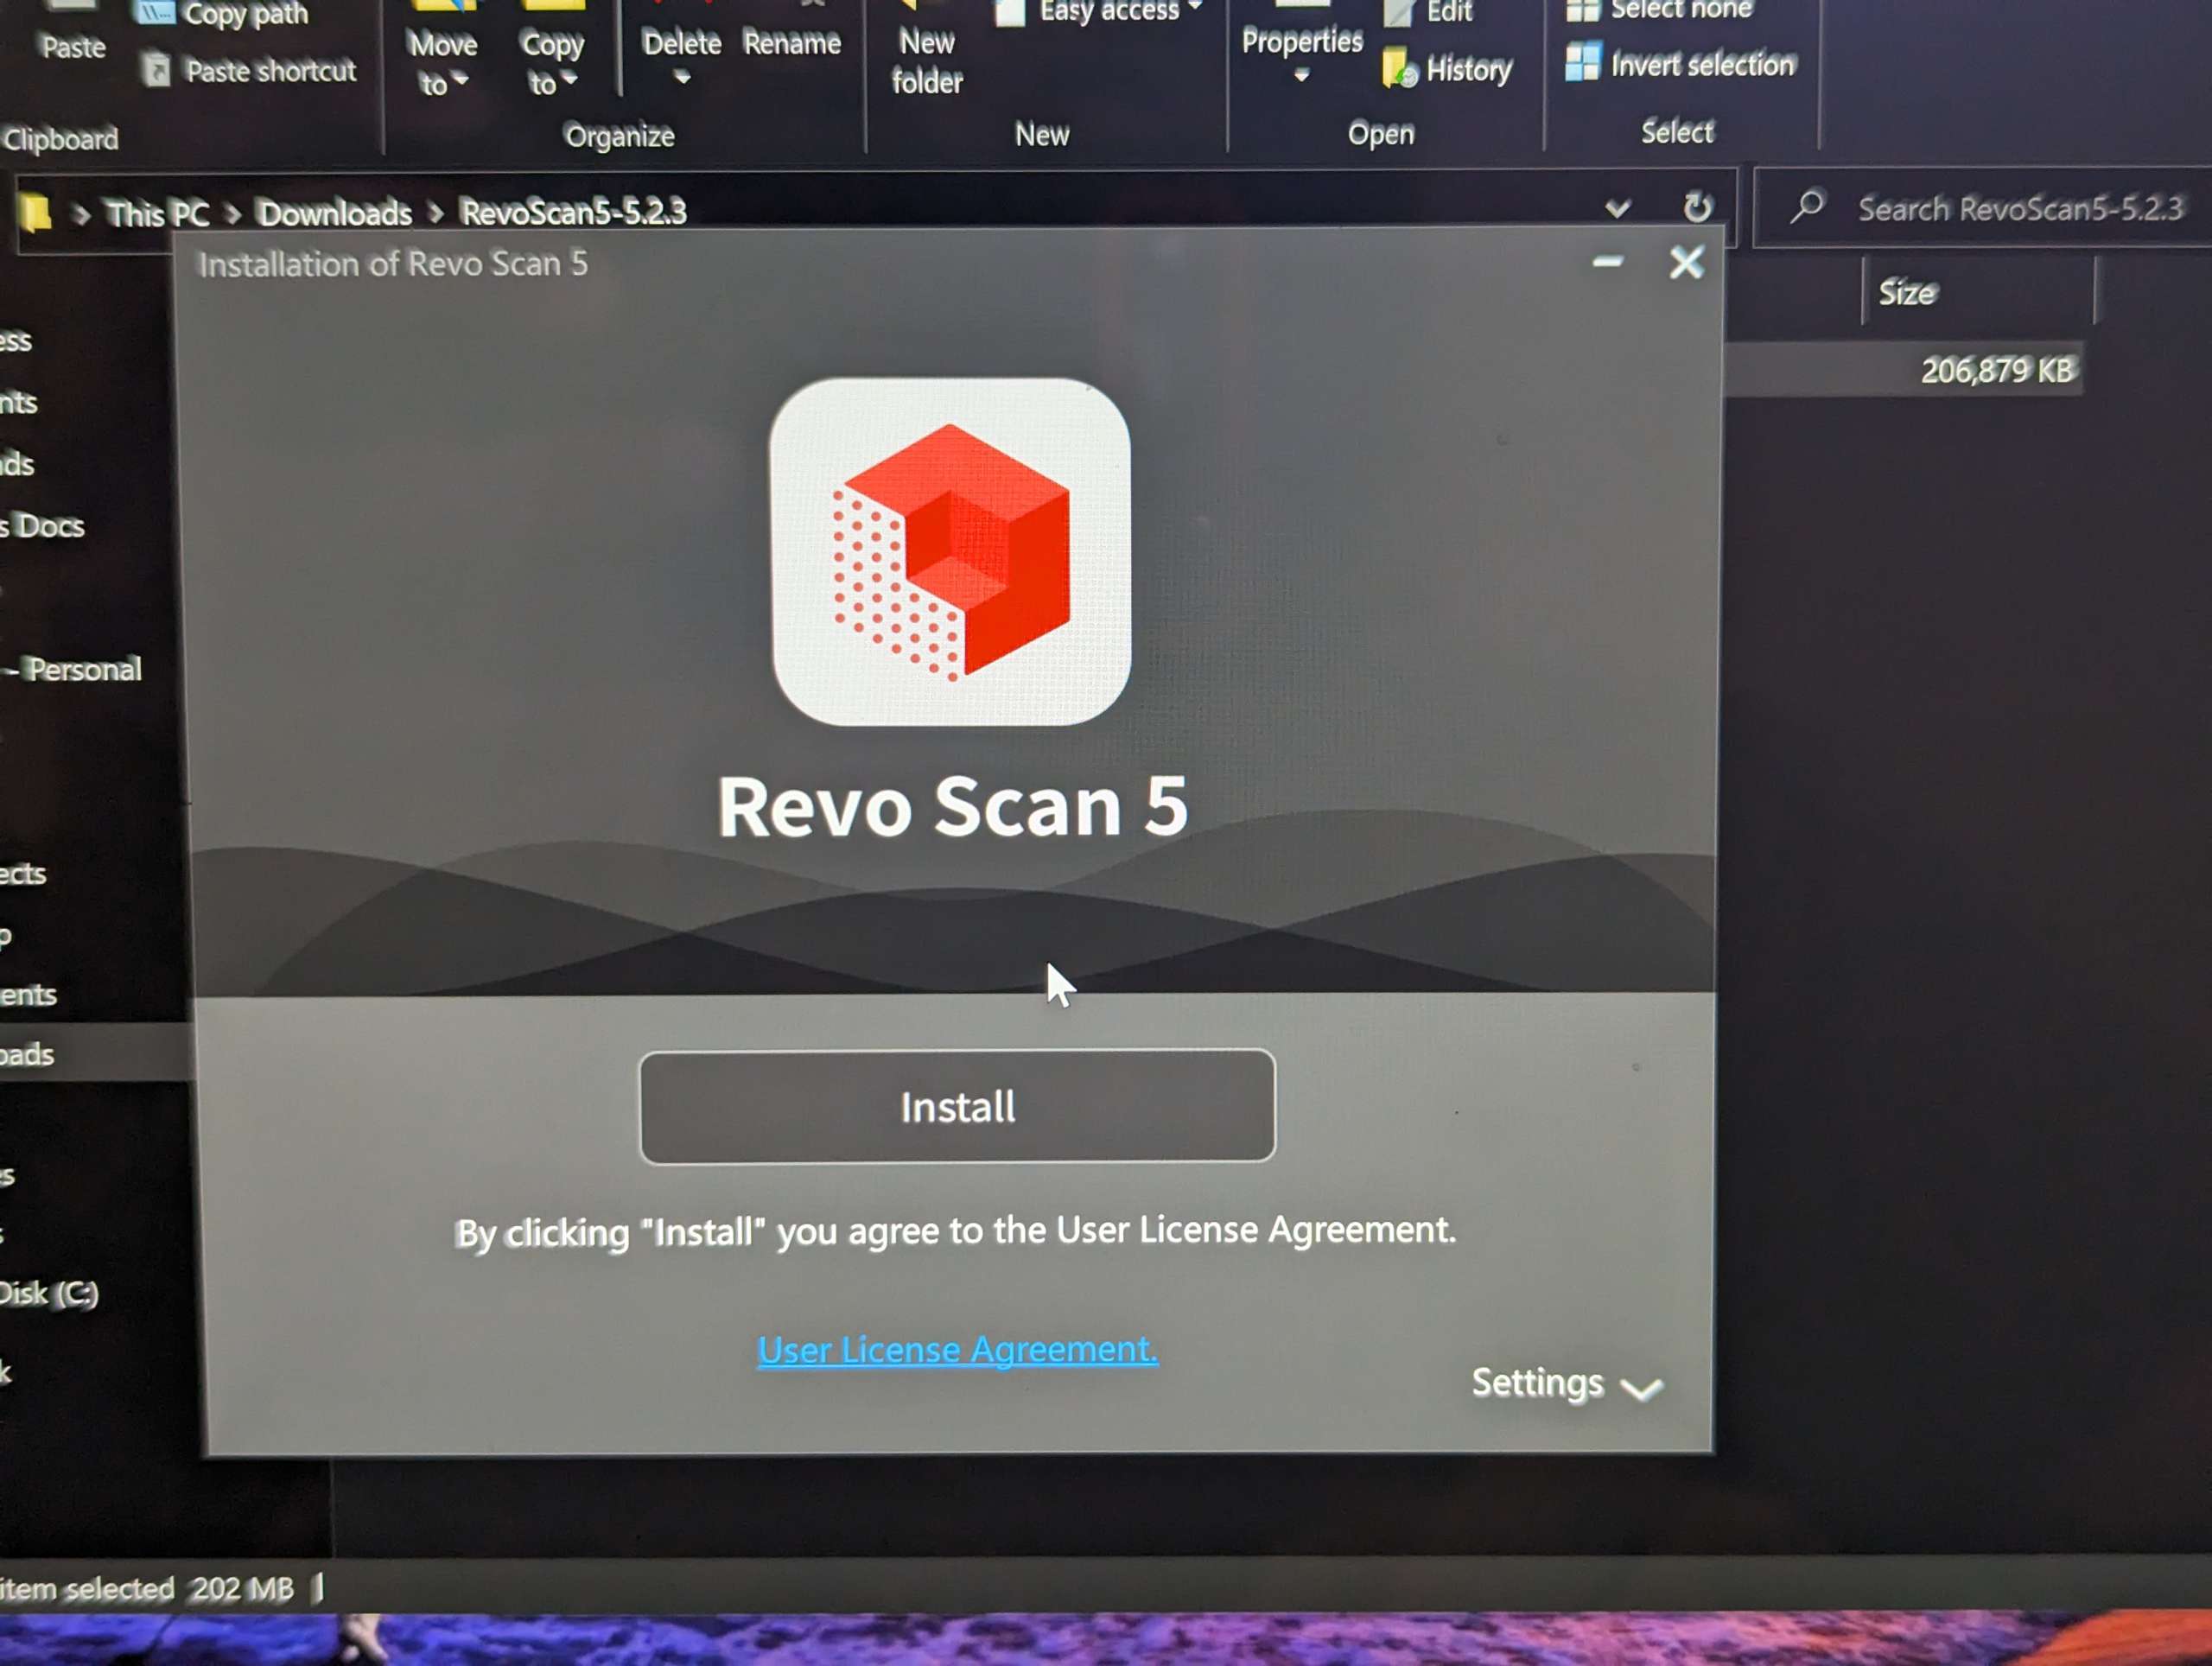
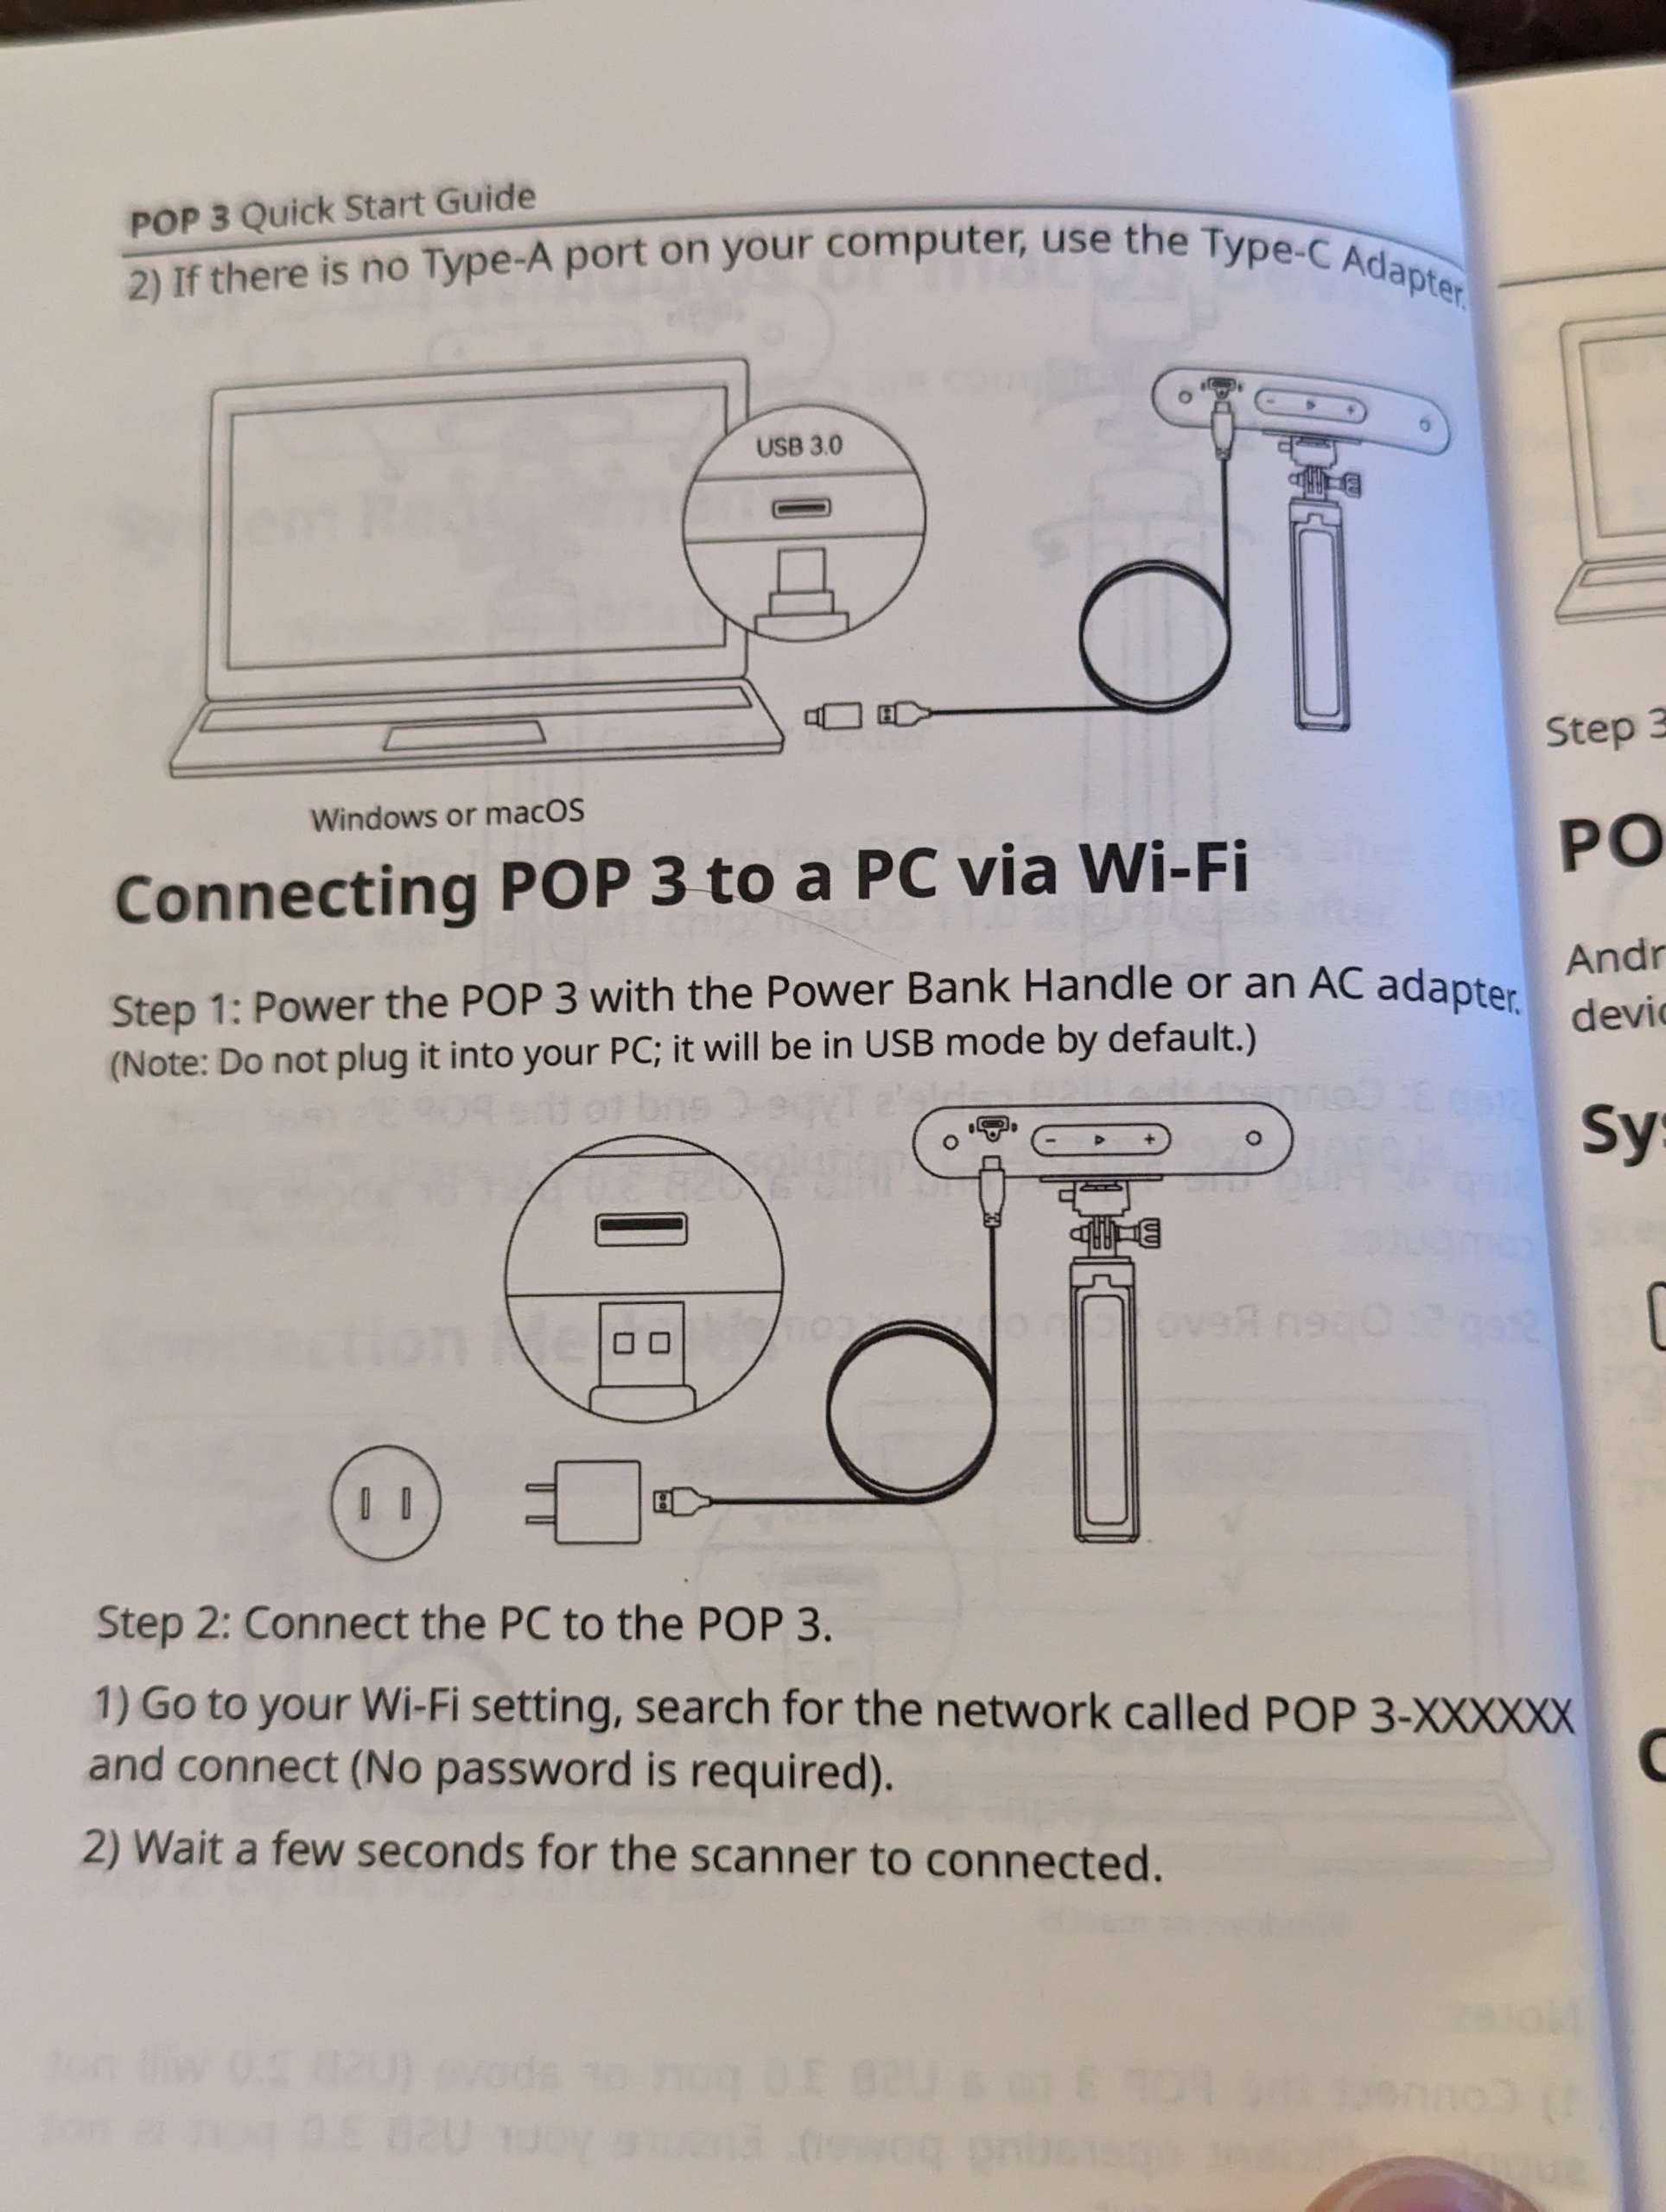
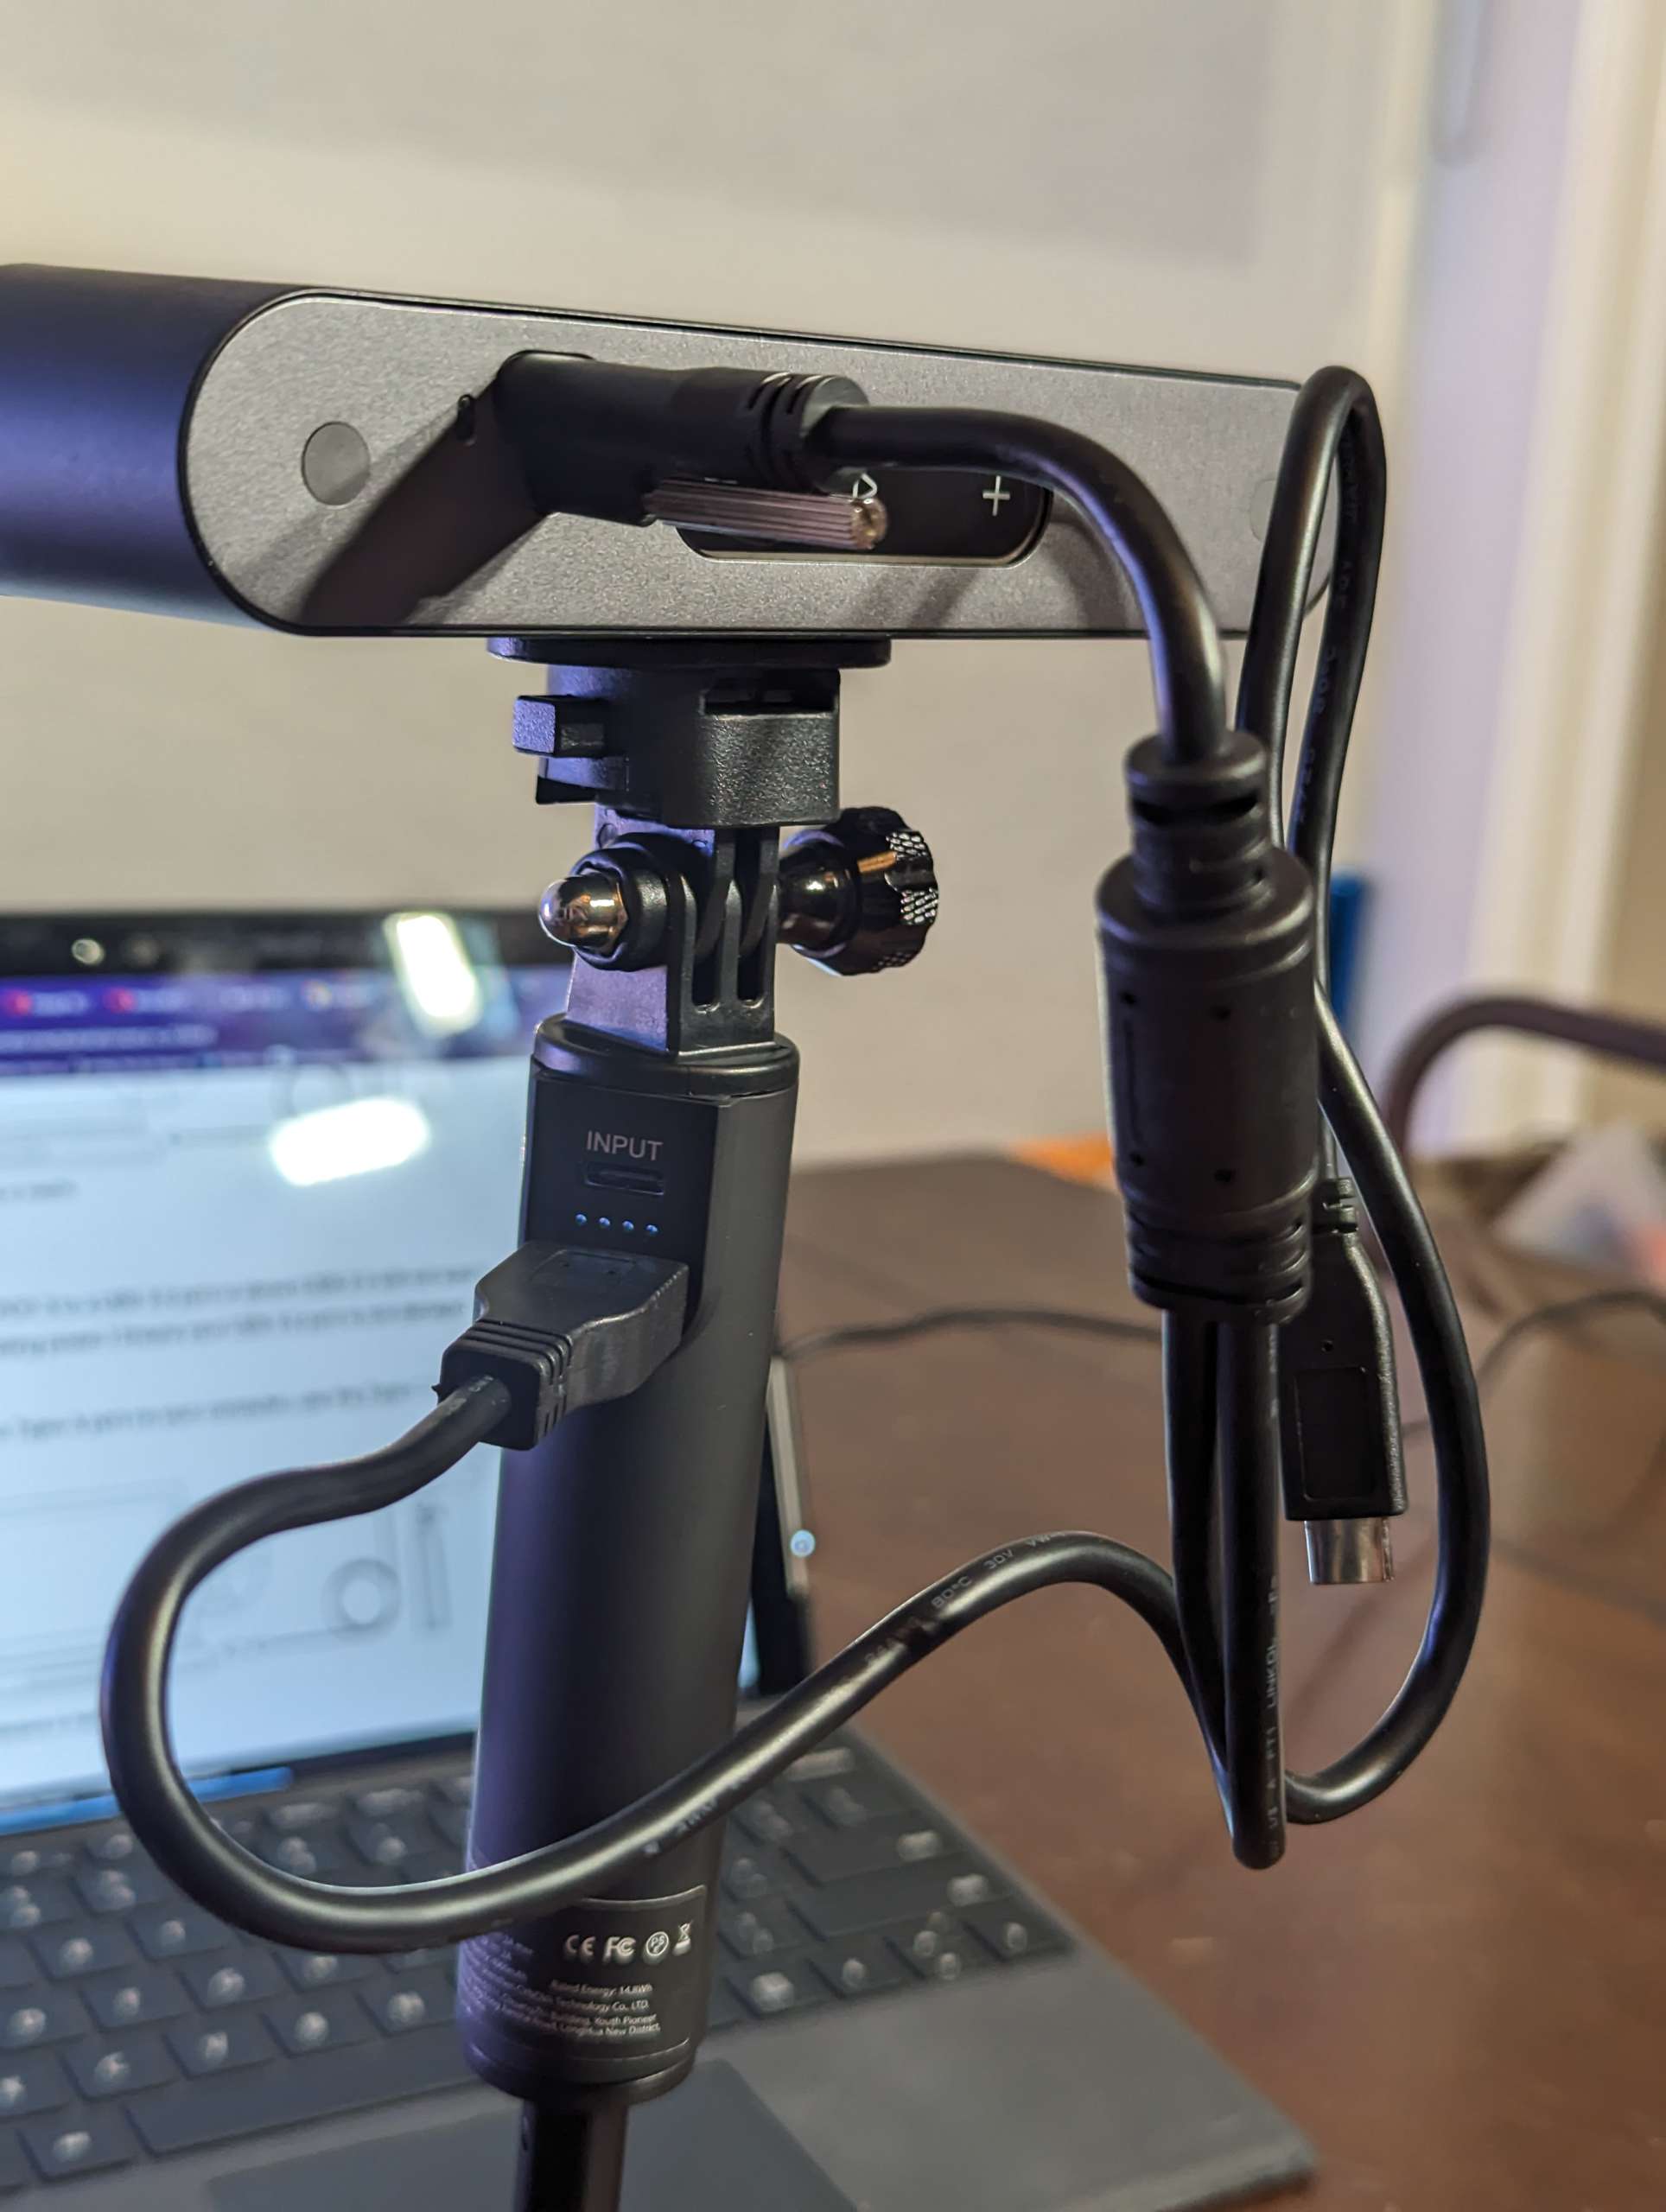
Installation was quick and easy but I realized once I opened the Revo Scan 5 software that there were no instructions included on how to actually scan. Out of curiosity I just tried to see if I could figure it out without any instructions first. I threaded the POP 3 into the Power Bank Handle and used the 2-in-1 Mobile Cable to connect the scanner to the power handle. There’s no off/on button the scanner or the power handle so once I plugged it in it turned on automatically. The scanner only needs 5V 1A of power so pretty much any power brick or cell phone charger can power it.
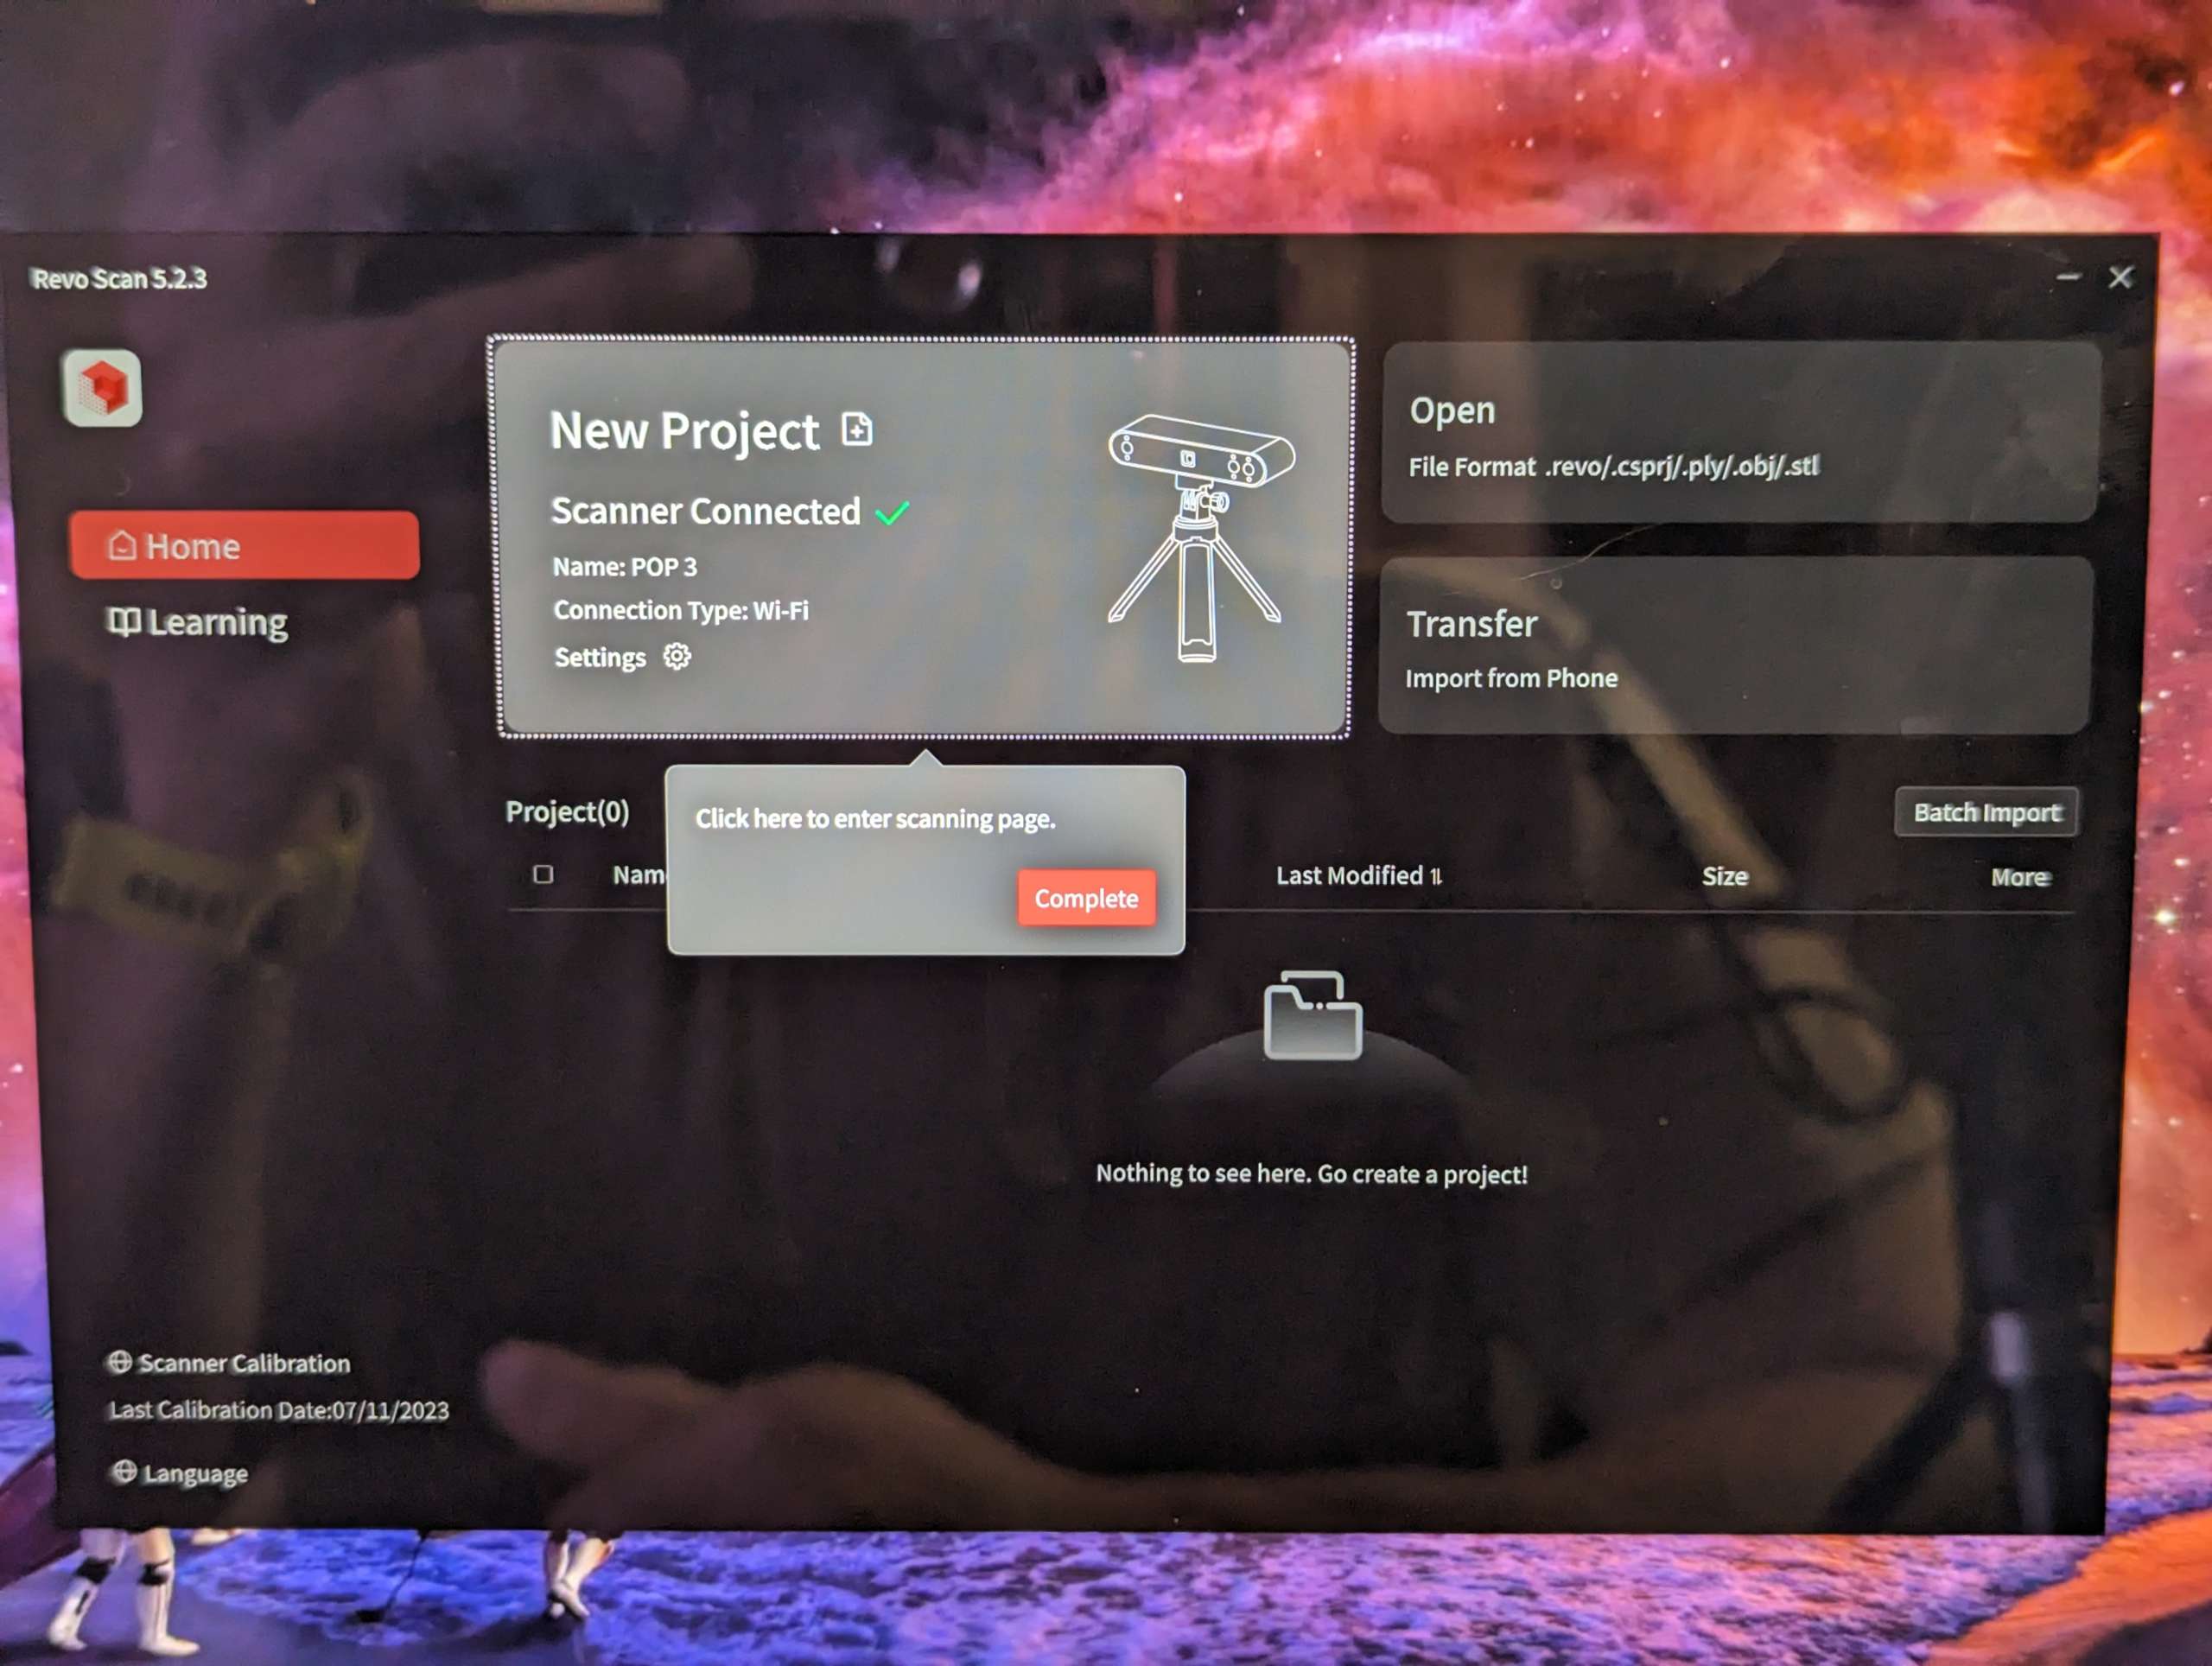
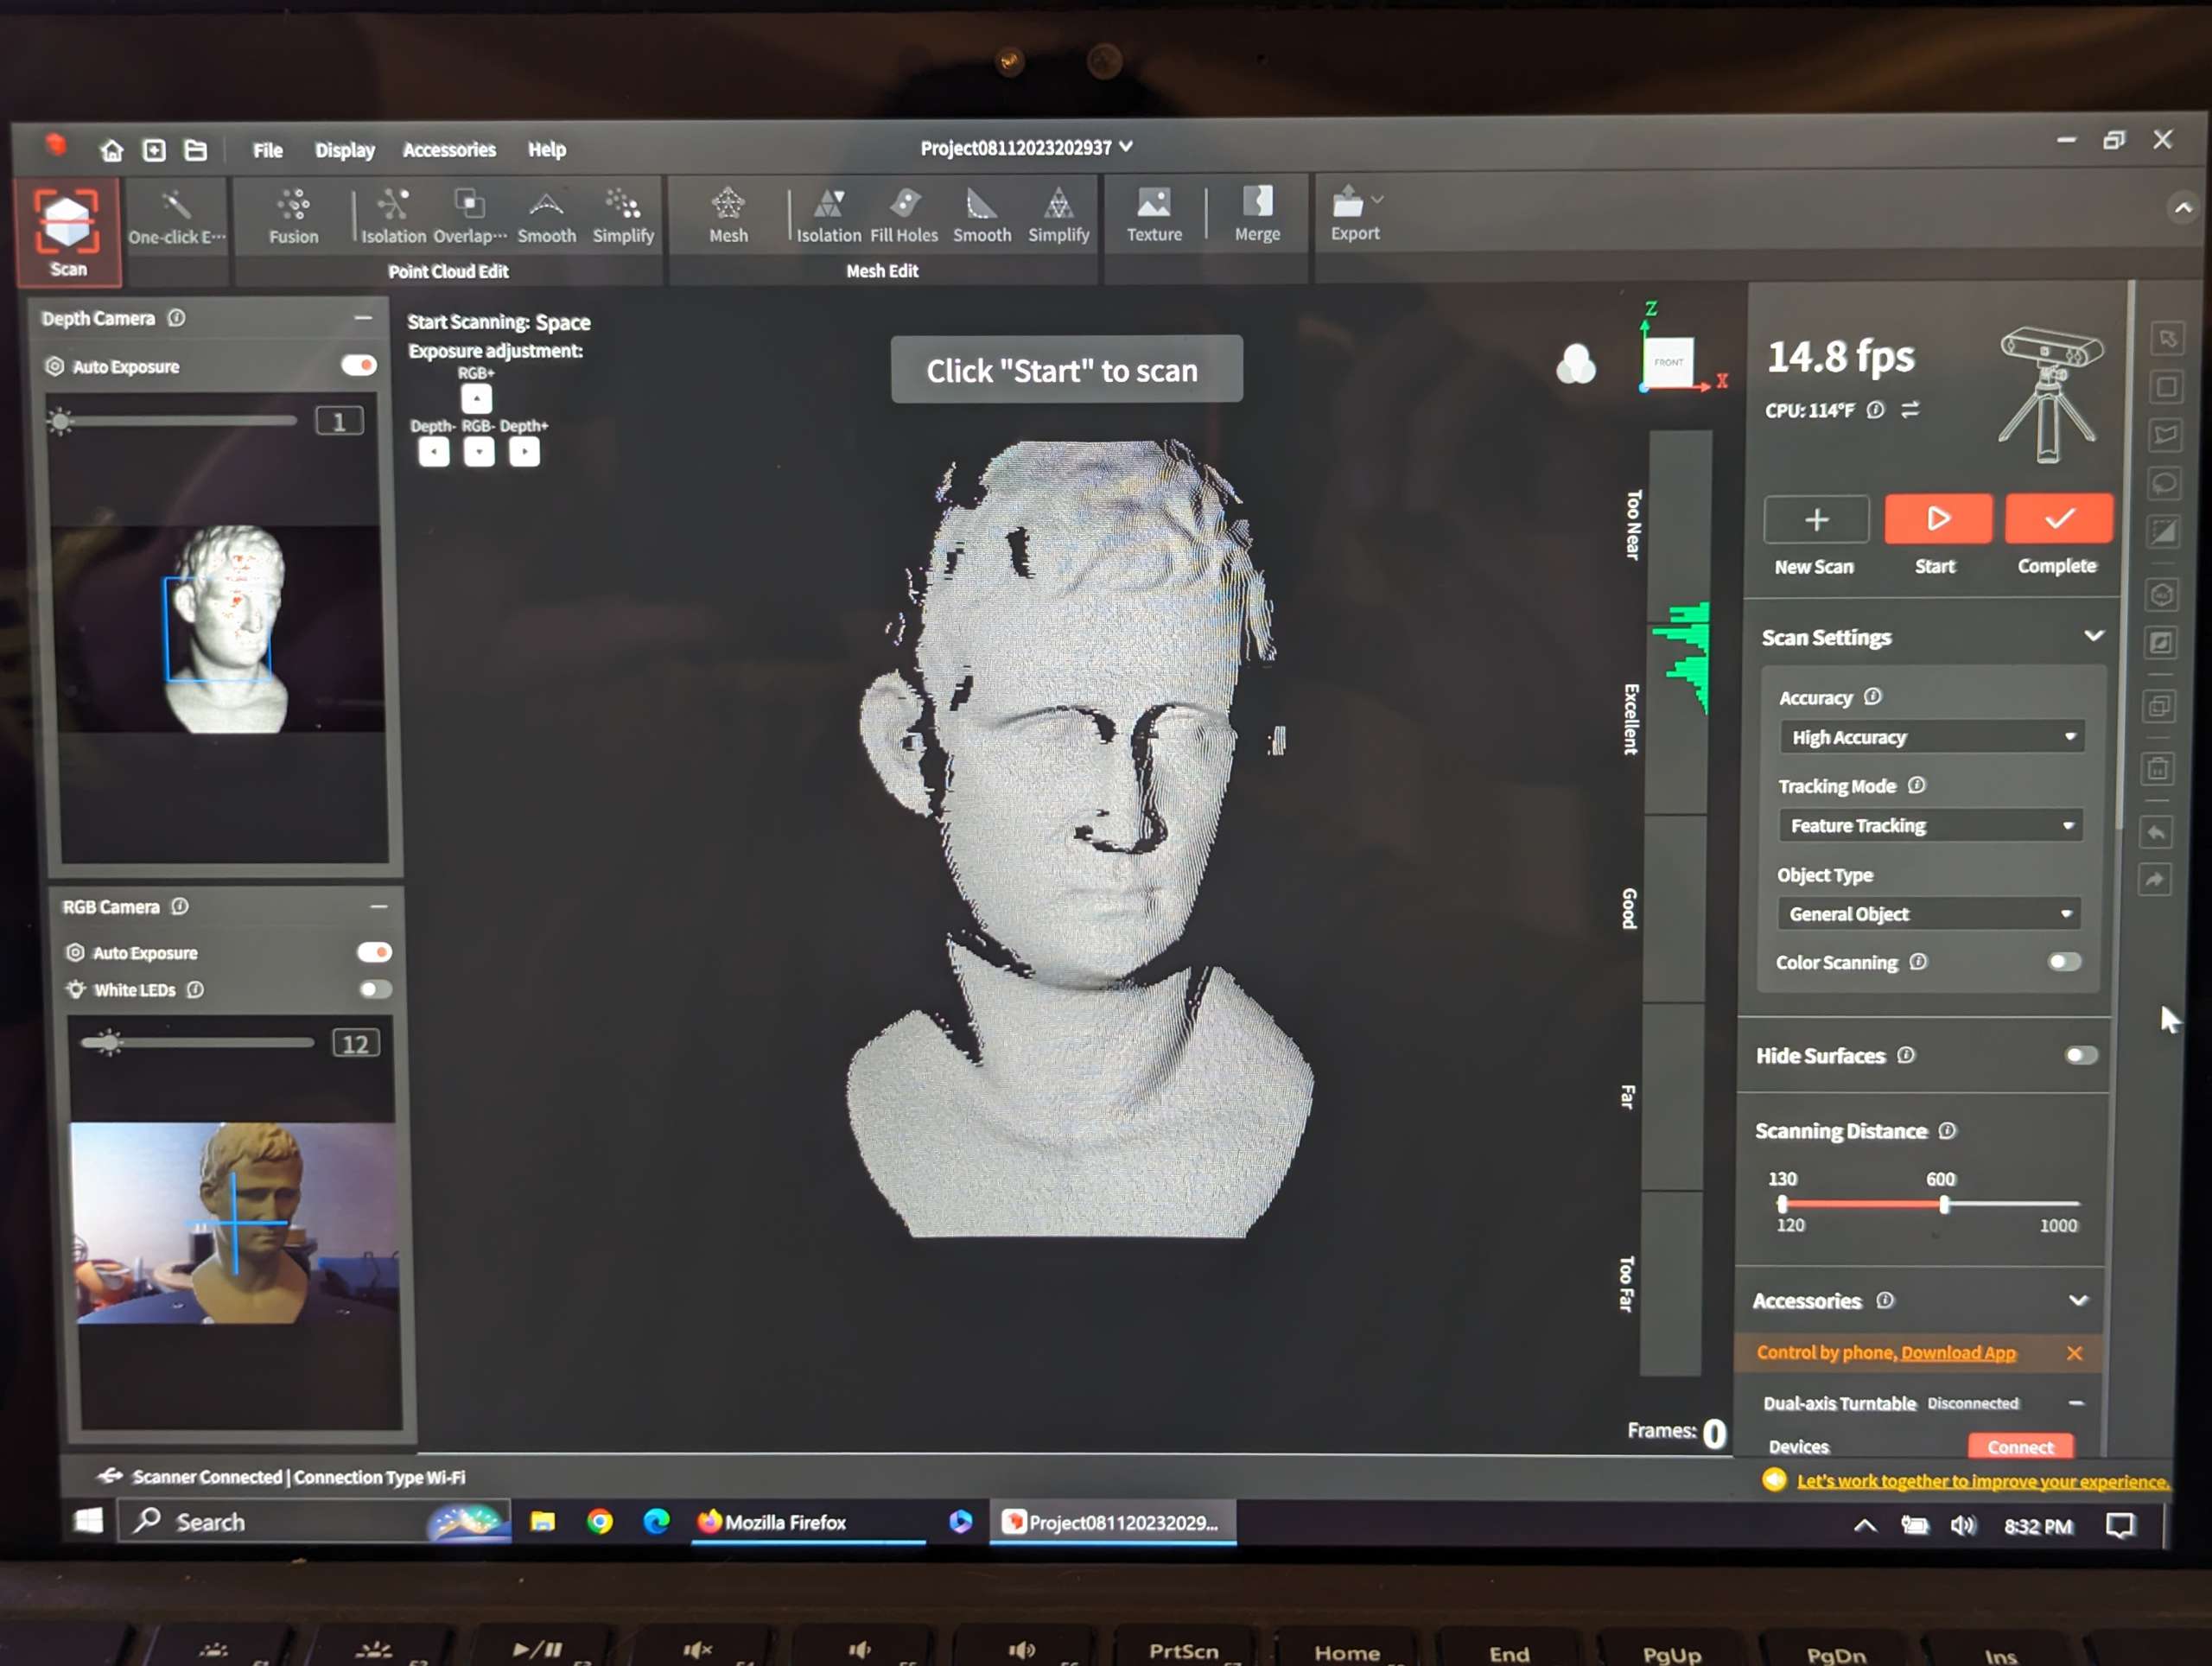
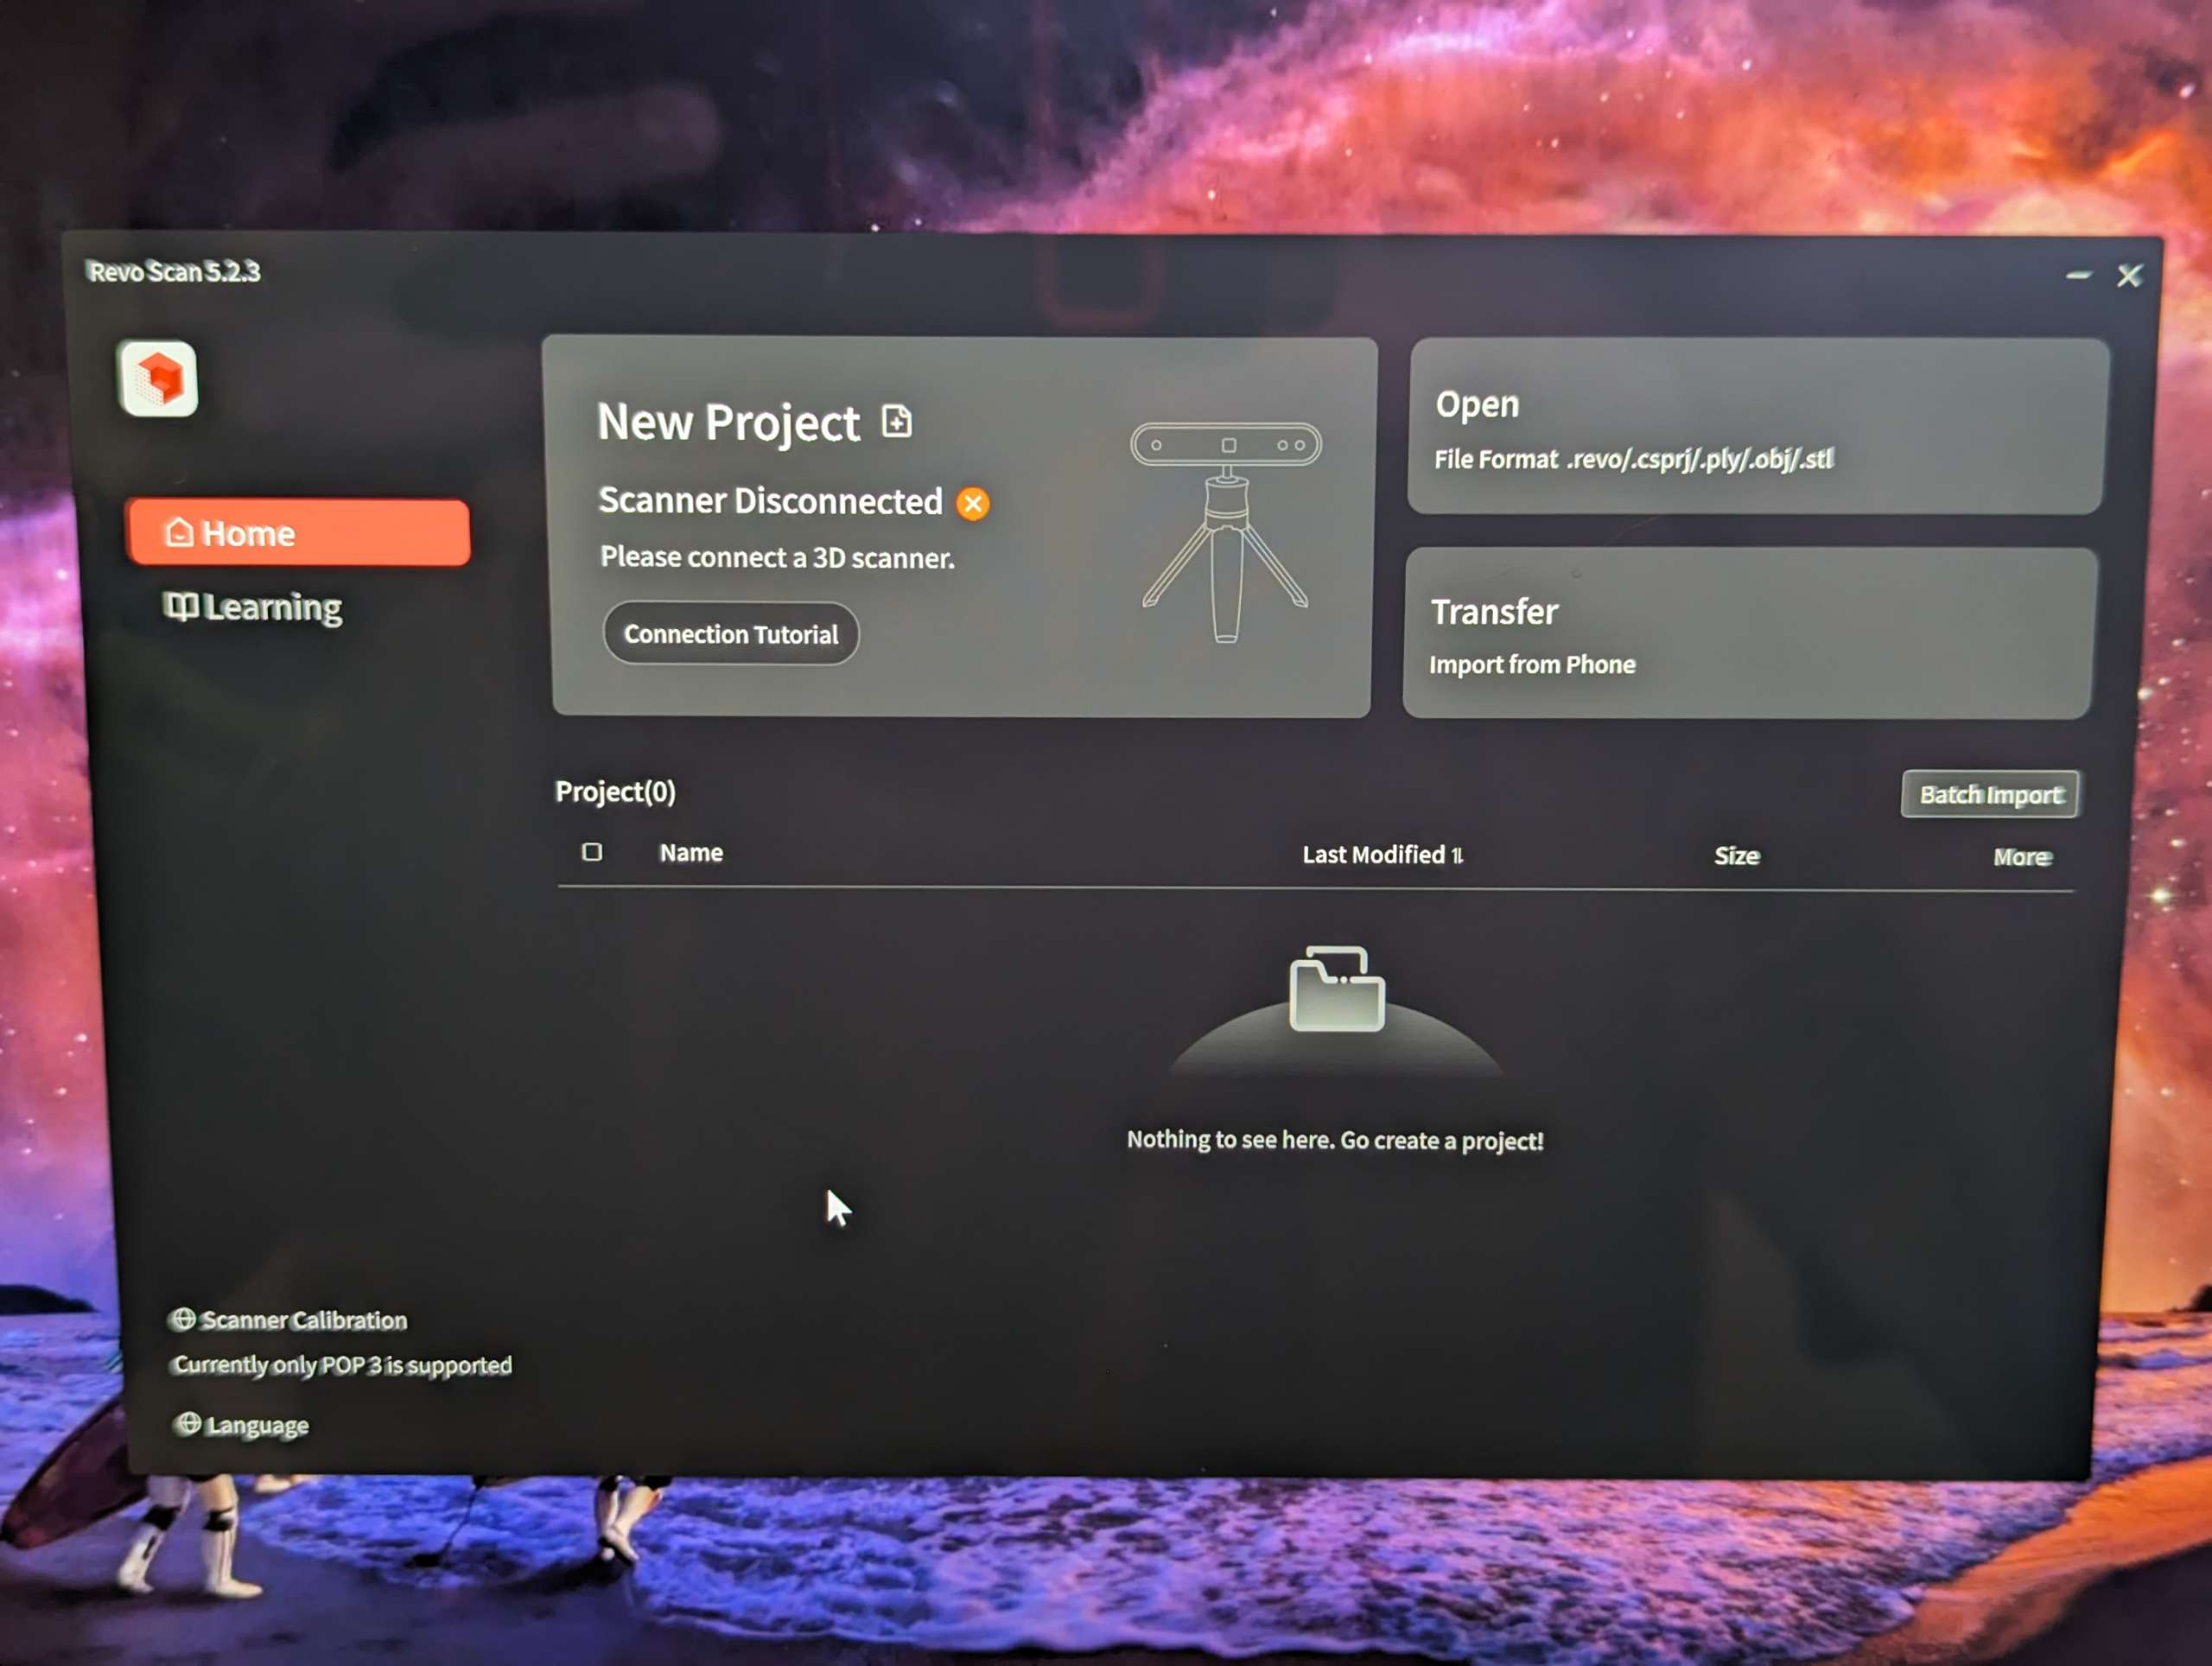
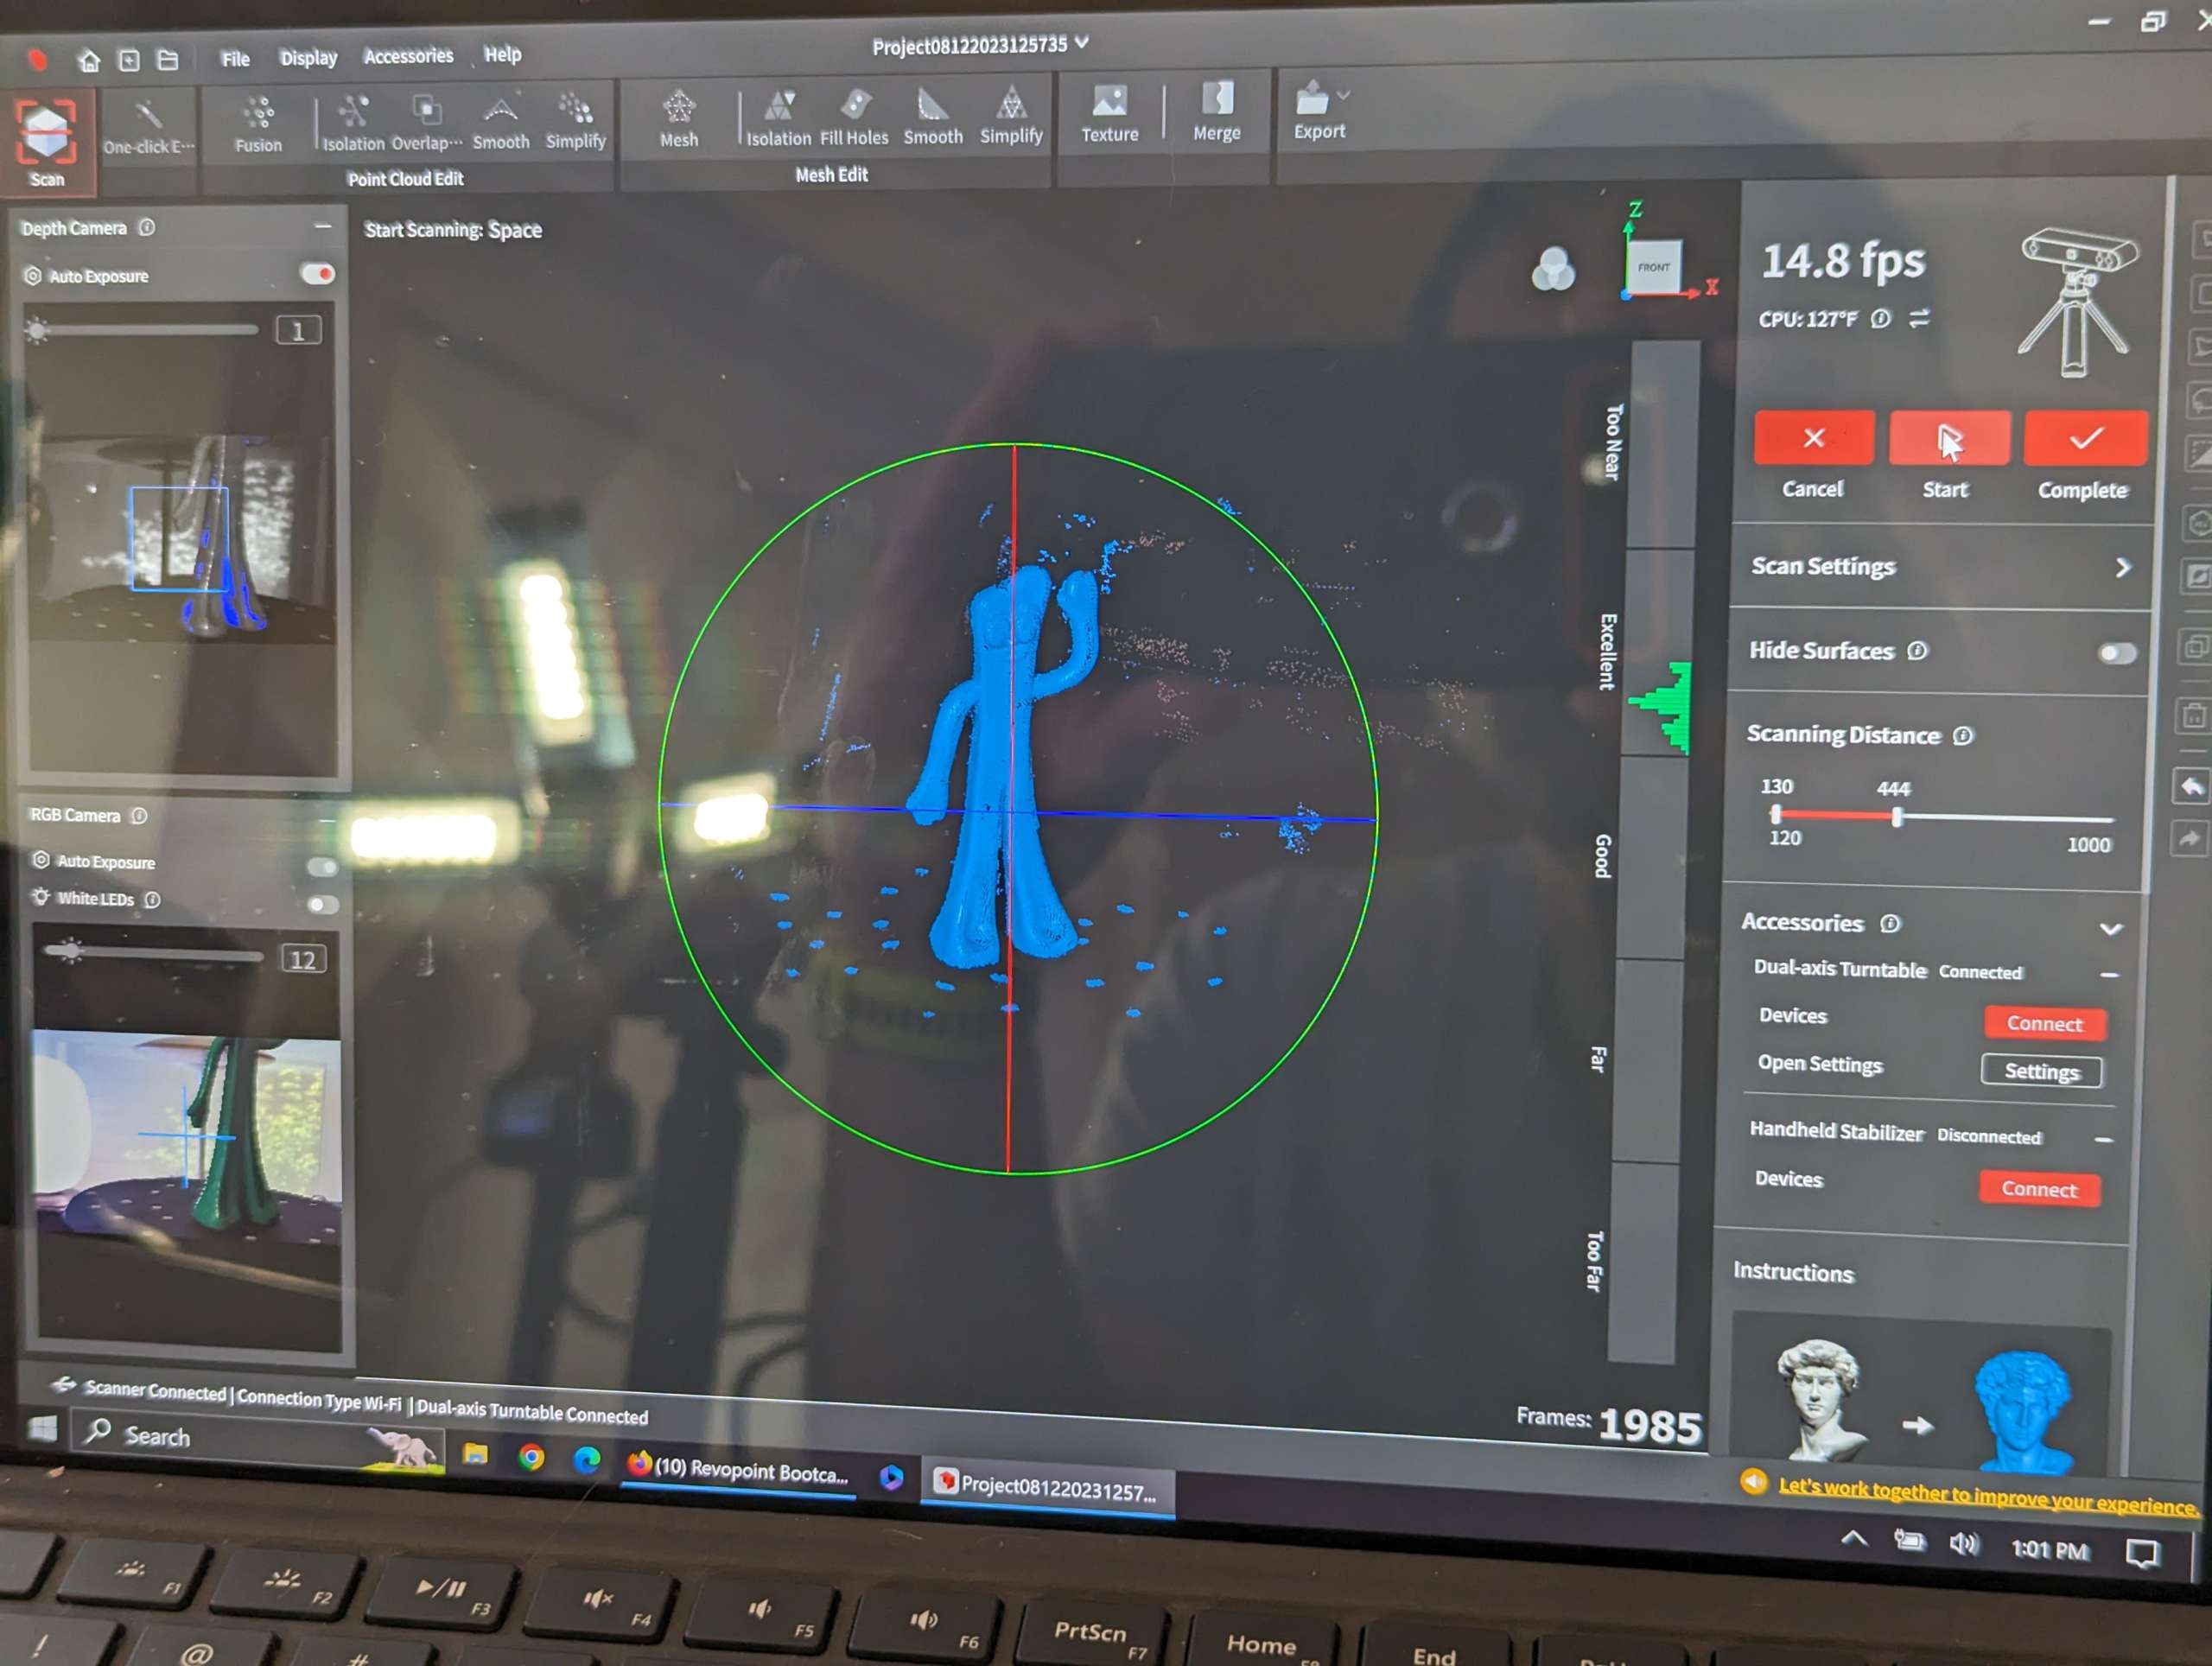
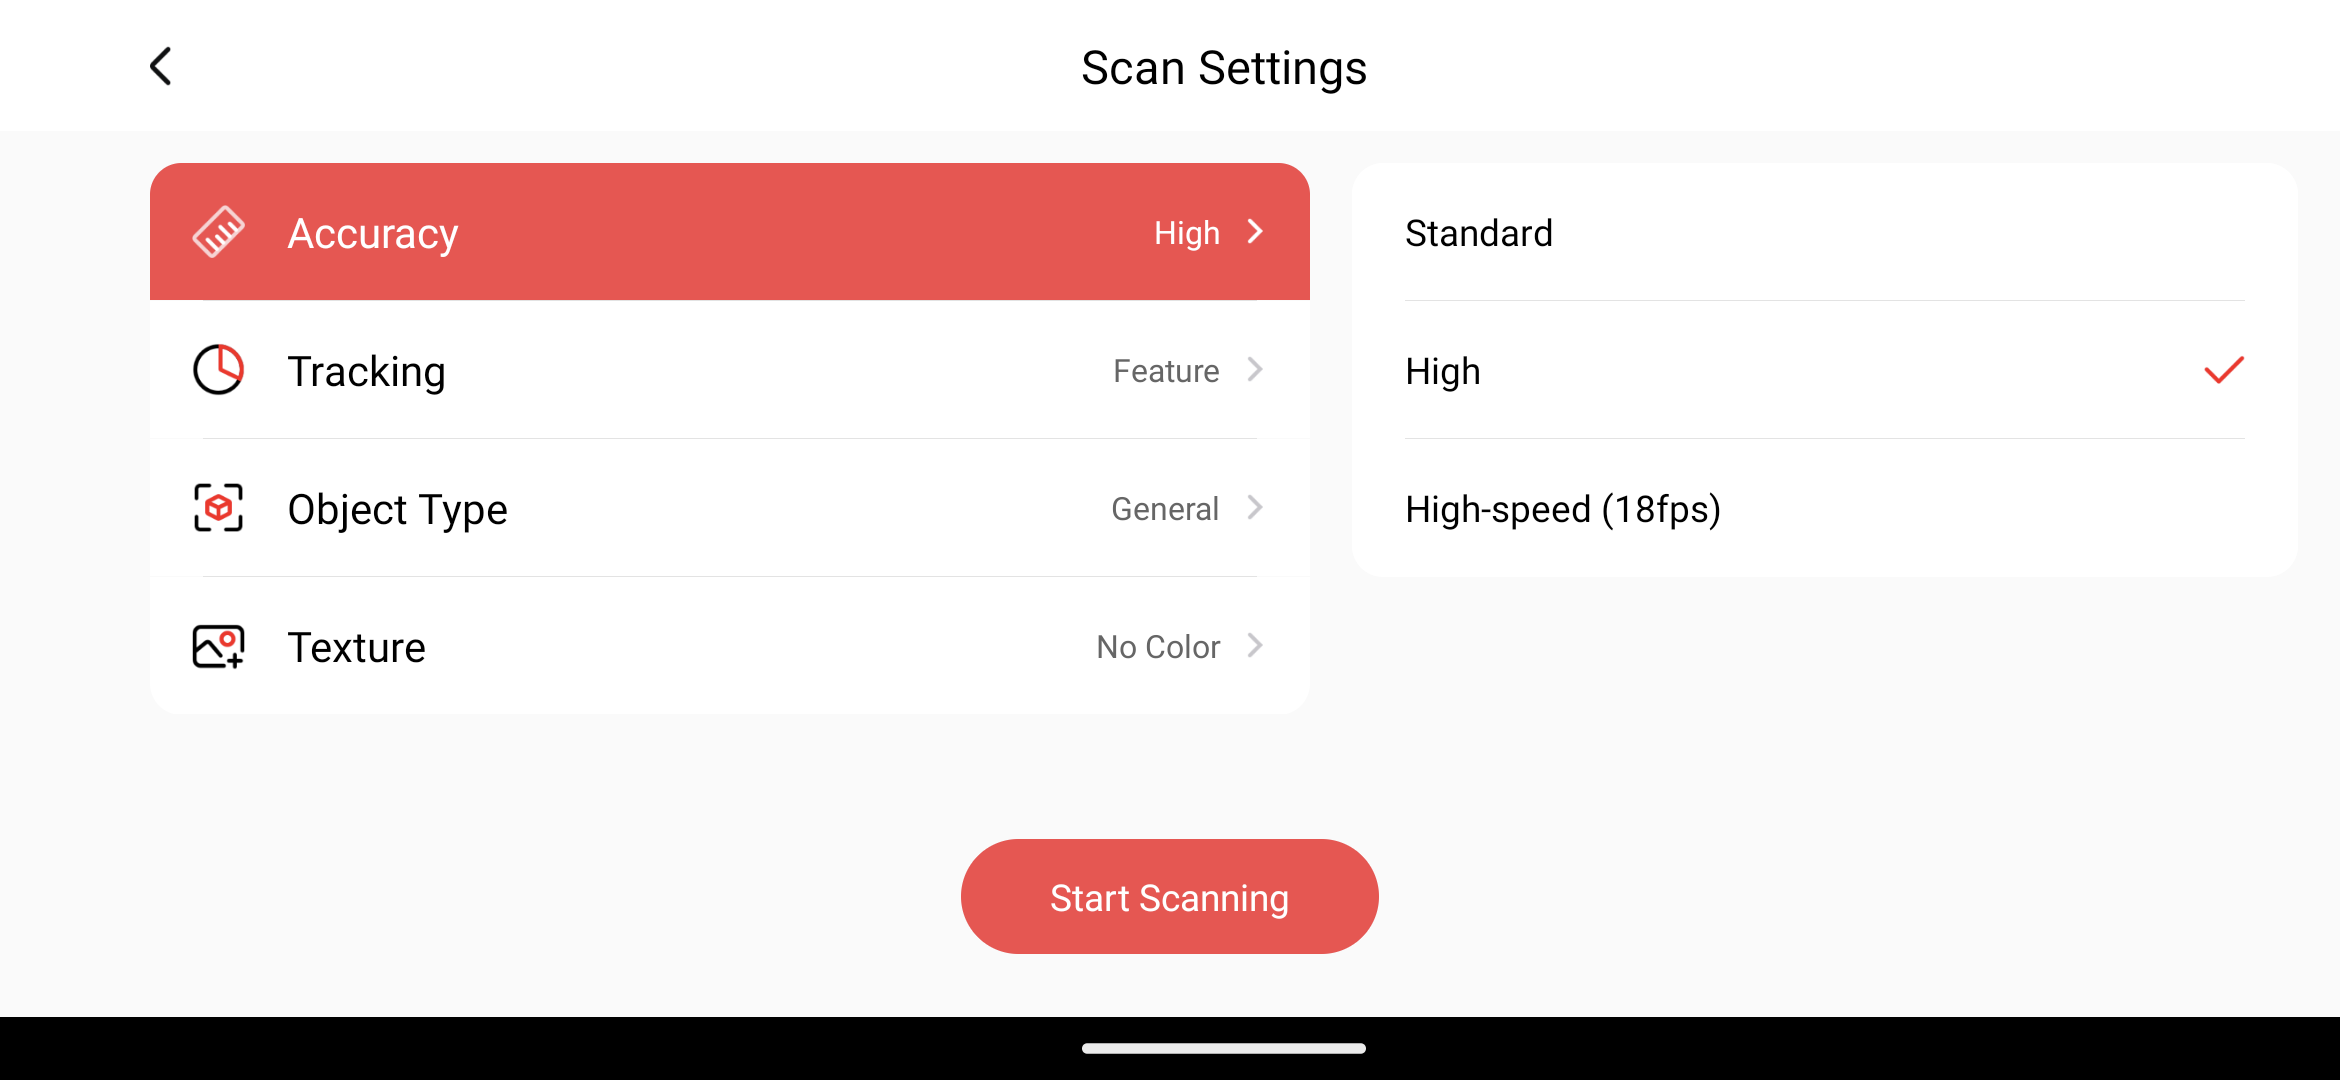
I was able to start scanning without any instructions. Revo Scan 5 was pretty intuitive and there are a few info bubbles you can hover over to get more information about functions. The full user guide is under Help in the upper bar. Revopoint also has quite an extensive support page and I was able to find some Revopoint videos on YouTube that were definitely helpful.
Performance
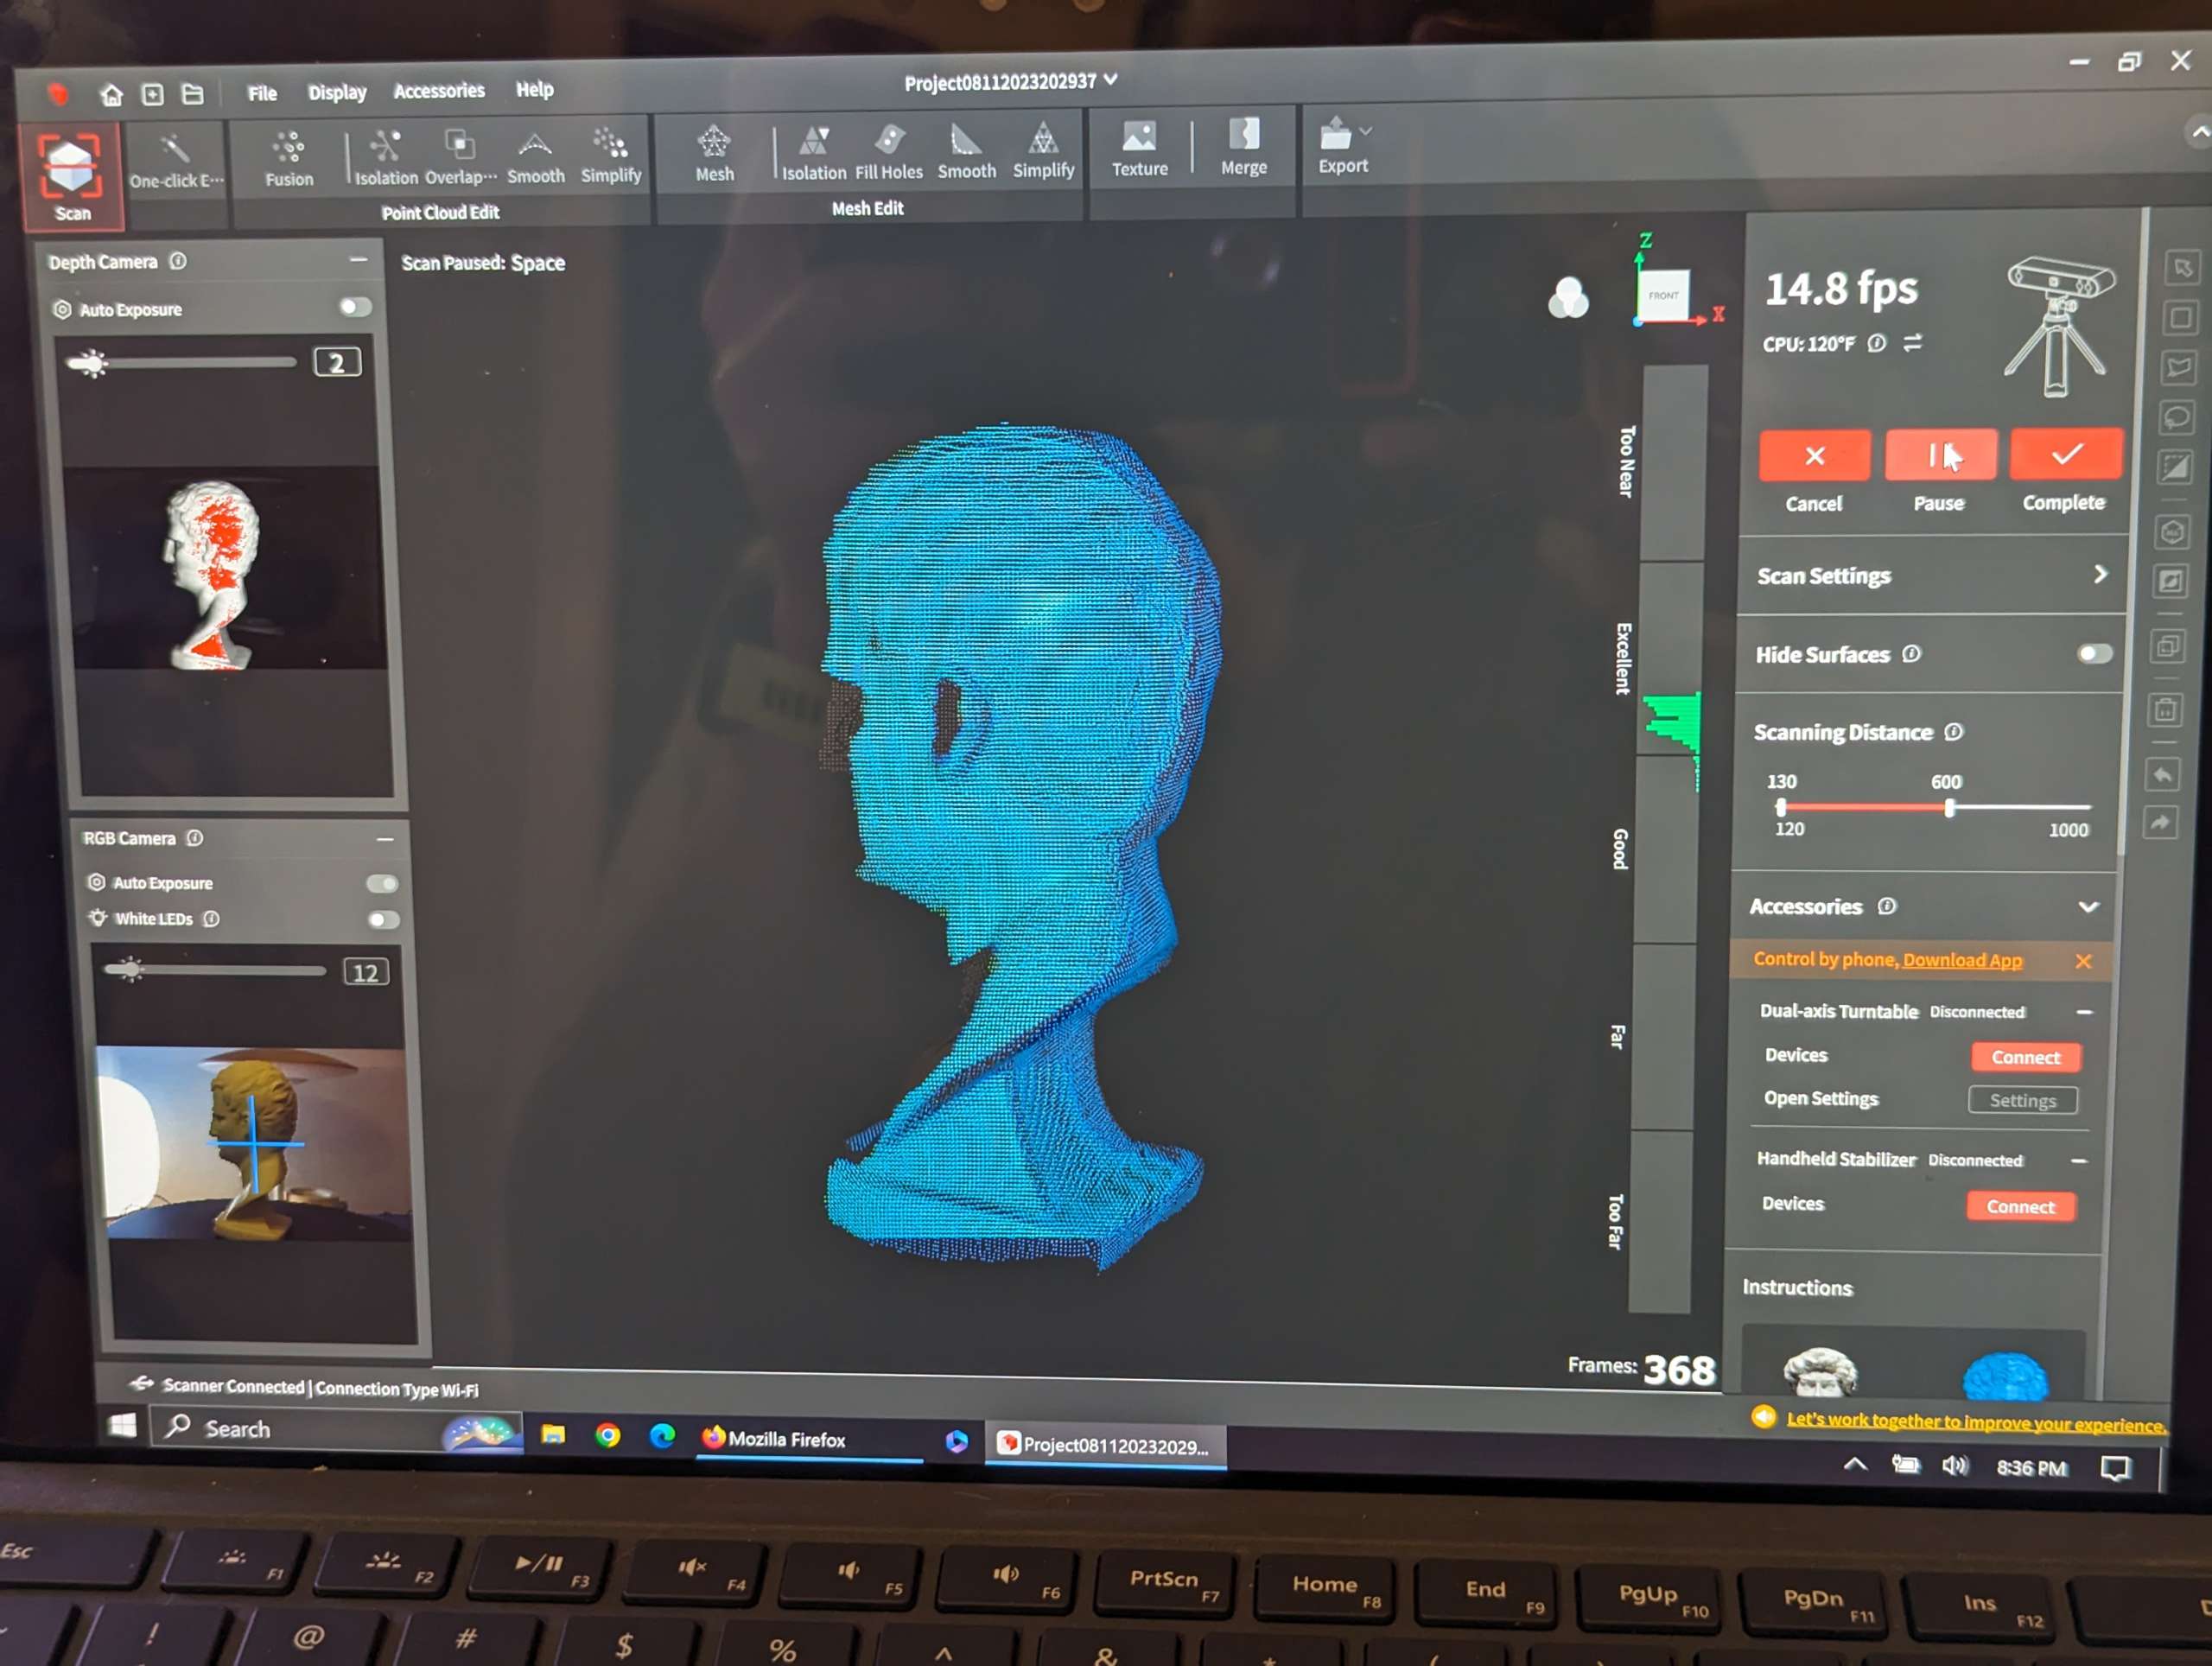
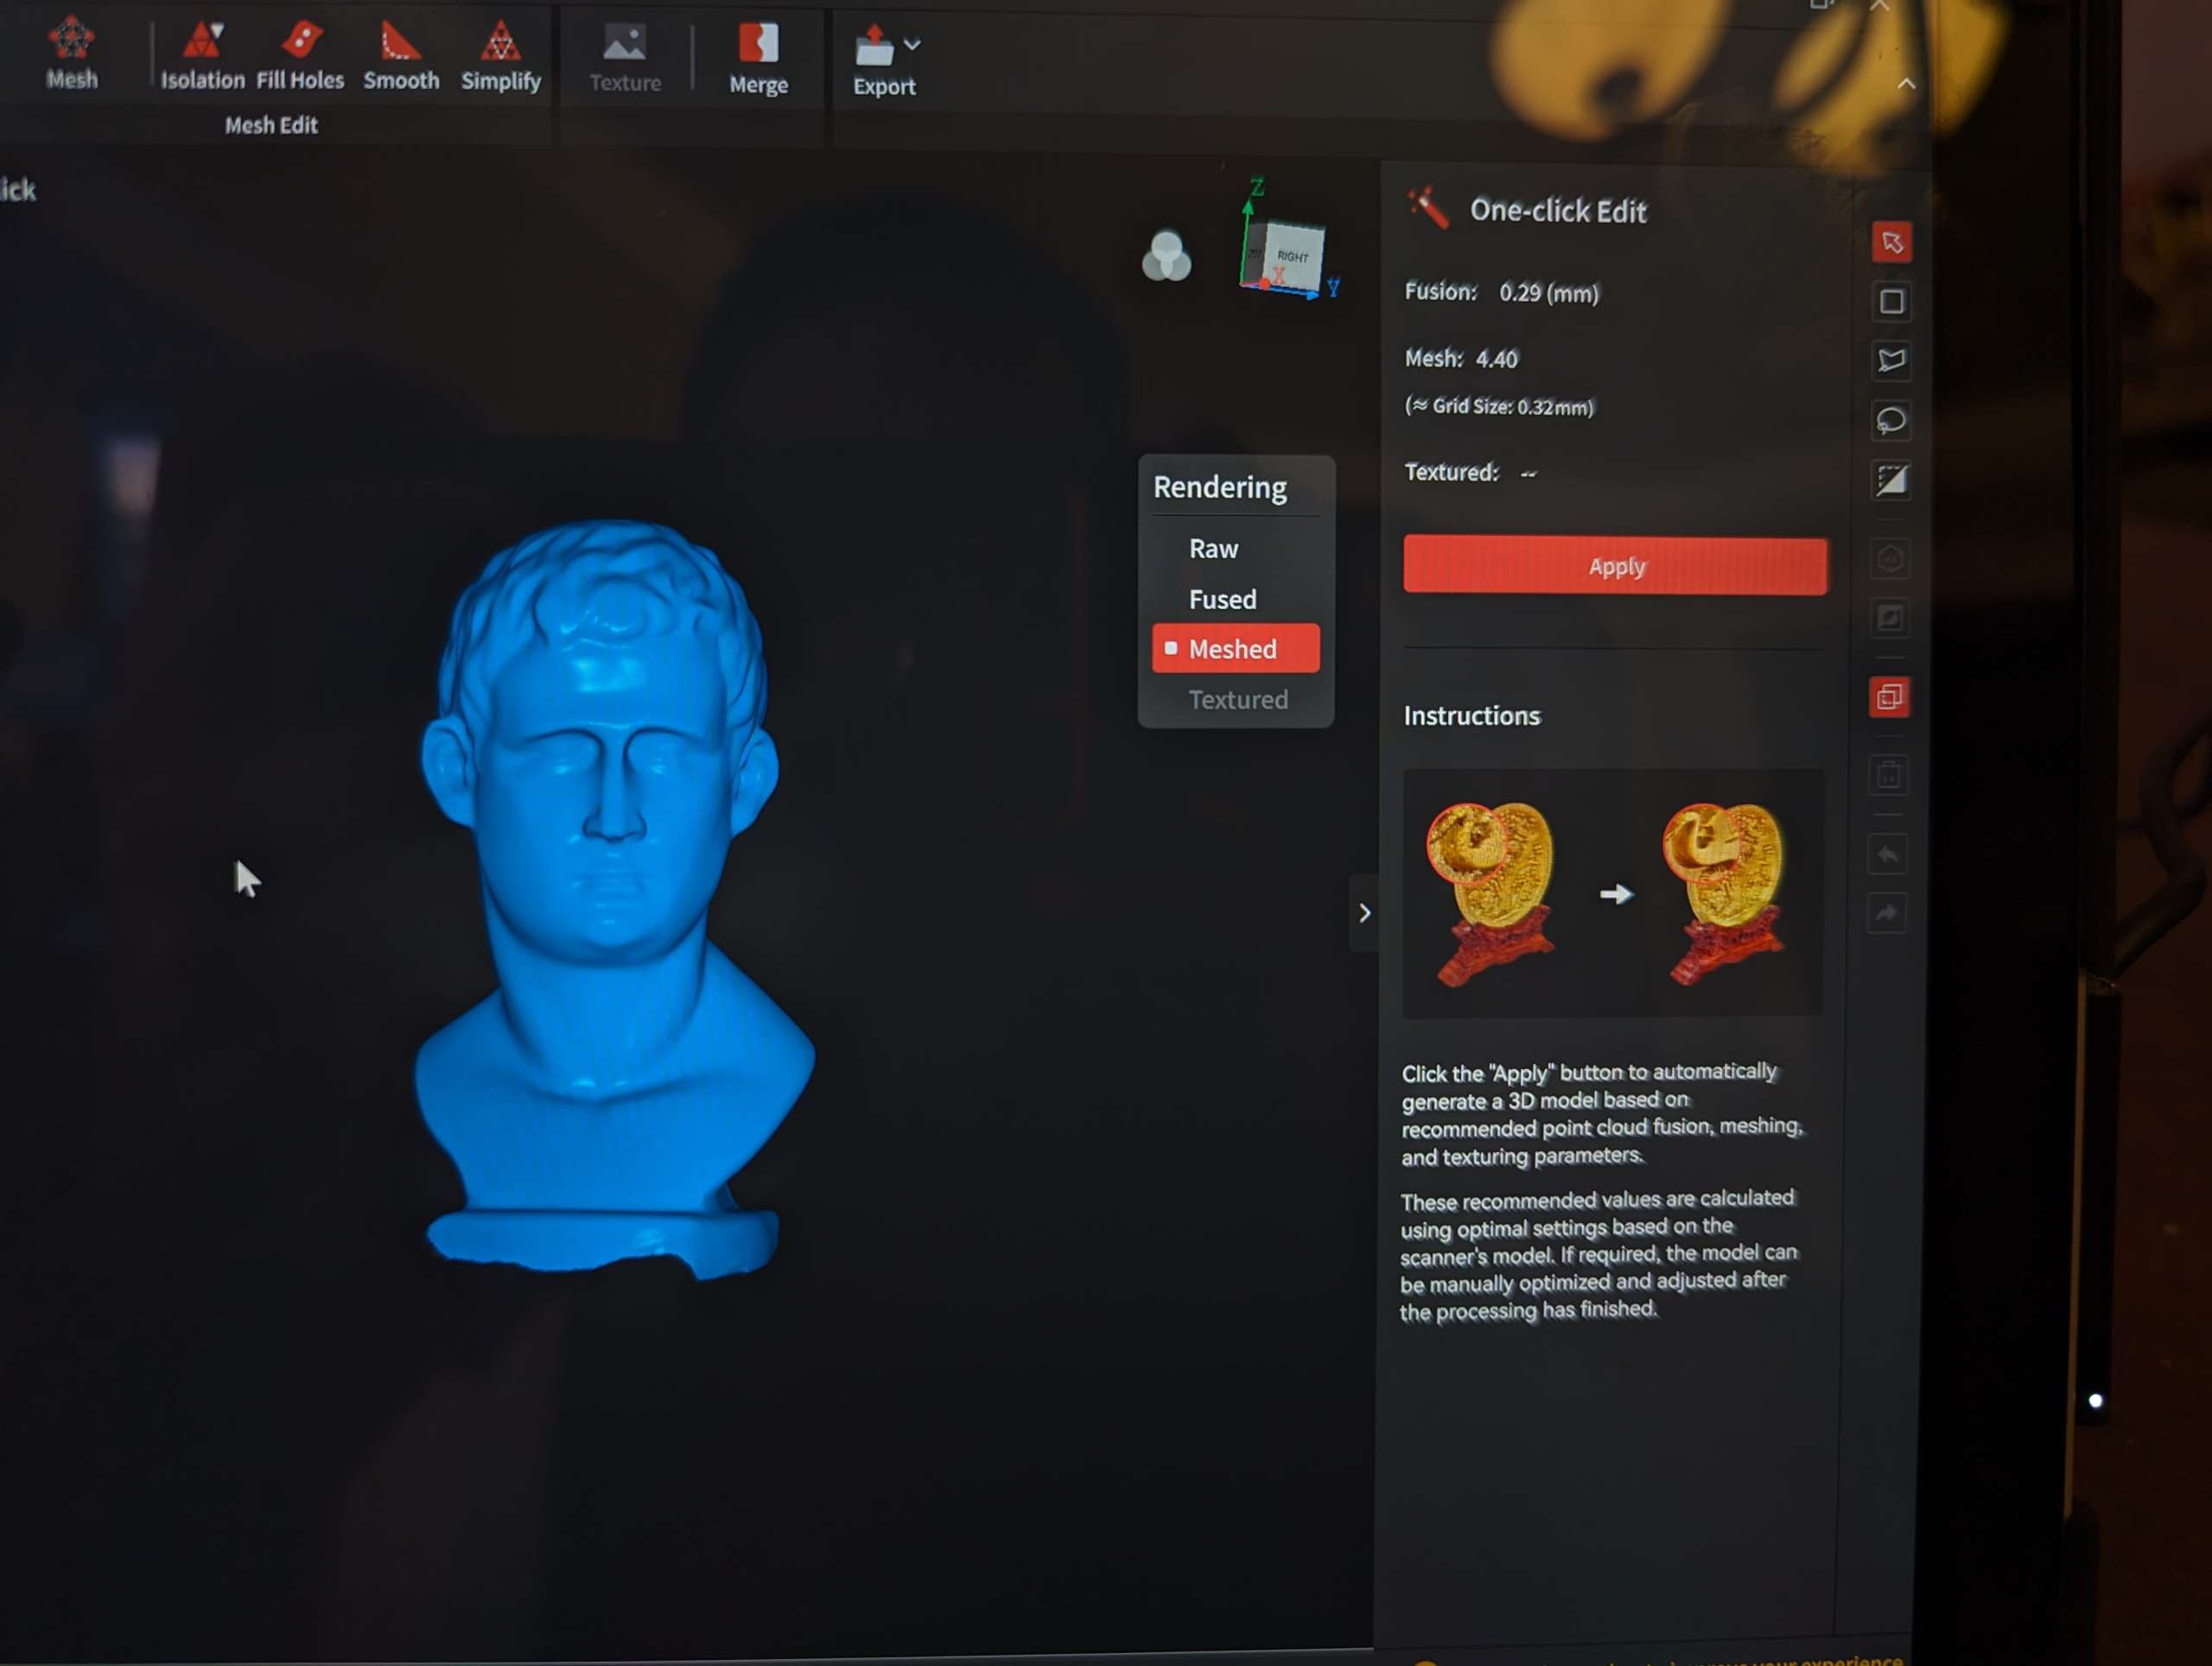
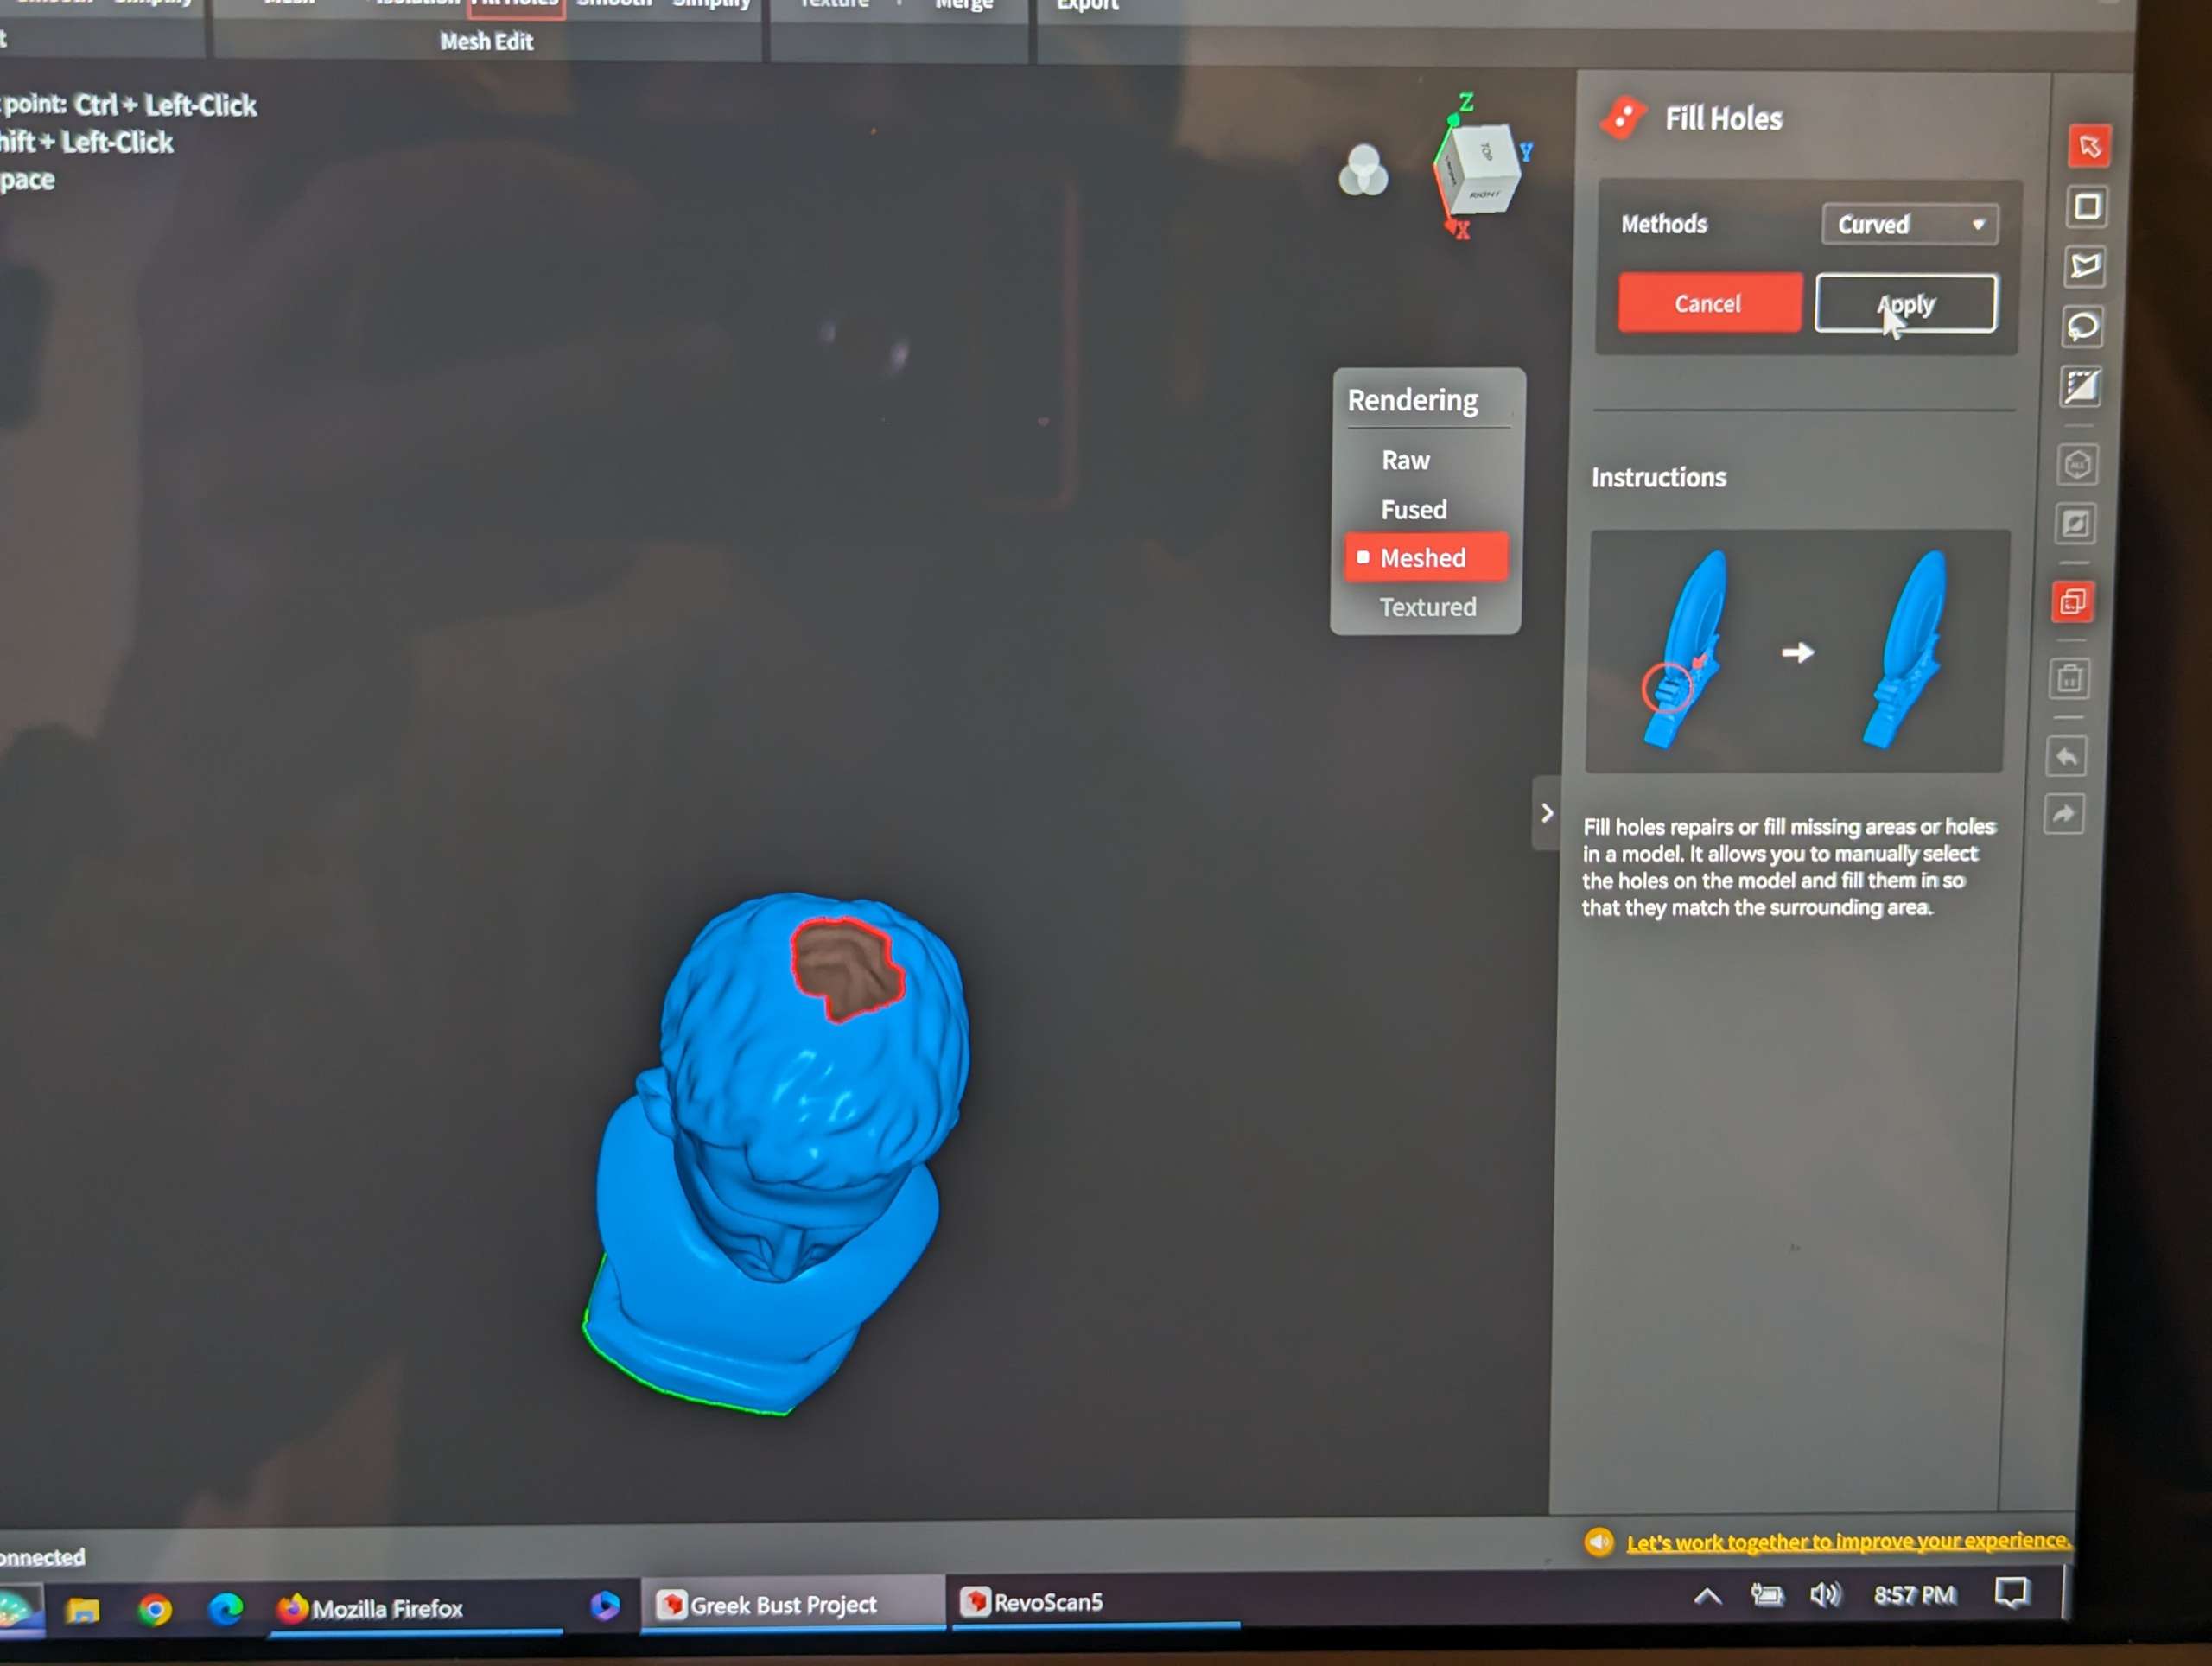
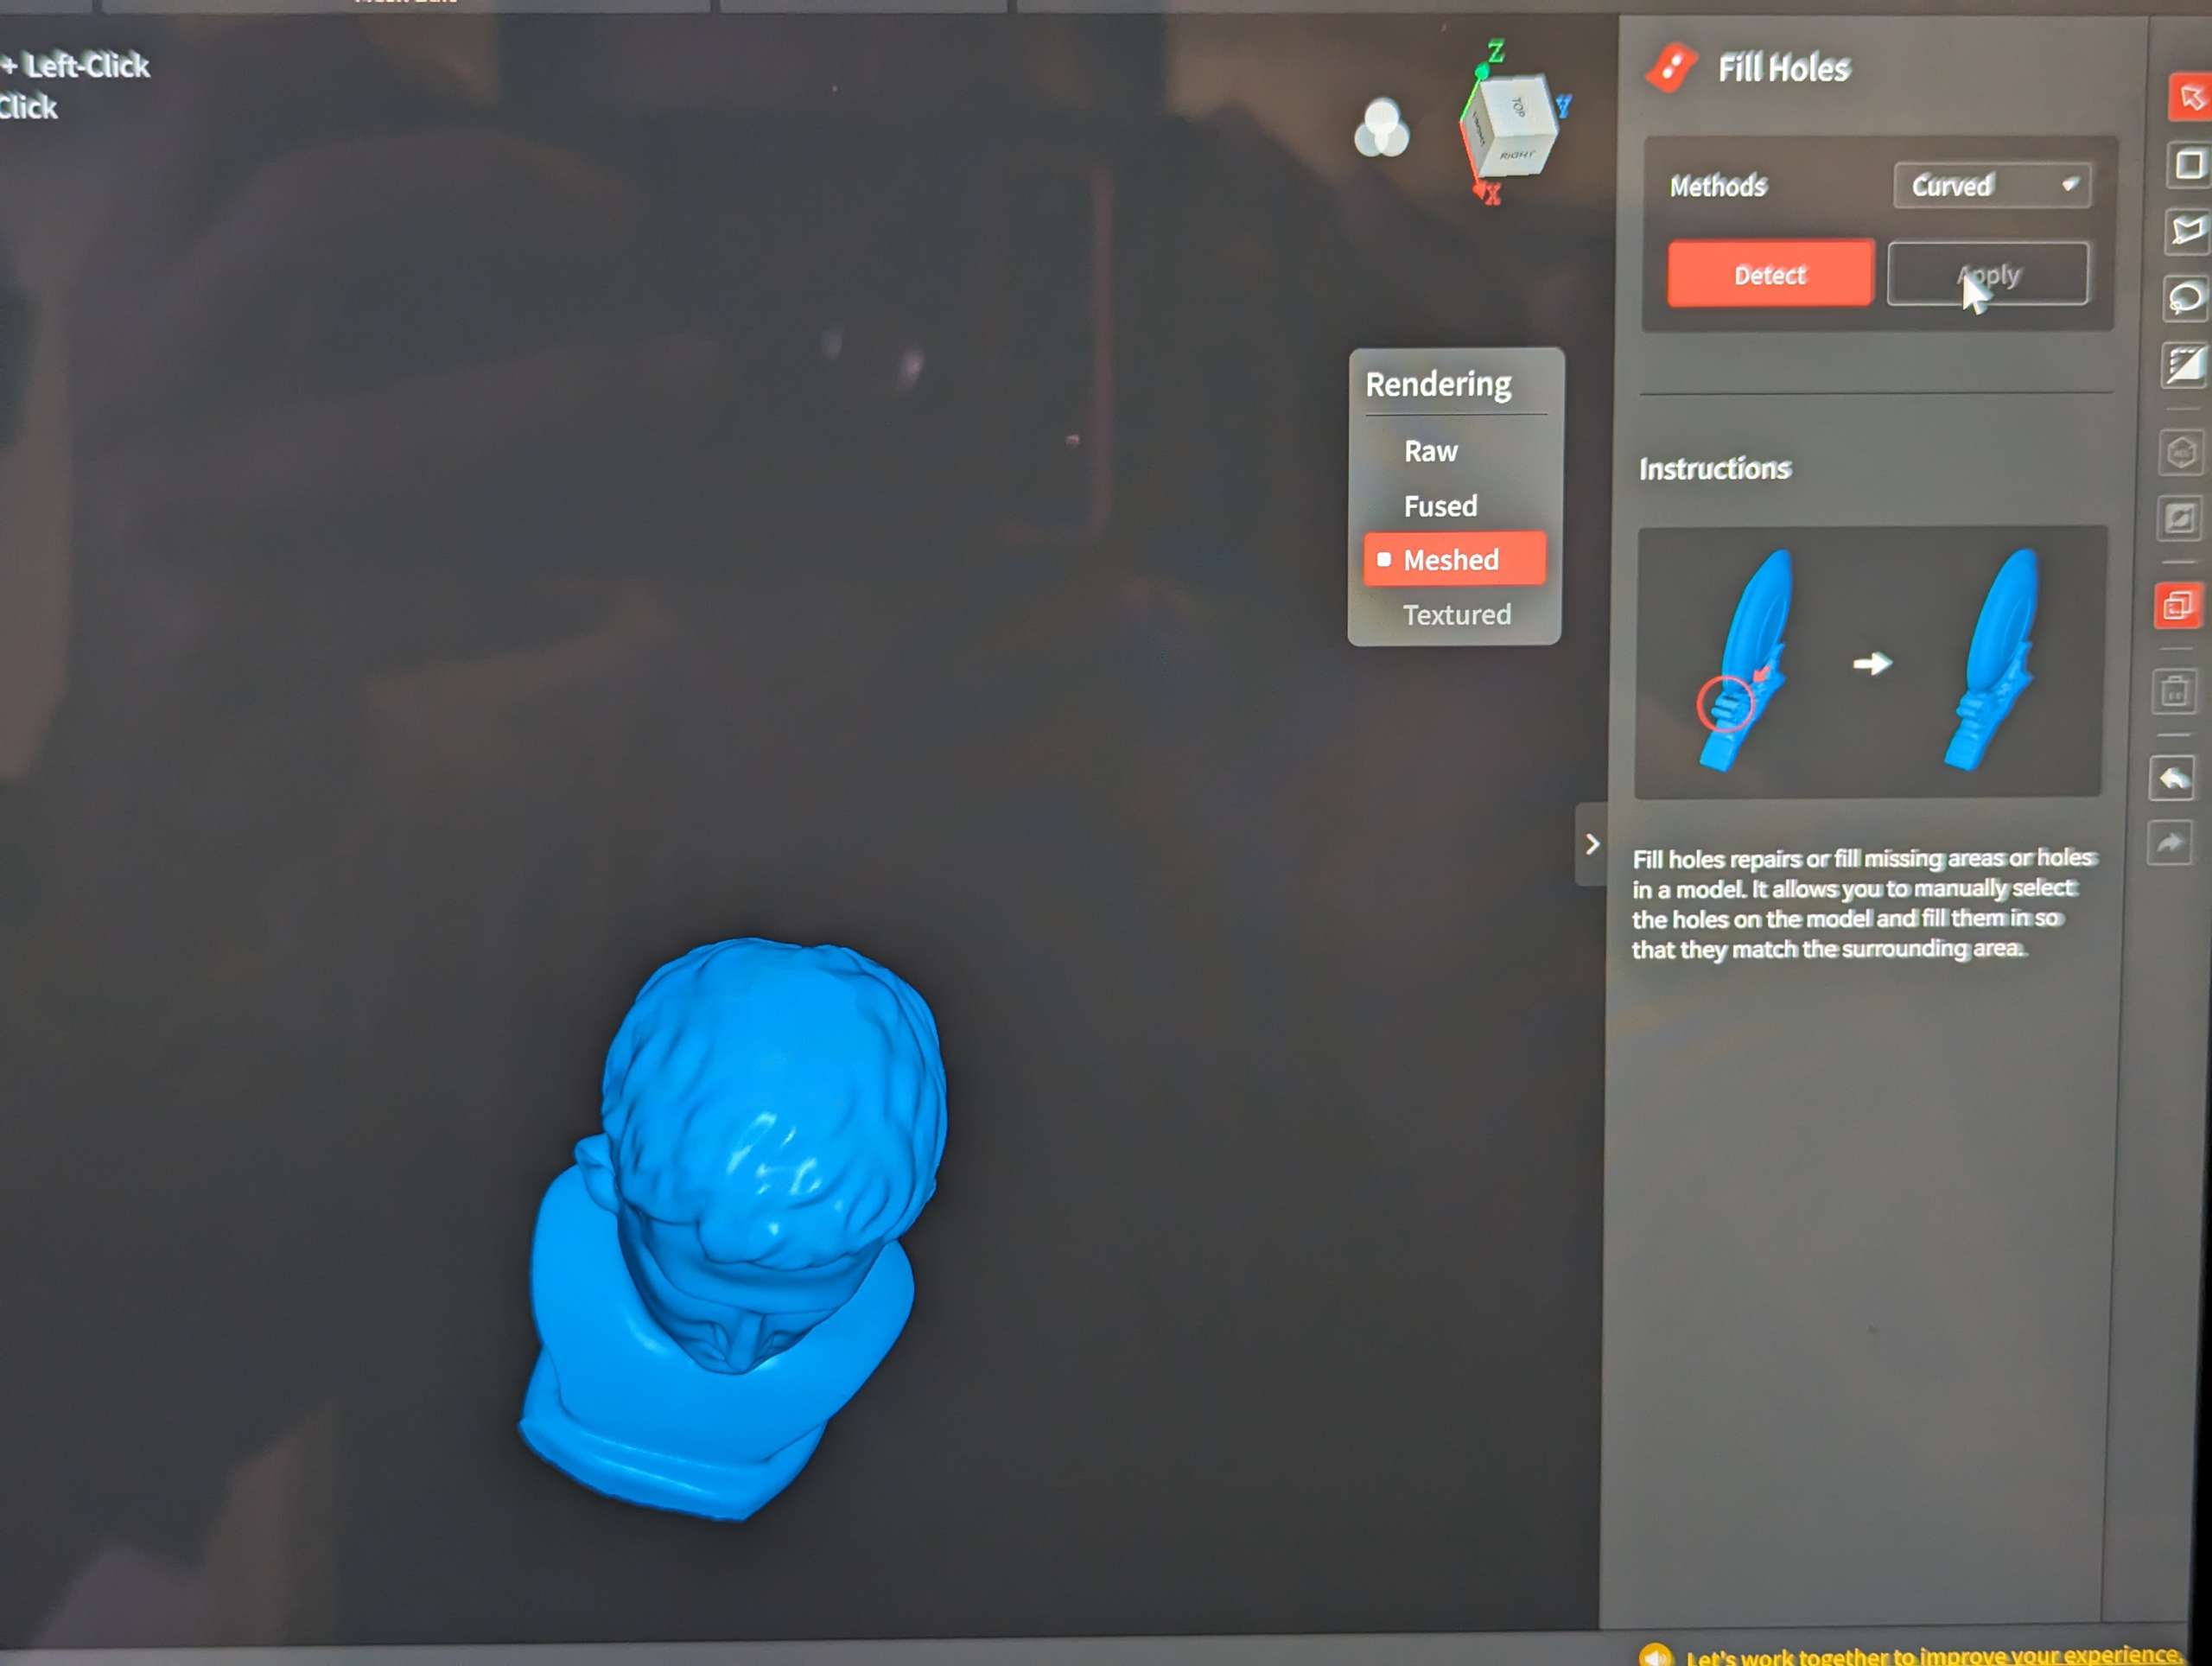
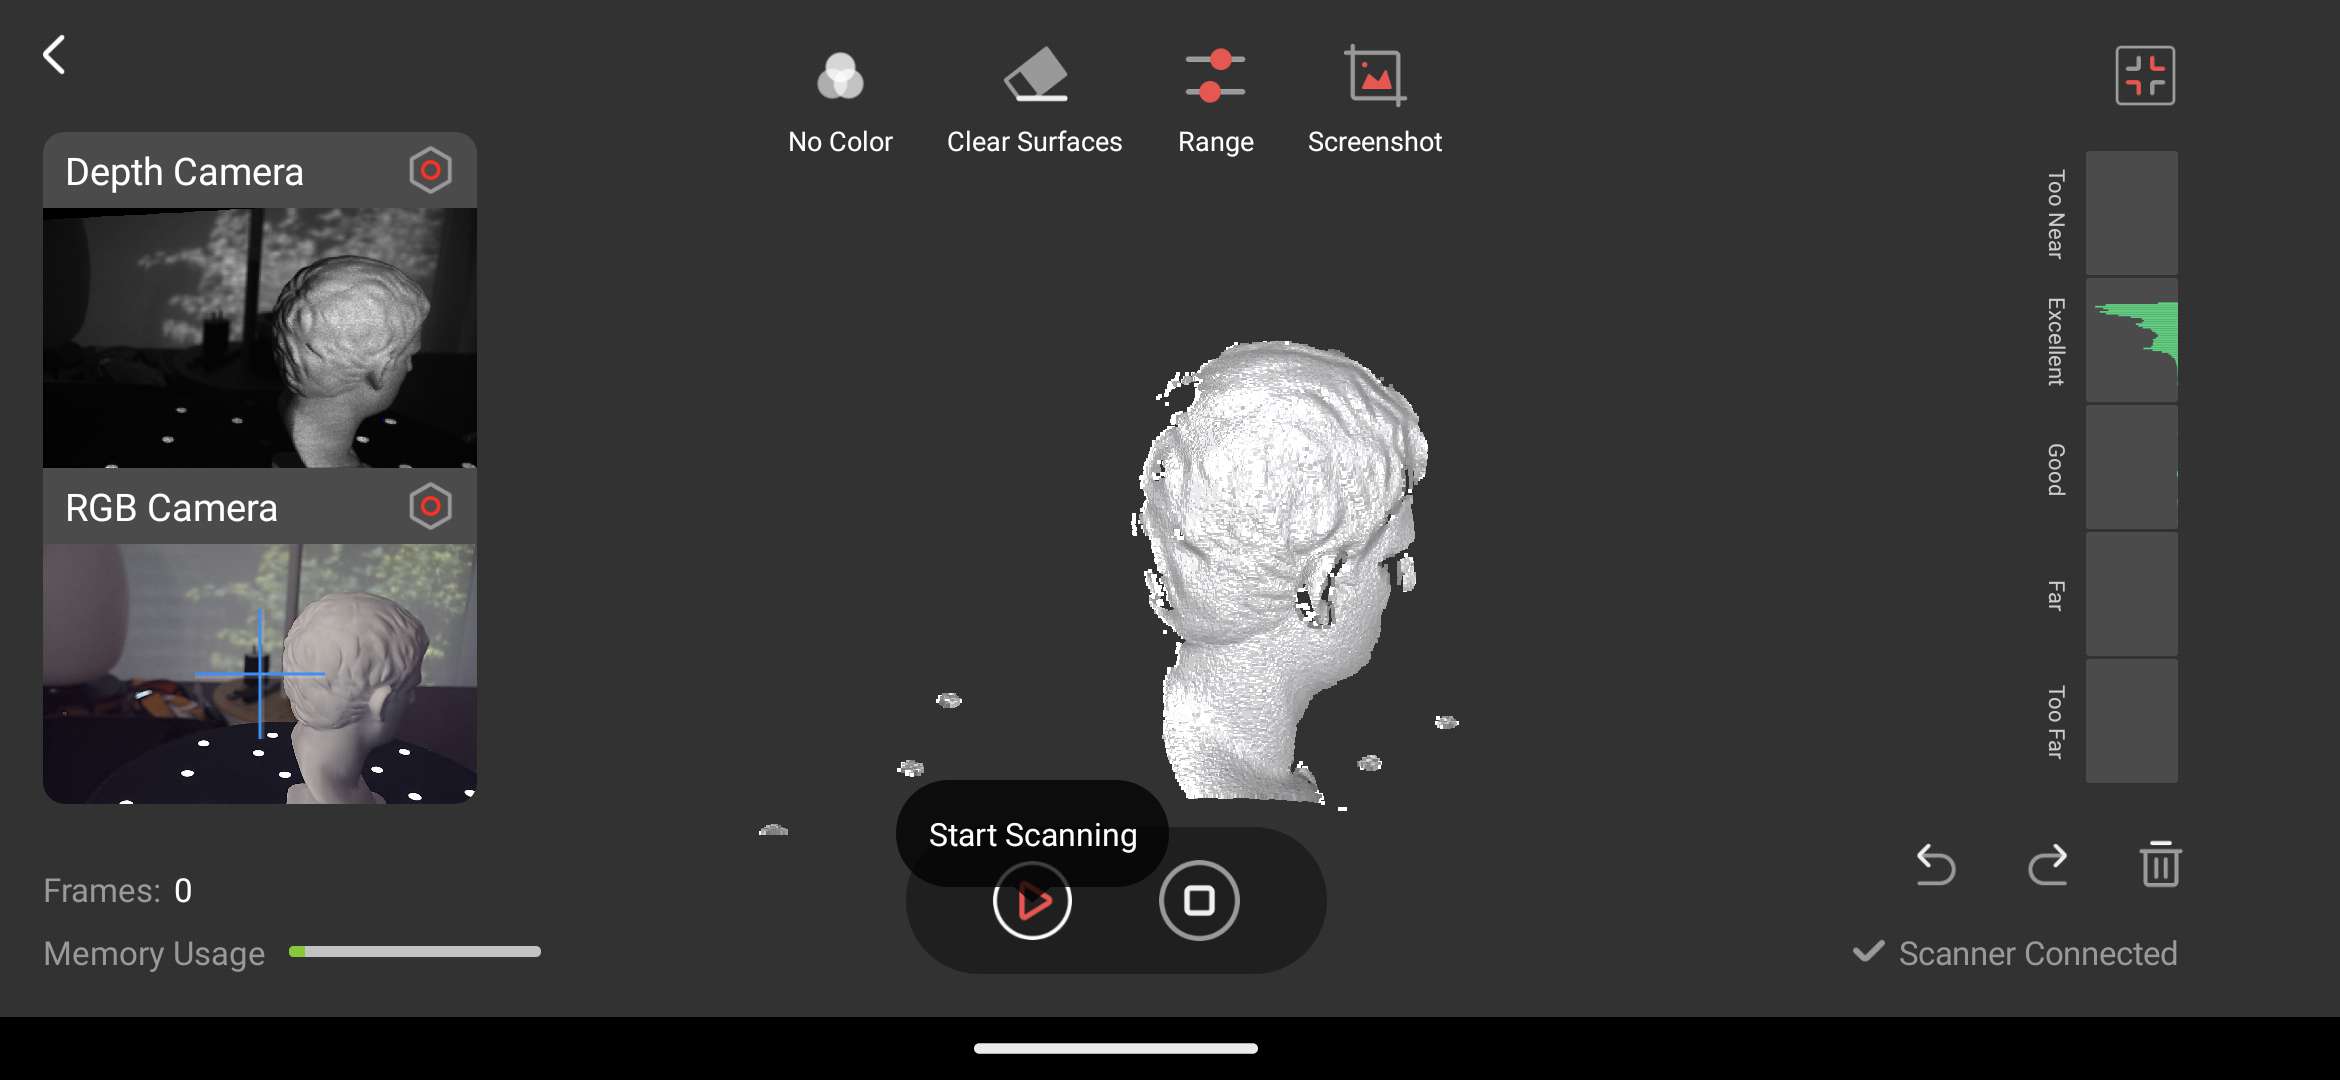
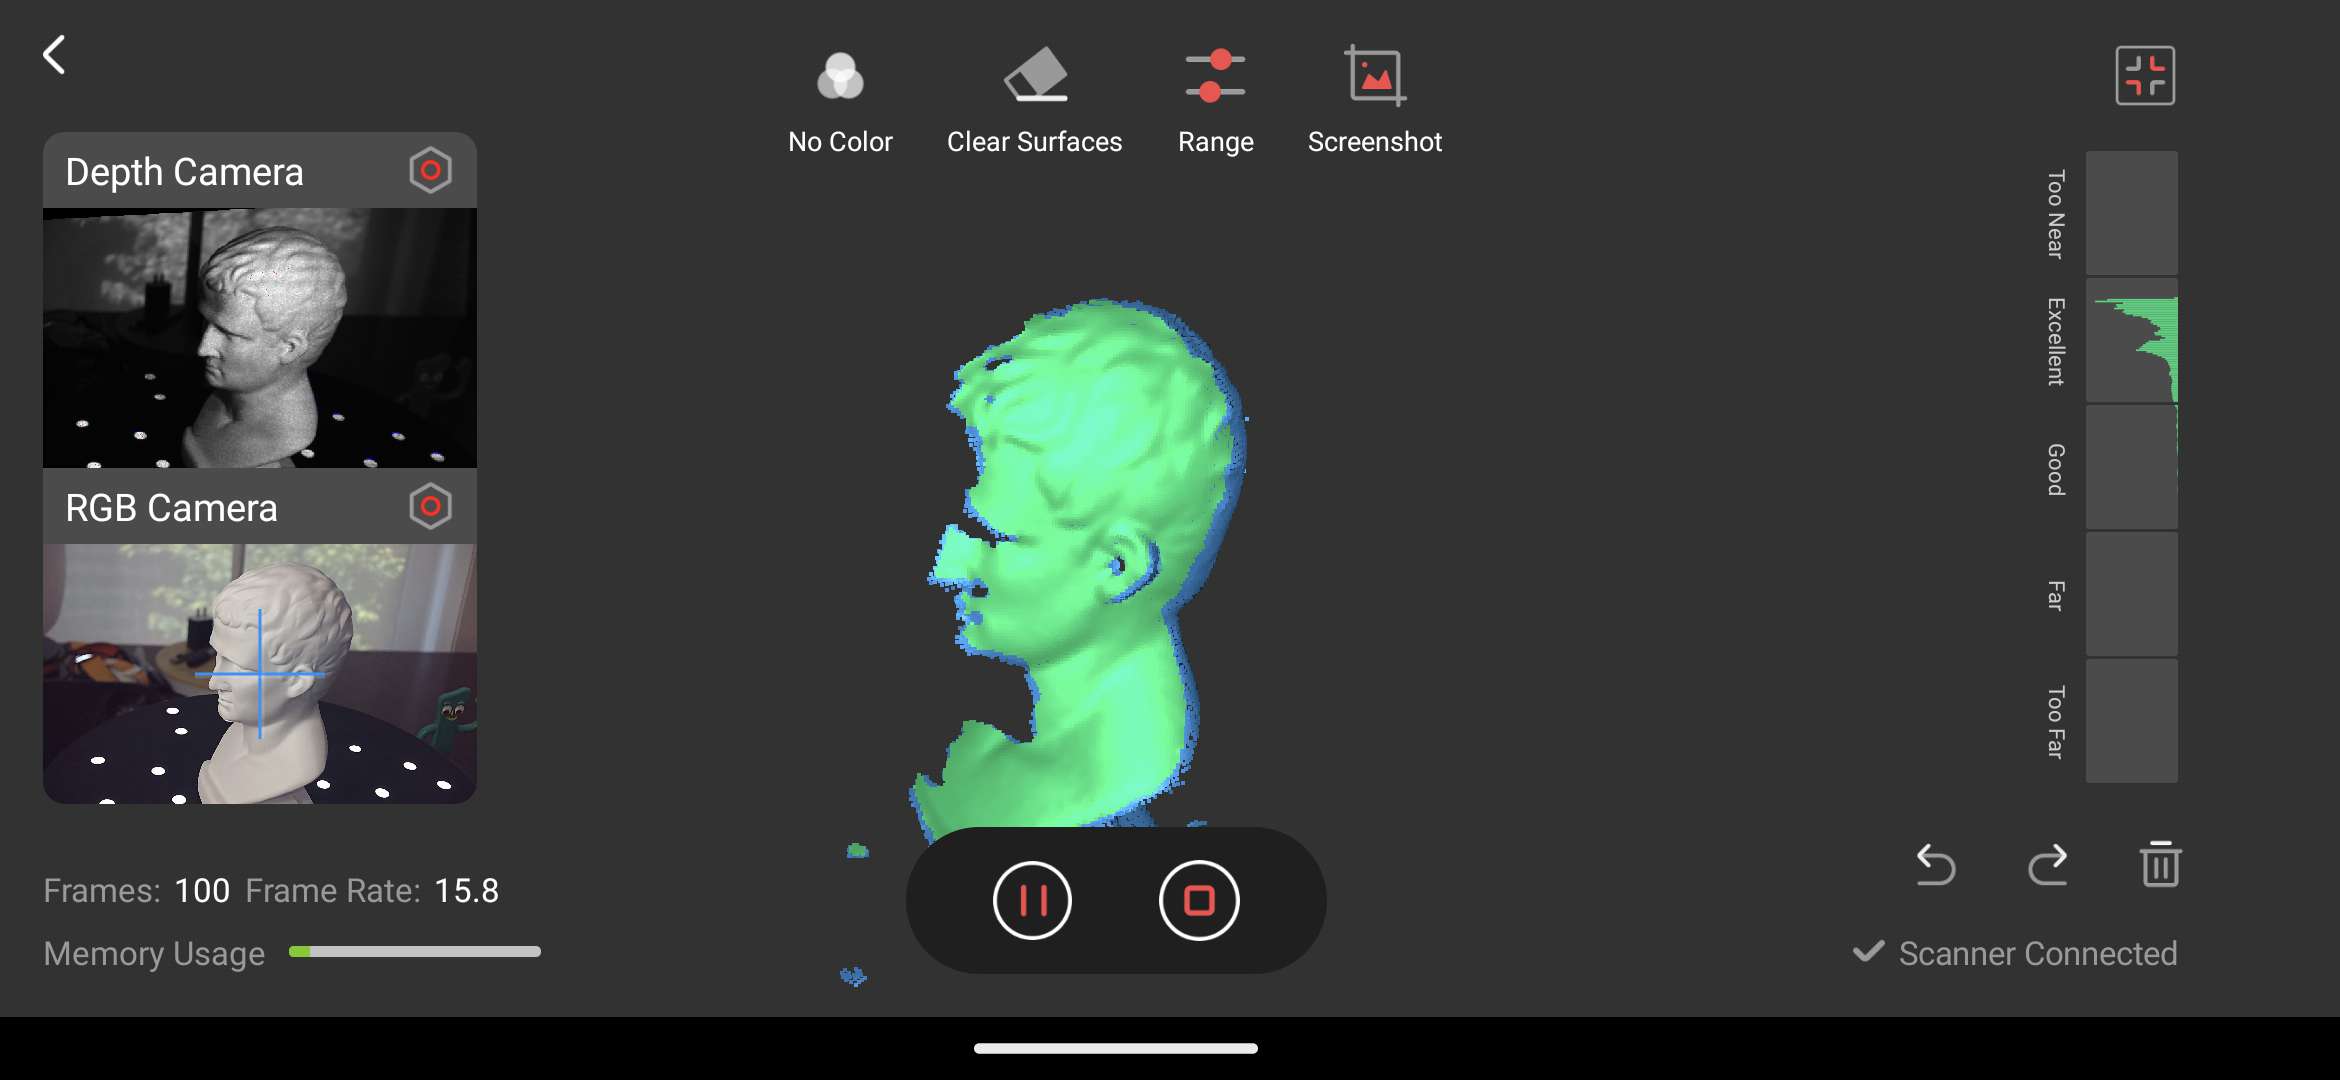
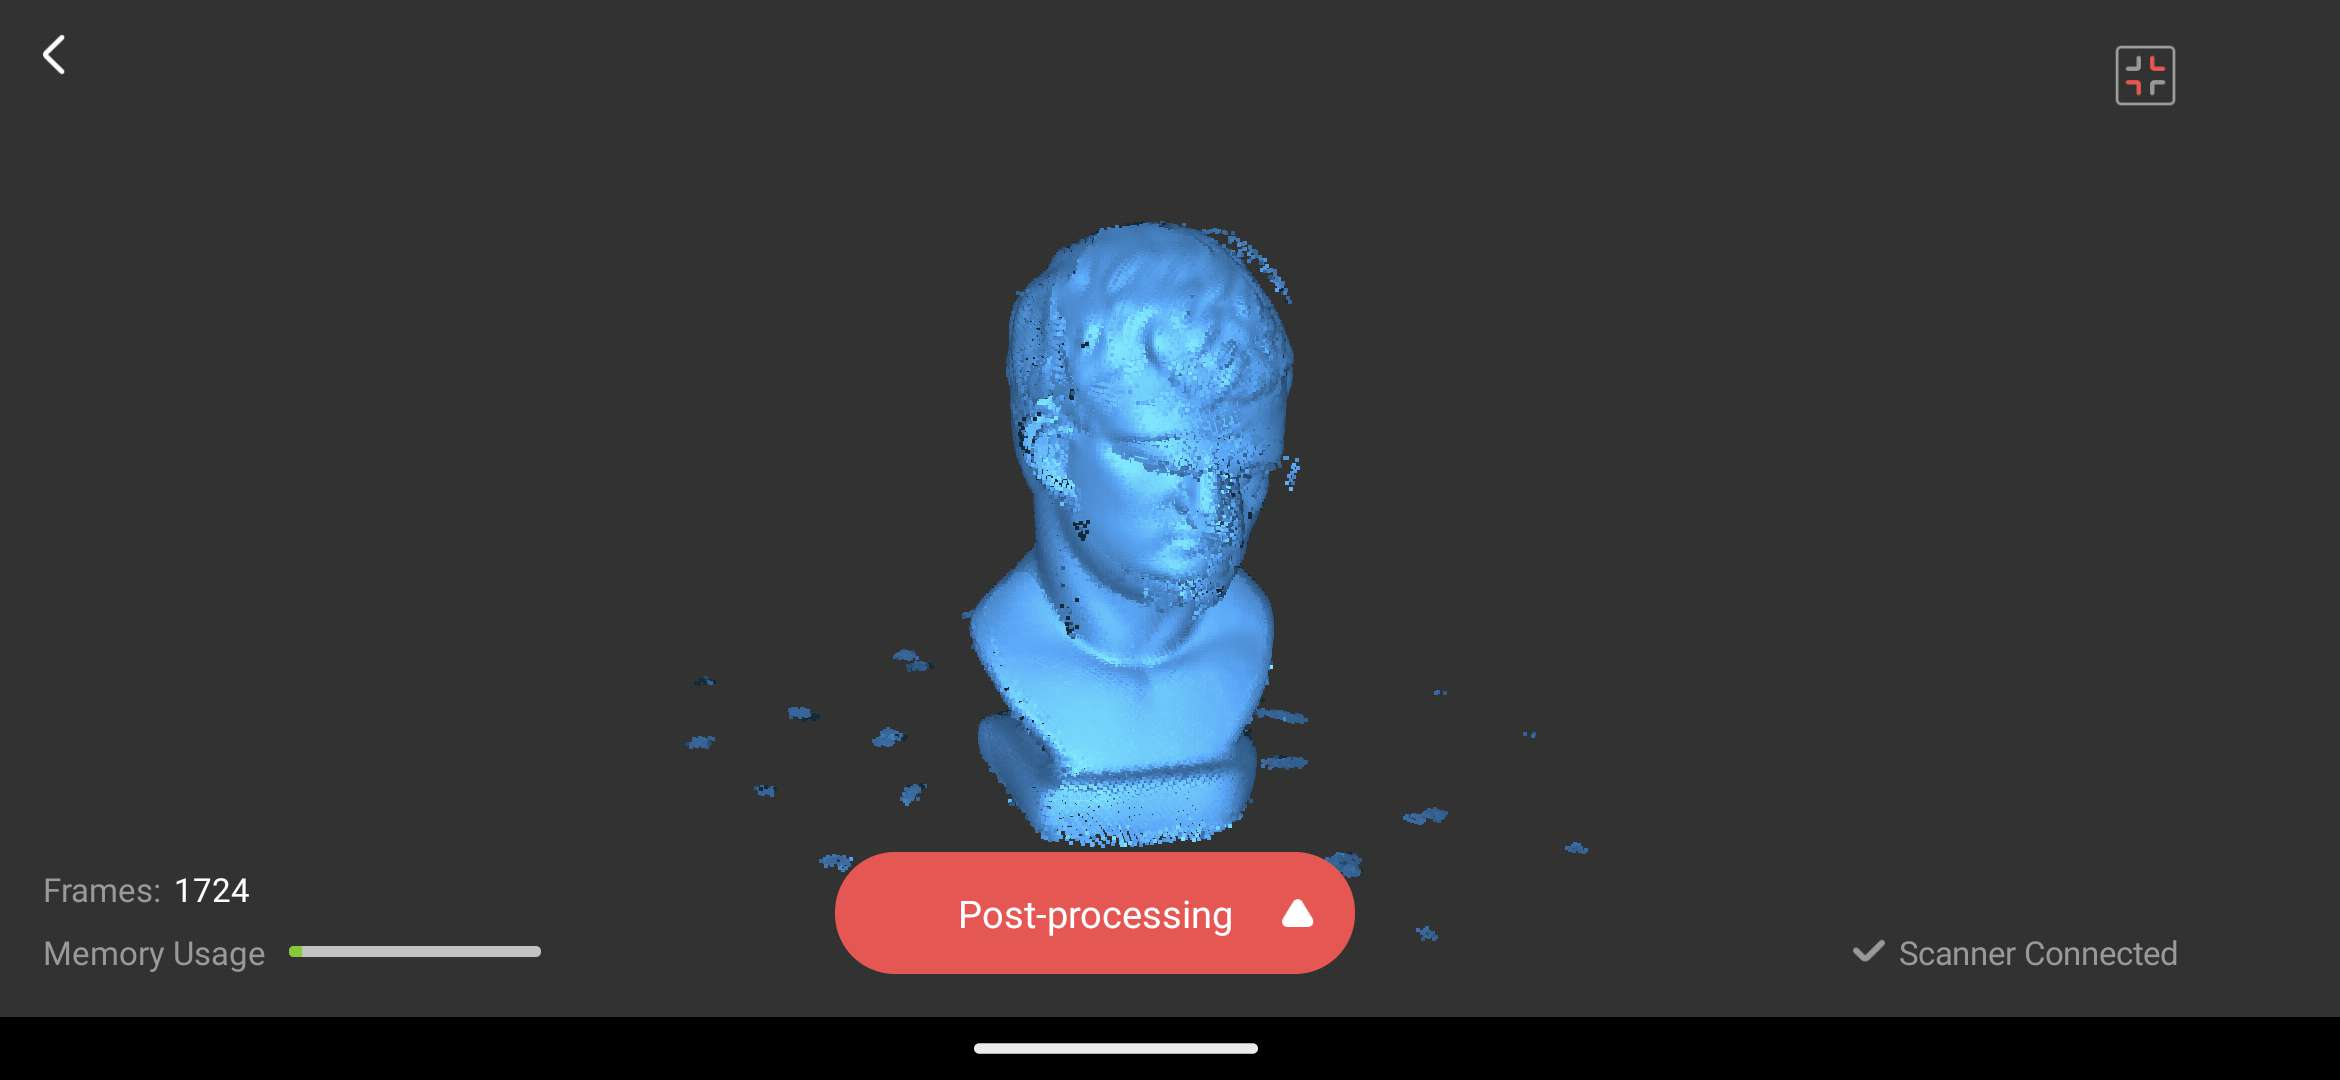
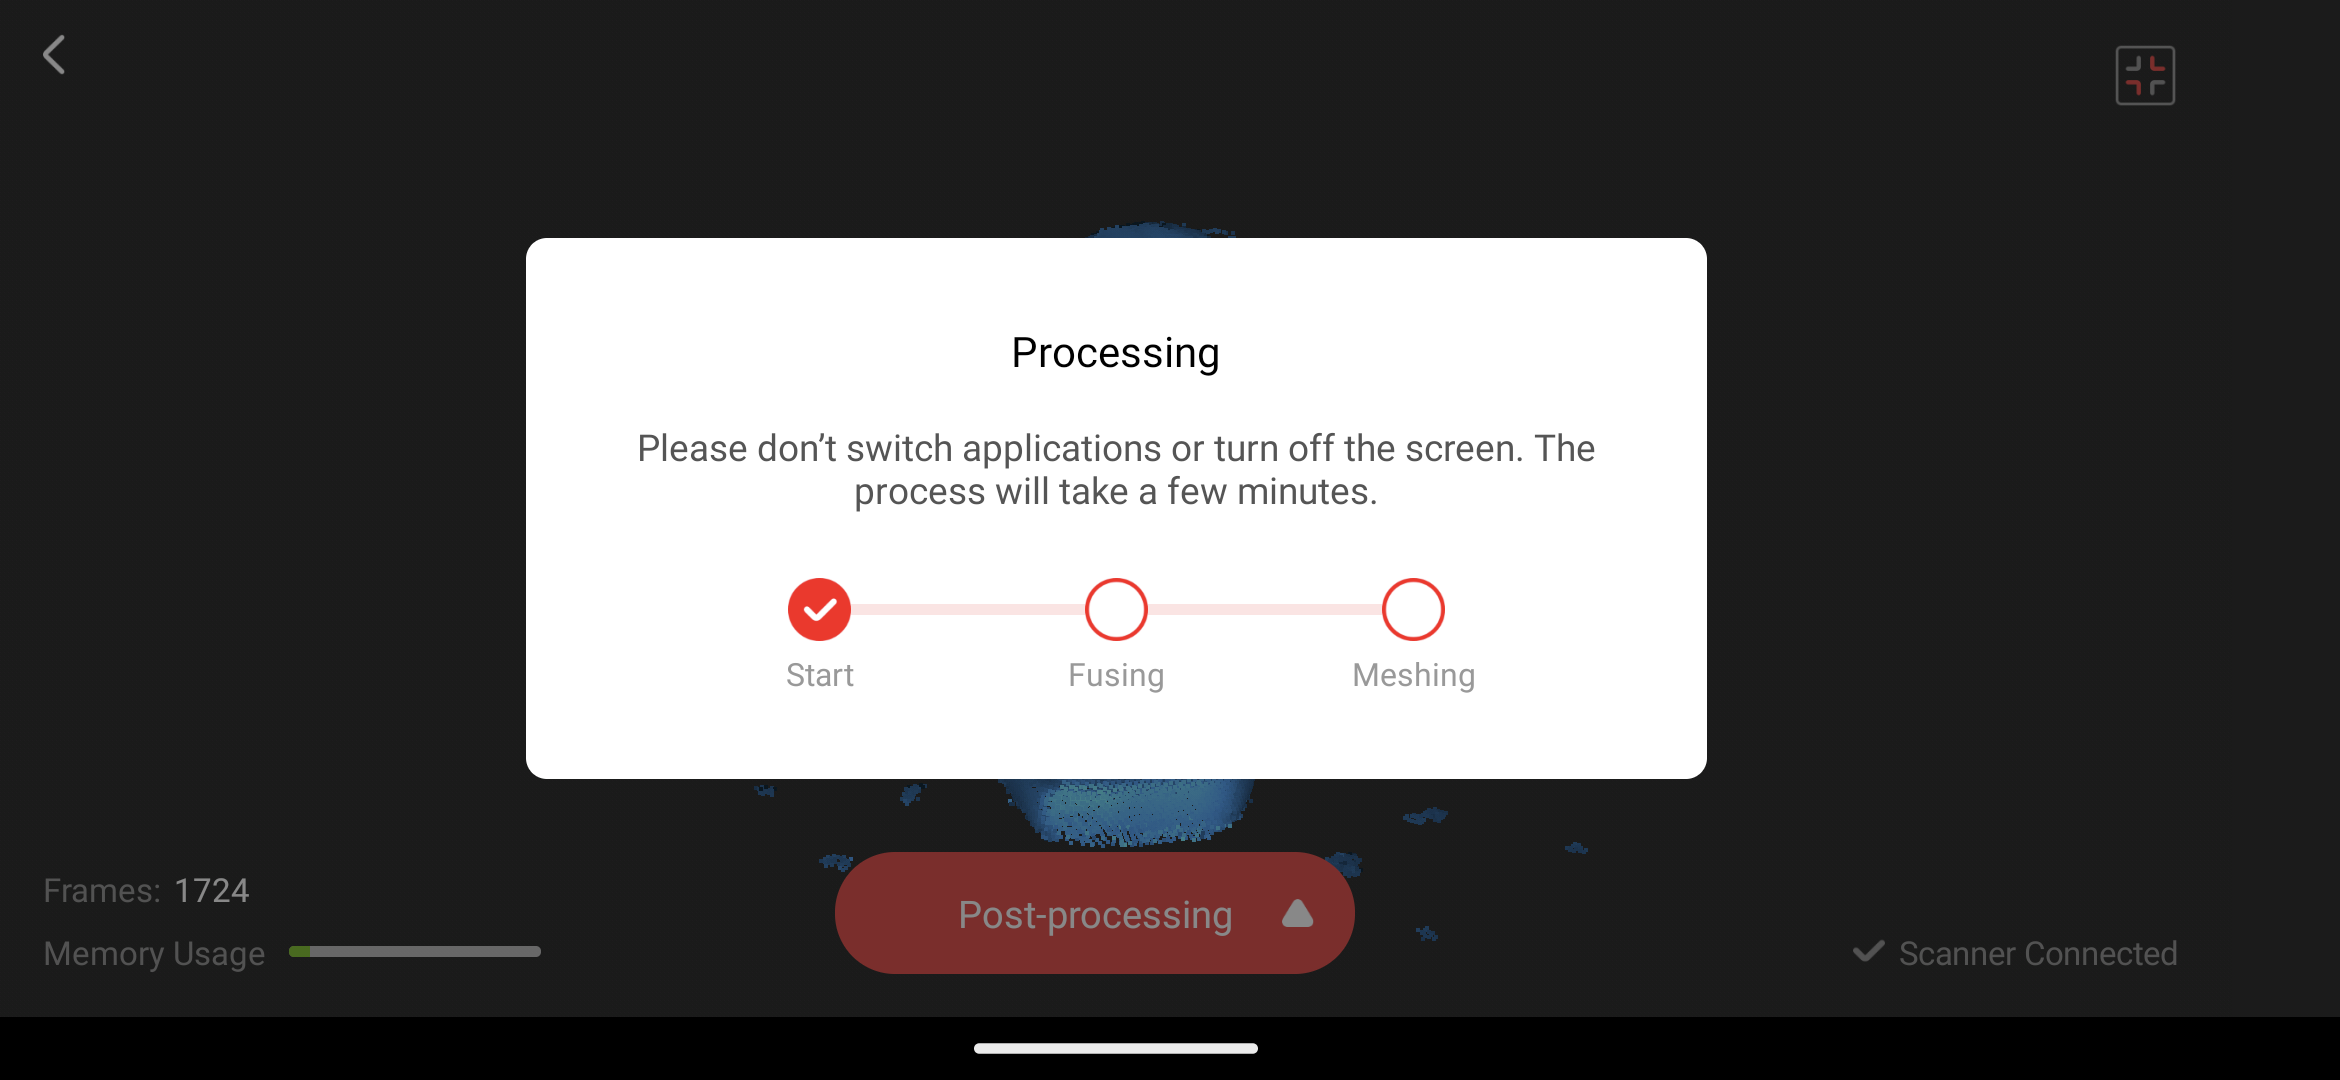
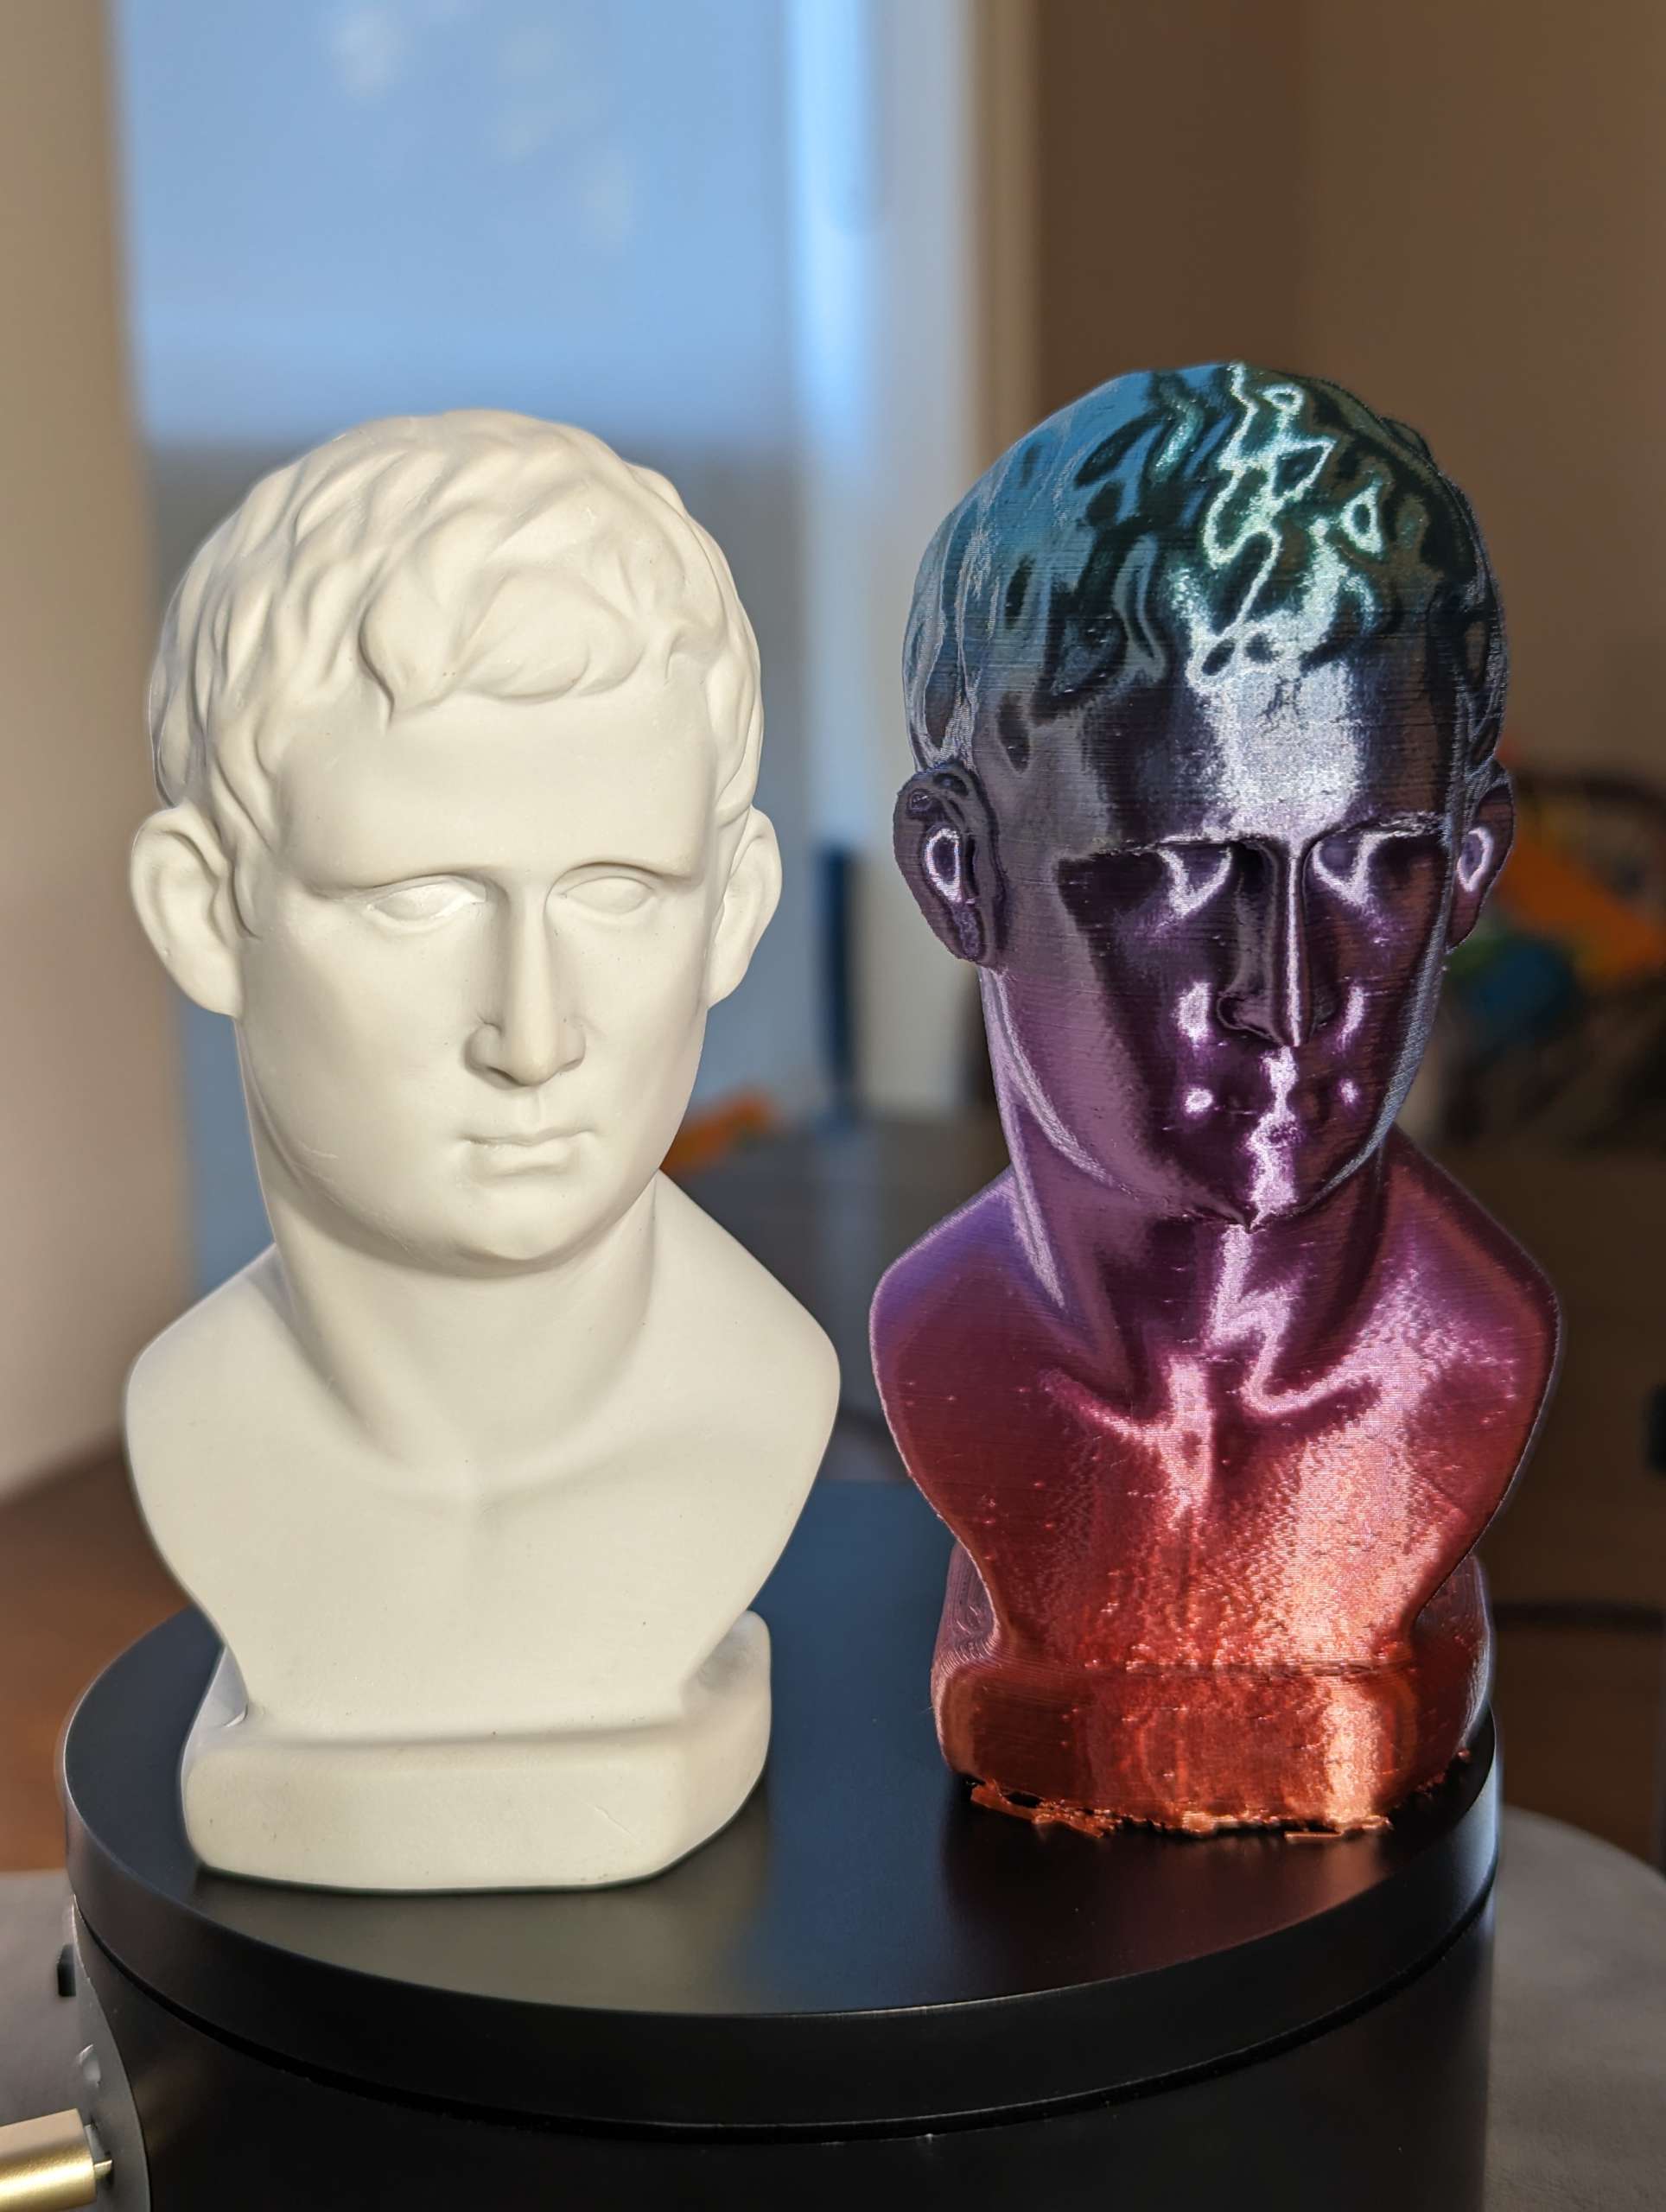
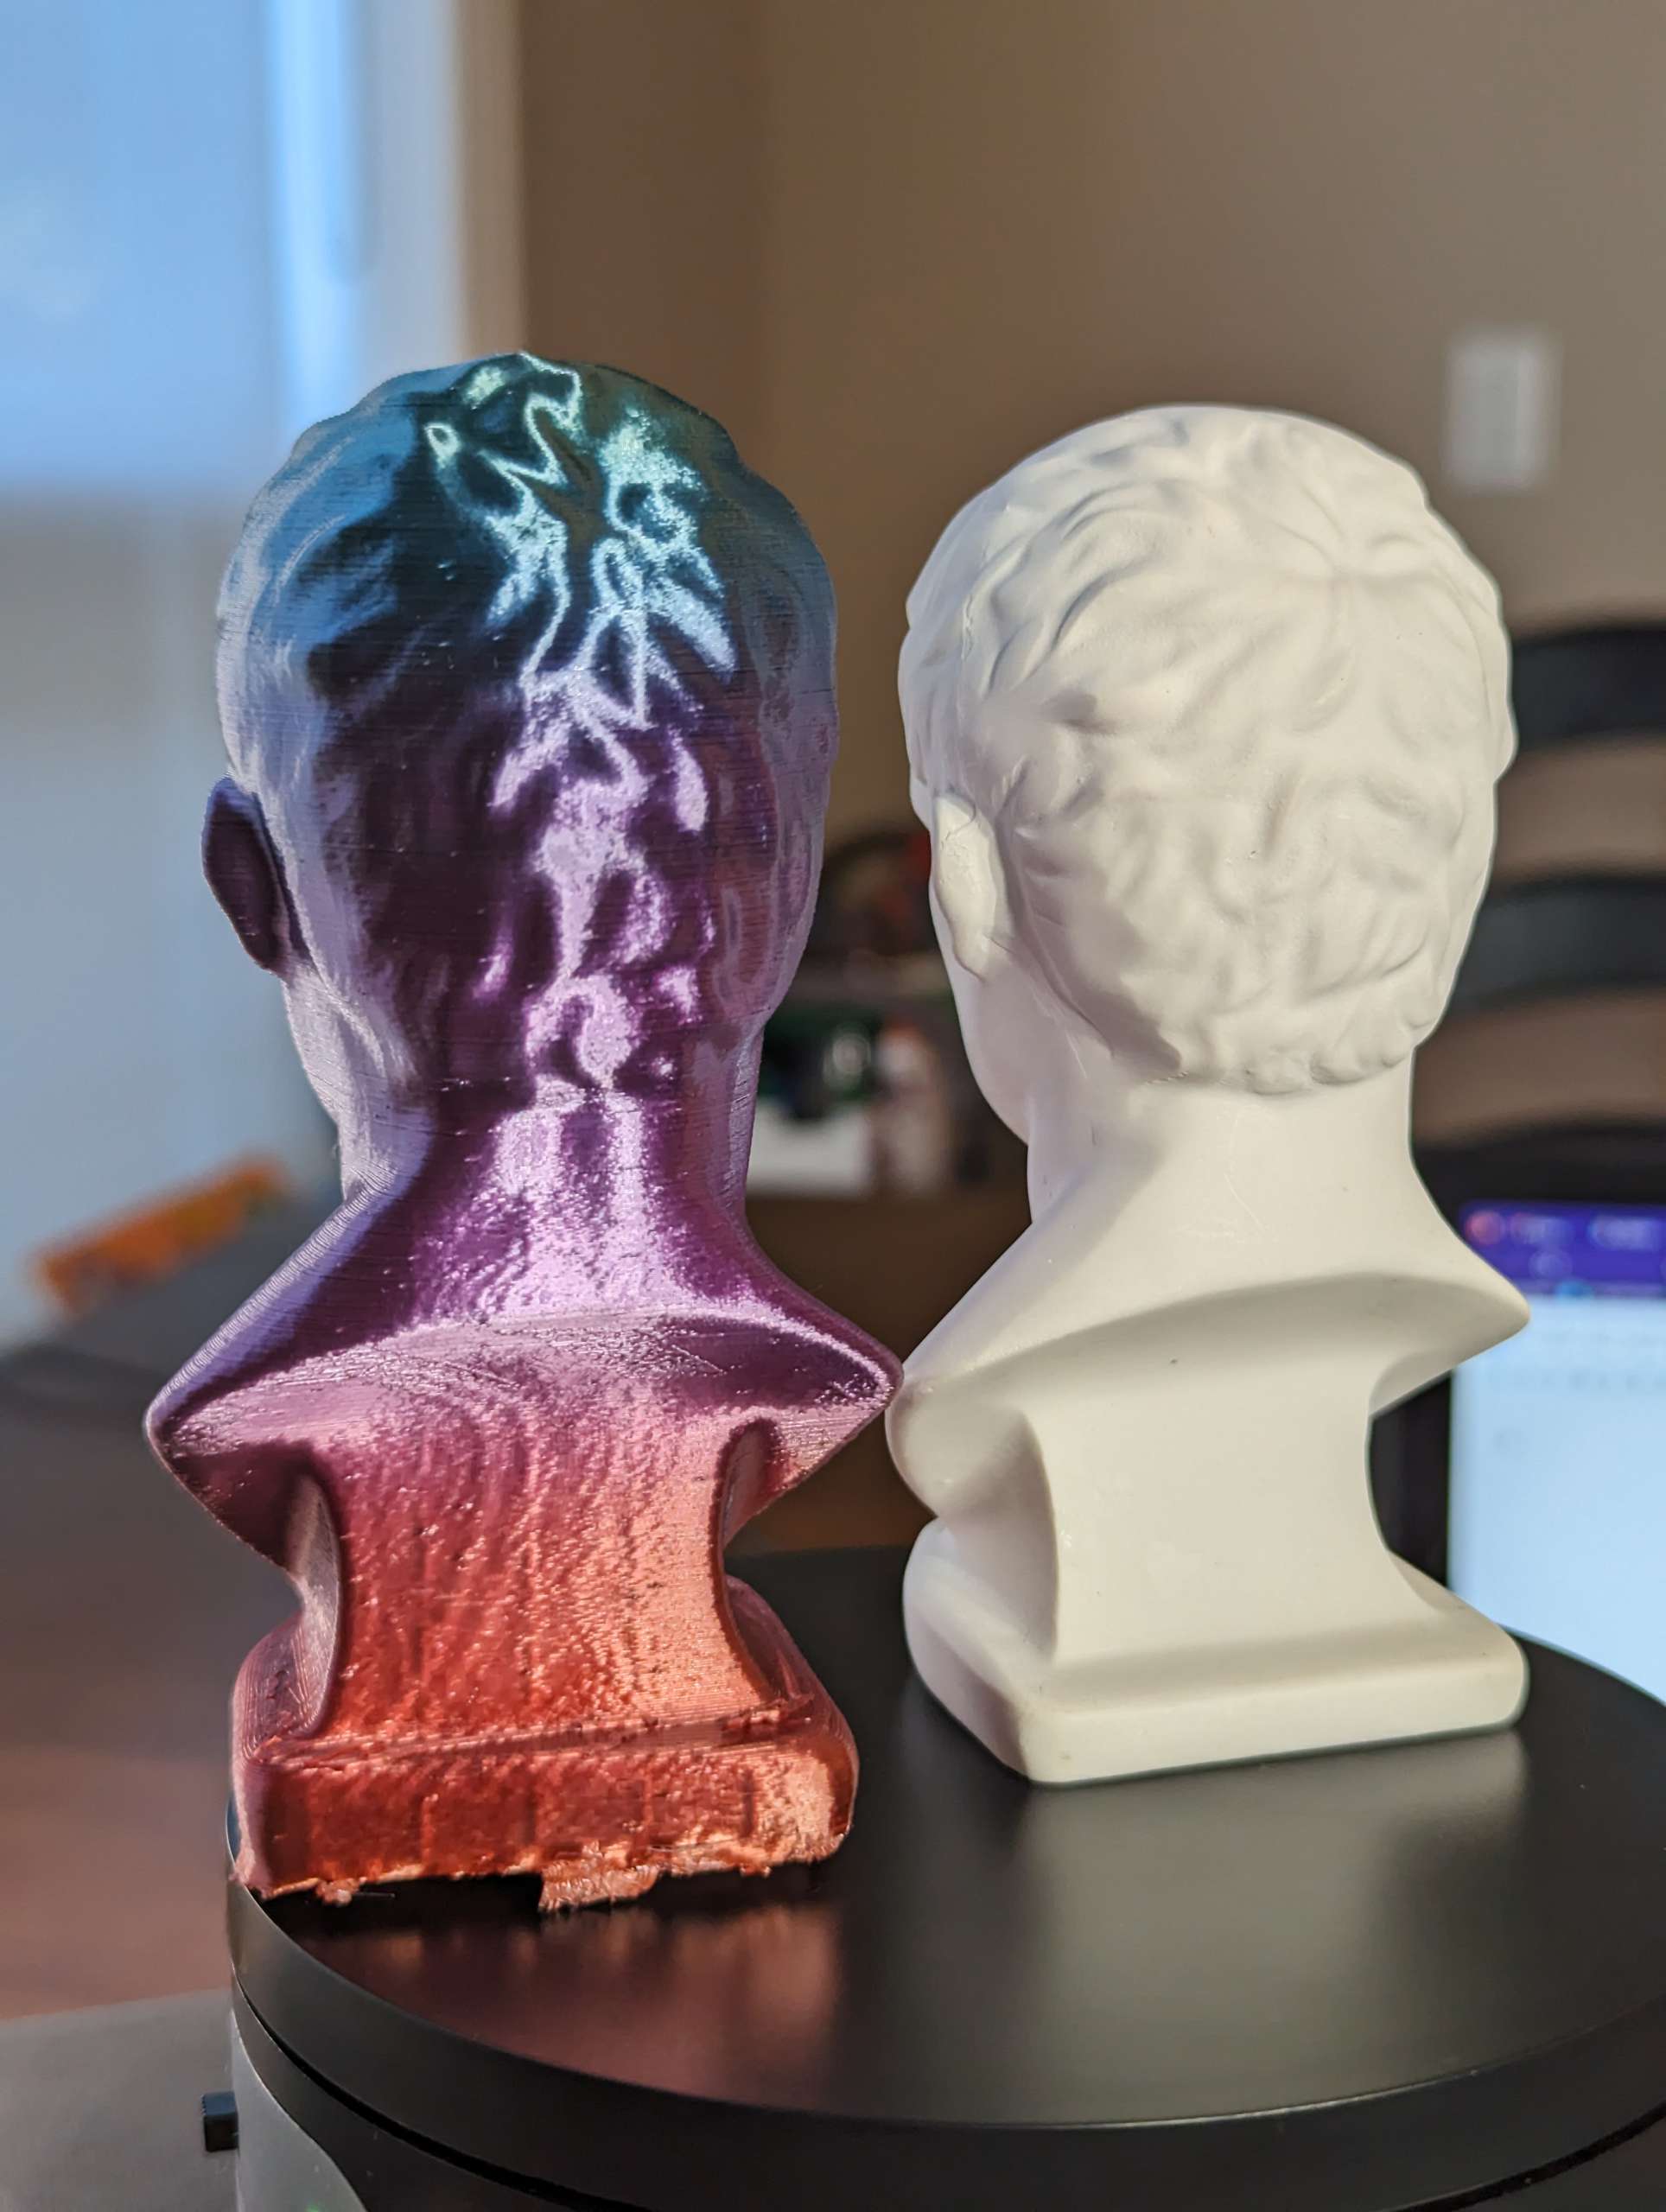
The Revopoint POP 3 is the first 3D scanner I have ever used so considering that I thought it was amazing. Just a couple rotations of an object was enough to get a highly detailed scan. There were spots on the 3D model that I missed and had some holes in the model but the Revo Scan software lets you fill the holes in or smooth out bumpy areas.

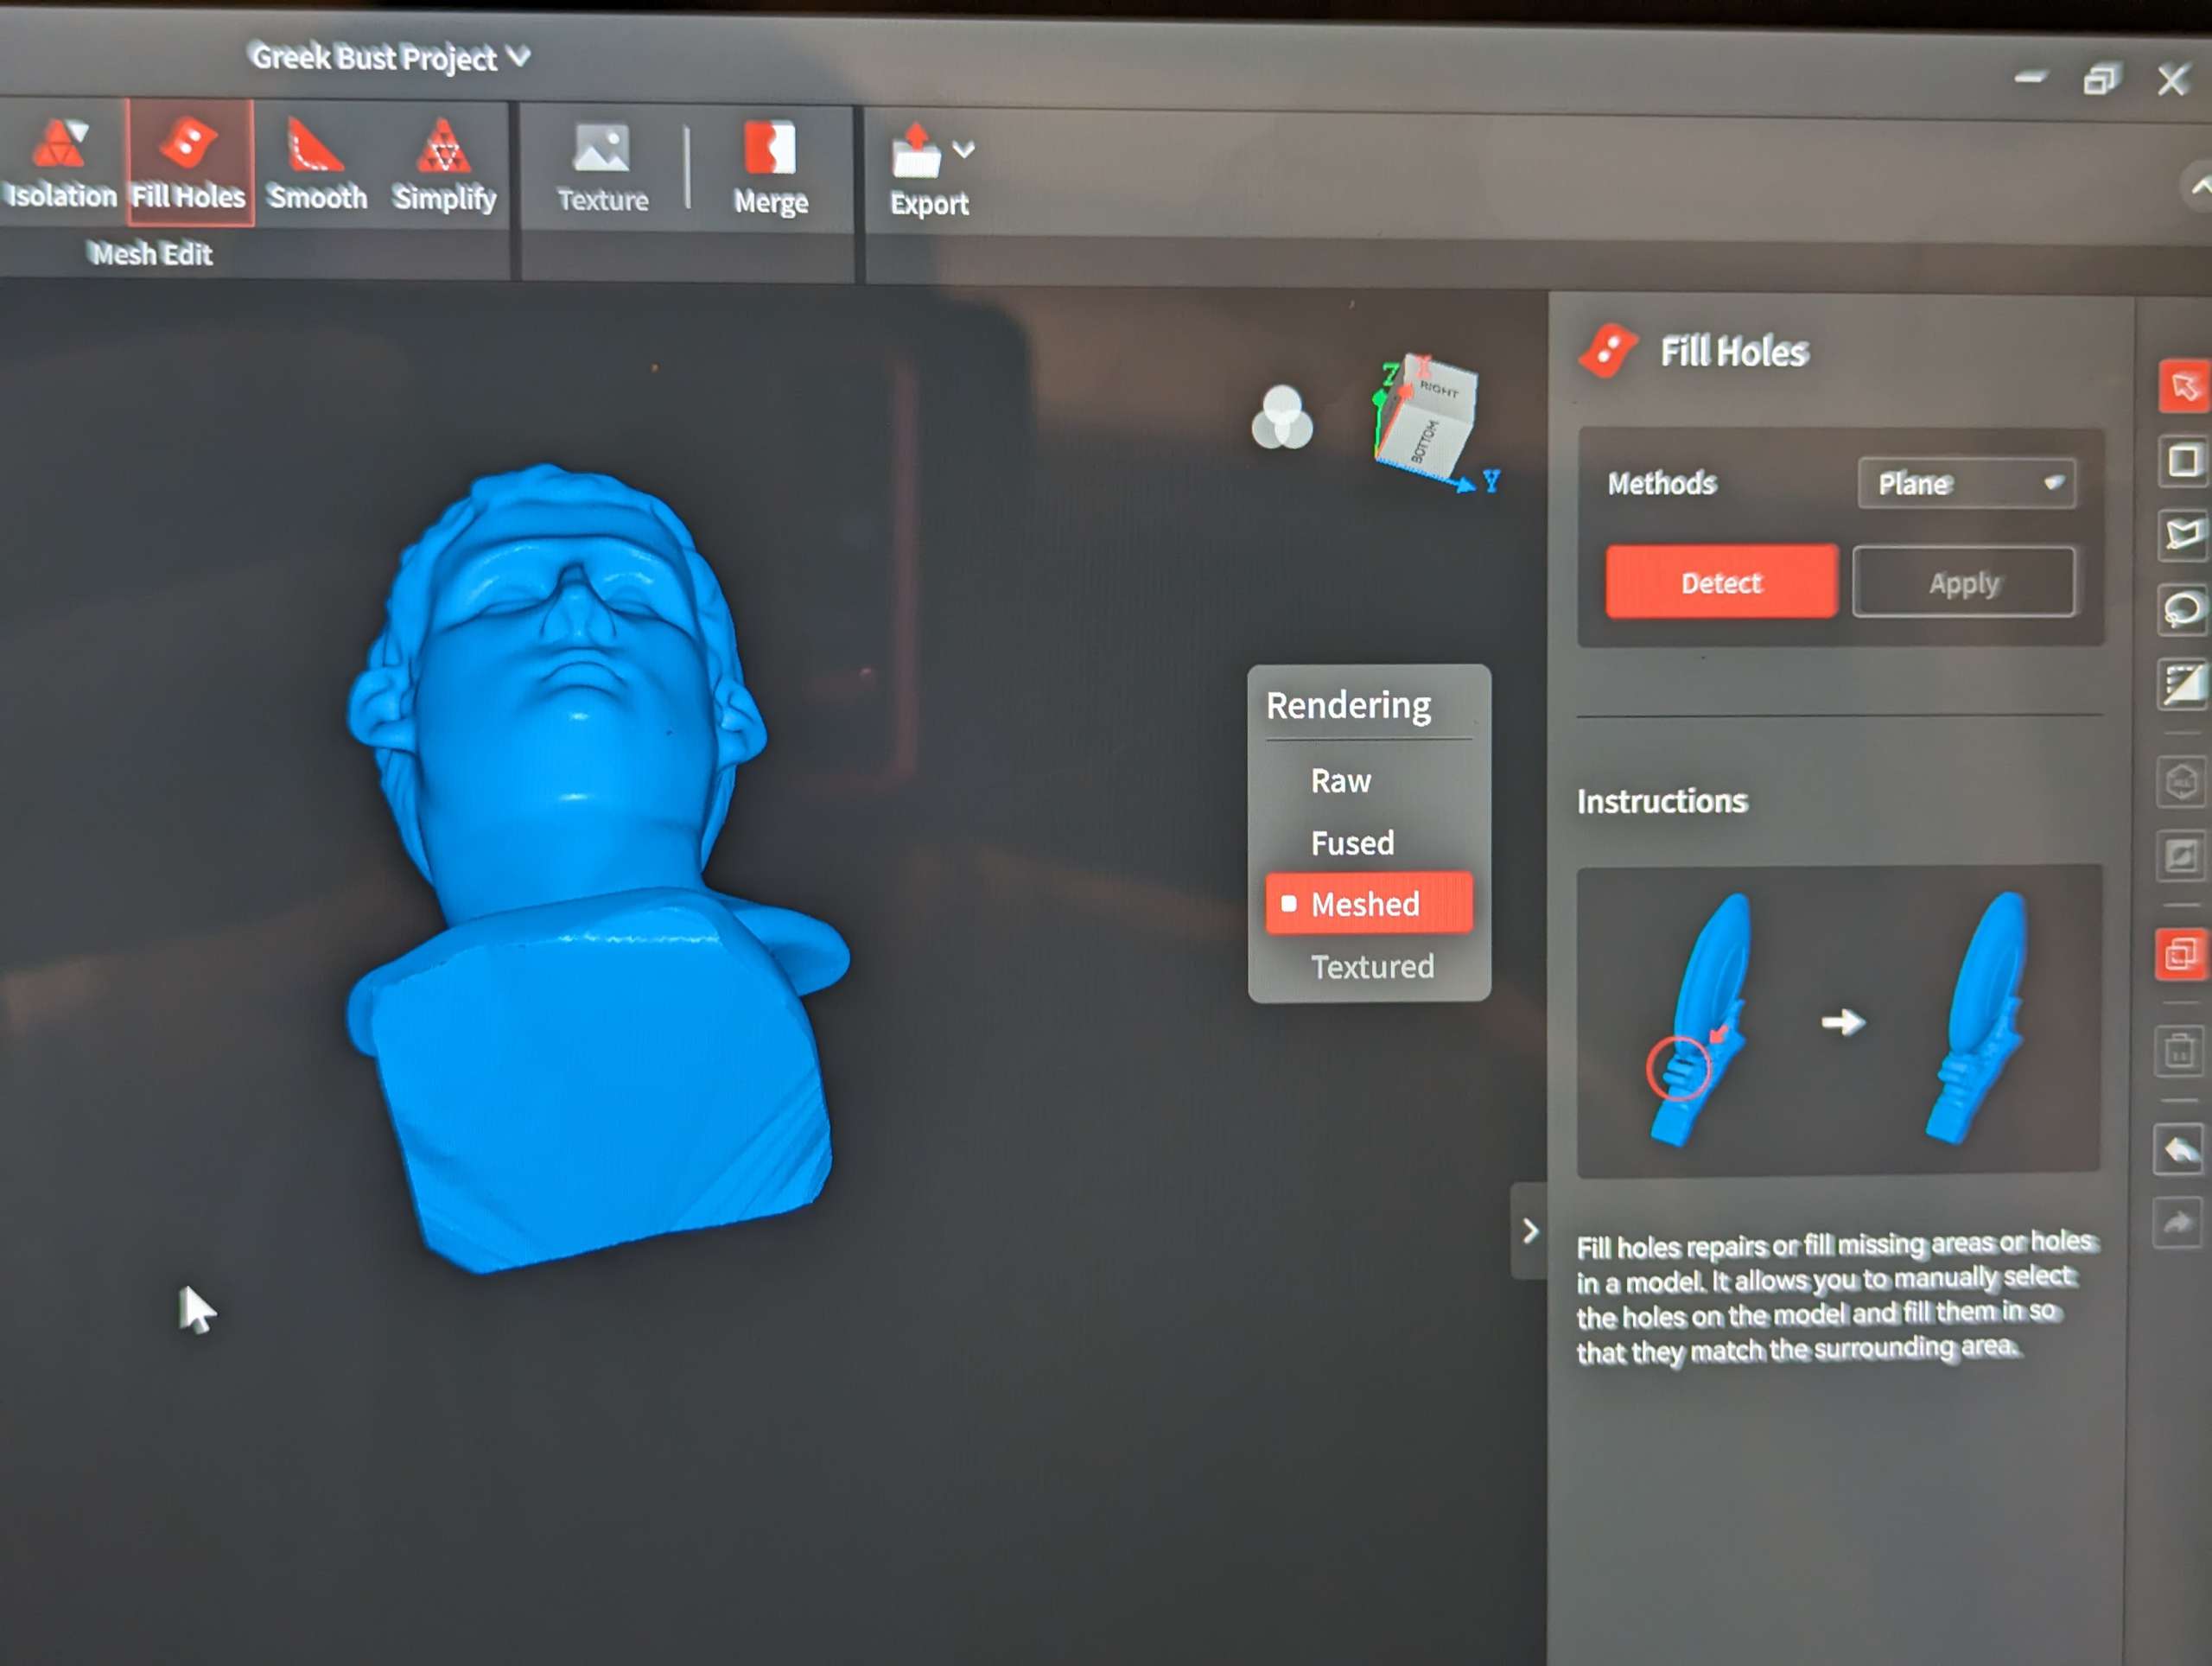
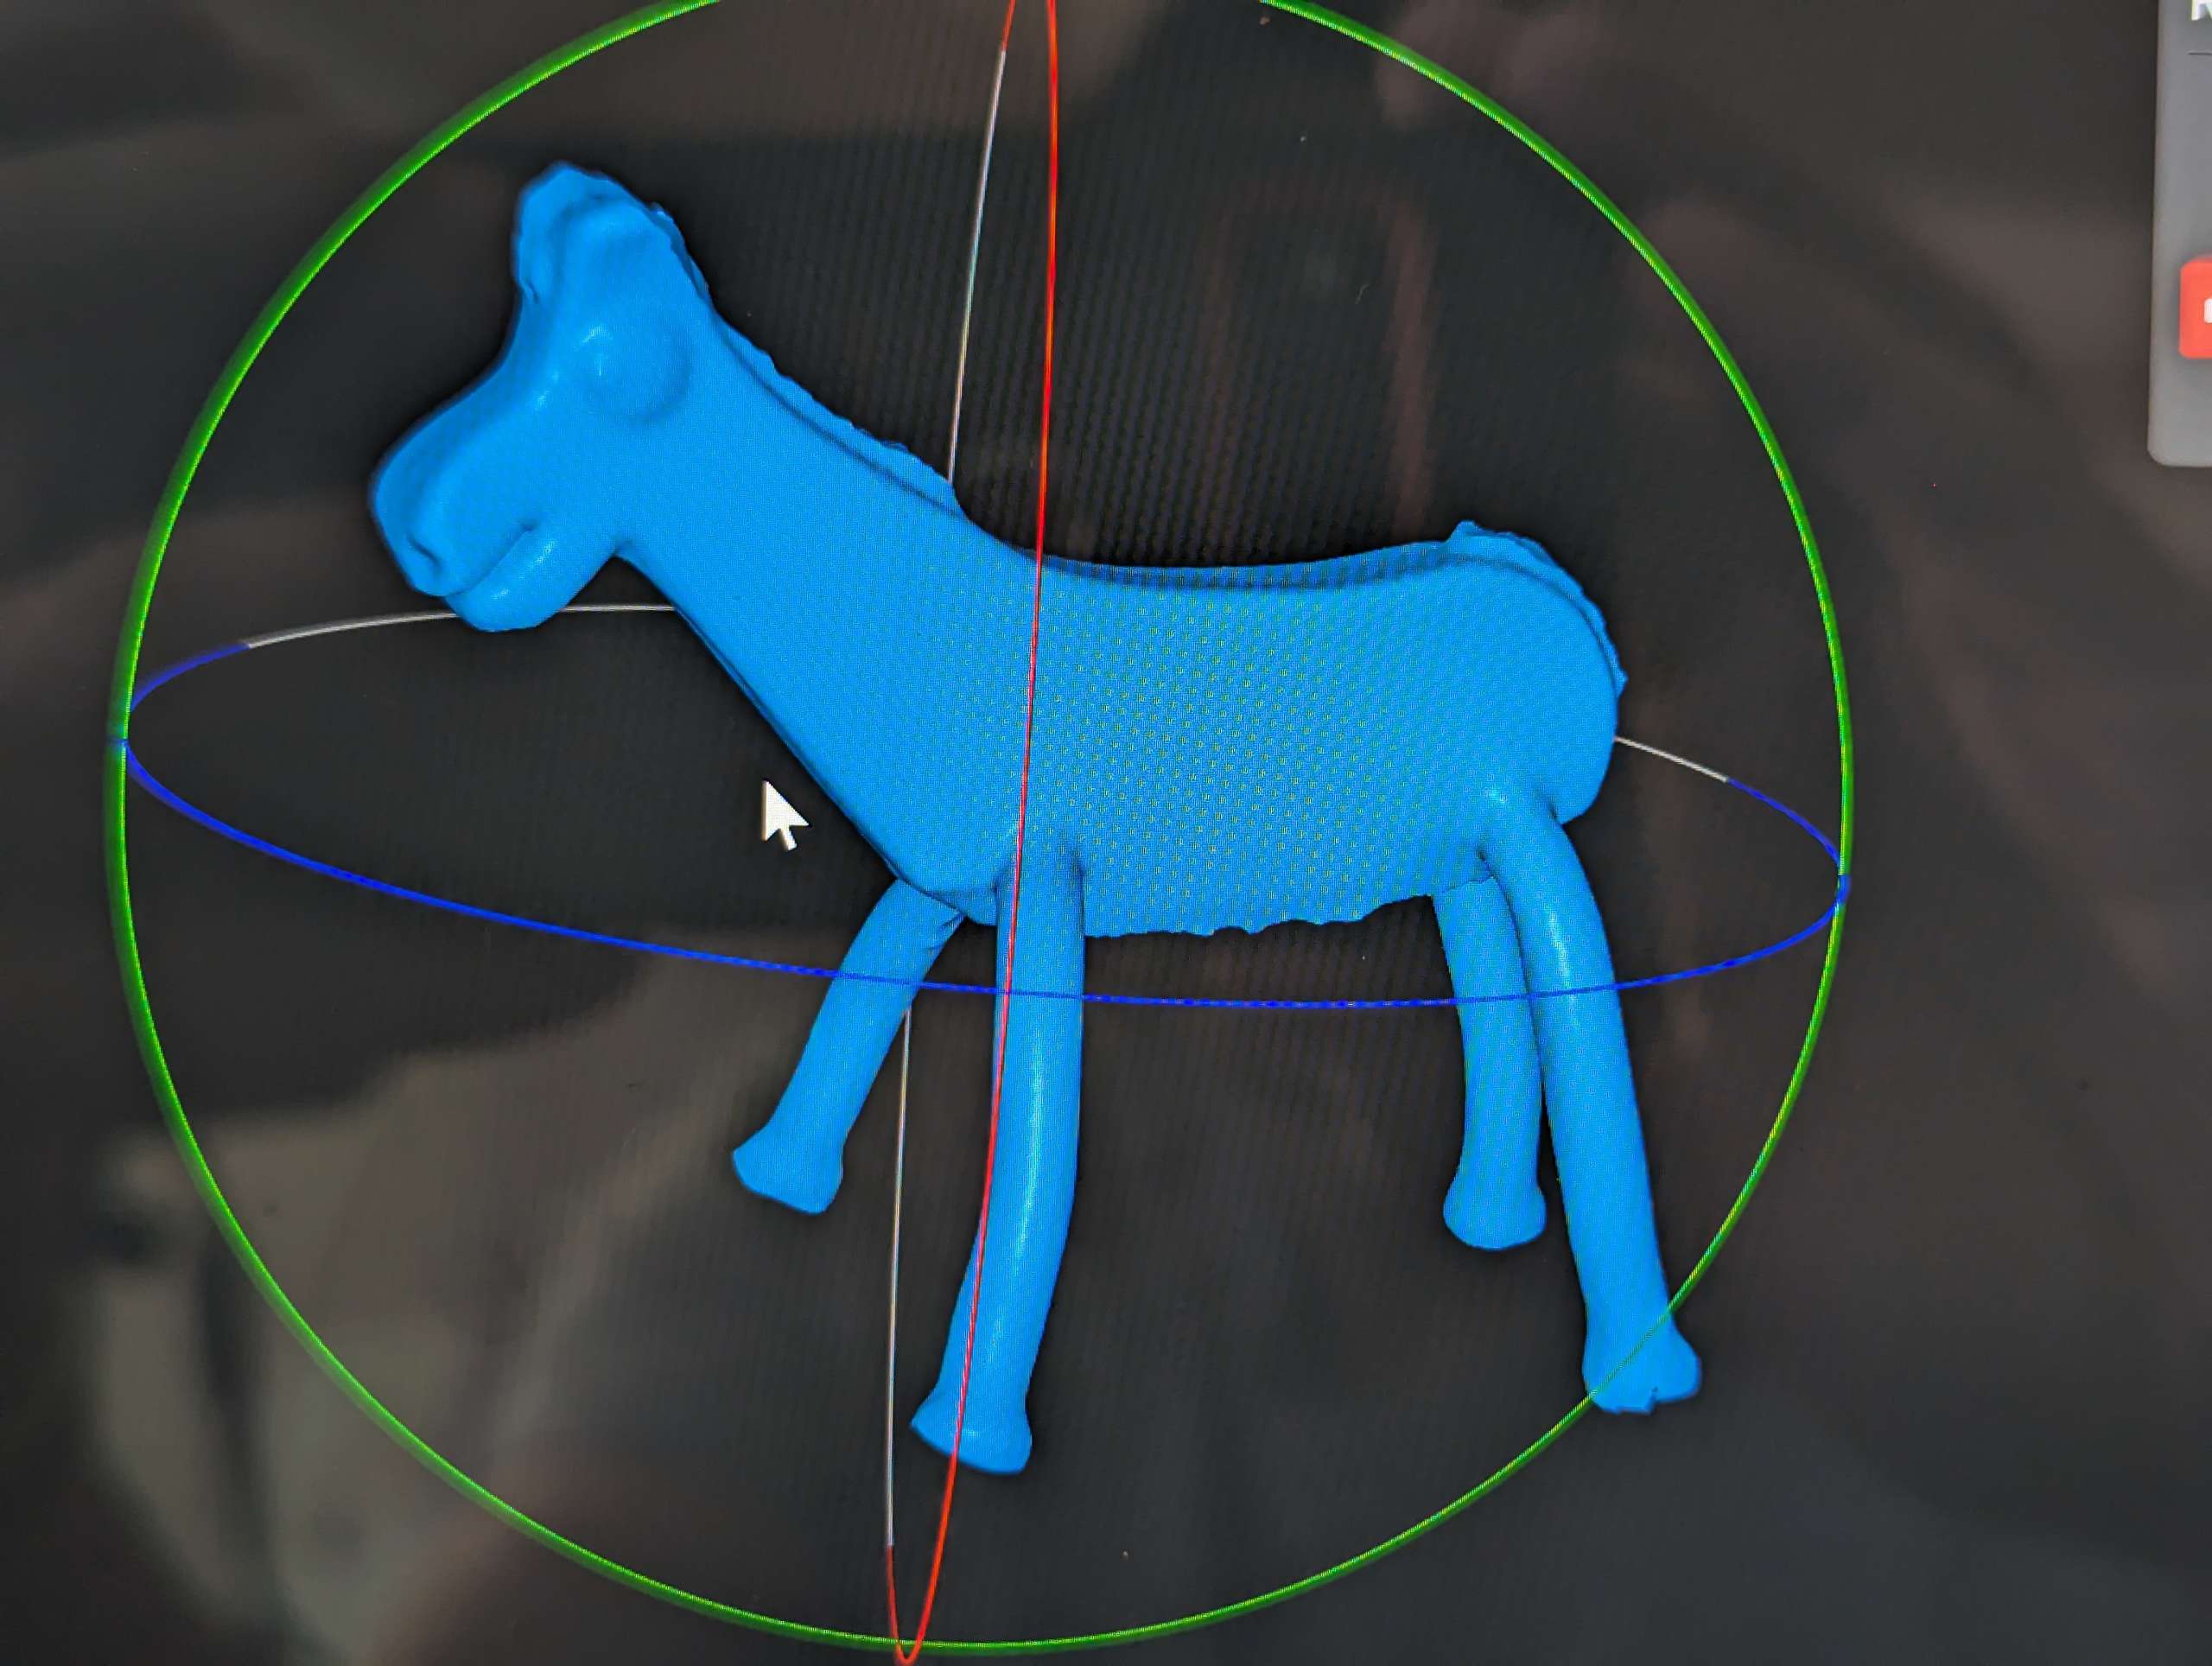
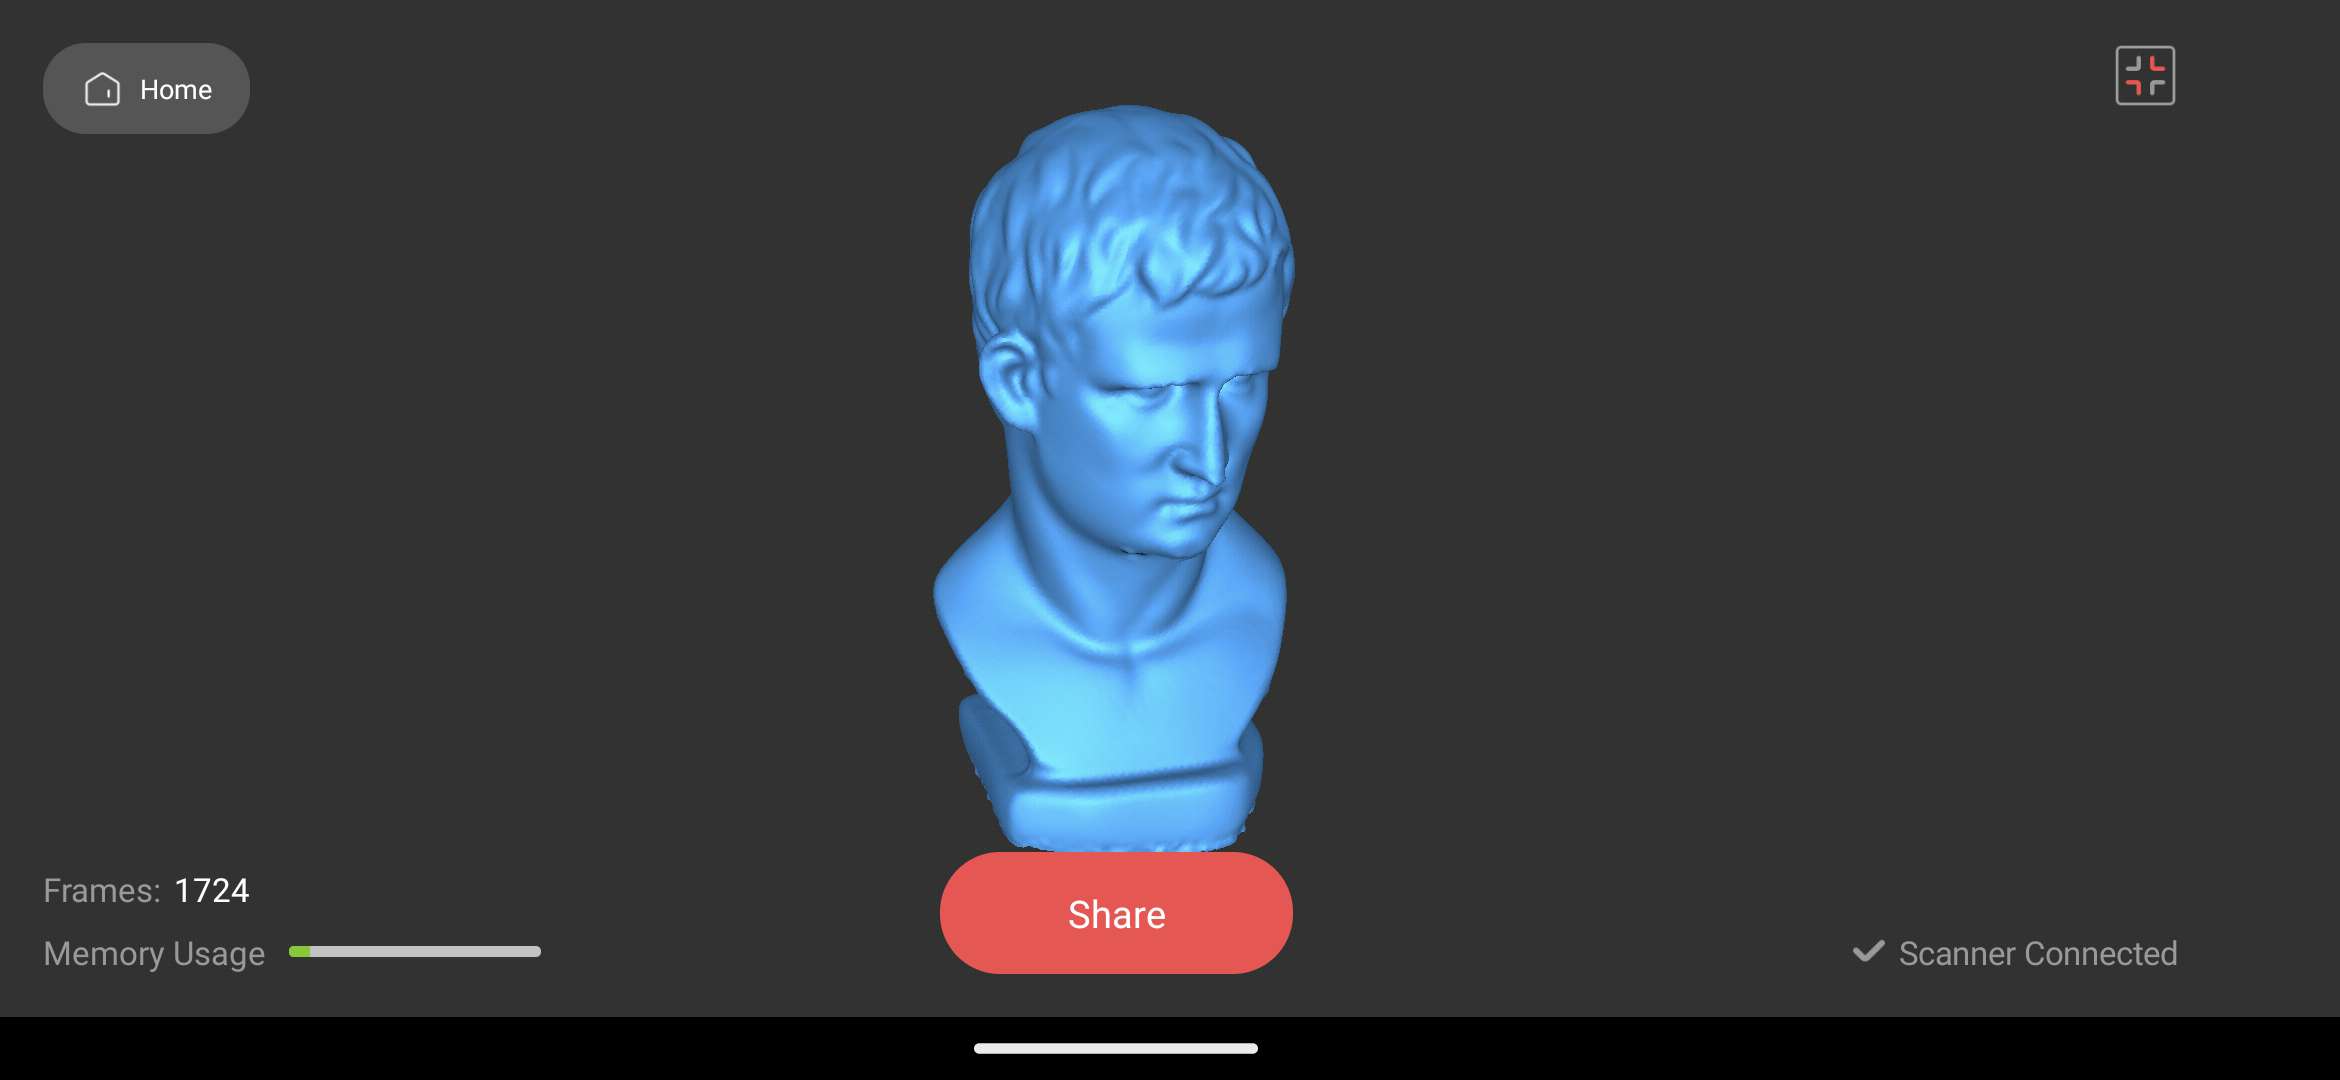
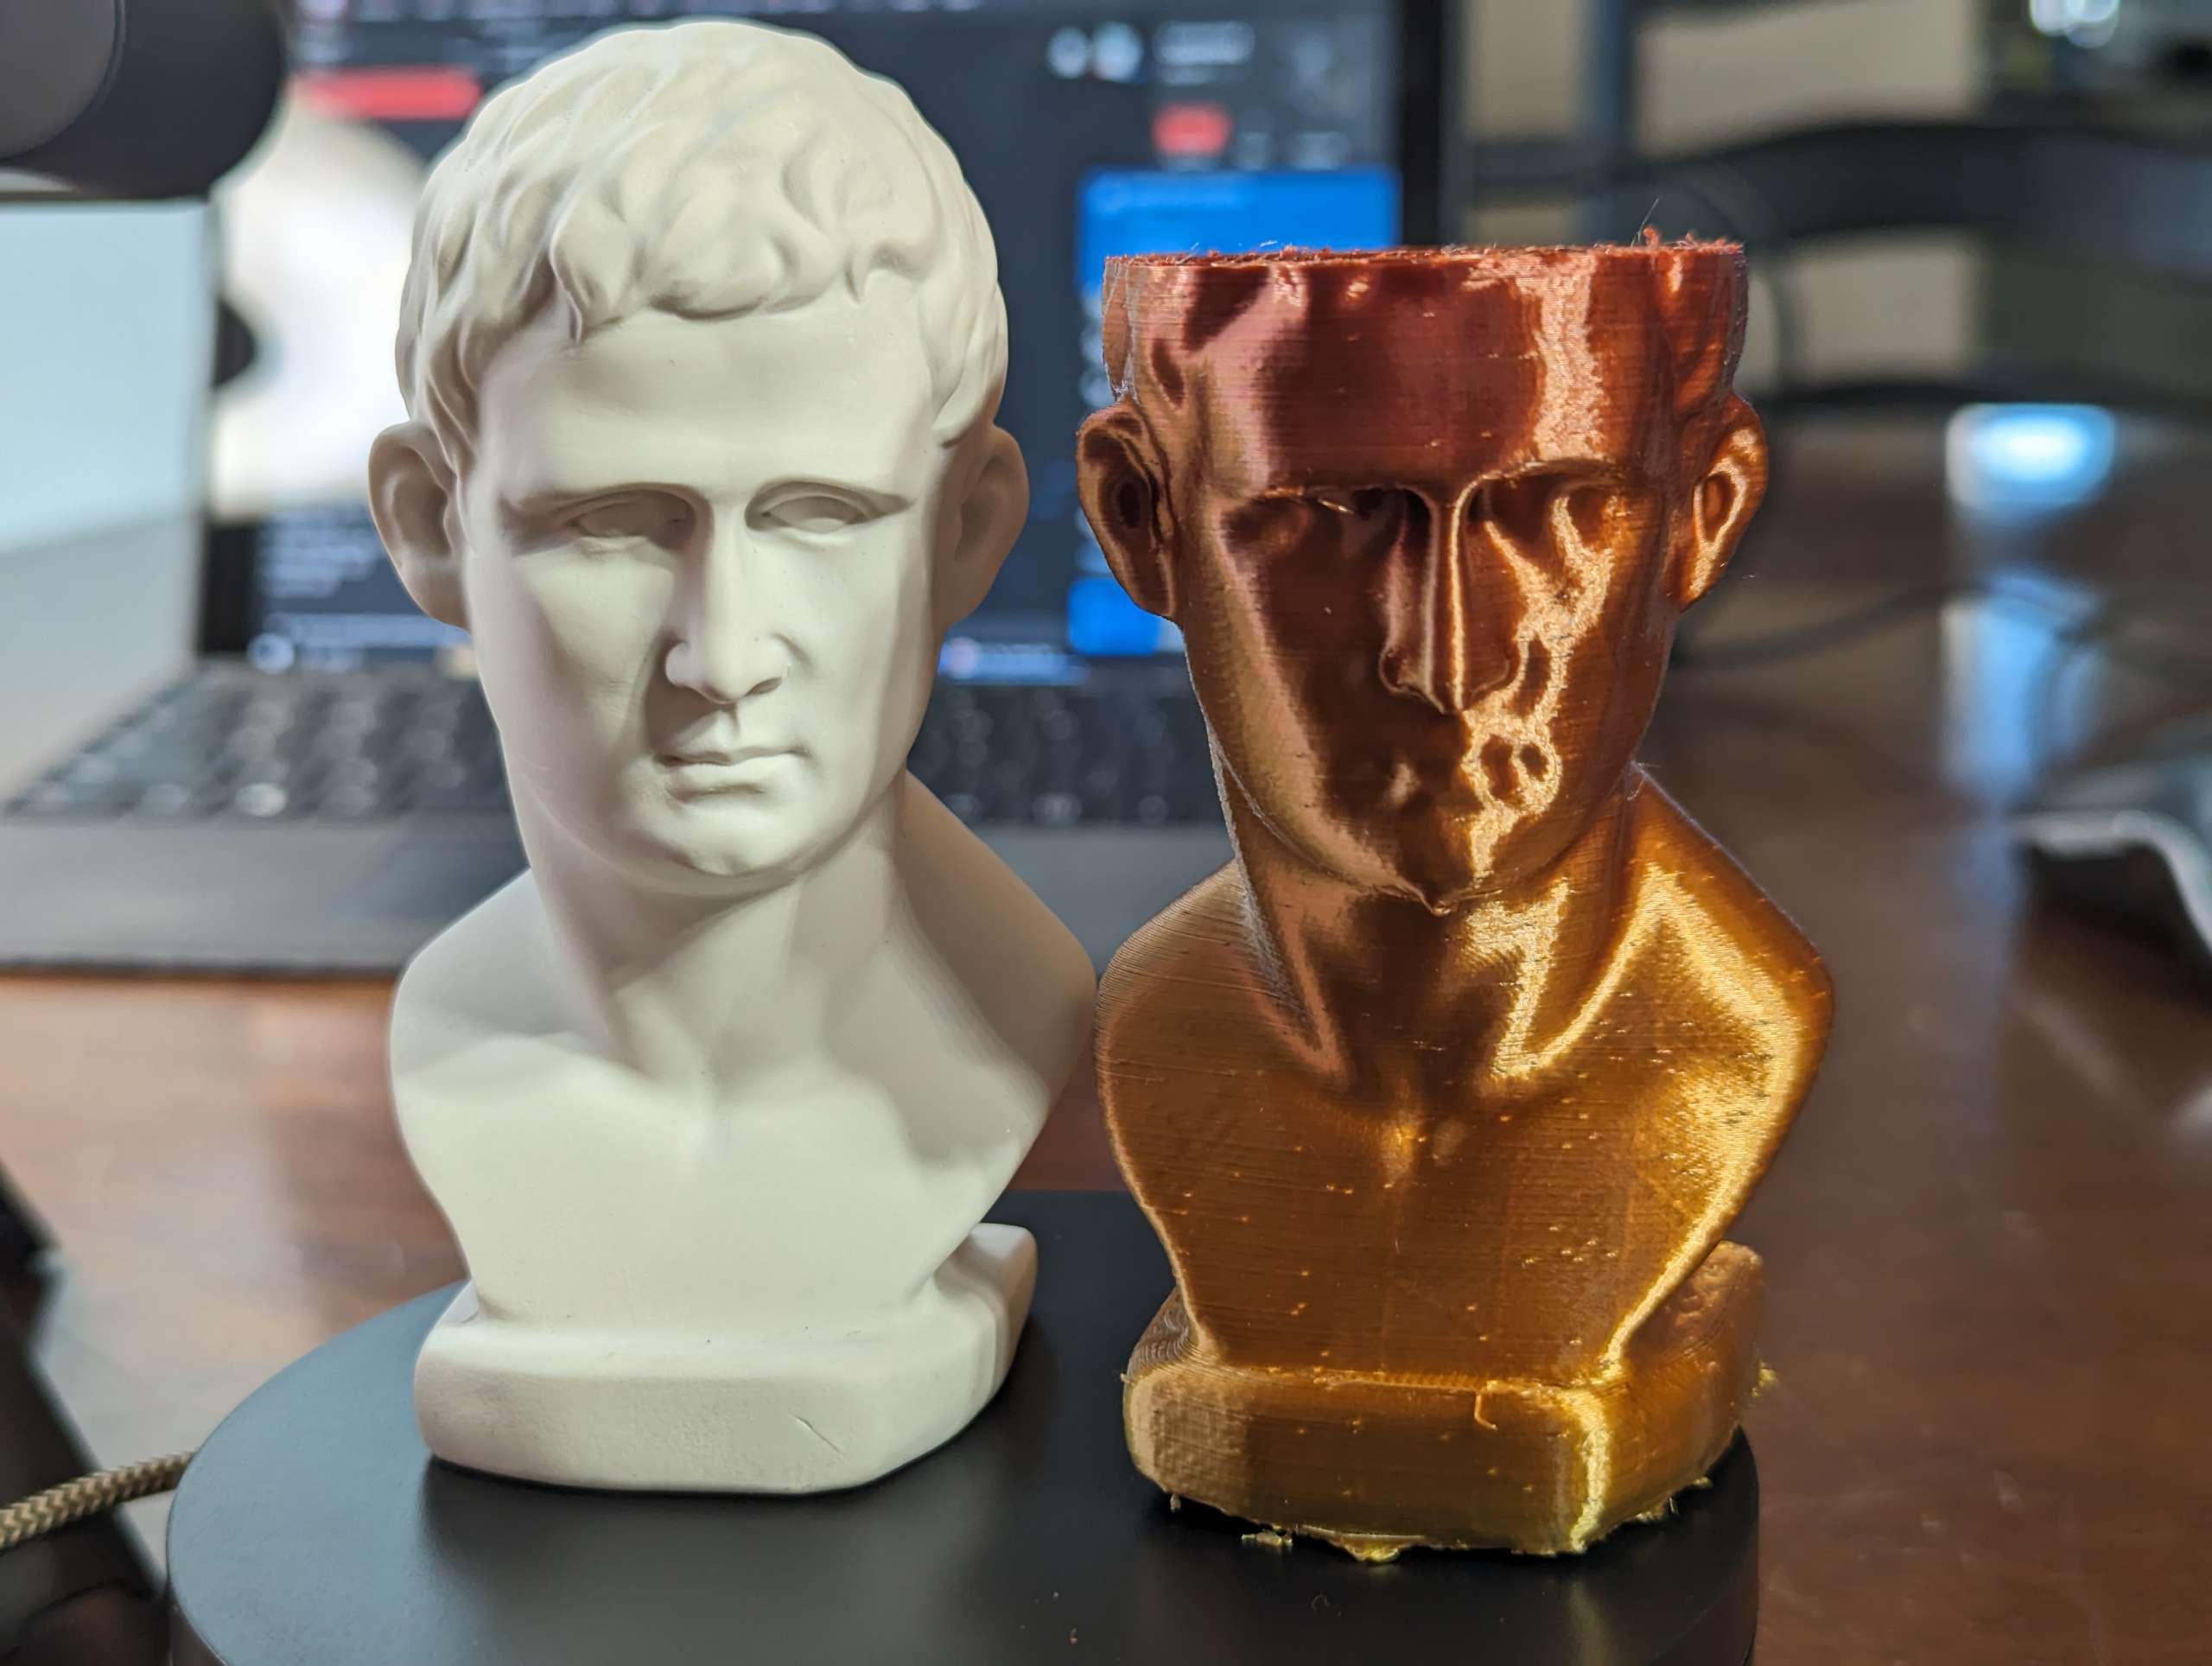
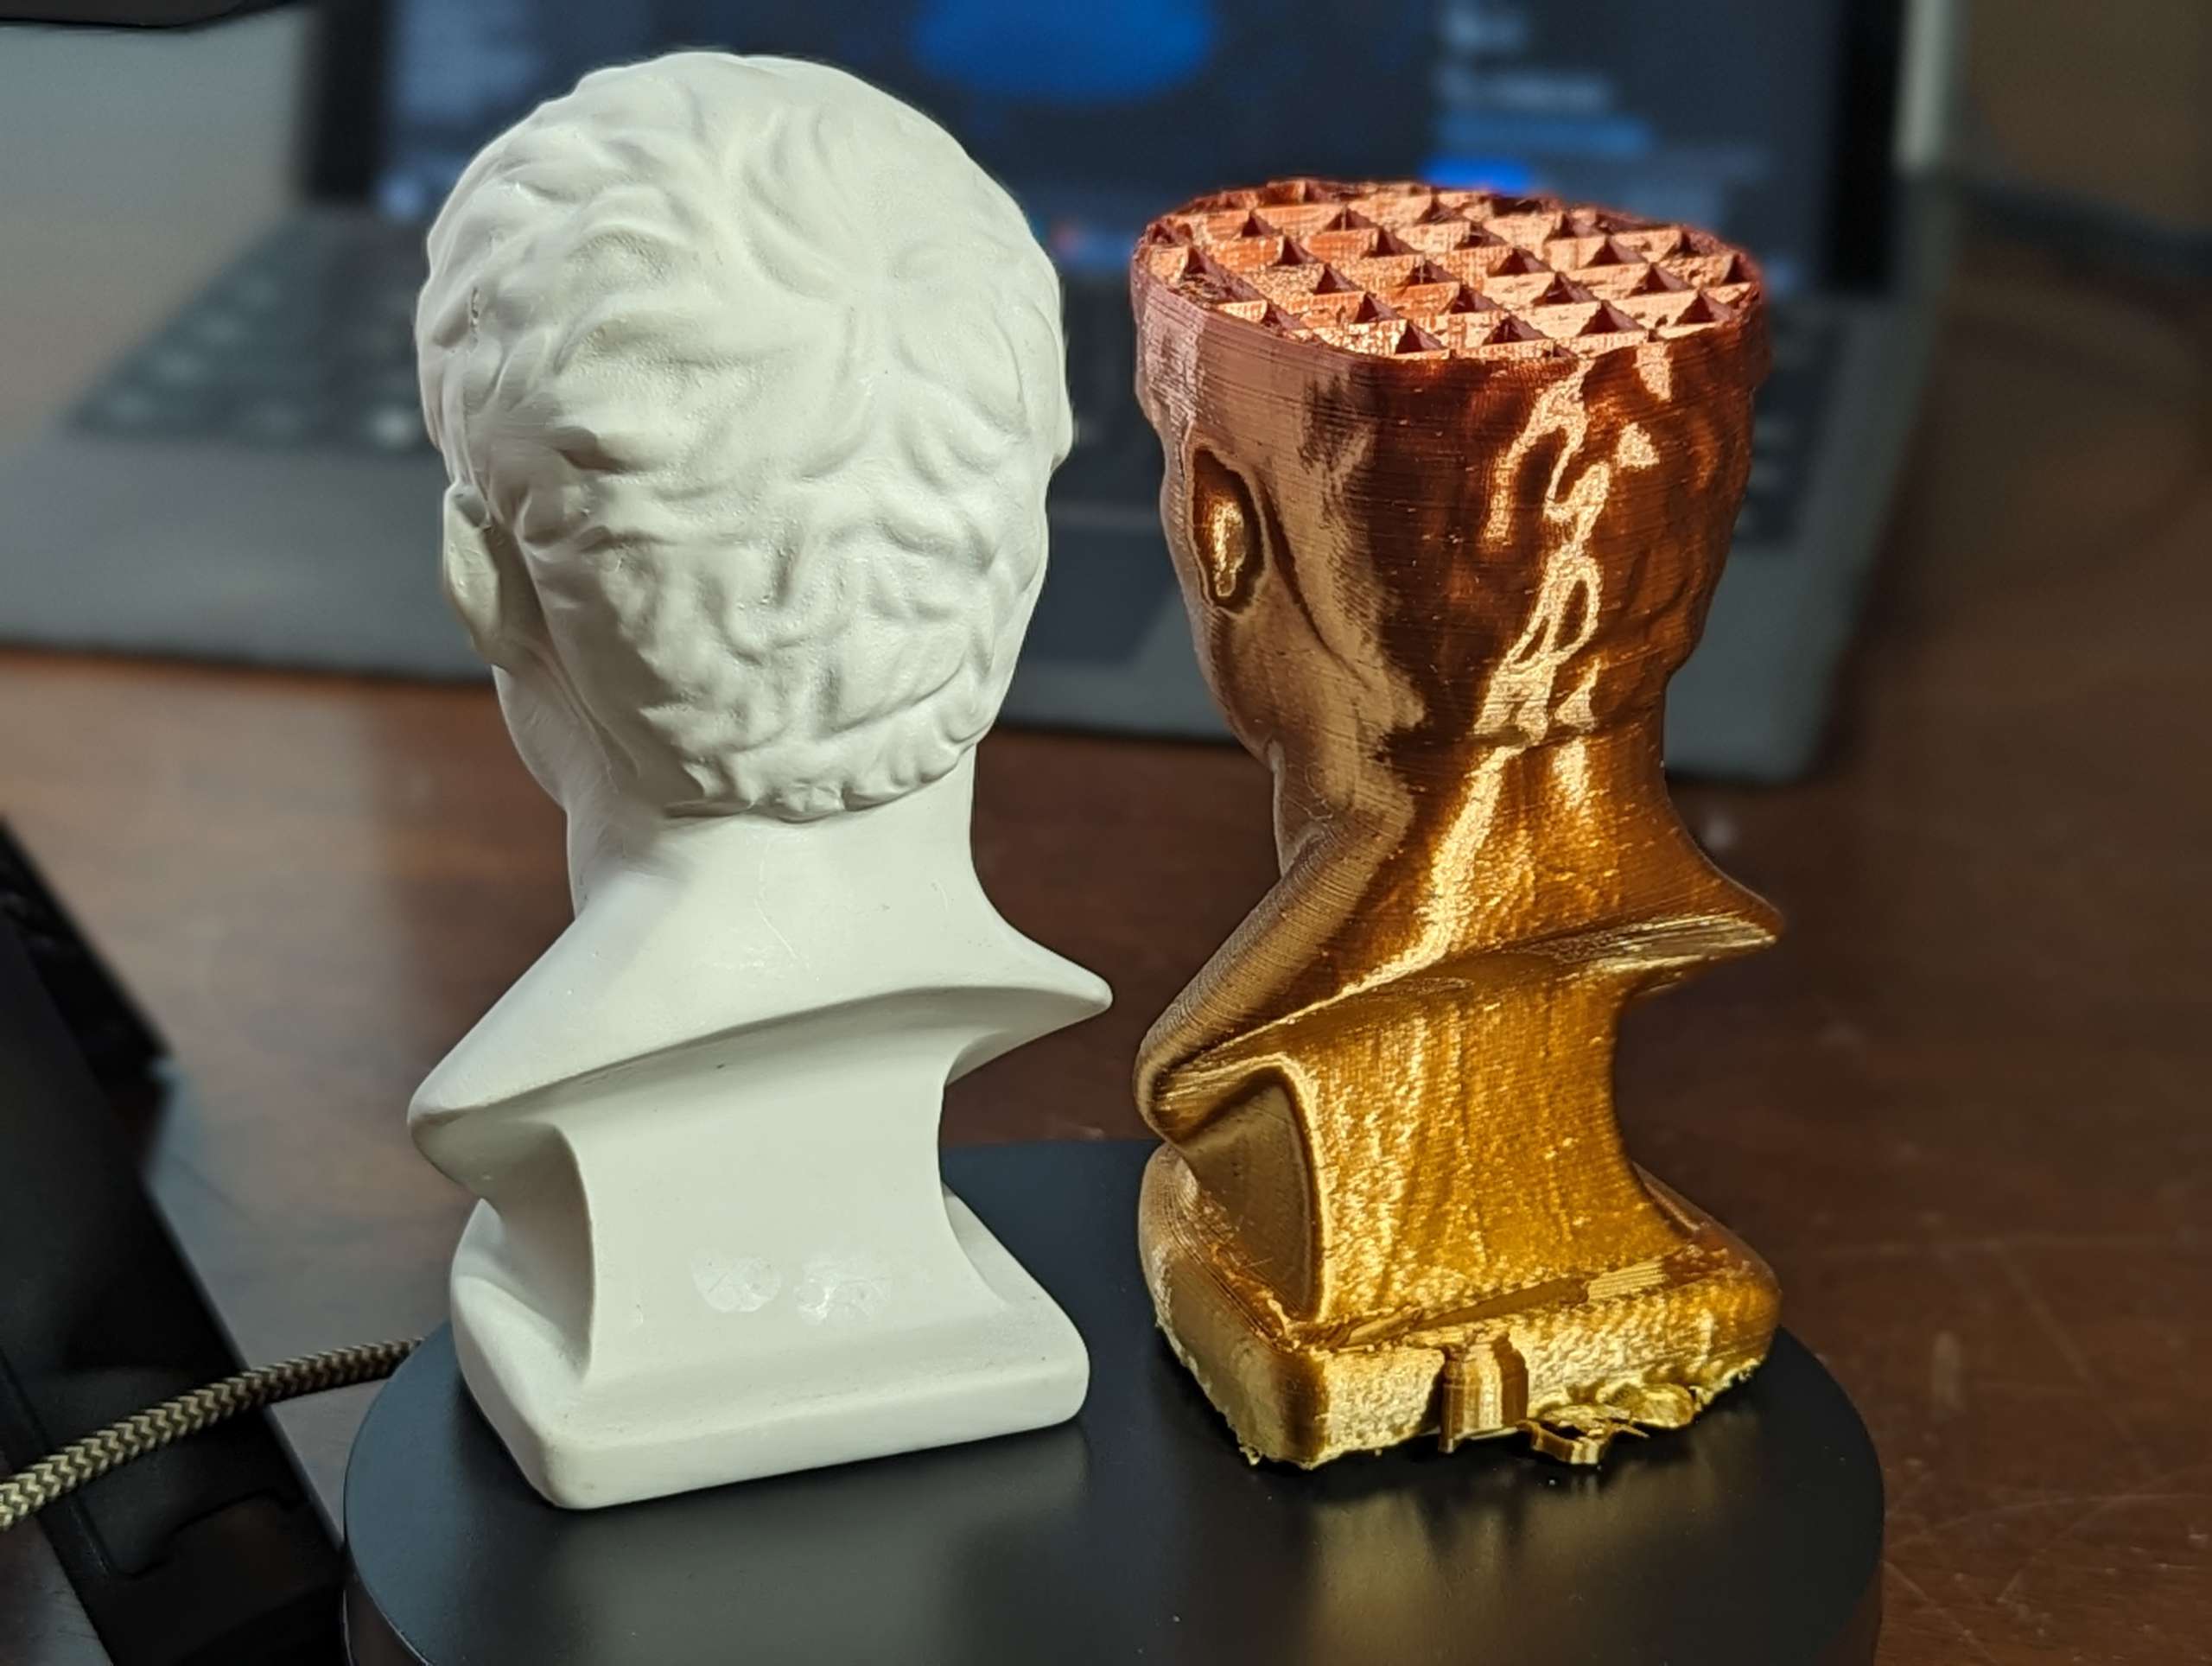
The Greek bust sample that was included scanned really well in two rotations. I decided to export it as an .stl file and then open it in Ultimaker Cura which I then sliced into a gcode file for my 3D printer to read. It’s pretty crazy that I can scan an object and then start printing a duplicate in less than 30 minutes. I then scanned Pokey which came out well except for Pokey’s black mane which the scanner couldn’t pick out. For dark objects you can spray it with vanishing scanning spray, baby powder, or dry shampoo.
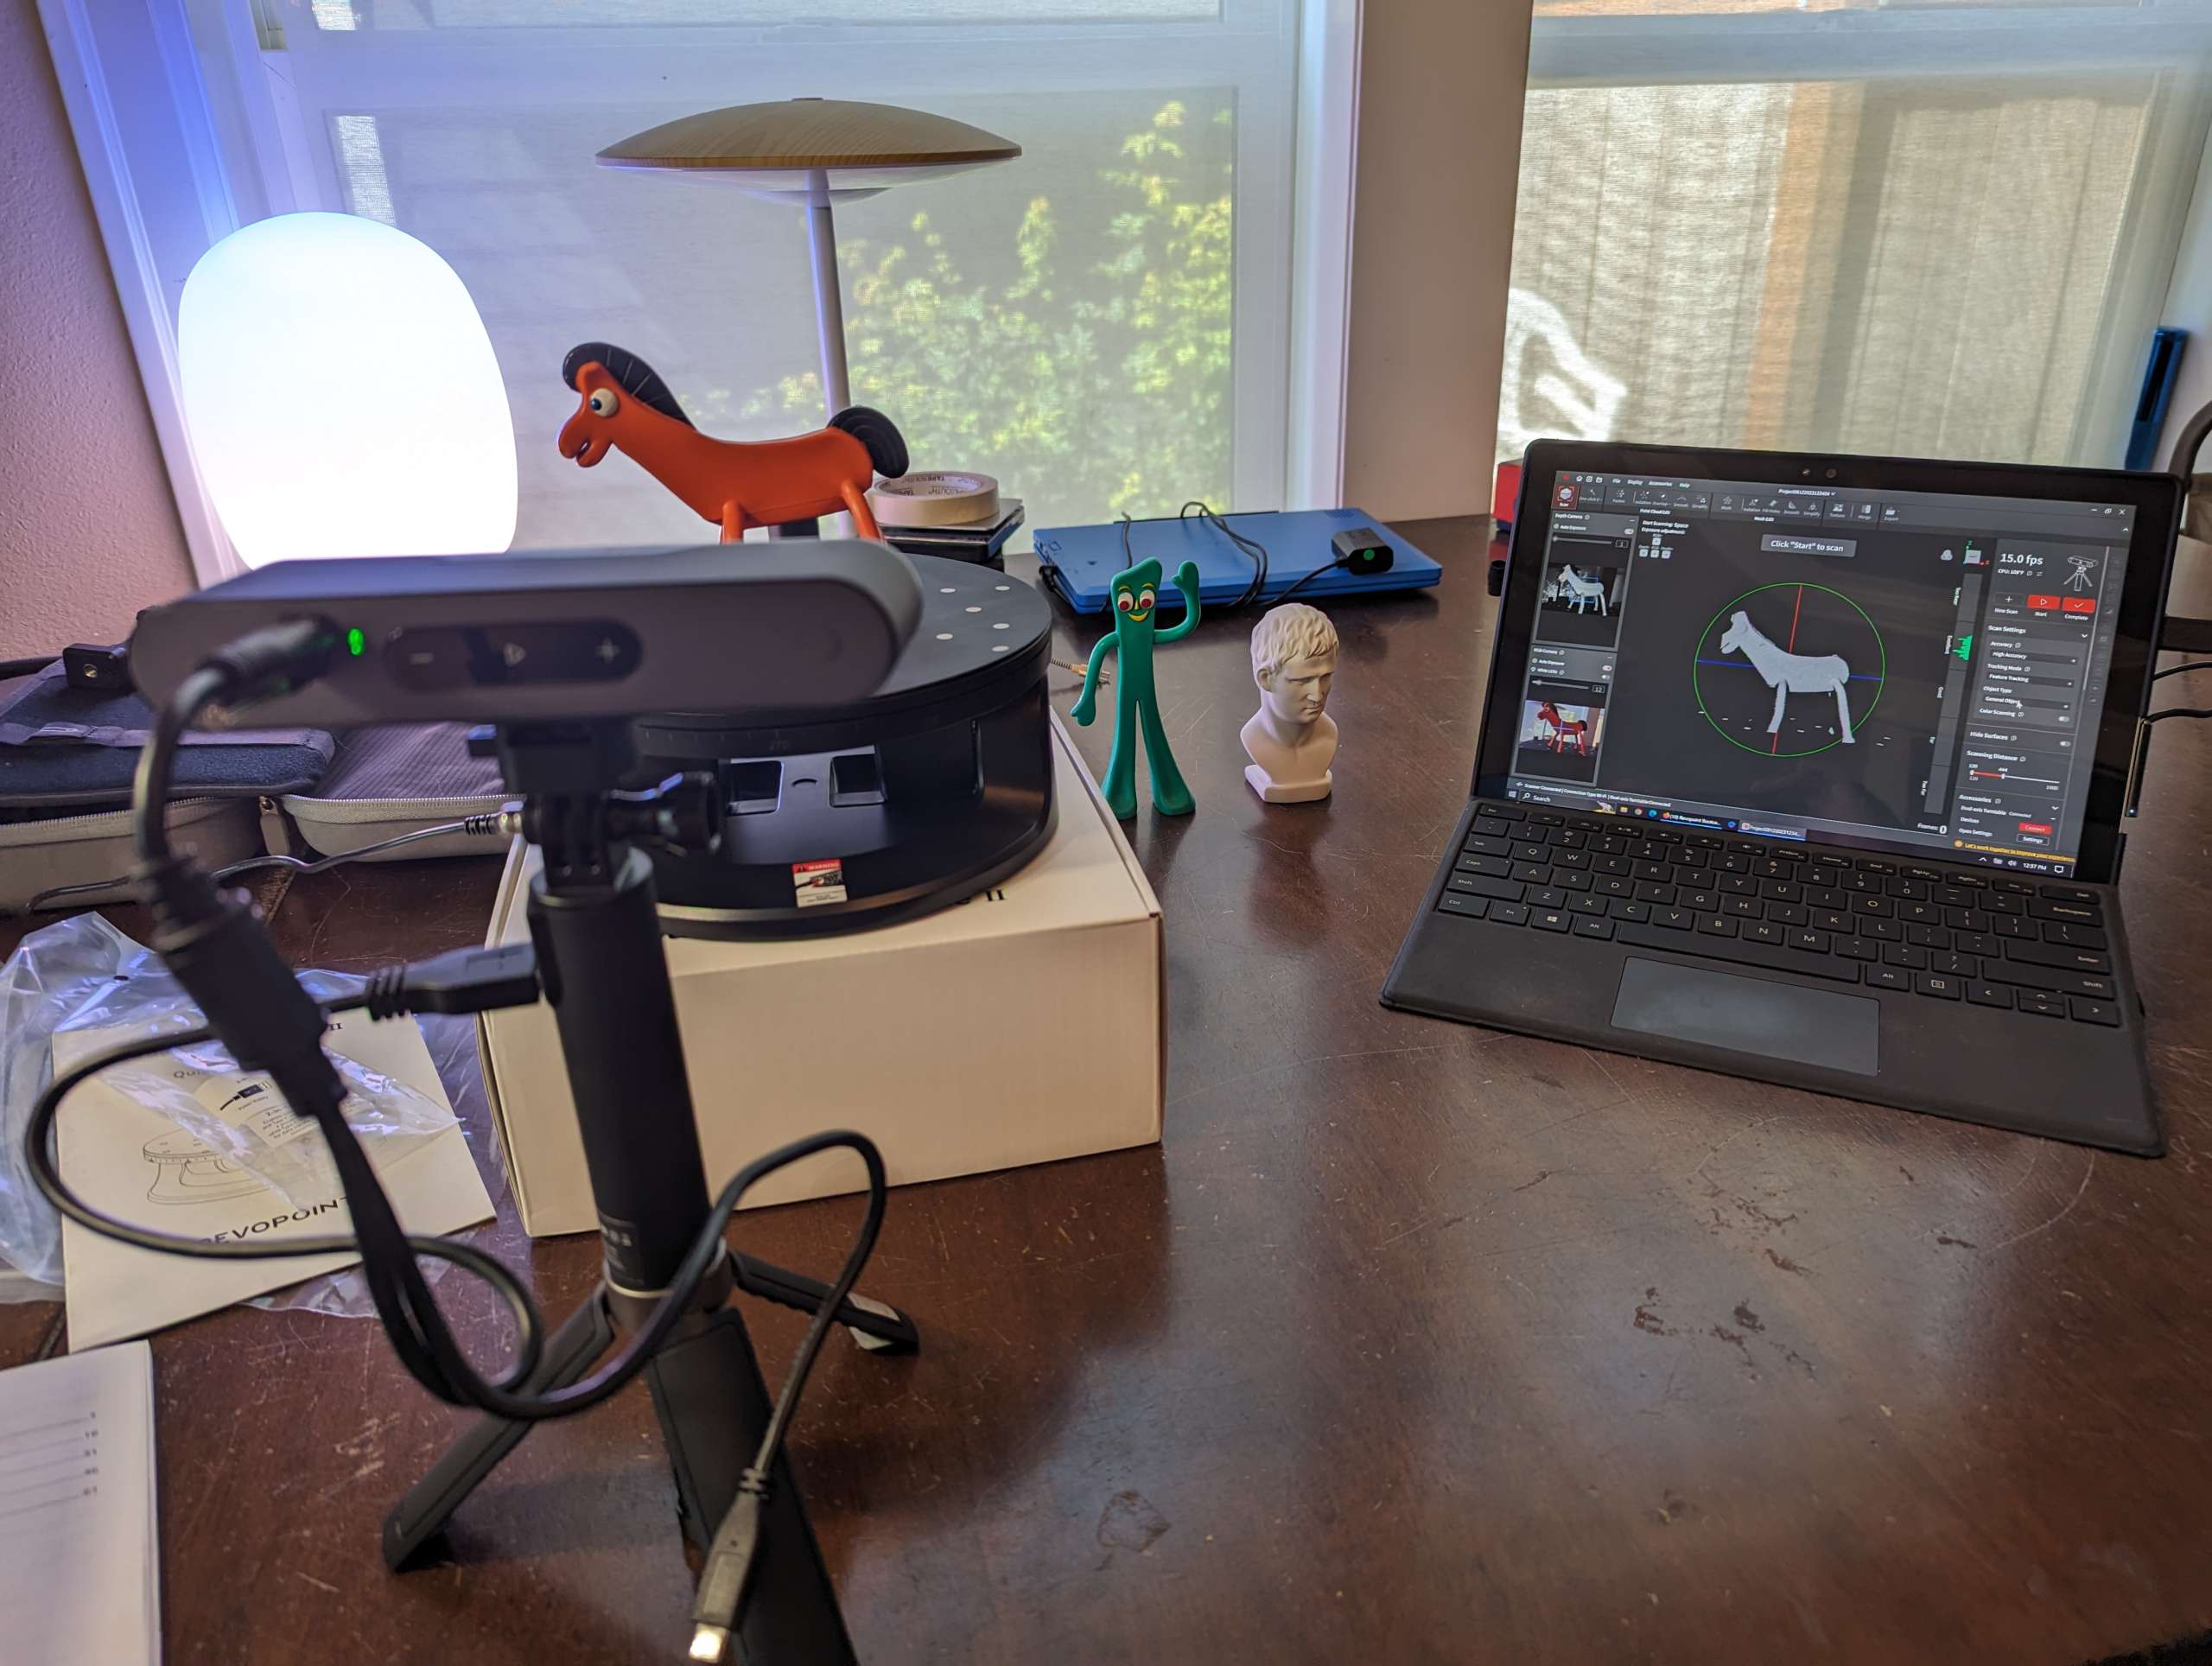

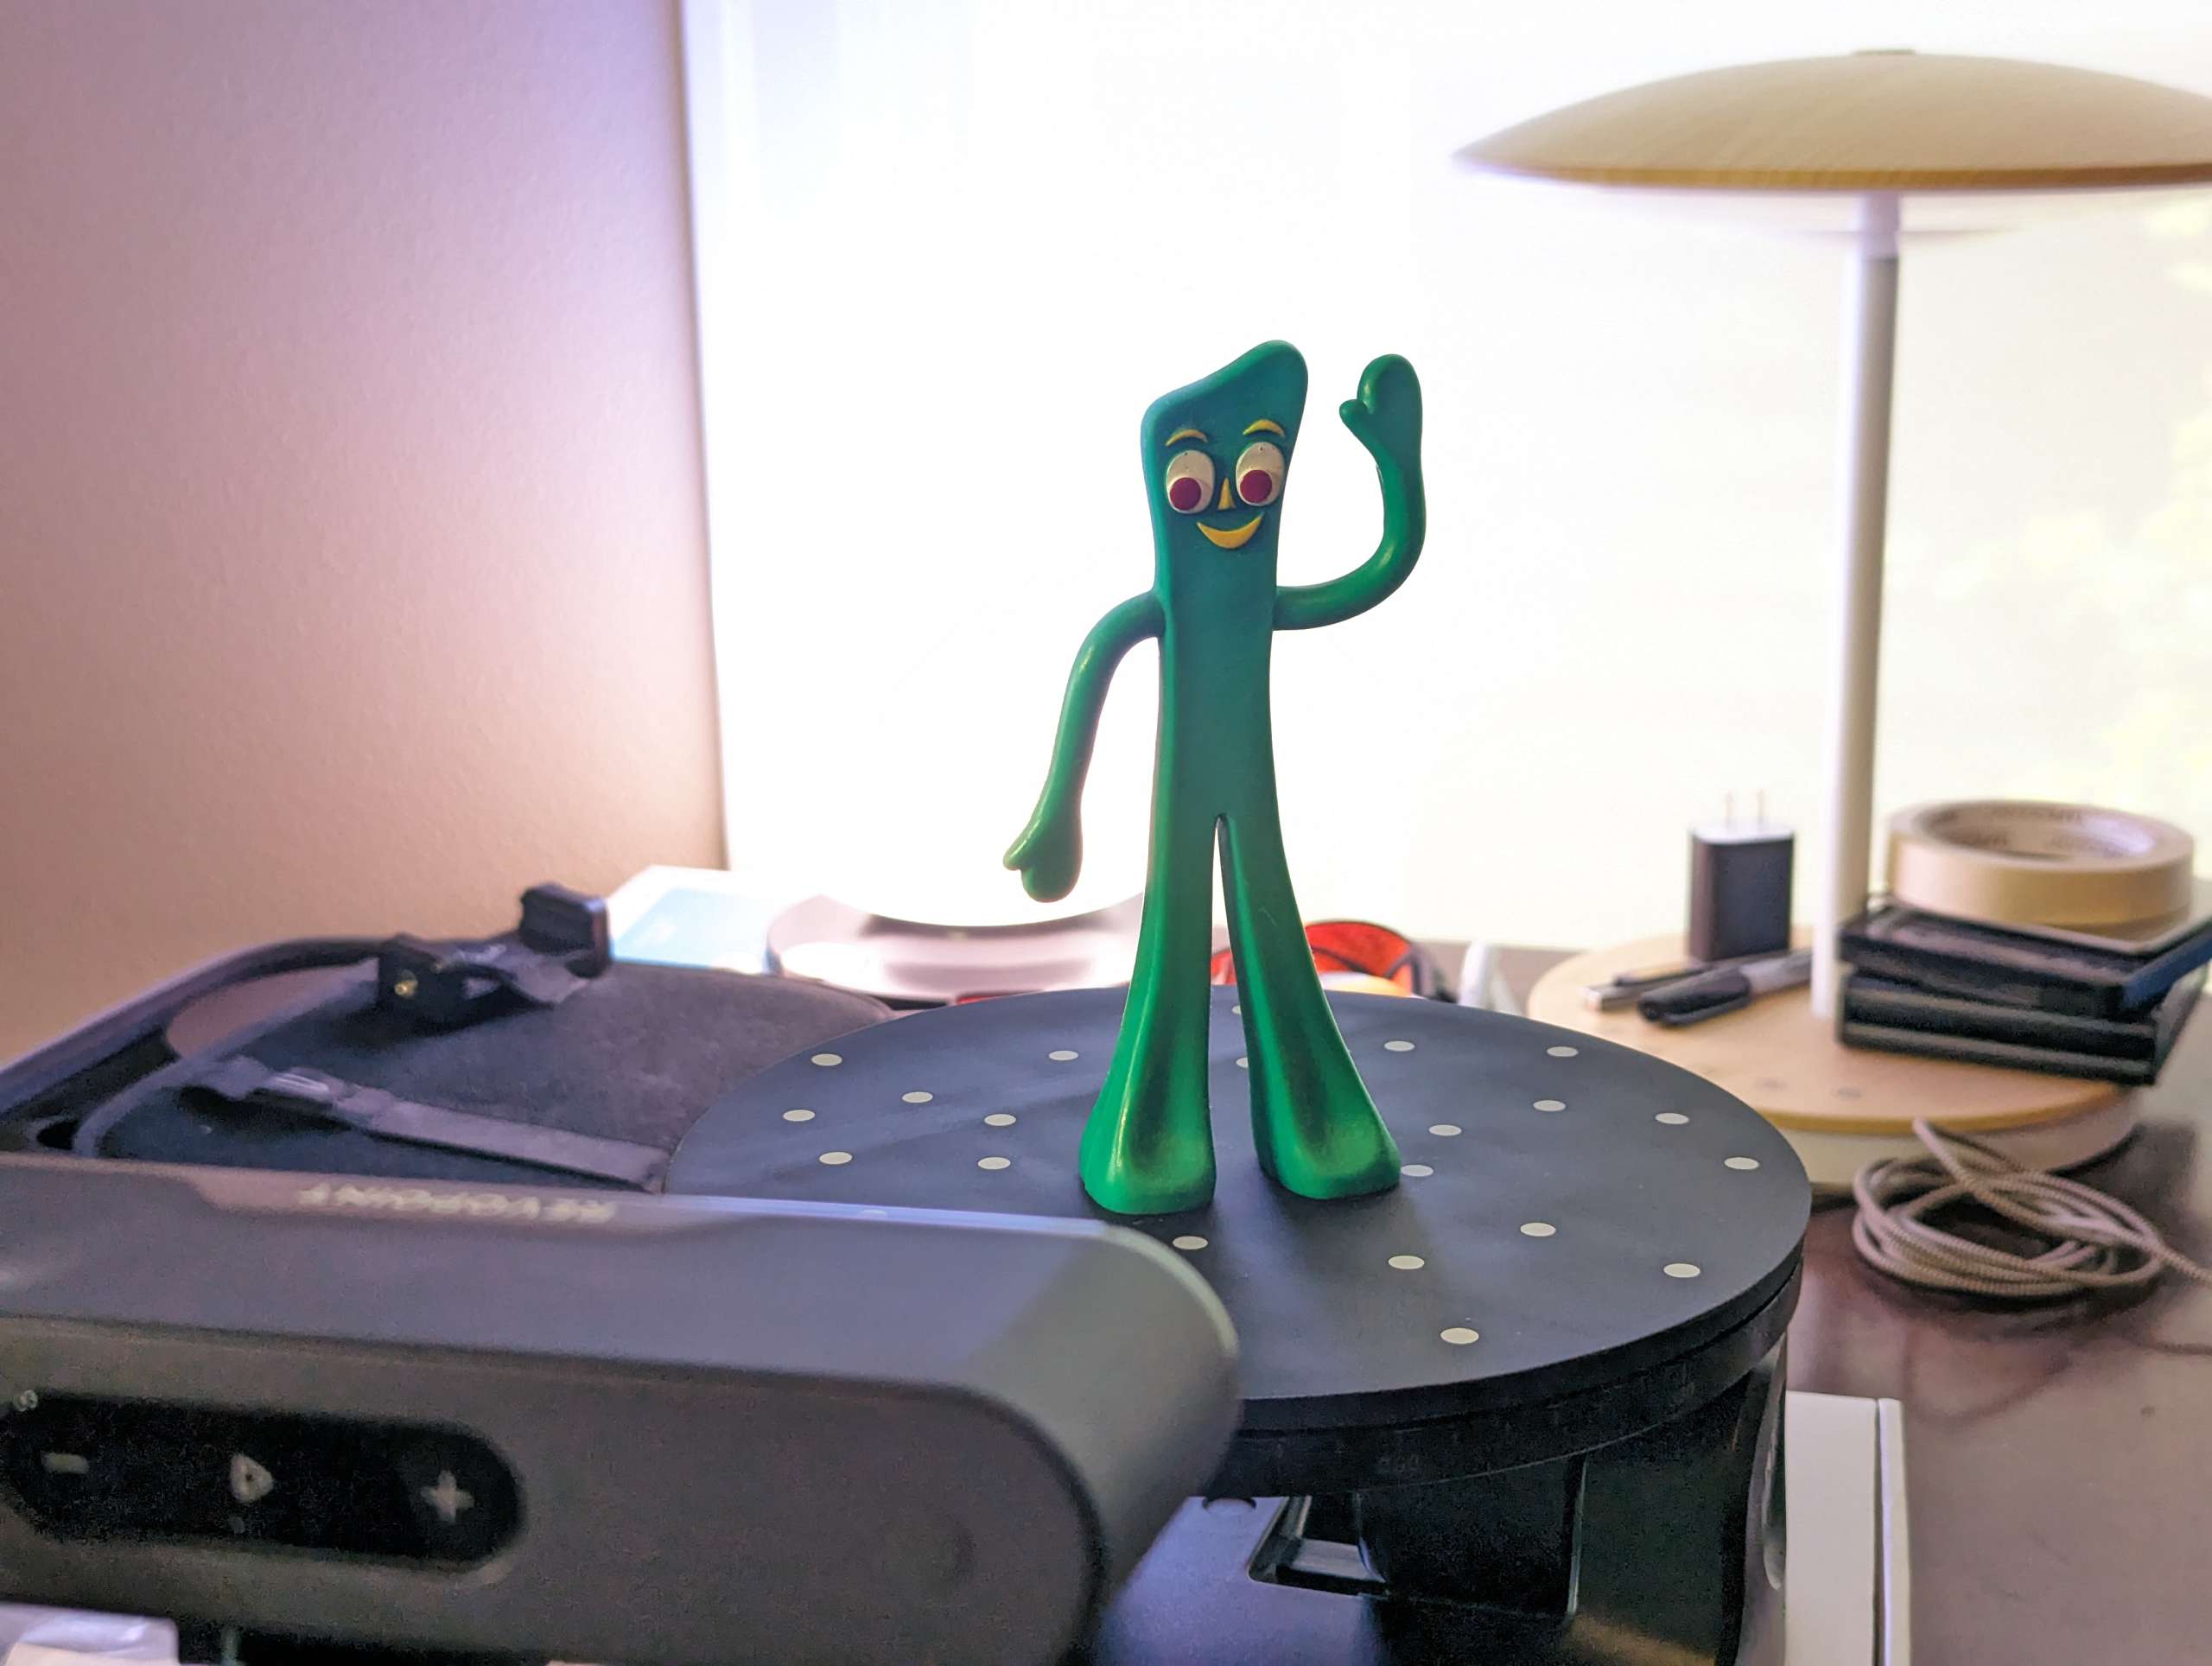
Since I didn’t have any of those in the house I scanned Gumby next and again I was impressed with the level of detail that it picked up.
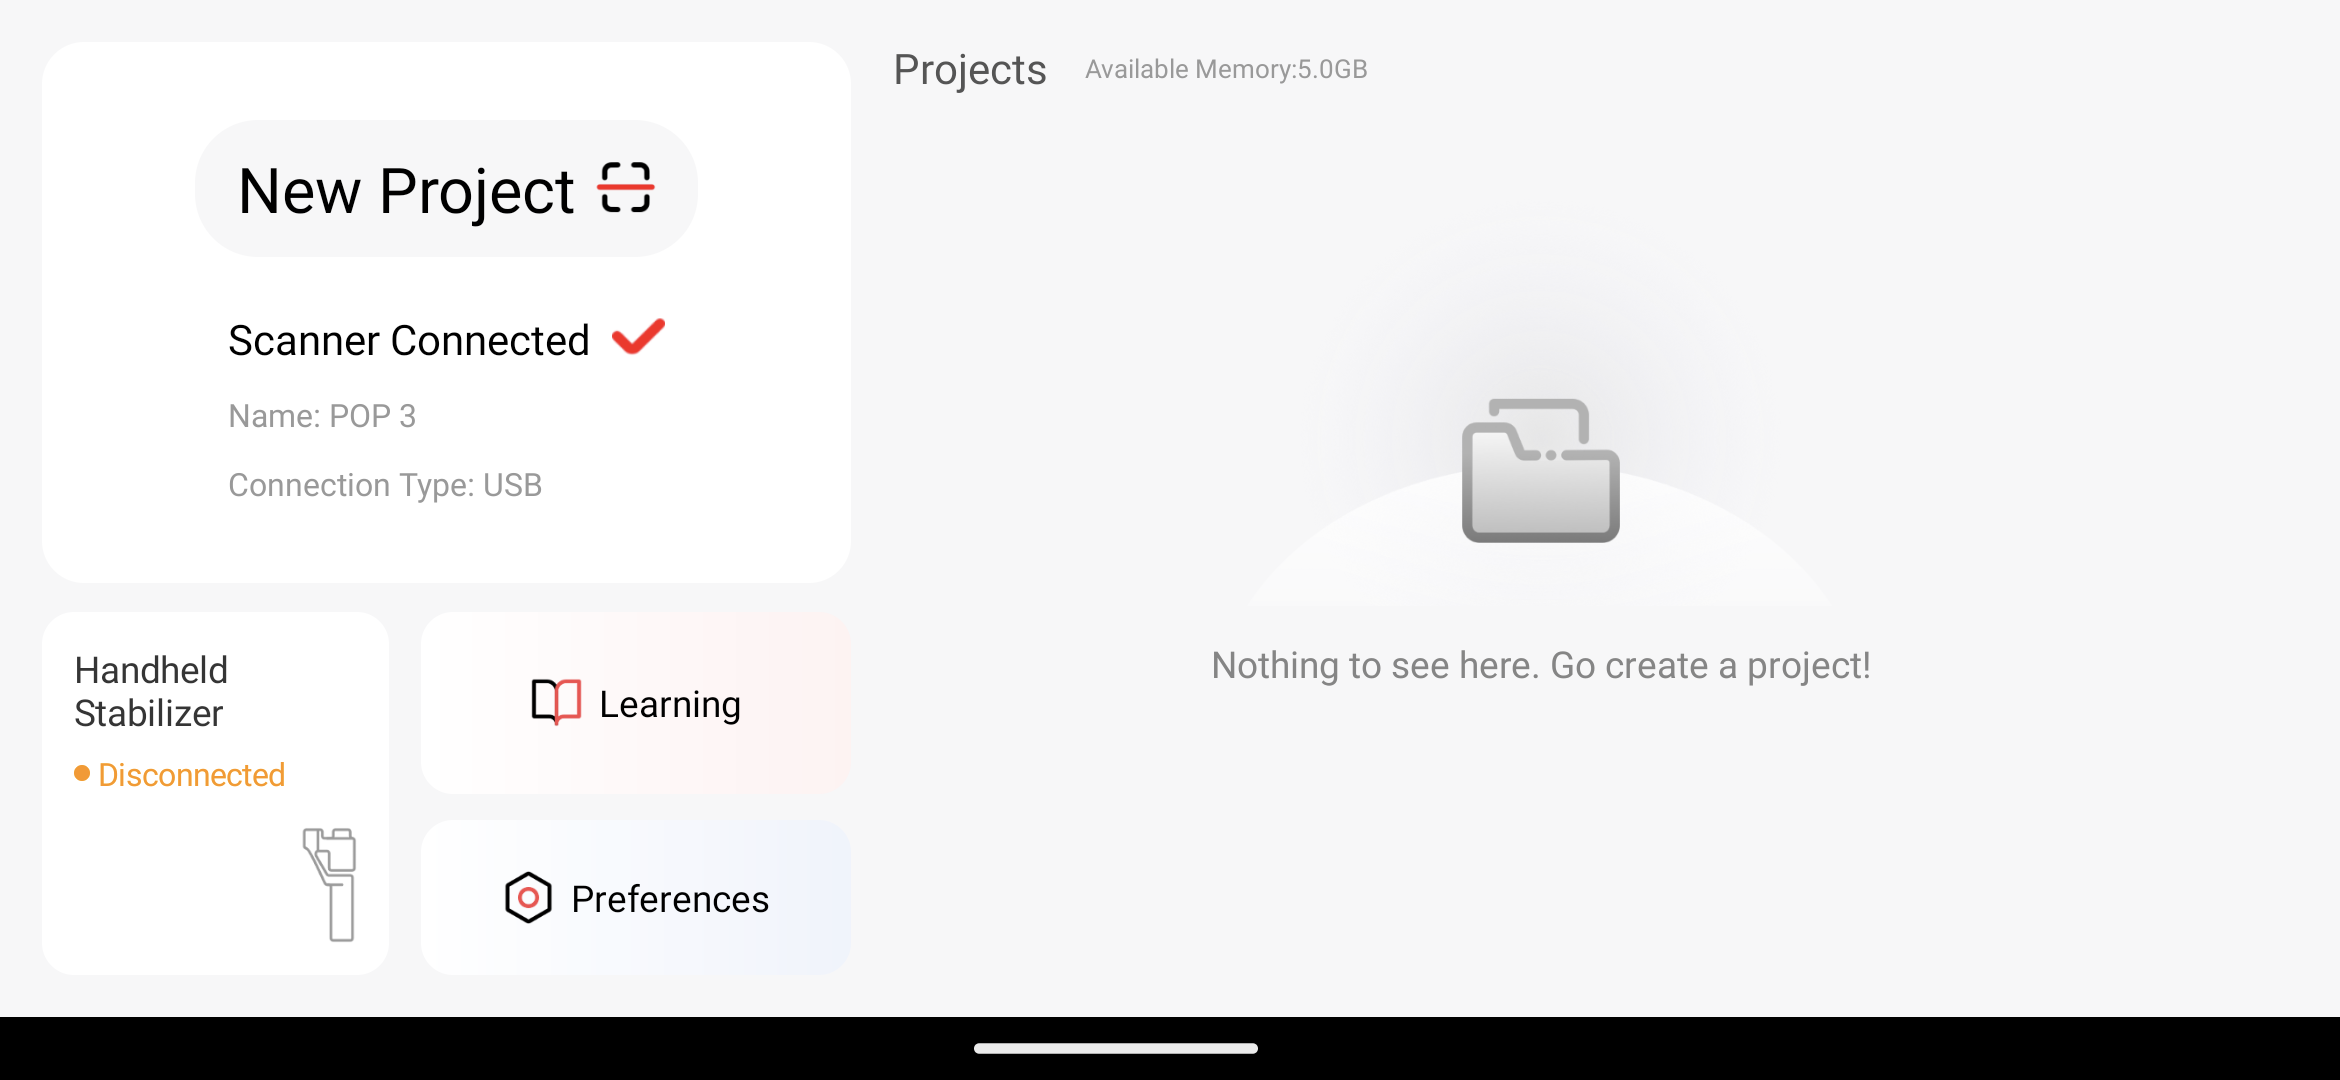
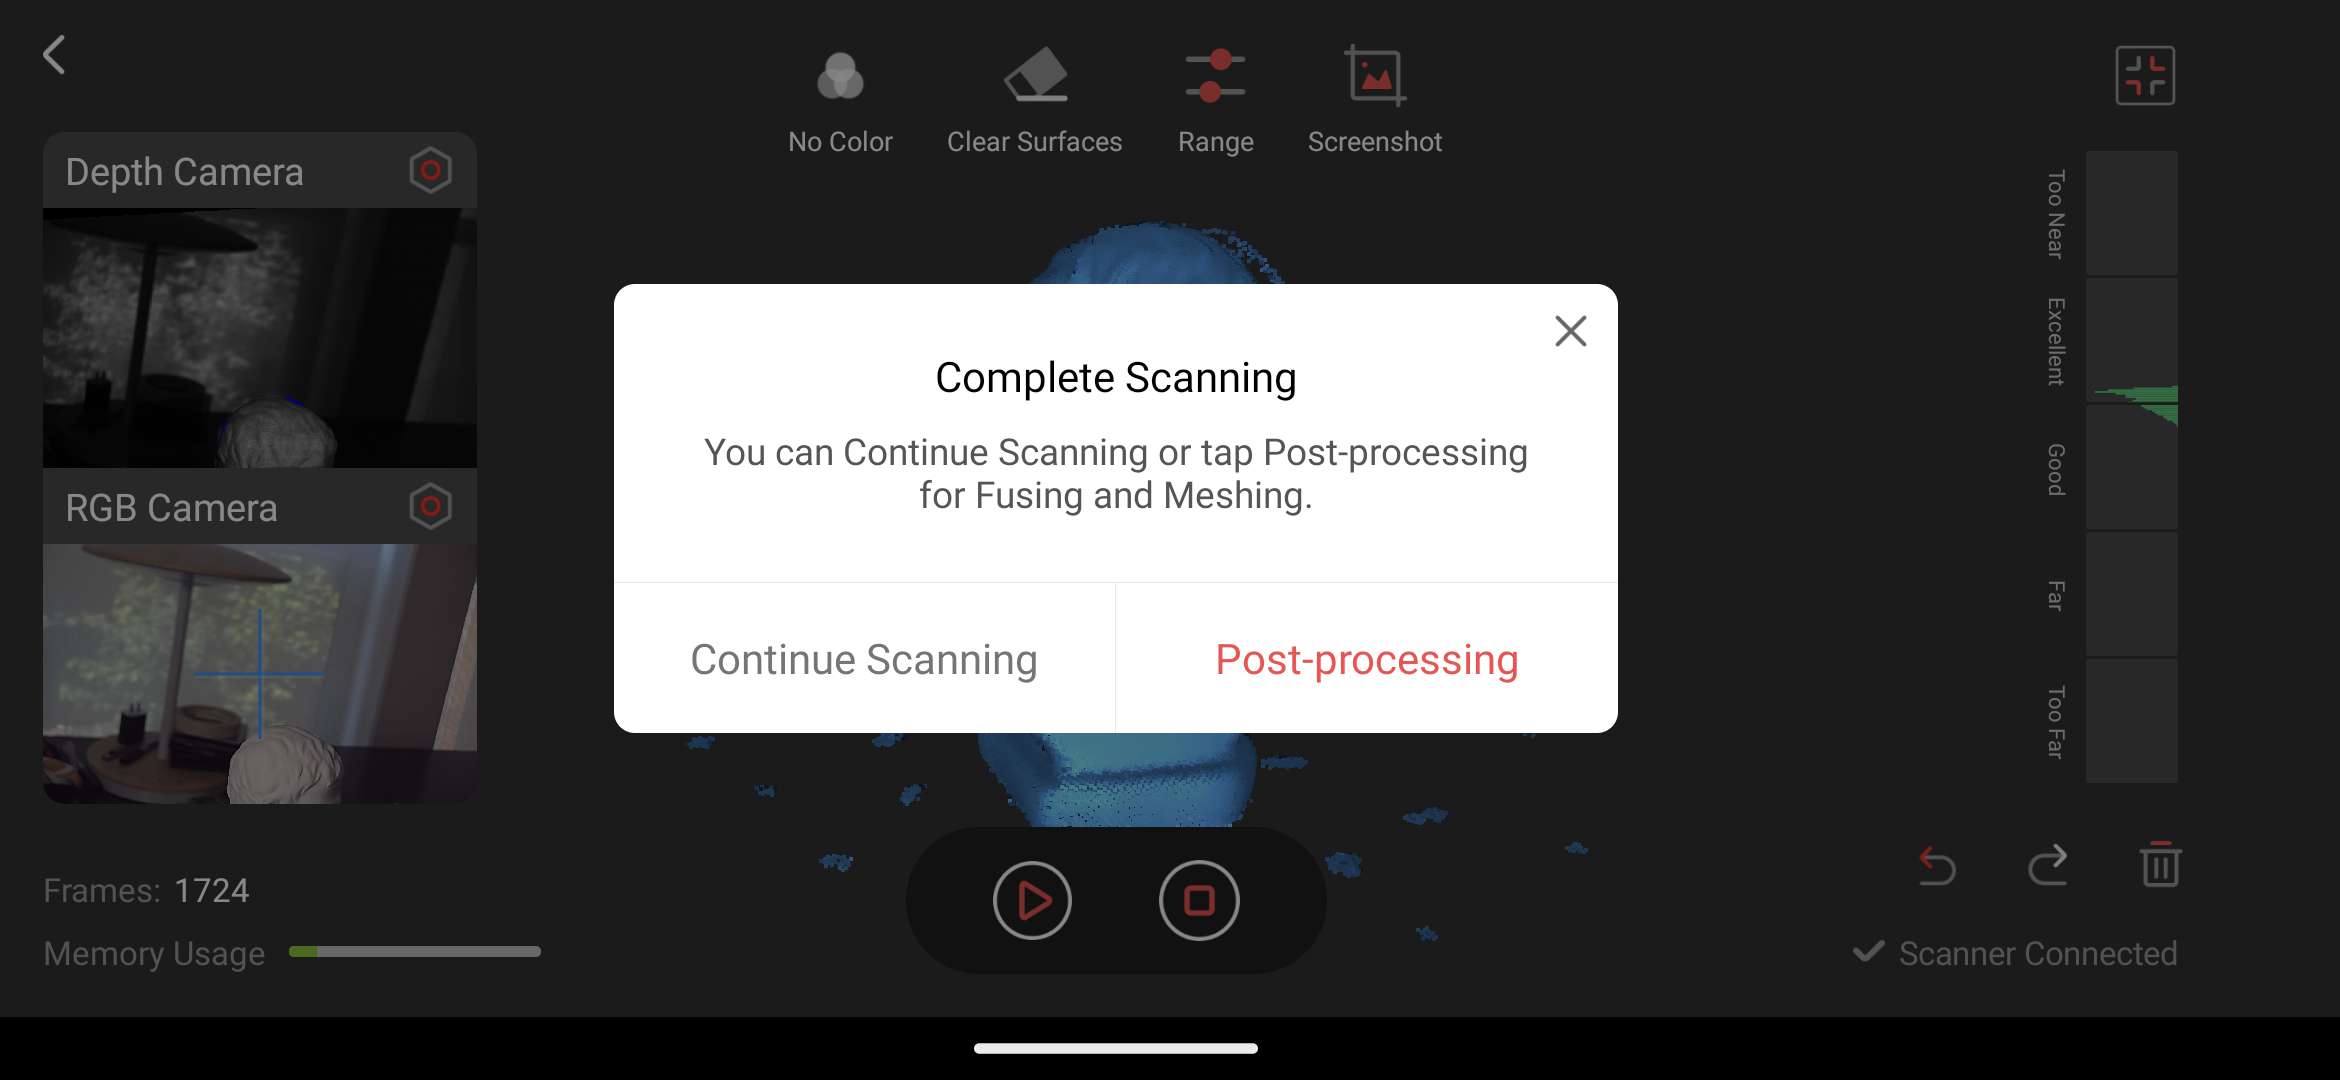
I downloaded the Revo Scan app on my Google Pixel 7 Pro and was able to scan there as well. Some people have mentioned issues mainly caused by insufficient memory. The app tells you how much space is available. My scans were about 2,000 frames which ended up being around 18-20MB. I did try it with the phone holder on the power handle. I had to take my cell phone out of the case for it to fit in the phone holder. The whole setup was a bit cumbersome and I found it easier to just hold my phone in one hand and scan with the other.
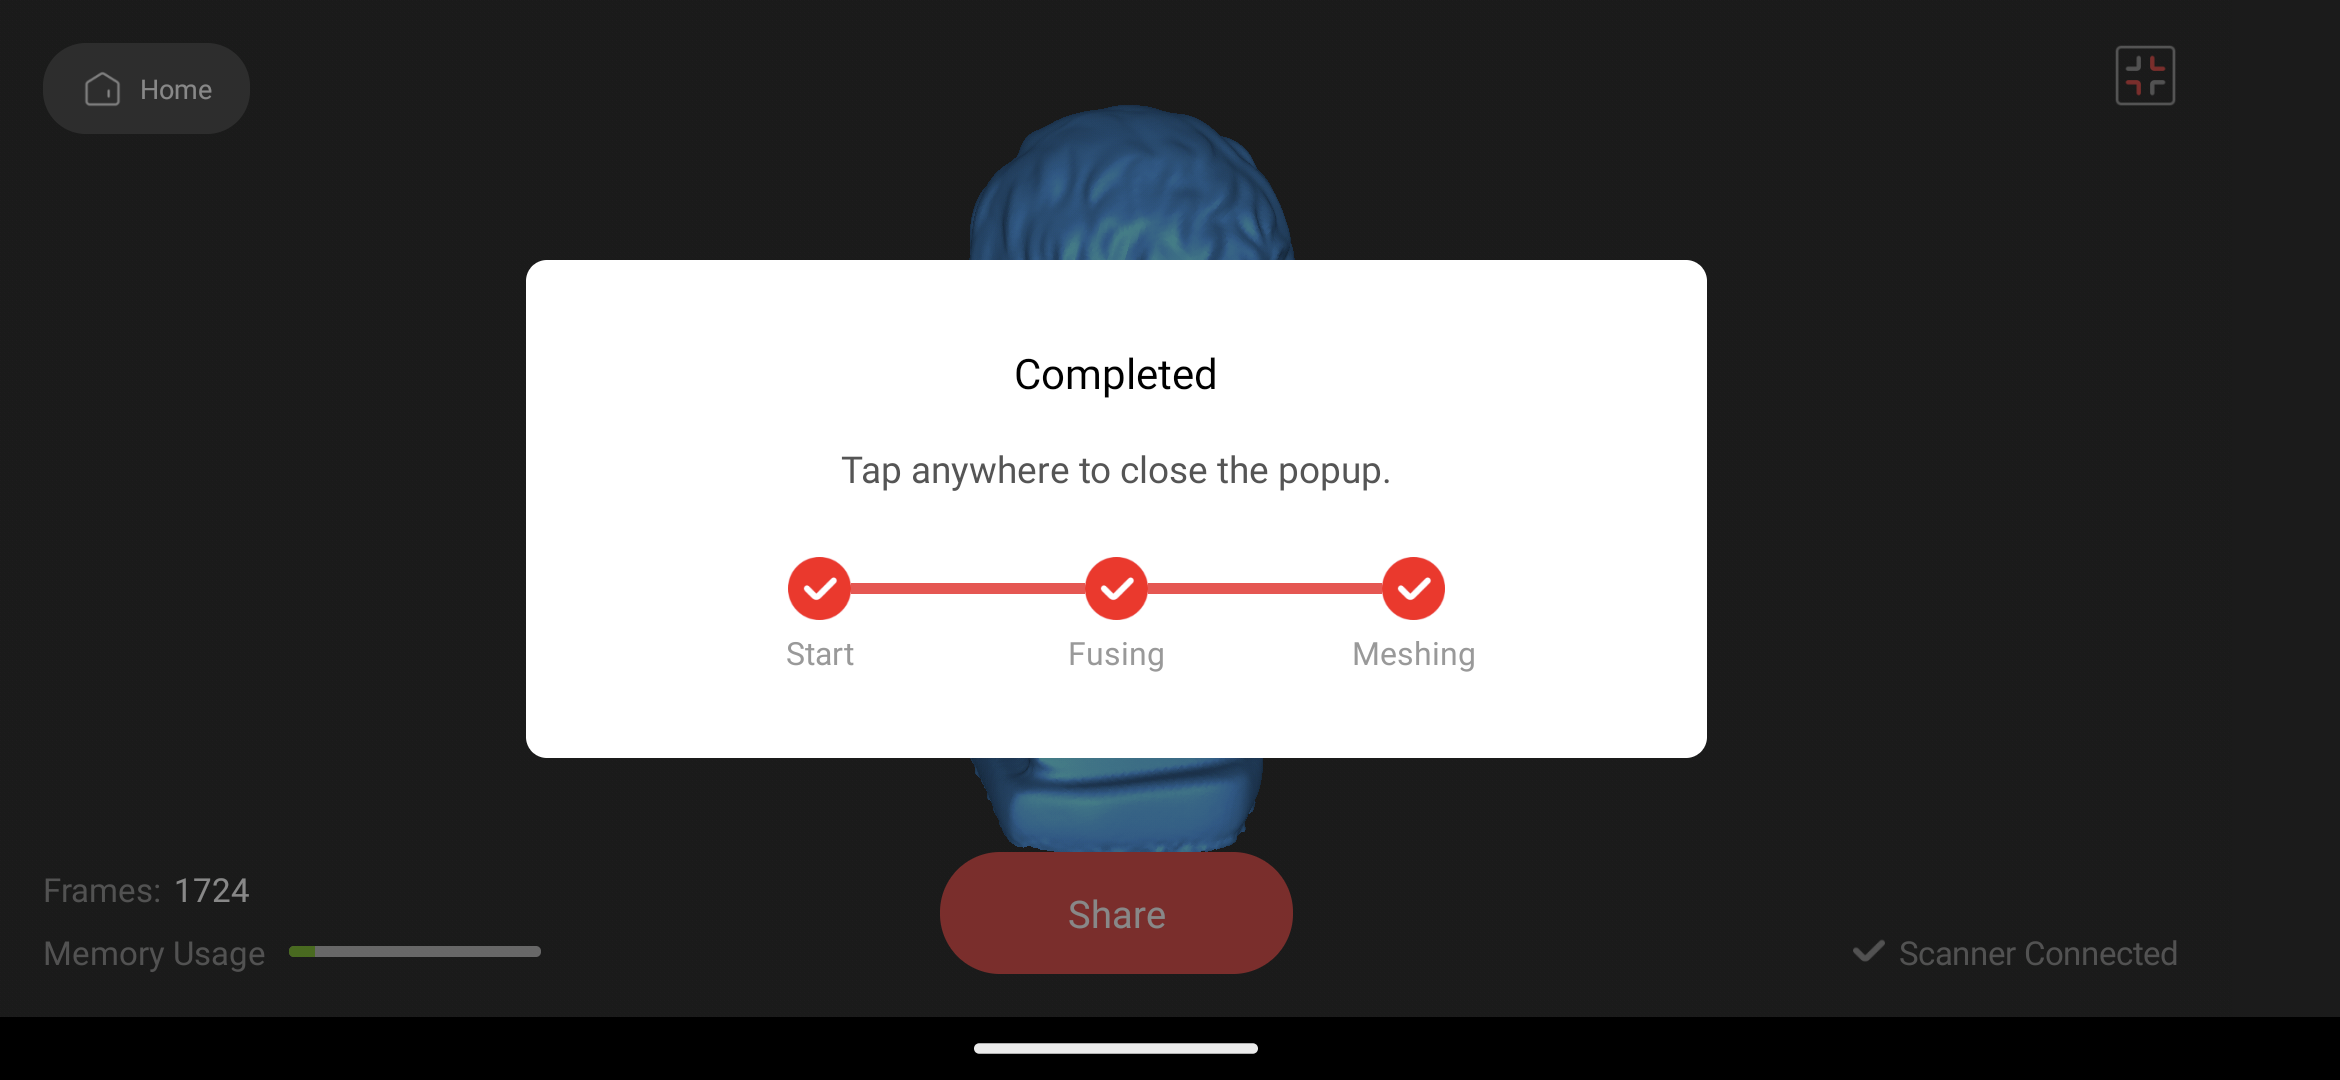
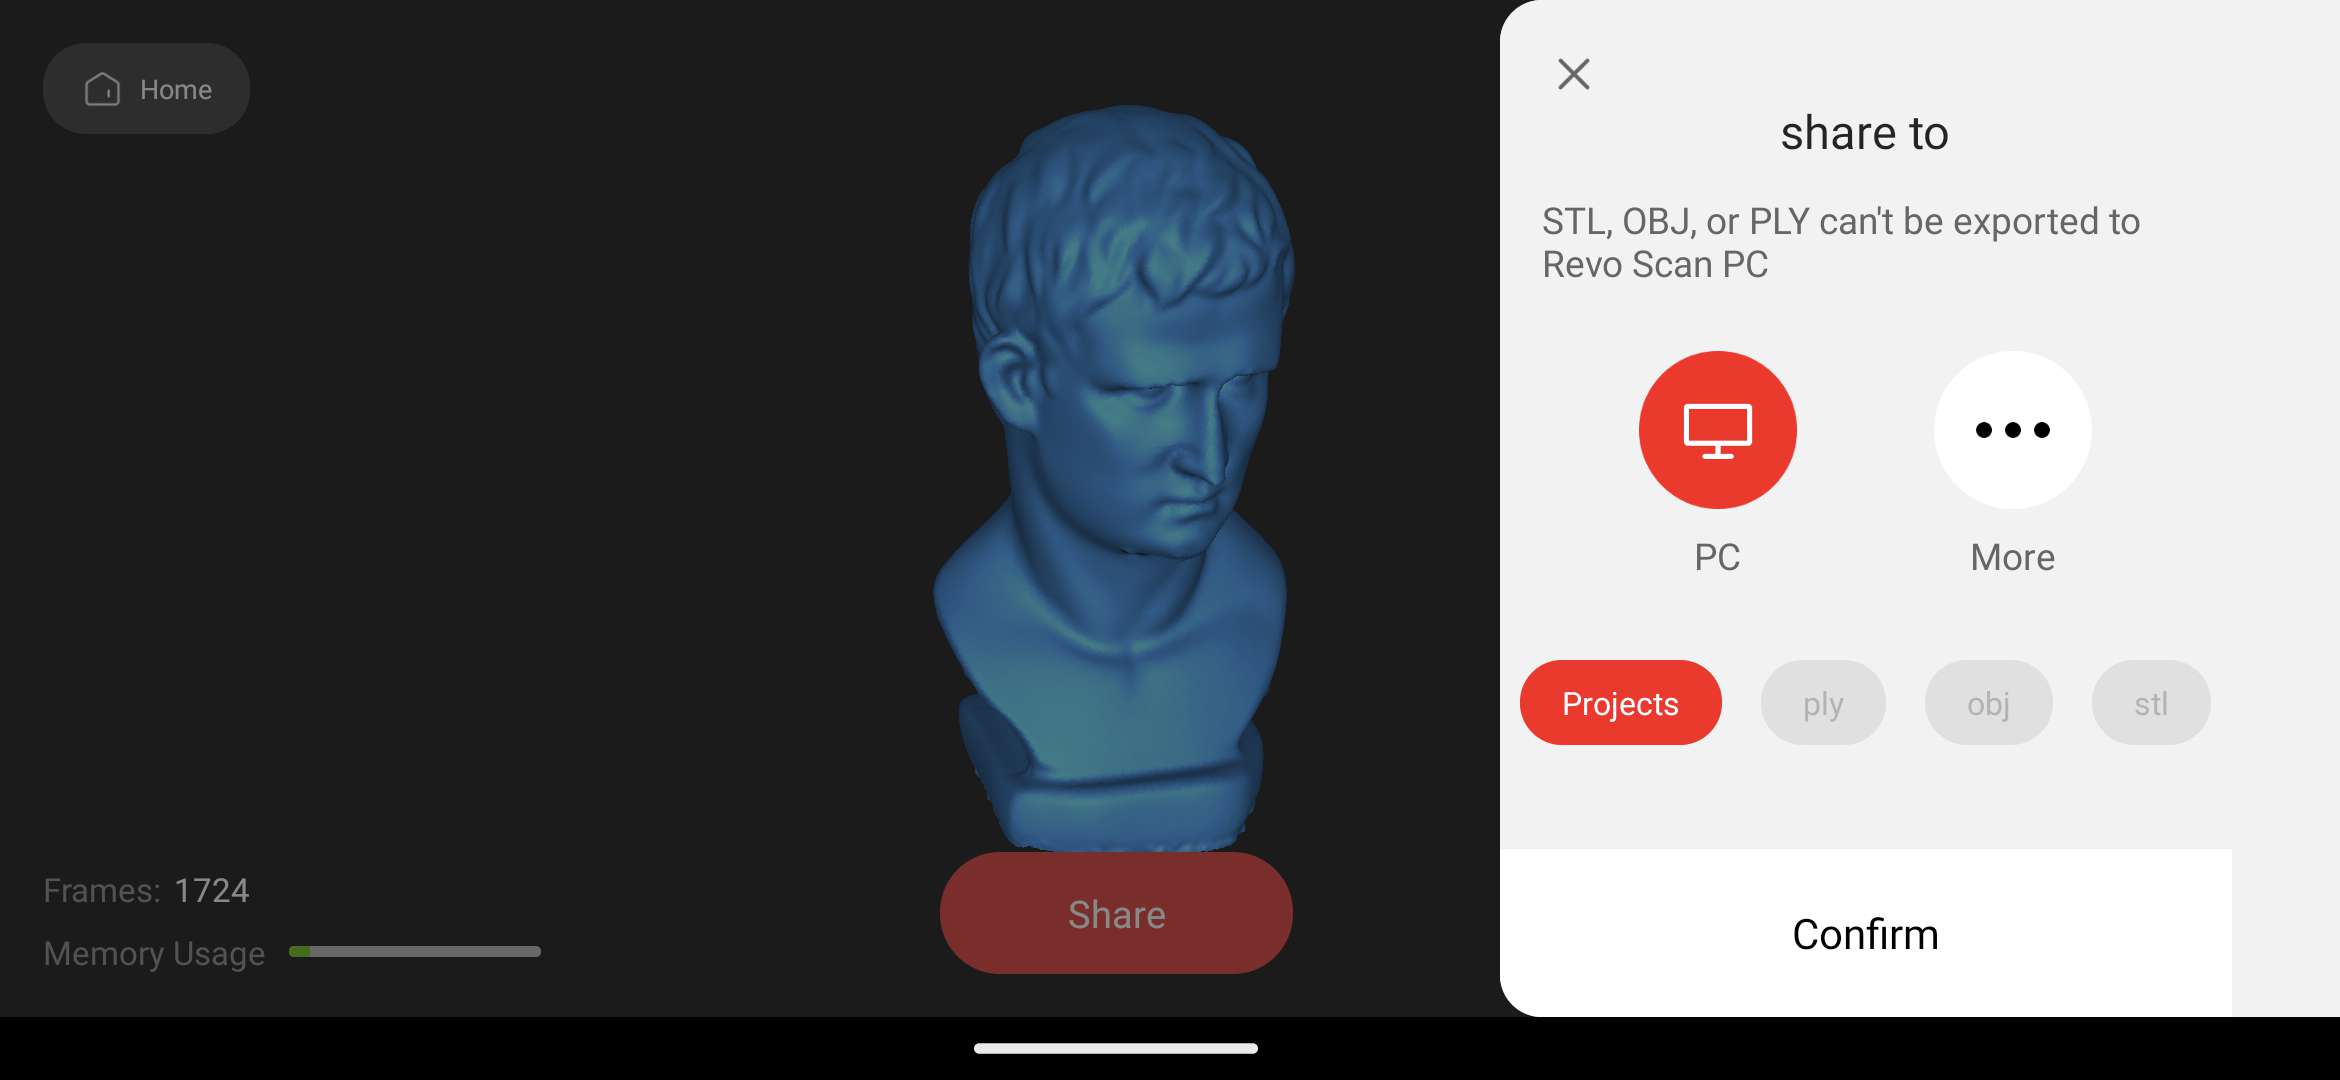
Once you take a scan and process it you can share it to your PC or email it.
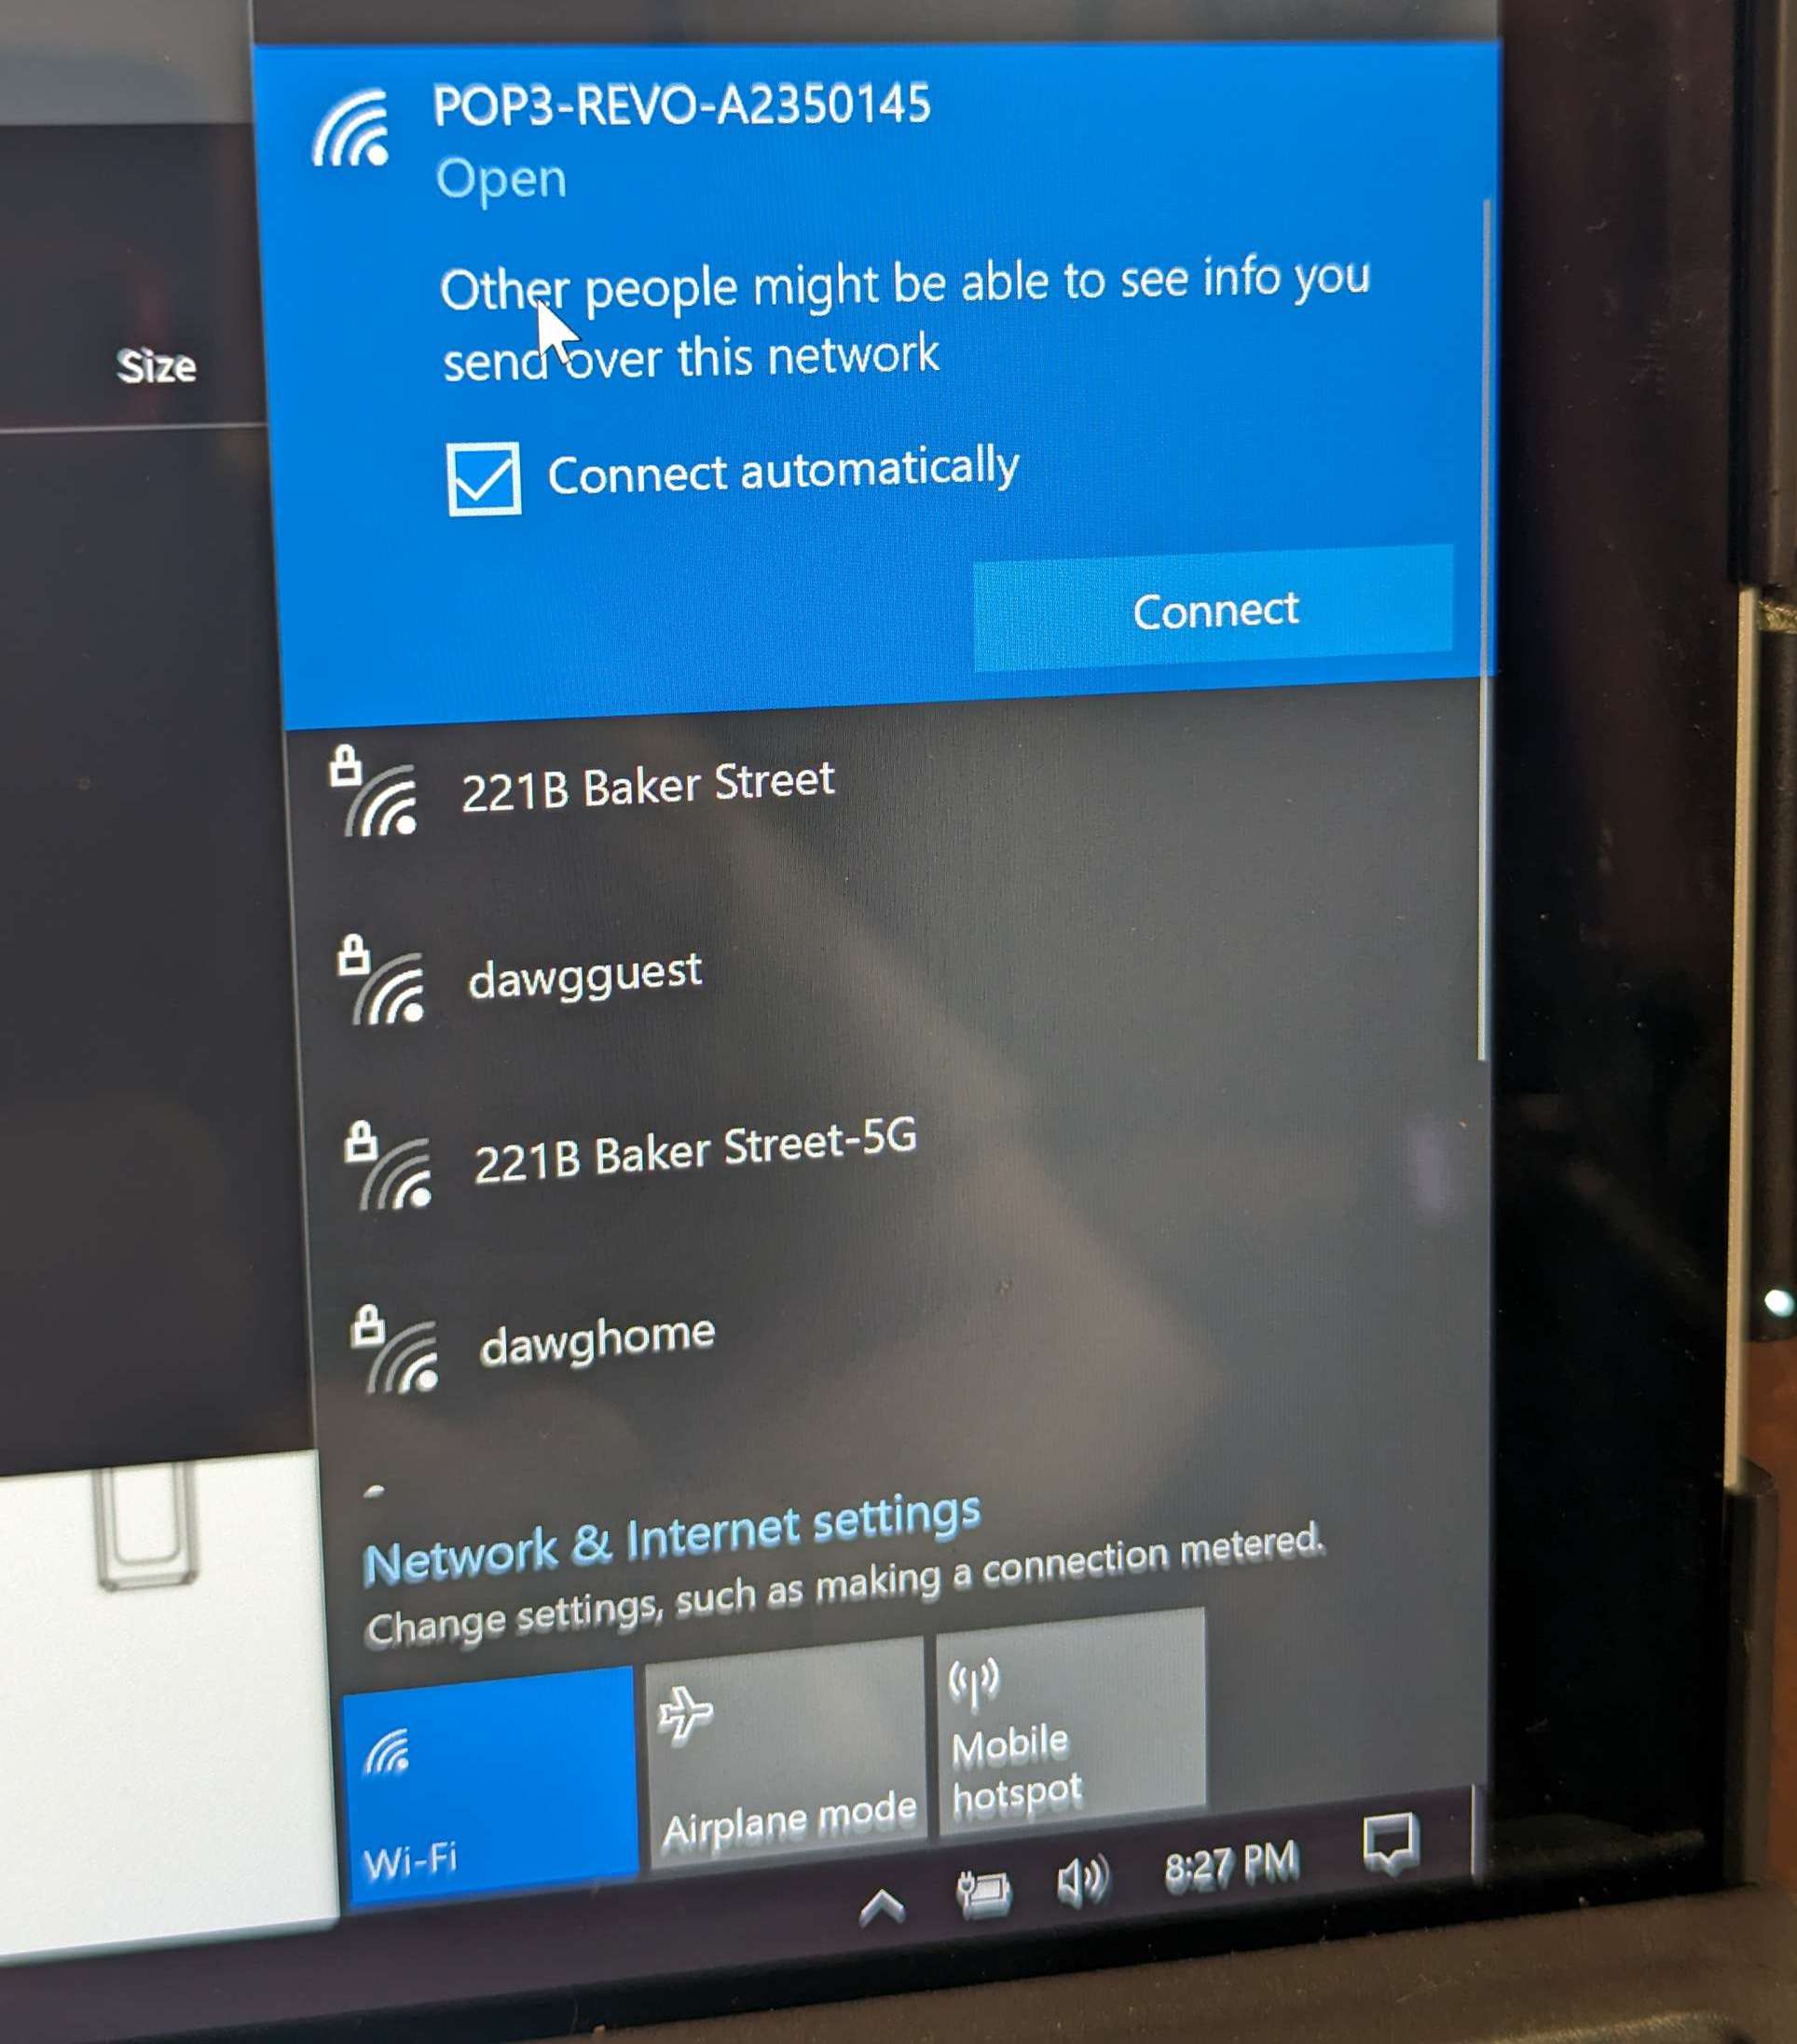
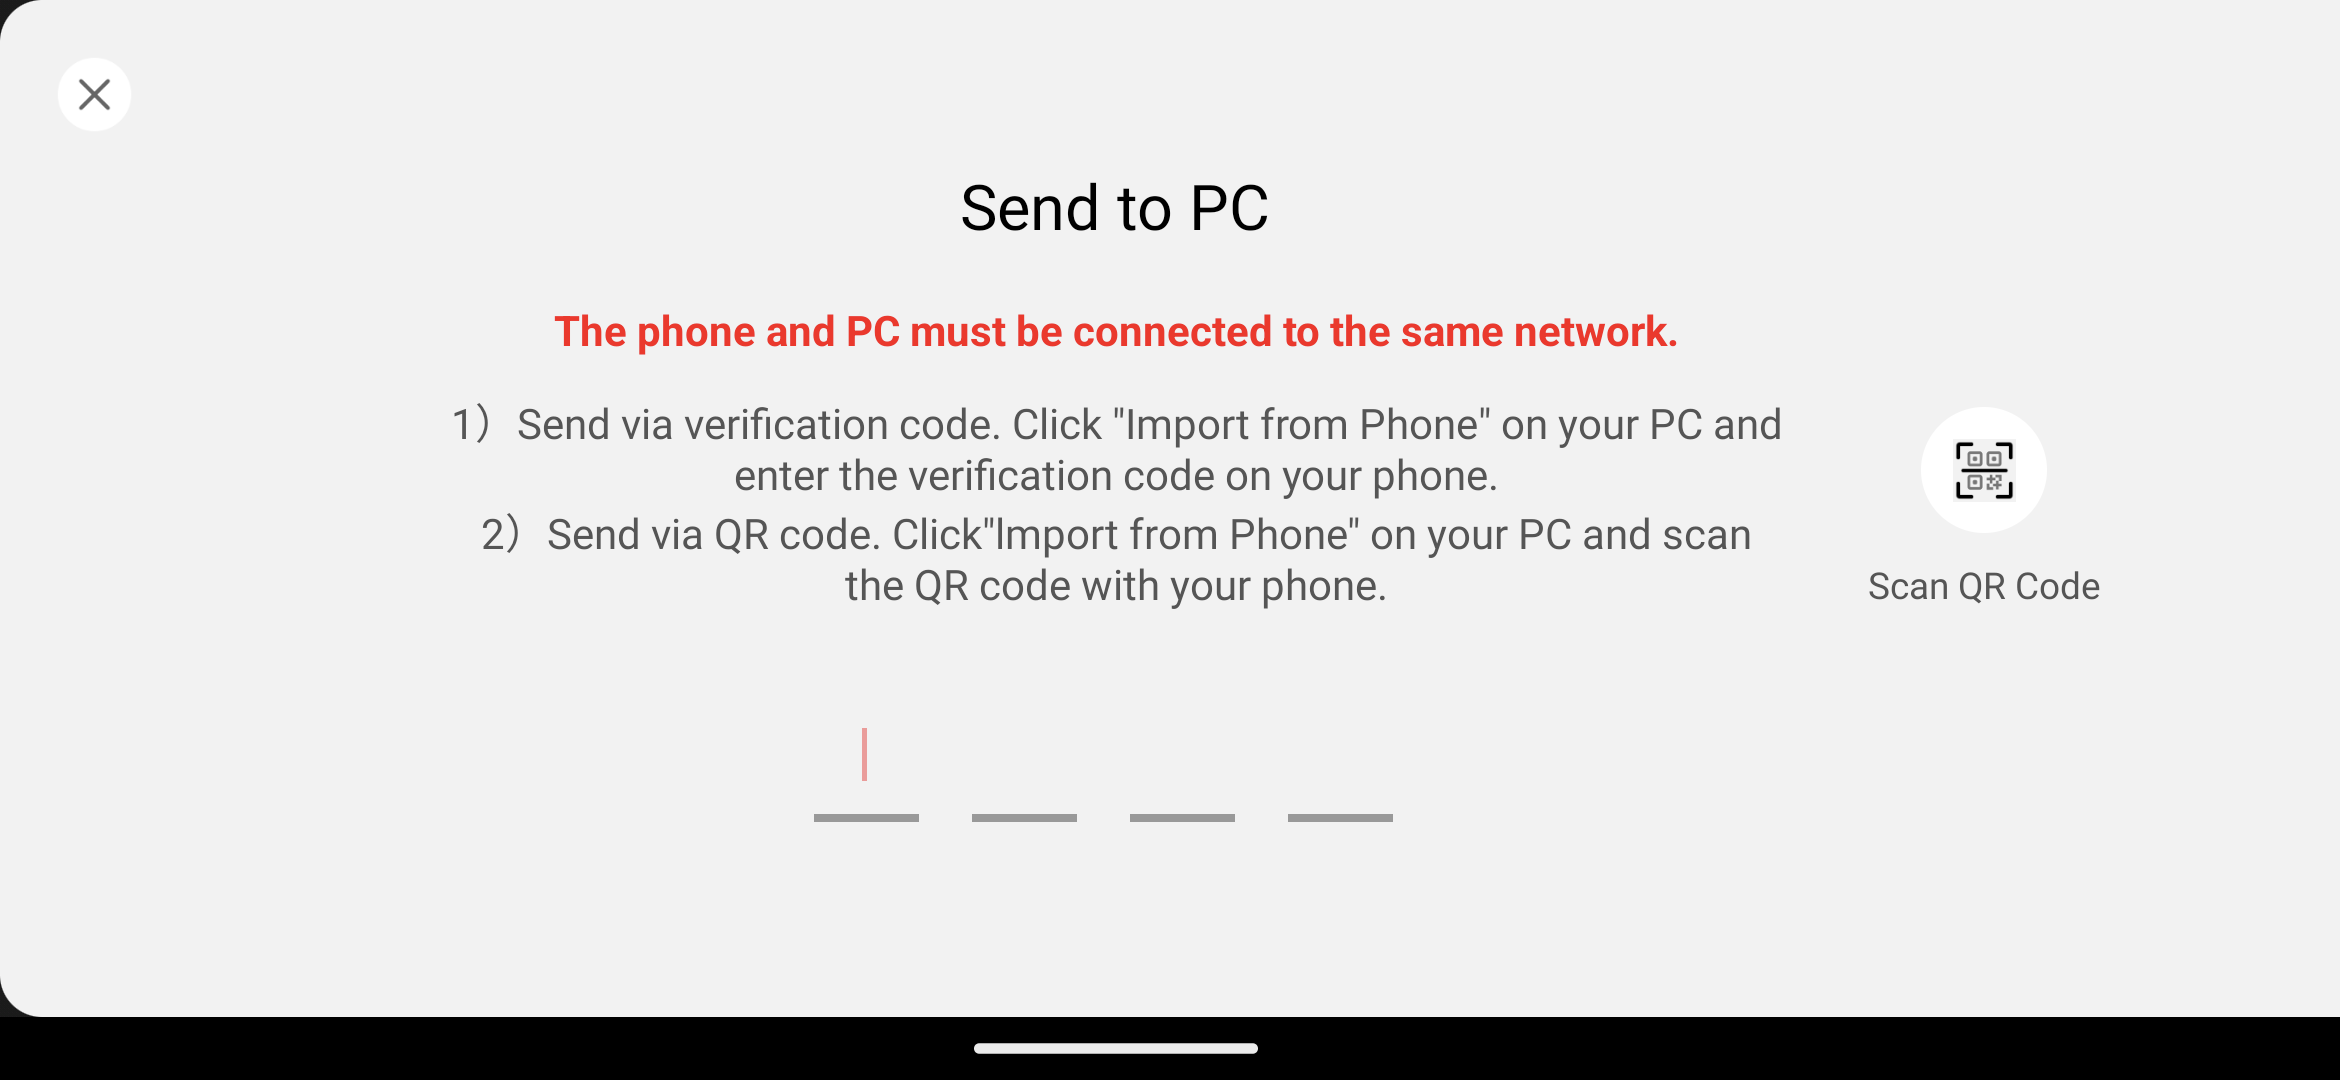
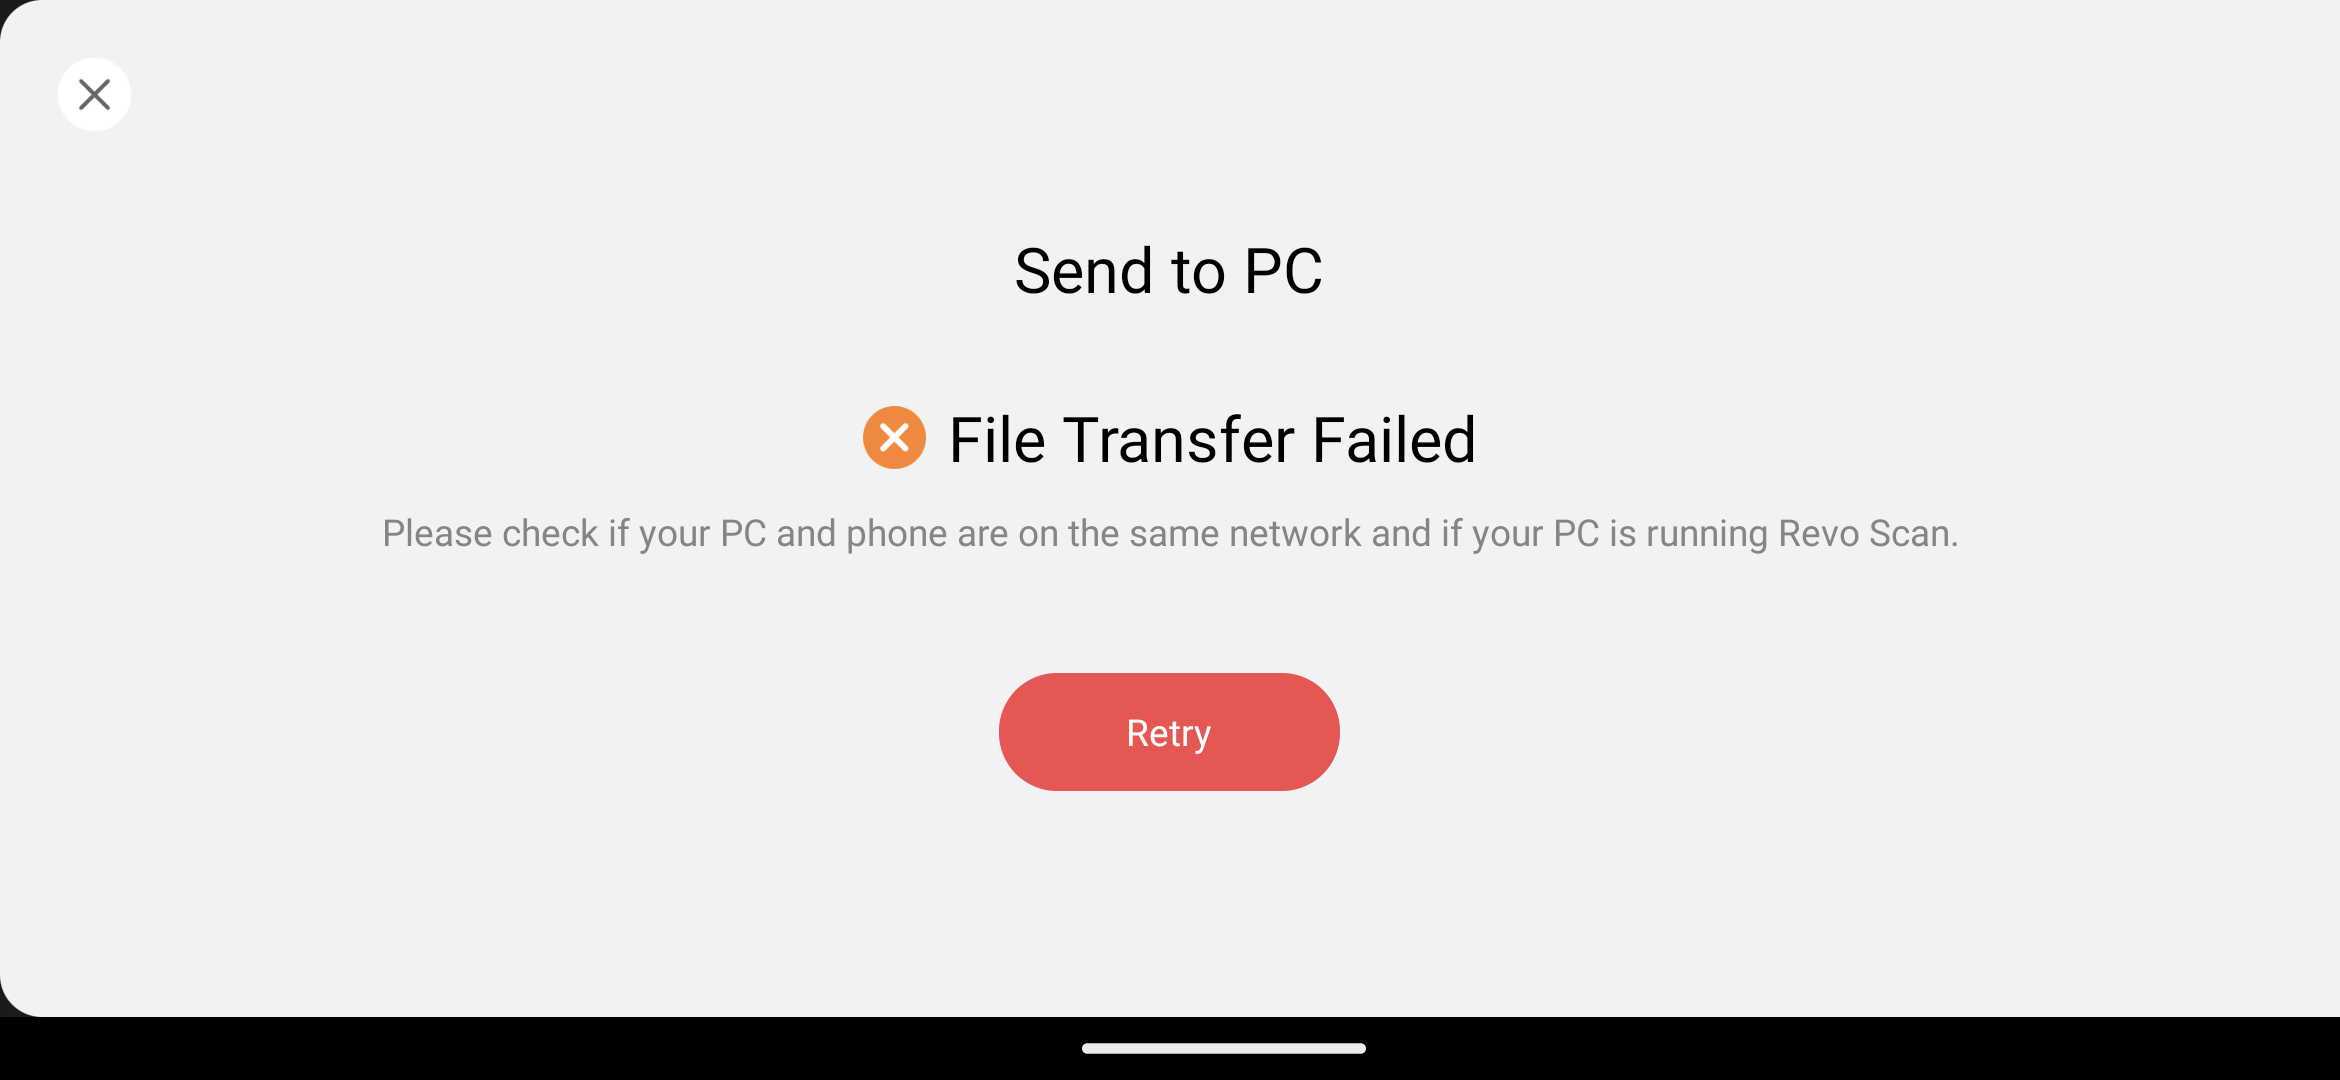
The only error I came across was trying to transfer the files from my phone to my Surface Pro 4 over Wifi. I confirmed I was on the same network and even switched to my guest Wifi, tried again without success, and then switched back and again failed. Not sure why it didn’t work so I just transferred the old fashioned way with a cable.
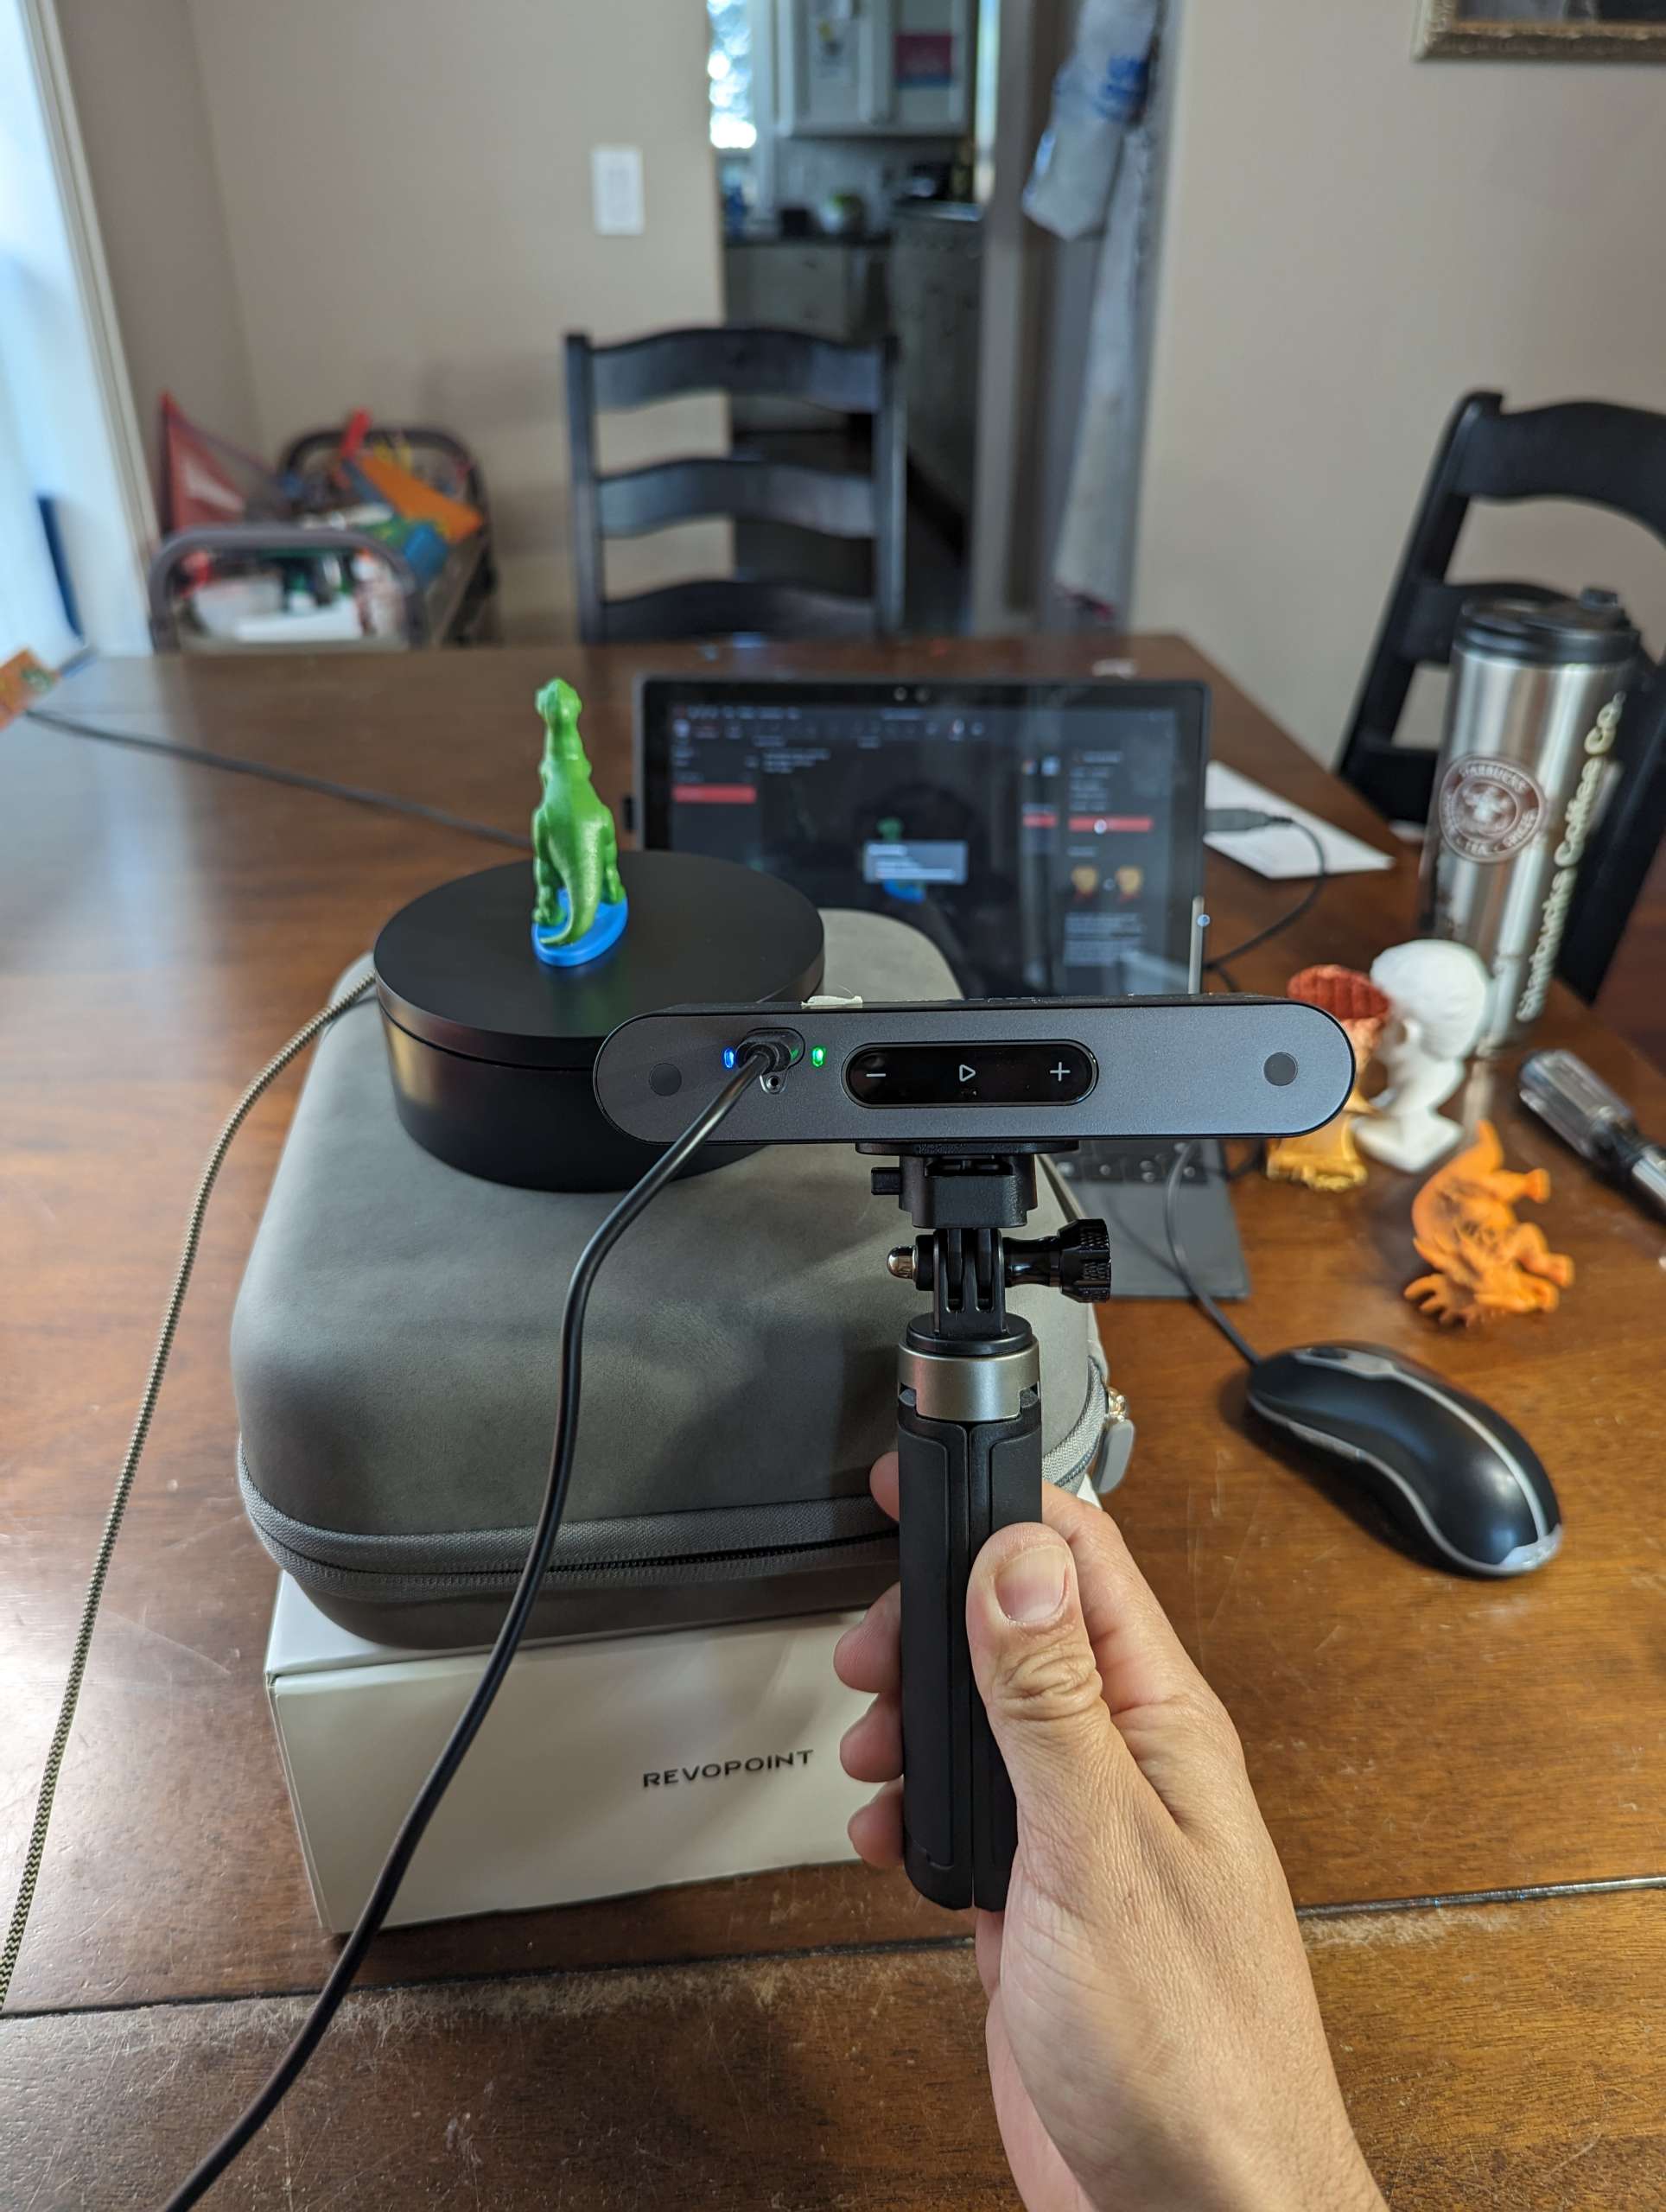
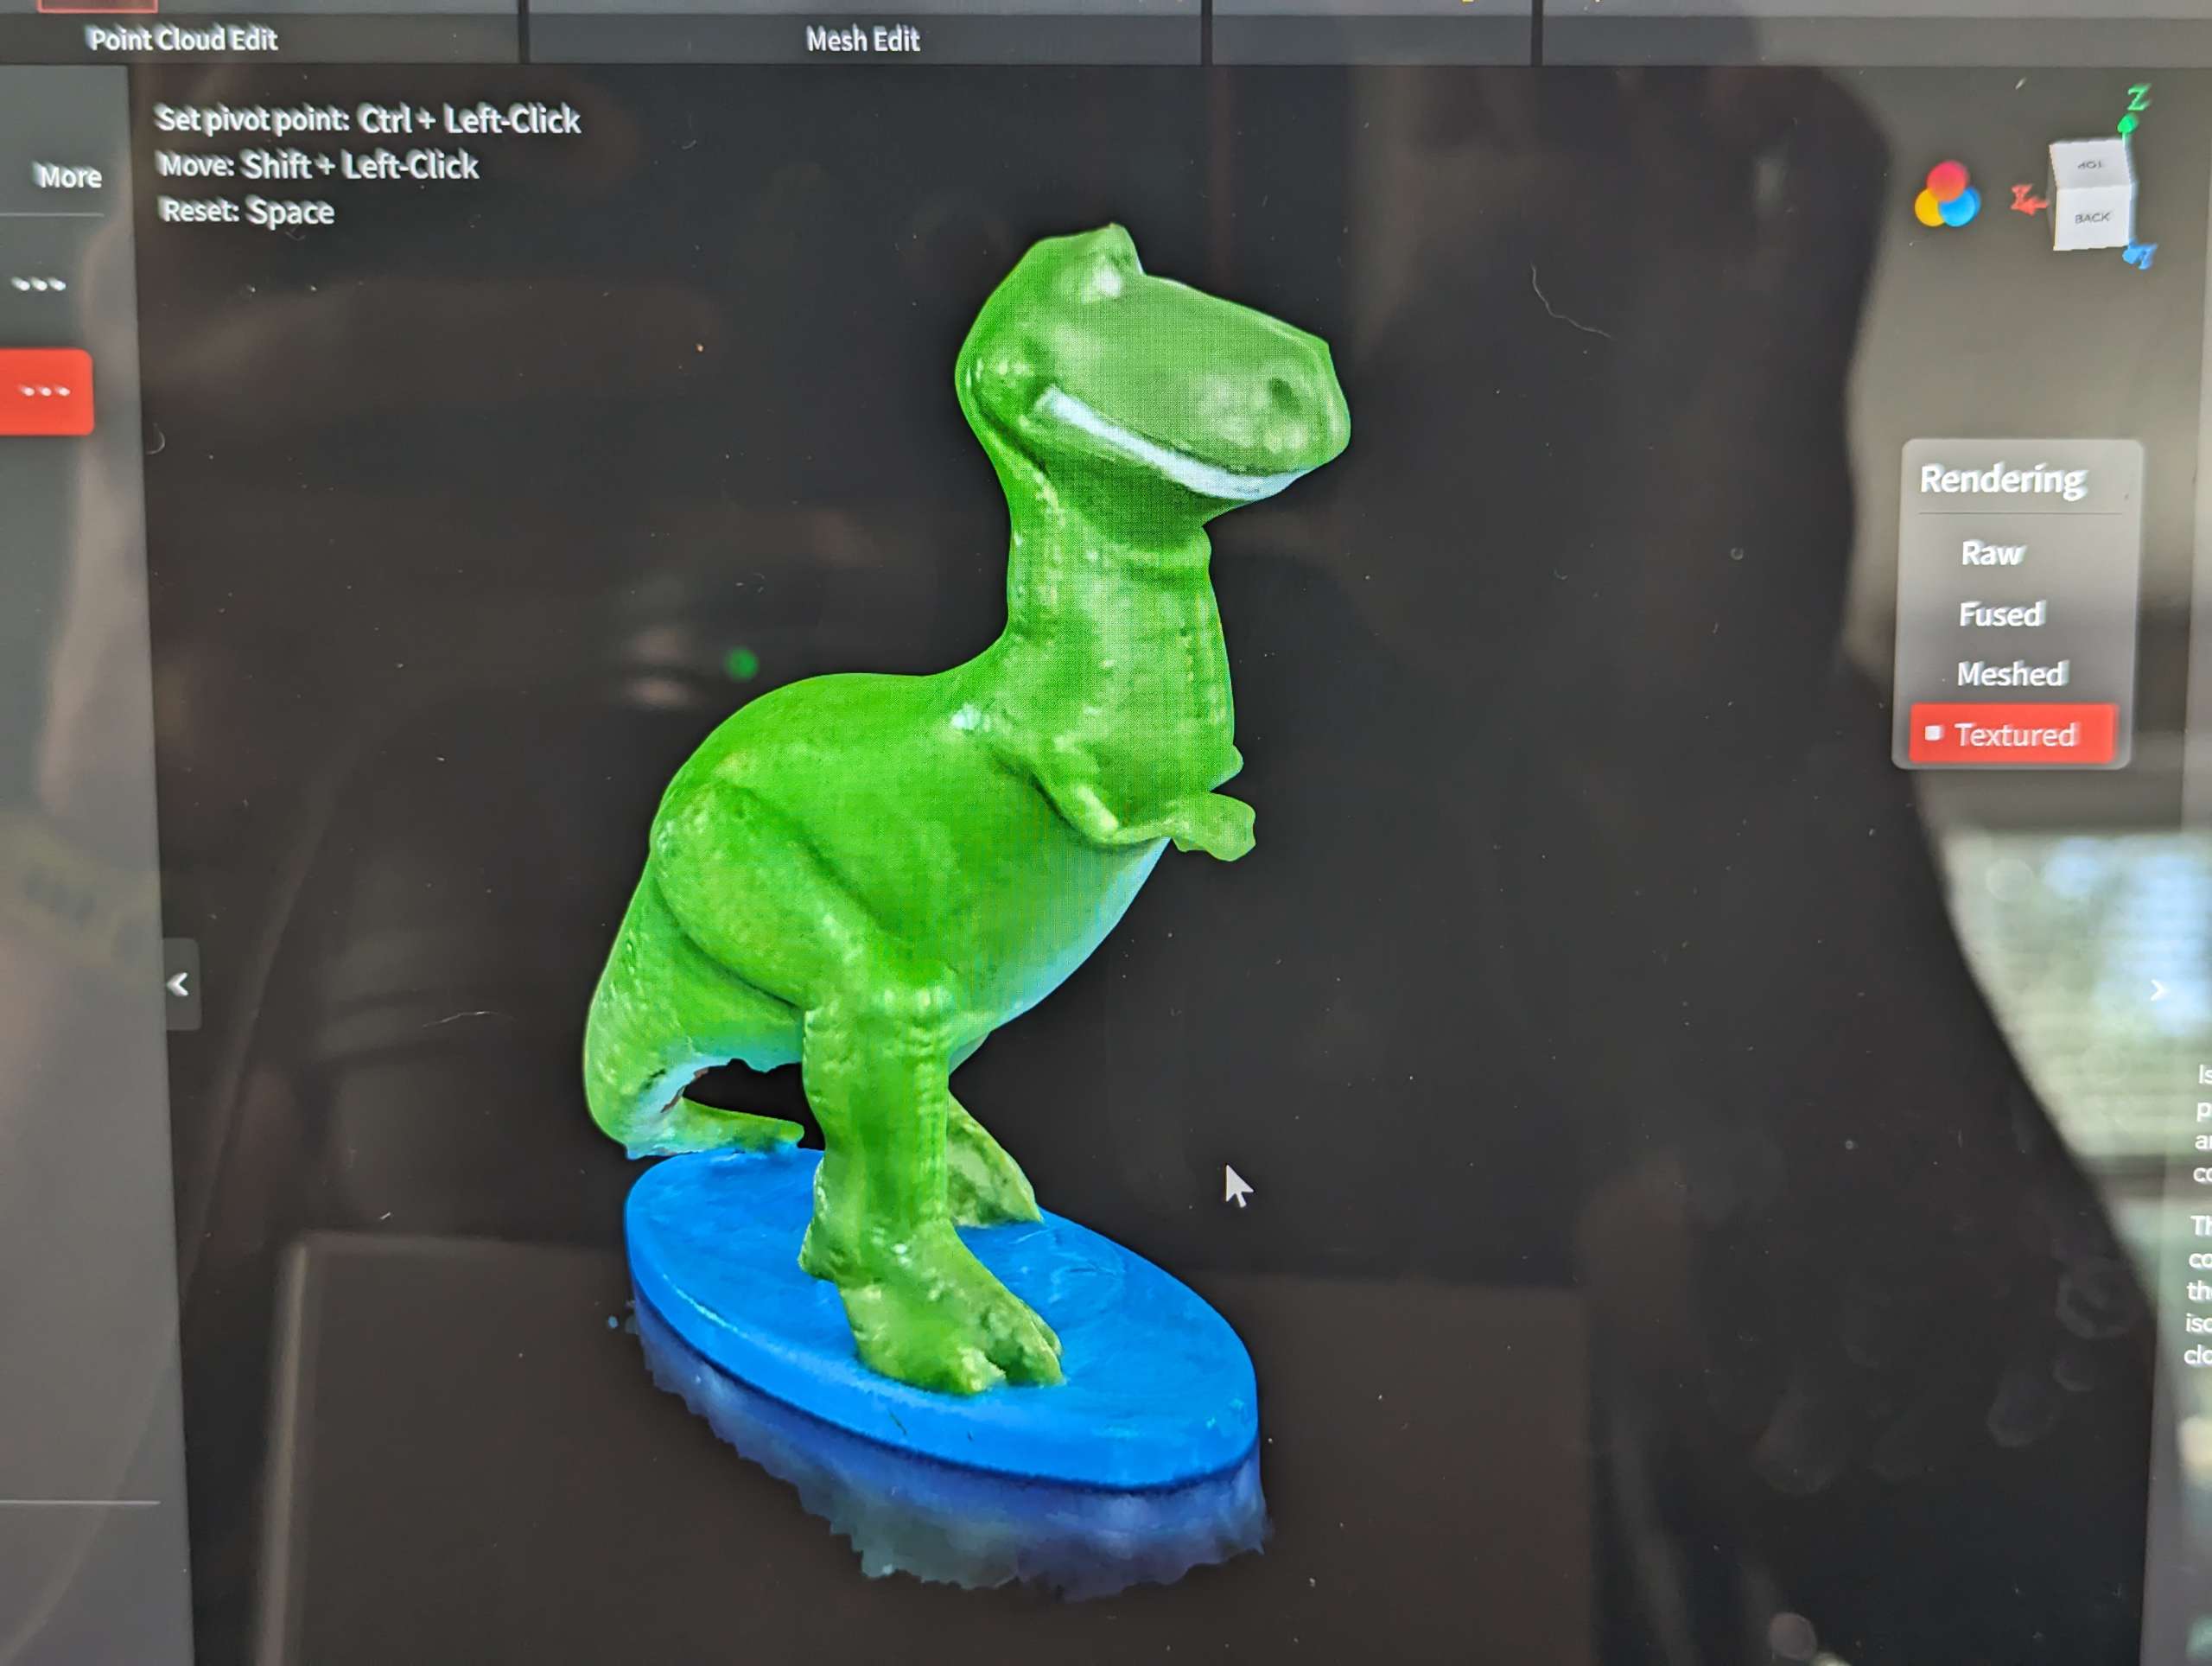
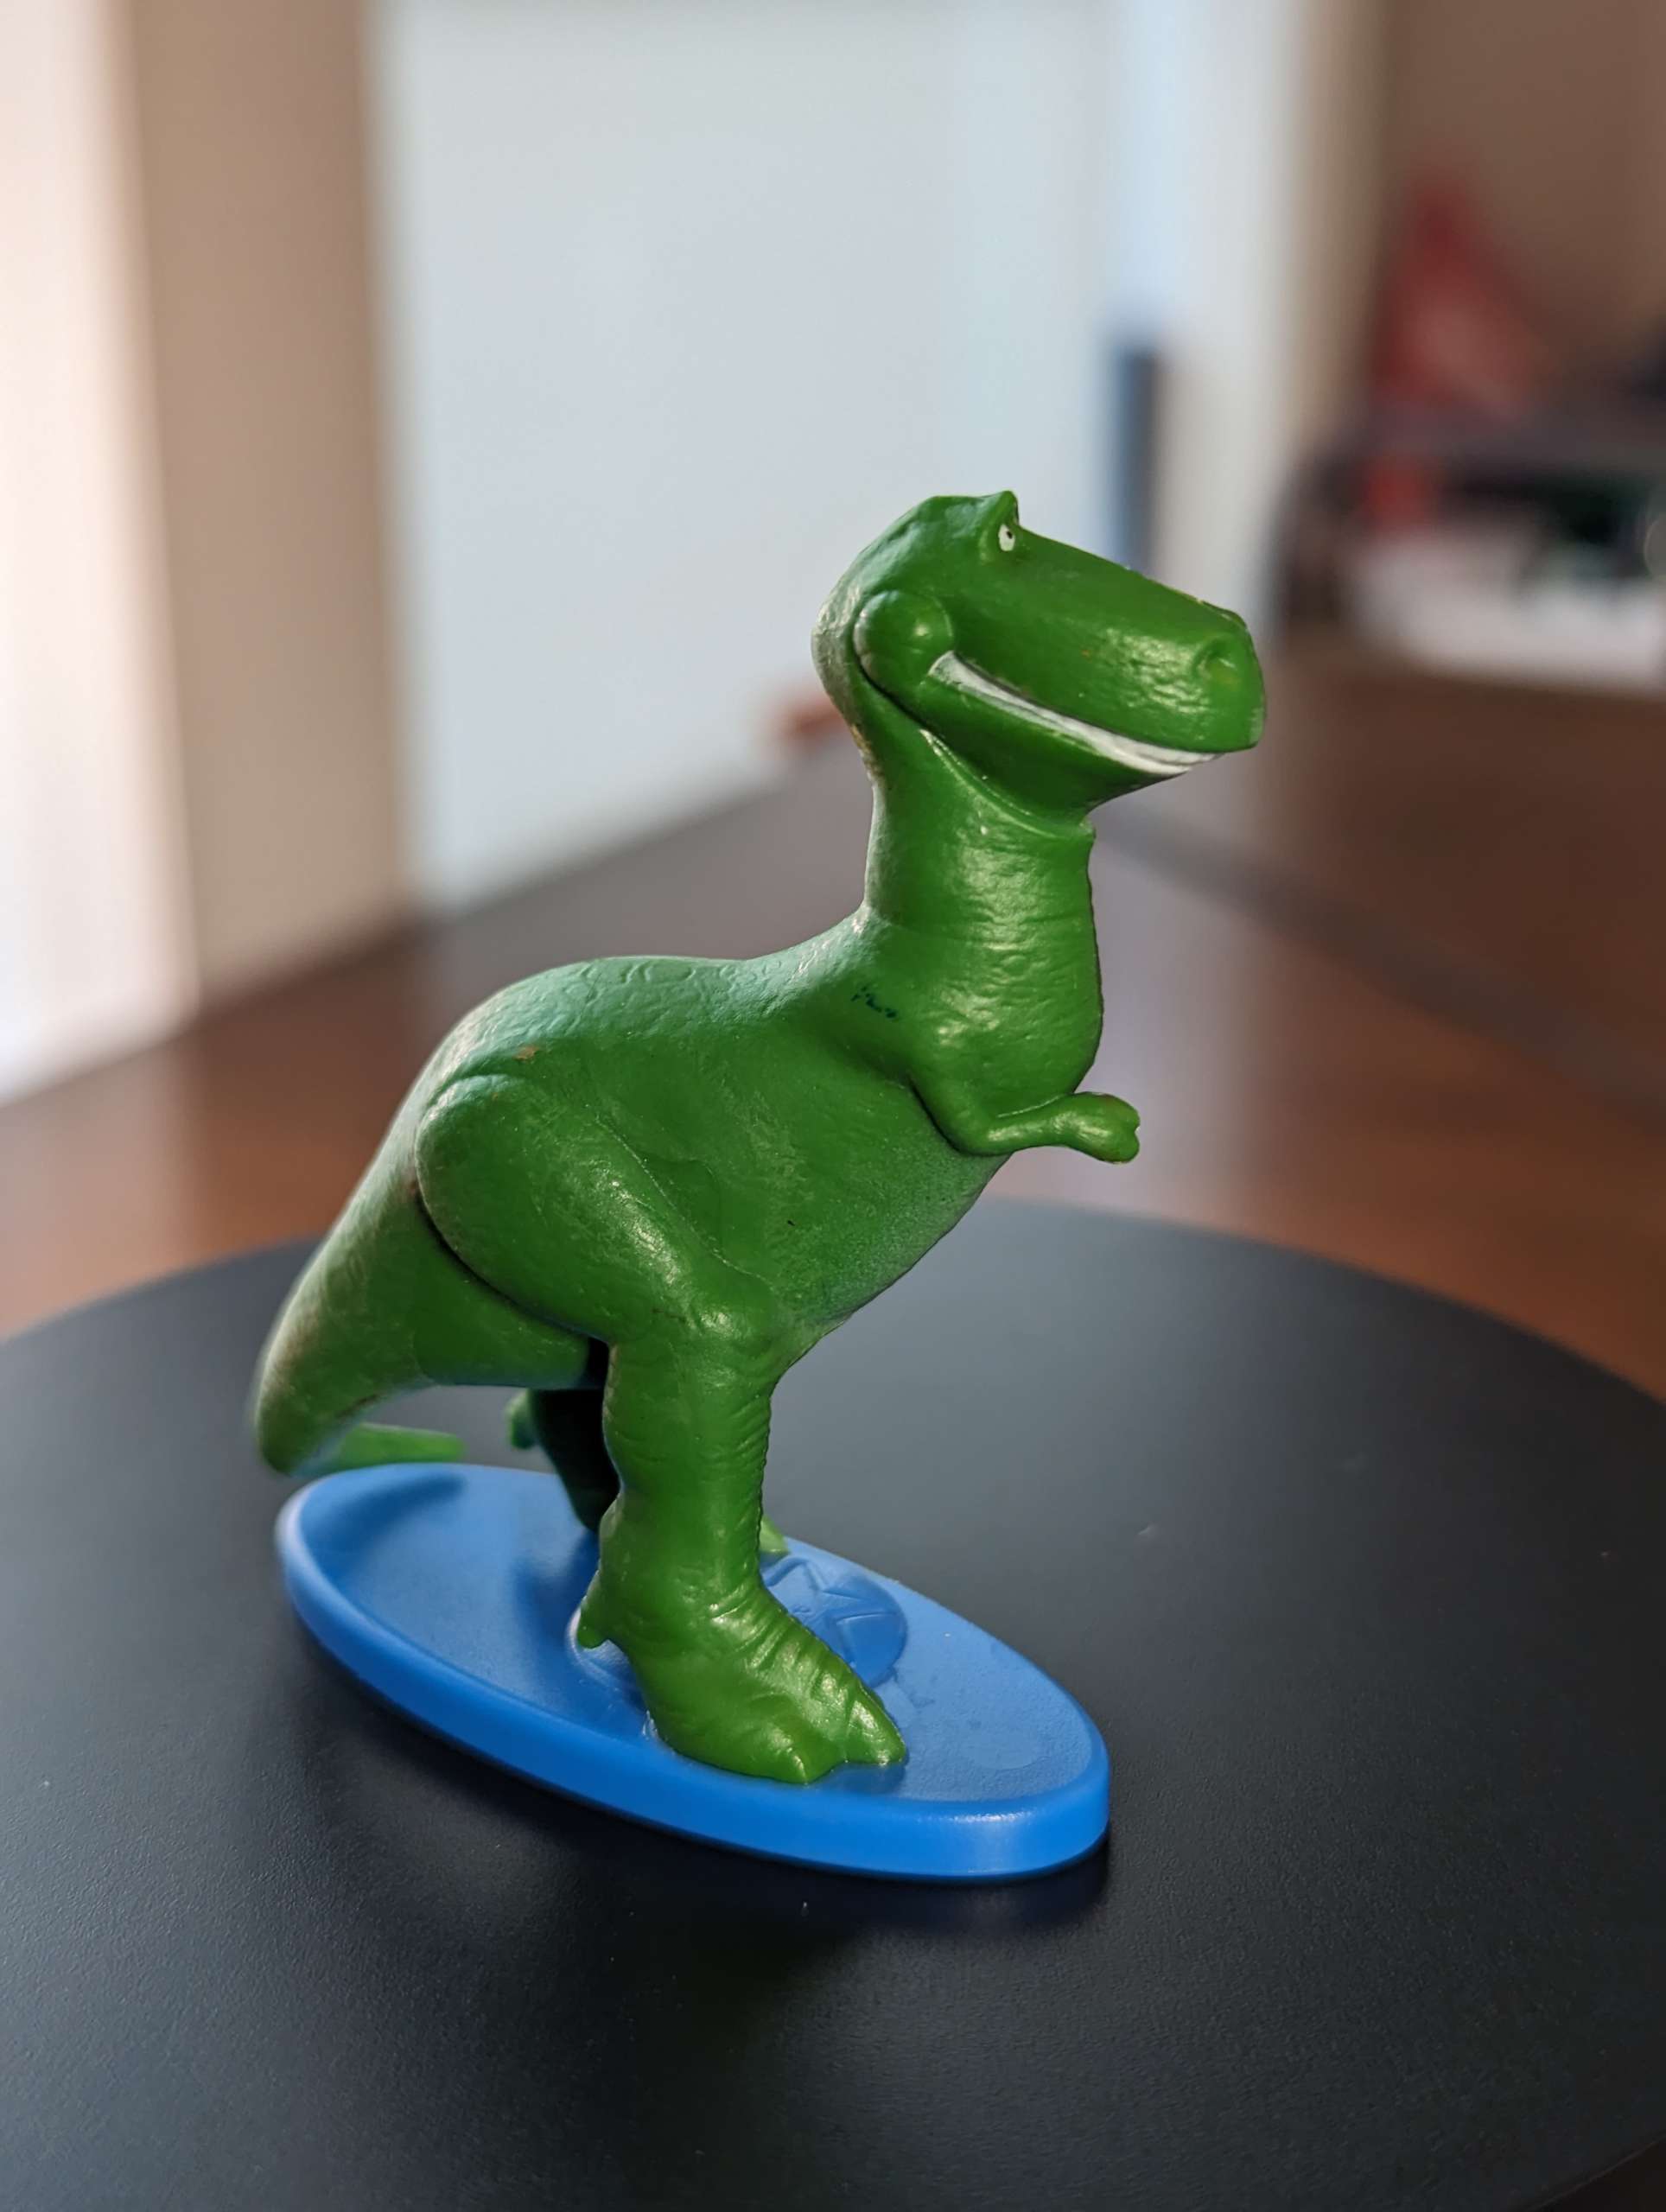
Color scans were incredibly accurate and I was able to scan a small (about 2in high) Rex with quite amazing detail.
What I like
- Easy and accurate scans and model creation
- Lots of videos and support to get the most out of the POP 3
- Light and easy to carry for scans on the go
What I’d change
- Add an on/off button to the scanner
Final thoughts
The Revopoint POP 3 is an amazing tool to add to your 3D printing setup and really just adds an incredible capability. It is an investment at $569 just for the standard edition which doesn’t include the power handle and dual-axis turntable but for what it can do I think it is well worth it. The Revopoint POP 3 3D scanner has brought 3D scanning within the reach of hobbyists like me. I may have just been intrigued before I tested the POP 3 but now I am thoroughly impressed with what it can do and I look forward to using it more.
Price: $664 for the Advanced Edition or $569 for the Standard Edition.
$769.00 for the Advanced Edition or $659.00 for the Standard Edition on the Revopoint Website.
Where to buy: Amazon or Revopoint Online Store
Source: The sample for this review was provided by Revopoint.

Google Review Tap Cards (3-Pack) by TapFive - Tap for Instant Reviews - All Phones Compatible - Reusable Smart Tap NFC & QR - Boost Business Reviews - Powered by TapFive (3 Card Pack)
(as of July 15, 2026 07:24 GMT -05:00 - More infoProduct prices and availability are accurate as of the date/time indicated and are subject to change. Any price and availability information displayed on [relevant Amazon Site(s), as applicable] at the time of purchase will apply to the purchase of this product.)