ARTICLE – I recently reviewed the xTool P2 laser engraver. I’ve had it a little over a month and I’m still loving it. I wanted to compare and contrast the xTool P2 with the popular Glowforge Pro laser engraver.
There are some things to keep in mind when comparing one machine to the other. The first is to consider the features vs. cost of a machine. If another machine costs more and has a feature you don’t need, it’s not as much of a bargain for you. However, the most important thing to consider is how you intend to use the machine, in other words, what you want to do with it.
A machine that might be better for engraving rotary objects may not be the best machine for you if all you are doing is making leather patches and wood projects. Always consider the pros and cons of the machines in the context of your needs.
Machine Size (Footprint)
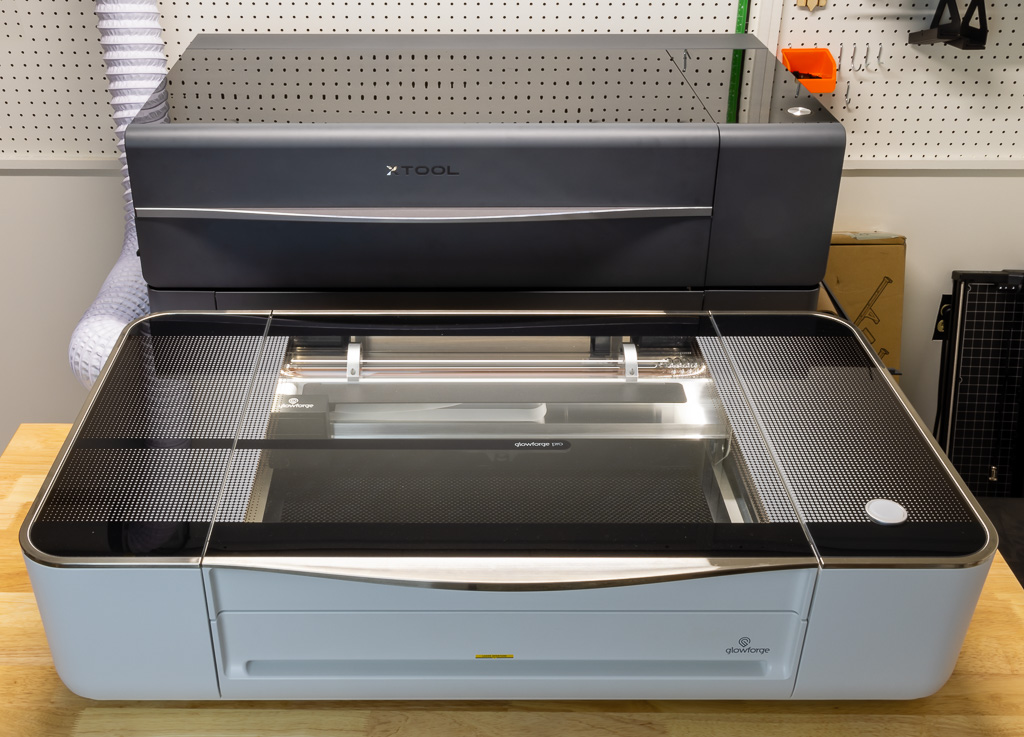
Both machines take up a similar footprint on a desk or table with the xTool P2 measuring about 1.5″ (38mm) larger in width, depth, and height than the Glowforge at 39.4″×25.1″×10.6″ (1000×639×268mm). Additional space is required for the exhaust hose that is connected to the rear of the machines. If space is a consideration, these machines are approximately the same size. In the lead photo to this article, the xTool P2 is on the optional Riser Base accessory.
Power
The Glowforge Pro features a 45W laser and the xTool P2 has a 55W laser. This 10W of power can make a big difference in the speed at which you cut and engrave materials. However, they are close enough that each will cut the commonly used materials up to 1/4″ (7mm) in a similar fashion.
Processing Area
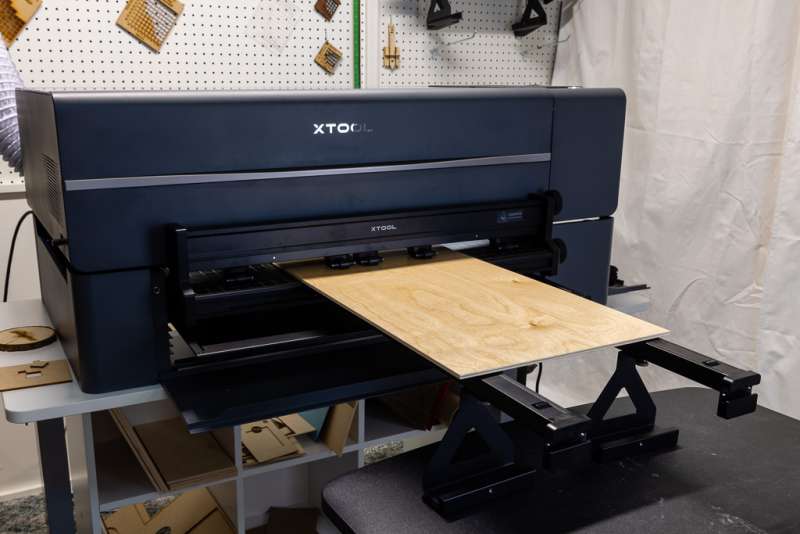
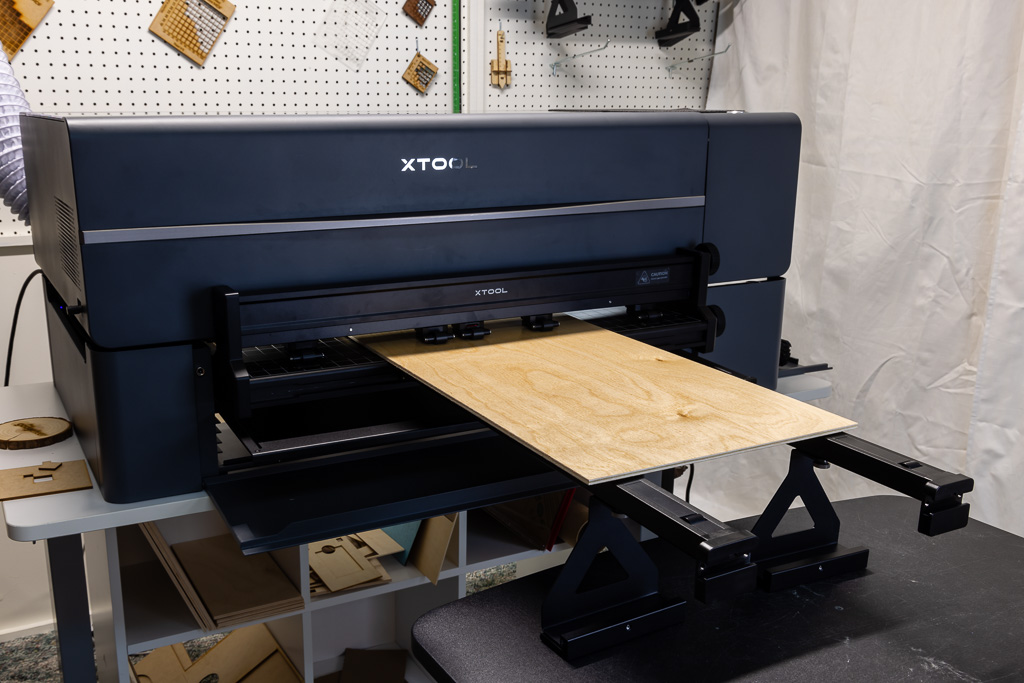
The Glowforge has a processing area of approximately 11″ (279mm) deep and 19.5″ (495mm) wide, 2″ in height, 0.5″ with tray. The xTool P2 has an approximate processing area of 12.1”x23.6” (308x600mm), 2.7″ in height, 8.4″ with riser base. The xTool P2 clearly wins this comparison with a processing area that is better suited to some of the commonly available material sizes.
Connectivity
Running a laser machine can sometimes be a battle between where you have your computer, and where your laser is set up. The Glowforge Pro connects only via Wi-Fi. The xTool P2 connects via USB Type-C, Ethernet, or Wi-Fi. If your laser is located in a remote area such as a garage or workshop, the Ethernet connectivity of the xTool P2 may be a welcome feature. I like the speed and stability of the Type-C USB connection of the P2.
Machine Build Quality
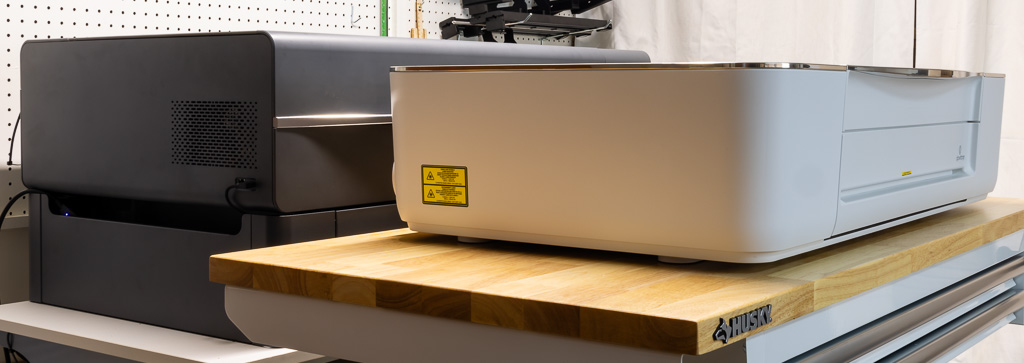
When I received the xTool P2 I was pleased to find that the internal area where the laser operates (and creates smoke and soot) was completely separated from the laser tube, air assist pump, power supply, and internal electronics. Unlike the P2, the Glowforge laser tube, air assist pump, power supply, and electronics are exposed to the internal working area of the laser, making cleaning the inside of the machine much more difficult. Since the Glowforge’s components are more exposed, it is probably easier to service, but harder to clean.

- Internal components of the Glowforge Pro are exposed.
- The xTool P2’s working area is closed off from the internal components.

Machine Features
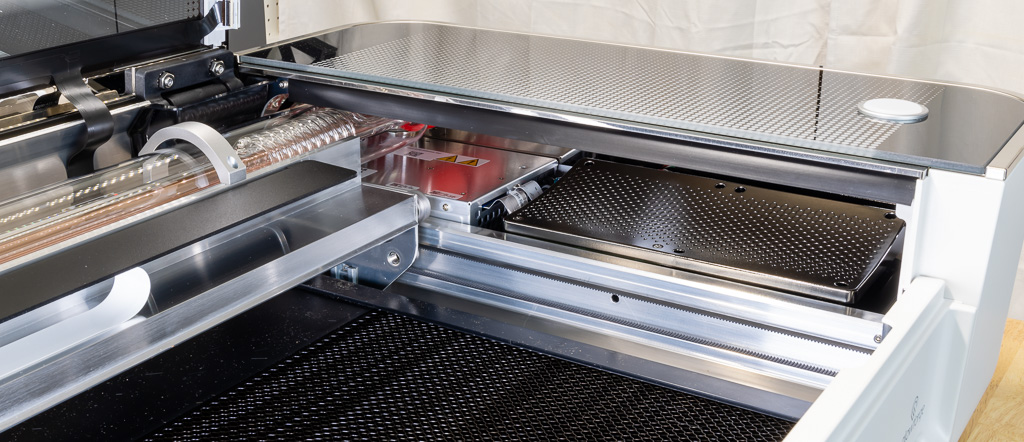
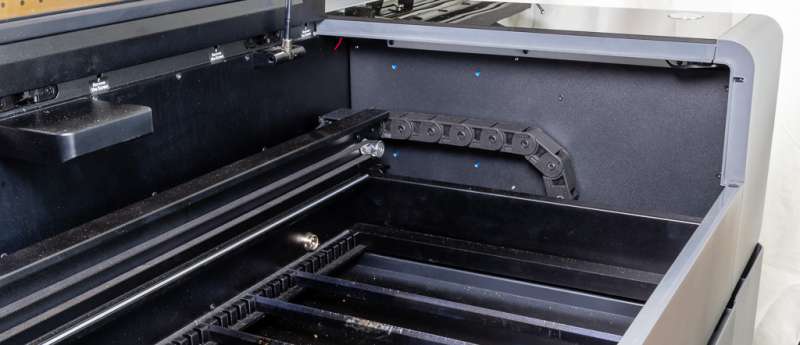
The xTool P2 uses slats to hold material whereas the Glowforge uses a honeycomb bed. Each has its advantages and disadvantages, so I would call that a draw. The Glowforge has a front panel that opens up, which could be useful at times. However, the xTool P2 has a removable tray and an open bottom, which I find more useful if you need to engrave something tall or large. The xTool P2’s internal LED lighting isn’t as good as the Glowforge Pro’s lighting.
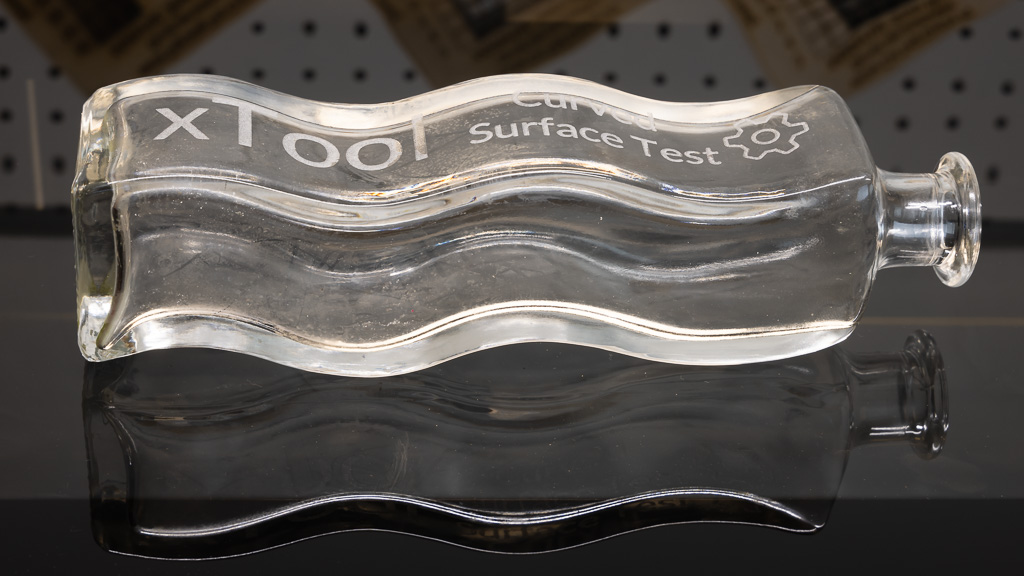
The xTool P2 also has curved surface engraving. This feature utilizes the close-up camera to build a 3D map of the object’s surface, allowing for engraving on curved or angled surfaces.
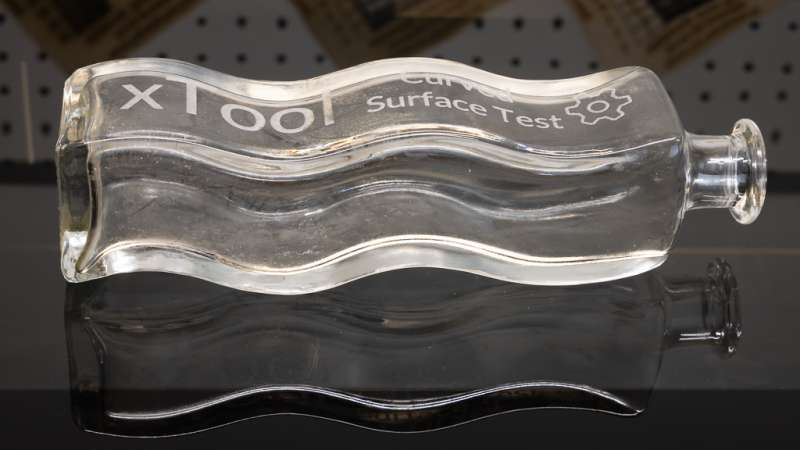
- The xTool P2’s curved surface engraving opens new possibilities for engraving!
Cameras
The Glowforge camera is directly overhead the working area, which is more accurate for positioning designs than the rear-mounted xTool P2 camera. The Glowforge lists a macro camera mounted on the head as a feature, but this camera is only used for measuring and does not provide a close-up image for the user. The xTool P2 close-up camera is better at aligning items with very high precision making it indispensable to my workflow.
Long Material Handling
The Glowforge Pro has a passthrough feature to feed longer materials into the laser, however, it does not feed the material through, so any aligning of larger designs is up to the user to figure out. The xTool P2 has a Conveyor Feeder accessory that can feed material up to 9.5′ in length. This extra length can bring a whole new type of engraving and cutting to your projects.
- The optional Conveyor Feeder accessory for the xTool P2.
Rotary Capability
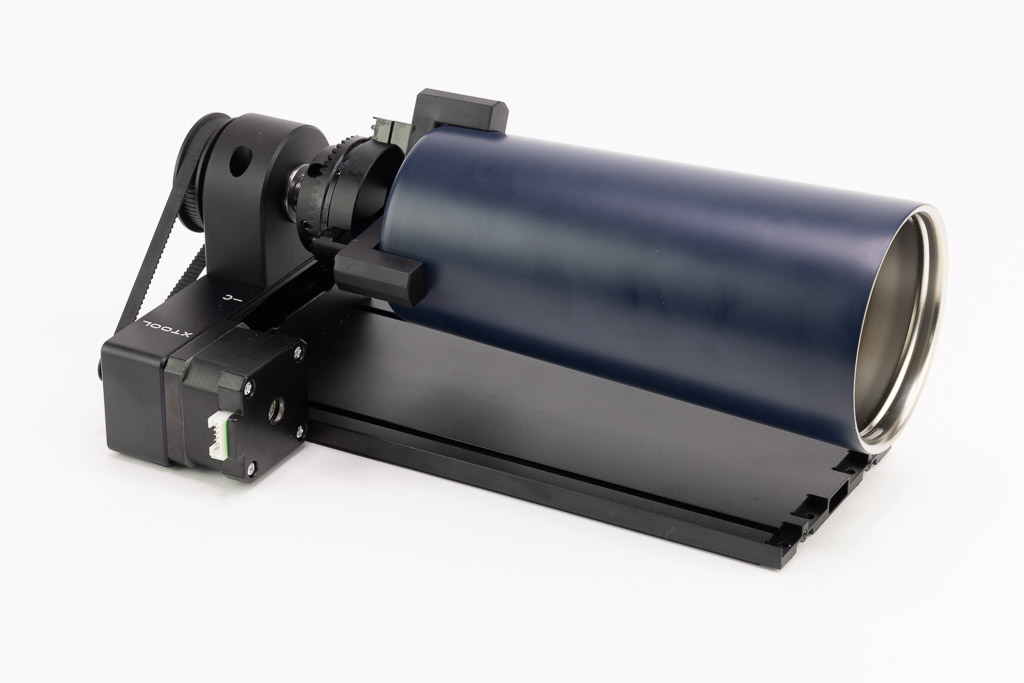
The Glowforge Pro does not have a rotary accessory. The xTool RA2 Rotary works with the xTool P2 to provide multiple types of rotary engraving. This rotary feature is indispensable for engraving glasses, tumblers, rings, ornaments, balls, and anything else that needs to be rotated to engrave the surface.
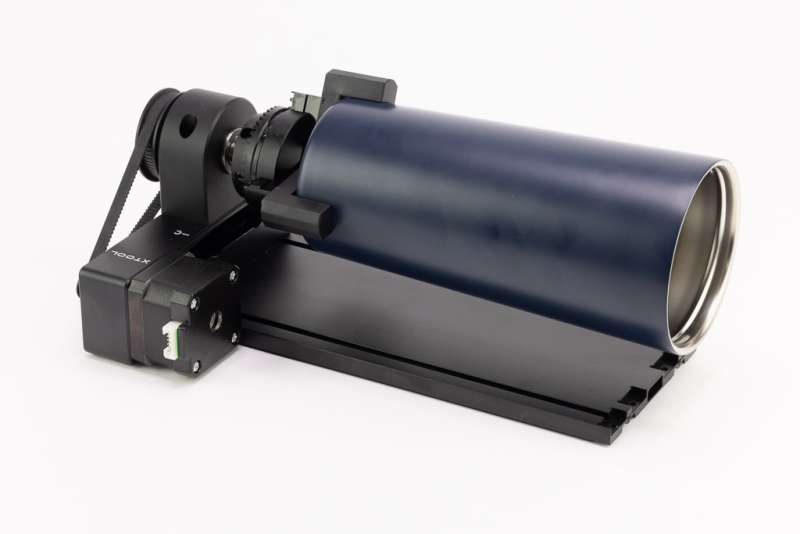
- xTool’s optional RA2 Pro Rotary accessory.
Software
I was very disappointed when I first saw the Glowforge software. I thought that having been around for a long time the software would have been more advanced than it is. The Glowforge “software” runs via a web page, which I’ll admit, is useful in some aspects of designing from multiple locations.
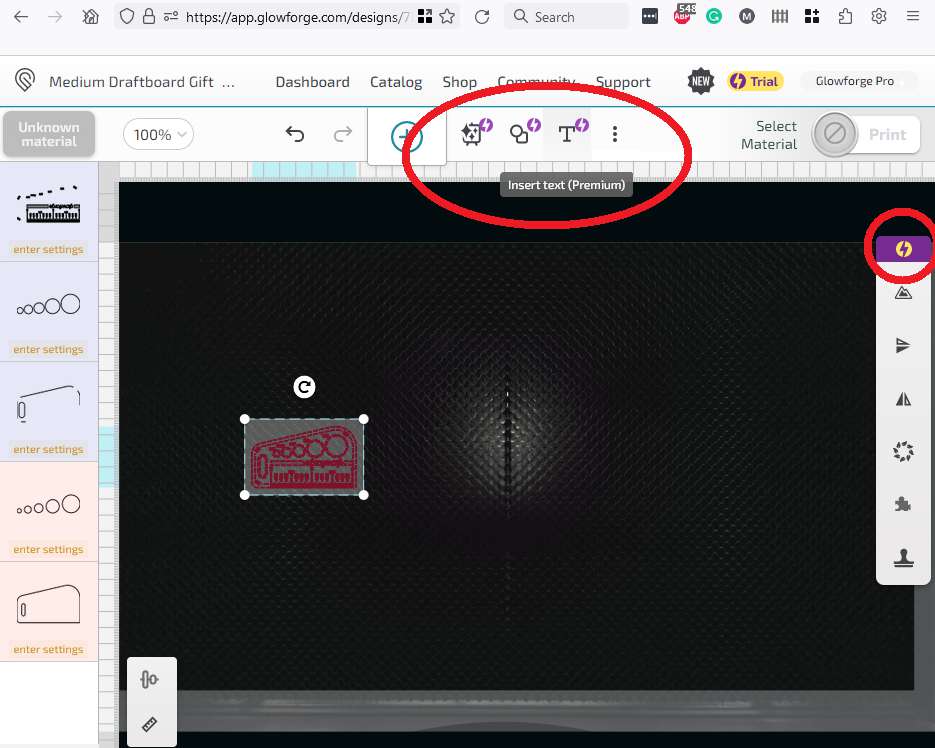
However, the xTool Creative Space software (XCS) has features that the Glowforge software doesn’t. Some of these features are built-in grid tests, background grid, layers, hiding the camera view, creating vector paths, and combining vectors (combine, subtract, etc). Both have shape and text objects, but Glowforge only allows that with their Premium subscription.
On Glowforge, the processing of projects takes place on their servers, which can sometimes take several minutes (Premium subscribers get faster processing) whereas on the xTool XCS, the project is sent to the laser instantly.
Both Glowforge and XCS have a feature where you can find projects on their servers. This is one area that Glowforge does excel, having a larger selection of sample and for-purchase projects.

- Glowforge’s software is limited unless you subscribe to their Premium membership. These highlighted features are for Premium subscribers only.
Price
Let’s admit it. For most people, price is a big consideration. Sometimes we’ll do with less if the price is more affordable. Sometimes we’ll spend a little more to get what we really want. In this case, I believe that the xTool P2 beats the Glowforge Pro in both price, power, and features.
xTool P2: $4,599 – xTool and Amazon
Glowforge Pro: $6,995 – Glowforge

Gerber Gear Suspension 12-in-1 EDC Multi-Plier Multitool with Pocket Knife, Needle Nose Pliers, Wire Cutters and More, Gifts for Men, Camping and Survival, Grey
(as of July 22, 2026 09:28 GMT -05:00 - More infoProduct prices and availability are accurate as of the date/time indicated and are subject to change. Any price and availability information displayed on [relevant Amazon Site(s), as applicable] at the time of purchase will apply to the purchase of this product.)
Gadgeteer Comment Policy - Please read before commenting
The big reason we decided against the GF is that it will not run w/o a connection to their servers. From the review, it seems that is still true.
Also, it seems that xTool does not have that limitation. For someone who is spending $5-6K on a tool, we can think why anyone would risk putting up w/ that kind of handcuffs from GF.