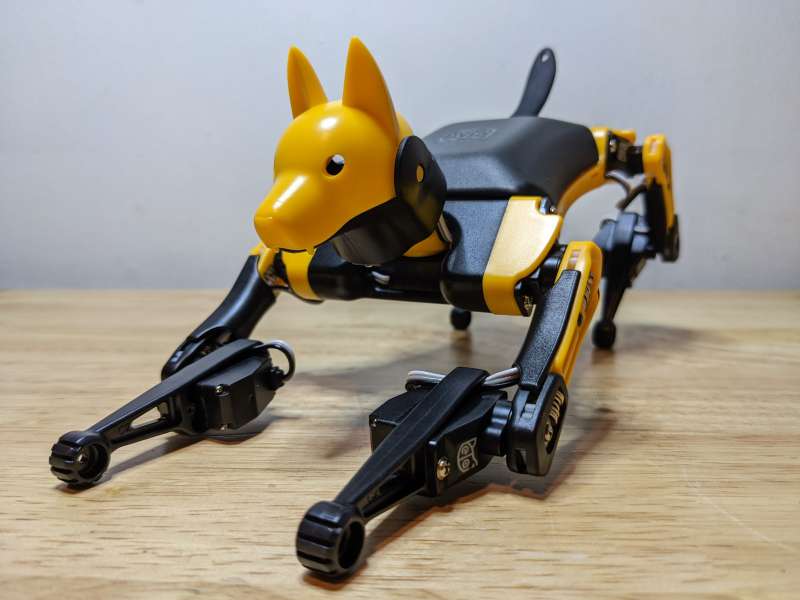
REVIEW – If you’ve ever seen those test videos of Spot, the robot “dog” created by Boston Dynamics, you know how equally exciting and terrifying the idea of a robot dog actually is. It’s cute to watch Spot prance around and right itself after an annoying human tries to knock it over, but it all seems like just one bad line of code away from the Black Mirror episode “Metalhead”. Despite my fears of a robot uprising I decided to test out the Petoi Bittle Open Source Robot Dog. The Bittle definitely takes its design inspiration from Boston Dynamics’ Spot, but that’s where the similarity ends. Bittle is definitely not as sturdy or autonomous as Spot, but the open-source nature of the robot makes it endlessly engaging. With kits ranging in price from the $259 Base version I tested, to the full $439 Developer Kit, the Bittle isn’t cheap, but for a dedicated tinkerer or programmer, it might be worth breaking open the piggy bank.
What is it?
The Petoi Bittle Robot Dog is an open-source, servo-based, quadruped robotics construction kit. Once assembled the Bittle is programmable via Scratch block-based coding, Arduino IDE, C++, or Python. The Base Kit I tested, comes partially pre-assembled and can be controlled via an included IR remote, WiFi, Bluetooth, or PC tether. The Bittle can be expanded with a number of different modules and motherboards.
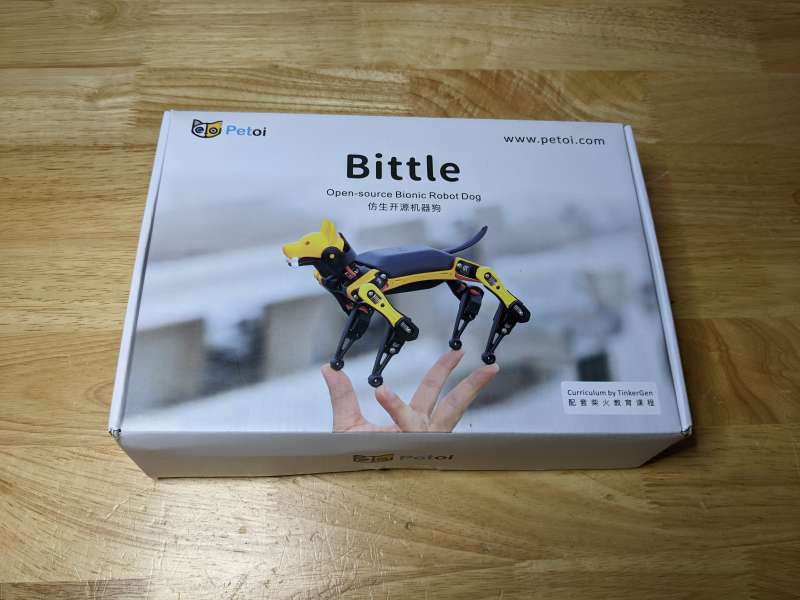
The Bittle ships in a small box with a few simple photos of the assembled robot on the front. The many parts of the Bittle are packed securely in molded plastic and cardboard.
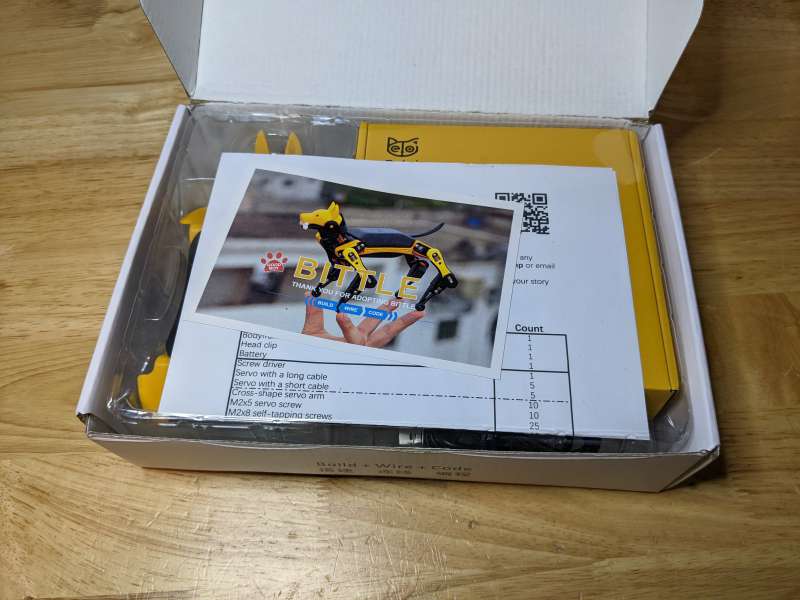
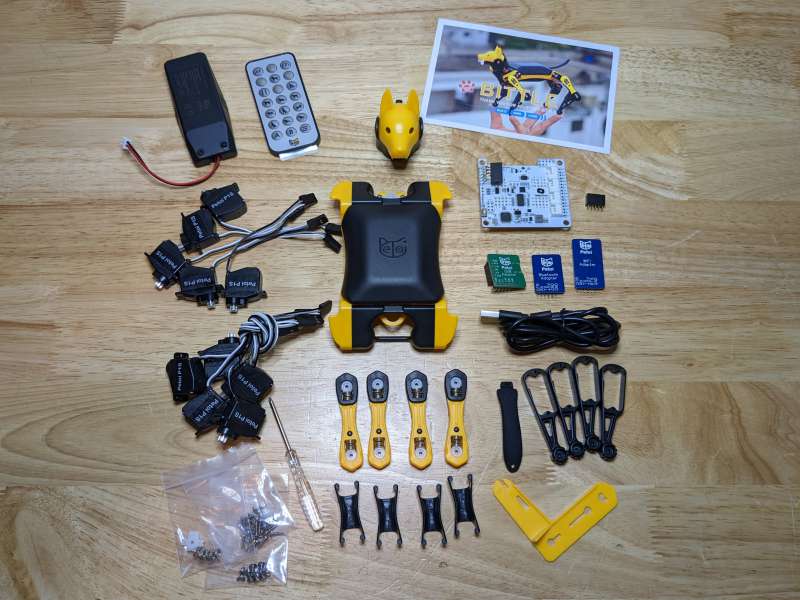
What’s in the box?
- Bittle Body:
- Head
- Pre-assembled body
- Pre-assembled upper legs x 4
- Lower legs x 4
- Leg wire shields x 4
- Tail
- Calibration tool
- Rechargeable 7.4V Li-ion battery
- USB-A to Micro USB cable
- P1S Servos x 10
- NyBoard V1_1
- USB Adapter
- Bluetooth Adapter
- WiFi Adapter
- Infrared remote
- Phillips screwdriver
- Required screws and connectors
- Info card
Hardware specs
- Software supported:
- CodeCraft (scratch-based)
- Arduino IDE
- Python API
- App Compatibility: Android and iOS
- Approximate assembly time: 40 mins
- Dimensions: 7.9″ x 4.3″ x 4.3″ (200mm x 110mm x 110mm)
- Weight: 10.2oz (290g)
- Number of joints: 9
- Frame material: Plastic
- Controller:
- Controller board: NyBoard V1
- CPU: ATMega328P
- External EEPROM: 64Kbit
- IMU: 6-Axis MPU6050
- PWM channels: 16
- Grove: 4
- RGB LED (NeoPixel): 7
- Built-in connectivity & features: Serial UART, I2C network, infrared receiver, buzzer
- Bluetooth/WiFi connectivity: Bluetooth and WiFi dongles
- Raspberry Pi support: Yes
- Servos:
- Type: P1S
- Max voltage: 8.4V
- Gear material: Alloy
- Motor: Coreless
- Battery:
- Battery Type: Li-ion
- Capacity: 7.4V 1000mAh
- Current: 2A/5A
- Battery life: 1 hour
- Charger: USB 5V 1A
- Charge time: 2h
- Charging cable: Micro-USB to USB-A
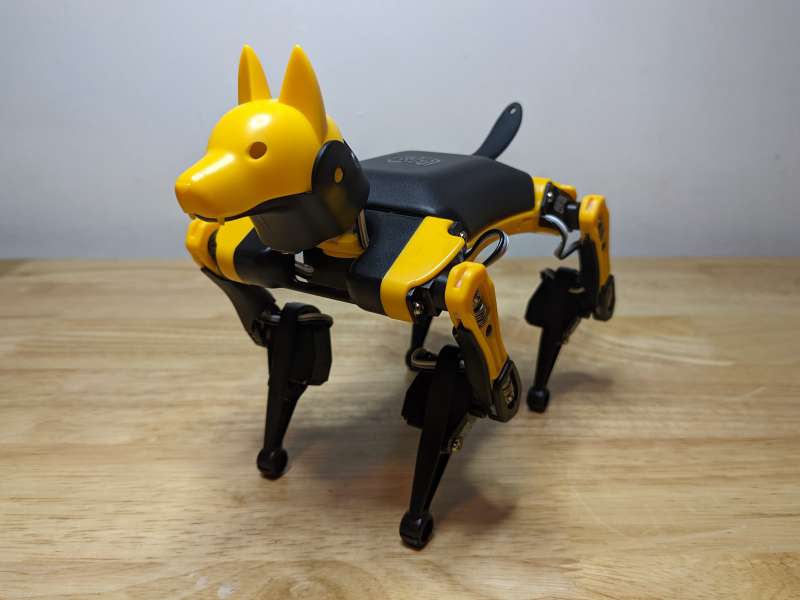
Design and features
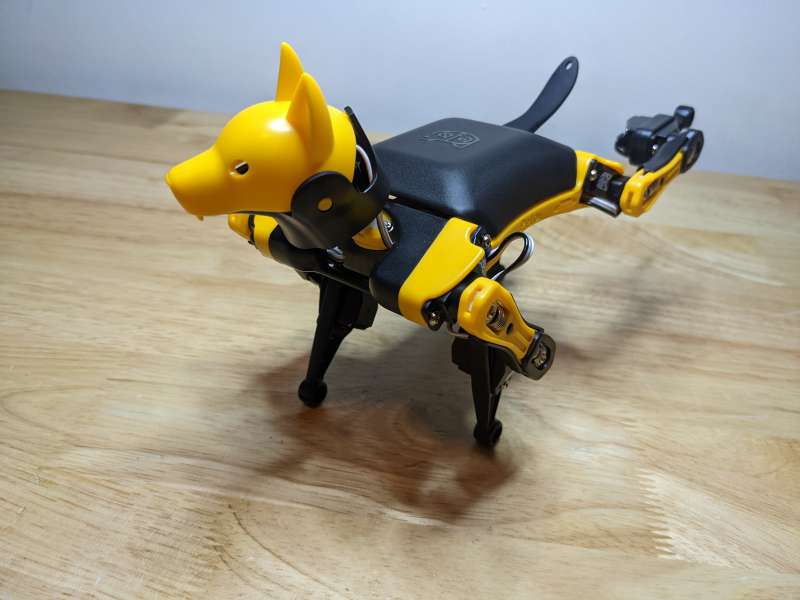
It’s pretty undeniable that the Bittle borrowed the majority of its design from Boston Dynamics’ Spot, and that’s ok. Spot is an iconic, innovative design and its quadruped legs have proven to be very effective. The design’s functionality doesn’t 100% translate to the smaller, light plastic form of the Bittle, but it works well enough.
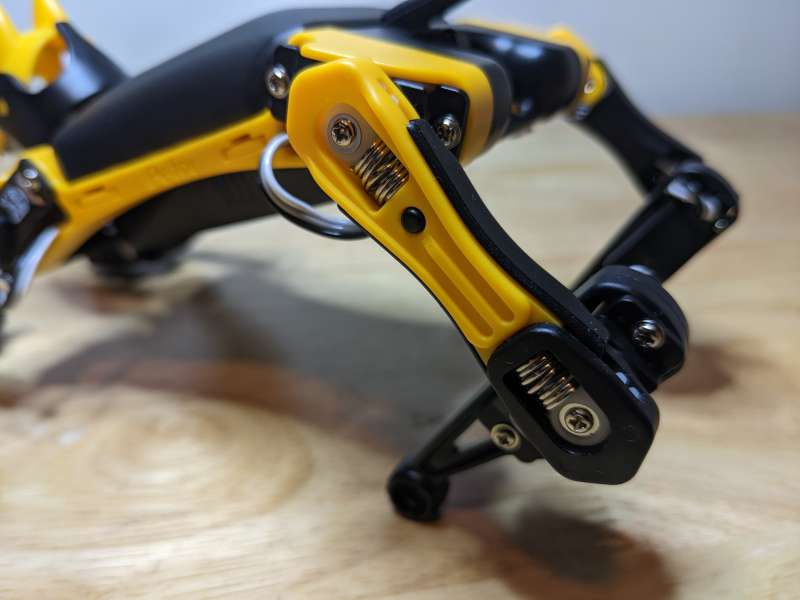
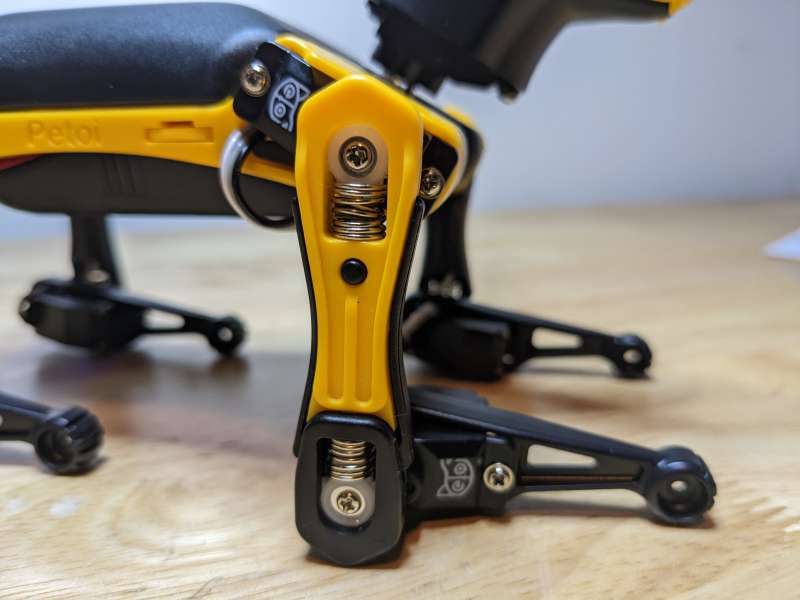
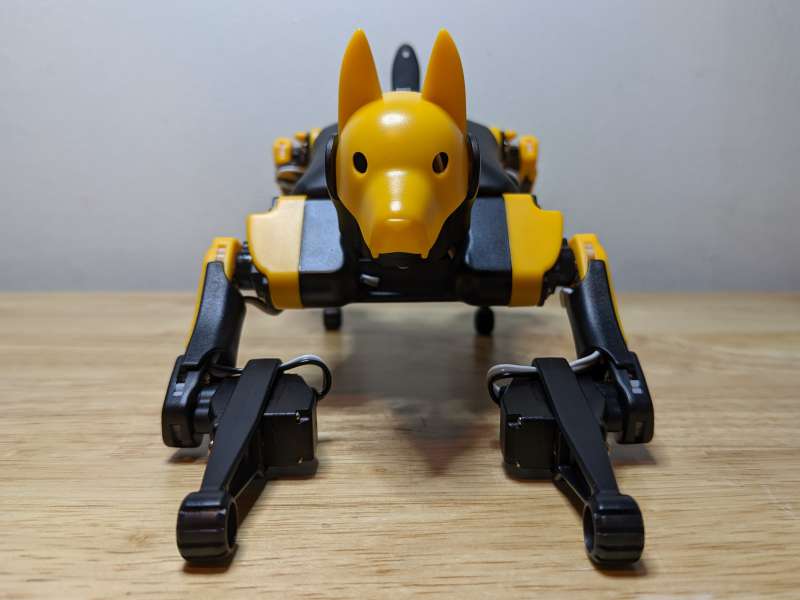
The most recognizable design element taken from Spot is Bittle’s leg design. The quadrupedal form with rounded feet and spring-like legs looks very cool and futuristic and works well with Bittle’s internal sensors to keep the robot upright. Each leg is powered by two small servo motors, one in the shoulder and one in the elbow.
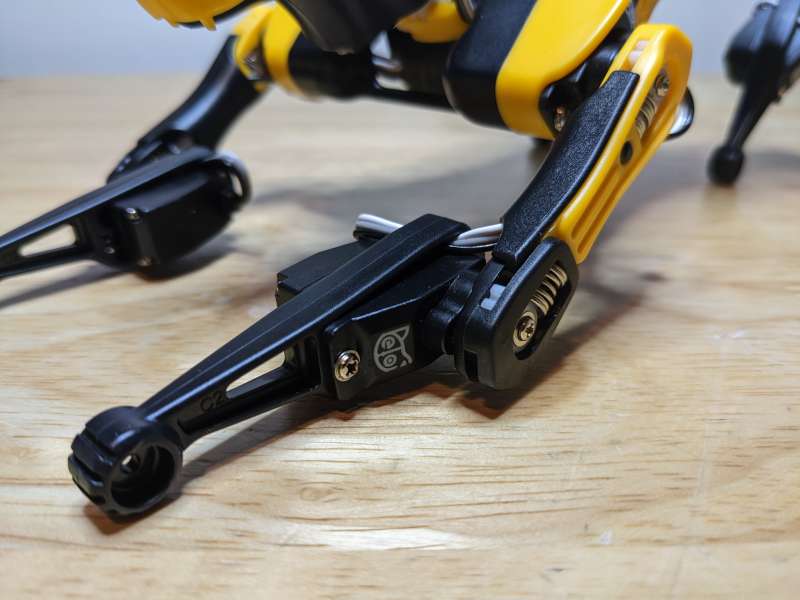
The rotation of the servos along with the flexibility of the shoulder and elbow joints allow Bittle to achieve a wide range of positions.
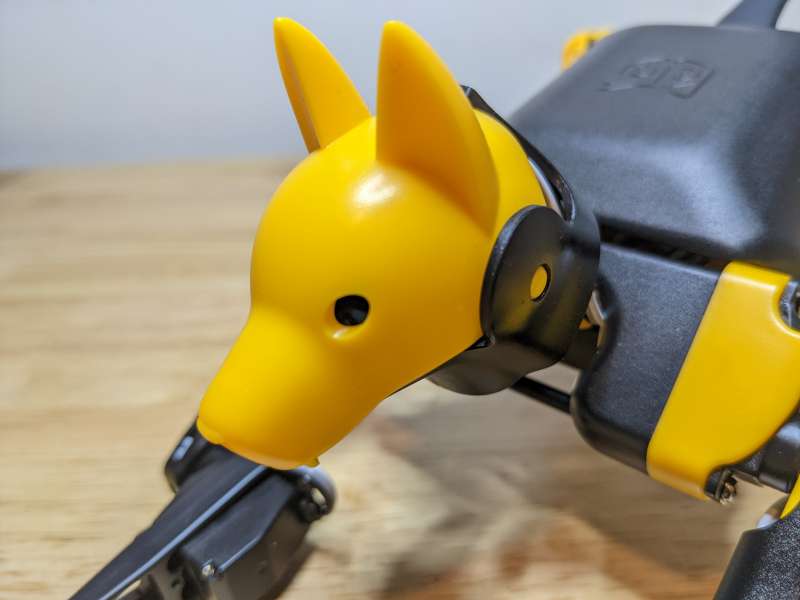
The head, one thing Bittle has which Spot doesn’t, also has a servo that allows it to rotate from side to side.
Hidden underneath Bittle’s silicone tail is the IR receiver for the included remote control.

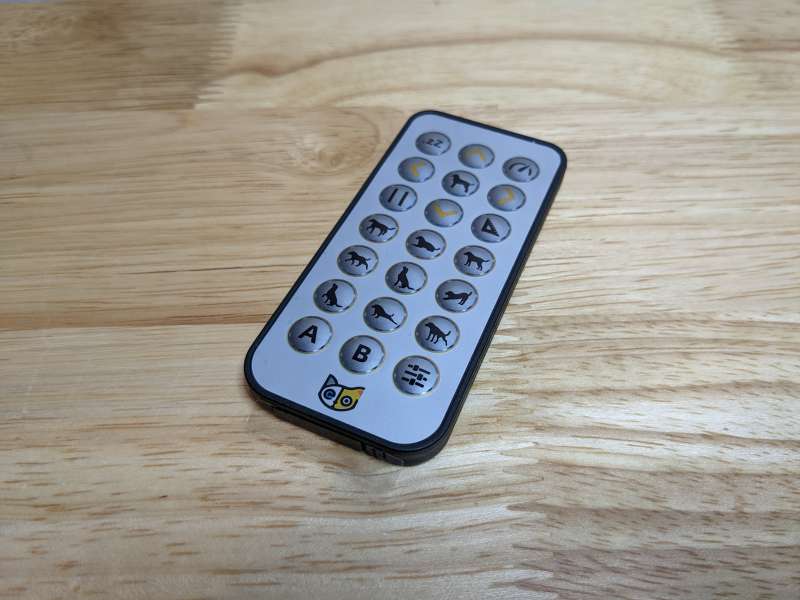
The small IR remote has soft membrane buttons that are preprogrammed with a bunch of routines. Unfortunately, the cryptic icons on the buttons make it difficult to determine which actions are triggered. The remote doesn’t need to be paired with Bittle and works as soon as the robot is powered up.
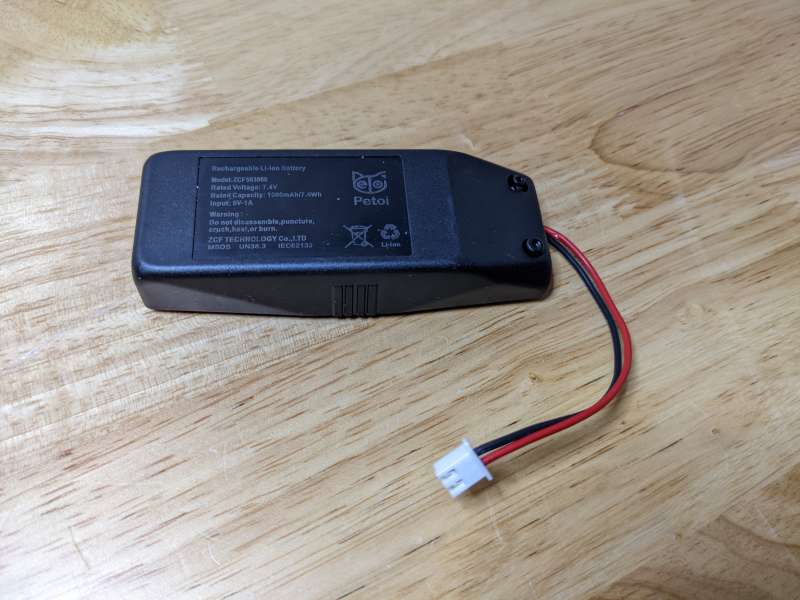
Bittle is powered by a rechargeable 7.4V Li-ion battery. The battery has a Micro-USB port on one side and a power connector on the other.
The included USB-A to Micro-USB cable can be used to both recharge the battery and connect the motherboard to a PC using the USB Adapter.

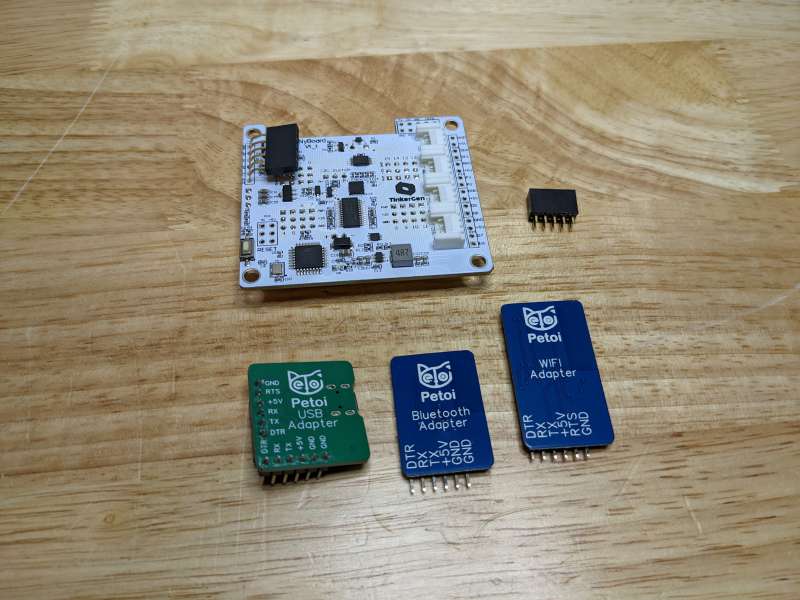
The Bittle’s “brain” is a NyBoard v1, an Arduino-compatible motion controller. The NyBoard has lots of built-in functionality like support for infrared receivers, servo control, and an Inertial Measurement Unit (IMU) which is used for detecting orientation and acceleration. The additional ports on the NyBoard allow for connecting different adapters like the USB, Bluetooth, and WiFi adapters that ship with the Bittle. There’s also a 2×5 socket on the NyBoard for mounting a Raspberry Pi, increasing the computing power significantly.
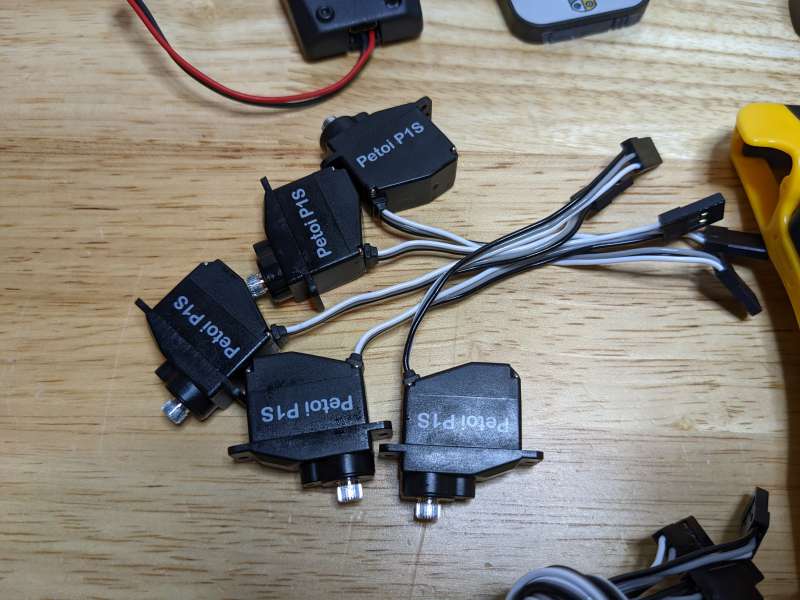
Bittle’s legs and head are able to move because of Petoi’s P1S servo motors. The tiny motors have different lengths of cable depending on where they mount in the body.
Luckily, the Base Kit comes with Bittle’s legs partially assembled, saving me the frustration of inserting the tiny springs into each section.
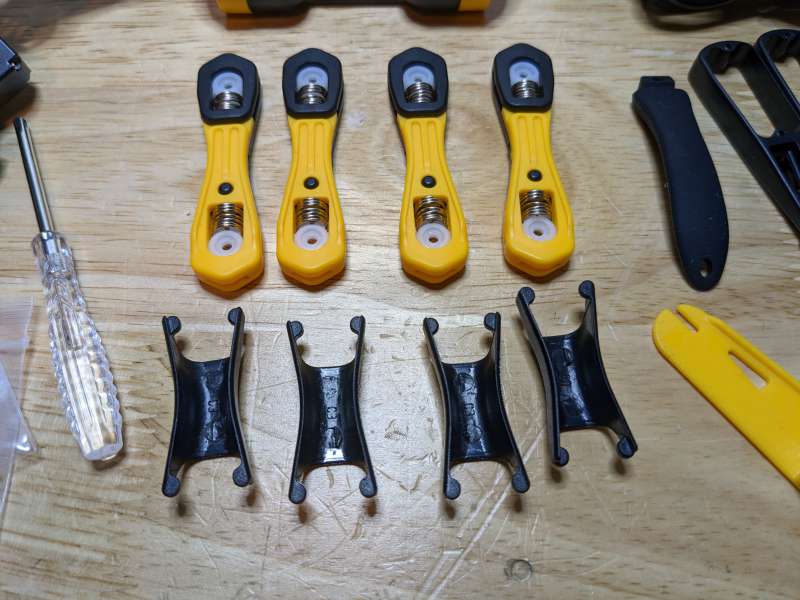
The injection molded plastic that makes up Bittle’s body is strong yet flexible which really helps protect the robo-pup’s internals from damage during the inevitable spills and crashes.
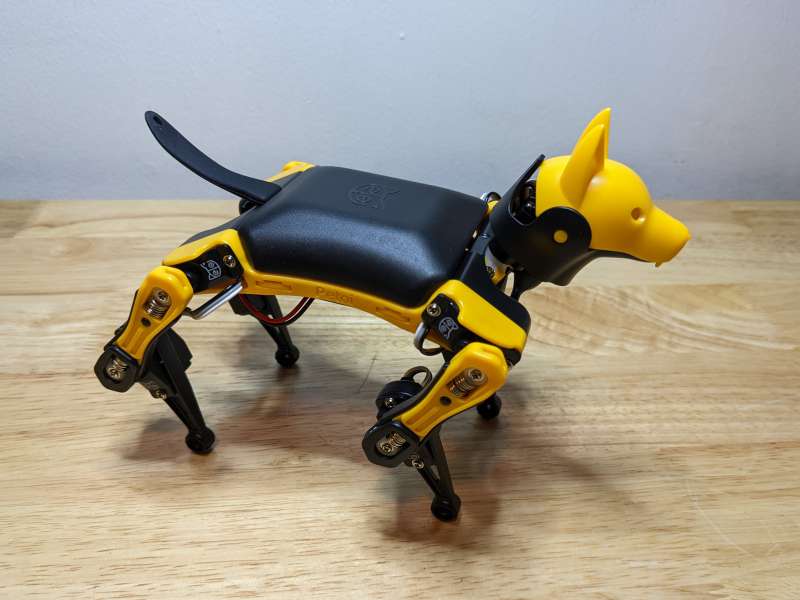
Having reviewed Bittle’s design once assembled, let’s take a look at the steps it took to get there.
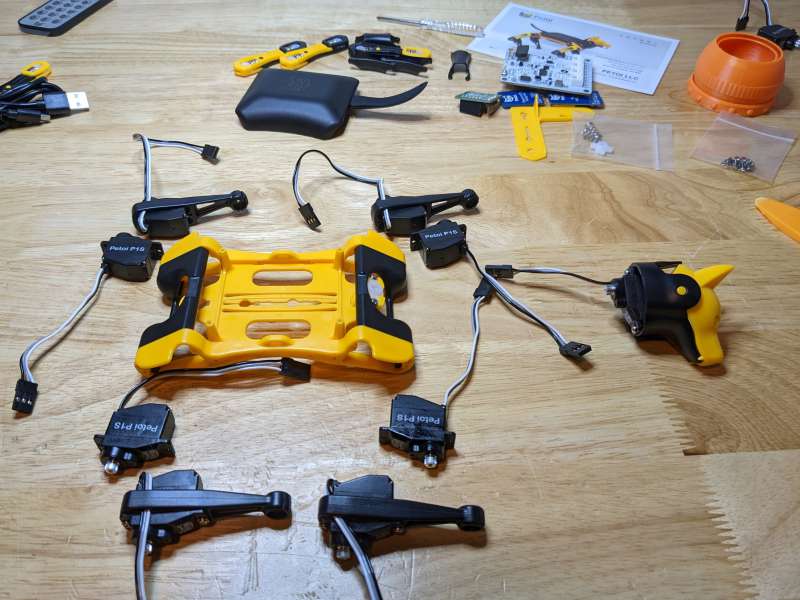
Setup
A big part of what drew me to the Bittle is being able to assemble it and really understand how it works from the inside out. Examining all of Bittle’s components individually was really helpful later on while troubleshooting or deciding on different configurations.
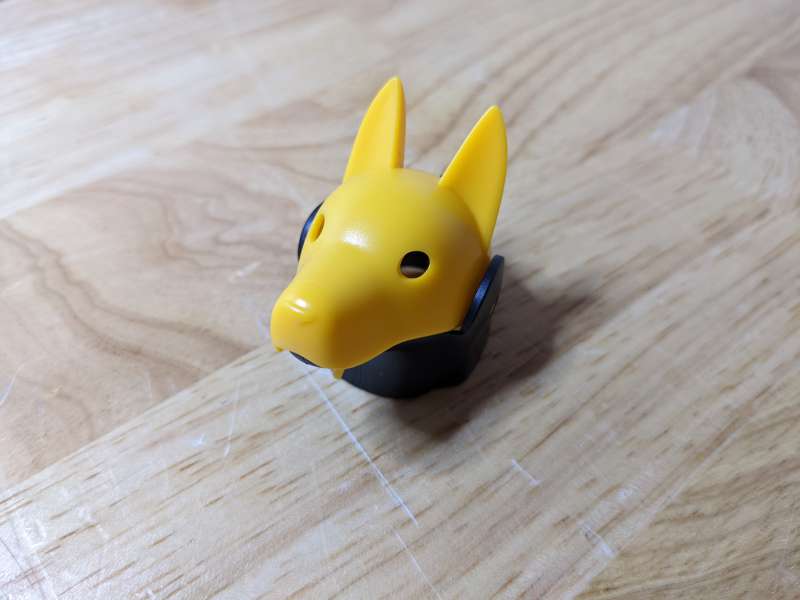
The online instructions for assembling Bittle are extensive, but not great. There are a lot of sections that are open to interpretation and I found myself undoing parts of the build several times before getting it right.
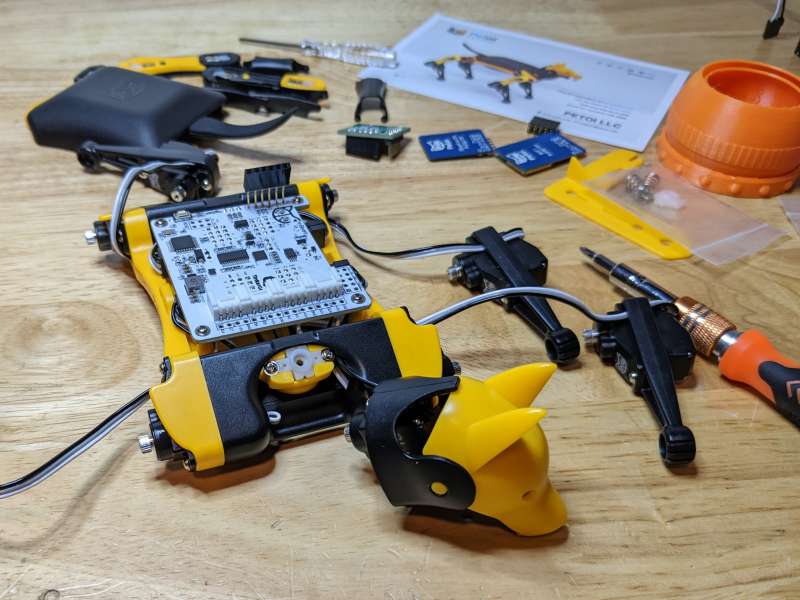
The included screwdriver is pretty useless and too small for any of the screws, so make sure to grab a good replacement. Most of the assembly can only be done one way, so even without the instructions you’d eventually figure it out, plus there are a few walkthrough videos available on YouTube.
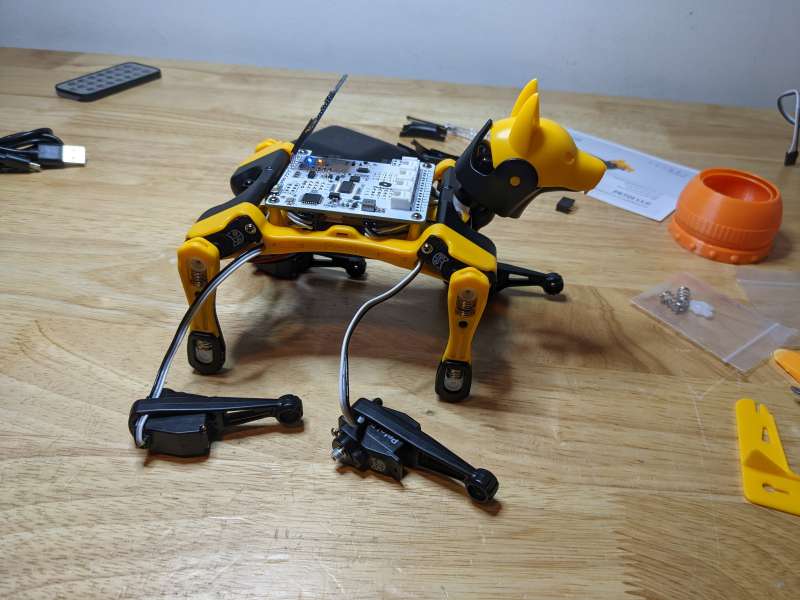
Eventually, Bittle will start looking more like a Robot Dog and less like a collection of robot parts.
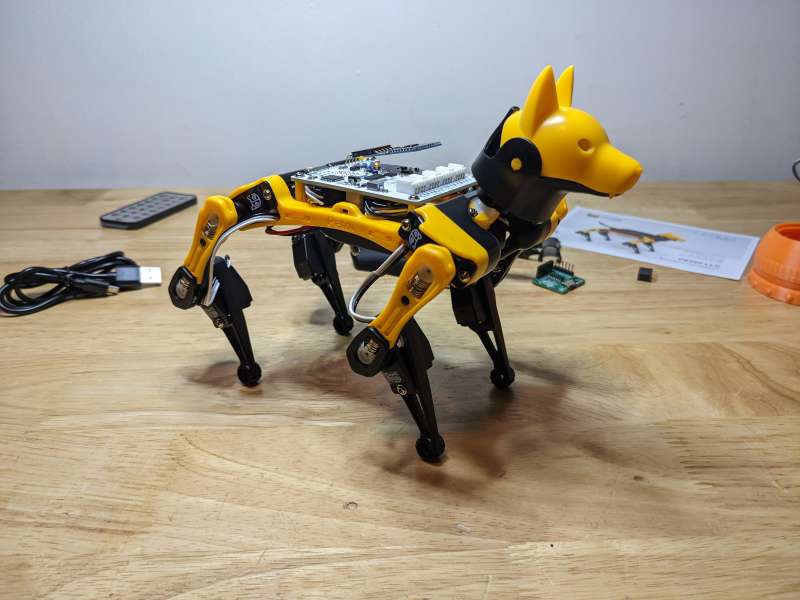
Once completely assembled it helps to carefully move all of the joints through their full range of motion to make sure no wires are getting pinched or binding.
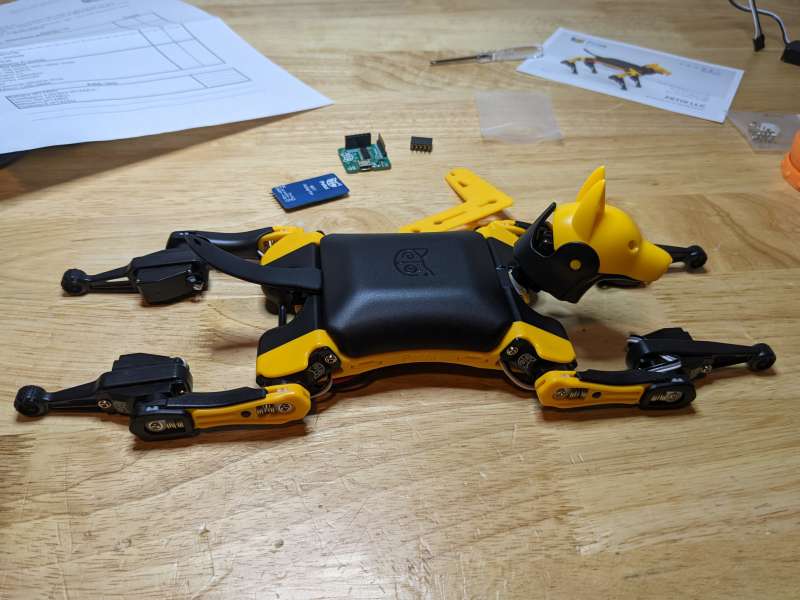
After assembly and safety checks the Bittle is ready for its first charge. Plugging the power cable into the battery and connecting it to a USB power block or charging hub will turn the charging light red. Once the battery is fully charged the light will turn green and Bittle is ready for calibration.
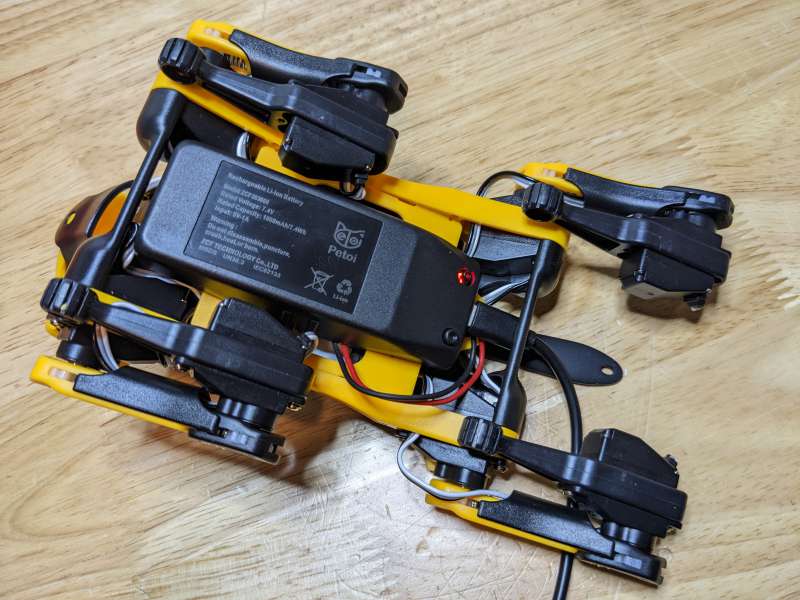
Calibrating Bittle is key to making sure it functions properly. By calibrating the position of the legs, joints, and head the NyBoard will know how much to move each servo to achieve the correct position.
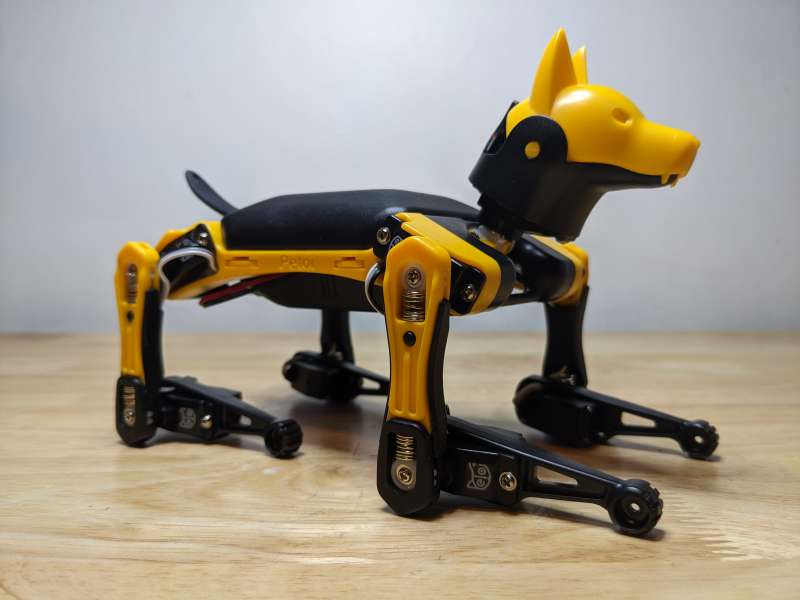
To start calibration Bittle needs to be in the Rest position with the upper legs at right angles to the body and lower legs flat out on the ground.
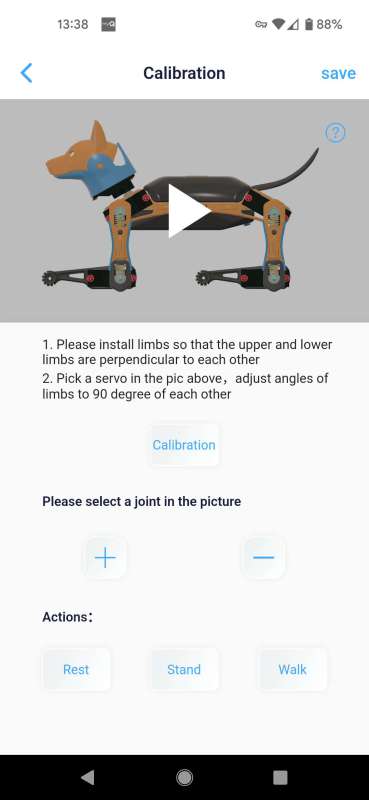
I found it easiest to calibrate Bittle using the mobile app, but it can also be done with the desktop app.
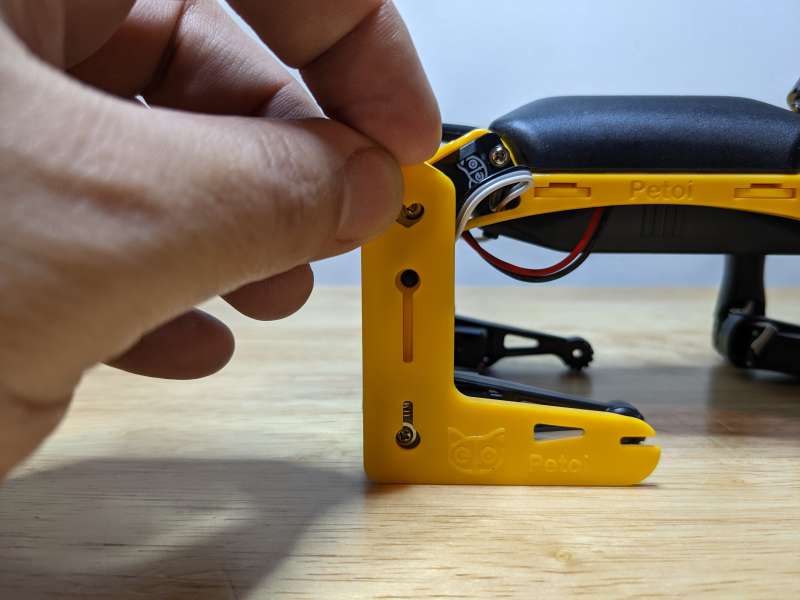
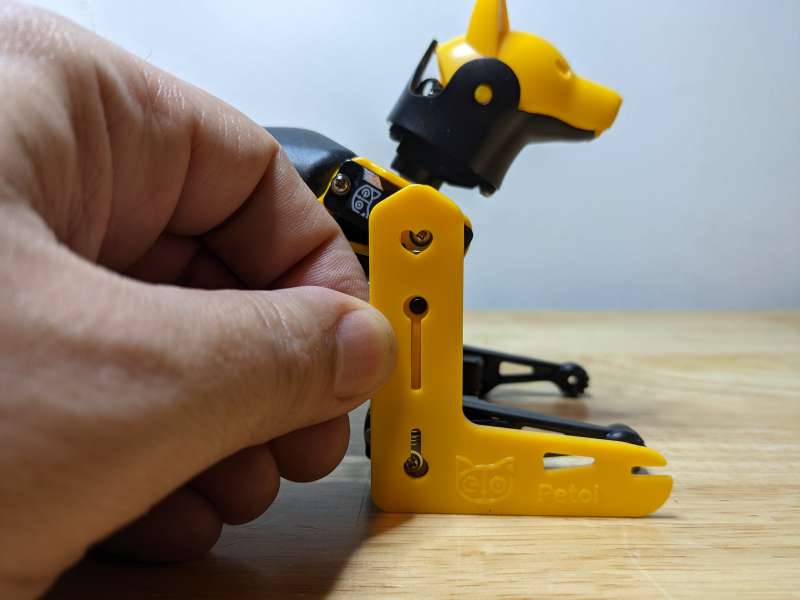
To test the position of each leg Petoi provides a small L-shaped calibration tool. Line this tool up against each leg and make sure that the lines on the leg coincide with the spaces on the tool.
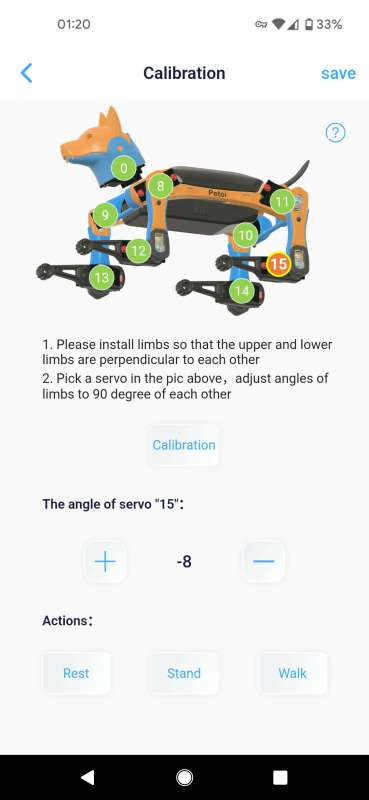
With the app, you select the nine servos individually and then adjust the angle of each servo one degree at a time. This process can be a bit maddening and if the app isn’t able to adjust the servo to a 90 degree angle you have to do it manually and then try the app again.
It takes some patience but eventually, all of the legs will be calibrated. Once they appear correct you can lock them in position by securing the joints with the remaining screws.
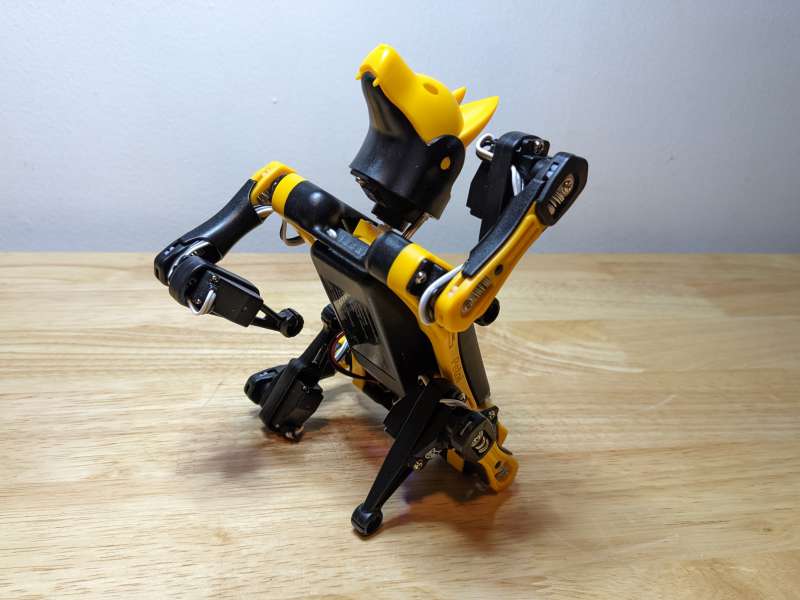
After running Bittle through some basic movements to confirm the calibration it’s finally time to have some fun and really bring Bittle to life!
Performance
There are so many ways to play with Bittle. For users of every level, Bittle has something intriguing to offer.
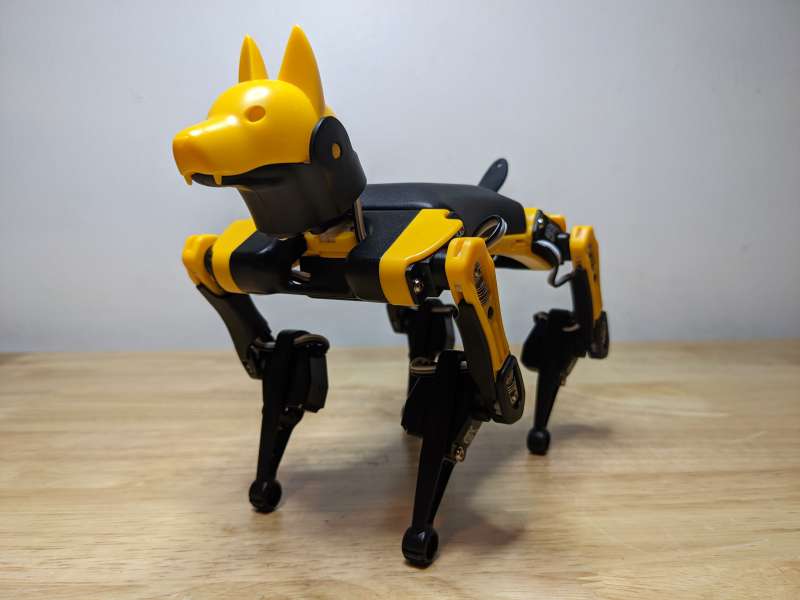
Once assembled, charged, and calibrated it’s fun to run through Bittle’s pre-programmed actions with the IR remote to get an idea of the robot’s responsiveness and range of motion.
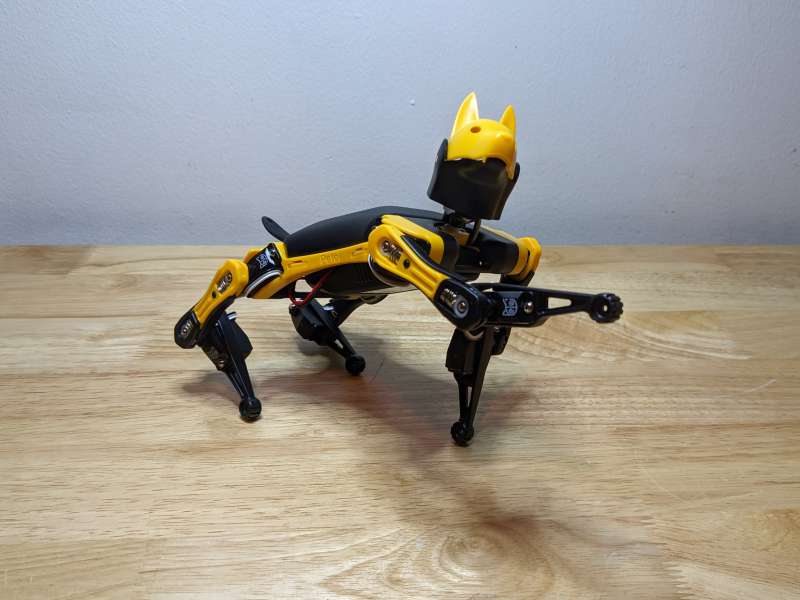
For younger kids or basic users, this might be the only way they ever interact with Bittle, and that’s just fine. The complexity of controlling Bittle can be increased along with the capabilities of any user.
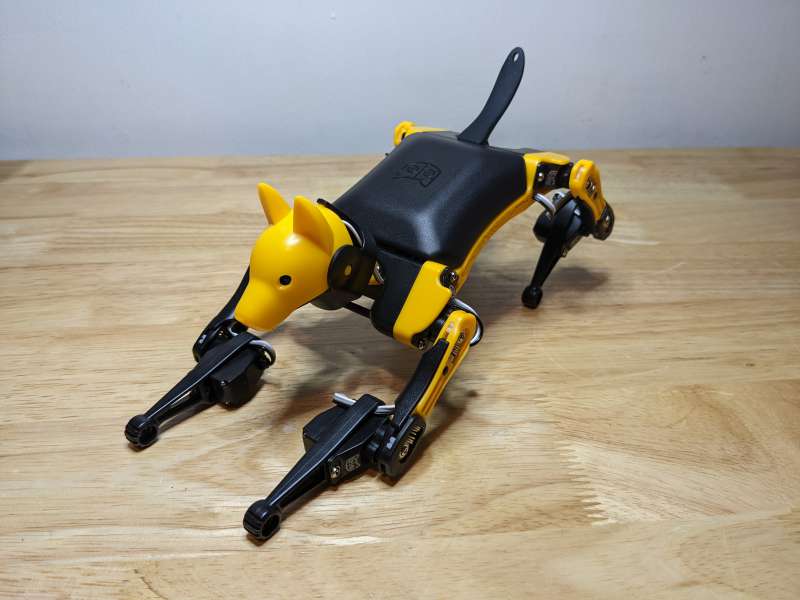
Depending on which adapter is connected to the NyBoard there are multiple ways to program and control Bittle, some more difficult than others.
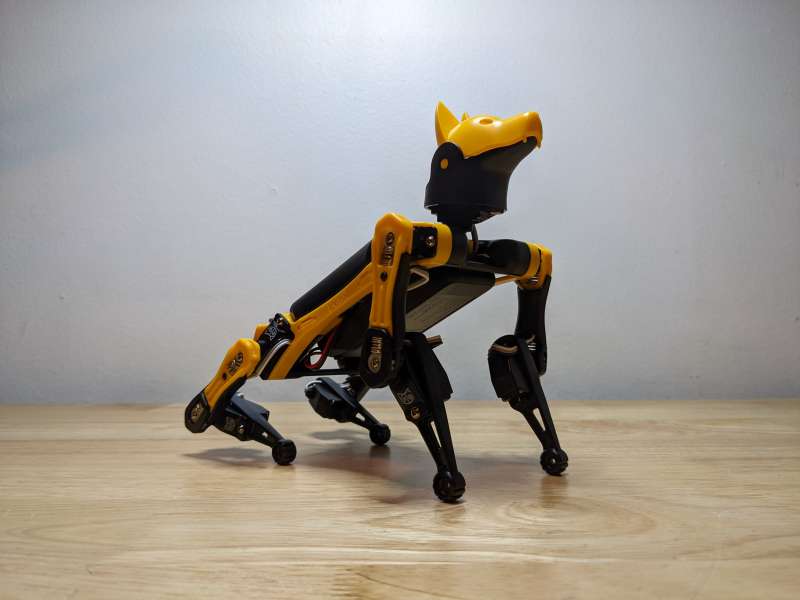
With all of the ways to run Bittle my favorite choice is controlling it from the well-designed Petoi smartphone app. The app connects to Bittle via Bluetooth, so the Bluetooth module must be installed on the motherboard. The app has pre-built functions like the IR remote such as Sit, Play Dead, and the always hilarious Pee.
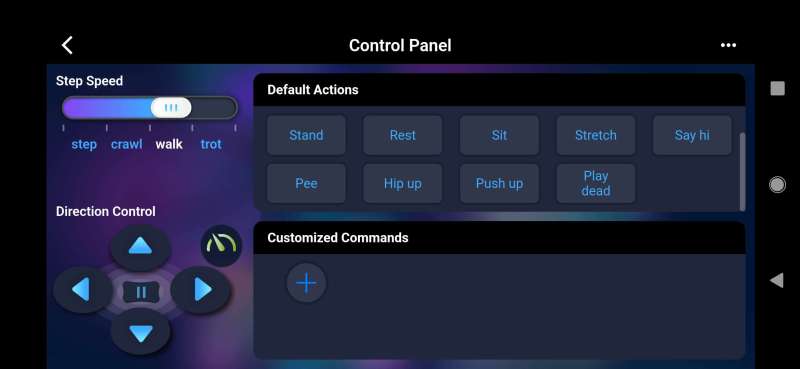
You can even string functions together and make customized commands that are saved within the app. Or you can use the app like a standard remote control moving Bittle around with the direction control and then initiating some virtual leg lifting for laughs. Bittle’s gait can be changed on the fly and its internal gyro sensor can be turned off putting it into a “Turbo” mode for a little extra speed.
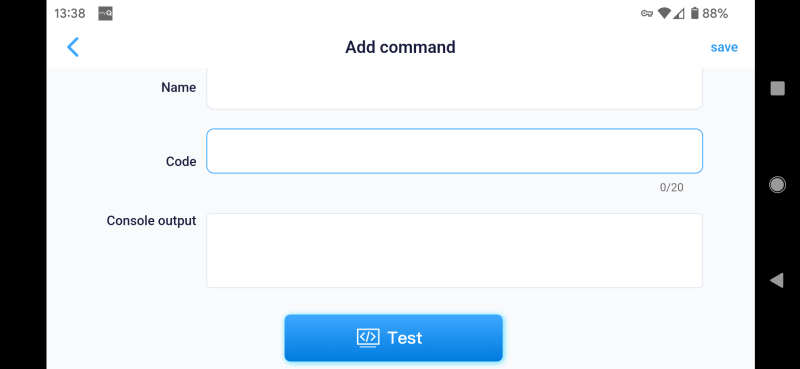
Defining custom commands opens a lite version of the serial console where you can test commands before saving them to the app. A detailed list of all of the serial commands can be found in the Petoi Doc Center along with assembly and programming guidance.
Once connected to a PC with the USB Adapter the Bittle can be calibrated, have its firmware updated, or have new skills composed and saved. The PC interface offers a lot more control and functions than the mobile app.
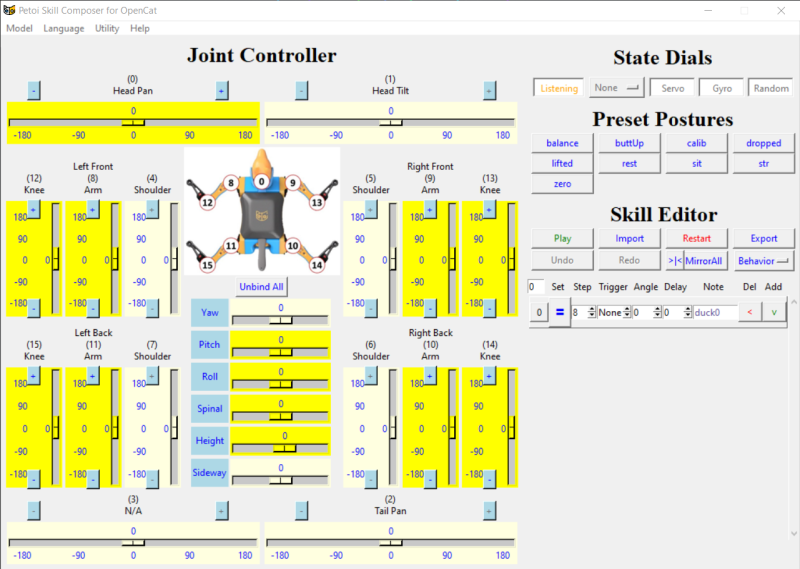
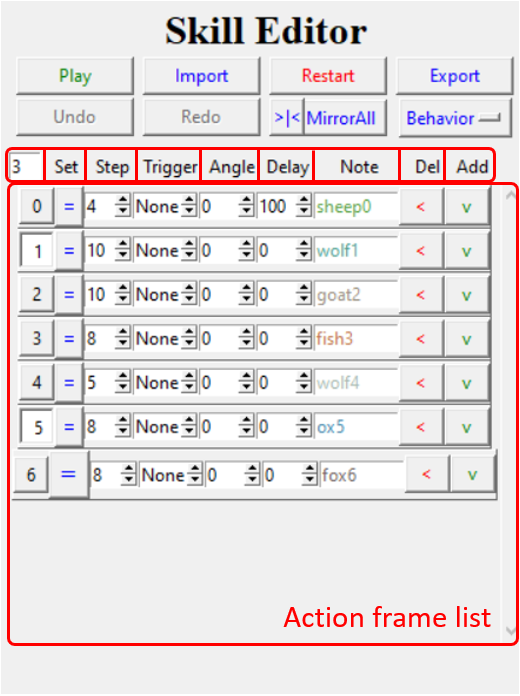
With the Skill Editor, you can get even more granular by modifying the movements of Bittle with individual Action Frames, essentially programming the robot with stop-motion animation.
Even with the complexity of programming the Bittle I’m having a lot of fun exploring its potential. The instructions are definitely lacking, but figuring everything out on my own is part of the fun. While not as durable or independent as Boston Dynamics’ Spot, Bittle is still capable of having plenty of adventures with a little creative coding.
What I like
- Incredibly versatile and expandable
- Assembly is challenging but doable
- Up and running quickly out of the box
What I’d change
- Expensive
- Confusing and deficient instructions
- Requires familiarity with programming for the best experience
Final thoughts
The Petoi Bittle Open Source Robot Dog is a great introduction to robotics and programming for most makers. The construction of the Bittle Base kit is just challenging enough to be fun without discouraging those who might take a little longer assembling the tiny components. While it’s quite expensive at $259 for the Base Kit, the open-source modularity and expansiveness of the platform make it a good investment for tinkering robotics lovers and programmers alike. I’ve really just scratched the surface of what the Bittle can do. Switching up the coding languages or adding additional sensors and modules will add endless hours of fun to an already enjoyable kit, even if the instructions are incredibly frustrating.
Price: $259.00 (Base Kit)
Where to buy: Petoi and Amazon
Source: The sample of this product was provided by Petoi.


