REVIEW – The first patent for a battery-powered flashlight was in 1899. The device was called a “flash light” because it could only produce short bursts and required time for the batteries to “rest” between uses. It produced about two candlepower or 25 lumens. Now, you can have more than 3000 lumens to chase the dark away, courtesy of the Klarus XT11GT Pro 2.0 flashlight.
What is it?
Klarus’ XT11GT Pro 2.0 is a variable brightness flashlight using an LED illumination source and a rechargeable 18650 battery.
Hardware Specs
- Dimensions: 35mm (head) x 25.4 (body) x 139.7 length (1.38 x 1 x 5.5 inches)
- Weight: 121.1 grams (4.27 oz without battery)
- LED: Luminous SST-70-WCS-H50 R4
- Output: 3300 lumens
- Working voltage: 2.8 to 6.4V
- Charge current: 5 volts, 1 Amp
- Charge time: 4 hours
- Compatible batteries: 1 x 18650 or 2 x CR123A
- Waterproof to IPX8 standards
- Five-year warranty
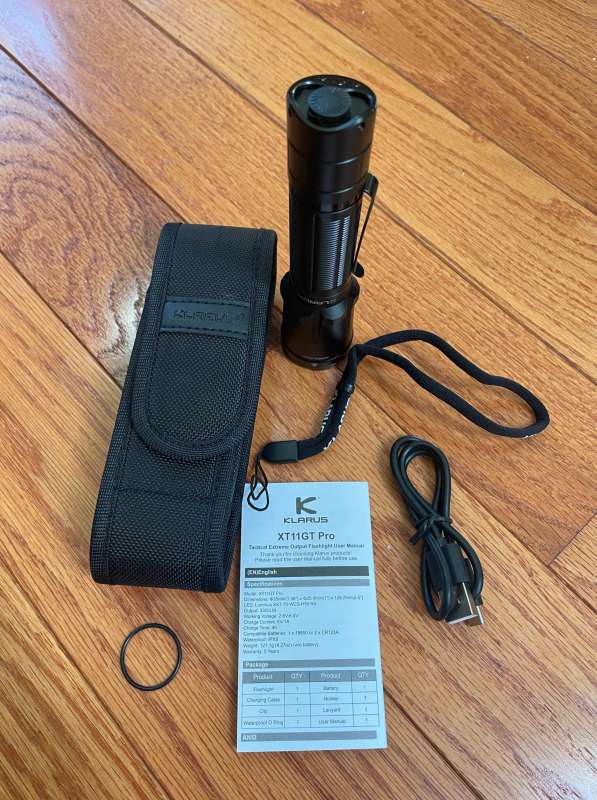
What’s in the Box?
- Klarus XT11GT Pro 2.0 flashlight
- Battery
- Holster
- Charging cable
- Pocket clip
- Lanyard
- Spare waterproof O-ring
- User manual
Design and Features
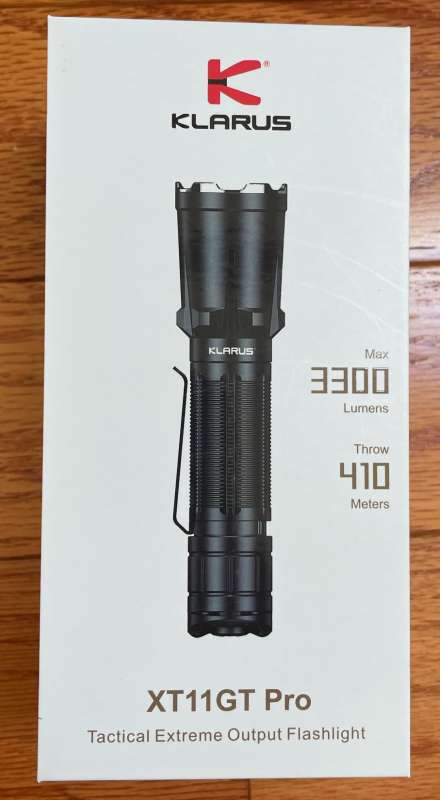
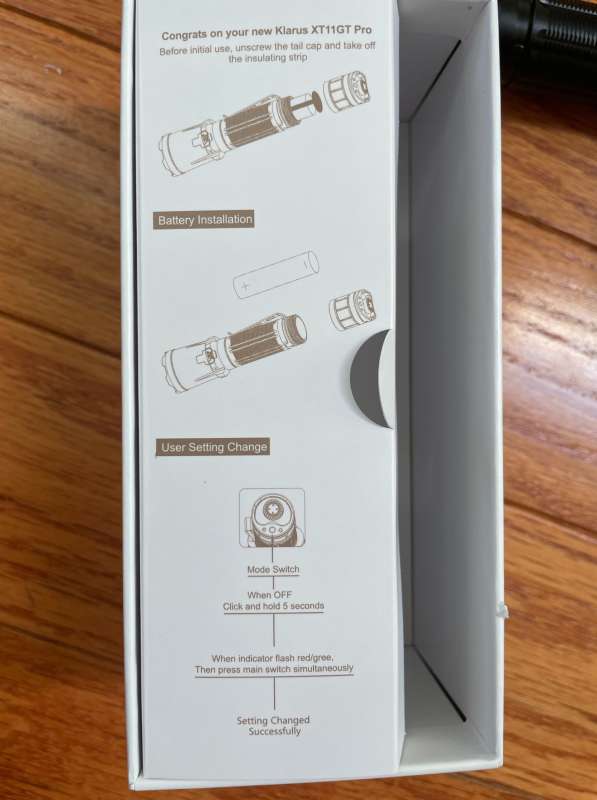
The box is attractive.
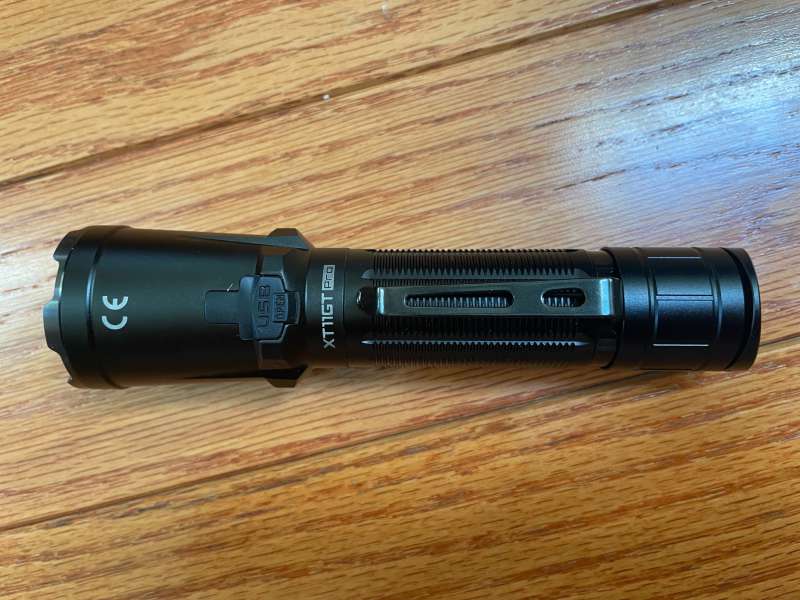
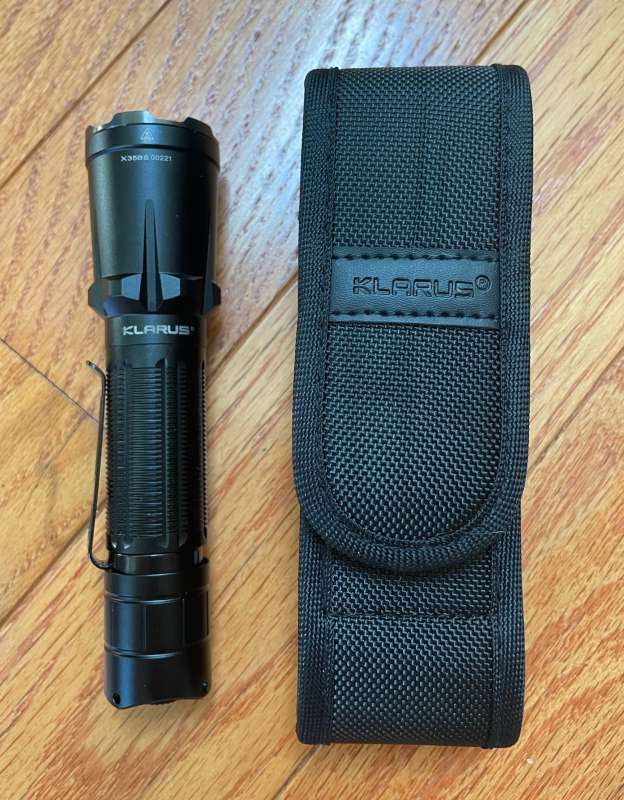
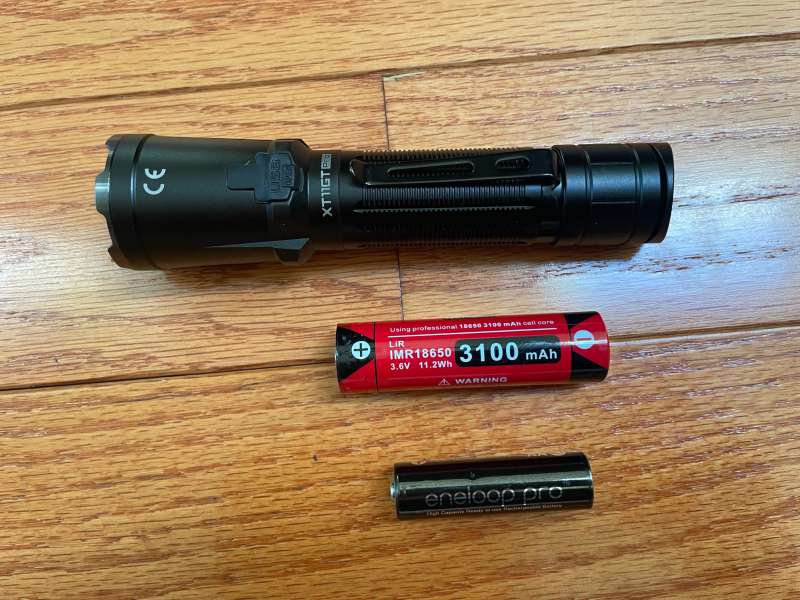
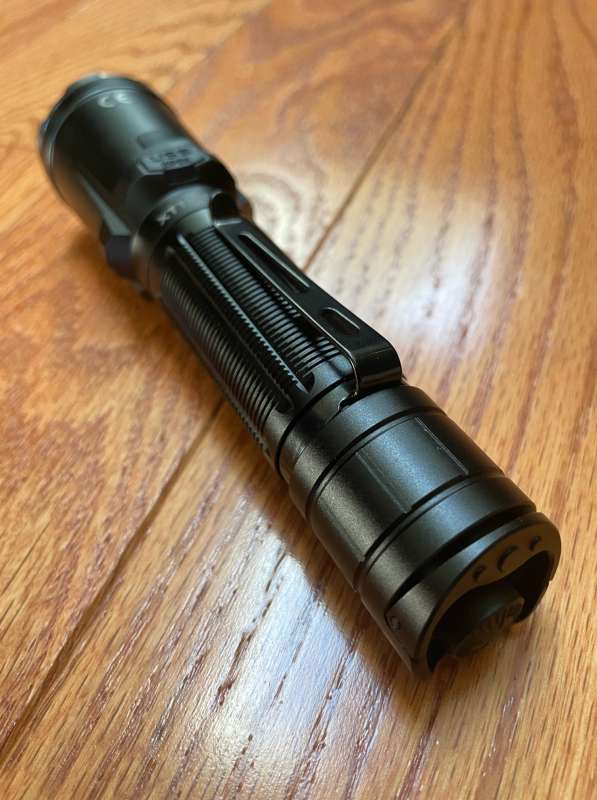
Behold, the Klarus XT11GT Pro 2.0 flashlight!
The flashlight default is “Tactical” mode. As soon as the box is opened, there are instructions for changing to “Outdoor” mode. I’ll explain more about that later.
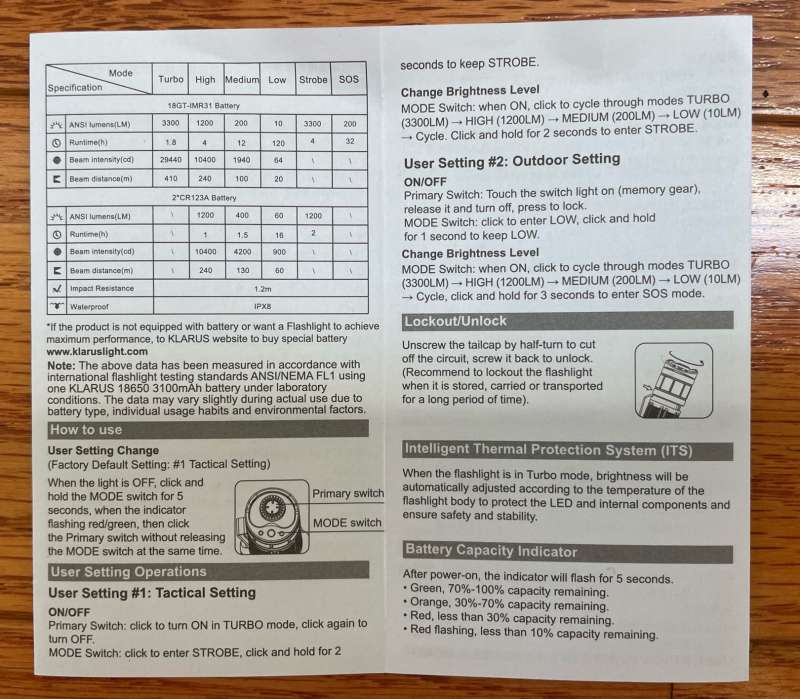
The manual is small but contains everything you need to know about operating the Klarus XT11GT Pro 2.0 flashlight.
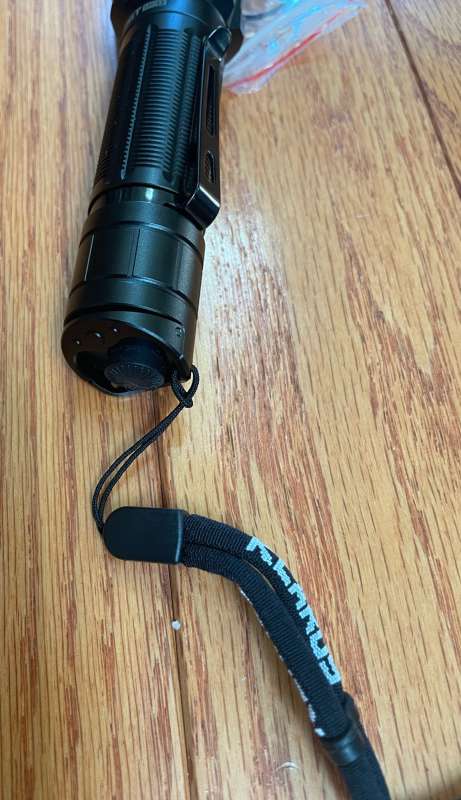
A lanyard is included should that be your preferred method of carrying.
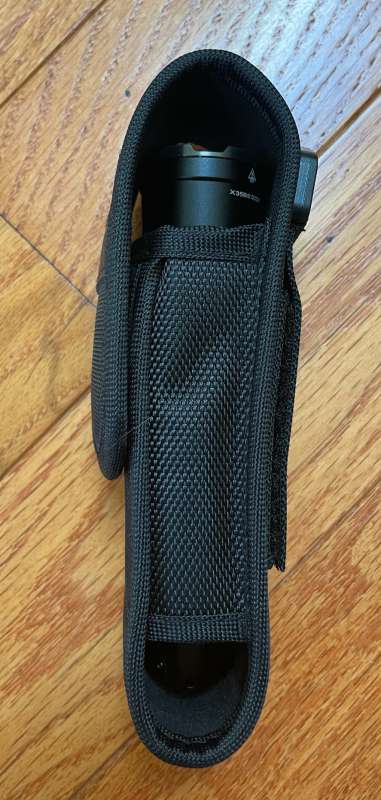
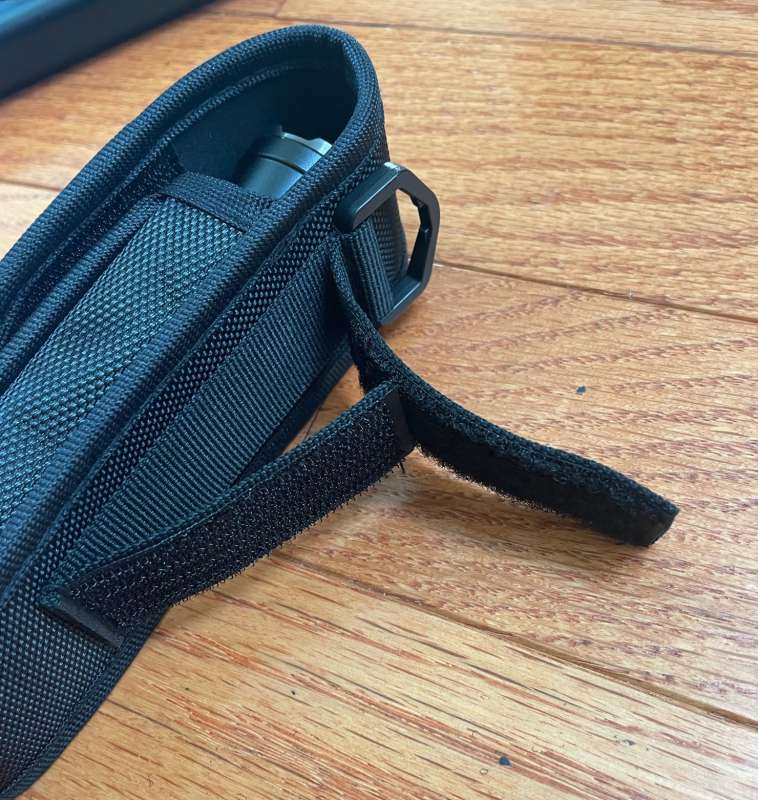
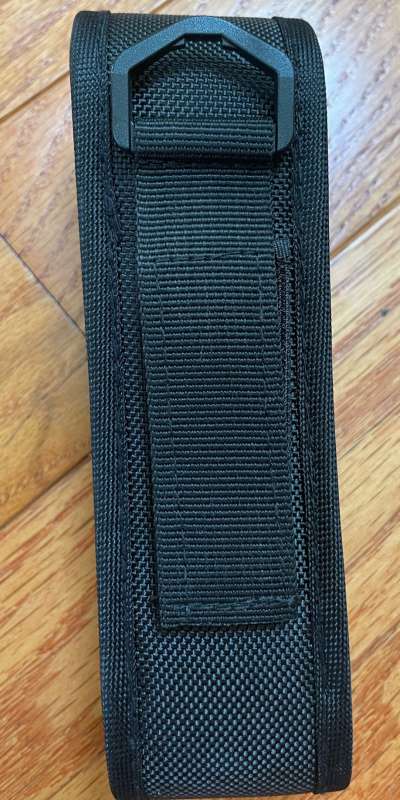
The holster is a great design. The belt loop is secured using Velcro straps.
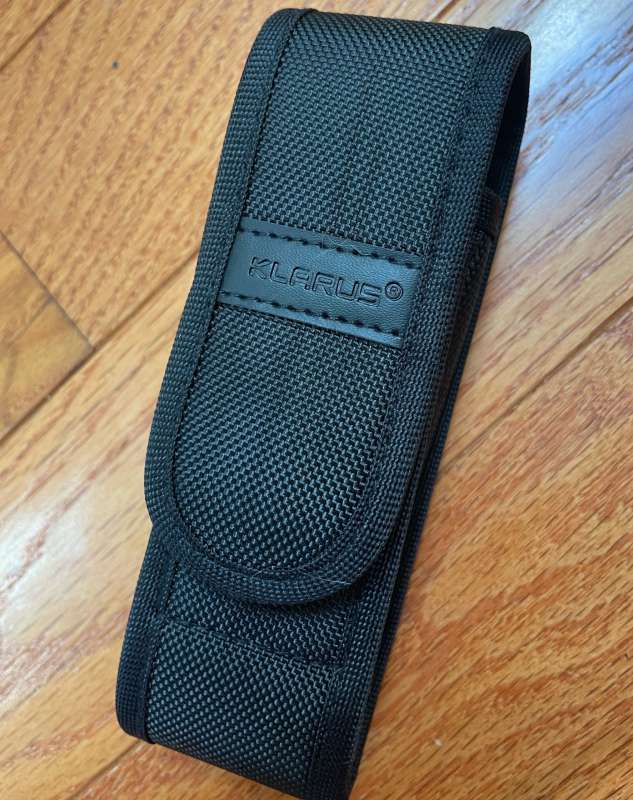
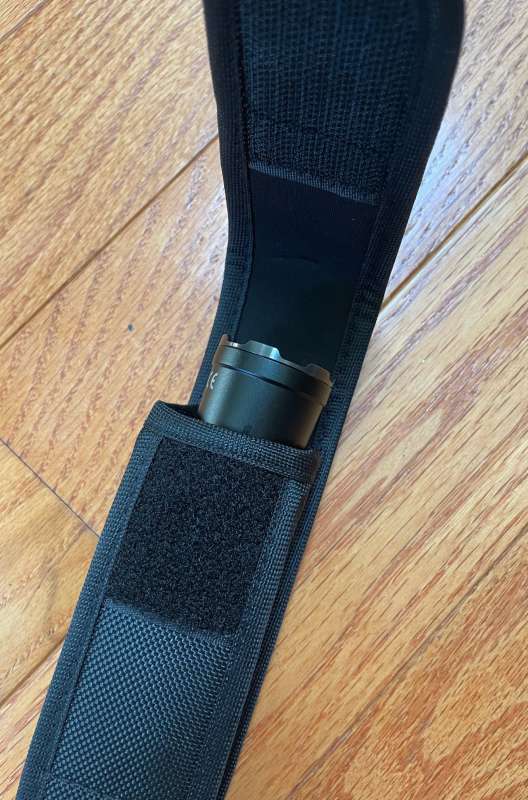
With the velcro open, the holster can be attached to a belt or molle straps.
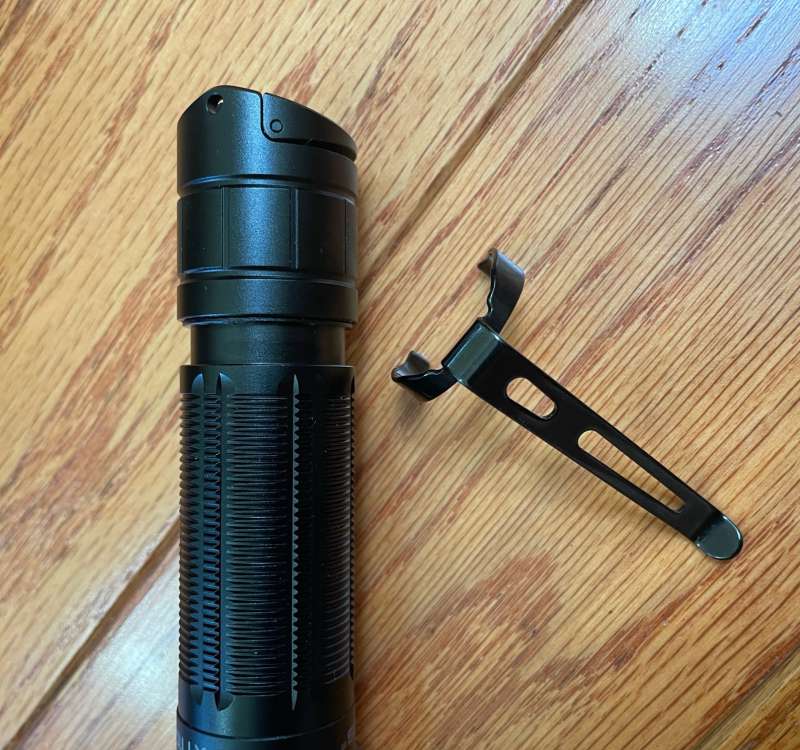
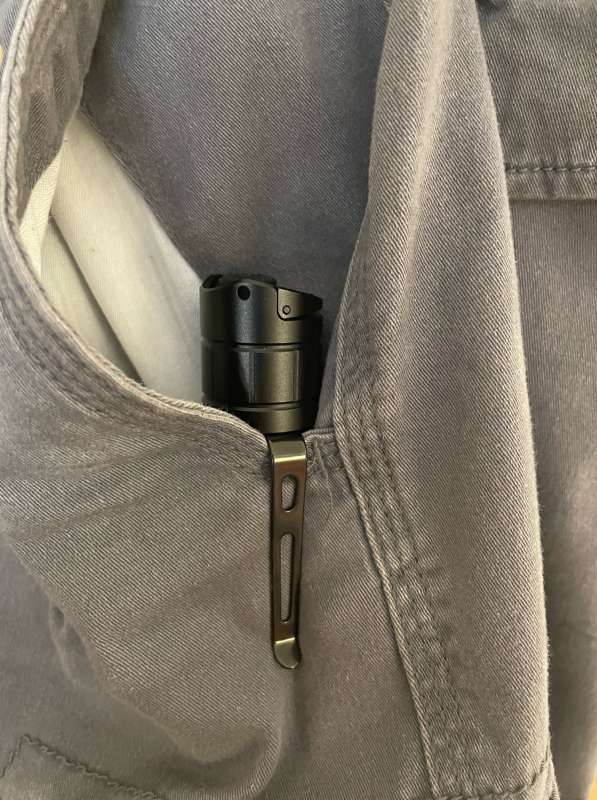
If pocket carry is more to your liking, there is a removable clip.
Using the clip, about one inch of the flashlight protrudes above the top of my pocket.
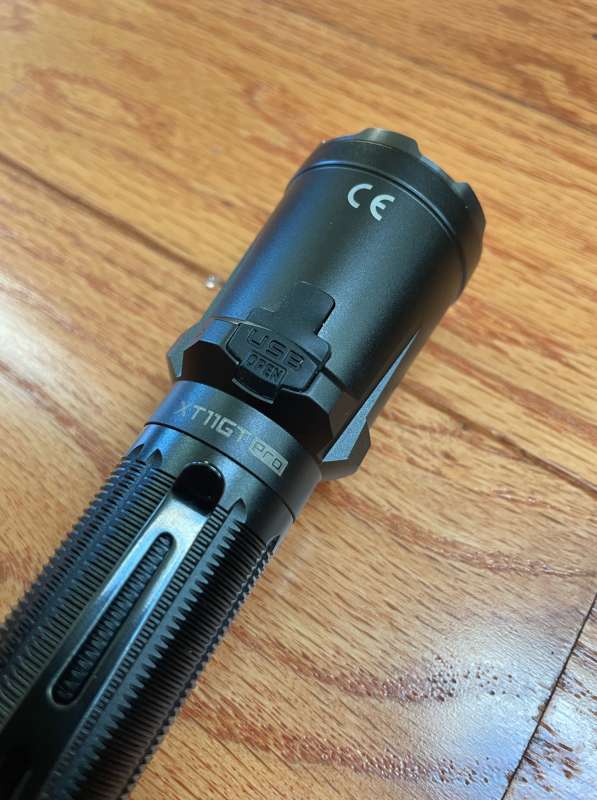
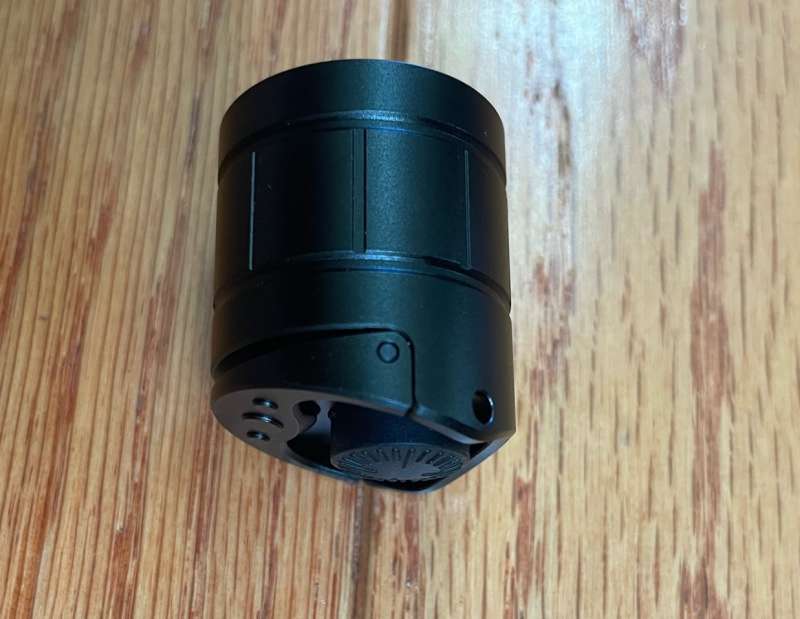
The tail of the Klarus XT11GT Pro 2.0 flashlight can be unscrewed to access the battery. Because the base is angled and the Primary button protrudes, the XT11GT Pro 2.0 can’t stand on its tail. A slight loosening of the tail enables the “lockout” and prevents accidental activation of the light.

Klarus includes a self-branded battery that’s rated at 3100mAh (milliamp-hours) or 11.2Wh (Watt-hours). The battery arrives partially charged, but it’s a good idea to charge it before use. I’ve added a AA battery as a size reference.
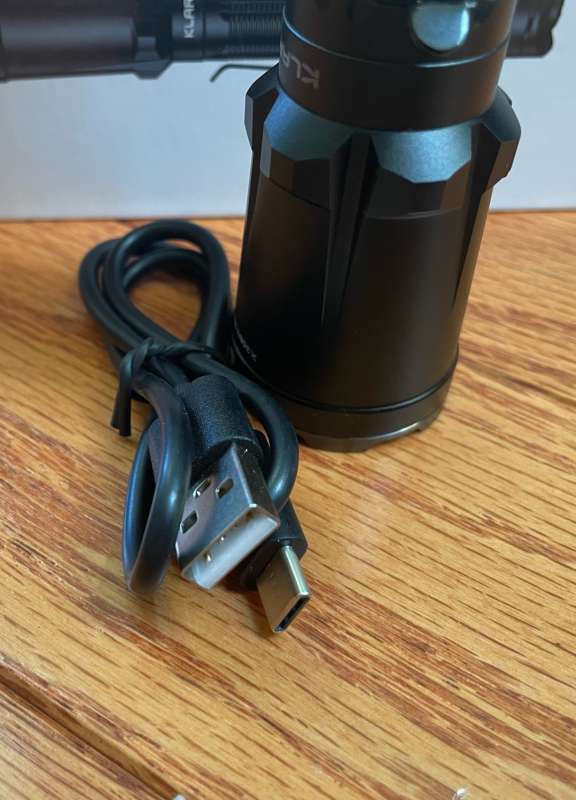
Charging is done through a USB-C port under a rubber cap.
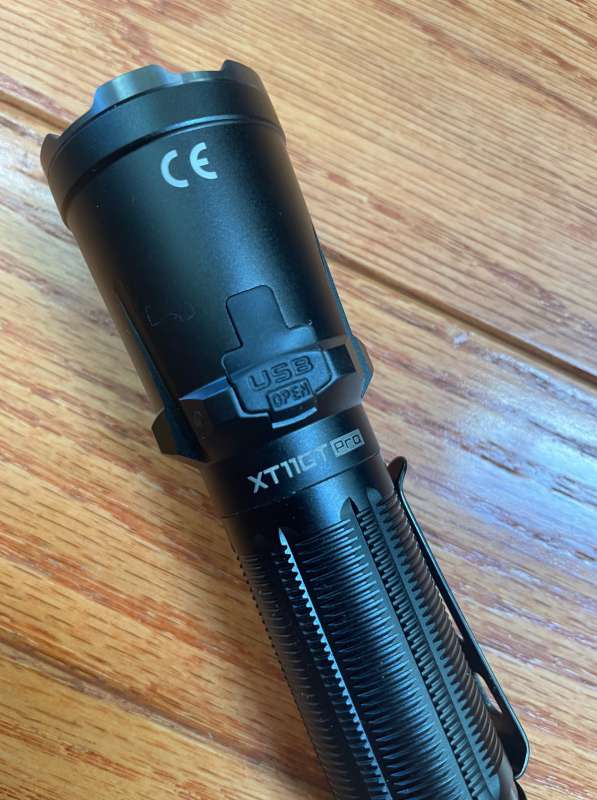
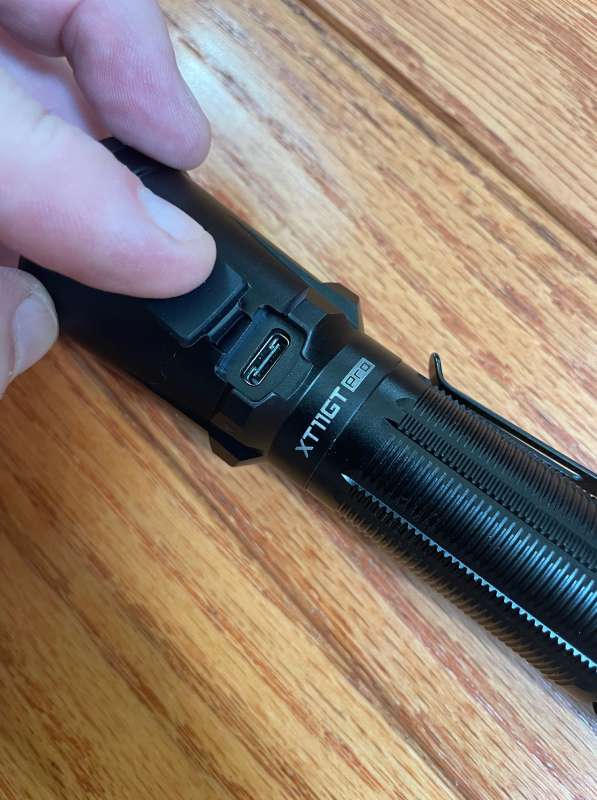
A USB-C cable is supplied, but not a charger.
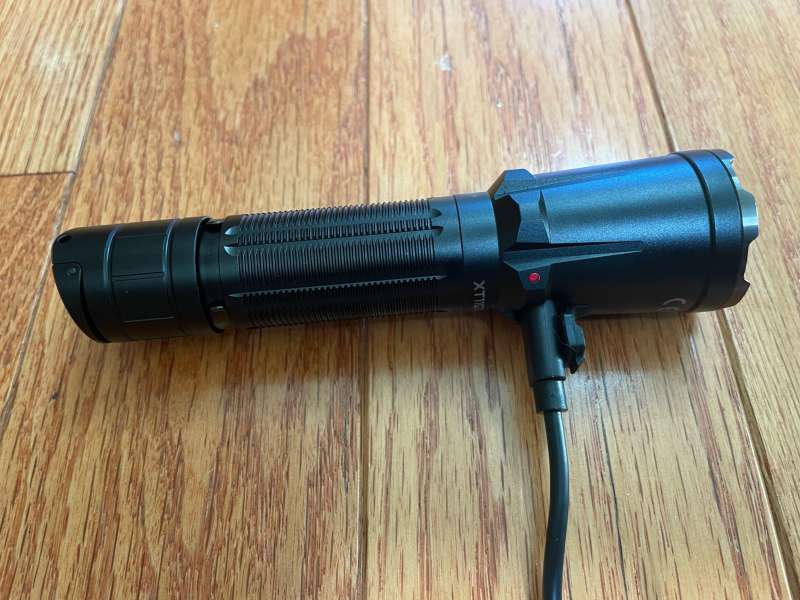
Adjacent to the port is an LED that shows the charge status. During use, the LED indicates green for 70-100%, orange for 30-70%, red for less than 30%, and flashing red for less than 10% for five seconds after turning the flashlight on.
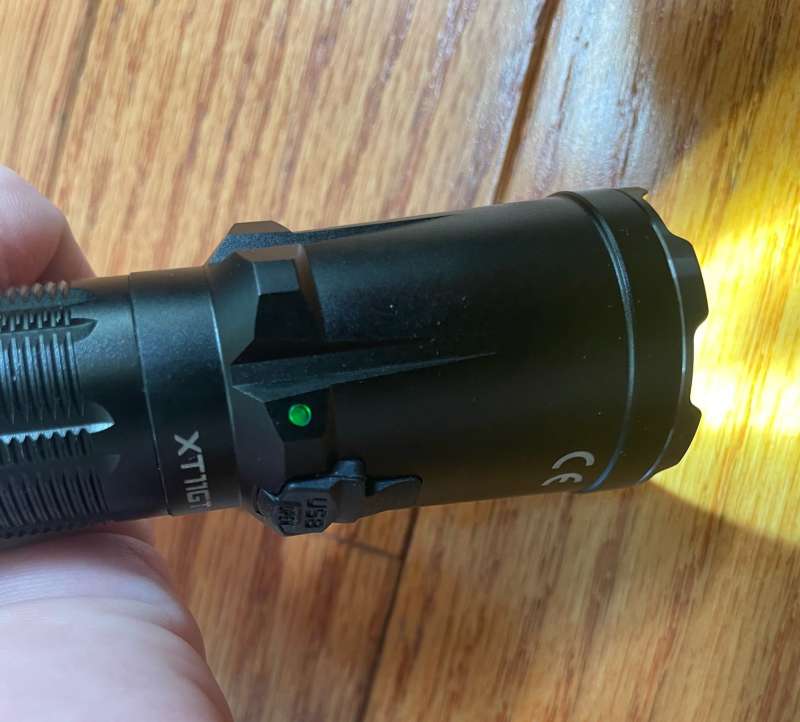
Also in the Klarus XT11GT Pro 2.0 flashlight’s tail are two buttons, “Primary” and “Mode”. I found the user interface a little tricky to learn and memorize. There are two modes, “Tactical” and “Outdoor” that are toggled by holding the “Mode” switch. Starting with the flashlight off, holding the “Mode” button for five seconds will cause the LED to flash red and green. When it does, clicking the “Primary” button toggles modes. Changing from “Tactical” to “Outdoor” mode was a bit distracting because the strobe is activated for the full five seconds and it’s a bit distracting and disorienting. For me, it makes sense to just leave the flashlight in “Outdoor” mode most of the time.
In “Tactical” mode, the “Primary” button turns the flashlight on and off in the brightest mode (Turbo). While on, the Mode switch changes brightness levels. While off, the Mode switch is momentary and turns on the strobe. If the “Mode” button is held for more than five seconds, the strobe is locked on.
In “Outdoor” mode, clicking the “Primary” button remembers the brightness level from the last time the light was used. While on, the “Mode” button clicks to step through the brightness levels.
Starting with the flashlight off, the “Mode” button activates the lowest brightness and will be locked on after five seconds. When turned on, holding the “Mode” button for five seconds activates the Morse code signal for SOS.
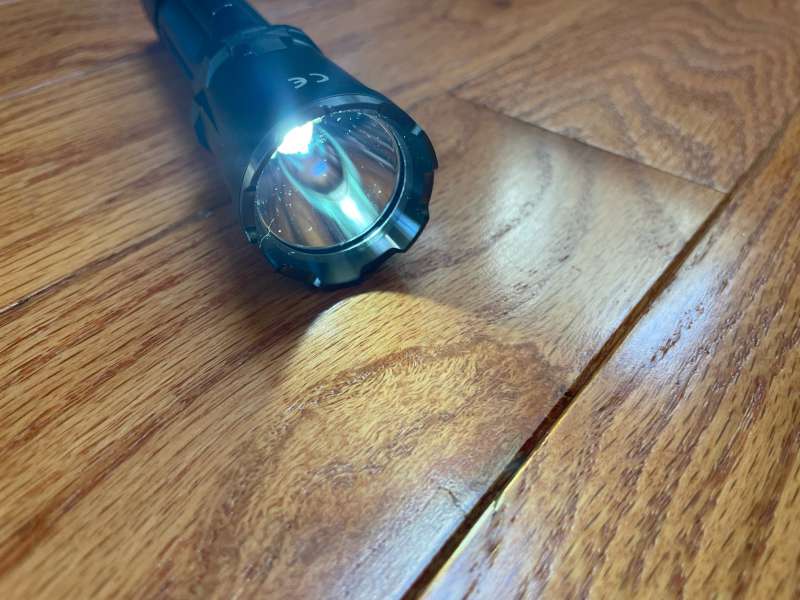
The reflector is smooth and produces a very smooth beam with a wide corona.

Brightness levels are 3300 (1.8 hours), 1200 (4 hours), 200 (12 hours), and 10 (120 hours) lumens. Strobe is also 3300 lumens and SOS is 200.
For your viewing pleasure, here are the obligatory beam photos at about 15 feet, all with the same camera settings (26mm at F1.6)


Respective run times are estimated at 1.8, 4, 12, and 120 hours. Strobe will persist for 4 hours and SOS for 32.
Here are more beam shots (again 26mm at F1.6) Projected onto a tree that’s about 50 feet away and at the side of my house.

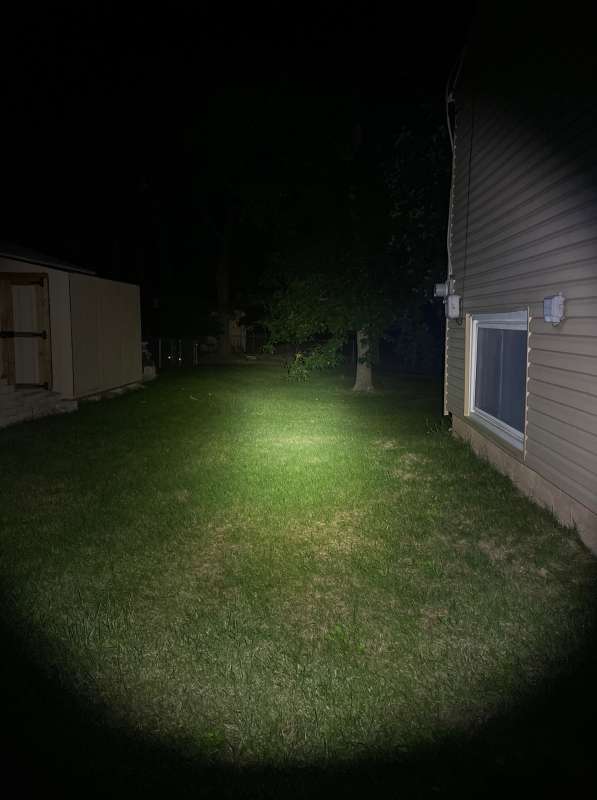

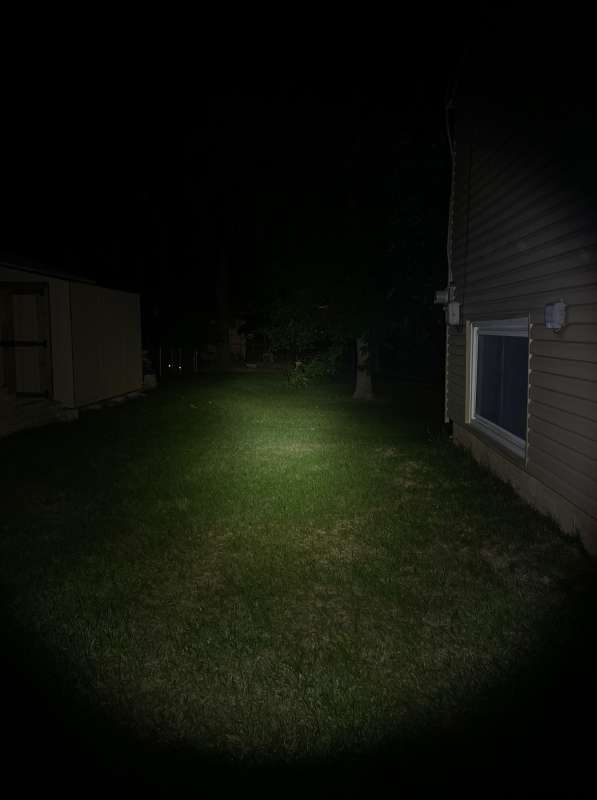


And now, “shooting for distance,” the furthest trees in the photo are at about 120 yards (110 meters) and were easily visible.

The Klarus XT11GT Pro 2.0 flashlight’s circuitry incorporates an “Intelligent Thermal Protection System” (ITS) that adjusts the Turbo brightness based on temperature to protect the battery and LED. When the XT11GT is first turned on in Turbo, it does get quite warm to the touch, but not uncomfortably so.
What I like
- Bright, wide beam with great cool-white beam color.
- Great battery life
- Rechargeable via USB-C
What I would change
- Implement the ability for the flashlight to stand on its tail
- Maybe a less confusing interface
Final thoughts
One-hundred twenty-three years after the first flashlight patent, the Klarus XT11GT Pro 2.0 blasts out an insane 3300-lumen wall of light. That’s more than 120 times more powerful than the first flashlight which was only 25 lumens! The Klarus XT11GT Pro 2.0 flashlight projects up to 1350 feet (410 meters) and can be used for a far longer duration than its ancestors. The interface takes some getting used to, but build quality is top-rate, battery life is good, and it’s a great choice for tactical or outdoor use.
Price: $89.95
Where to buy: Amazon
Source: The sample for this review was supplied by Klarus.

Zip Ties Assorted Sizes(4”+6”+8”+12”), 400 Pack, Black Cable Ties, UV Resistant Wire Ties by ANOSON
(as of June 22, 2026 22:11 GMT -05:00 - More infoProduct prices and availability are accurate as of the date/time indicated and are subject to change. Any price and availability information displayed on [relevant Amazon Site(s), as applicable] at the time of purchase will apply to the purchase of this product.)
Gadgeteer Comment Policy - Please read before commenting
See that’s not actually a USB-C cable. That’s a USB-A to USB-C cable. The real question to ask is will it charge with an actual USB-C cable that has USB-C connectors on both ends and is plugged into a USB-C port on a wall or car charger. Because there are a lot of products that claim to charge via USB-C but actually only charge via the included USB-A to USB-C cable. I have eliminated USB-A chargers. My wall and car chargers are USB-C only. The goalhere is to have one cable that charges everything from your headphones to your laptop. If you must use the included cable with a USB-A port on one end to charge it then I don’t want it. Please test future products with this in mind.