
REVIEW – Interested in 3D printing, but thinking about the tinkering? Do you fancy full features, but fret the fiddling? Sunlu’s S9 Plus packs a potent 3D printer punch with oodles of options, opulent operation, quick commissioning
What is it?
The Sunlu S9 plus 3D printer is a machine that extrudes layers of thinly extruded material to create three-dimensional objects using parameters from an electronic file.
Hardware Specs
- Printing technology type: FDM
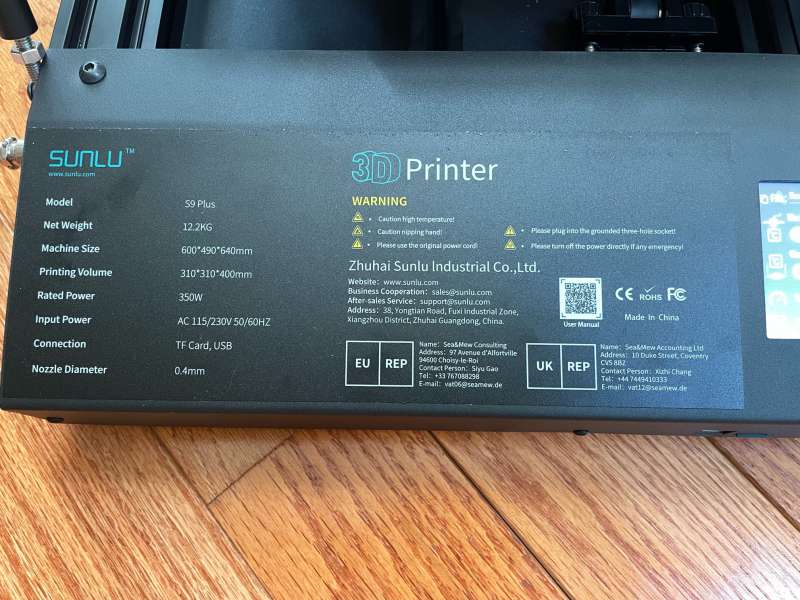
- Printing size: 310 x 310 x 400mm, 12.2 x 12.2 x 16 inches
- Number of nozzles: single nozzle
- Nozzle specifications, 0.4mm (compatible specifications: 0.4mm-0.8mm)
- Printing speed: 20-100mm/s
- Recommended consumables: 1.75mm PLA, PLA+, carbon fiber, ABS (low temperature), PETG, HIPS, WOOD, PCL, TPU
- Maximum printing temperature: 260℃ (500°F)
- Max heating temperature of bed: 100℃ (212°F)
- Included slicing software: Ultimaker Cura
- File formats supported by Cura: STL, OBJ, AMF
- Cura output file format: Gcode
- Support printing methods: TF Card、PC
- Power specification: 115V/230V AC,50/60HZ
- Machine size: 600 x 490 x 640mm, 24 x 19.3 x 25.2 inches
- Printer net weight: Less than or equal to 15KG (33.1 pounds)
- Screen type: 110mm (4.3-inch) touch screen
- Driver type: TMC2208
What’s in the Box?
- Sunlu S9 plus 3D printer
- Filament dryer box
- Assembly screws
- Assembly tools
- Sample PLA filament
- SD card (with manual and software) and USB adapter
- Clippers
- Filament holder
- Stabilizing rods
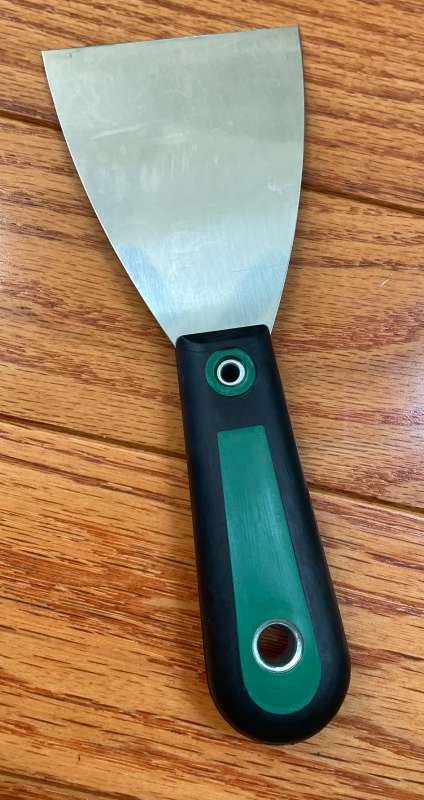
- Spatula
- Manual
Design and Features
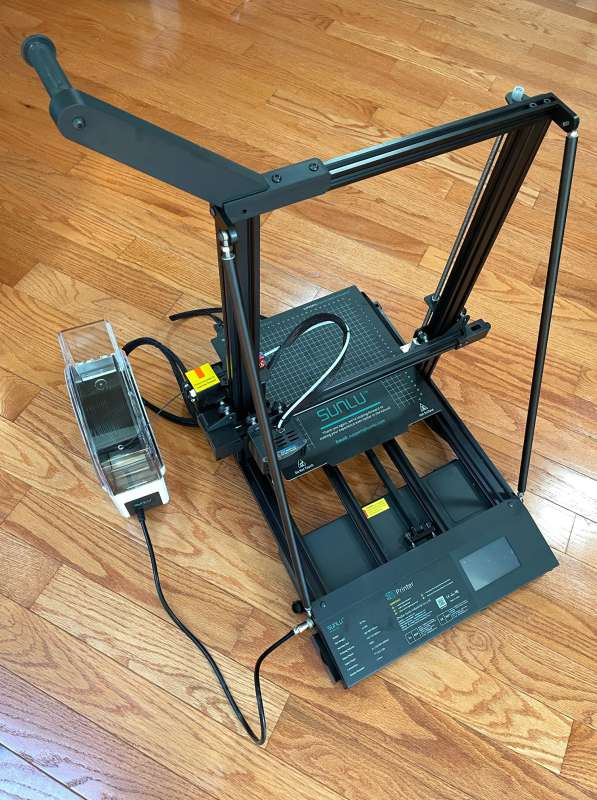
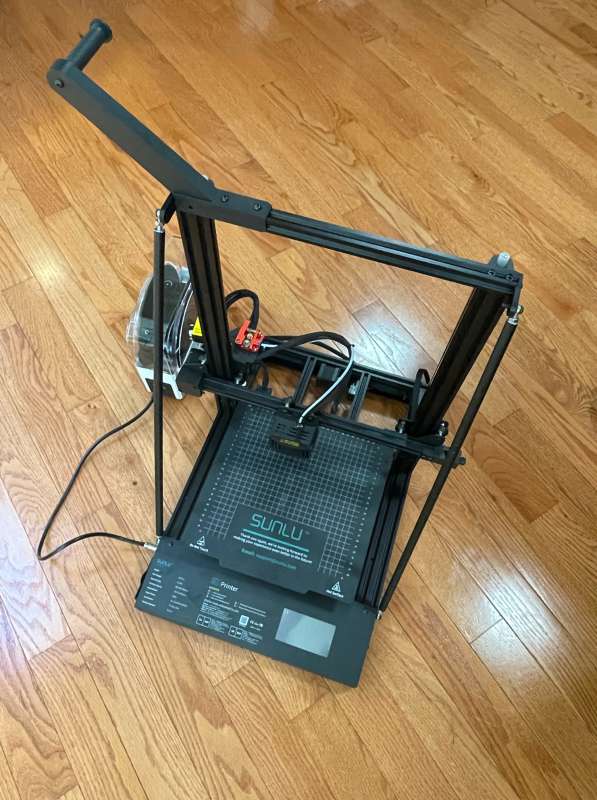
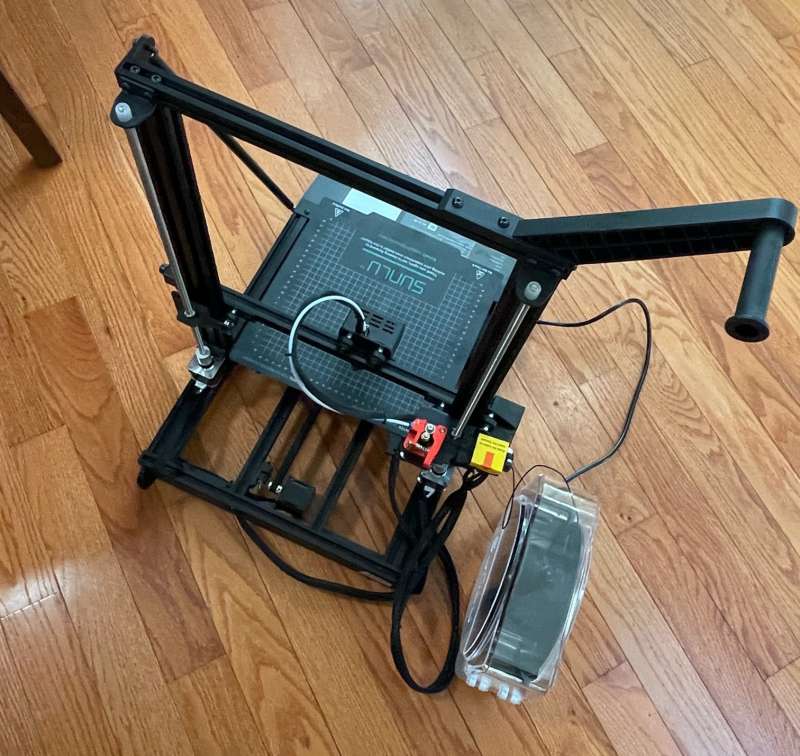
The Sunlu S9 Plus 3D printer arrived very well packaged in a heavy box.
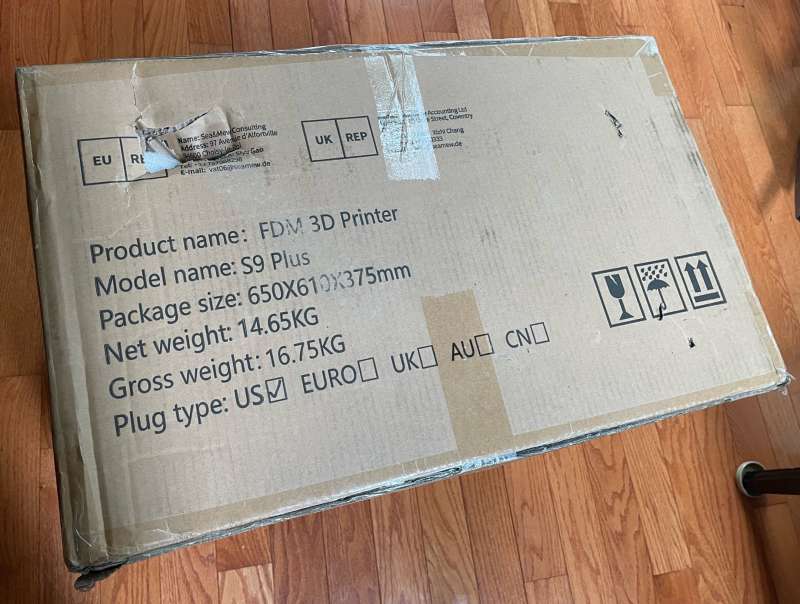
The packaging was top-notch. Nothing bent or broken here.
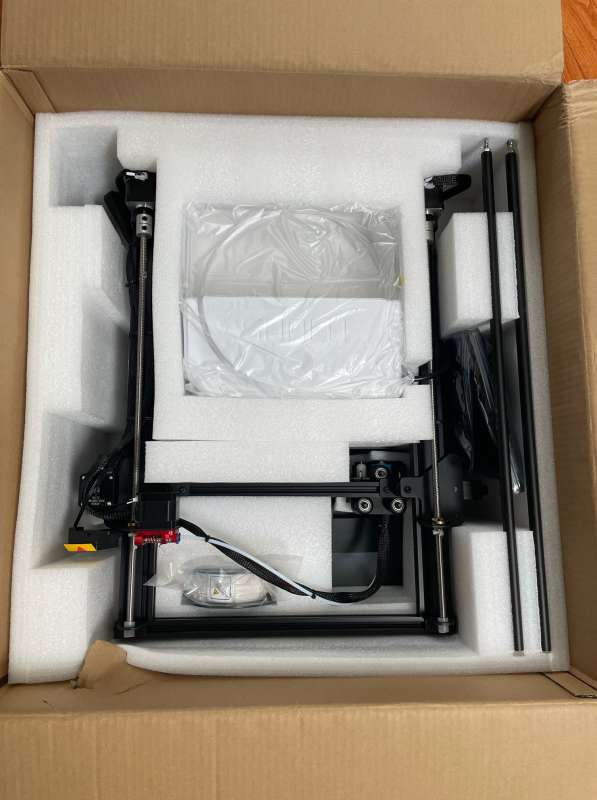
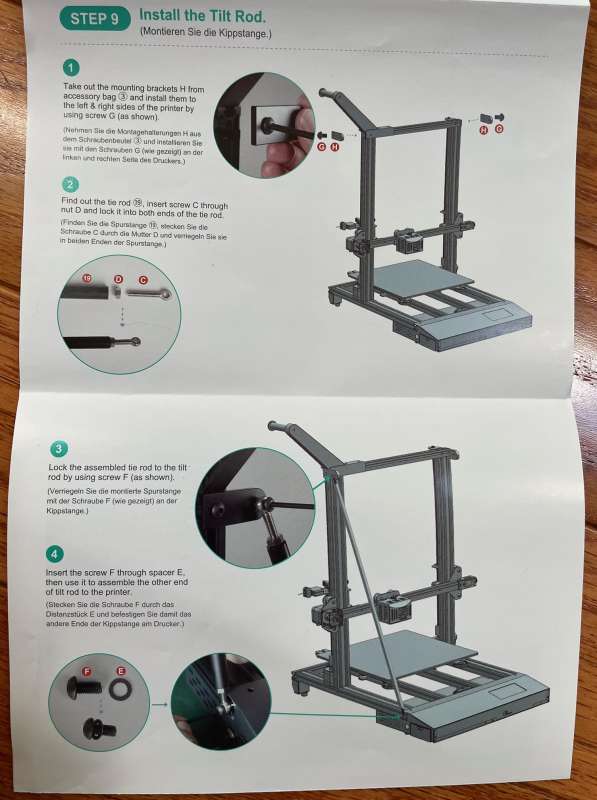
The manual made the assembly of the printer simple.
I appreciate the inclusion of the tools and supplies when “some assembly is required.”
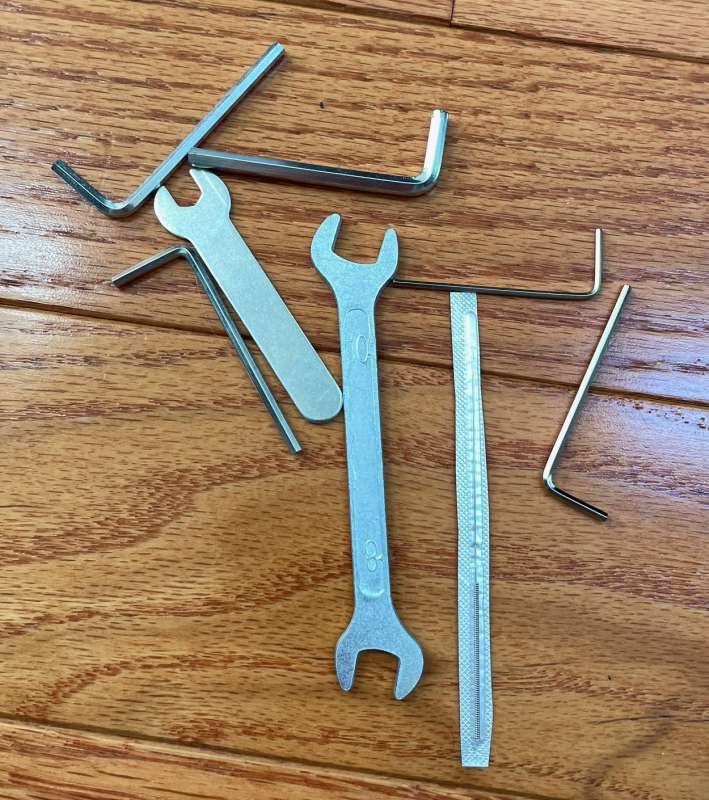
Even a spatula is included if you have trouble removing the print from the print surface.
The complete assembly of the Sunlu S9 plus 3D printer took about 30 minutes.
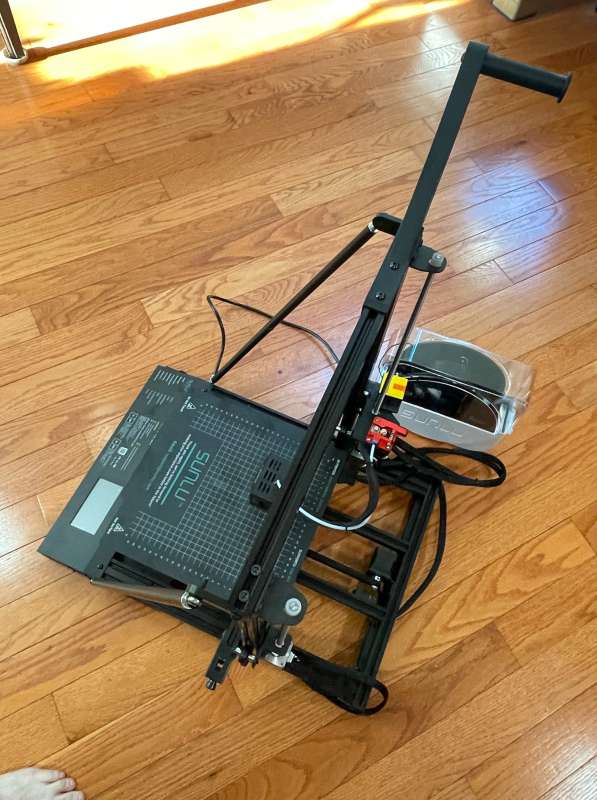
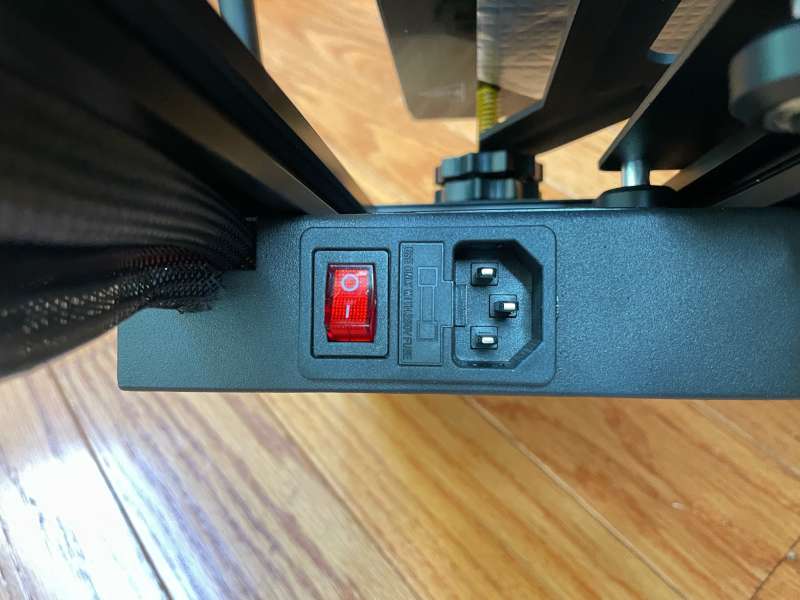
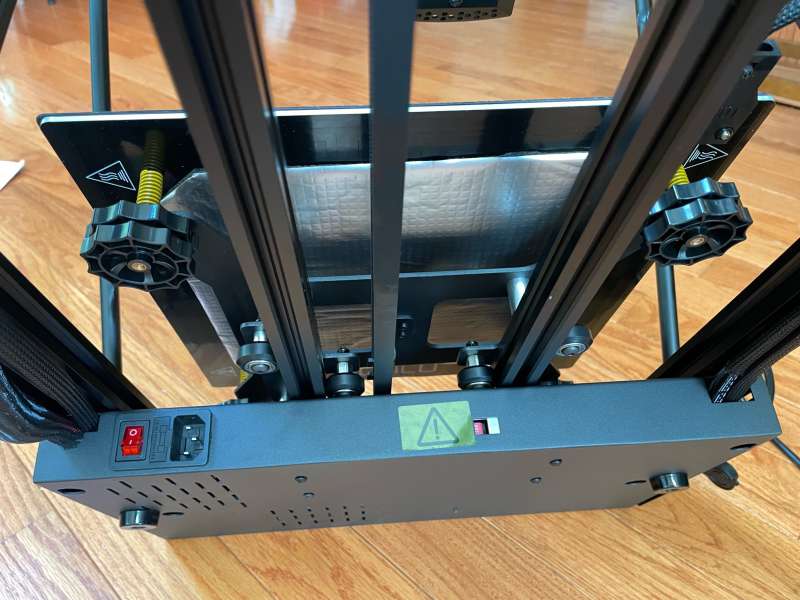
Power is provided by an IBM-style cord. The power switch is alongside and can be accessed with the print bed pushed back.
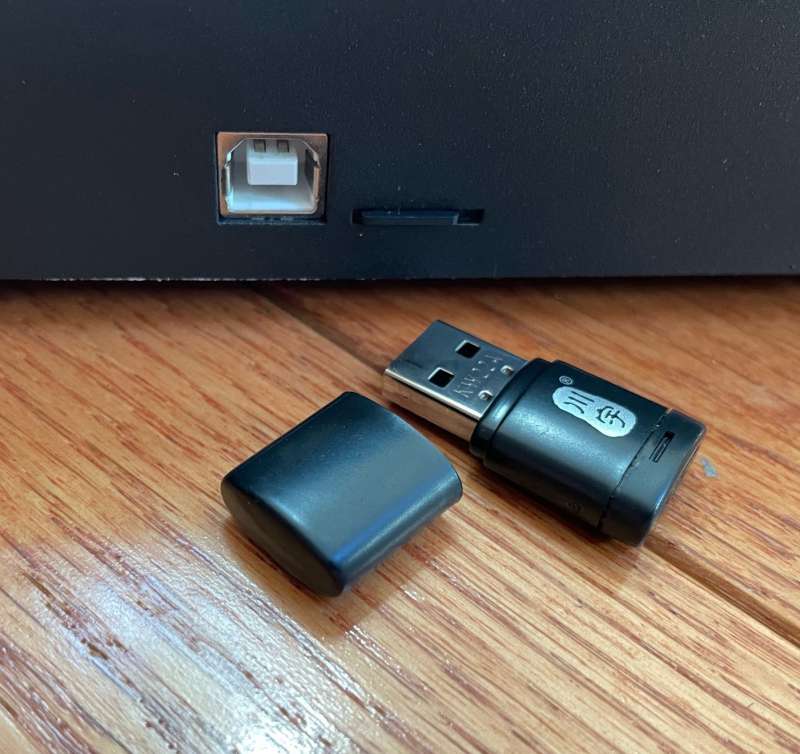
For loading files, the Sunlu S9 plus 3D printer is equipped with an SD card slot. Software and manuals are preloaded onto the included card and a reader is provided for transferring files from the computer of your choice.
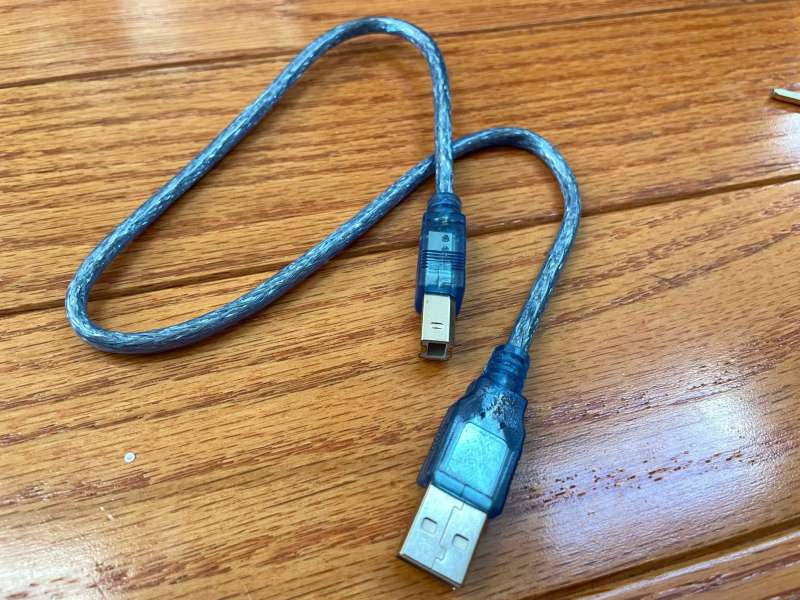
If you would prefer to use a printer cable, there’s one included.
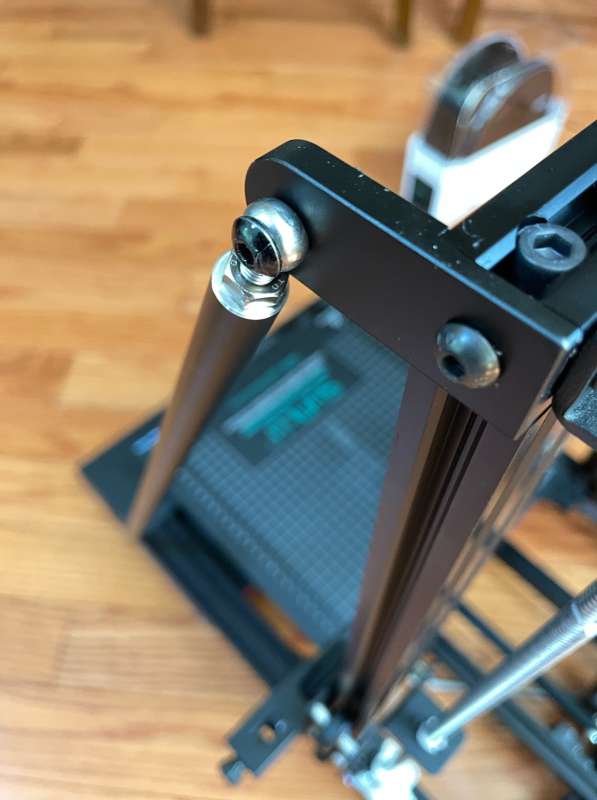
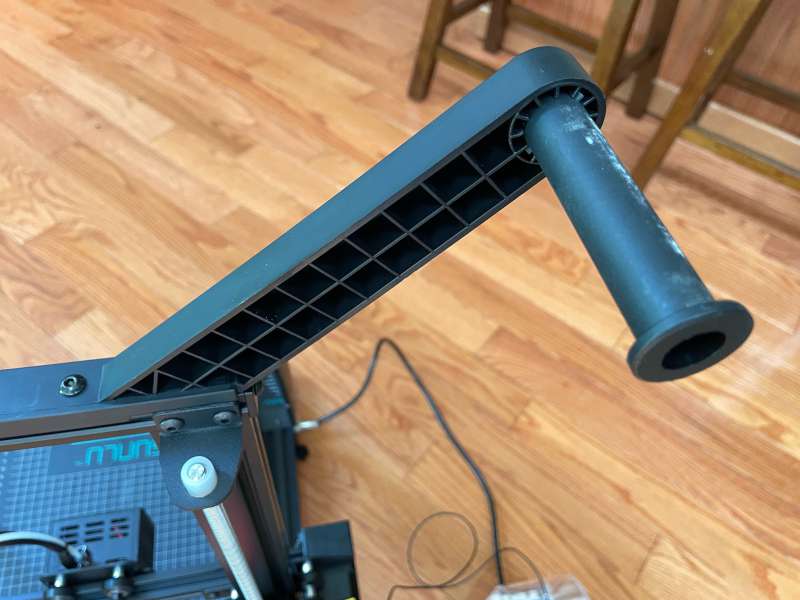
The inclusion of stabilizing bars is genius. For anyone that’s done 3D printing in the past, taller designs can cause oscillations as the print bed moves, causing havoc that can make you sad, especially near the ends of multi-day prints. These bars help do a dandy job reducing vibration!
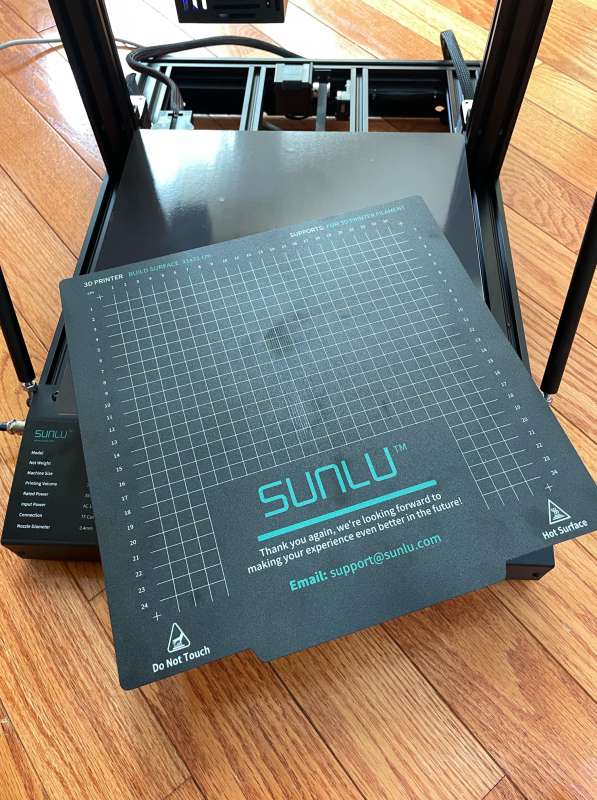
Sunlu was very wise to include an aluminum print bed. This is just the starting point where this printer starts to shine. Five minutes after reaching the set temperature of 60°C, I measured excellent uniformity across the print bed of 57 to 61°C. Excellent!
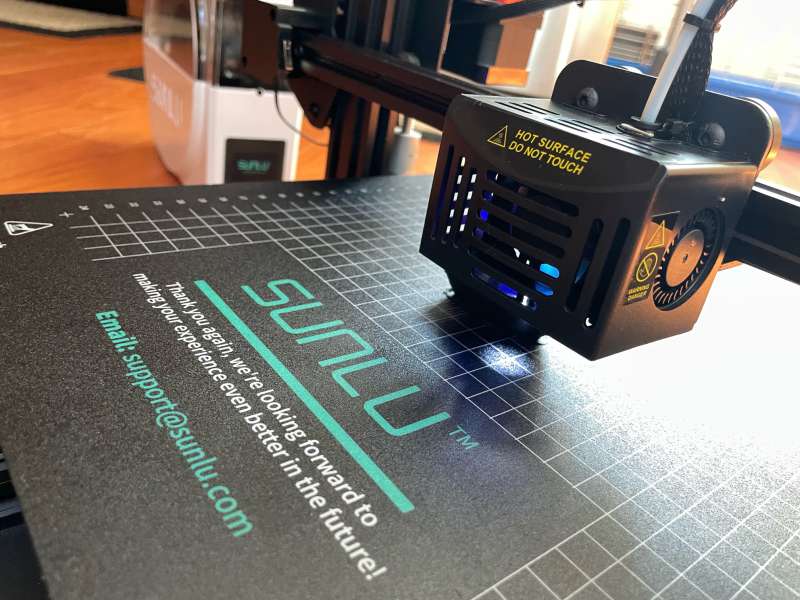
Even better, Sunlu’s soft magnetic PEI print surface is removable, flexible, and provides a stable surface for the PLA and ABS I used. I love the idea of replacing the print surface when it becomes damaged or worn out rather than needing to exchange the entire heat bed.
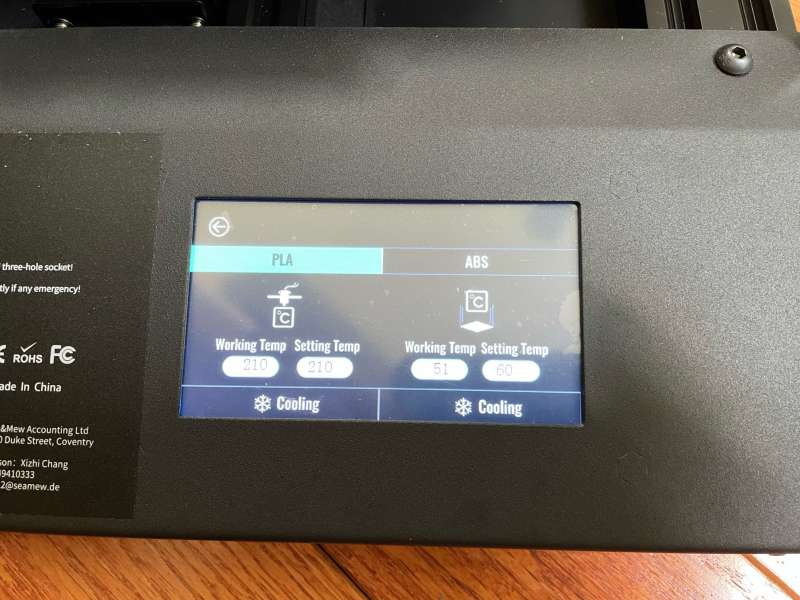
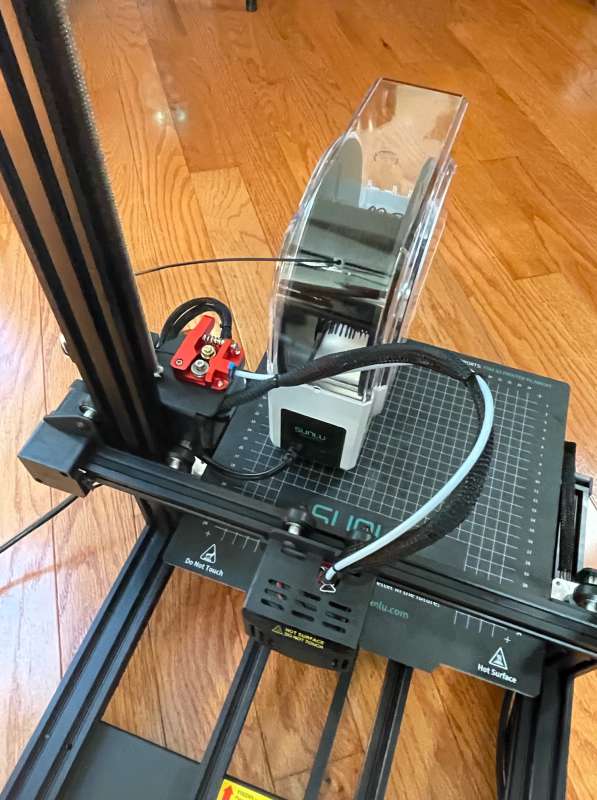
Moving on, successful 3D printing can be challenging due to the hygroscopic (water absorbing) nature of some filaments. If too much water has been absorbed, the laden filament can cause nozzle popping, holes, inconsistency, jams, and even the inability to print. Sunlu anticipated this and included a single-roll filament dryer to help alleviate this issue. Even better, the controls are integrated into the software and controllable from the touchscreen. Nice!
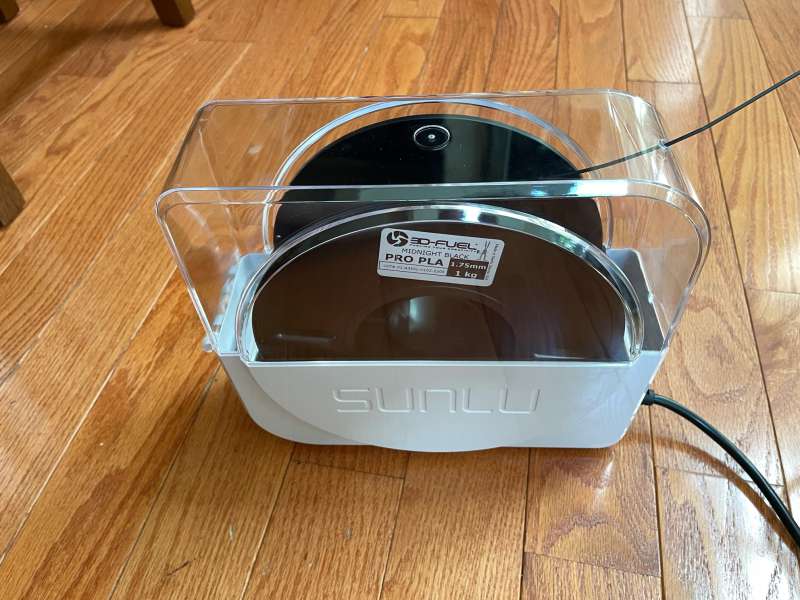
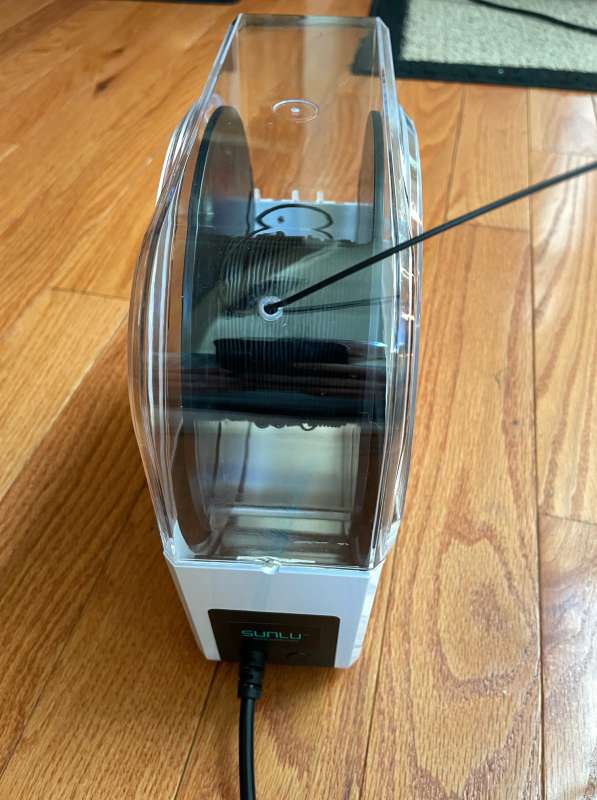
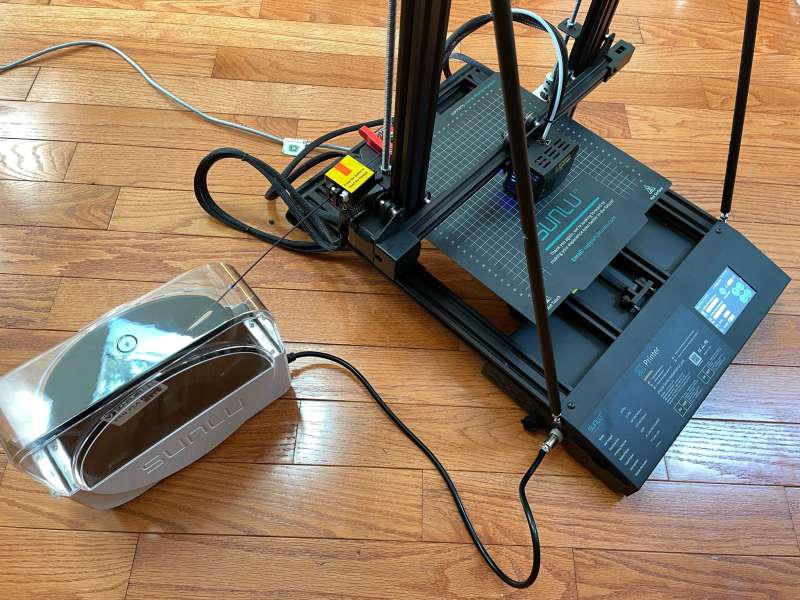
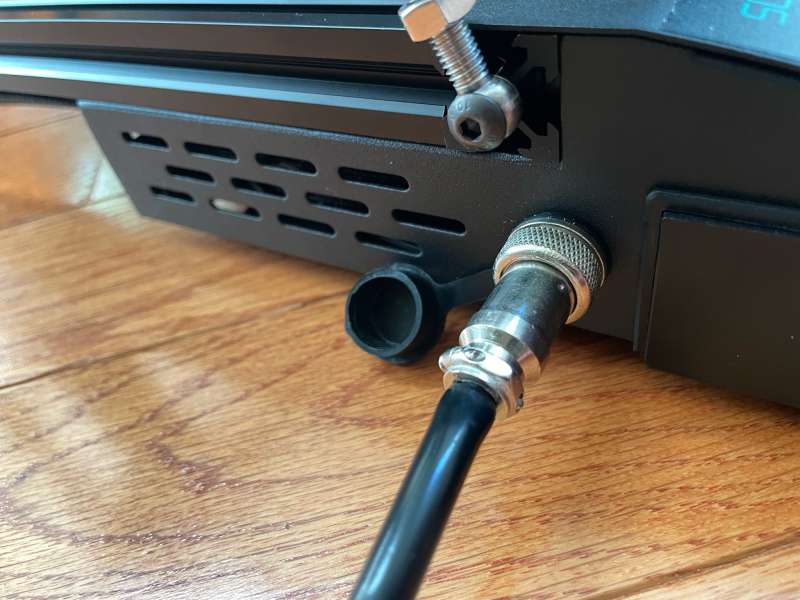
Power and control to the dryer are provided through a connection to the printer.
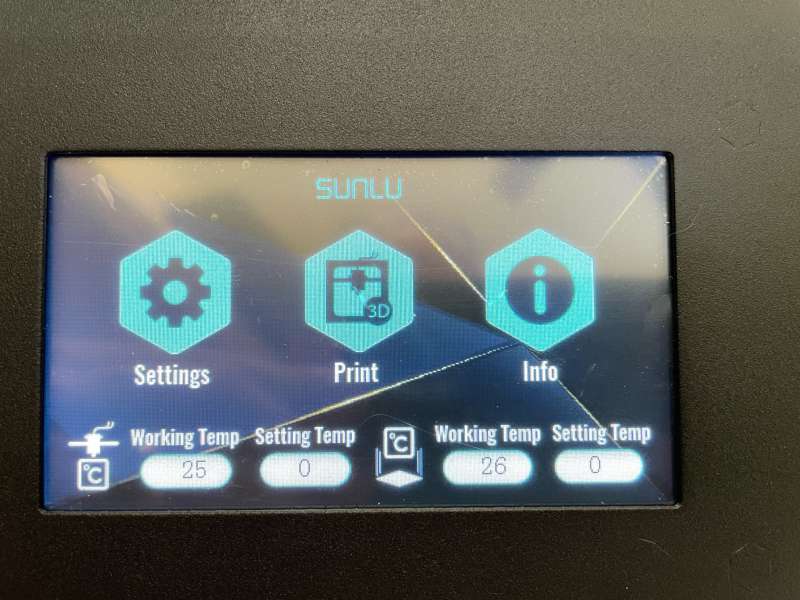
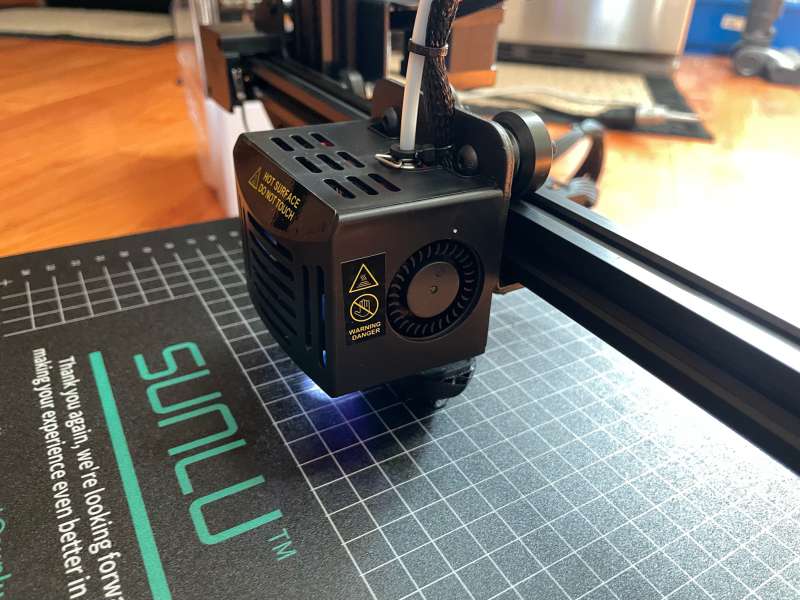
The Sunlu S9 plus 3D printer is equipped with a color touch-screen. Virtually all of the printer’s settings can be accessed and adjusted. The screen is bright, responsive, and delightful to use.
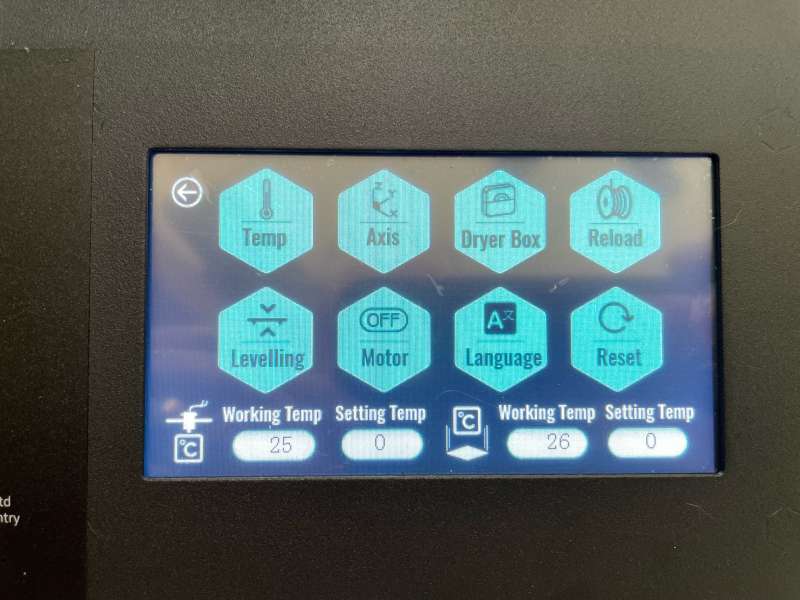

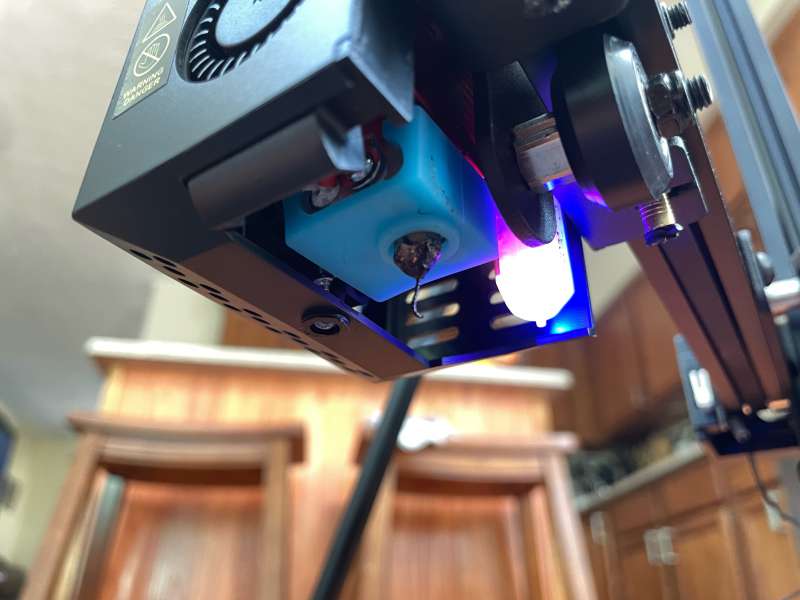
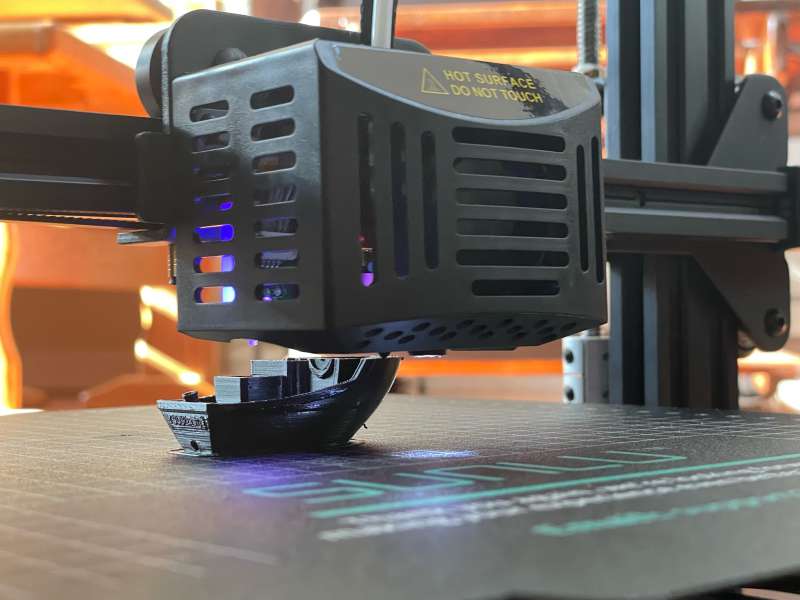
A short while ago 3D printers didn’t have auto-leveling capabilities. Intrepid enthusiasts began implementing different strategies to improve consistency and “kaizen” the crap out of them. The result is that printers have evolved and now arrive stocked with the precision leveling system. The Sunlu S9 plus 3D printer’s leveling system is accurate and reliable. The purple glowing bit is the level sensor.
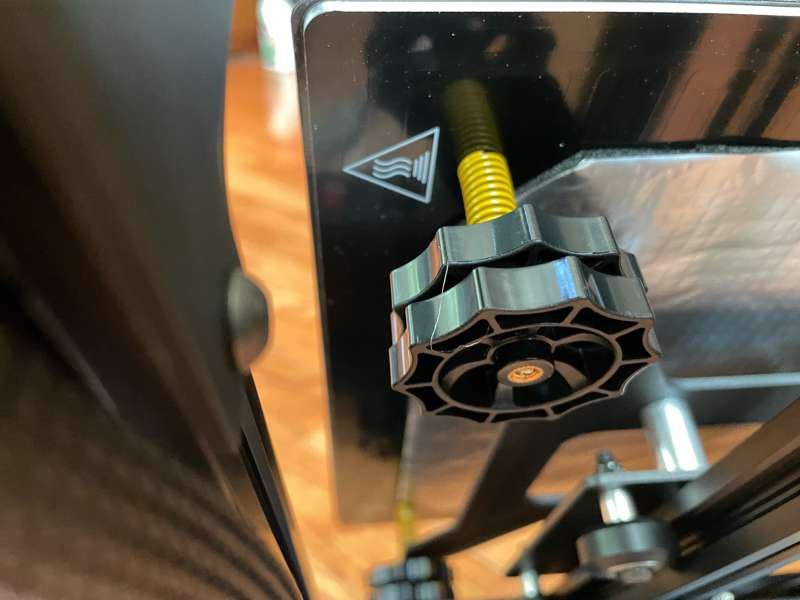
I performed manual leveling using a piece of paper and moving the jack screws under the print bed. It takes a few minutes but is an essential beginning to successful printing.
Sunlu’s leveling screws are equipped with locking knobs. This is a great feature! With them, I’ve found the bed has stayed level with considerably less tweaking. After a month of printing, I checked the bed level and found it had remained unchanged.
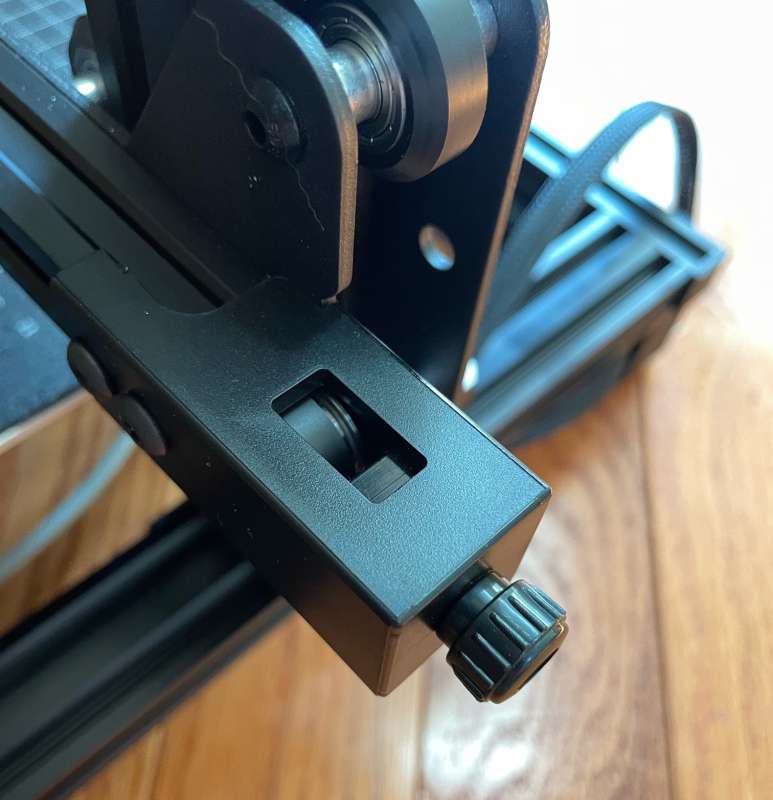
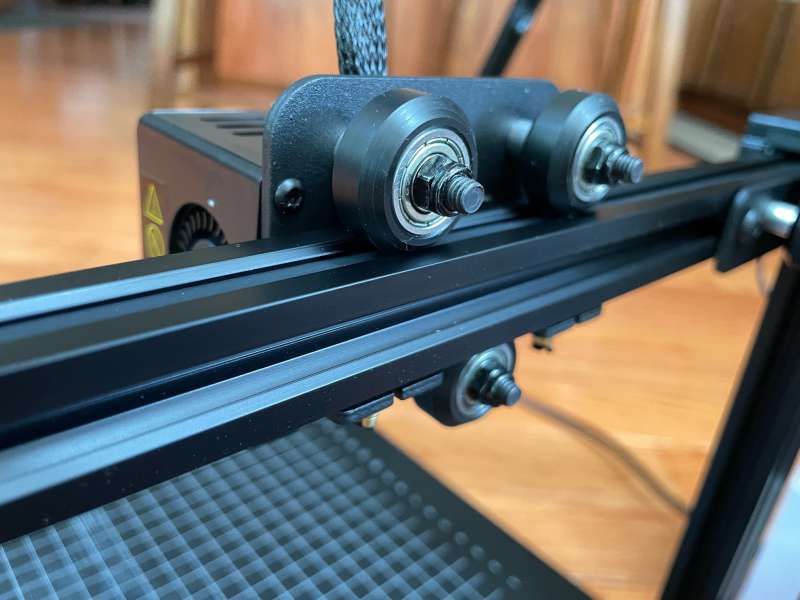
The X and Y axes are belt-driven.
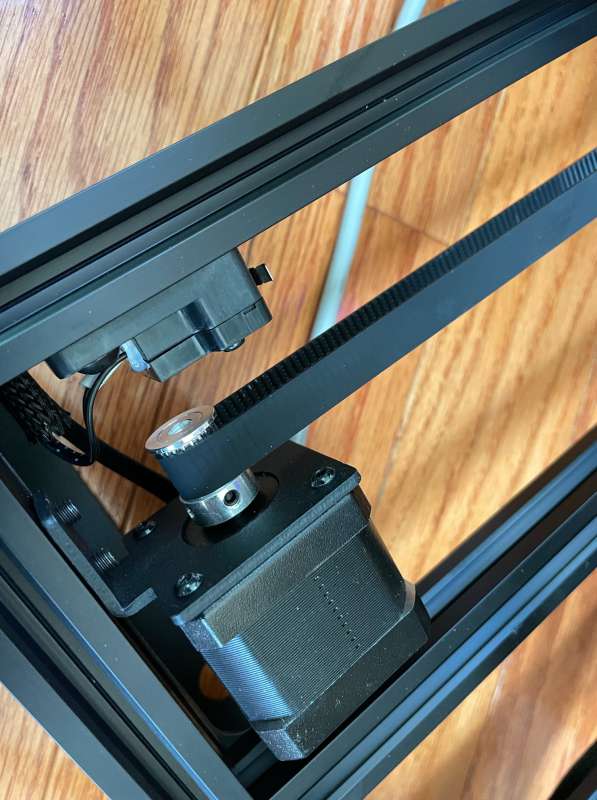
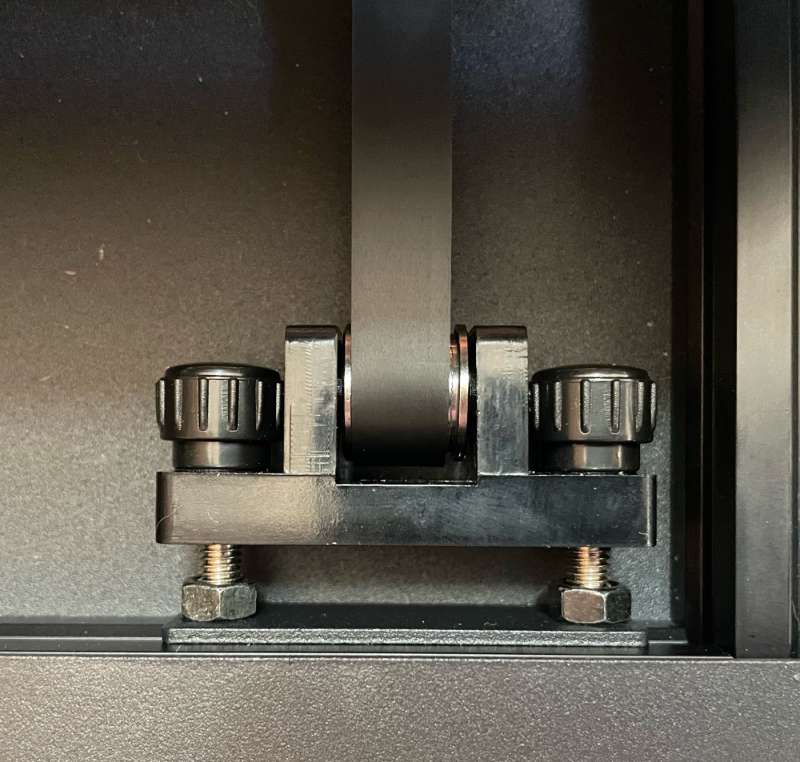
The next feature that I love is the inclusion of belt-tightening adjusters. On other printers these are optional. These adjustments mean the difference between a turn of a screw, or potentially a lengthy disassembly and hours of tinkering to set the tension.
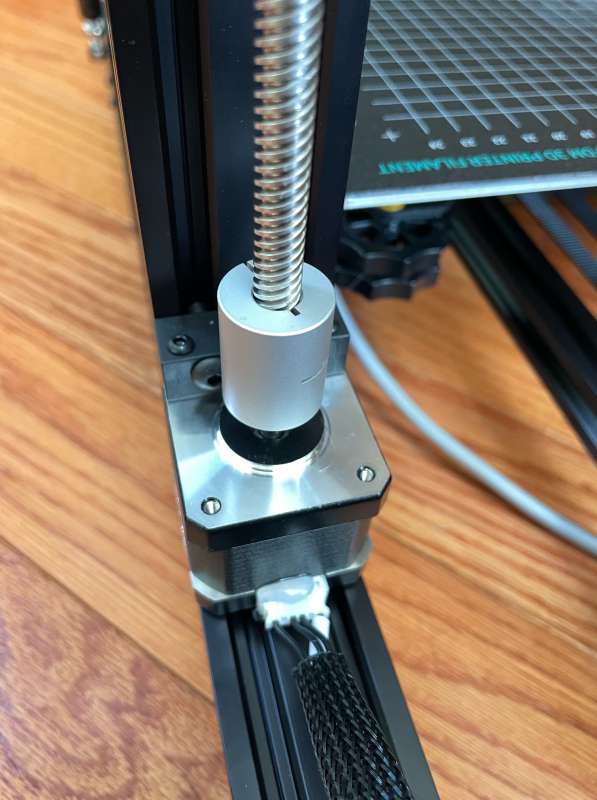
The Z-axis position is controlled through two direct-drive motors that are independently controlled with software. With its “independent suspension” nature and accurate auto-leveling, the Sunlu S9 plus 3D printer excels here. Outstanding!
Loading filament can be done with the filament inside the dryer or loaded on the spool holder. Sunlu includes a spool of white PLA, but I chose to use some black I’ve been using lately.
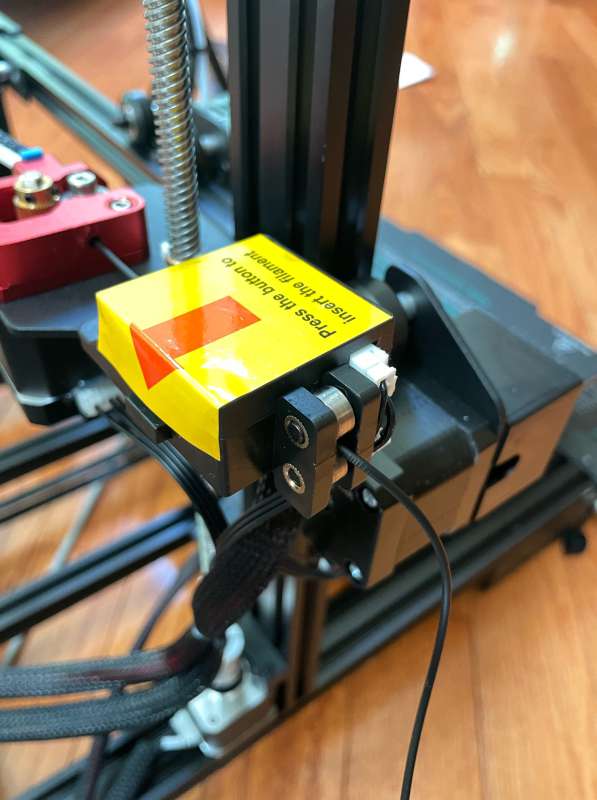
The filament must be cut at a 45° angle to feed through the filament detector…
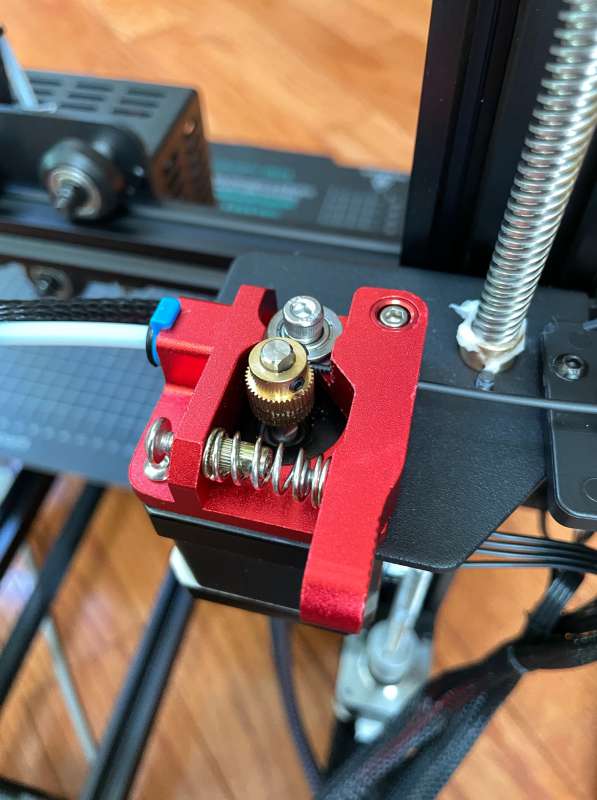
…Next, the filament passes through the extruder and into the Bowden tube then on the print head. The S9’s extruder is all metal. Nice!
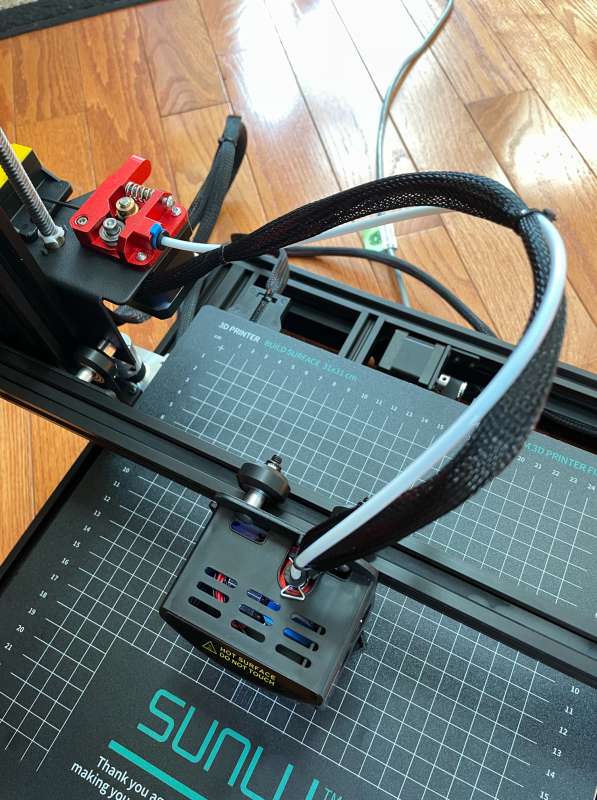
From the Bowden, the filament is passed into the heated print head. Parameters for speed, temperature, and moving the X, Y, and Z motors are controlled through instructions in the GCODE software.
The hardware is solid throughout. The X, Y, and Z axis rollers are easy to adjust if necessary.
Those of you who have dabbled in the world of 3D printing will know that tinkering, tweaking, and tuning are part of the deal. But… for the newbie, the learning curve can be steep. I can attest that when started with 3D printing, it took several weeks of playing to see the results that are plastered all over YouTube.
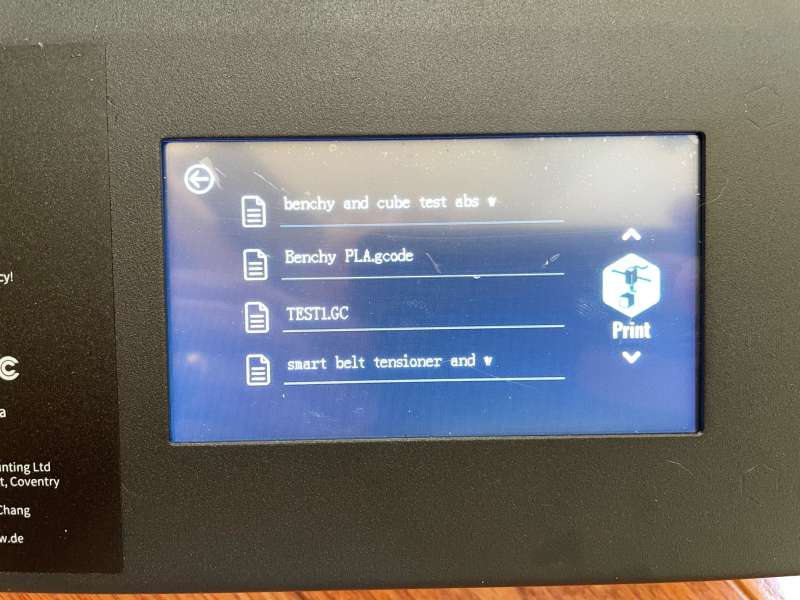
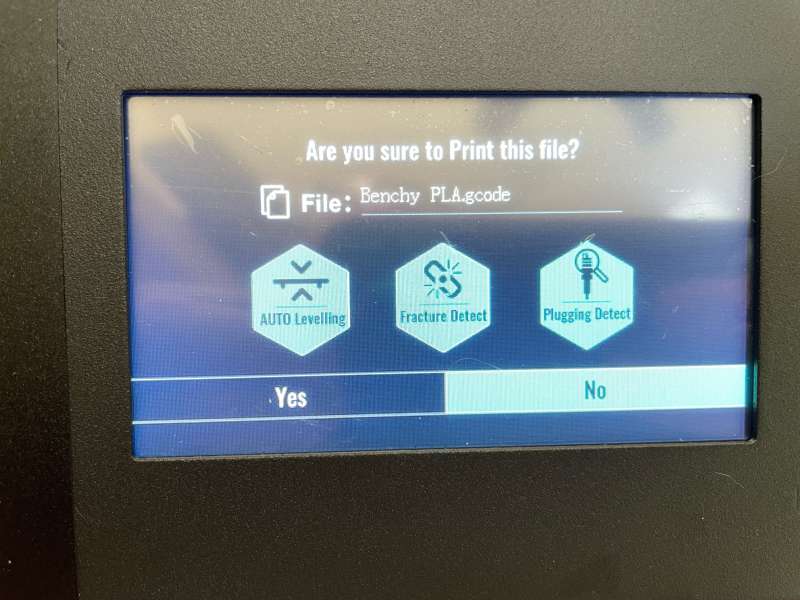
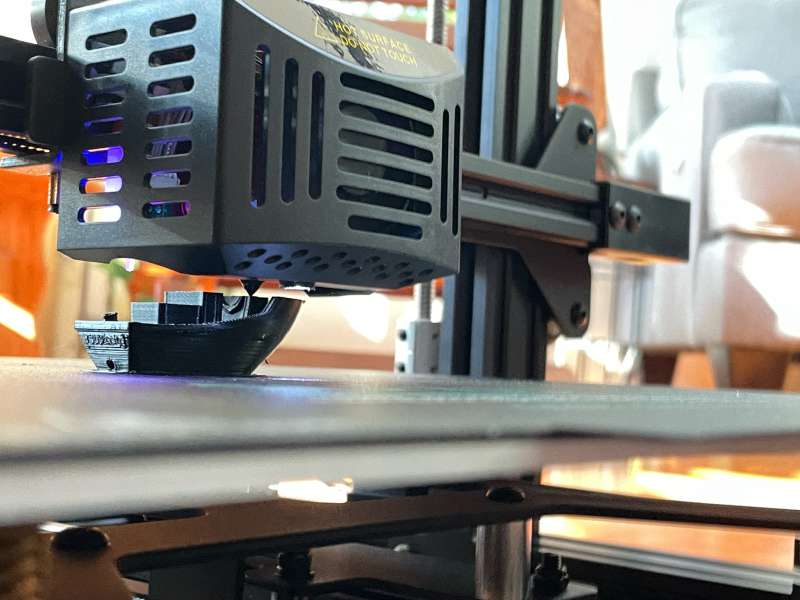
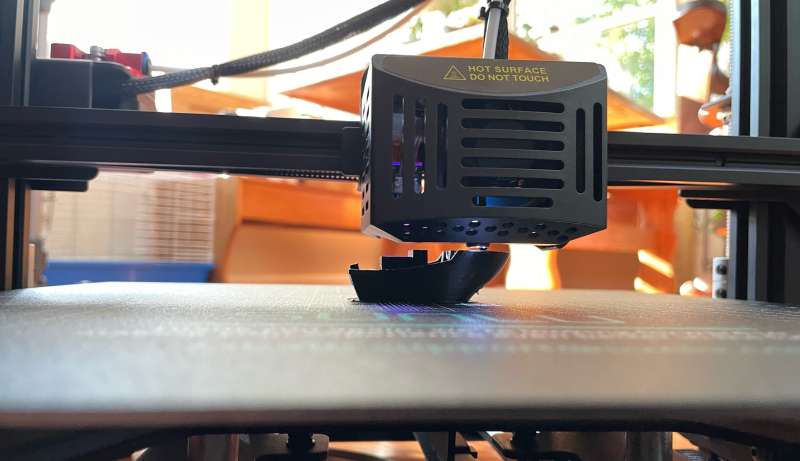
So, I asked myself the question, “How would the S9 Plus printer work for a first-time user?” I wanted to see how the printer would perform “out of the box” without any adjustments other than bed leveling. Sunlu provides two GCODE test files on the included SD card. I didn’t look to see what these files contained – I just loaded the filament and let them run.
The printer homed each axis, rose to the operating temperatures, ran an automatic bed leveling routine, then happily went on its merry way. To my delight and surprise, the first test print finished a few hours later. The results were great!
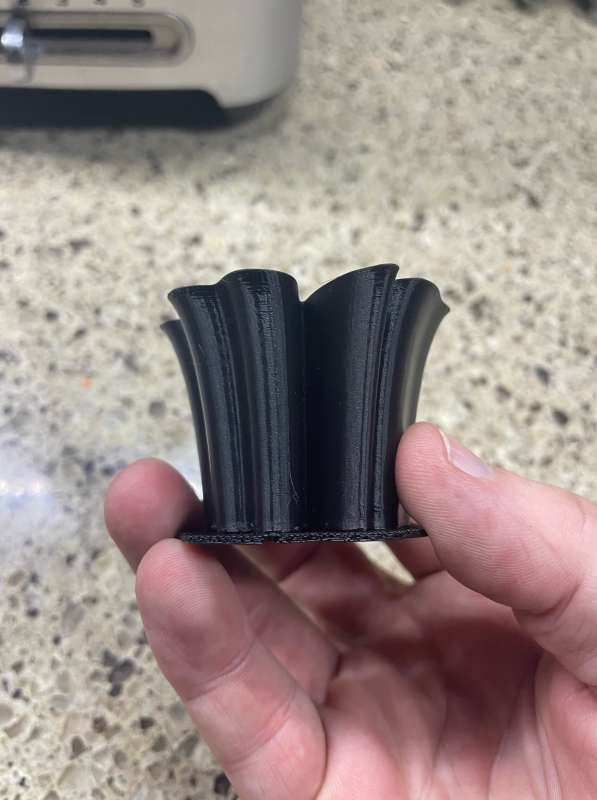
From the moment I opened the box to the beginning of the test print was less than 45 minutes. Bravo, Sunlu! I’m impressed!
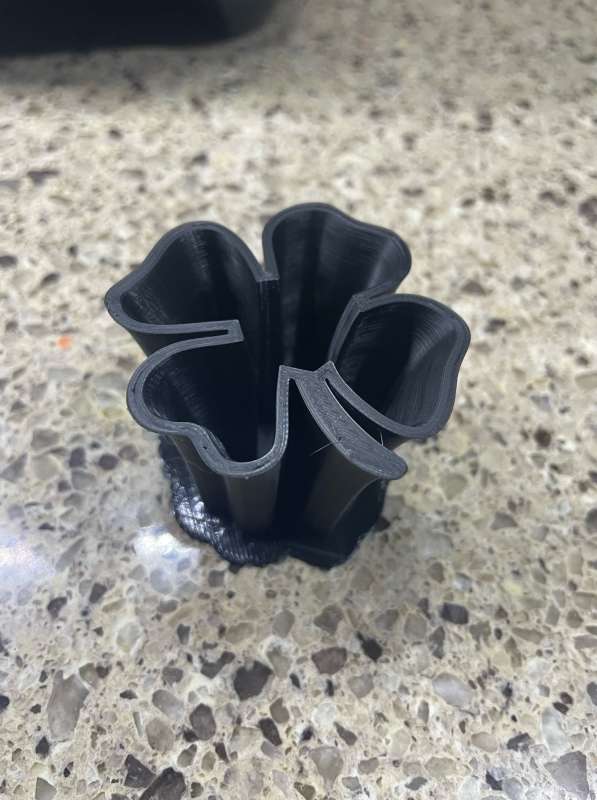
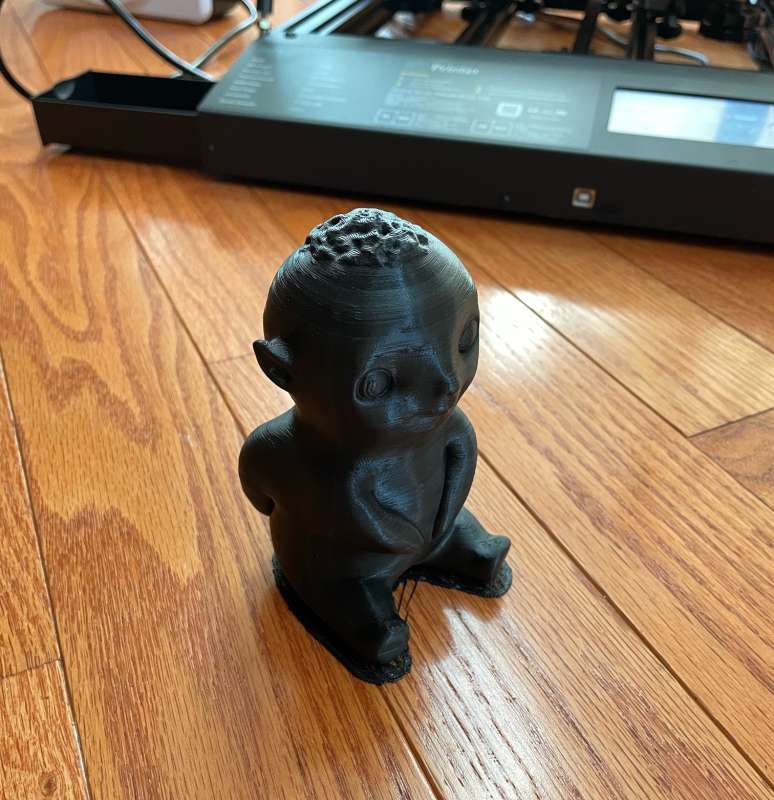
Starting the second of Sunlu’s test files I did nothing more than pull the first print off the bed, select the file and push start. A few hours later I was rewarded with this… um… creepy little cherub. The print results were equally as good as the first test.
Ok, Sunlu… the test prints were great, but how about other files?
I have a mighty need to 3D print in ABS because my designs need strength and resistance to high heat. If you’re familiar with ABS, it can be a challenging medium, subject to warping, artifacts, and instability. Before wasting half a spool of filament, the first order of business would be some test prints.
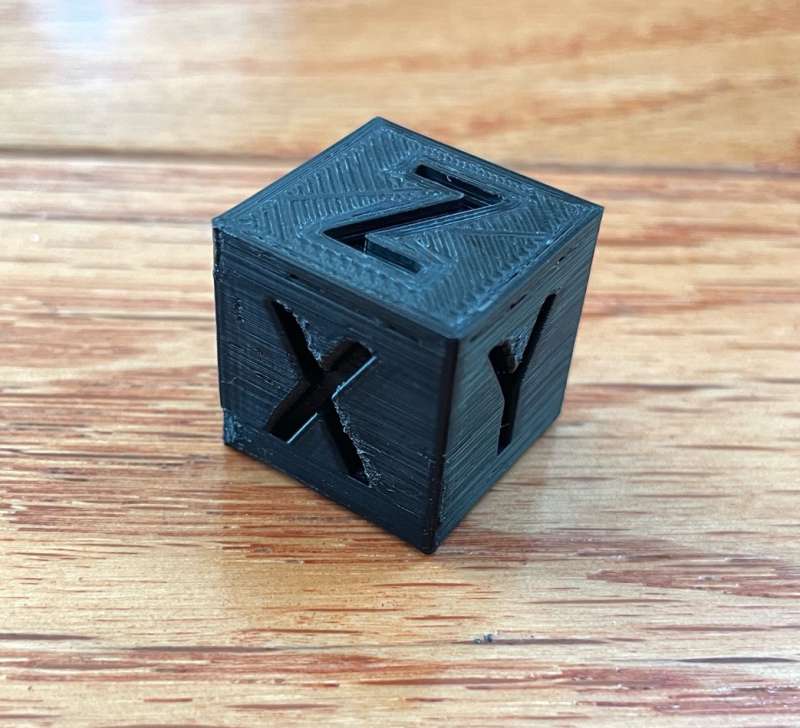
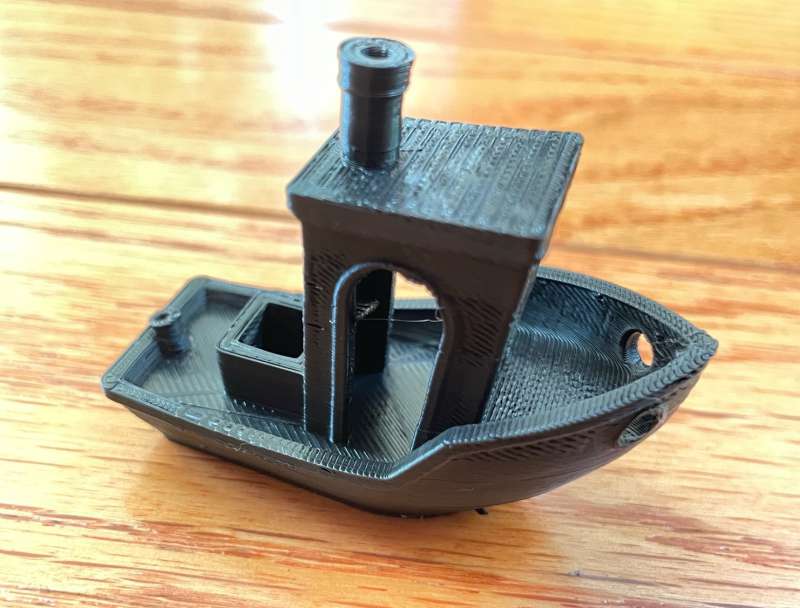
Here are the results of the familiar X-Y-Z test cube and Benchy boat, both printed in ABS on the first attempt. As you can see, they aren’t perfect, but without any fuss, dialing-in, or refinement, for me the results were astonishing!
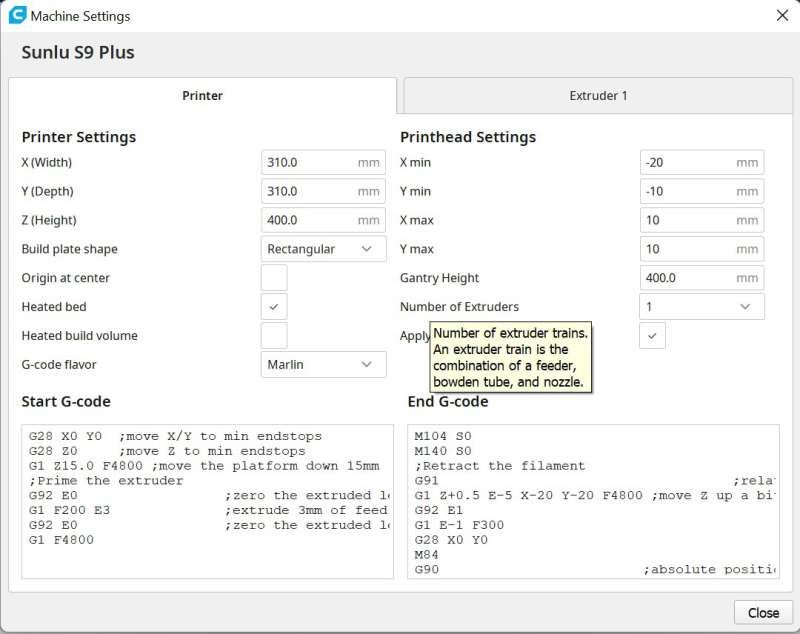
The version of Cura provided on the SD card is somewhat outdated. I just used the latest version, downloaded from the internet. Sunlu’s manual uses the older version of the software for the printer setup process but wasn’t difficult to transfer the settings to Cura version 4.13.1.
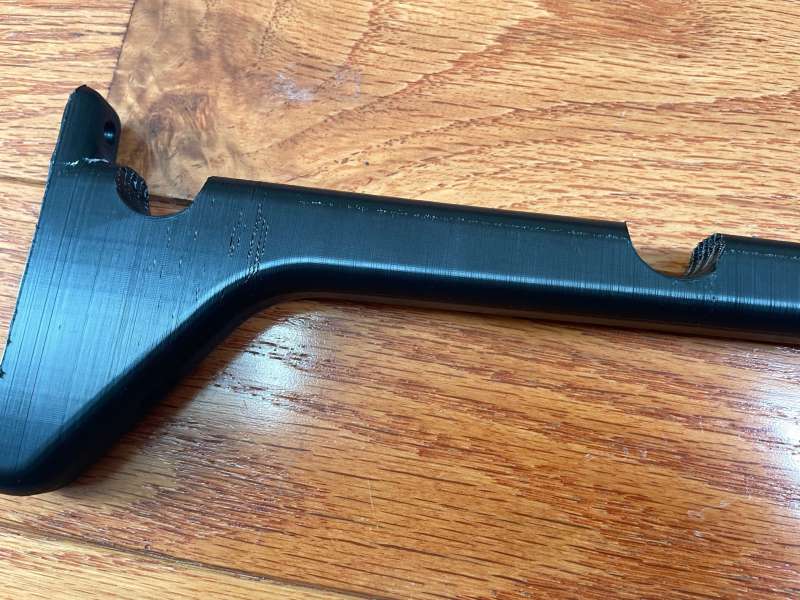
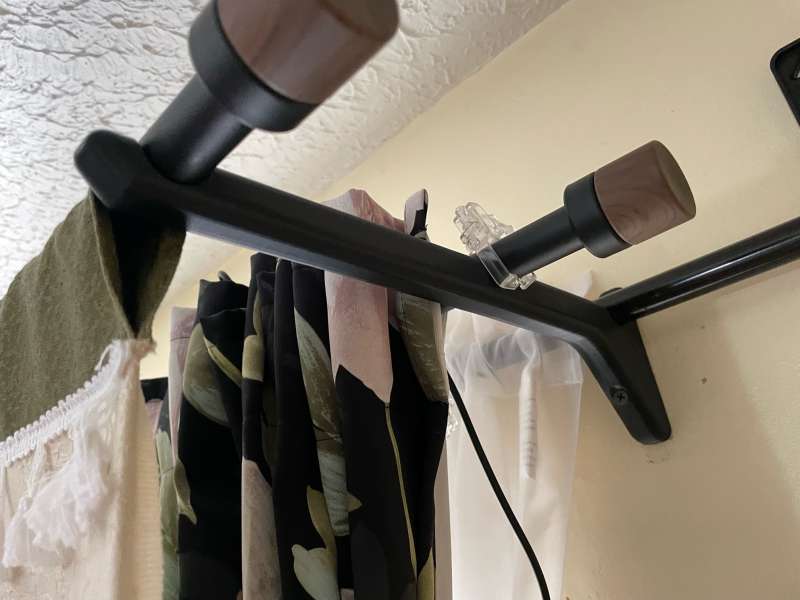
My wife had made some custom curtains needing custom brackets. I used Fusion 360 to design, Cura to slice, and then print them in PLA on a different machine. Unfortunately, I broke one of them and needed to reprint a replacement. This time, I wanted to use sturdier ABS filament.
Loading the updated file onto the SD card and starting the S9, two days later, the bracket was completed, but this time stronger and cleaner than with my previous versions. Wow!
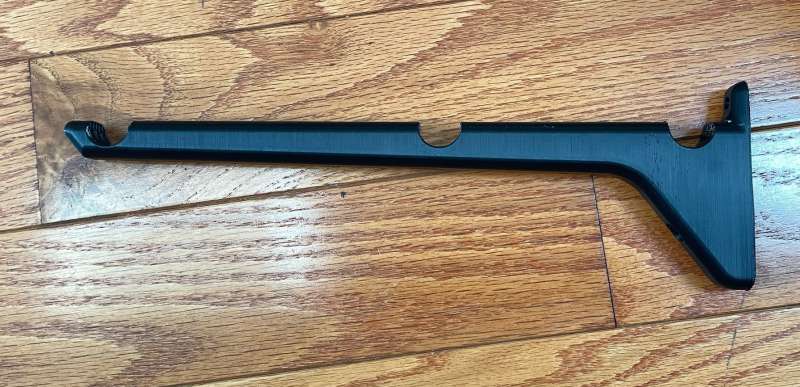
My wife was very happy with the results and made a set of new curtains to celebrate!
It’s worth mentioning that Sunlu has incorporated “clog detection” into the software. The intention is that should there be an interruption in filament flow, the printer will stop until the clog can be remedied, then print can be resumed. I would have liked to test this function, but in over a month of use, the S9 never failed to print! Bravo!
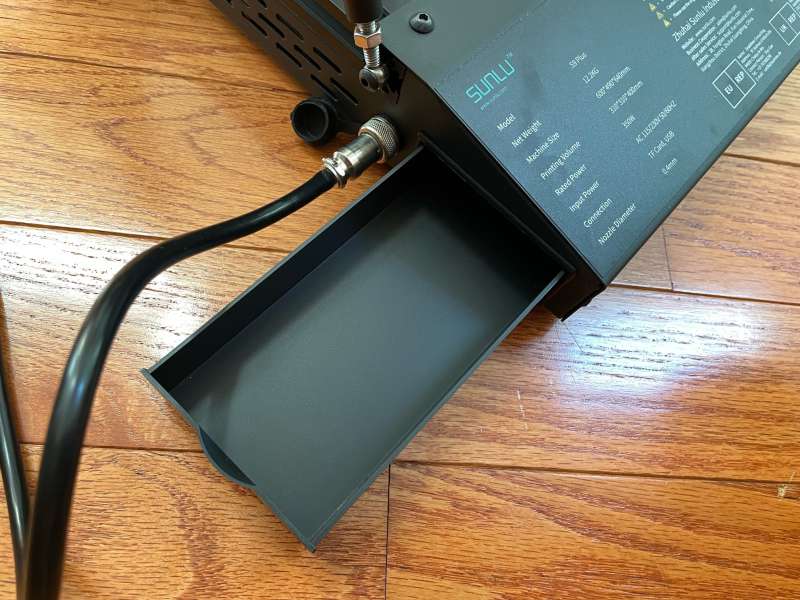
With all of the other enhancements, the S9 also has a handy-dandy storage drawer! Finally, a place to put those tools so they stop disappearing!
What I like:
- The reliable and repeatable performance
- Works like a champ “out of the box”
- Aluminum heated bed and magnetic removable print surface
- Belt tensioners
- Locking leveling jacks
- Integrated filament dryer
- Large print volume
What I would change:
- Nothing
Final thoughts
If you are a more experienced aficionado, you’ll appreciate the Sunlu S9 plus 3D printer’s solid performance. If you are thinking of joining the 3D community, its “chock-full-o-features” produces solid output virtually out of the box, and is great for first-time users! Thank you Sunlu! The S9 Plus has become my new go-to printer!
Price: $413.99
Where to buy: Sunlu and Amazon
Source: The sample for this review was supplied by Sunlu

Zip Ties Assorted Sizes(4”+6”+8”+12”), 400 Pack, Black Cable Ties, UV Resistant Wire Ties by ANOSON
(as of July 15, 2026 07:24 GMT -05:00 - More infoProduct prices and availability are accurate as of the date/time indicated and are subject to change. Any price and availability information displayed on [relevant Amazon Site(s), as applicable] at the time of purchase will apply to the purchase of this product.)
Gadgeteer Comment Policy - Please read before commenting
Excellent review. I’ve never used a 3D printer, but if I decide to, this model will be the first place I look, based on your review.
This is a great review, very thorough!
But:
“The Z-axis position is controlled through two direct-drive motors that are independently controlled with software”
Is wrong, Both Z motor are controlled by 1 driver, and thus aren’t independent.
Great review and helpful, I have purchased one to assist me in the repairs to my S8 (Controller board problem and now obsolete) All sorted though. The S9 will be a great addition to my 3D printer collection. If it works better than the S8 S8 I will be over the moon. A filament drier for the S9 will be great. Thanks again
Está impresora es una verdadera porquería solo imprime los dos archivos de prueba, el cura nuevo no la reconoce y no se pueden cargar parámetros de la impresora por que la empresa sunlu no ha cargado ningún perfil en cura de esta mierda de impresora baratucha, si queréis problemas y dolores de cabeza, compradla si lo que deseáis es hacer una impresión comprado otra por que está no vale para nada.
Bonjour,
Pouvez m indiquer où trouver les gcodes pour paramétrer la S9+ dans cura ?
Merci
Alain
What are your cura settings,I’m having trouble finding anything on net.
same, would love to get the settings