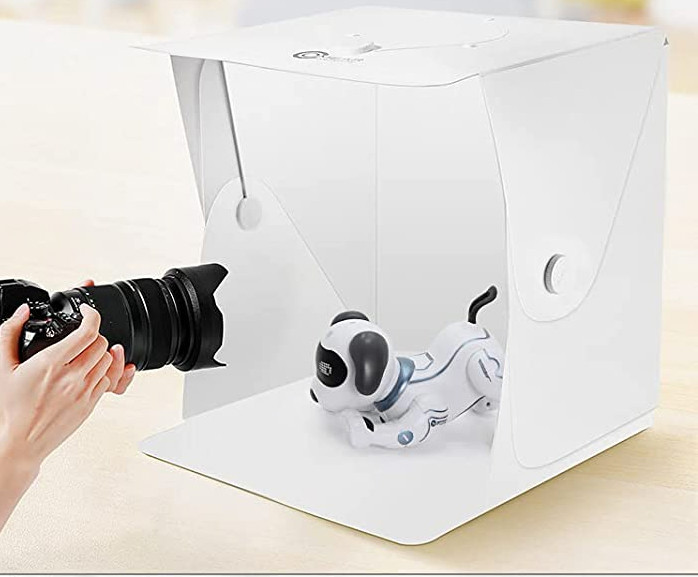
REVIEW – Who needs a light box? Product reviewers, marketers, crafters, online sellers, bakers, or anyone who wants to create professional looking photographs of items that’ll fit inside one of them. A light box provides even lighting with either no shadows or faint shadows, and no noticeable corners to distract from the object. I’ll refer to the OMBAR Photo Studio as a light box in this review.
What is it
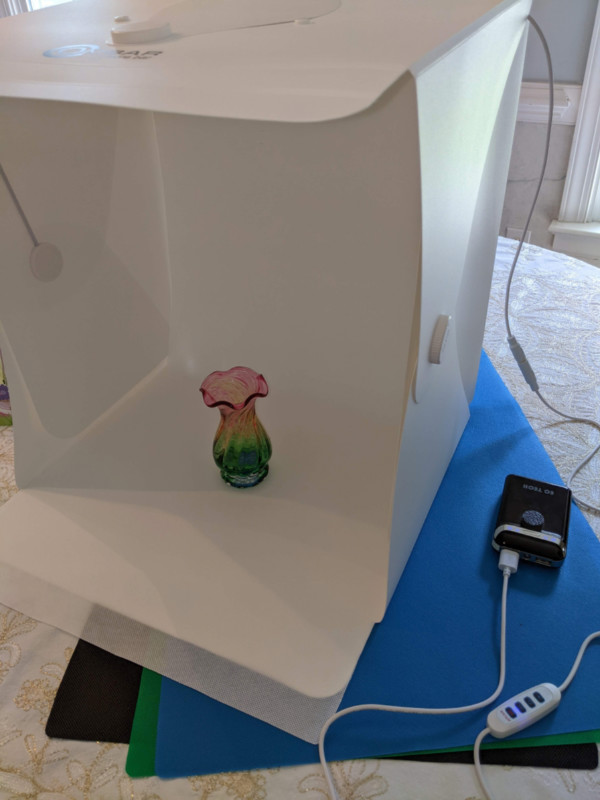
The OMBAR Photo Studio is a lightweight, portable, LED light box for small object photography.
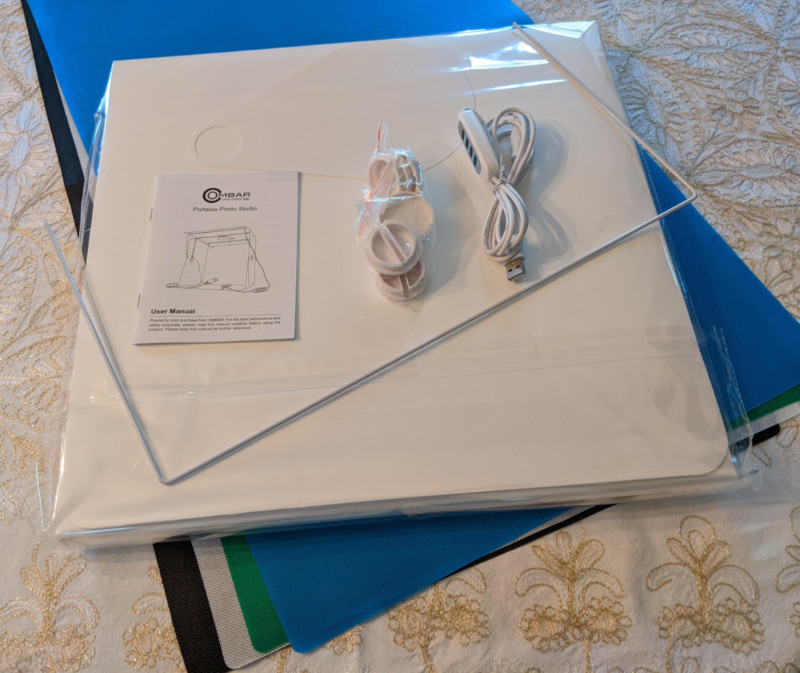
What’s in the box
- Light box shell with LED ring fixture and cable attached.
- Controller cord, 3 contact plug to USB-A
- Metal top support
- 3 securing buttons
- 4 fabric backgrounds
- Instruction manual
Hardware specs
- Thick polypropylene construction
- Dimensions: 15.75 W x 15.75 H x 15.75 D
- Weight: 3.04 lbs
- 120 LEDs
- Service life claim: 30,000 hours
- 10 light levels
- Color temperature: 3000k to 6500k
- 5V USB-A power input jack
- In-line pushbutton controls
Design and features
- Lightweight and portable
- Brightness control and 3 color temperature levels
- 4 interior fabric background pieces (white, black, green, blue)
- Open top for overhead photograph view
Installation and setup
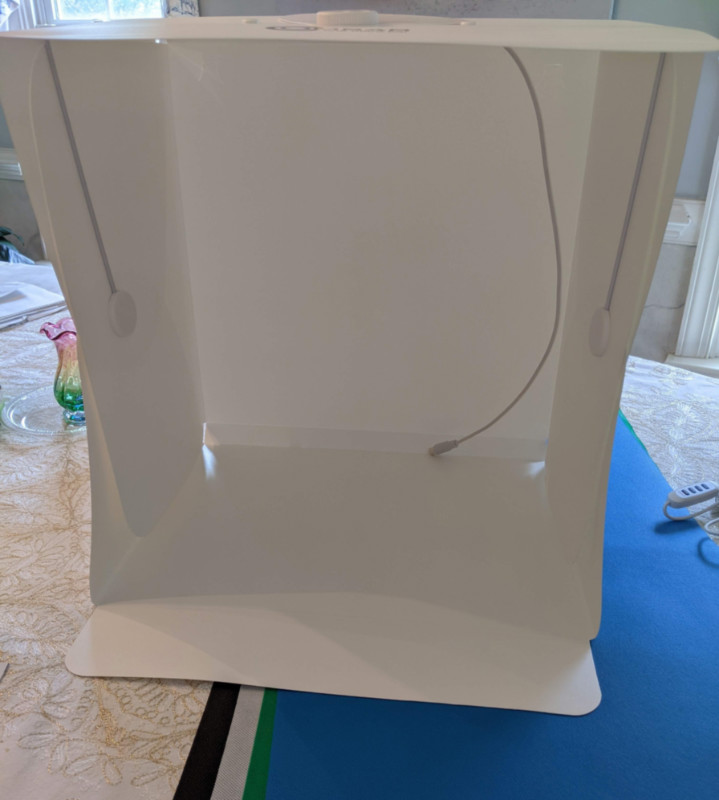
Installation of the OMBAR light box was pretty simple. I read along with the instruction manual just to play it safe but the steps were intuitive if not obvious. A light box is a cube with an open front, so given that the ring light needs to be at the top, it was clear how to fold and secure the sides.
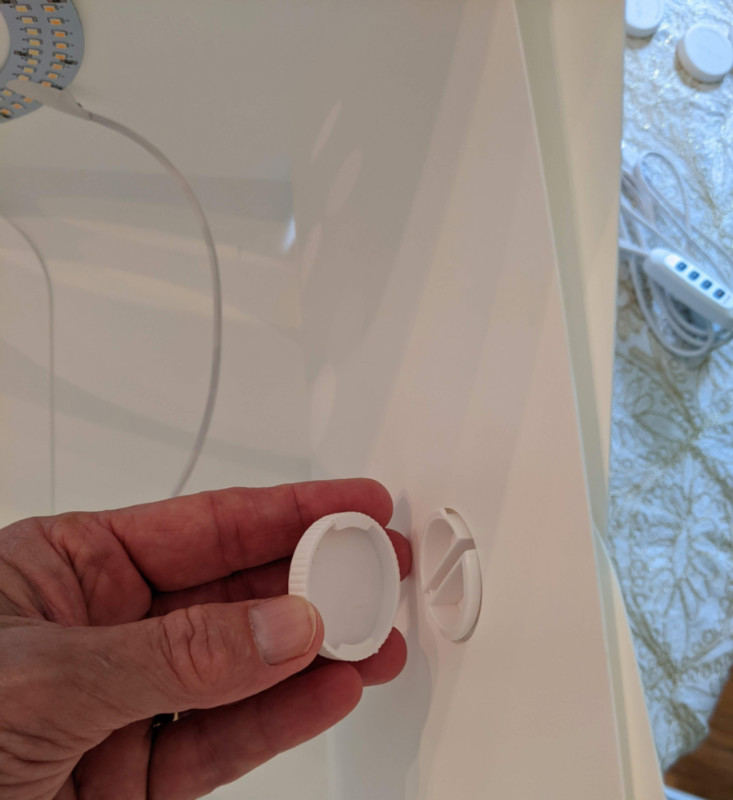
I first placed the securing buttons backward. My clue was that the support brace holes were outside the light box sides. I knew the support wire needed to be inside the box. It was easy to unscrew and reverse the two side securing buttons, then press the support brace wire down into the hole in the buttons. I then rotated the support wire towards the top of the light box.
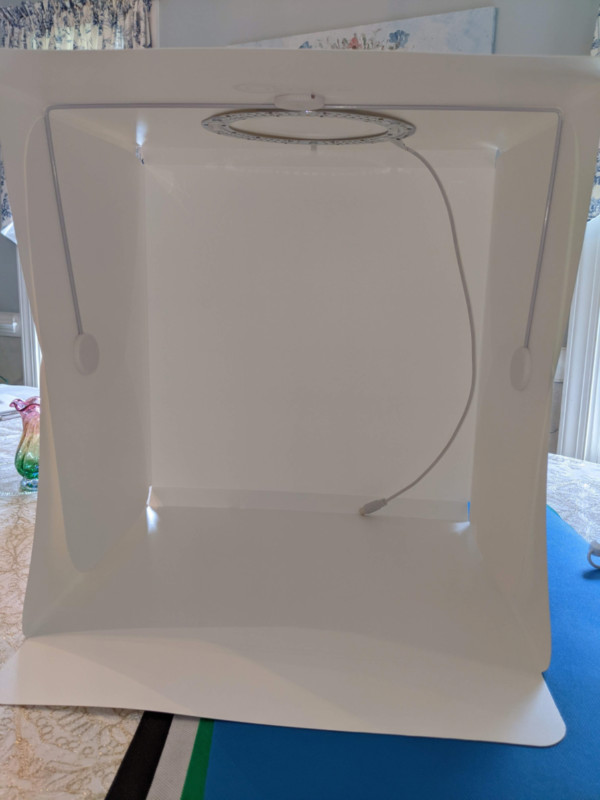
With the support brace secure in its notch in the box top, I set the box upright and went for a spare USB power pack.
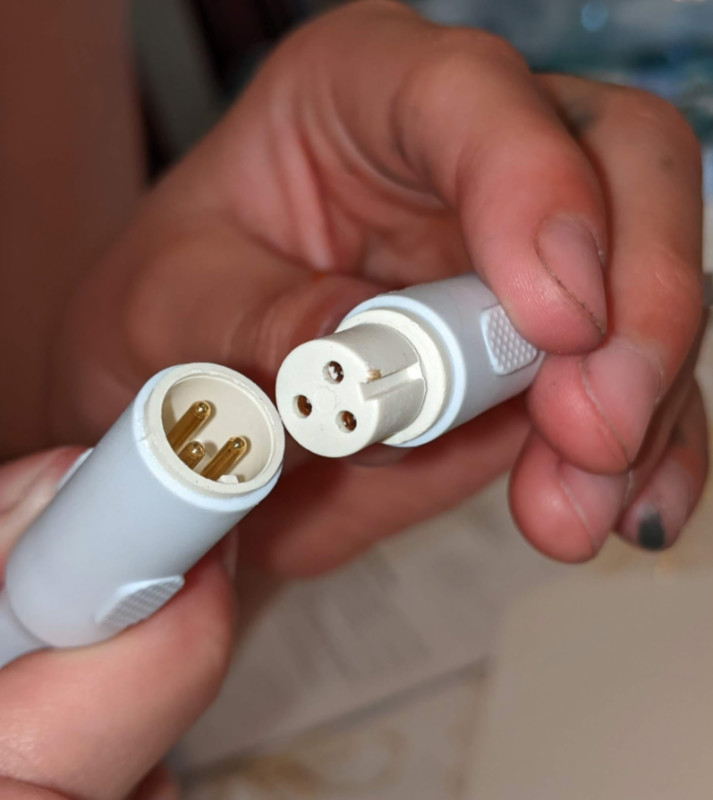
I ran the LED light cable out of the top right corner of the box, then plugged the control section of the cable into the LED cable section. I attached the USB-A plug to a rechargeable USB power pack, turned on the LED ring lights and I was ready to shoot my first pics with the OMBAR Light Box.
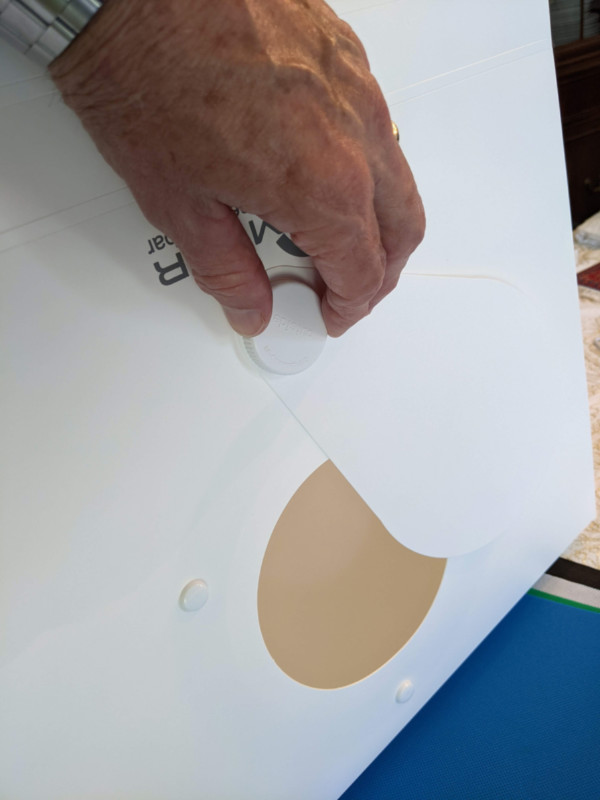
Here’s my finger poking through, I mean ‘highlighting’, the tab for securing the color fabric sheet. There’s a hook to the left and right of the back wall. They can be bent inwards for ease of use as needed.
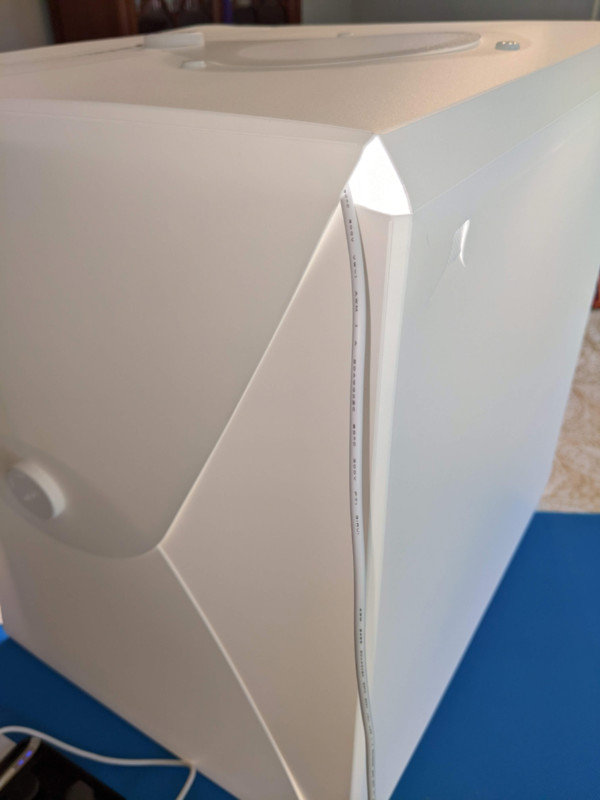
Here’s the ‘birds eye’ port at the top of the box, on its side during setup.
Observations
When I’ve tried to use LED lights on my old DIY light box, I got the dreaded ‘prison uniform’ stripe effect. Weird stripes would show up in the camera viewer or phone screen and the final photo. I figured it had to do with some sort of oscillation that LEDs do. It always ‘led’ me back to either traditional bulb lighting, or outdoors.

Here’s my old and now recycled DIY light box. Total cost was low but results varied. Plus the tissue paper sides were quite fragile.
The ol’ box worked though. Before you snicker, this is a pic using that box.
So why change? Carrying that box outdoors was an inconvenience and a bright medium blue sky always caused the white background in the box to show as light blue, which then called for photo editing if I wanted it to appear as a white background.
It was a pleasure to set up the OMBAR box in my office, shoot the photos I needed, then break down the box for storage.
Grandson Bennett helped me set up the OMBAR light box so he got to take the first photograph.
Bennett chose what we called ‘normal’ light for his photo. We named the lighting color choices, ‘normal’, ‘bright white’, and ‘soft’. The ‘bright white’ light is toothpaste white.
Granddaughter Lia took the shots of the other two light modes. From the photos, I can’t discern much difference between the color temperature modes. The eye sees a clear difference but the Pixel phone didn’t.
These are examples of the same object shot with the same camera at the same brightness levels, from the same camera distance. All I did was crop the photos a bit. While I can’t tell much difference between the light choices I still tend to like the ‘normal’ lighting color best. I’m sure there will be occasions to use all three modes.
This video shows me cycling through the light modes.
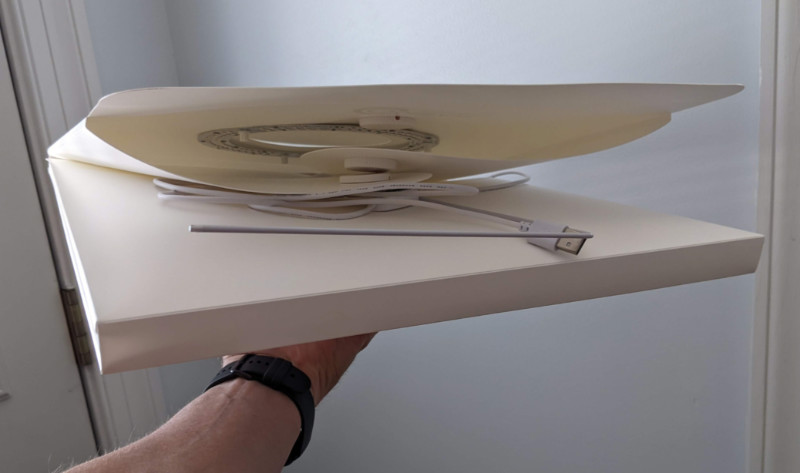
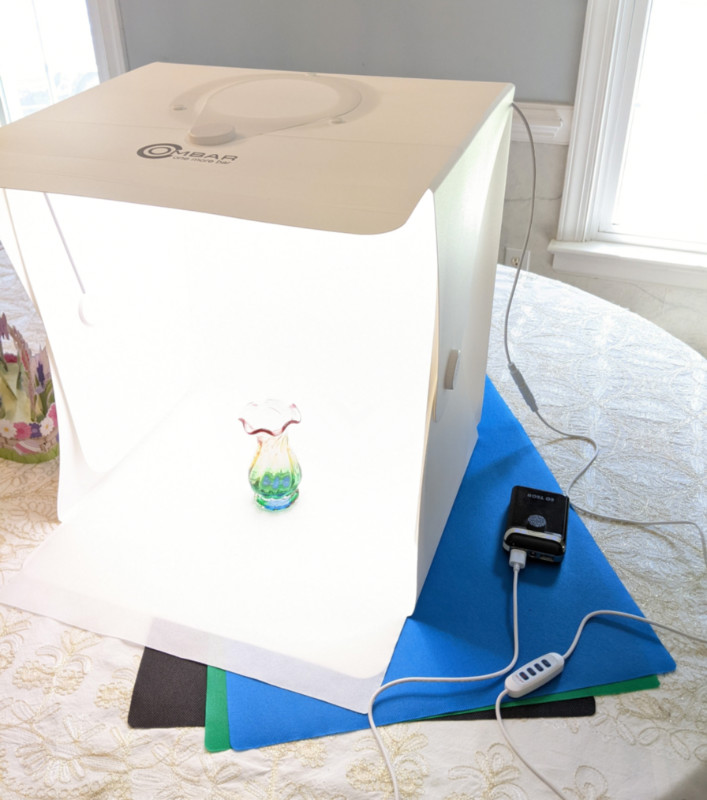
The whole light box collapses to approximately a large pizza box size. This makes for convenient storage between photo sessions.
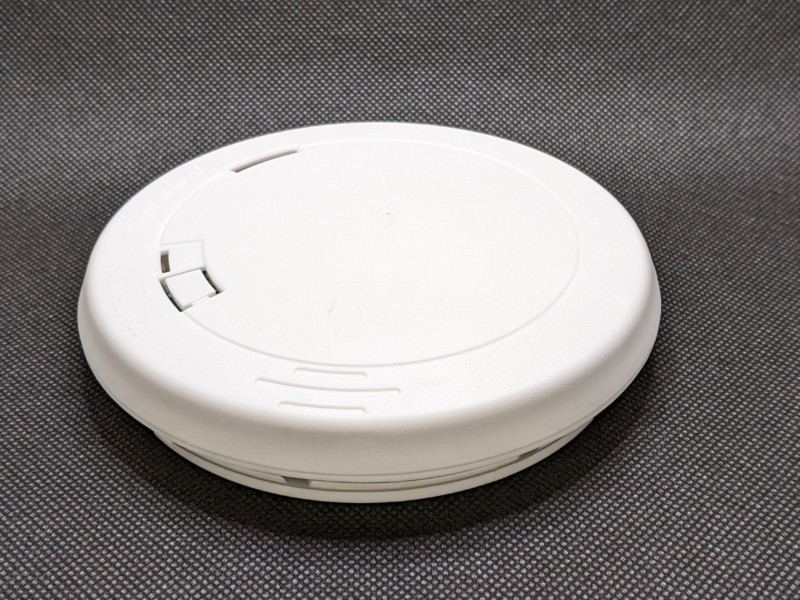
Smoke alarm photo with flash.
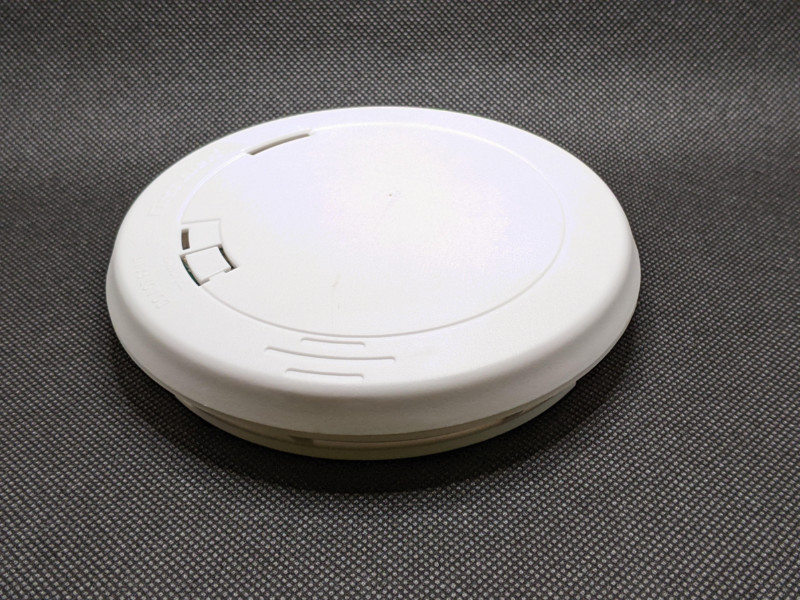
Photo with no flash.
I’m not sure I like the texture of the surface fabric showing so prominently in some photos. This seems to be least visible with the white background which I plan to use almost exclusively. It would not be difficult to cut poster board to the size of the included fabric for a smoother surface appearance.
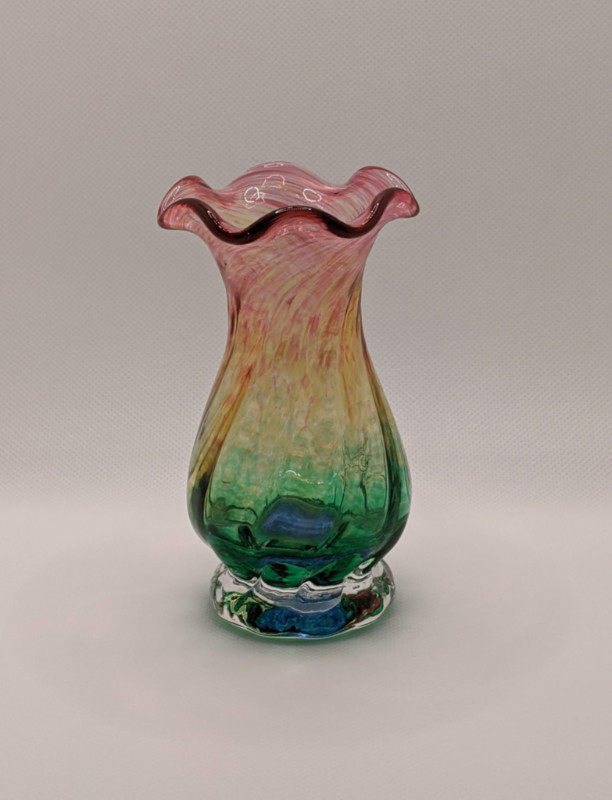
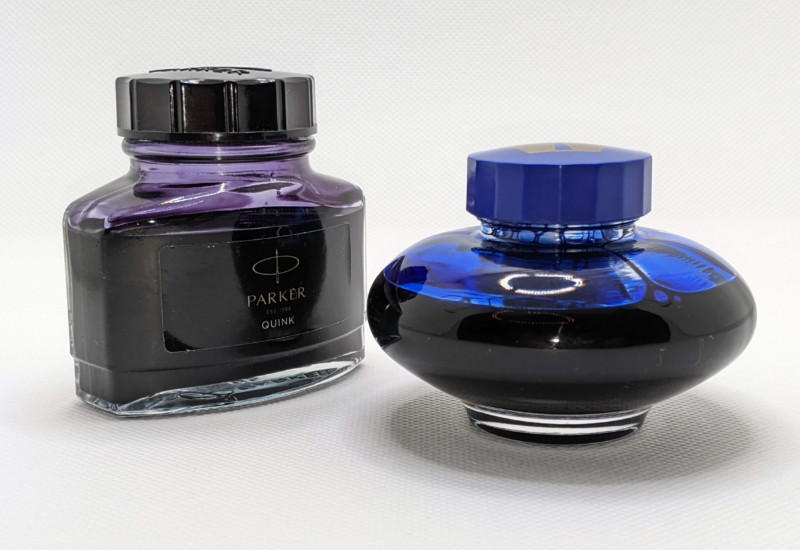
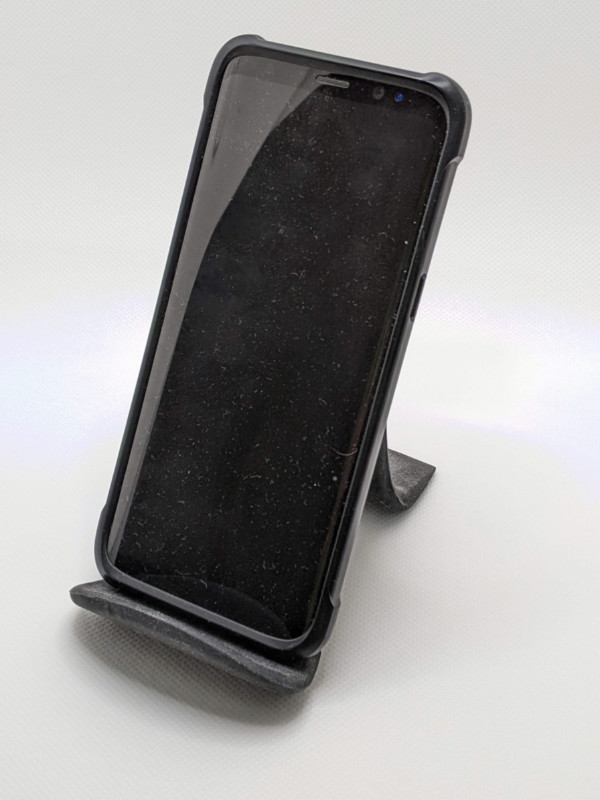
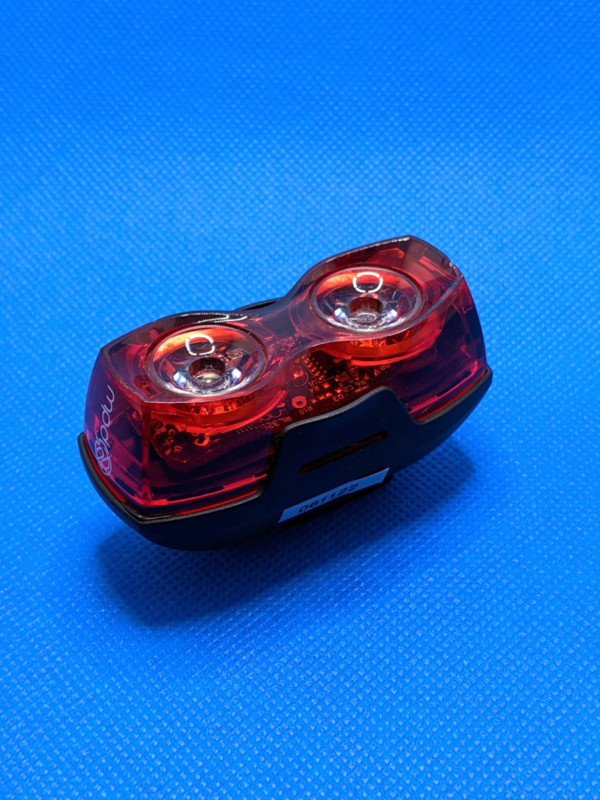
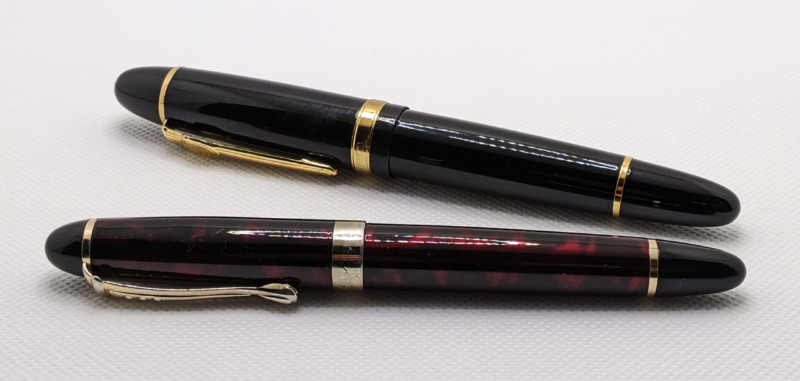
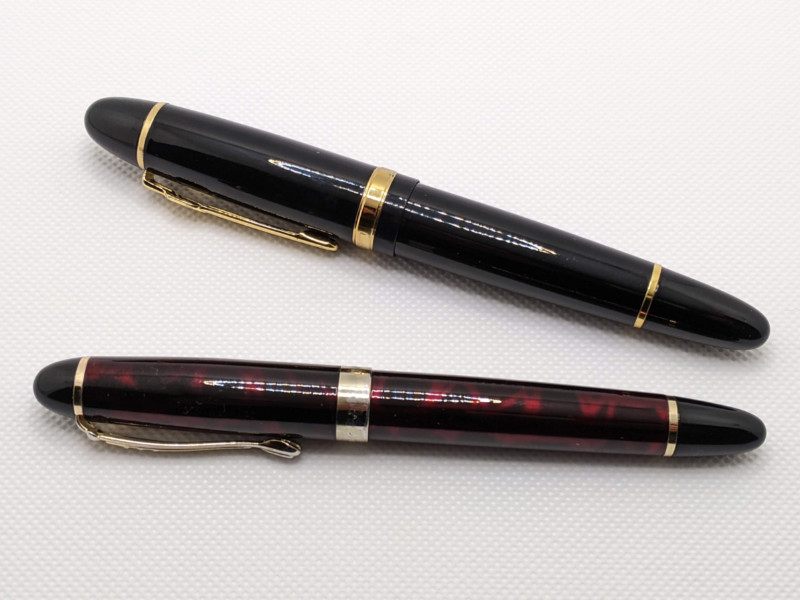
Here are examples of random objects shot in the OMBAR Light Box with no post-photo editing except cropping.


Gee man, dust your phone!
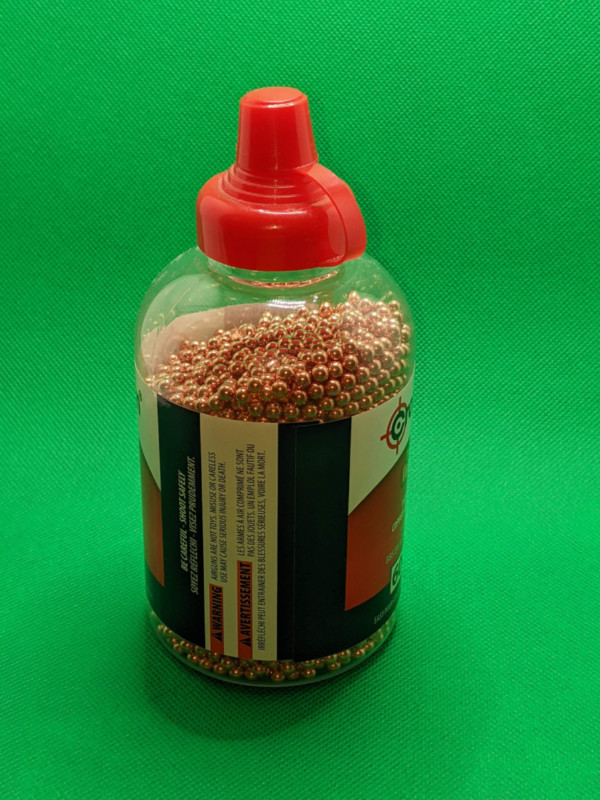
Green is my least favorite background fabric color. Flash is on for this pic.
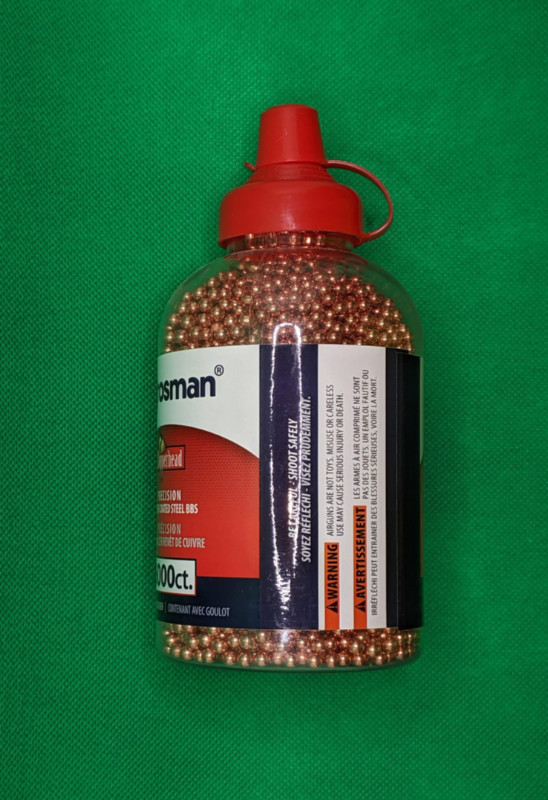
Birdseye shot, flash is on.
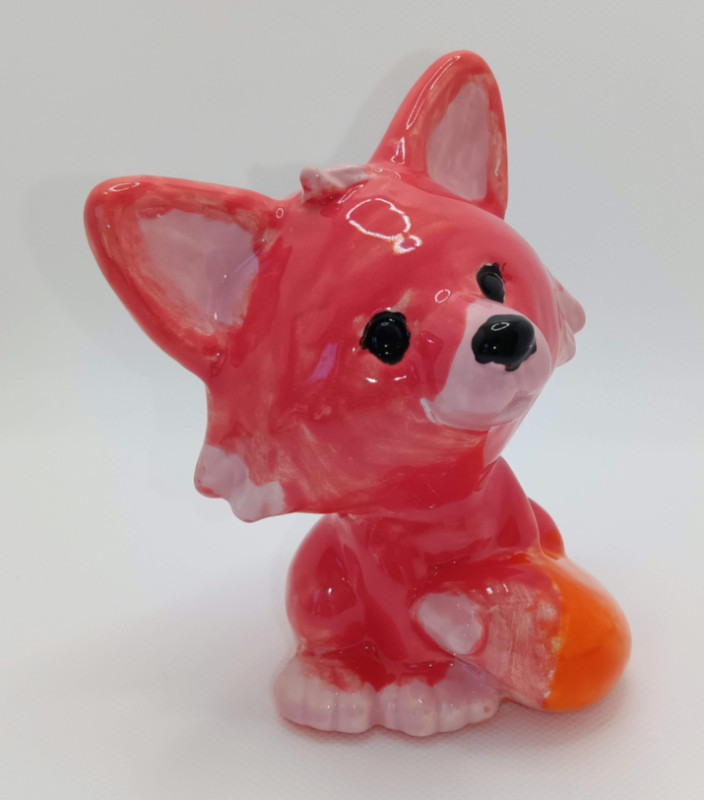
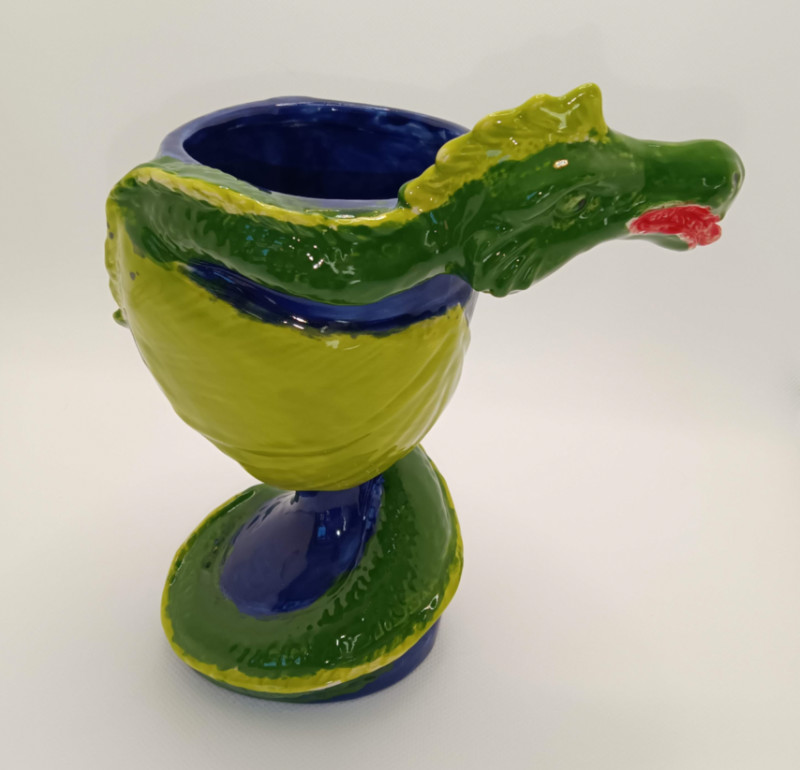
The grandkids painted some ceramics. Note the circle light reflection on the object’s forehead.
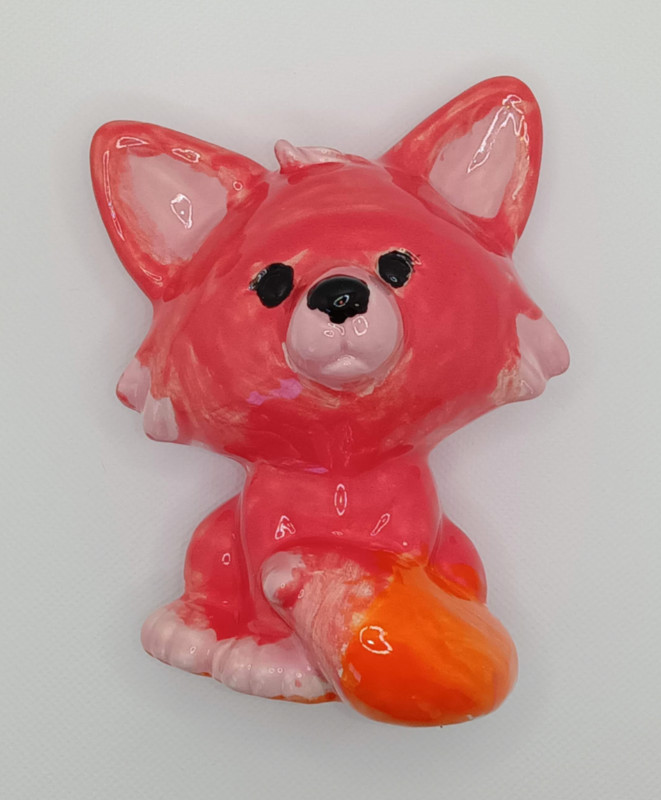
A birdseye shot got rid of the forehead reflection.

What I like
- Durable construction
- Easy assembly/disassembly
- Light modes and brightness adjustability
- Inclusion of the color background sheets
- Nice size for storage when disassembled
What I’d change
- I have no recommendations. The product was great right out of the box.
Final thoughts
The OMBAR Photo Studio / Light Box gave no negative surprises during this review during repeated setup, operation, or disassembly. If you need a way to make pro-level photos of products you are reviewing, representing, or selling, consider a closer look at the OMBAR Photography Light Box.
Price: $32.24
Where to buy: Amazon
Source: The sample for this review was provided by OMBAR.

ESR for MagSafe Wallet, 5 Card Holder with RFID Blocking, MagSafe Sticker Included, Slim Magnetic Wallet for iPhone 17e/17/16/15/14/13/12 Series and Selected Samsung Devices, Not for 13/12 Mini, Black
(as of June 28, 2026 16:57 GMT -05:00 - More infoProduct prices and availability are accurate as of the date/time indicated and are subject to change. Any price and availability information displayed on [relevant Amazon Site(s), as applicable] at the time of purchase will apply to the purchase of this product.)