REVIEW – The daily grind. For most, that means going to work. For some, however, that means the nightly activity of grinding teeth. Grinding can cause serious issues and even tooth loss. Dentists will make bite guards for you, at a cost, and if you don’t have good dental insurance, that cost can be high. Remi wants to change that with their home bite guard kit that allows you to make a custom mold in the comfort of your home and then have the professionals use that to create a custom-fitted bite guard.
My lovely, and as you will see, very cooperative wife has used a bite guard for several years now. She was interested in giving Remi a try so let’s get into it.
What is it?
The Remi custom night guard is a custom-fitted bite guard that is made from molds that you produce at home. The molds are sent back to Remi and they deliver your guards in a claimed two weeks.
What’s in the box?
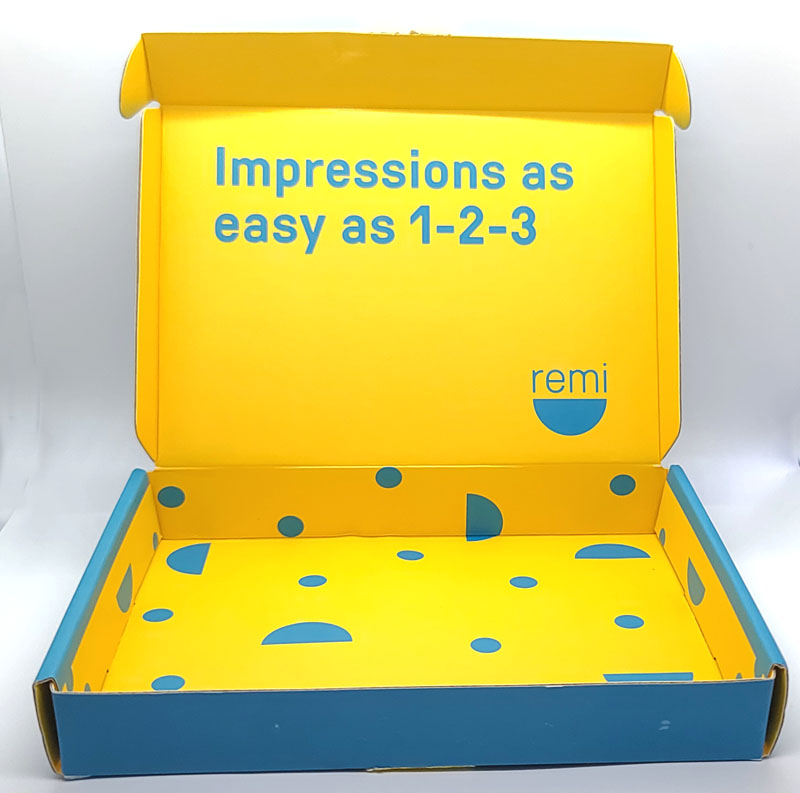
Let’s start with the box. It is important as you will reuse this box to send in your custom molds.
Inside the box, we find several paperwork items.
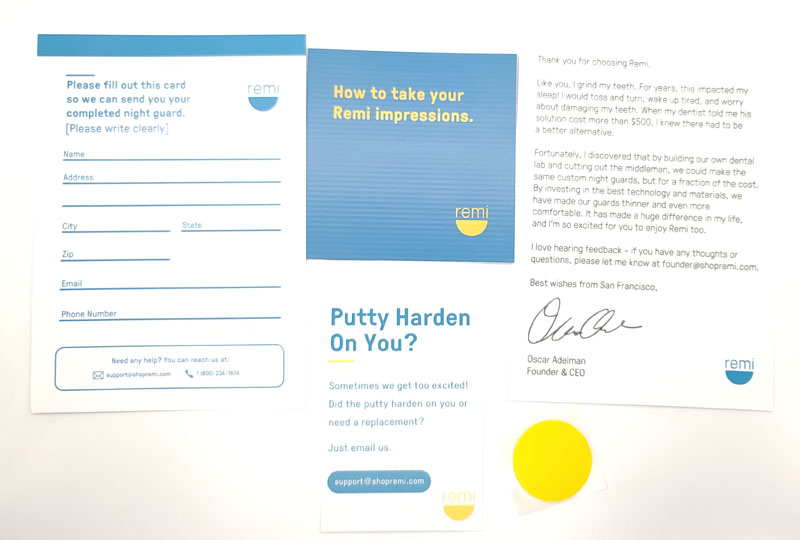
- Return info card
- Full step-by-step instructions
- Replacement putty card (if you screw up)
- Thank you card
- Yellow box-sealing sticker
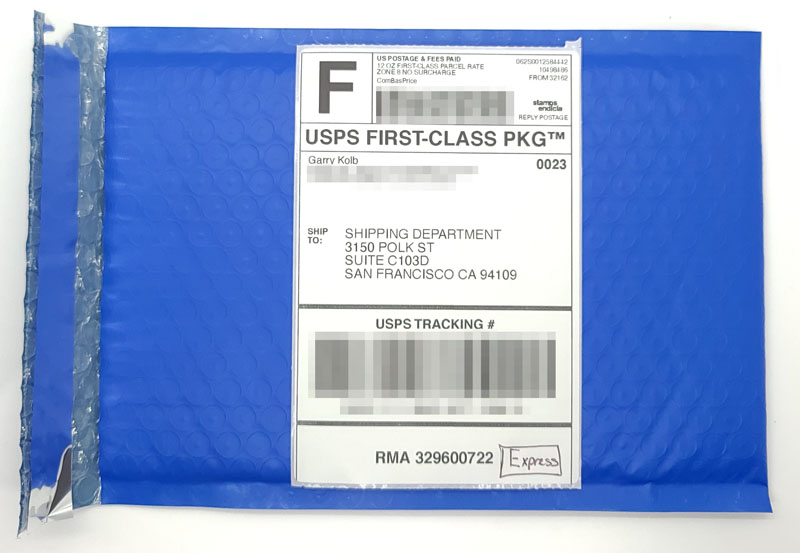
- Padded envelope for the molds
- Prepaid USPS mailing label (this will go on the box, not on the envelope)
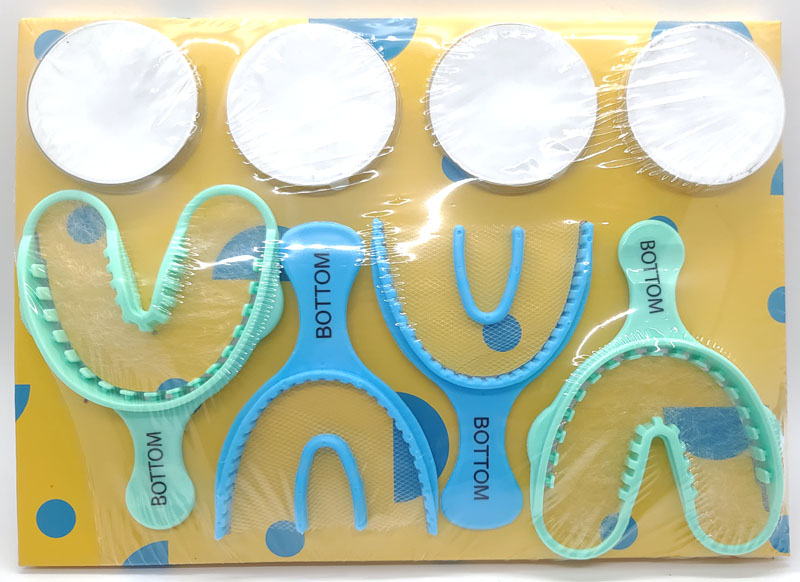
- Large green mold trays (x2)
- Small blue mold trays (x2)
- Molding putty sets (x2 of 2 each blue and white)
Hardware specs
- Construction: BPA-free, dental-grade, hard-soft 1mm plastic, 1.3mm & 2mm available on request
Setup
The setup for this is the most complicated part because once you receive your finished guards, you just wear them.
If you aren’t good at following directions and doing things quickly, this probably isn’t for you. It isn’t hard, but things have to happen quickly. The molding putty comes in two different containers. Once you start combining them, you have to complete the blending process, fill the trays, and bite on the putty within 90 seconds. It sounds difficult, but it turned out to be pretty simple to accomplish.
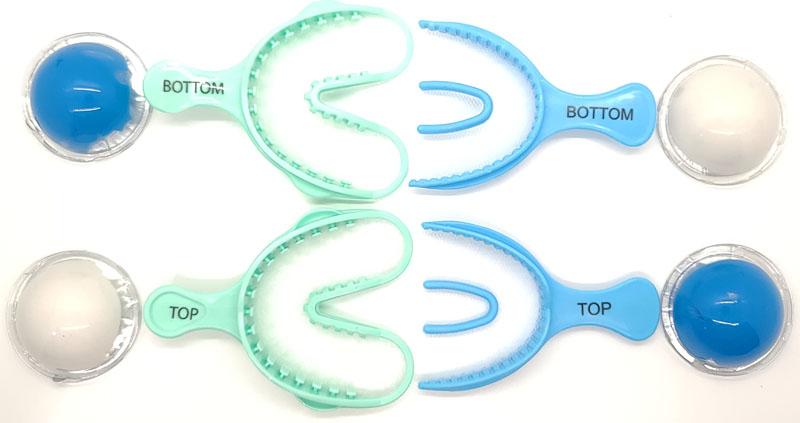
First, you do a test-bite on the two sizes of trays to determine which one fits best in your mouth. For my wife, the blue, smaller tray worked best. Second, you open a blue putty container and a white putty container. Once you have the two putty balls out, you combine them, rapidly pressing and mixing them in your hands. As soon as all the white putty has blended into the blue putty and the entire ball is a uniform light blue, you roll the putty into a long log and split it into two pieces.
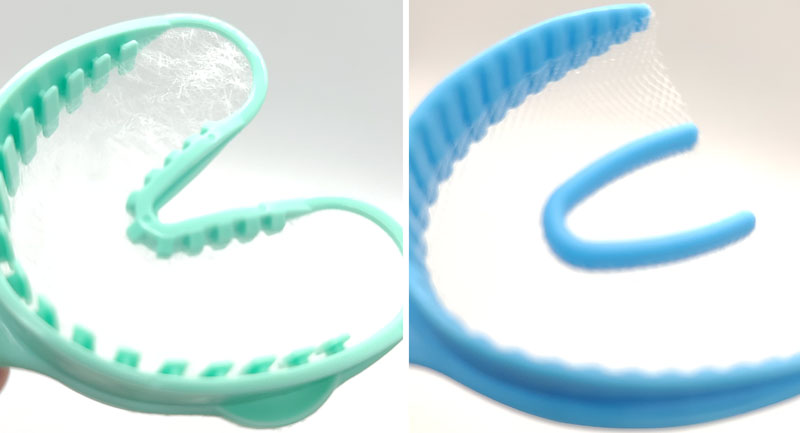
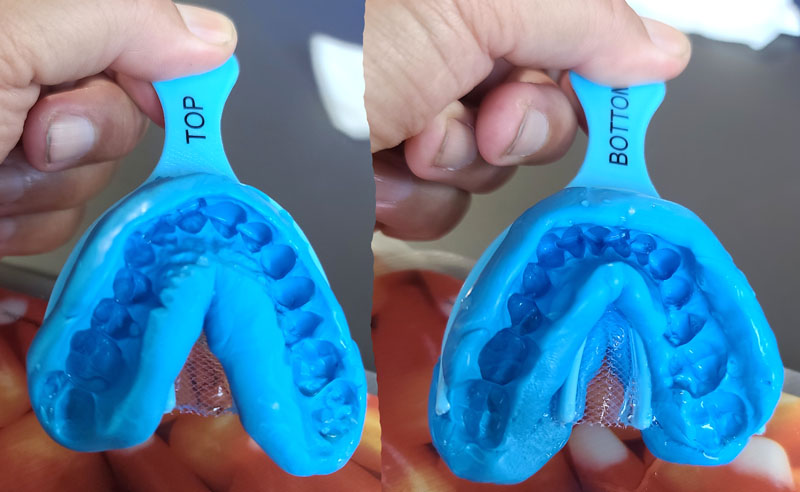
Above, you can see the fine mesh in each of the bite trays. You press a putty log into both the top and bottom of your selected bite tray, filling the area with putty. Once done, you put it in your mouth and bite down into the putty. Here’s what all that looks like.
Once in your mouth, you sit and wait for five minutes to allow the putty to harden. The hardest part of that is that you really can’t swallow, and having something in your mouth makes you drool. It’s not glamorous. 🙂
After five minutes, you wiggle the tray and pop it out. We were a little worried it might be difficult, but it pops out pretty easily.
Here are the results.
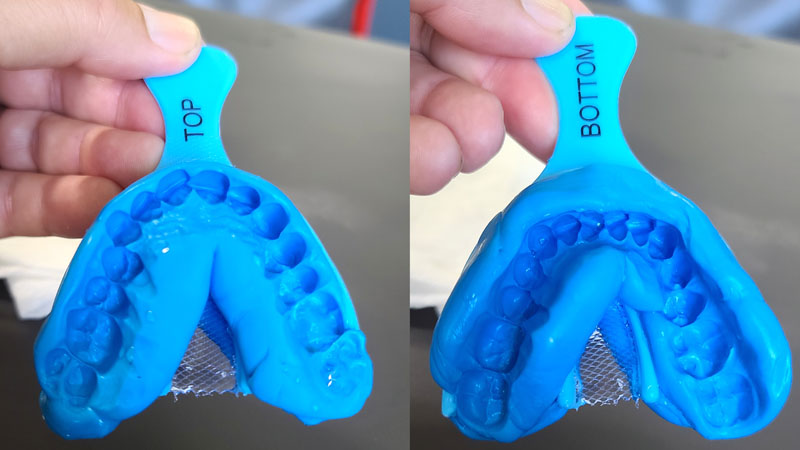
These photos are important as the instructions tell you to take photos of the top and bottom and email them to Remi. They take a look and let you know if you’re doing it right. You need that confirmation before repeating the process and taking another set of impressions. I emailed the photos to Remi and immediately got this automated reply:
Thank you for your email! We will do our best to get back to you within 24-48 hours (Monday through Friday). We appreciate your patience and ask that you please wait for our response and approval before taking your second impression/mailing your impressions back to us.
Kindly,
The Remi Team
I got their actual response just under two hours later:
Thank you for sending these photos. For us to better determine if your impressions are good, please confirm what you have ordered:
Night guard only
Night guard + Whitening gel
Whitening Kit
Your bottom impression looks great, you captured your back molars and your gum line. Your top impression needs more putty at the front and back. On your next attempt, please add a bit more putty towards the front and back, and less at the center (tongue area) then bite down fully but gently so we can get a deeper impression of your front teeth and molars, it should capture your gum line and where your teeth start. I’ve attached a photo of what your impressions should look like.
Please send us photos of your second attempt, wait for our approval before sending your kit to us, and do not throw away any of the impressions even if they are not perfect as we require you to return ALL of them.
Thank you and if you have any questions, please let me know.
OK – so, we didn’t do so well, but they guided us on how to get better results. Back to the molding process! The next day, we did another set of impressions and sent in photos.
A few hours later, we got this response.
Thank you for redoing your impressions. Your top impression looks okay, the only thing you need to change is to add a bit more putty towards the back so we can get a deeper and fuller capture of your back molars. We can use these but we just need to exclude the back molars that were not fully captured. Don’t worry, the night guard will still be protective! Does that work for you?
We did take care to put more putty in the front and back as instructed, and yet, we still didn’t get a perfect impression. But, it sounds like they can still make a usable guard, so we’ll give it a try. You only need to wear an upper or lower guard, not both. Since she’s been wearing an upper guard, we noted on the return address card that we wanted two upper guards and no lower guards.
Returning the molds involves these steps:
- Put the two molds in the padded envelope
- Seal the envelope
- Put that and the return address card in the original box
- Sealed that with the included yellow sticker
- Pop on the return label
Next step – off to the post office! The molds went in the mail on 10/21. And now, we wait.
Five days later, on 10/26, we got the following message by email:
Thank you for being a part of the Remi Tribe, we really appreciate it! We received your completed impression kit from USPS today and will be starting on your order soon. In light of COVID-19, we are taking extra precautions in handling all orders to ensure the safety of our customers and staff, including waiting a few extra days to process returned impression kits and adding additional sterilization steps in our process. This means that your order may take an additional week or so to be processed, but it will be completed and we will notify you as soon as it is on its way to you!
Thank you for your understanding and please let me know if you have any questions.
Sleep Well
I’ve been pretty impressed with the timeliness and courtesy of the emails from Remi. So, now, we wait, again.
On 10/30, we received this email:
We have some exciting news – your custom Remi night guard has been created, and is on its way to you. The tracking information is below. In the meantime, if there is anything you need, please feel free to contact us and we will be more than happy to help.
Checking the included tracking number, I see:
Shipping Label Created, USPS Awaiting Item
October 30, 2021, at 2:54 am
SAN FRANCISCO, CA 94109
So, even with the warning about potential delays, the production process only took four days. They ship USPS, so we’ll see how long it will take to make it from California to Florida.
The answer to that question is two days, as the bite guards arrived in the mail on November 1. From the shipping of the impressions to receiving the custom guards took a total of 11 days. Nice! Here’s what was safely packed in the padded envelope.

- Care guide card
- Thank you card
- Bite guards (we opted for two uppers)
- Storage case
Design and features
The guards are made of a BPA-free plastic that is 1mm thick. You can ask for 1.3mm or 2mm thickness if you’re a particularly hard grinder.
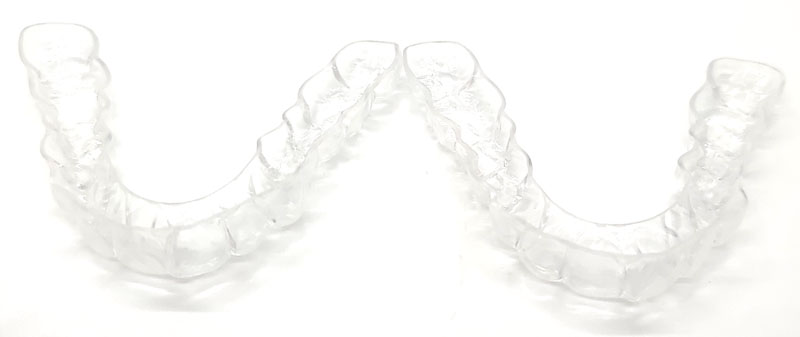
Here’s a look at the guards themselves.
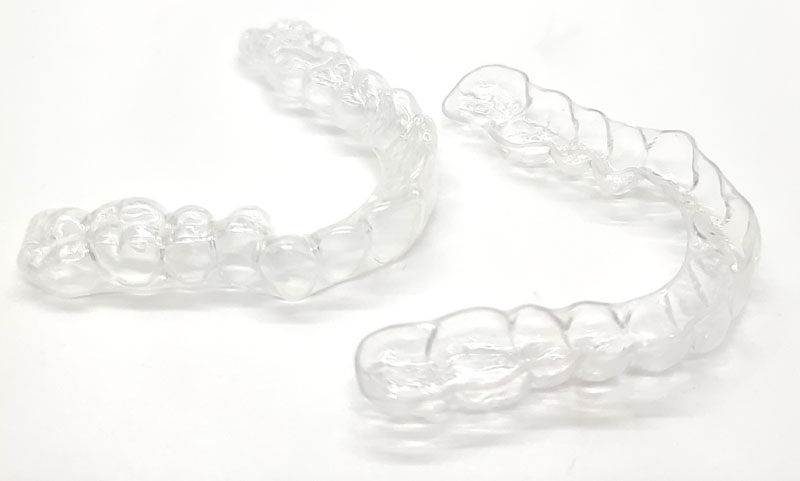
And another look at the two upper guards.
Contrast that with the bite guard the dentist made and she has been using it for around five years.
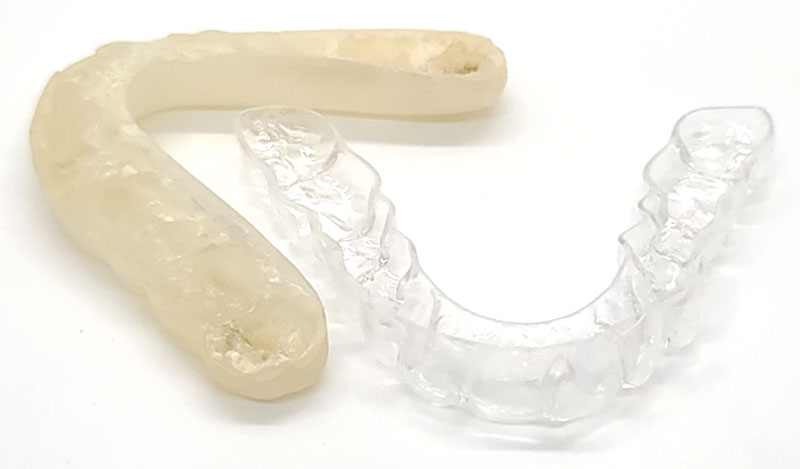
That’s the old guard on the left. It is considerably thicker and certainly durable, given its five-year life to date. We think that the old guard cost around $400 and took two or three trips to the dentist to get the impressions done and the fit adjusted. The disadvantage with the thickness of the old one is that it isn’t very comfortable to wear. She’s gotten used to it, but she can’t really talk with it in place and it’s certainly no joy to give her a good night kiss with the bite guard in place.
Now that the guard has arrived, it’s time to catch some Zzzzzs and see how it goes.
Performance
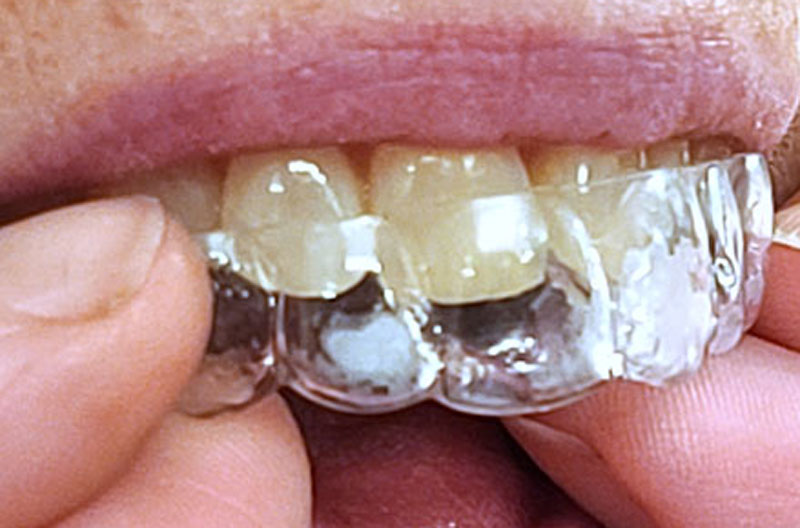
Here she is putting the Remi in.
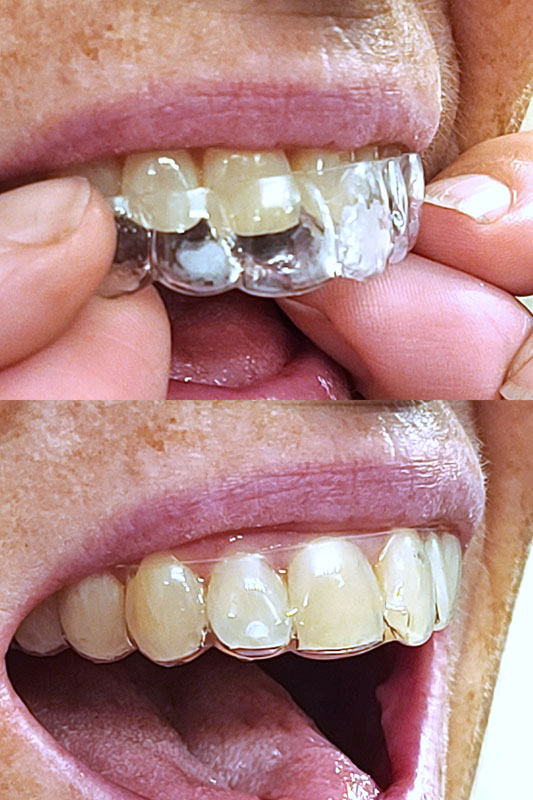
It fit perfectly. The Remi bite guard is so thin and inconspicuous that once in, she hardly noticed it. It feels reasonably durable and we expect it to last. I don’t know that it will last for five years, but since we opted for two uppers, this kit should last for a while.
The card that comes with the guard recommends putting it in 30-minutes before bedtime so by the time you go to bed, you’ll hardly notice it. She could talk clearly and that was a huge change versus slurring her words with the old, thick bite guard. And, the good night kiss was hardly different that when she doesn’t have the bite guard in place. Yay!
In the morning, she reported a good night’s sleep and no jaw pain. The Remi guard remained comfortable all night long.
The information card recommends rinsing it and shaking/patting it dry each morning, and cleaning it with toothpaste or denture cleaning tablets weekly. She’s been doing that for five years, no no changes there.
We’re a couple of days into the Remi experience, and my wife couldn’t be happier. There doesn’t appear to be any wear or tear on the guard so we expect them to last. Nice!
What I like
- Comfortable to wear
- Perfect fit
- No trip to the dentist required
- Fast delivery
- Excellent communication throughout the process
What I’d change
- The impression process takes some doing, but it’s easier than going to the dentist
- The two sizes of impression trays may not fit everyone perfectly
Final thoughts
Bite guards aren’t cheap. At $400 five years ago, and probably closer to $500 now, it is a serious investment into your dental health. Remi offers a terrific solution at 20% of that cost (from Amazon) and it appears to be potentially a better product in terms of comfort and appearance. The fact that it comes with two guards makes it an even better deal.
If you screw up in the molding process and the putty hardens on you, they will send more. If the guards simply aren’t for you, they offer a 30-day money-back guarantee. Combining that with their terrific communication, Remi provides an excellent customer experience.
If your daily grind involves your teeth while you sleep, check out the Remi custom bite guard, all from the comfort of your home.
Price: $94
Where to buy: Amazon; Direct from Remi for $149 or $99 +$49 every six months for automatic replacements
Source: The sample of this product was provided by Remi.

Fitbit Inspire 3 Health & Fitness Tracker with Stress Management, Workout Intensity, Sleep Tracking, 24/7 Heart Rate - 3-Month Google Health Premium Membership Included - Midnight Zen/Black
(as of June 18, 2026 19:40 GMT -05:00 - More infoProduct prices and availability are accurate as of the date/time indicated and are subject to change. Any price and availability information displayed on [relevant Amazon Site(s), as applicable] at the time of purchase will apply to the purchase of this product.)
Gadgeteer Comment Policy - Please read before commenting
So the remi guards are a hard plastic, and not the gummy rubbery type?
Will Rimi honor a kit that was purchased on Ebay ?