REVIEW – Who amongst us has never needed additional power outlets? I know that I have. In this episode, we’re going to examine an innovative solution to this problem: The OUTLet from Secret Sockets, LLC. I have been following The OUTlet since it was funded through Kickstarter, through the long process of obtaining rigorous safety certifications, and finally to market and am anxious to see if they live up to the expectations of the company and my own personal expectations.
What is it?
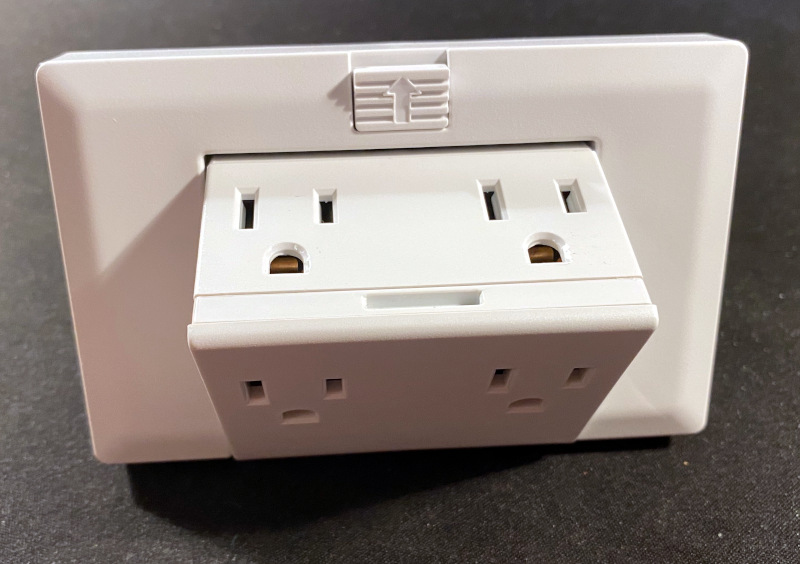
In short, The OUTlet is a pop-up (pop-out?) replacement power outlet fixture that may be installed anywhere (caveat) you have an existing in-wall electrical box to provide additional outlets without having to resort to unsightly adapters that look like a mass of faces being tortured in the abyss. Instead, The OUTlet provides two additional outlets that stay hidden until needed. The OUTlet is offered in both a four-receptacle version (NEMA 5-15 grounded outlet, also known as a Type B) and a version with four receptacles plus two USB-A ports. All of the Type B outlets meet National Electrical Code(r) tamper-resistant requirements. I was sent both a basic (no USB) and a USB unit for review.
What’s in the box?
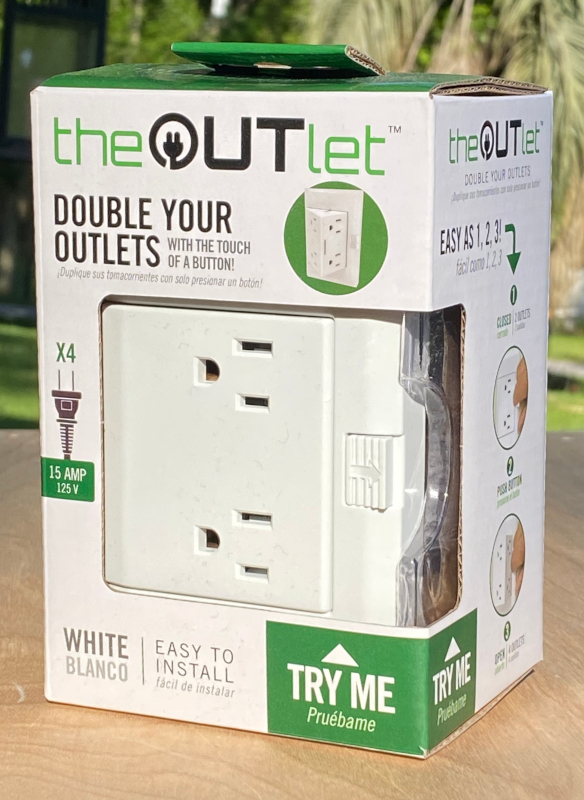
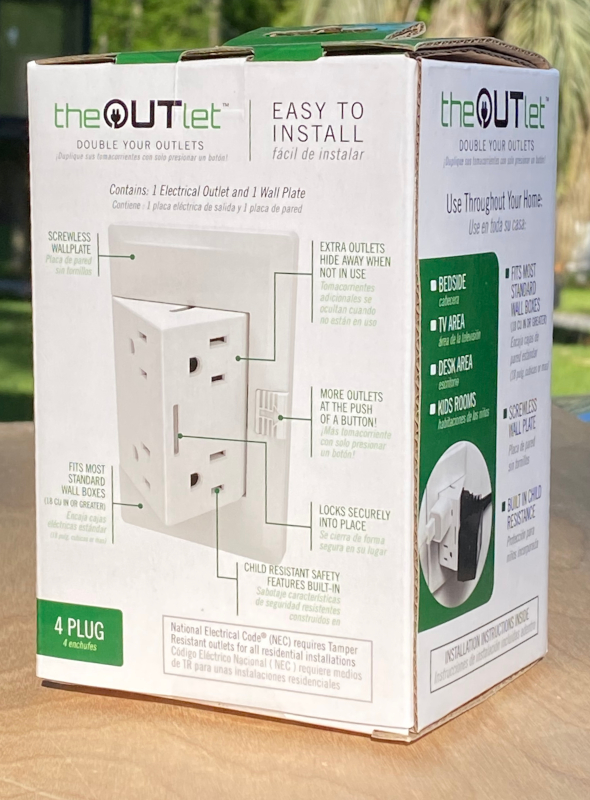
Each OUTlet comes packaged in a full-color illustrated package that describes the key features and operation of the OUTlet. Inside the package is the actual unit and a real, physical set of instructions in English, Spanish, and French. The instructions include a link to an installation video as well, for those who are less comfortable with DIY home electrical repairs.
Hardware specs
An OUTlet unit is the approximately same size as a large GFCI outlet and requires a 3″ x 2″ (minimum) electrical wall box that has been wired in accordance with local codes for installation. The OUTlet’s integrated cover protrudes approximately 0.5″ from the wall surface.
In wall dimensions:
- Width: 1 15/16″ (49 mm)
- Height: 2 7/8″ (73 mm)
- Depth: 2 1/16″ (52 mm)
Design and features
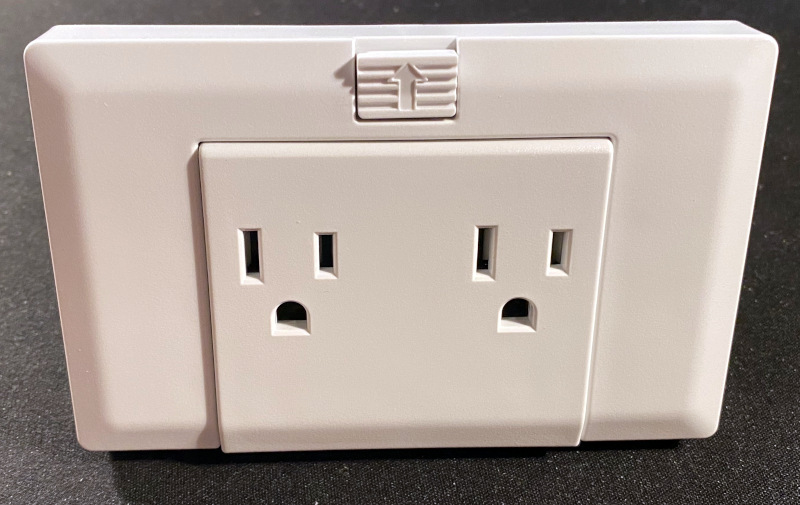
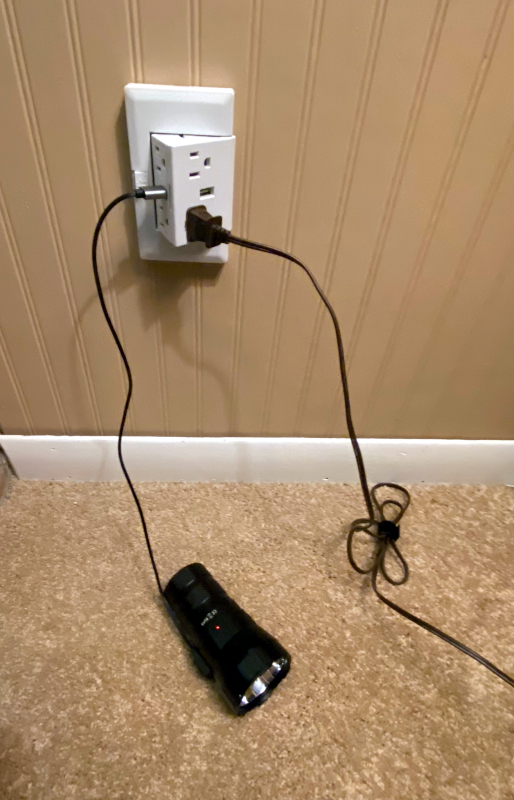
The OUTlet looks like just another chunky wall outlet at first glance. However sliding the small lever on the unit away from the receptacles releases the receptacle block and it snaps open to reveal additional outlets. Once open, all four receptacles, and the optional USB ports, may be used. The only external difference between the basic (no USB) and USB versions is the presence / absence of the USB ports. The rear of the units and their installation instructions are identical.
Setup
Setting up one of the units involves a few steps:
- removal of the old outlet
- assessing the wiring situation
- removal of the face plate and button from The OUTlet
- attaching the house wiring to The OUTlet
- securing The OUTlet to the wall
- re-installation of the face plate and button.
I will assume that the reader is familiar with the basics of DIY electrical repair as it applies to replacing outlets. Please follow basic safety procedures, including turning off the power to the circuit on which you are working.
Removal of the face plate is a bit tricky and involves pulling on one corner of the face plate at a time to loosen the molded-in clips around the face plate. The release button / slider will come off during this process.
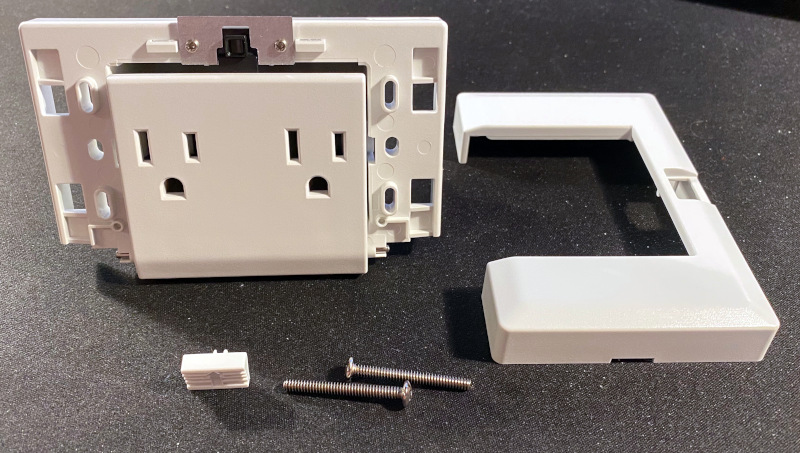
Once the face plate is removed, the two screws that are used to mount The OUTlet in the electrical box are removed and set aside.
The unit uses hidden / protected sockets with set screws (yay, none of those “push to release” clamps that never work) to connect the house wiring to the unit. Access to these connections is through the back of the unit, which can cause a bit of a headache
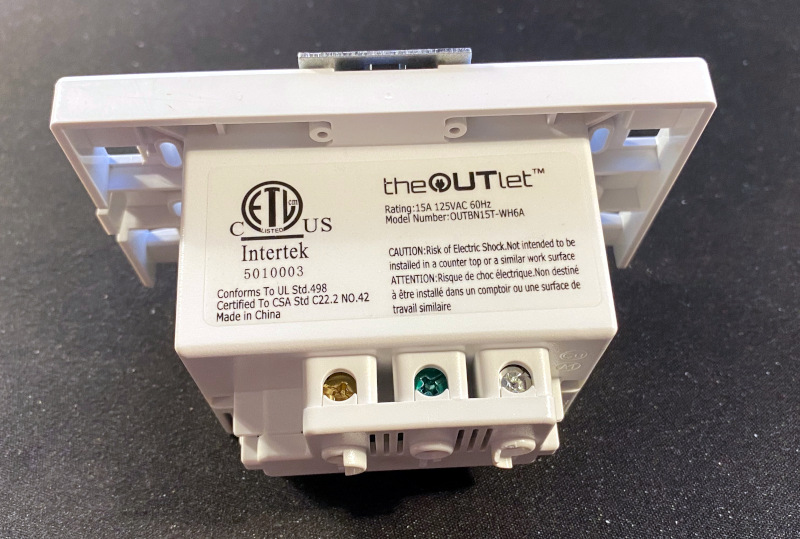
(Above: set screws for the binding system, below the labeled connection sockets)
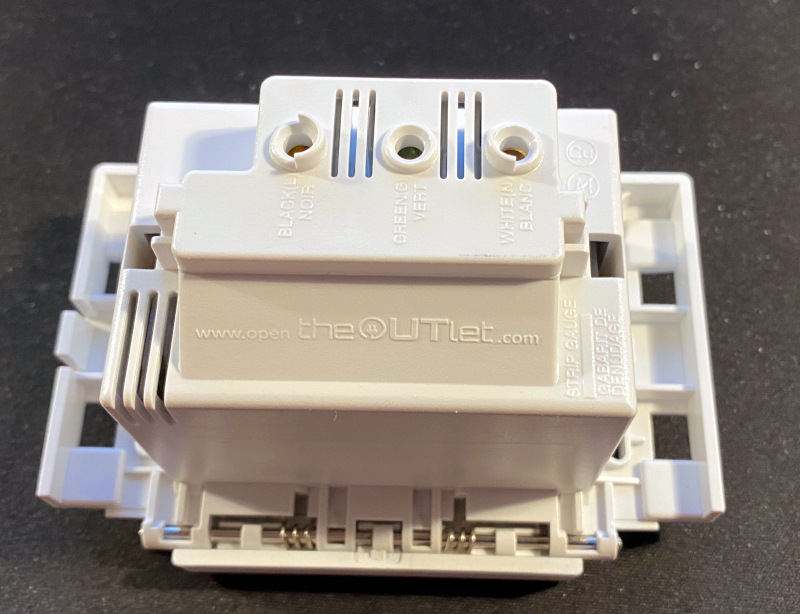
The biggest headache is getting the wires folded back into the box. This is much more difficult than doing so with a standard replacement receptacle because of the larger size of The OUTlet, however if you’ve managed to replace a GFCI outlet, then this is not significantly worse.
Once the unit is secured to the in wall box with the included screws, it is simply a matter of reinstalling the face plate and the release button.
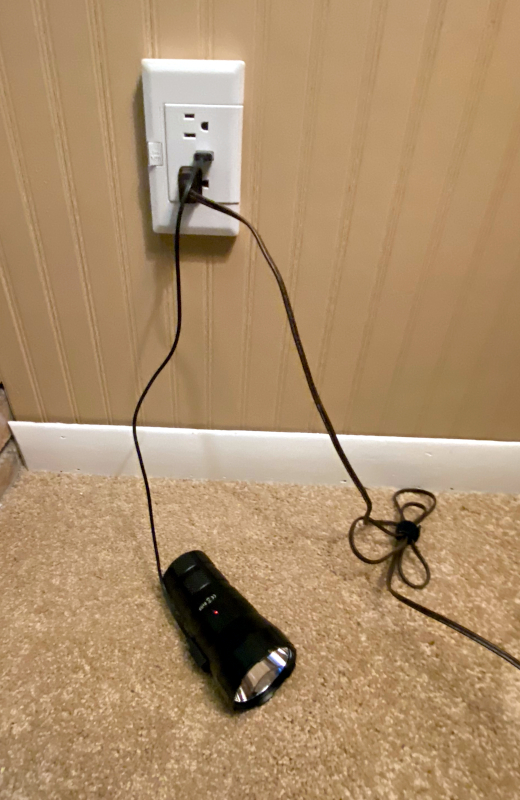
The installed unit looks very nice and provided added functionality. I installed a USB version near where our guests always seem to want to plug in their phones. Now they can skip the wall wart.
Performance
The OUTlet has been installed in the wall for about a month and has repeatedly proved its worth when we’ve used the den television as a video conferencing monitor and when friends have dropped by and needed to charge their phones.
Each of the USB ports is rated for 5VDC at 2.1A, however 2.1A is the total output of each OUTlet. The Type B outlets will support standard household current limits (generally <= 20A per circuit measured at the breaker / fuse box).
What I like
- More outlets without having to install a new in-wall electrical box
- Tamper-resistant outlets
- Unobtrusive appearance
What could be improved
- I would love to see the connection points come in from the side rather than the back.
- Colors other than white.
Final thoughts
I have been following The OUTlet since it was funded through Kickstarter, through the long process of obtaining rigorous safety certifications, and finally to market. I am pleased with the quality and operation of The OUTlet and will be installing additional units to my house as I need to replace outlets.
Price: $39.99 (basic) / $49.99 (USB)
Where to buy: Manufacturer, Amazon.com, Lowes, Newegg, Menards, MSC, Walmart
Source: The sample of this product was provided by Secret Sockets, LLC.


Gadgeteer Comment Policy - Please read before commenting
Protecting you and your home from accidents might require using the best GFCI outlet. This device works like a circuit breaker with specified protection against electrocution. The moment it senses shock moving to a person’s body, it cuts power before things worsen.
Coming with a licensed lockout action feature, the Leviton GFNT1-W GFCI Receptacle makes sure that the electricity running to your GFCI remains off. It prevents reset once the GFCI incurs damage and could no longer respond to a ground fault. That way, you are sure whether or not your outlet still provides continuous ground fault protection.
Hi Matt, why would you rather the wiring connectors be on the side rather than the back?
If you are using standard (as opposed to deep) electrical boxes, it is tricky getting solid copper wires to bend in just the right ways for everything to fit into the electrical box with having to apply too much force.
With side-mounted connections, I find it much easier to bend the wires around the back of the outlet and create a “z-fold” with the extra length of wire to get it to accordion back on itself without a lot of pushing.
I’m sure there were specific design or safety requirement that necessitated the back-mount design, but my experience is that it very difficult to use these outlets in older construction (say pre-1990). I know that I had a lot of trouble getting them into early 1970s boxes (I had to replace some of my in-wall boxes for other outlets styles).