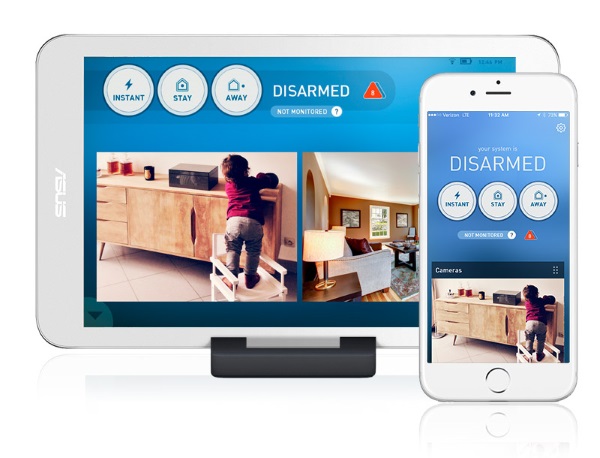
REVIEW – Last year, I reviewed the LifeShield Security System, that included full automation via a touchscreen tablet, base station, wireless keypad, wireless camera, and a number of security accessories and sensors. The system has performed flawlessly, and now I have the opportunity to reviews LifeShield’s Wireless Flood Sensor. I am quite confident that this add-on will be another good experience, but I won’t count my chickens before they hatch. Let’s see if I am right.
What is it?
The LifeShield Wireless Flood Sensor connects to the LifeShield Security System and will sound the alarm if water reaches or rises above the level at which it is placed. Since it is wireless, the transmitter is powered by a battery.
What’s in the box
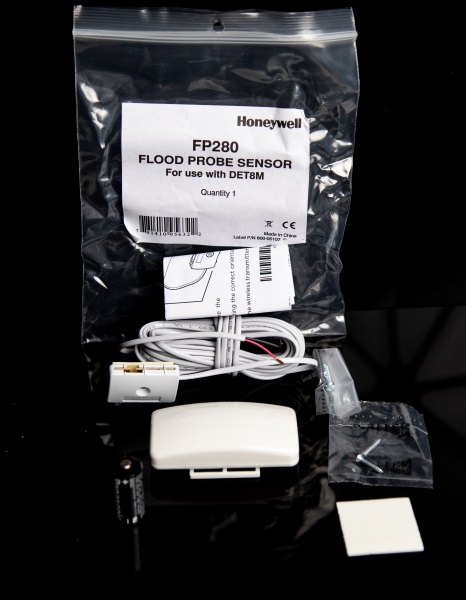
1 x Wireless Transmitter
1 x Flood Sensor
1 x Battery
2 x Set of Mounting Screws
1 x Adhesive Pad
1 x Instruction Leaflet
Design and features
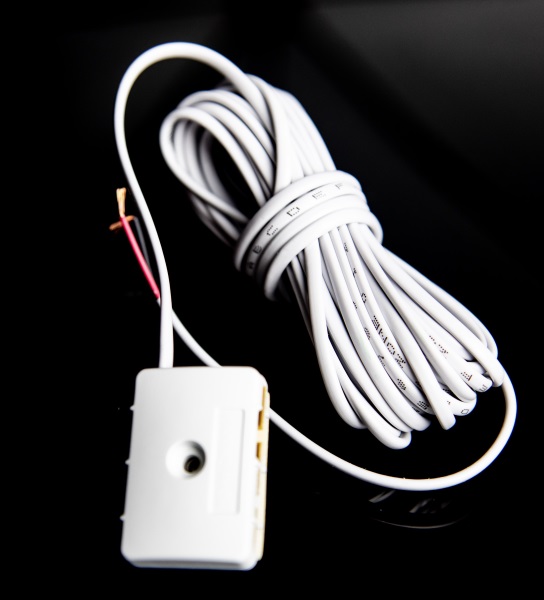
The flood sensor consists of a transmitter and a sensor and the 2 are connected via a wire. The transmitter is battery powered and should be mounted somewhere above the sensor and above any anticipated and possible water level. The transmitter can be used with any one of 4 different types of sensors.
Shown below is the sensor and with the wire that is permanently connected.
Installation
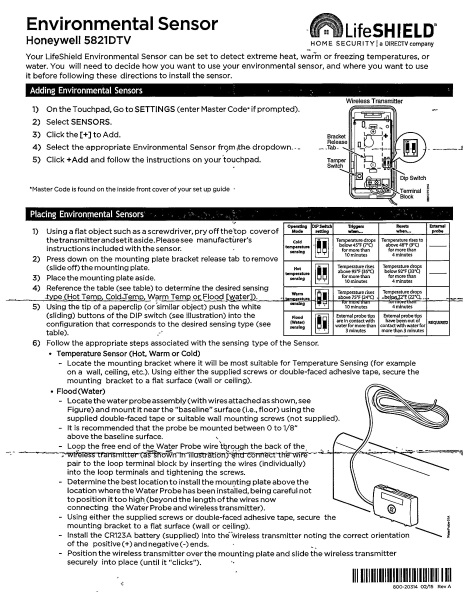
The first illustration below is the one-page instruction sheet that is provided with the sensor. It includes directions on how to open the transmitter, how to set the DIP switches to select the type of sensor that you are connecting, and how to connect the 2 wires from the sensor.
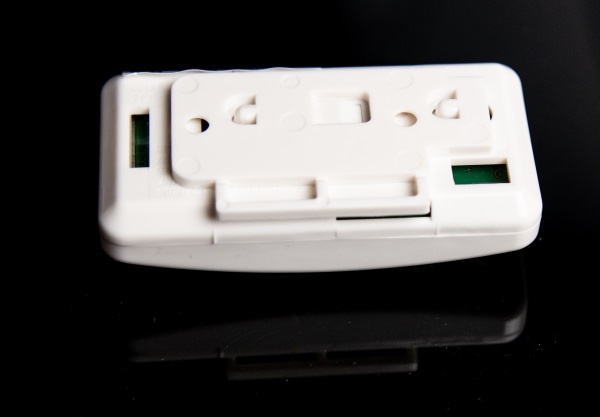
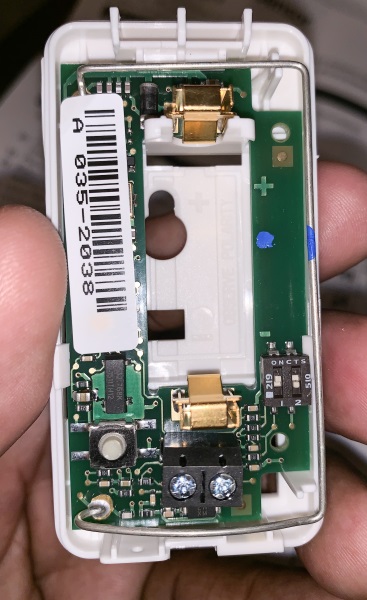
The next picture below shows the inside of the transmitter including the battery holder, tamper switch and DIP switches.
 Using the provided double-sided, I attached the sensor on the side of the wall right above the floor and within the recommended height above floor level.
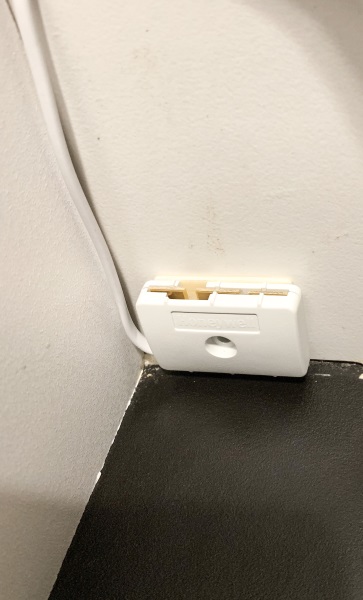
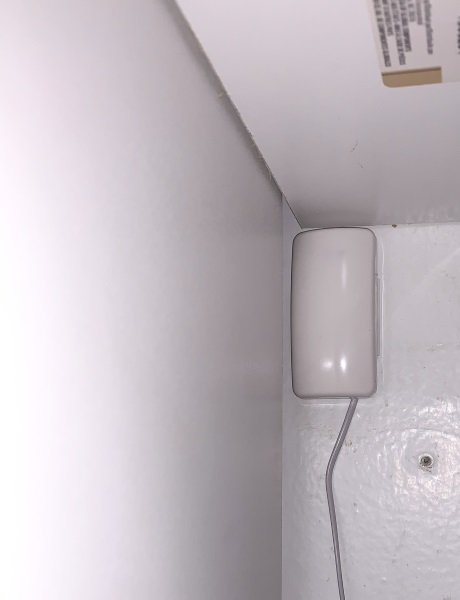
This next picture slows my placement of the transmitter again using the provided double-sided tape. I placed it about 5′ above the transmitter. (By choice).
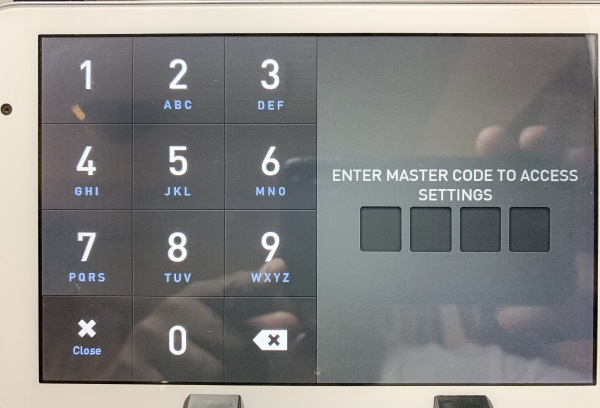
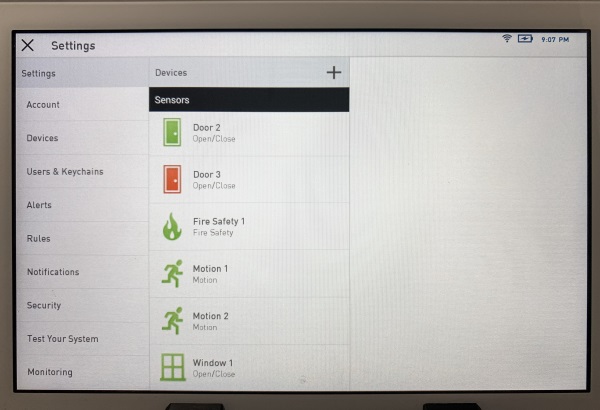
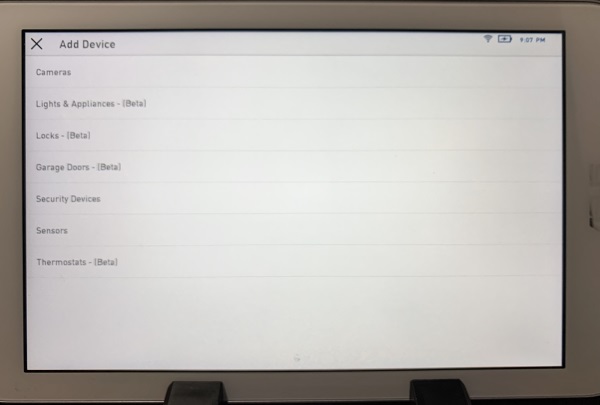
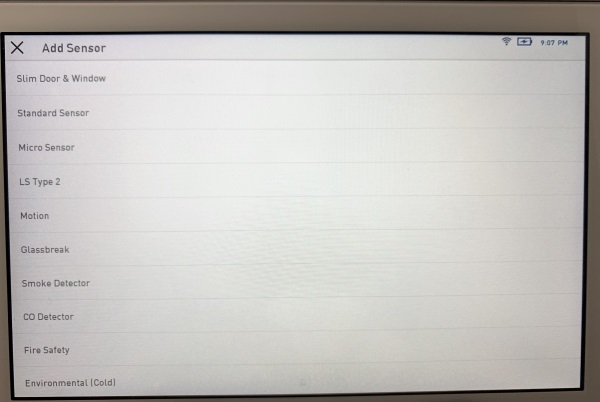
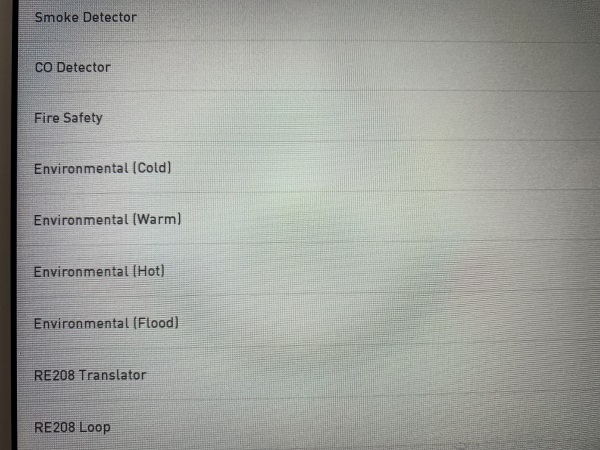
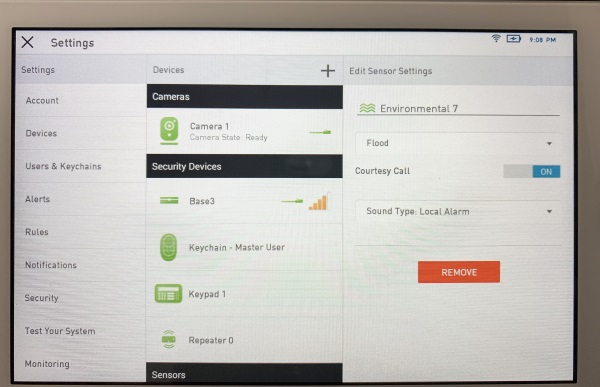
After installing the hardware, there is a simple process that you follow in the settings screen of the LifeShield control panel to add the sensor. The following are screenshots of the process.


What I like
- Function
- Easy connectivity with LifeShield Security system
What can be improved
- Larger print for the provided instructions
Final thoughts
Since I am already a fan of the LifeShield security system, I was very interested when I got the opportunity to try their flood sensor. (They sent 2). Just as I expected, the installation was easy and incident free. Since my 2 young kids are fans of water, and since they have flooded my bathroom more than once before, I readily embraced this device. Just like several other sensors and devices that pair with the LifeShield system, I am happy to give them two thumbs up for this add-on accessory.
Price: $29.99
Where to buy: The LifeShield website
Sample: The samples(2) for this review were provided by LifeShield.

2-Pack LED Video Light Kit, NiceVeedi Studio Light, 2800-6500K Dimmable Photography Lighting Kit with Tripod Stand&Phone Holder, 73" Stream Light for Video Recording, Game Streaming, YouTube
(as of June 28, 2026 13:42 GMT -05:00 - More infoProduct prices and availability are accurate as of the date/time indicated and are subject to change. Any price and availability information displayed on [relevant Amazon Site(s), as applicable] at the time of purchase will apply to the purchase of this product.)