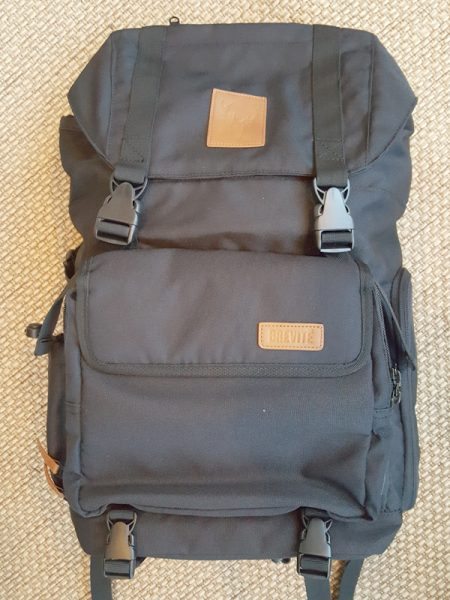
When it comes to backpacks, you can never have too many, right? Especially if you are a student, or a frequent traveler, or a wandering nomad. Brevite makes a line of bags that are designed especially for folks who regularly carry photography equipment, but I find that their bags are great for just about anyone who wants a high-quality, versatile bag that has a ton of storage. I reviewed the $120 Rucksack with the optional protective insert bag ($45), so let’s take a look.
I find that the bags I own that I use the most are those that have the most storage options. I don’t like all my junk rolling around inside a bag, so having storage options and compartments is the most valuable thing to me when it comes to traveling with a bag. The Brevite Rucksack has so many places to store things that it will take me an abundance of pictures to show them all to you. So here we go.
The Rucksack may be the most versatile I have ever used because you can configure the main compartment several ways depending on your needs. First and foremost, the bag is designed to carry camera gear and make it easily accessible without having to dive into the bag and rummage around to find what you need, all while keeping it safe and protected. So to provide that easy access, there are many zippers on the outside that allow you to get into every area of the Rucksack without having to go through the top of the bag. My bag came with the optional insert pouch that is specifically designed to hold the camera gear and I have shown it below in the pictures.
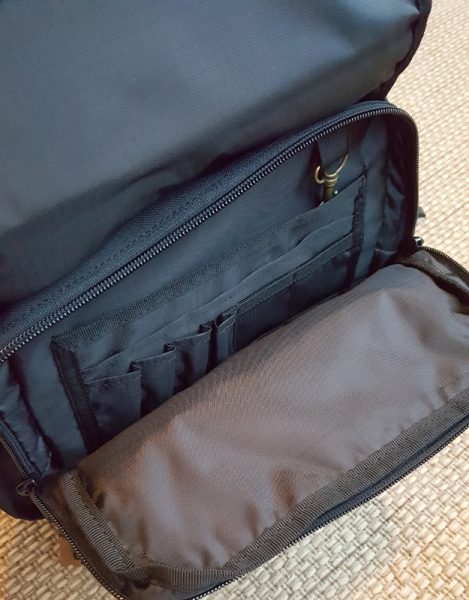
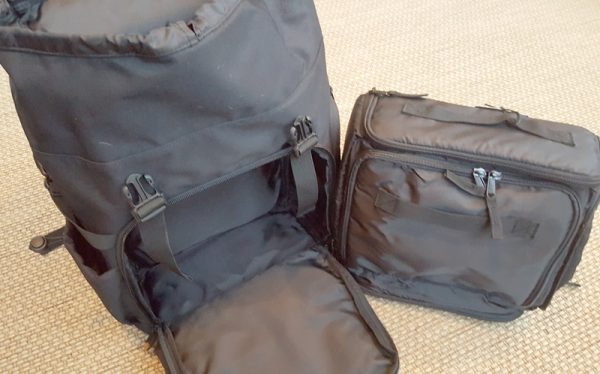
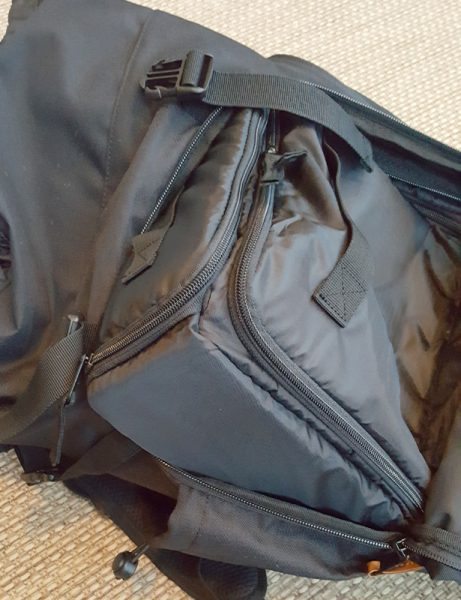
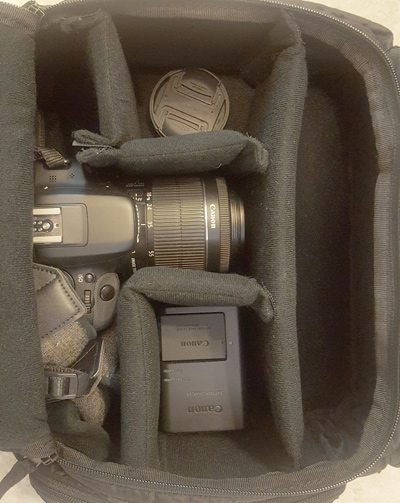
As you can see, the insert can easily be inserted/removed from the Rucksack by unzipping the zippered storage area that is on the front of the Rucksack and folding it down to reveal the inside of the Rucksack. I should mention that the zippered storage area on the front of the bag is accessed behind a flap secured with magnets and is the place you store your wallet, pens, memory storage cards, your keys, and so forth. Once you fold that storage area down, you can see the protective insert pouch which has its own handles on the front and top so you can easily carry it by itself if you pulled it out of the Rucksack. The insert pouch also comes with padded dividers that can be used to configure the inside to your liking.
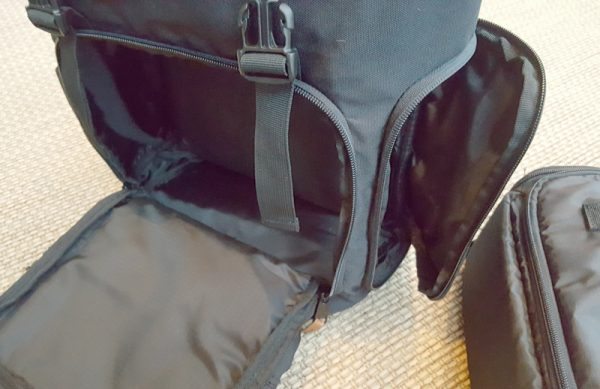
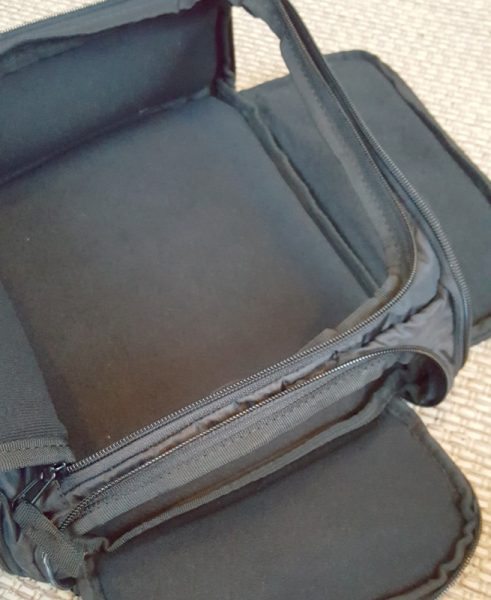
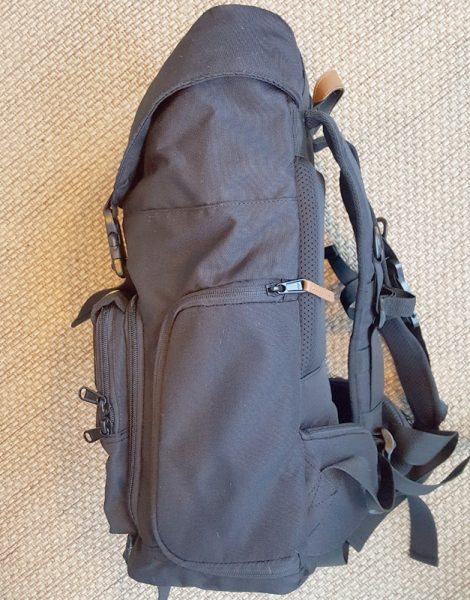
As you can see, the special insert also has its own zippers on the outside so that you can leave the insert inside the Rucksack and still get access to the contents of the insert without having to remove it completely from the Rucksack. On the right side of the insert pouch, there is a zipper that opens to give you quick access to whatever you have inside the insert pouch. And there is also a zipper on the right side of the Rucksack that matches up with the zipper on the right side of the insert pouch so that you can have your Rucksack completely full of stuff and still get access to your camera inside the bottom part of the Rucksack. This is a great example of why this bag is perfect for photographers.
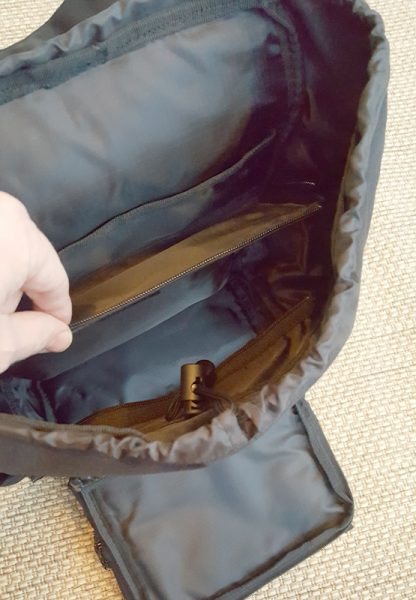
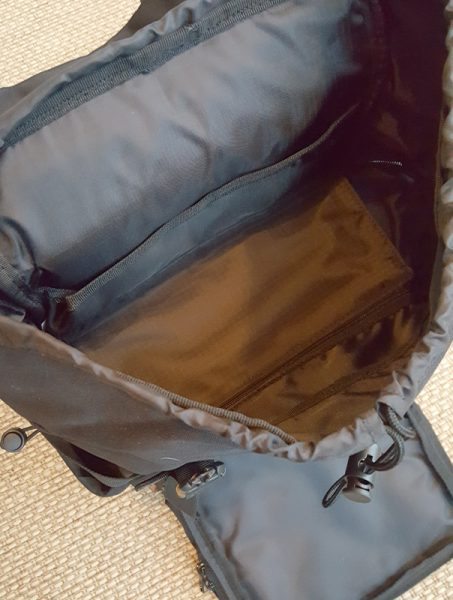
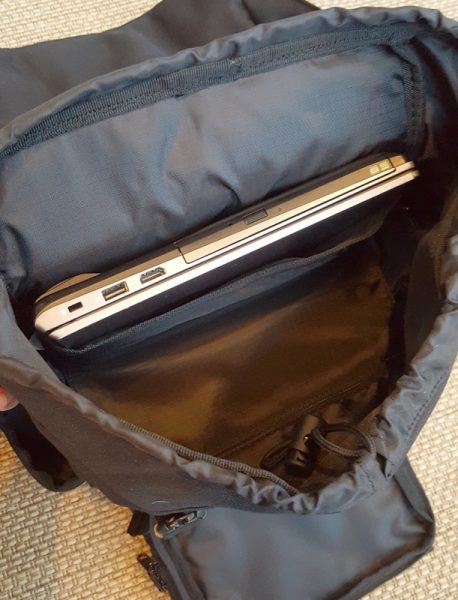
The top of the Rucksack has a flap that folds over the top and is secured by 2 plastic buckles and straps. On the outside of the flap, there is a zippered storage pouch and another one on the inside of the flap. Under that flap, the Rucksack can be further closed with a drawstring. You will also see in the pictures below that the main compartment inside the Rucksack can be separated into top and bottom sections with a divider that zips into place so that you can keep (for example) wet clothes separated from dry clothes.
There is a padded slot inside the bag to insert a 15-inch laptop into the inside of the Rucksack. I tried to put our 15.6-inch laptop into the Rucksack and it wouldn’t fit, but the 14-inch laptop that we have fit nicely.
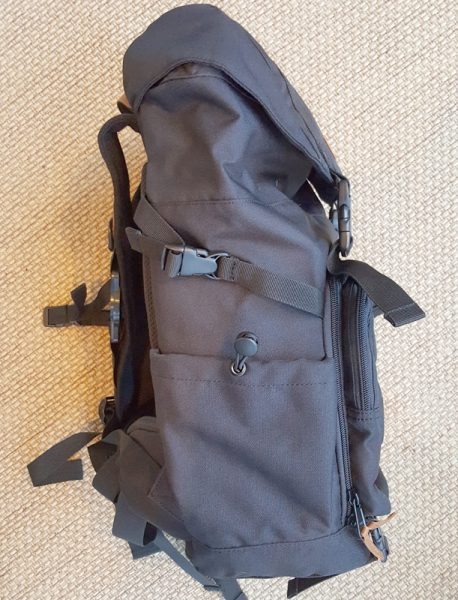
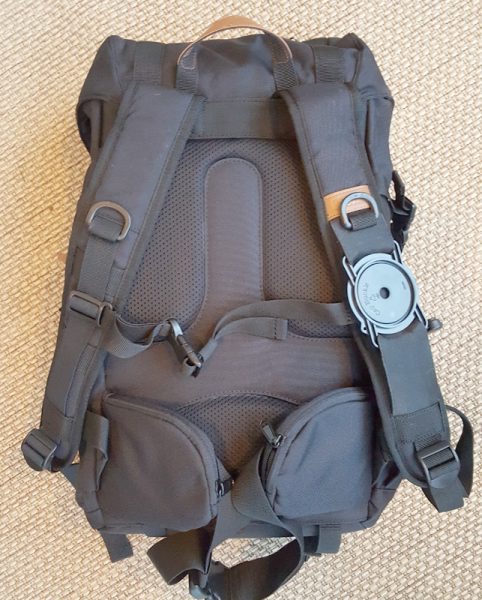
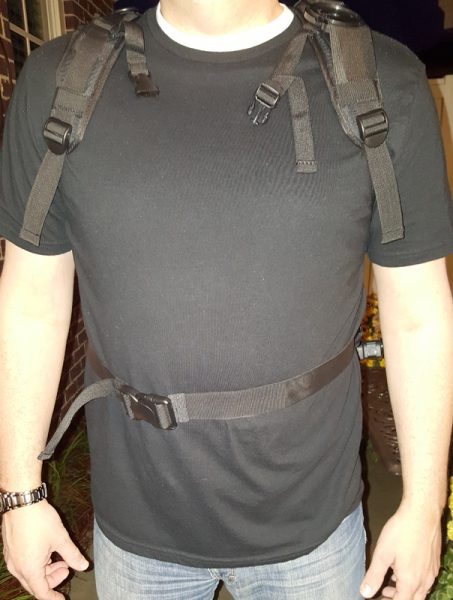
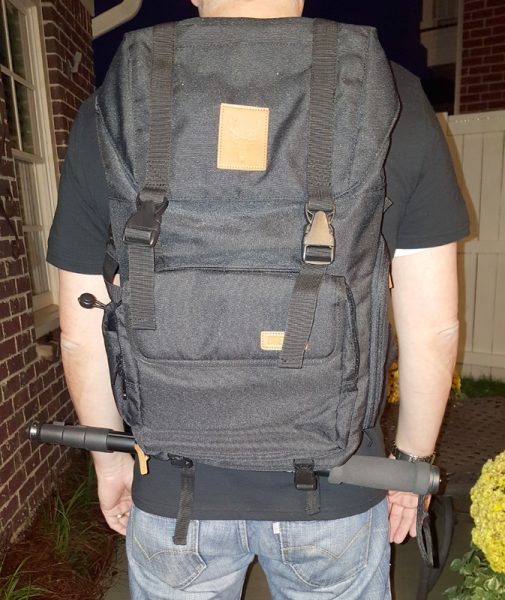
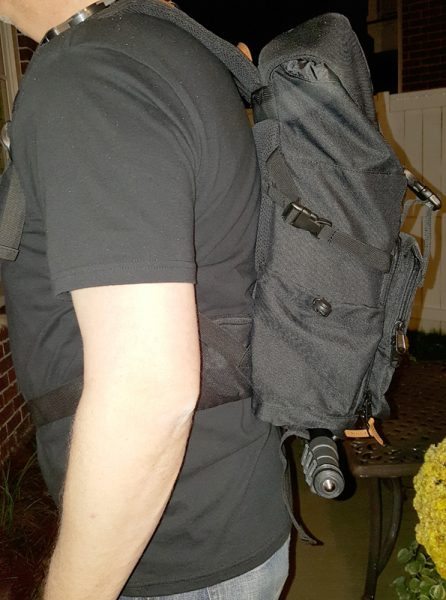
All over the outside of the Rucksack is a plethora of features. There is a water bottle pouch on the left side that you can secure with a drawstring and a buckled strap. On the right side is the aforementioned zippered flap that gives you access to the inside of the bottom area of the Rucksack. On the bottom of the bag, you’ll see 2 straps that can be used to hold a tripod. The adjustable padded shoulder straps have a camera lens cap holder that will keep it safe without you having to hold it in your hand while you shoot pictures. There is a leather strap on one shoulder strap that can hold your sunglasses, and to keep those straps in place there is a buckled strap that goes across your sternum, and another one that goes around your waist.
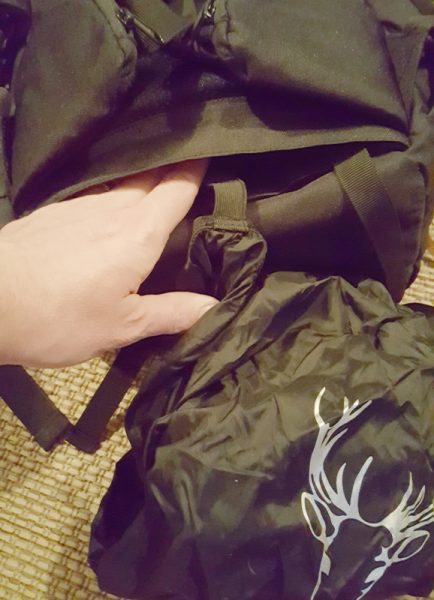
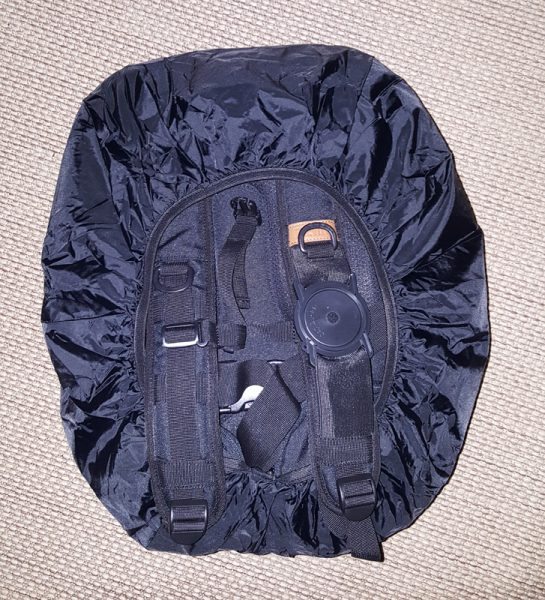
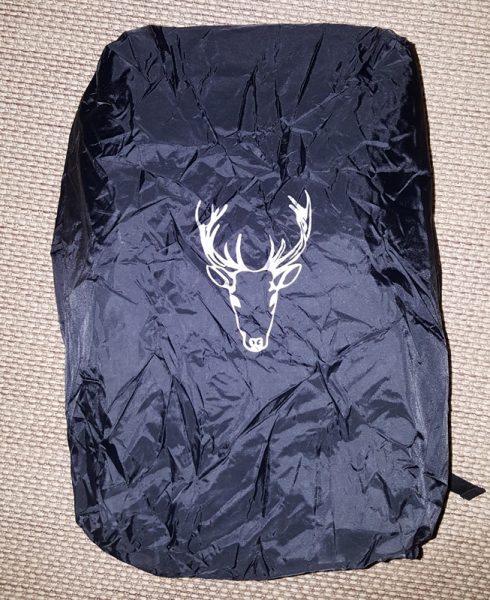
On each end of the strap that secures across your waist, there is a small padded zippered pouch that can easily hold memory cards, keys, gum, etc. And last but not least, there is a hidden Velcro-enclosed slot on the very bottom of the bag that contains a rain cover (it is attached to a strap to keep the rain cover attached to the Rucksack) that when removed can be pulled over the entire Rucksack to protect it from getting wet if you are hiking in the rain. Pretty darn cool!
The $120 Rucksack measures 20 in x 13 in x 6 in, and it is constructed with 600D nylon and YKK zippers. Throw in the insert pouch and the overall price will jump up to $165, which is pricey, no doubt. But if you are a photographer with valuable cameras and lens that you want to protect while in the outdoors, the price doesn’t seem that steep.
Honestly, this is a great bag for anyone who wants a versatile padded bag with tons of storage options, not just for photographers. Is it going to be big enough for a 7-day camping trip? I am not sure it is big enough for that. But for a weekend adventure, it is perfect.
Source: The sample for this review was provided by Brevite. Please visit their site for more info.
BREVITE - The Jumper - Compact Camera Backpacks for Photographers - A Minimalist & Travel-friendly Photography Backpack Compatible With Both Laptop & DSLR Accessories 18L (Triple Black)
(as of February 10, 2026 01:01 GMT -06:00 - More infoProduct prices and availability are accurate as of the date/time indicated and are subject to change. Any price and availability information displayed on [relevant Amazon Site(s), as applicable] at the time of purchase will apply to the purchase of this product.)BREVITE - The Jumper - Compact Camera Backpacks for Photographers - A Minimalist & Travel-friendly Photography Backpack Compatible With Both Laptop & DSLR Accessories 18L (Pine Green)
(as of February 10, 2026 01:01 GMT -06:00 - More infoProduct prices and availability are accurate as of the date/time indicated and are subject to change. Any price and availability information displayed on [relevant Amazon Site(s), as applicable] at the time of purchase will apply to the purchase of this product.)Product Information
| Price: | $165 as shown |
| Manufacturer: | Brevite |
| Pros: |
|
| Cons: |
|



Gadgeteer Comment Policy - Please read before commenting
How tall are you? I am interested in this pack, but am concerned the hip belt will sit too high on me as it does on you in the photos. Thanks!