Products like the Dropcam, now called Nest Cam, have made home security cameras a very popular gadget category. I have a Dropcam Pro that I have really really enjoyed using, but since they switched hands to Nest, the web-based viewer feels sluggish and there’s also the monthly cloud subscription cost which makes it prohibitive to add additional cameras to my account. For those reasons, I’ve been on the lookout for a worthy alternative that doesn’t require extra fees, but still has a nice feature set. The latest camera that I’ve had the opportunity to test is the Piper nv. Let’s take a look.
Note: Images can be clicked to view a larger size.
Hardware specifications
Night vision
180º viewing angle
3.4 megapixel
105dB siren
Battery backup
Series 500 Z-Wave controller
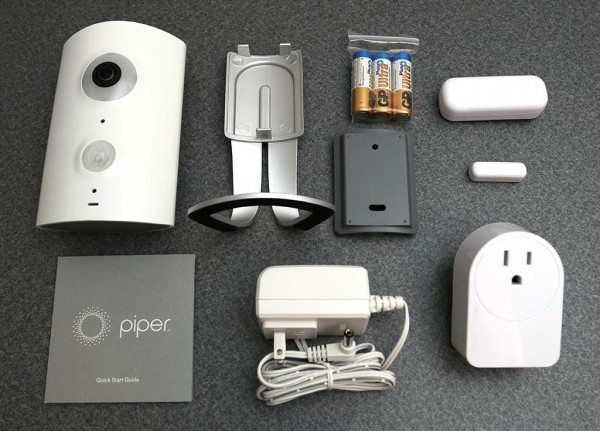
What’s in the box?
Piper nv
Power supply
3 x AA batteries
Optional wall mount
Quick start guide
Optional sensors shown above but not included with the camera are: window/door sensor and smart switch.
Design and features
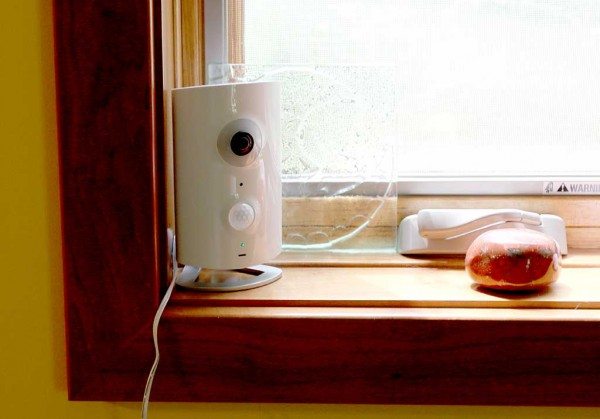
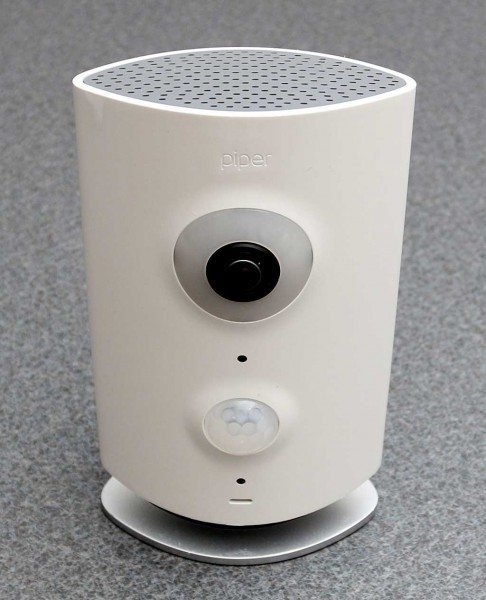
The Piper nv indoor home security camera comes in black or white. As you can see, I was sent the white version. The front of the camera has a 180º wide angle lens with night vision capability, motion sensor, a microphone for 2-way communication, a speaker and a status LED.
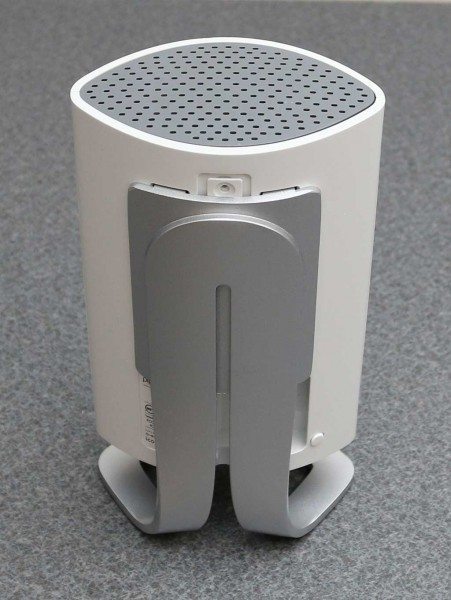
Standing 6 inches by 3.5 inches, the Piper nv is a large camera. It’s designed to be placed on a flat surface like a shelf, but the stand can be removed and the camera can be mounted to a wall using the included wall bracket.
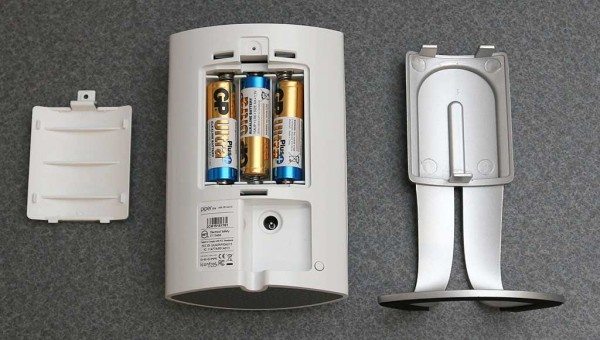
The Piper nv uses an AC adapter for power, but it also has a battery backup feature powered by three AA batteries which are included in the package. This is a nice feature to have if you happen to live in an area with frequent power outages like I do.
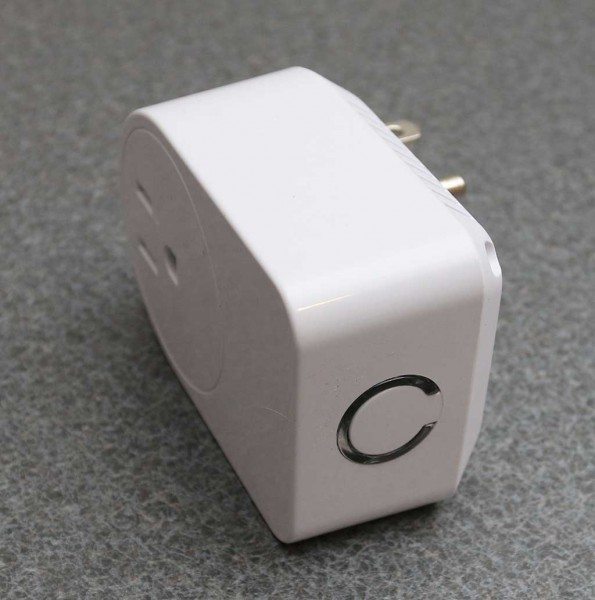
Another nice feature of the Piper nv is its built-in series 500 Z-Wave Controller which allows for remote control of lights and appliances from your mobile device. You can add optional sensors/switches like the Smart switch, shown above, which can be used to automate lights and appliances or turn them on and off remotely. The switch plugs into a power outlet on the wall and then the lamp or other appliance plugs into the switch.
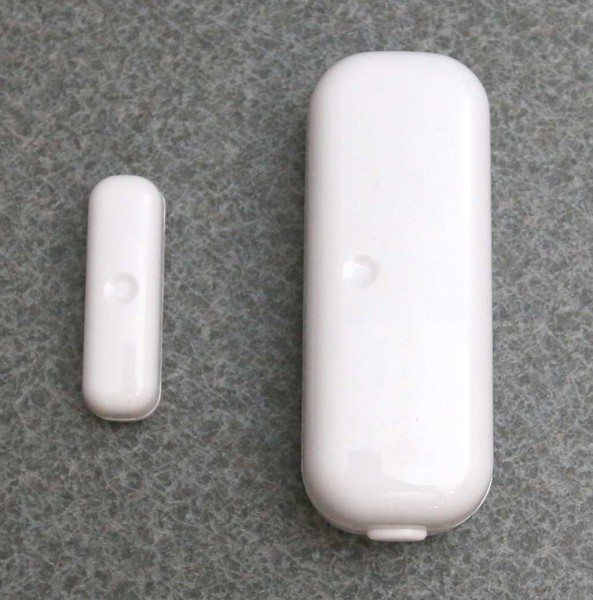
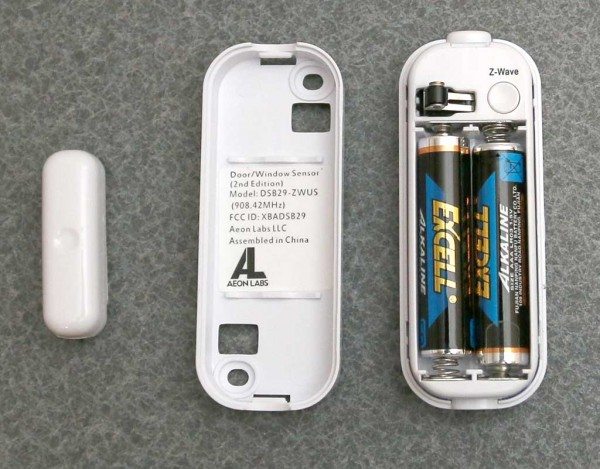
I was also sent a two-piece magnetic door / window sensor ($39.95) that notifies you when a door or window is opened.
This sensor is powered by two AAA batteries (included). This sensor is installed so that one half is affixed to one side of the door / window and the other half is on the other side. When the door or window is closed, both parts make a magnetic connection with each other to provide a closed status. When the door or window is opened, the magnetic connection is broken, causing the controller to post an opened status.
A water sensor is also available which will detect leaks.
Setup and the mobile app
Before you can begin using the Piper nv camera, you will need to connect it to your home’s WiFi network. Basically all you do is insert the included batteries into the back of the camera, plug in the AC adapter, install the free iOS or Android app, create an account and then connect the Android or iOS app/device to Piper’s WiFi. Setup then checks for firmware updates, installs them and then connects to your home’s WiFi. You are guided through each step with clear instructions.
Then you can use the app to pair the optional Z-Wave sensors and switches. All in all, the camear setup was quick and easy. I was up and running in about 10 minutes. The only problem I ran into was with the pairing of the door / window sensor. I tried multiple times and even put in fresh batteries but it would not see the sensor. After reading some user comments on their support pages, I was directed to this page: https://getpiper.zendesk.com/hc/en-us/articles/201318340-Errors-when-pairing-Z-Wave-accessories which finally solved the problem.
The only way to interact with the Piper nv camera is with the mobile app. There is no web based viewer. Also be aware that you can’t go back in time to view past events. You can only get a live view. However, video clips can be captured when events are triggered. Those clips can then be saved to your mobile device.
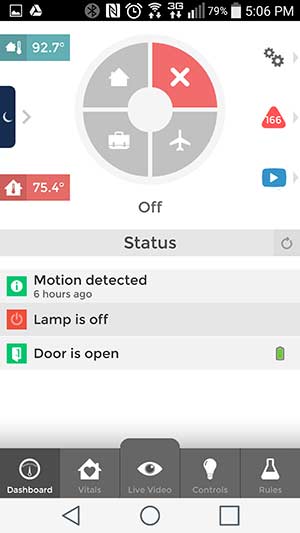
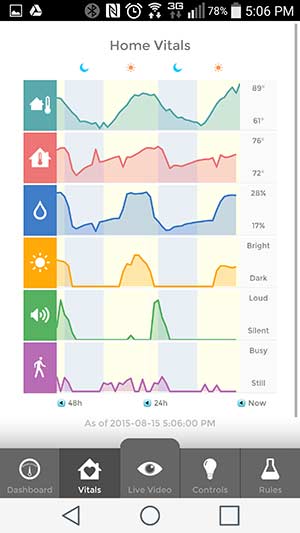
The Piper app launches in the dashboard view (left). From there you can see the triggered alert, and the status of any connected Z-Wave sensors. Tapping on the Vitals tab will take you to a screen that shows temperature, humidity, brightness, sound and motion trends. The graphs may look interesting, but I don’t see the point of this screen and Ive found that the temperature and humidity data is not accurate.
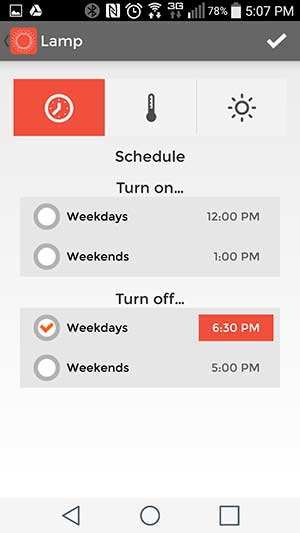
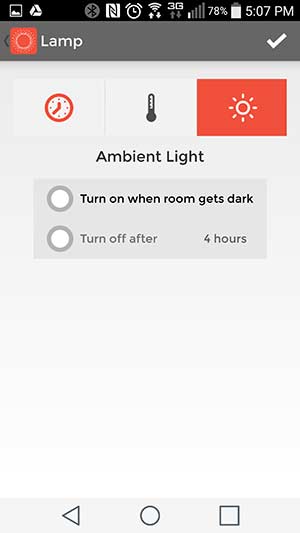
The Z-Wave sensors like the Smart Switch and door sensor can be configured through the app as well. You can setup times when the switch will turn on and off based on weekdays, weekends, time, and even room brightness. You can also manually turn the switch on and off through the app.
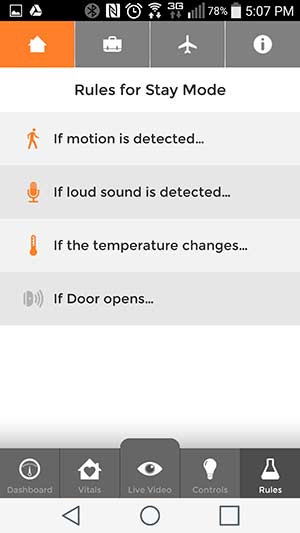
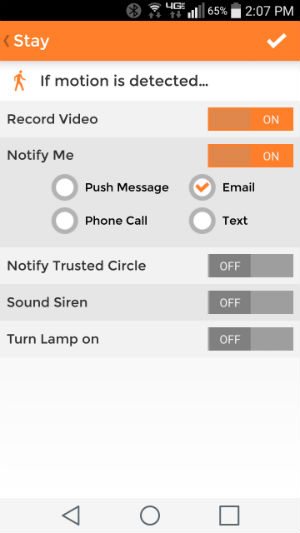
There are also rules that you can create based on mode. There’s a Stay, Away and Vacation mode. For each mode, you can specify what happens when motion, sound, temperature changes or a door is opened (if you have the appropriate sensor).
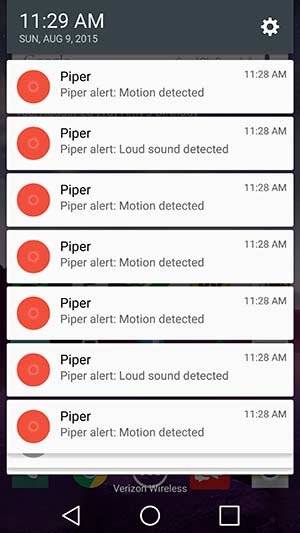
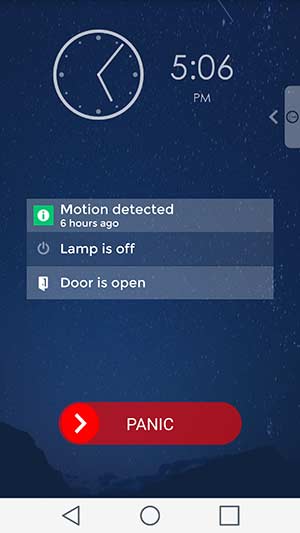
Alerts can be sent to an email address, phone number as an SMS message, or as a push message (popup notification) on your mobile device. Unlike Dropcam/Nest, the alerts don’t have any info other than the type of trigger. This is one of my biggest complaints about the Piper nv. Your phone’s notification screen will fill up with alerts, but if you don’t have the record video option turned on for that type of alert, you’ll never know what caused the alert to trigger. More importantly, if you DO have the record video feature turned on, it will only record one alert for each type of trigger until you go into the app and manually reset it. And even then, the alerts sometimes do not send a notification for an extended period of time. No, I’m not kidding. This is a major fail. Supposedly they are working on an auto-rearm feature, but as of this writing, that feature has not been implemented.
In addition to the Stay, Away and Vacation modes, there is also a Bedside mode that you can access from the dashboard view. This mode will keep the mobile device turned on so you can see the status of the camera and sensors and also have quick access to the panic button. When I was inititially setting up the camera, I was going through all the screens so I could get screenshots for this review. In my infinite wisdom, or lack thereof, I pressed the Panic button just to see what it did. Wow, that was a mistake, because there’s a 105 dB siren built into the Piper nv camera. It was so loud that I thought it was going to burst my ear drums. I got so flustered trying to turn it off that I unplugged the AC adapter from the back of the camera only to realize that the back up batteries were in there. I finally was able to turn off the siren. EEESH! Be careful with that panic button unless you’re wearing ear protection!
Video quality
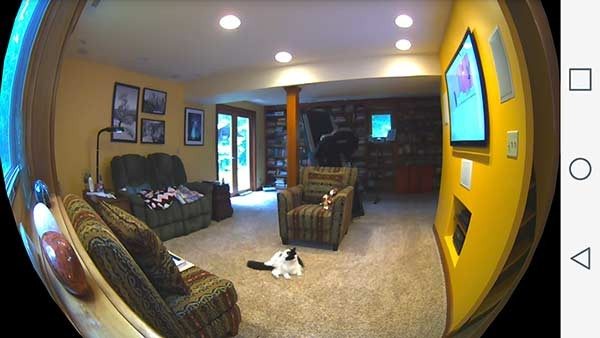
The Piper nv has a 180 degree field of view which allows you to see a good portion of a large room. Stream video quality looks good as far as colors and detail, but in full screen mode, the view has an obvious fish-eye look.
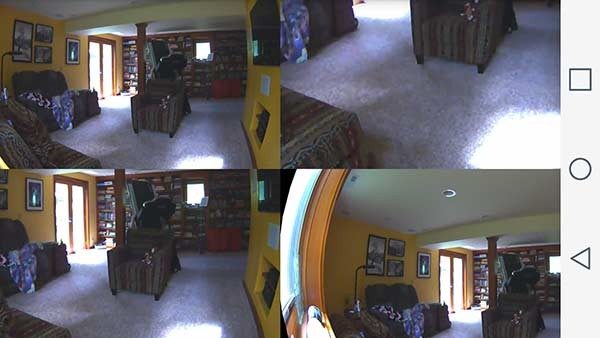
The live view can be split into a four panel view like you see above. Each pane can then be panned, tilted and zoomed.
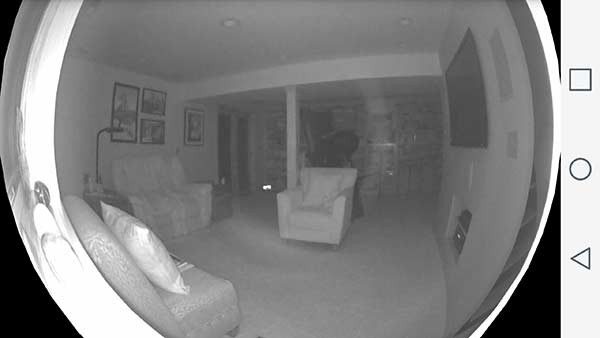
The camera also has an auto night vision feature which does a pretty good job.
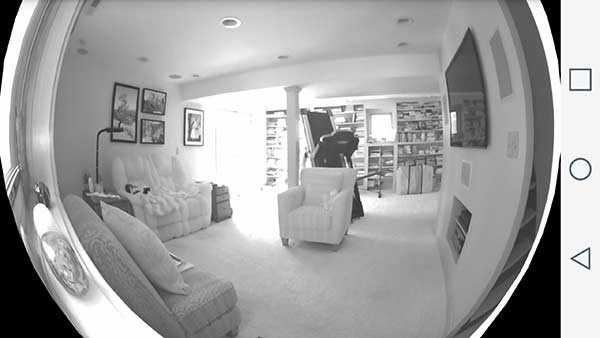
The problem is that it will use night vision even during daylight hours if the room is somewhat dim. In the image above, you can see the sunlight pouring into my basement living room’s french doors, but the camera is still using night vision.
Another thing to be aware of is that the Piper nv’s night vision IR LEDs will not allow you to view through a window because they reflect against the glass and completely blow out the image.
Last but not least, the night vision feature on the sample camera that was sent to me seemed to have a mind of its own. I had originally setup the Piper nv camera in my basement, but later I positioned it on my main floor pointing out a window so I could test the IR LEDs when the camera is pointed at a window. I left the camera setup that way and went to bed. My bedroom is about 20 feet from where the camera was set up. Every so often I would hear a click sound. After several times hearing it, I figured out what it was and reached over to my nightstand to get my phone. I went into the Piper app and set the night vision to off and then tried to go back to sleep only to hear the clicking noise again. I grabbed my phone again and tried to find a way to turn the camera off, but apparently there is no such feature, so I ended up having to get out of bed to unplug it and remove the batteries. Grrrrr….
Final thoughts
The Piper nv has a lot of things going for it, no monthly subscription costs, 180 degree view, Z-Wave controller that can monitor switches and sensors, a panic alarm and multiple notification methods. It’s just too bad that some of its best features either don’t work well or are frustrating to use. If Piper can make the notifications more useful by including a snapshot and automatically reset the alarm so that subsequent triggers also work, that would be a major step forward for this product. There also needs to be a way to easily disable the camera without having to unplug it and remove the batteries. Unfortunately I can’t give a recommendation for this camera until these problems are fixed.
Source: The sample for this review was provided by Piper. Please visit their site for more info.
Amazon Echo Show 15 (newest model), Full HD 15.6" kitchen hub for home organization, with built-in Fire TV and Alexa+ Early Access
$299.99 (as of January 27, 2026 17:40 GMT -06:00 - More infoProduct prices and availability are accurate as of the date/time indicated and are subject to change. Any price and availability information displayed on [relevant Amazon Site(s), as applicable] at the time of purchase will apply to the purchase of this product.)Amazon Echo Show 21 (newest model), Full HD 21" kitchen hub for home organization, with built-in Fire TV and Alexa+ Early Access
$399.99 (as of January 27, 2026 17:24 GMT -06:00 - More infoProduct prices and availability are accurate as of the date/time indicated and are subject to change. Any price and availability information displayed on [relevant Amazon Site(s), as applicable] at the time of purchase will apply to the purchase of this product.)Product Information
| Price: | $279, $199 for classic version without night vision |
| Manufacturer: | Piper |
| Requirements: |
|
| Pros: |
|
| Cons: |
|



Gadgeteer Comment Policy - Please read before commenting
Excellent review. I’m also looking for the perfect security camera. Agree that since Dropcam became Nest that the online monitoring under Nest is dismal at best. My old Dropcam web-viewer still works best but wonder how long that will last. Will be counting on you to find the perfect cam. 😉
I’m going to revisit the SpotCam which I still have in a box. They are a Dropcam look alike product with a free 24hr DVR and cheaper monthly subscription fees for 7 and 30 day DVR options. Maybe they have solved some of their issues I ran into.
Nice review.
I have the camera and it is a very nice product, with a big disadvantage: If power is out and batteries are drained (4-6hrs), the camera will power off and it will NOT power on again when power comes back, you have to power on manually again. This is very annoying, if you have setup the camera to a summerhouse for example and have to go over to power on again. or if you have set the camera to a high spot where you need to climb and push the button (removing the wall plug will not help either, it is the same as the power outage…).
Nest camera powers on back when power is back.
I wonder… this is a cloud camera, which requires wifi to be connected. What is the meaning of having the camera on in a power outage if the router is off during power outage and if you cannot record or see anything during that period? LOL…
That is a problem if the camera doesn’t power on automatically after the power comes back on. I also see that as a big disadvantage. As to your comments about cloud cameras not working while the power is out, that’s a very good point 😉