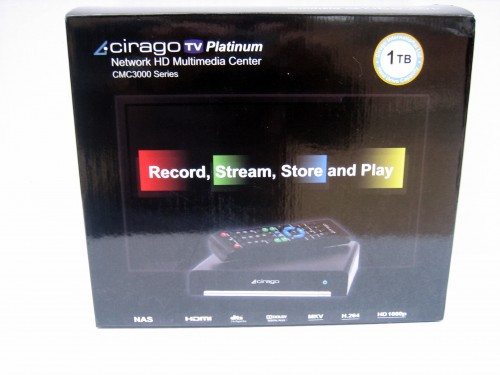
 When I was offered the opportunity to review the Cirago TV Platinum Network HD Multimedia Center my first thought was ” good grief, not another media center”. I had previously reviewed the Cirago CMC2000 and was duly impressed, so how could this be an improvement. Then I read the specs and saw that the CMC3000 supports the PLAYON server and I was hooked.
The CMC3000 is an upgrade of the Cirago CMC2000, so I’ll focus my review on the new features with the device.
Features:
Specifications:
- Interface 2x USB 2.0 (host), USB 2.0 (device)
- Ethernet 10/100Mbps, wired and wireless (via optional USB 802.11b/g 54Mbps adapter)
- Card Reader formats MemoryStick/MemoryStick Pro, SD/SDHC/MMC
- Power 12V, AC/DC 110/240V adapter included
- Video output HDMI up to 1080i, AV
- Audio output SPDIF (optical), Stereo
- Video input AV Input
- Recording format MPEG2, up to 720 x 480
- Supported video formats MPEG1 (dat, mpg), MPEG2 (vob, mpg, ts), MPEG4 (avi, divx, xvid, wmv, mov, mkv), RM/RMVB, VC-1, H.264
- Supported audio formats MP3, WMA, OGG, FLAC, WAV, AAC, AC3, ADPCM
- Supported image formats JPEG, JPG, BMP, GIF, TIFF, PNG
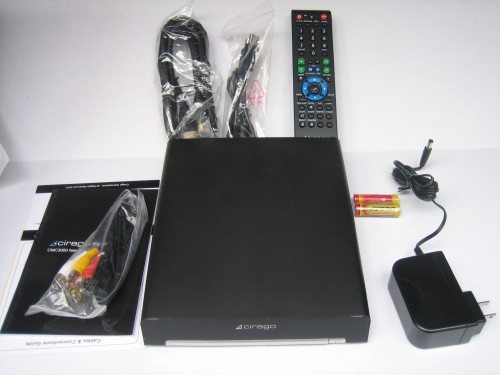
The package contains the device, power supply, remote and batteries, installation manual and 3 cables; AV composite video, an HDMI cable and a device USB cable. I did have to supply my own Ethernet cable to hook into my LAN.
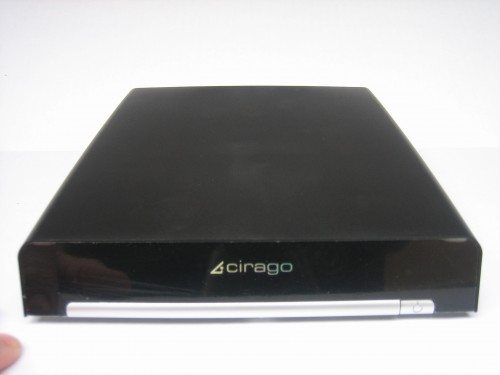
The front panel has the on/off switch and a power indicator. It has a clean look.
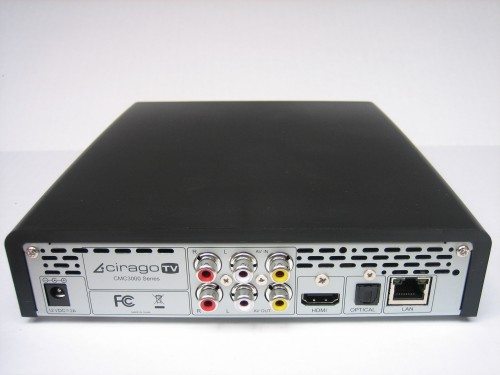
On the back, from left to right you have power, AV in and out, HDMI, optical and LAN connections.
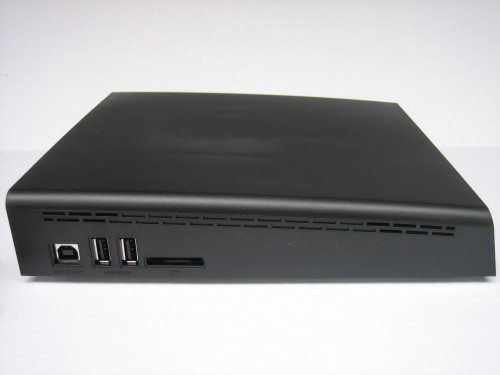
On the right side are the USB device port, 2 x USB host ports and the card reader. If you’re wondering what is meant by the USB device port, it allows the CMC3000 to be plugged into a PC USB port and then acts like a regular USB drive to the PC. It’s an easy and fast way to transfer files between the CMC3000 and a computer.
I put the CMC3000 in the video cabinet under my LCD TV and plugged the HDMI cable between them. I connected a cable between the Ethernet port and my powerline home network. I also plugged in a portable USB drive to the Cirago and then the power cable and was set to go.
In a short period I was presented with the home screen. My first impression was that the Cirago people really need to get some user interface designers. This screen and the subsequent ones are the least pleasant and informative of any media player I’ve seen. All selections are made using the supplied remote. The remote also acts like a DVD remote having functions for play/pause, stop, FF, etc.
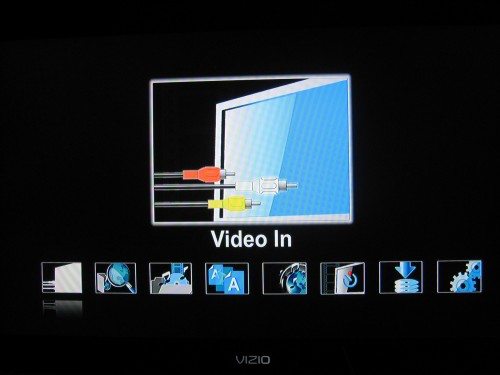
The first icon on the bottom of the screen is for the video in. The CMC3000 can record to its hard drive, video from the composite input. I want to be perfectly clear: this is NOT a DVR in the conventional sense. You will need a tuner (I use an old VCR) for input. They suggest taking the output of a cable box. In conjunction with the input, the sixth icon on the bottom of the screen lets one set up record times. I rarely use the video in feature except to copy some old VHS tapes to the hard drive.
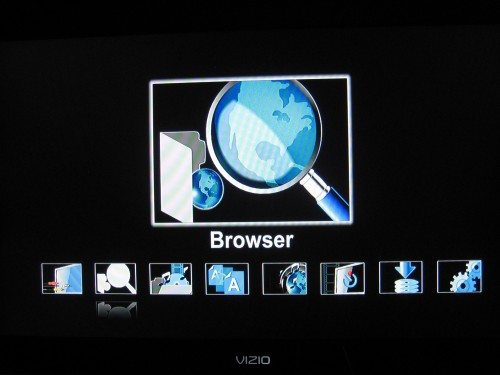
Here’s where it gets interesting. The browser function is what makes this device useful and flexible.
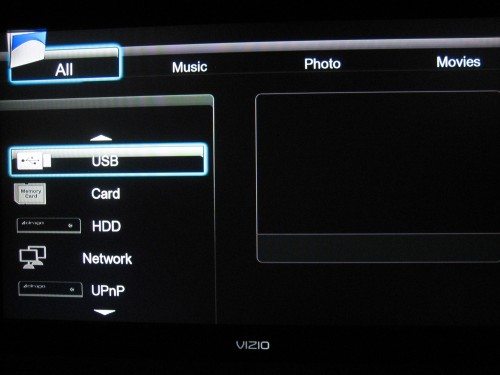
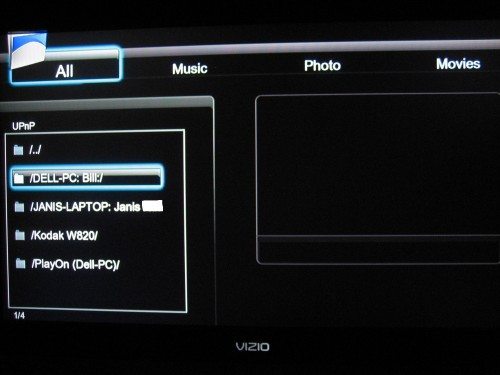
After selecting the browser function, you are presented with several options. You can now explore any drives plugged into the 2 USB slots and play the media stored on them. The same goes for any memory cards attached. Selecting HDD explores the internal hard drive from which you can play media. The network tab makes it possible to play media from all networked PCs and devices. For example, I connected to the CMC2000 in my bedroom and played a movie stored there on the CMC3000 in my living room. Then there is the UPnP selection.
When in UPnP mode, the CMC3000 will find all devices on the network that have UPnP enabled. In my case it saw the 2 PCs running Windows Media Player 11, a digital picture frame and the Playon server running on my desktop. I downloaded a 14 days free trial of the Playon software for this test.
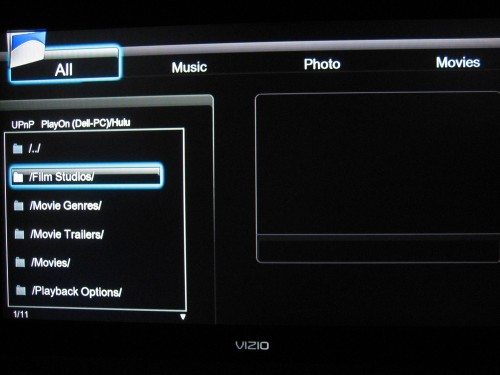
Now I was able to view Hulu content on my TV, which finally gets me away from the computer. The quality is a function of the resolution streamed and is not HD, but it is watchable. It’s also a lot cheaper than paying the cable company.
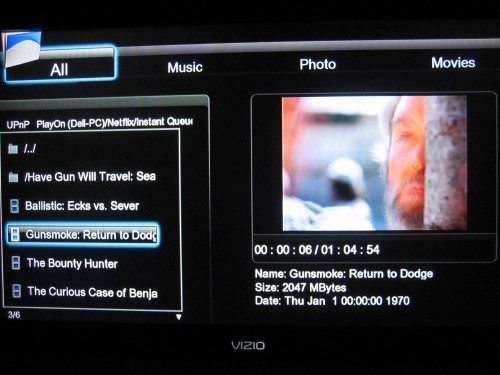
In addition, the CMC3000 with Playon provides access to your Netflix account, displaying your selections on the TV. The above screen shot shows the preview screen. In addtion there is access to YouTube, several TV network IP feeds and assorted video content. Unfortunately, moving between selections was very slow, apparently because each preview had to be transcoded by Playon on my PC before being displayed. My dual core cpu usage was pegged at 100% each time the Playon server was running. I guess it’s time to upgrade 🙂
Besides the functions already mentioned, the CMC3000 has a P2P function allowing you to check the status of torrent files that are being downloaded. I didn’t test this feature.
The CMC3000 also has an Internet radio function. This is very basic and searching for stations can become tedious because the display only provides cryptic information. I don’t consider this a show stopper.
The NAS function of the device is a plus. I use the internal 1TB drive to store some of my media files and backups of application data from the PCs on the LAN.
The CMC3000 is truly a Multimedia Center. It makes it fairly easy to play and store personal content as well as allowing access to the vast amount of media available on the Internet. All of this can be played on an existing TV up 1080i for video and 5.1 audio. Considering its capability and the included storage, it is an exceptional price performance purchase.
Replacement Camera A/V Out Digital/Data Interface Cable Compatible for Canon PowerShot/EOS/DSLR Cameras and Camcorders
(as of February 10, 2026 22:20 GMT -06:00 - More infoProduct prices and availability are accurate as of the date/time indicated and are subject to change. Any price and availability information displayed on [relevant Amazon Site(s), as applicable] at the time of purchase will apply to the purchase of this product.)AV A/V TV Cable Cord Lead for Sony CCD-TRV68 CCD-TV98 CCD-TRV108 e CCD-TRV218 e
(as of February 11, 2026 15:50 GMT -06:00 - More infoProduct prices and availability are accurate as of the date/time indicated and are subject to change. Any price and availability information displayed on [relevant Amazon Site(s), as applicable] at the time of purchase will apply to the purchase of this product.)Product Information
| Price: | $199 |
| Manufacturer: | Cirago |
| Requirements: |
|
| Pros: |
|
| Cons: |
|



Gadgeteer Comment Policy - Please read before commenting
Thanks for the review! We wanted to add a few notes:
1) CMC3000 owners can purchase 1 year of PlayOn for only $19.99 ( instead of $39.99) from http://www.cirago.com/playon
2) We just announced a 2TB model of the CMC3000 (CMC3200) which will come with 1 year of included PlayOn and an 802.11n wireless adapter! It should be available in a week or two!
Thanks again Bill and the team at The Gadgeteer!
Most helpfull reviews I have found on these Cirago things.
I have read so manny reviews and the specs do indicate VOB files but so manny dont indicate if it will play from the File Folder (which would be for the end user the name of the movie)
i.e.
D:/Spongebobs Friends
D:/The Advengers and CO
or does one have to navigate to the “Video TS” or worse yet navigate down to the VOBs and try to decifer which one to choose?
ISO, What happend to ISOs?
Thanks Again, these have been very helpfull reviews.
Bill,
I just did it. Navigate to the folder and hit the enter button. It then pops up a 2 line menu which says Play Folder or Browse Folder. Select Play folder and your movie starts! Very simple..