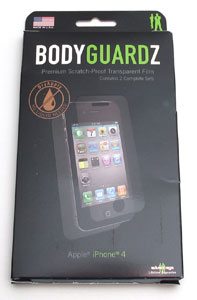
 Are you paranoid that your shiny new iPhone 4’s display will get a nasty scratch on it? Maybe you’ve thought about protecting it with a case, but didn’t want to deal with the bulk? Or you might have considered a screen protector but installing it seemed a little intimidating. I’m not really paranoid about scratches, but that doesn’t mean that I want my brand new gadget to have one. I don’t like to use a case and I’m not a big fan of screen protectors because they are a hassle to install and always seem to make touch screens feel less responsive. Guess what? I’ve just changed my mind about screen protectors after trying the new BodyGuardz Dry Apply protectors.
BodyGuardz Dry Apply protectors are available for various devices, in both a screen only protector kit and full body protector kits. I was sent the full body Dry Apply kit for the iPhone 4.
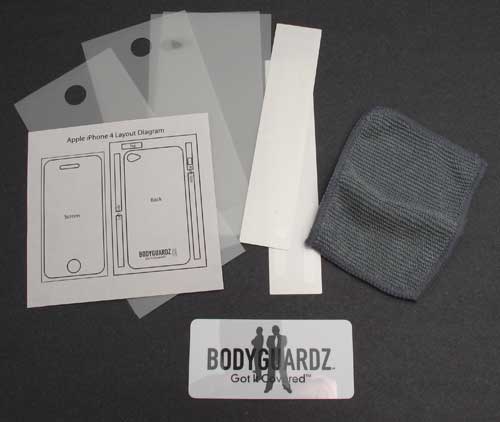
Package Contents
2 sets of screen protectors, back protectors and side protectors
Microfiber polishing cloth
Squeegee card
To be perfectly honest, I’ve not tried installing a screen protectors on my phones in quite a few years. They always seem to require you to spritz the screen with water and other gymnastics in order to get them to install perfectly. I don’t have much patience when it comes to doing stuff like that and prior experiences years ago resulted in bubbles, dust and other junk between the screen and the protector. For that reason, I wasn’t too excited when the folks at BodyGuardz offered to send me a free set of full body protectors for my iPhone 4. I fully intended to bribe… I mean give them to one of the other team members to review, but in the end I accepted the sample for myself because they didn’t require water to install them.
The first thing I did was read the directions, which seemed pretty straight forward. I then watched two very short videos on the BodyGuardz site demonstrating the installation. Next it was my turn.
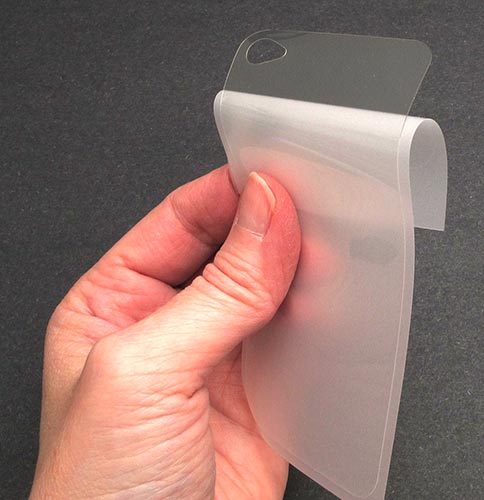
Using the supplied microfiber cloth, I polished the back of my iPhone 4 and made sure that the surface was free of dust. I then peeled the backing from the top of the protector as instructed and without touching it.
The next step was to line it up with the top edge and then using the plastic squeegee, slide it down the rest of the surface to affix the protector. The whole task from polish to end took less than 2 minutes.
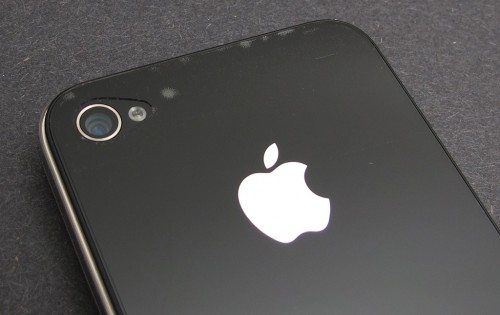
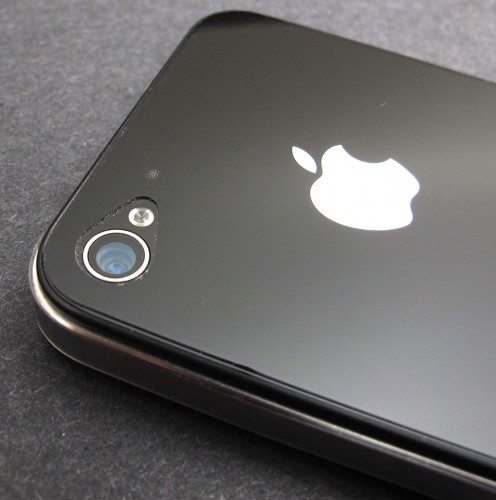
It really helps that the protectors are not made of super flimsy thin material. They are thicker and almost rigid. Lining up the edges was not a problem. The only issue I noticed was the top most edge and one bubble that would not go away no matter how much I tried to squeegee it. Click the image above for a large view.
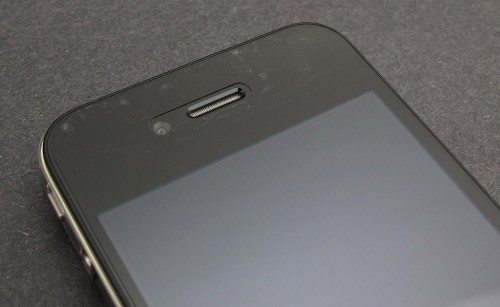
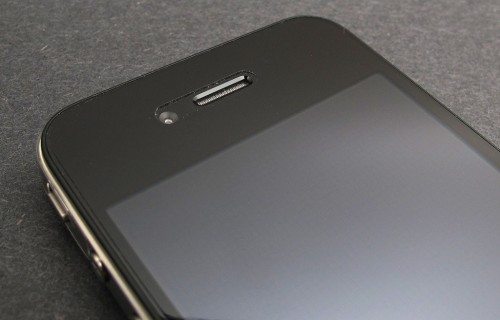
I applied the top surface protector using the same method. The result was a few bubbles at the top edge as you can see in the image above (you can click for a larger view). I wasn’t very happy with the way it looked, but decided to keep going and do the edges protectors next.
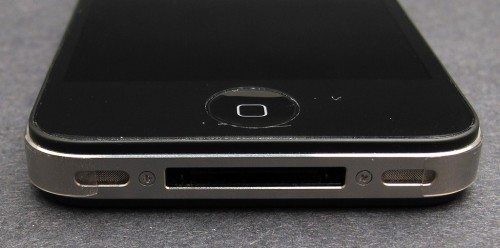
I found it more difficult to apply the edge protectors. The material seems to be more stretchy than the top and bottom protectors. The instructional videos mention not stretching them and I really didn’t think I did, but as you can see here, both edges overlap the speakers slightly.
You can see how close I stuck the Right side stickers…
and Left side. The Left side does bridge the antenna area, but I can’t tell you if it has any effect on attenuation issues as my iPhone is no longer active on AT&T’s network.
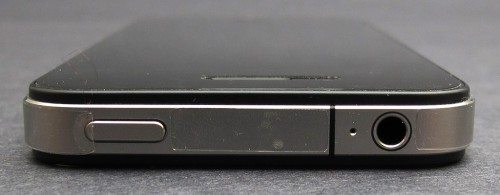
Top surface.
I didn’t really like the feel of the side protectors and I obviously didn’t like the look with the overlapping edges.
Looking back at the top and bottom protectors, I wasn’t too happy with the bubbles either. The rest of the surface of the phone looked fine to me though. I then remembered that the video said to wait 24-48hrs for the bubbles to go away. I wasn’t convinced that they would disappear, but what the heck… I gave it 24hrs. And…
They weren’t just blowing smoke, the bubbles did go away! Totally! Check it out (click the image for a larger view). I was completely surprised and impressed.
The one bubble on the back side remained, but It’s not a bubble, I think there’s an actual piece of dust between the protector and the phone. Bummer.
You will notice something in these close up pictures though… It seems that dust particles like to stick around the edges of the protectors. This is more noticeable if you look at the earphone cutout and camera cutout. Yes, I’m being crazy picky, but I have to find at least something to complain about right?
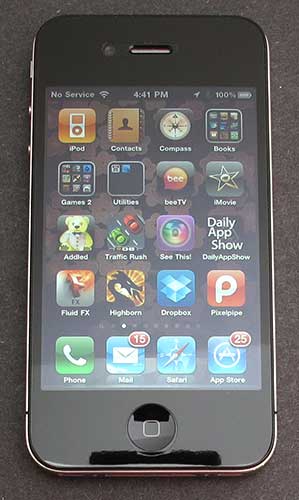
Another very surprising fact is that once installed, I am not seeing any degradation of screen clarity or sensitivity. Actually, if I wasn’t already aware that my phone had a protector installed on it, I would not know it. It does not feel any differently or behave differently.
I removed the side protectors after 24hrs, but the top and bottom ones are staying put. I will definitely recommend BodyGuardz Dry Apply protectors for any device. They are very easy to apply, not overly expensive and will protect your device from scratches.
Ailun Screen Protector for iPhone 16 / iPhone 15 / iPhone 15 Pro [6.1 Inch] Display 3 Pack Tempered Glass, Dynamic Island Compatible, Case Friendly [Not for iPhone 16 Pro 6.3 Inch].
13% OffAilun Screen Protector for iPhone 16e / iPhone 14 / iPhone 13 / iPhone 13 Pro [6.1 Inch] Display 3 Pack Tempered Glass, Case Friendly [Not for iPhone 16 6.1 Inch]
$5.98 (as of December 15, 2025 02:03 GMT -05:00 - More infoProduct prices and availability are accurate as of the date/time indicated and are subject to change. Any price and availability information displayed on [relevant Amazon Site(s), as applicable] at the time of purchase will apply to the purchase of this product.)Product Information
| Price: | $14.95 - $24.95 |
| Manufacturer: | BodyGuardz |
| Pros: |
|
| Cons: |
|





Gadgeteer Comment Policy - Please read before commenting
i don’t like cases that much either, I think they sometimes take away from the original design that attracted you to the phone in the first place.
I opted for the Zagg film, even though I heard it was a pain to install I just took my time & am pretty happy with the results. I bought the front + back kit but only applied the front, I’m using a Belkin Micra case which protects the back and allows my kick-ass Gelaskin to show also!
One of my only complaints with the Zagg cover for the front/screen is that it’s slightly “tacky” to the touch and sliding is a little hampered. Swipes & Games that require quick movement are a little “stuttery” some times, but I’ve yet to contact Zagg to see if there’s a solution.
@The Slapster Yep, that’s exactly why I’ve hated most protectors – the tackiness. You don’t get that AT ALL with the BodyGuardz Dry Apply. I’m not kidding when I say it feels 99.99% like there is nothing on the screen.
I may have to remove the Zagg & try the BodyGuardz then. Angry Birds is making me much angrier than I think it should, given that it’s supposed to be fun!
Been a big fan of BodyGuardz for a while now. I just did a “wet” install on my new BlackBerry Bold & it went flawless. I just retired a BB Curve that had the screen protector on it for a year & it still looked brand new! They really have a great product & I’m glad to see The Gadgeteer give them a good review!
In the pros section, do you mean “does NOT require liquid”?
@Jonas thank you for catching my mistake. I just fixed it. 🙂
No problem at all, thanks for the great review!