When I purchased my current house, it came with a professionally-installed security system. I never used it because there is a monthly fee to monitor the premises, which I’m not willing to pay. Recently I heard about Oplink Security and their Triple Shield Home system which can be self installed and has an option that doesn’t require a monthly fee. Even better is the fact that it uses wireless sensors, which for a home improvement klutz like me, seemed perfect. Well, nothing is prefect, so I’ll take you through my experiences so far. We’ll be looking at the Triple Shield Home C2S12 setup.Up front you should know that this is NOT a professionally-monitored service. When configured, the system will send event notifications to the primary user, and if one does opt to pay a monthly fee, to an unlimited list of users. Also, the product is a work in progress. For example, they talk about a triple shield, which means events can be sent via the Internet, land lines, or cellular networks. Well, the latter two won’t be available until March 2013. At the moment, all access and monitoring is done via the Internet and a smart phone or tablet.
 I rarely give high marks to the packaging of a product, but the hardware from Oplink is an exception. Each component of the system is clearly marked, either in its own box or in a special slot in the package.
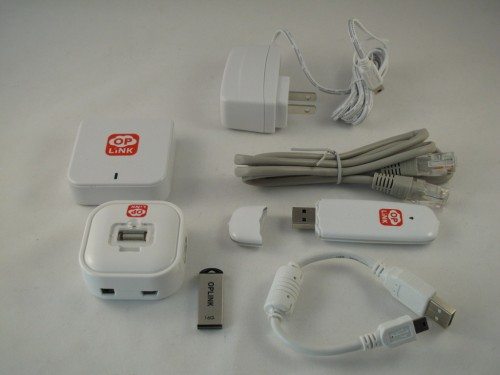 The heart of the system is the processor (OPU), along with a USB hub, flash drive, and WiFi dongle. The necessary cables are provided.
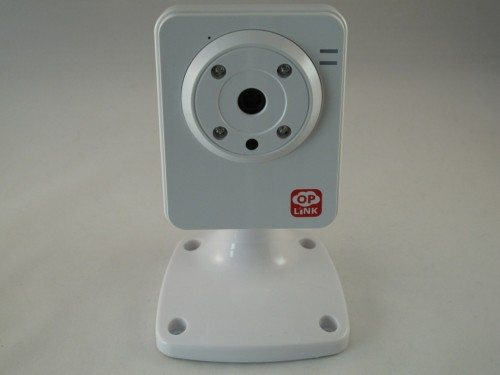 My package contained two video cameras. These have a built-in microphone and emit infrared for night surveillance. The cameras are the only sensors that require a cable. They need to be powered from the mains. The signal is sent wirelessly.
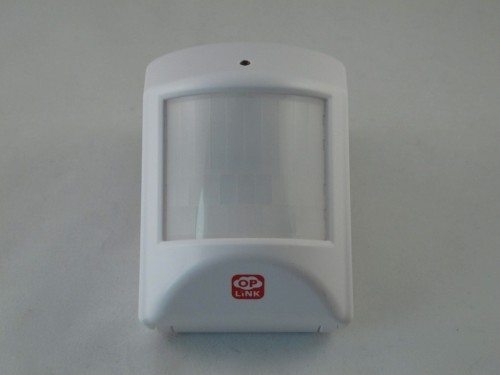 This is the motion sensor. Two of these were included. They are battery operated. The required batteries were included.
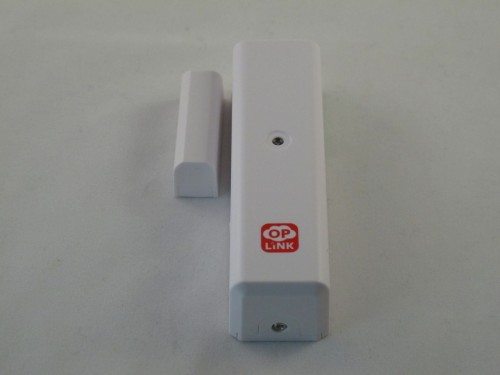 There were six magnetic door/window sensors in the kit. Again they are battery operated.
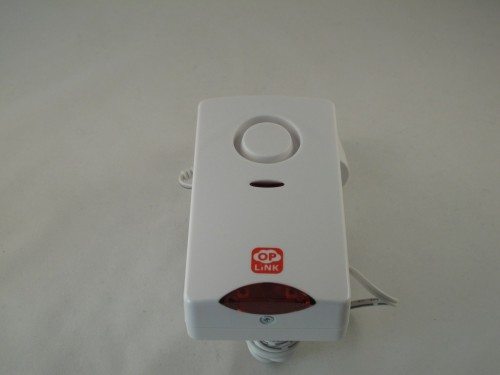 There is an indoor siren that plugs into any convenient electrical outlet.
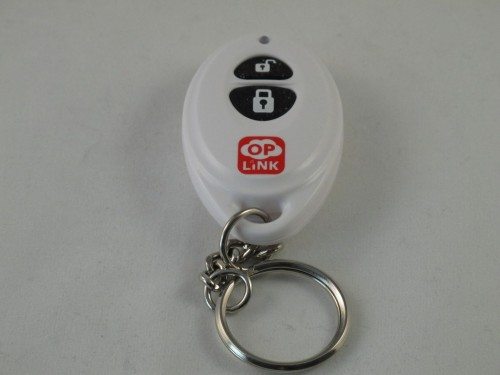 And lastly, there were 3 key-chain alarm/disarm/panic remotes included.
The first step in the installation process is to download an app on your smart phone. There are both Android and iPhone versions. Interestingly, there is no web access to the system. If you don’t have a smart phone or tablet with internet access, this system won’t work for you. I don’t have a smart phone, but used my iPad and iPod. The app for Apple is for the smaller devices. There is no native iPad app. Upon starting the app, it will ask for your smart phone telephone number. It will then call you back with a code that you enter which will register your account.
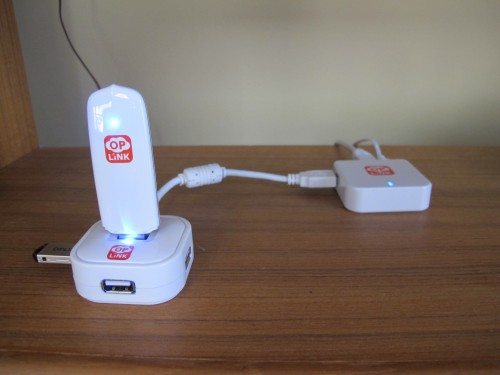 To begin the hardware installation, I assembled the pieces for the main processor and plugged it into an Ethernet port on my router. As soon as the blue lights were flashing I could move on to the next step.
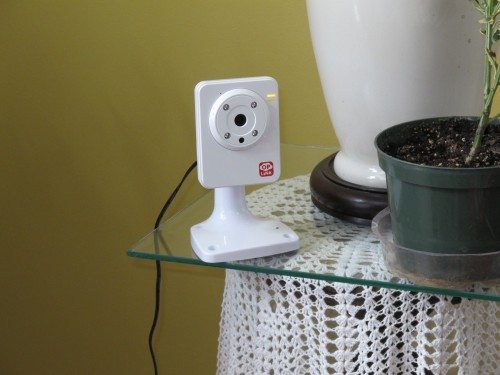 Installing the cameras was as simple as placing them to cover high traffic areas and plugging in to power. At this point, you go back to the app and tap “activate” to start the search for devices in your system.
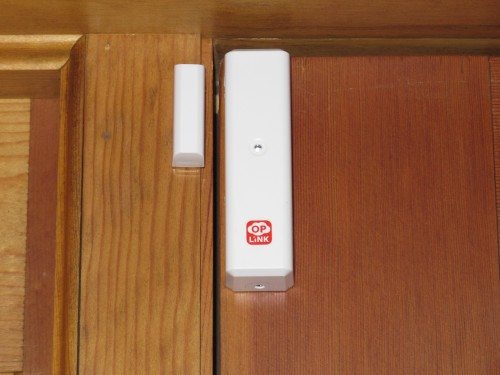 To continue the installation, I installed the door and window sensors. Six came with the package, but I only used 3. They are magnetic sensors and require a battery in the larger of the two pieces. The other piece is a magnet. They come with double-sided tape and are simple to install, just make sure there’s no more than a pencil width between the units when closed.
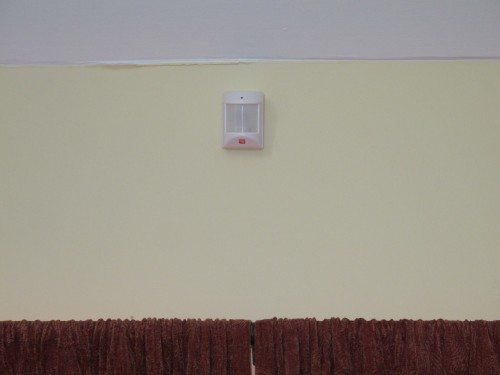 The motion sensors were also installed using double side tape, and this was a big mistake. Because I needed to move them around to find the optimum location, I kept pulling them off the wall, which took the paint off my wallboard. This did not make the Better Half very happy. Belatedly, I finally used the 3M Command™ hook and loop strips to mount the motion sensors. This allowed removal of the devices without ruining the paint job. Even if you locate them perfectly the first time, you will have to take them down to change the batteries at some point. After everything is set, you go back to the app, and you should have an activation complete message. If you’re interested, there is an installation video at Oplink’s website.
 The home screen on the app is your gateway into the system. From here, you can arm/disarm the system; view and hear streams from the cameras; set which devices will be active when you’re home and the system is armed; and you can get details about events that trigger an alarm.
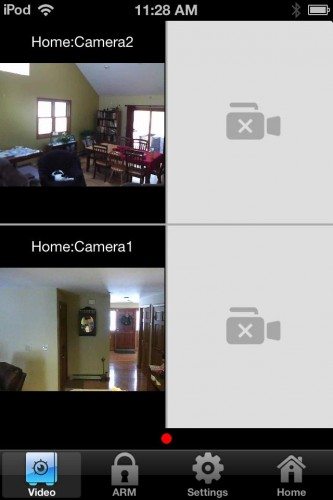 A tap on the video icon brings up the camera screen on the app. A specific camera can be selected and then the image can be rotated.
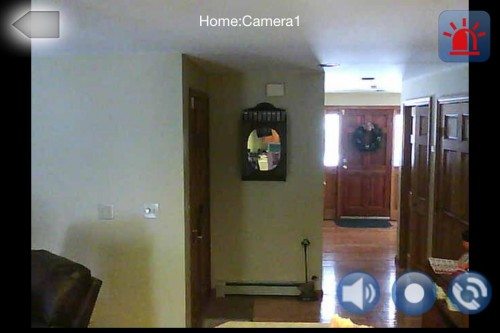 On the expanded video, there are controls to turn on audio, record video, and call someone to let them know what’s going on. For example, if there is an intruder you’re watching, you can record the activity and click the call button to notify the police. Clicking on the red icon at the top will activate the in-house siren immediately. The recording you made can subsequently be emailed to the police for proof.
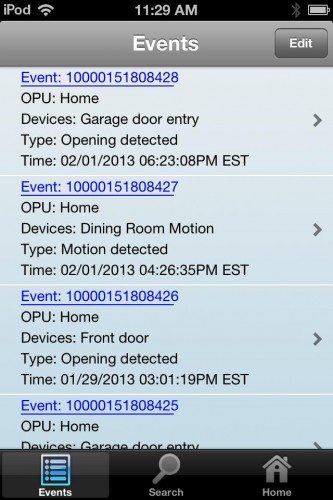 The events screen lists the triggers for the alarm.
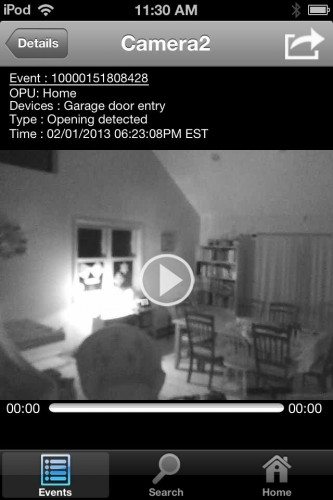 Clicking on the hot link in the event will provide a 30 second recording taken at the time of the event on all the cameras. The above screen grab shows the living room camera at night. These recordings do not have sound, only the live stream does.
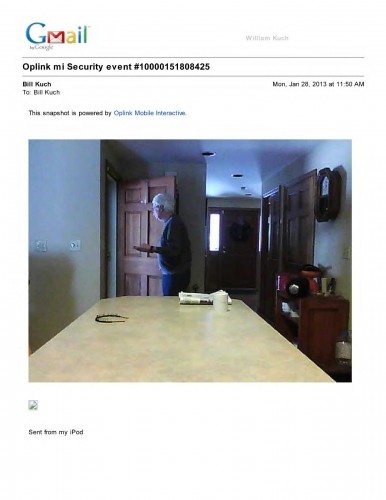 You will also get notified by email for each event. An individual email will be sent for each camera. If you’ve subscribed to their premium service, you or your designated contacts will receive an SMS for each alarm.
The system can be armed from either the app or the key chain remote. Of course, using the key-chain remote required that you be within range of the main unit, while you can remotely arm and disarm the system using the phone app. When using the app, an audio announcement is made when changing modes; however, when using the key-chain remote, there is no feedback letting you know if the system is armed or not unless you also have your smartphone with you. One would think that there might be a chirp from the siren to signal a change in status.
During the month I’ve been using the Oplink system, several concerns came up. As I mentioned at the beginning of the review, this is a work in progress. There is no “instruction” manual for its operation. Some advice can be gotten from the FAQs on the website, but there are many unanswered questions such as, what happens if you lose Internet access. I called the good folks at Oplink and was told that I would still be able to arm the system locally with the key-chain remote and the local siren would still indicate an alarm trigger. Unfortunately in my case, this is not true. I’ve experienced several messages on the app advising that the alarm has gone offline. I attempted to activate the system using the key-chain remote, but it did not work. To get everything back to normal I had to remove power from the OPU to restart.
During my initial installation, I couldn’t get the motion sensors to be recognized by the system. After calling Oplink, we determined that they were too far away from the OPU. This necessitated me moving the OPU to a central location in my 2000 sq ft home. Unfortunately there is no LAN access there, so I had to run an Ethernet cable to that point. This sort of negates the ease of a wireless installation.
Then there’s the issue of cost. My two-camera Oplink system retails for $599. Coincidentally during the same period, I purchased a 4-camera surveillance system for a local club of which I’m a member, and it cost $371. Granted it is a wired system and has no door and motion sensors, but the cameras can be motion-activated and it also has net and smartphone access, but it stores all the video on a local hard drive. The Oplink system is dependent upon the “cloud” for operation, and I worry a little about having cameras in my house accessible to the world.
The good news is that this was very easy to install if you have a small area to cover with the motion sensors. If you’re an early-adopter type, it may be for you. For the rest of us, I would suggest waiting until the system has matured and you’re convinced of the cost benefit. There is an entry-level configuration with one camera that retails for $399.



Gadgeteer Comment Policy - Please read before commenting
I can how this would nice for a small shop owner and maybe a small apt with a very neurotic tenant lol, however for the price you’re better off investing a better system.
I also bought one from a local club store and paid just under $500 for a 1 TB drive that supports up to 16 cameras and came with 8 color/infrared cameras. I can see almost every spot in my home from the web or my smart devices (tablets, phones, etc…).
It took more time to set up (some light drilling, and about 5 hours of running wires and hooking up), but its a much more robust system.
I also have to agree also that I would be concerned with storing personal home video access in the cloud just yet.
It costs $600 whereas you can buy a similar system and have it monitored for less. Without monitoring you’re banking on a siren which is generally ignored (how many times have you heard a car alarm going off?). Honestly, a system like this is no more effective than buying some fake camera and alarm signs and putting them up around your home/office/store.
More importantly a quality alarm system will include smoke detectors and you really want those connected to monitoring.
I would check out offerings/monitoring by companies like NextAlarm…it’s not very expensive (long term under $10/month) and will work with most existing systems.
This is a cute system and a cool application for the smartmedias however, if the sensors in this system communicate through wifi then, the whole system is not secure and it will be open for hackers. I did not see any back up power for this system and my home system can last a day with a back up battery.
I don’t know why they called this a security system or where did they get their credentials for being a security system and it looks more like a toy. I is expensive for a toy that a metal door lock is more secure than a plastic looking toy.