REVIEW – Everyone loves to grill, right? Or at least everyone enjoys the results of someone else grilling. The thought of barbecuing on a weekend or holiday can bring up all kinds of memories. My childhood is complete with my father using charcoal (no one used gas back then) in an old, rusted grill cooking a huge slab of roast beef. And then squirting lighter fluid on the open flame! Good times. As time has passed, charcoal fell a bit out of favor and gas grills became a thing. Now, pellet grilles/smokers are gaining in popularity. Each cooking method has its pros and cons. But what about electric? On the surface, it seems like a good alternative to charcoal or gas, which require fire. Now that it’s time to get ready for spring and summer cookouts, is an electric grill something worth considering? Before you discount the idea, consider this: the EliteFyre Volteq Electric Grill with smart temperature control. Is it a solution for you?
⬇︎ Jump to summary (pros/cons)
Price: $199.00 and up
Where to buy: Kickstarter
What is it?
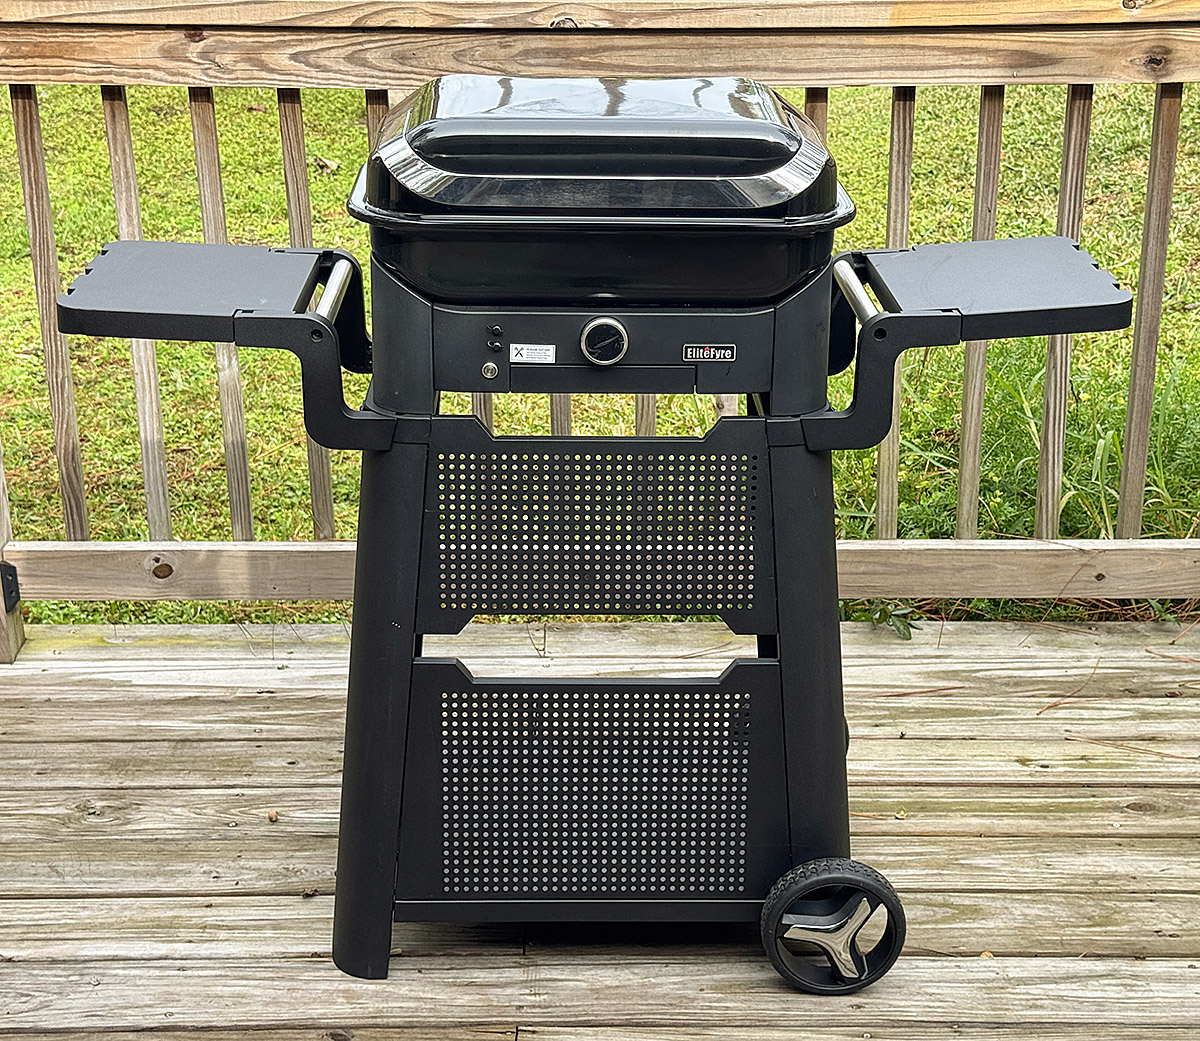
The EliteFyre Volteq Electric Grill is an indoor/outdoor electric grill that can grill meats, vegetables, or almost anything an outdoor grill will cook. Since it’s electric, all that’s required is turning it on and setting the temperature.
The 35 lbs. grill comes either as a countertop version or can be attached to an optional cart with wheels for outdoor use. The countertop section can be transported to and from the kitchen to the cart—and back again. Note: EliteFyre provides screws to permanently affix the grill to the cart if desired.
The Volteq grill has 260 sq. Inches of grilling space—large enough for a typical family of four. It weighs 35 lbs (58.5 lbs with cart), so it can be moved to wherever it’s needed.
Power is supplied via a 6 ft. cord to a standard 120V outlet. Wattage is 1500+ W. Cooking temperature maxes out at 650° F.

Cooking temps can be monitored/timed by a timer or one of two meat probes (both provided). The temp can be set for pre-heating the grill. Temps can be either Fahrenheit or Celsius. Individual temps can be set for each probe for accurate cooking time.
What’s included?
- Electric grill
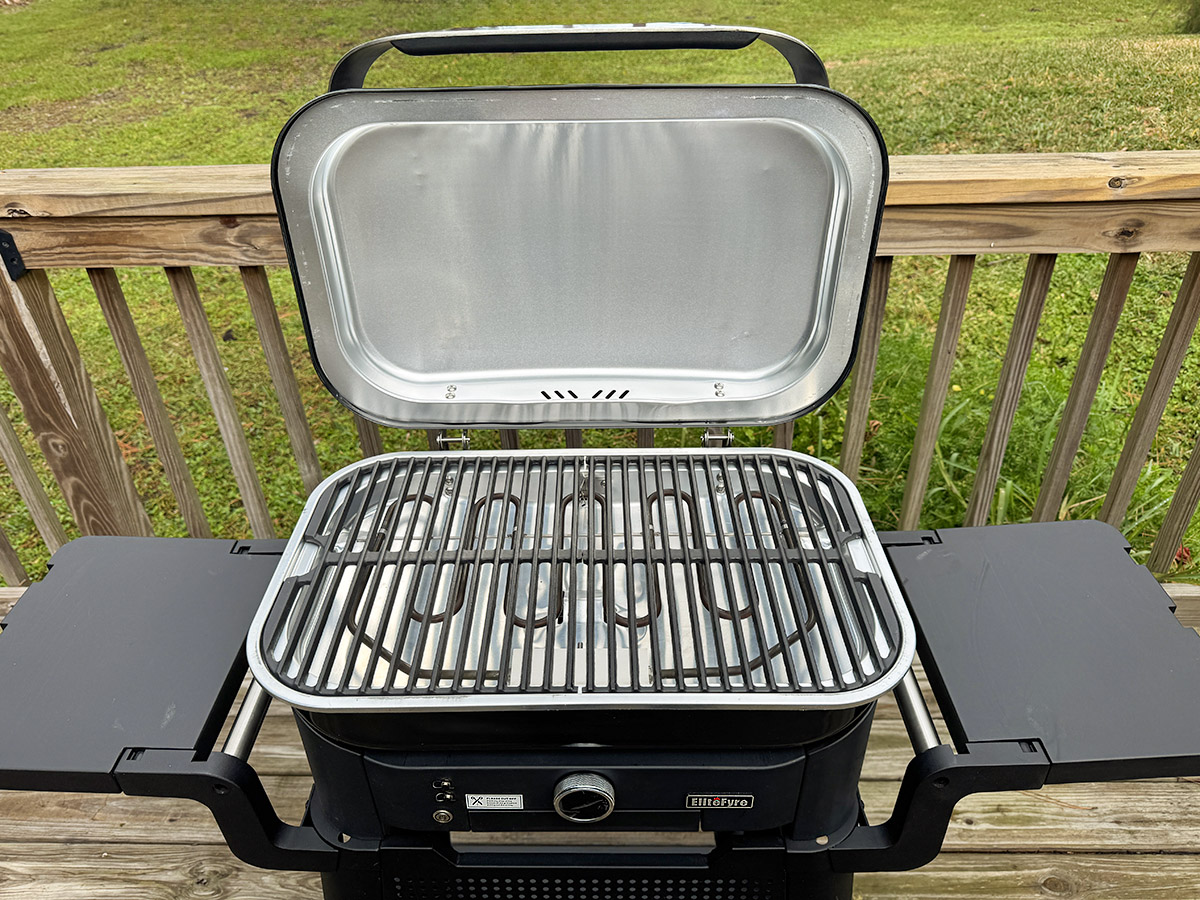
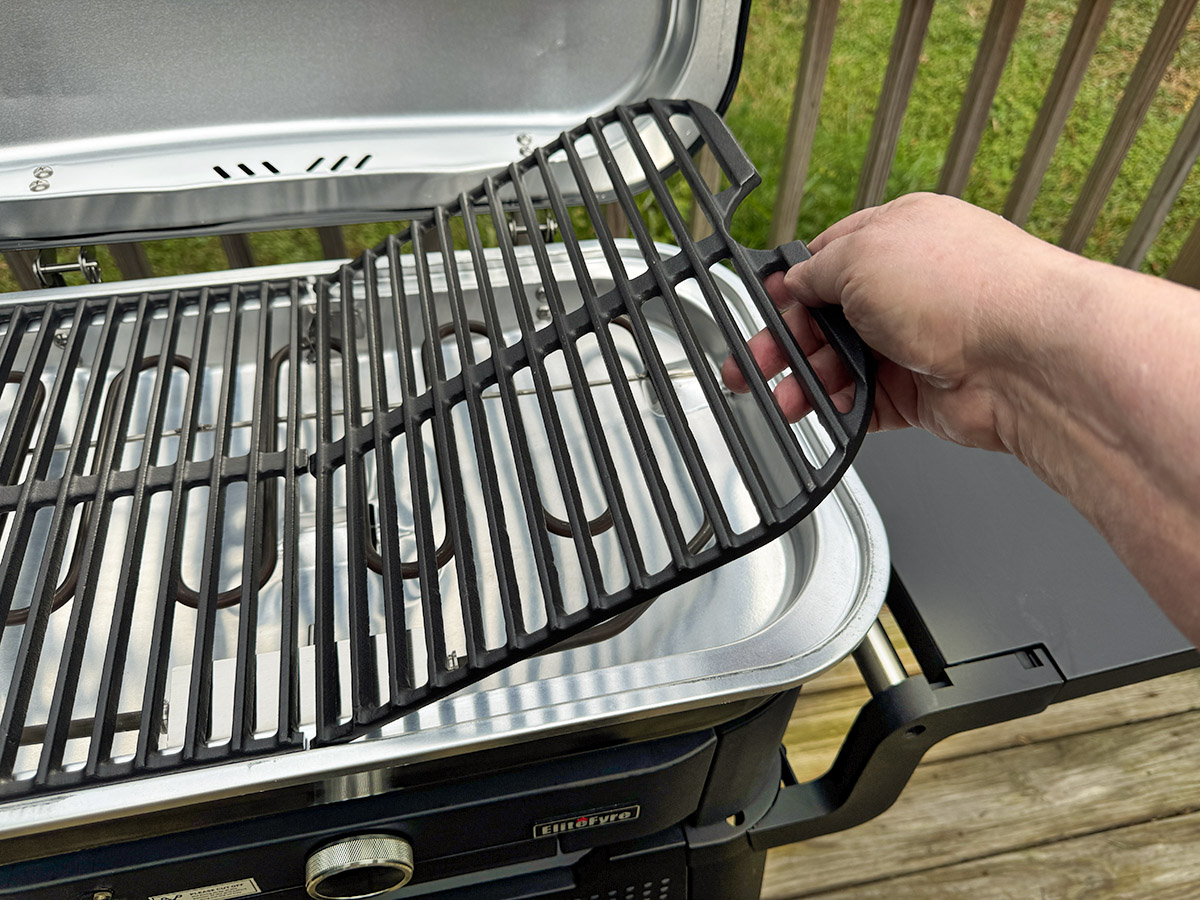
- Cast iron cooking grate
- Grease tray
- Temp probe (x2)
- Cart w/assembly instructions (optional)
Tech specs
- Dimensions: 22.5″ x 16.5″ x 13″ (DxWxH)
- Dimensions with cart: 47.5″ x 20.5″ x 41″ (DxWxH)
- Weight: 32 lb.
- Weight with cart: 58.5 lb.
- Color: Black
- Electric (1500 W+)
- 120V, 60Hz
Design and features
First, the optional cart. Once assembled, it is as solid as any grill stand I’ve used. However . . .
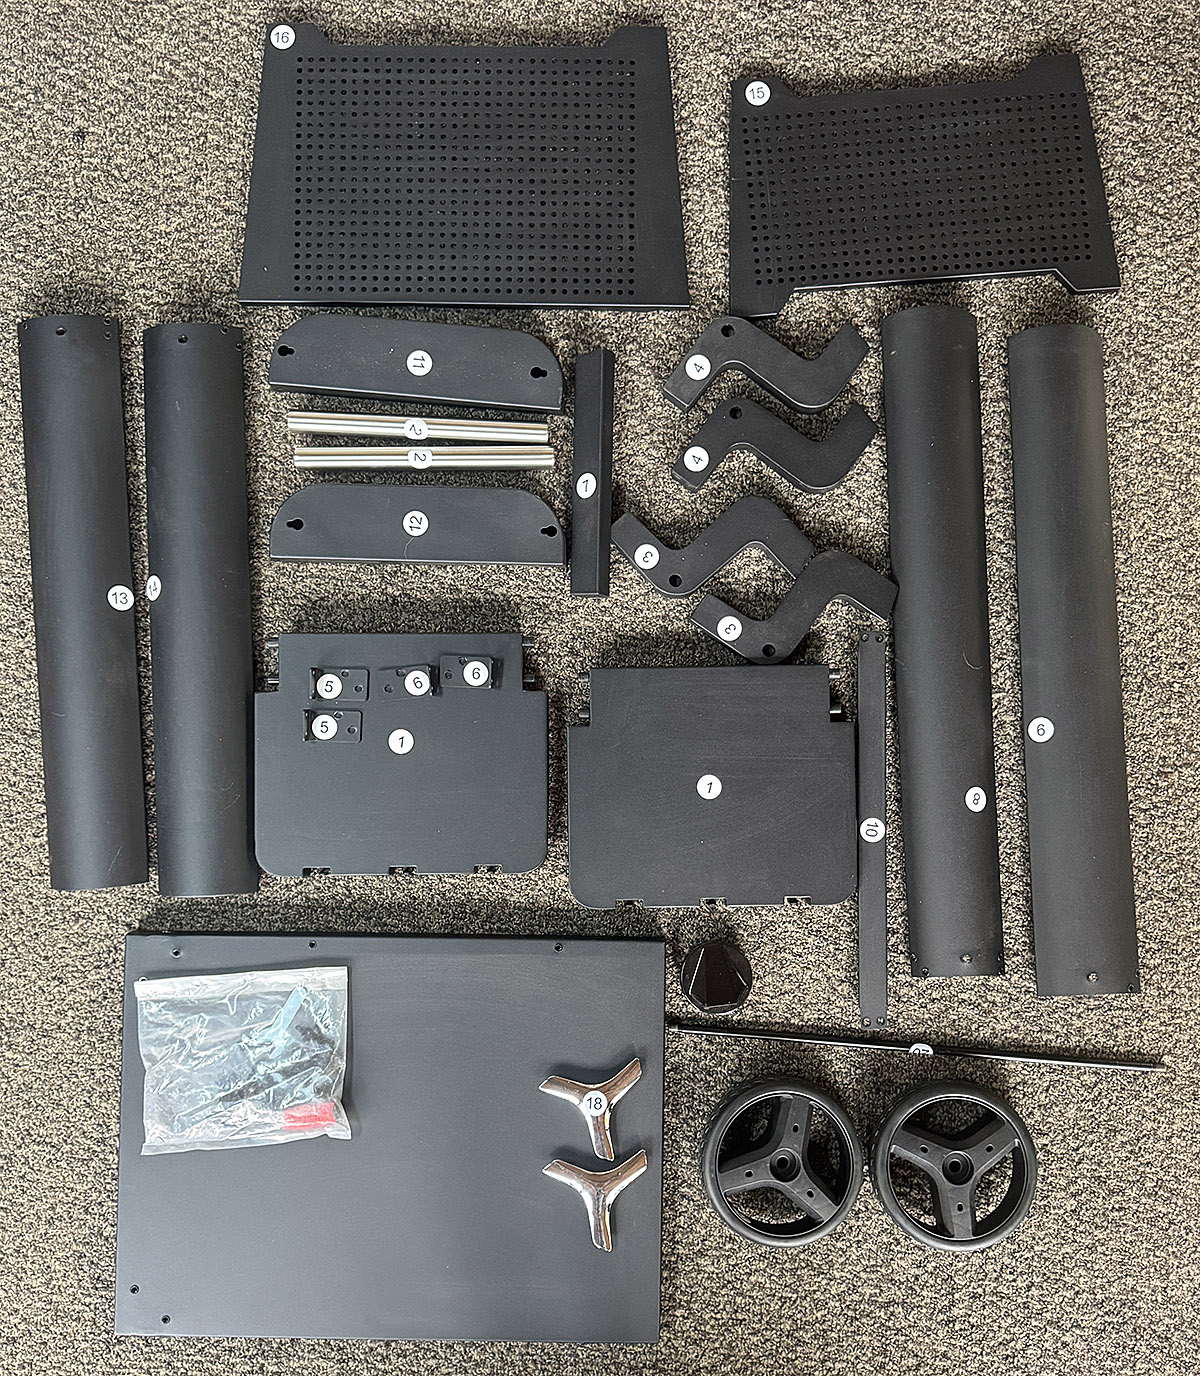
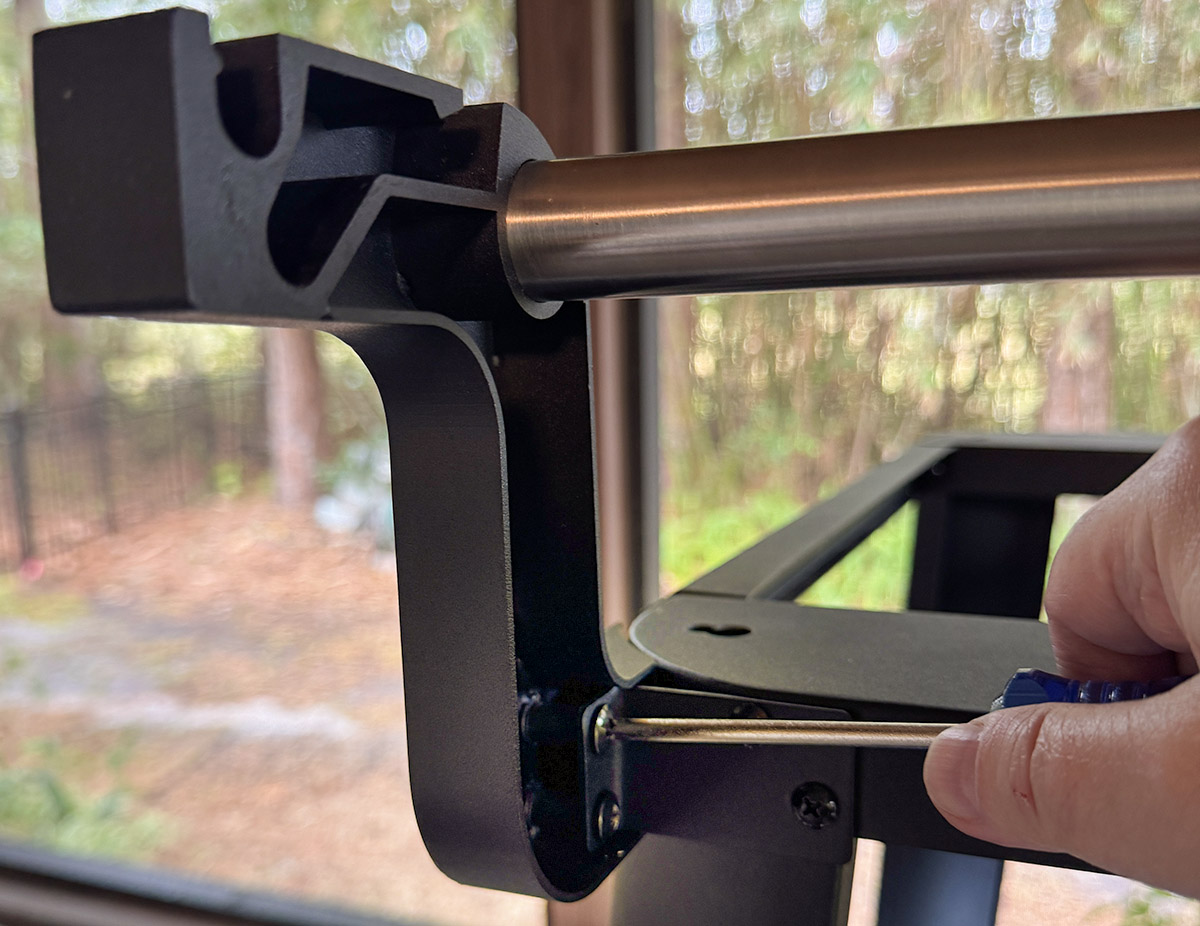
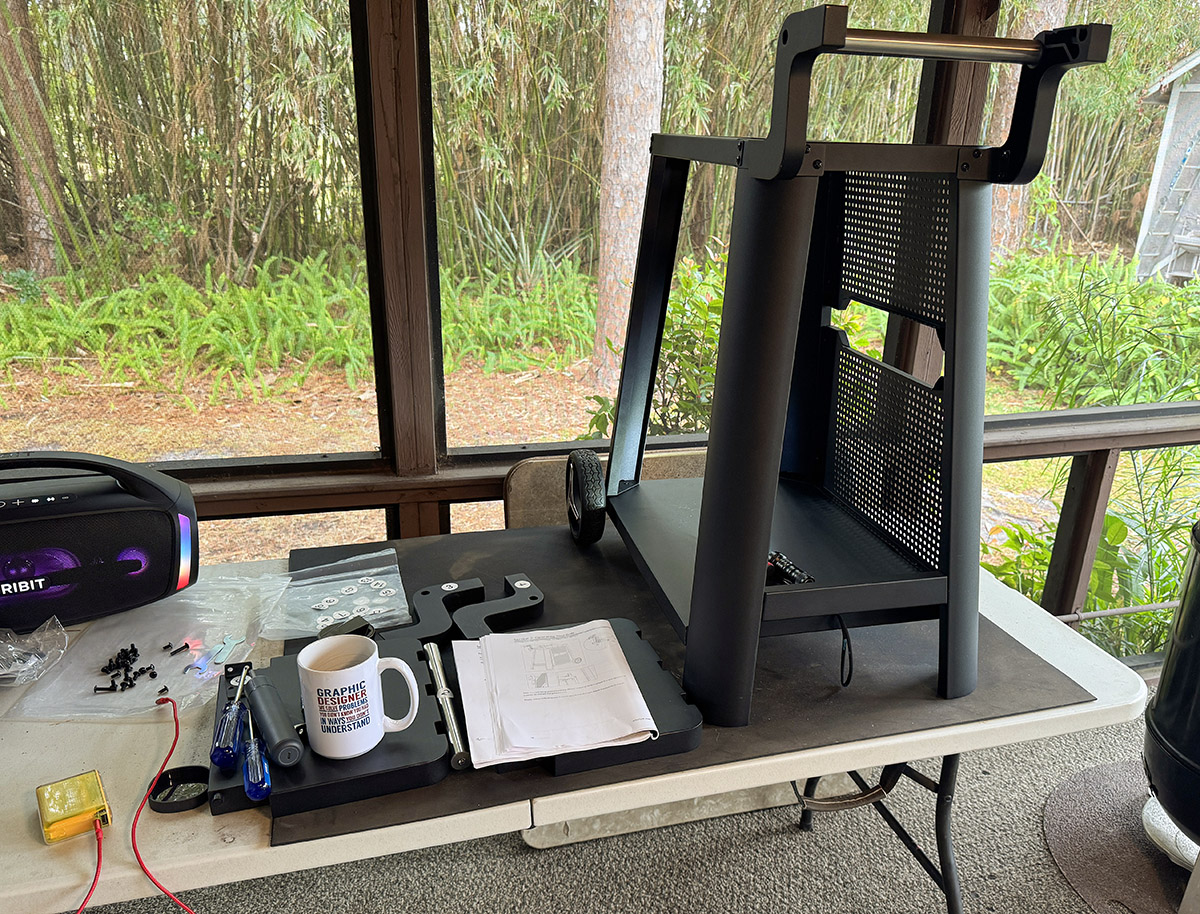
Let’s deal with the least fun part of the EliteFyre Volteq grill—the assembly. Laying out the parts showed that they were all there (they hid the wheels inside the grill). All the screws, tools, etc. were in a single bag and not labeled. I had leftover screws, so I assume that was by choice. I hope I didn’t miss anything! I followed the instructions carefully. It took 2-3 hours to assemble, mainly due to stopping and photographing as I worked.
There were two major issues with assembly: the instructions were sometimes wrong and parts sometimes didn’t easily fit together.
Since the screws were not labeled, I had to try to match the proper ones to the illustrations. This wasn’t usually a problem since some were quite different, but there were a couple of versions that were close enough that I had to place them side-by-side to see the difference.
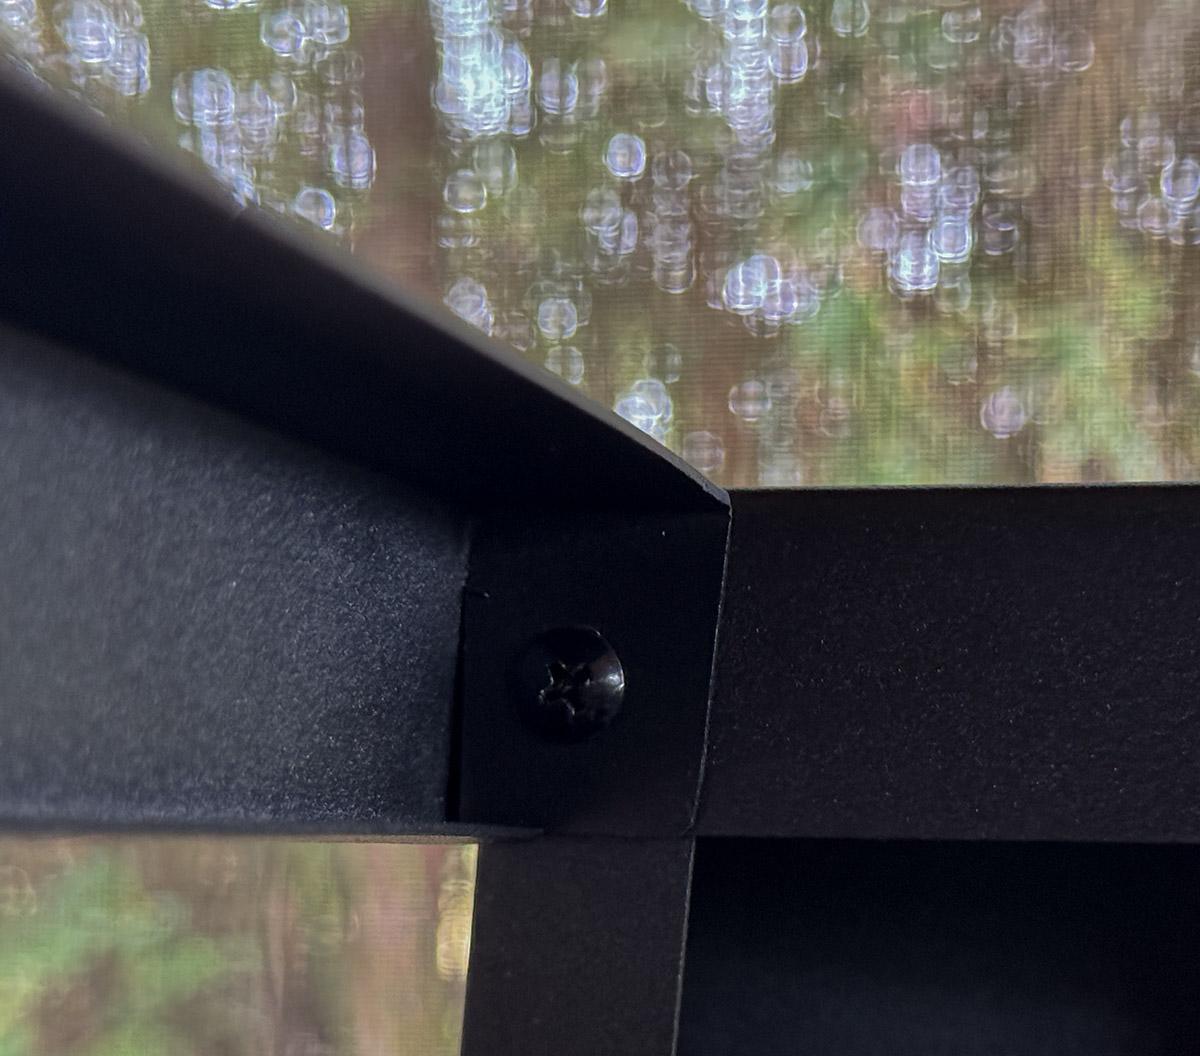
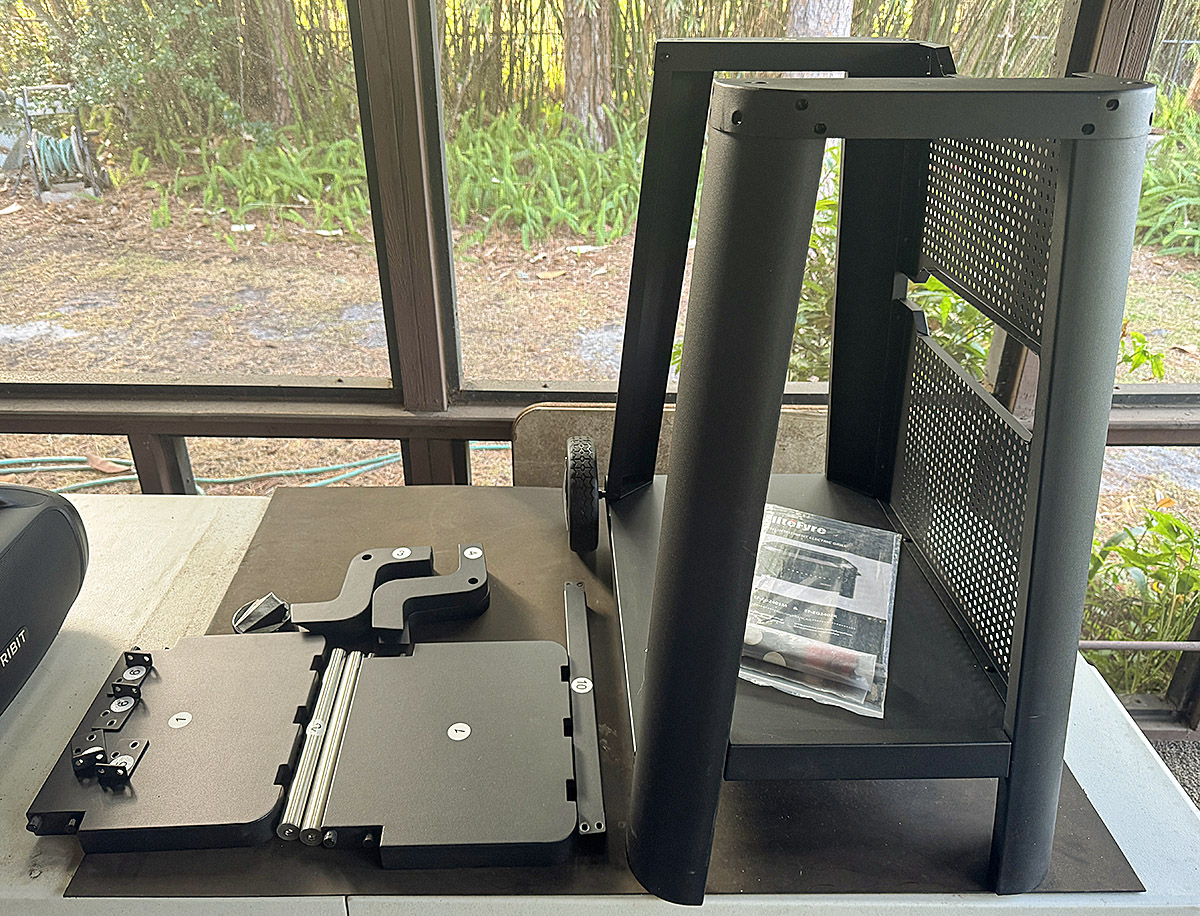
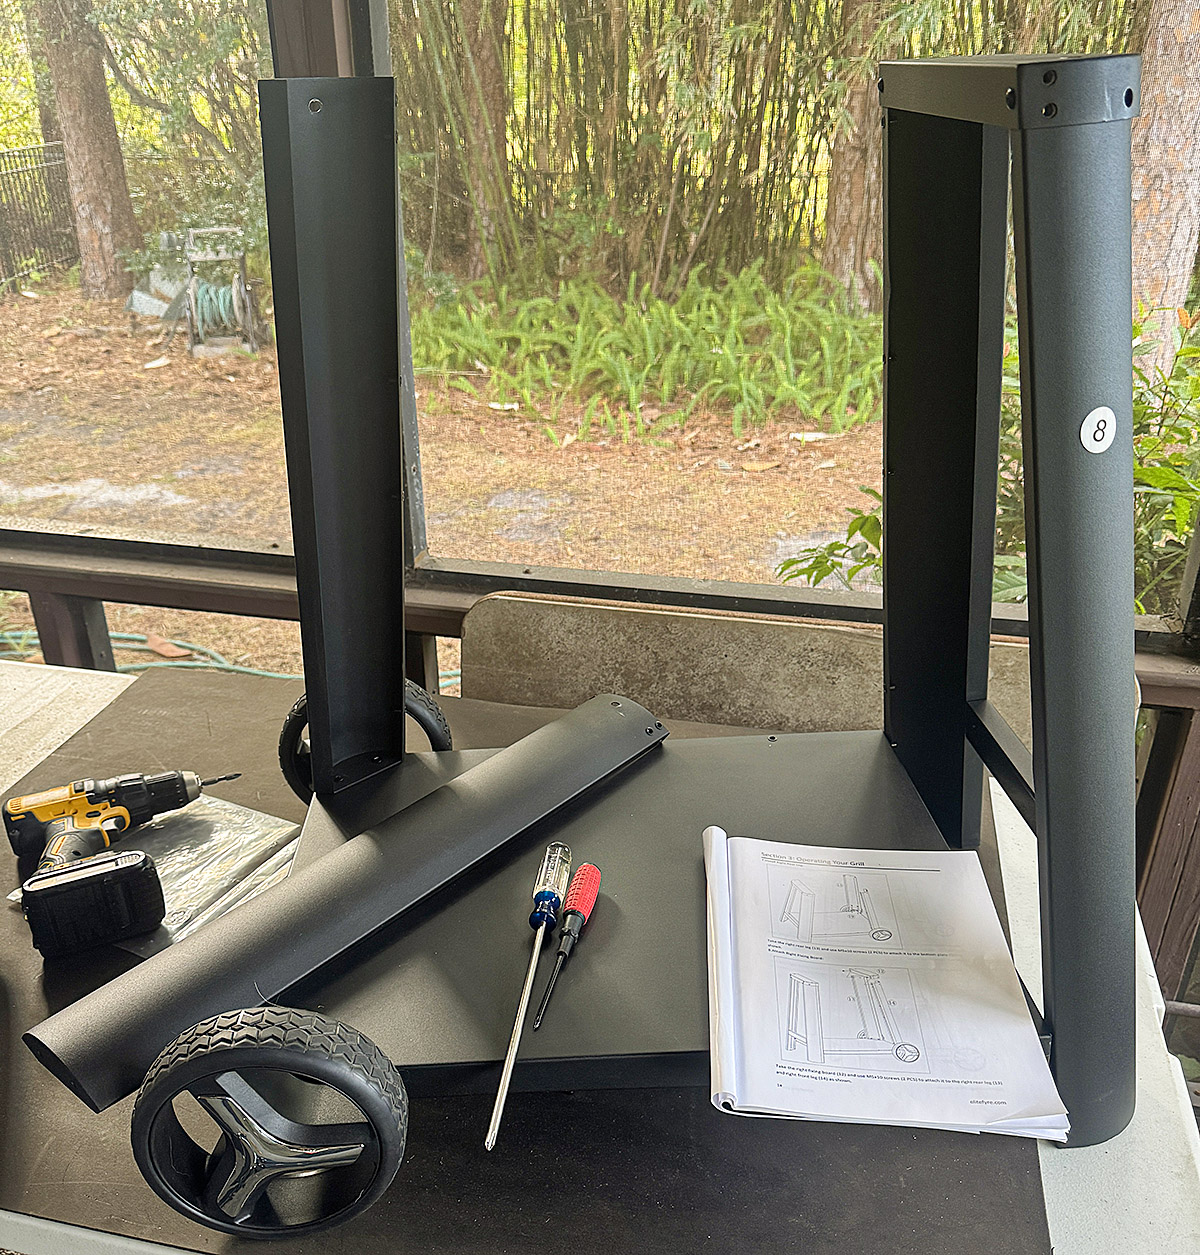
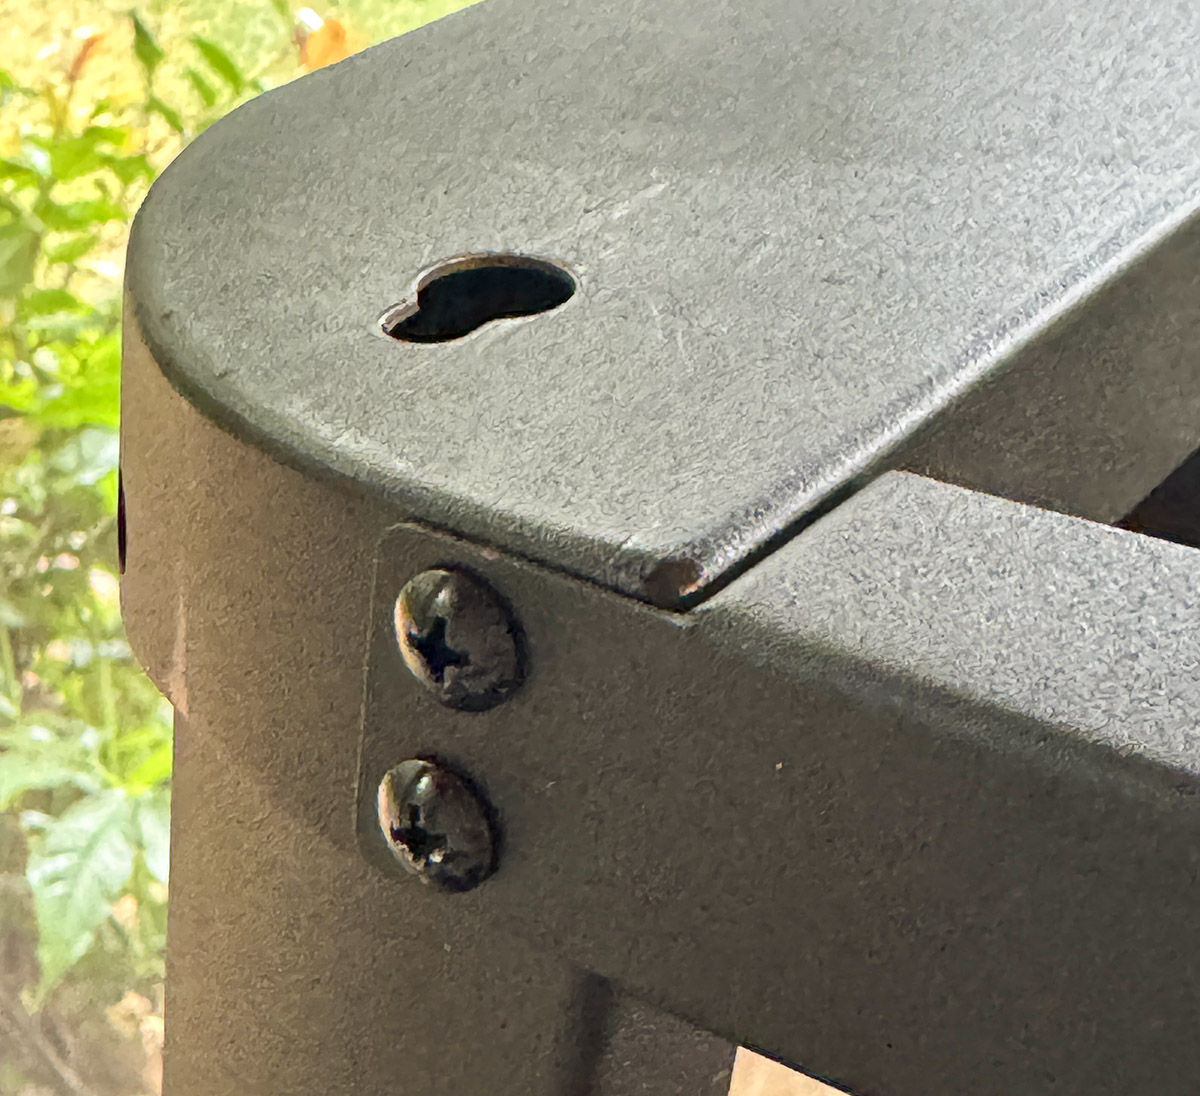
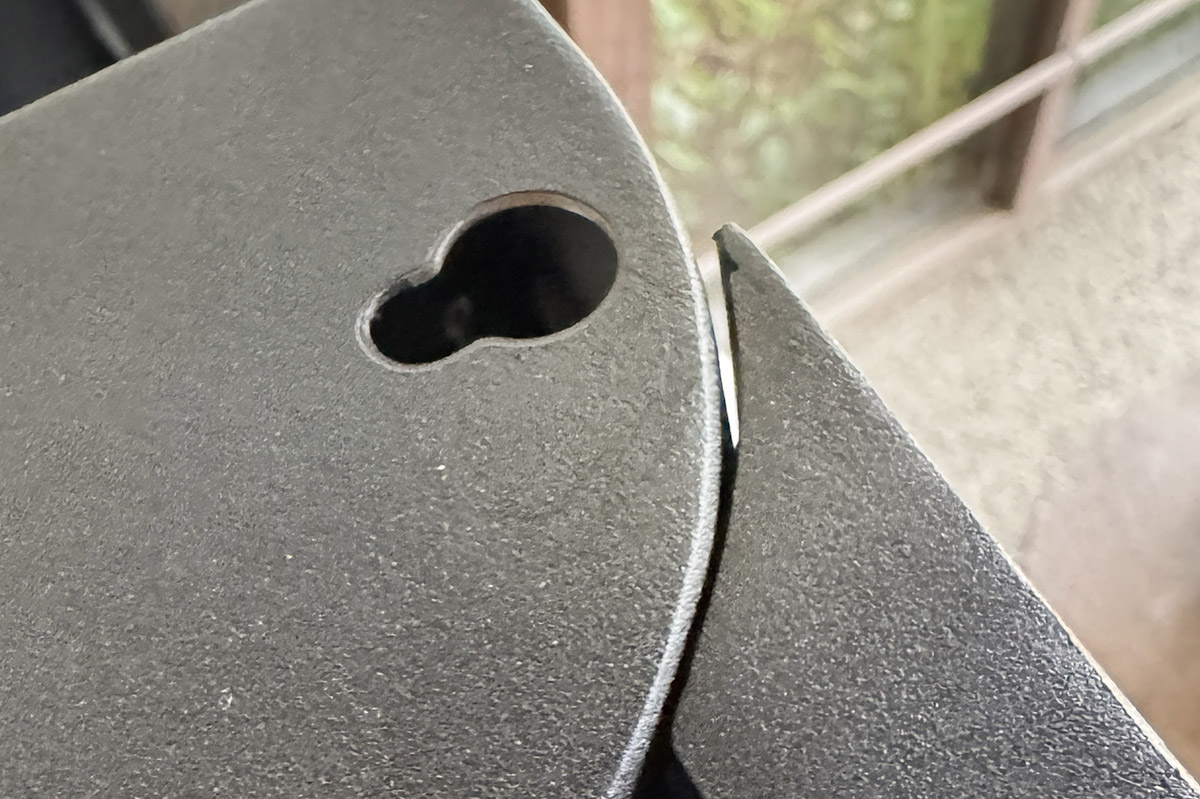
Then there were the parts. Most of them fit well, but the vertical front and rear legs were twisted enough that I had to force them into place just to line up the screw holes. Not only that, some of these holes were under the frame and inside the legs. It was sometimes almost impossible to align black screws with black parts in a dark area of the cart. Not fun.
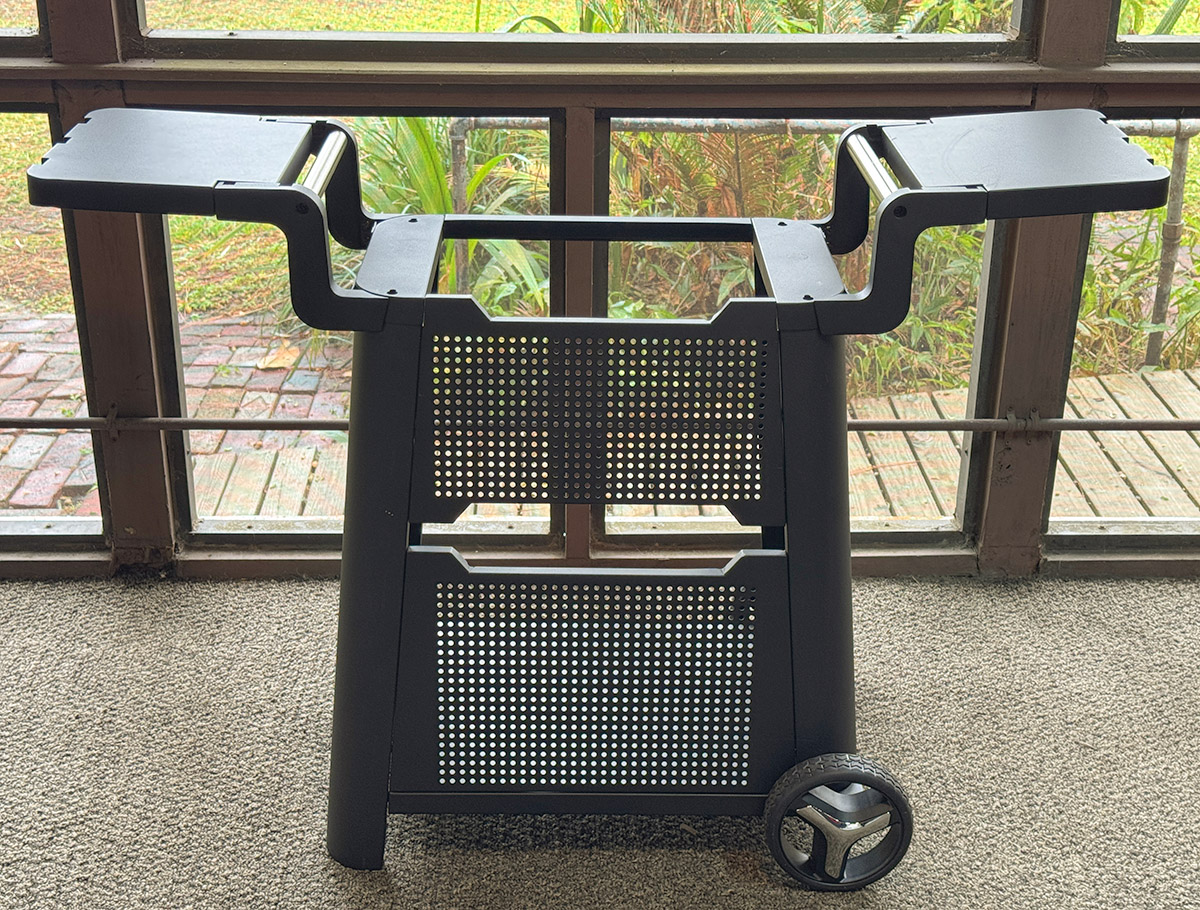
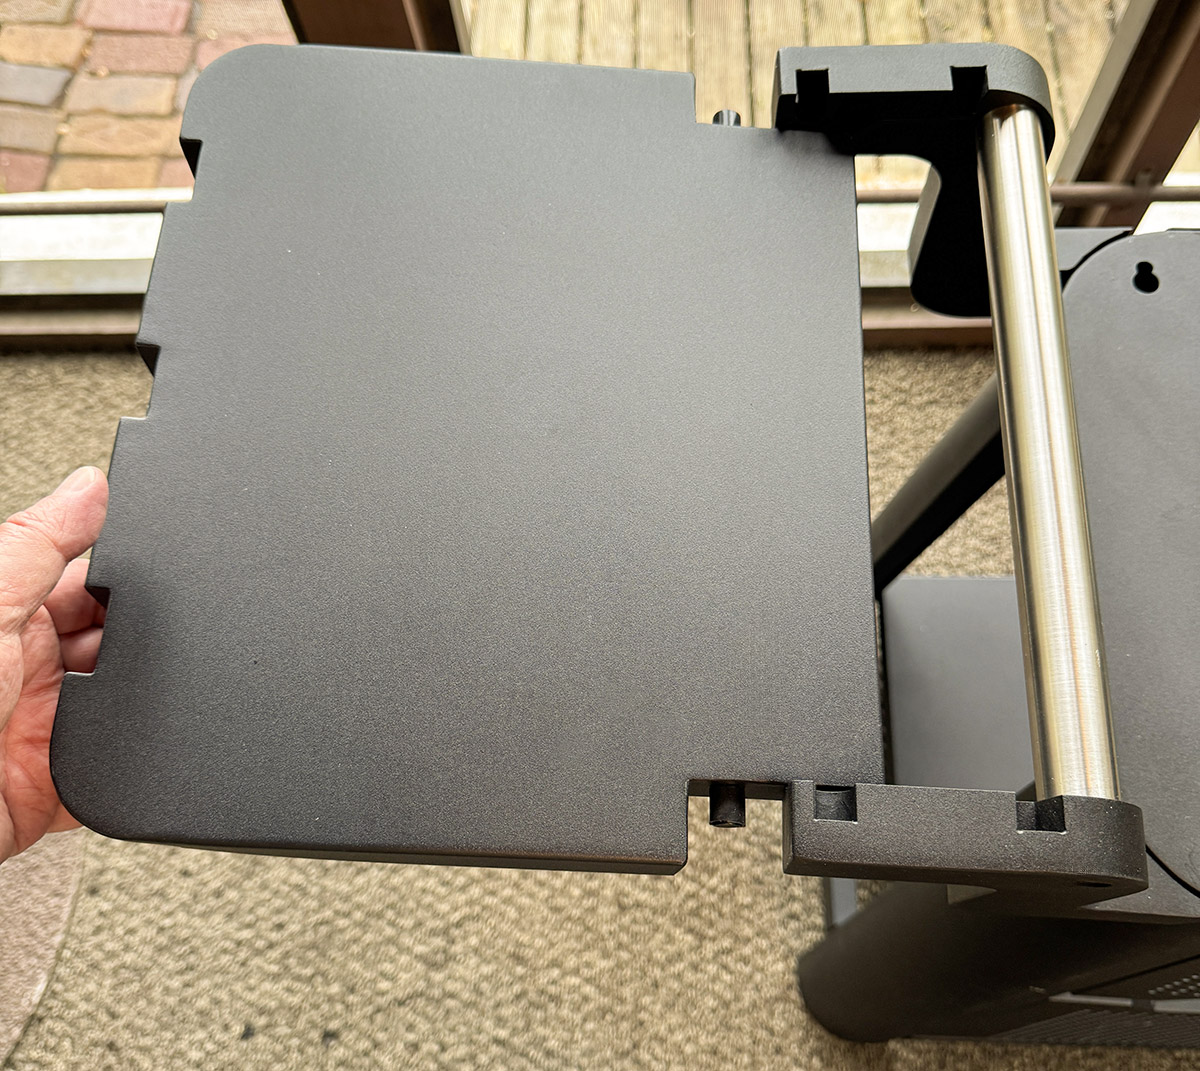
However, with perseverance (and some choice language), I managed to finish the assembly. And as I said, once assembled, the cart is solid. It even has two fold-out shelves with tool hooks on both—although a couple of my tools did not fit. Oh, well.
In all fairness to EliteFyre, I assume this was a preproduction unit. Plus EliteFyre has stated that the instructions have since been corrected and the screws have been separated and labeled. That should help make assembly much easier.
Note that the grill itself requires no assembly.
Now for the fun part. Once assembled, we decided to grill on our covered porch. I figured if the grill top can be used indoors, a covered porch shouldn’t be a problem. Plus, we used our previous electric grill on the porch with no issues.
We’ve owned all types of grills during our marriage. We still have a charcoal Weber smoker and a Weber Kettle charcoal grill. Despite the charcoal and gas grills my wife and I have owned, we prefer electric. It’s convenient, makes decent food and it’s easy to clean. Previously, we used the cheap Char-Broil Bistro—which is small. The Volteq is not small. It’s not huge either, but a perfect size for us empty nesters. It will also work for a family of four.
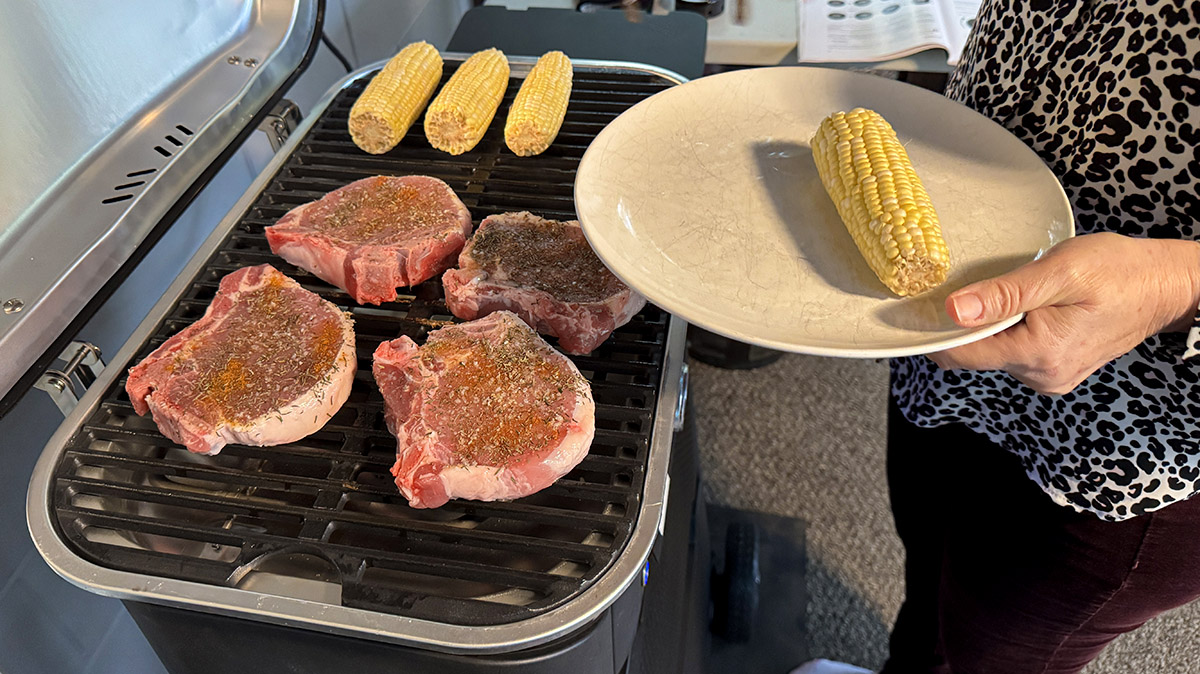
The first meal we cooked on the Volteq was seasoned pork chops and ears of corn. The manual has a few recipes (as does the website) and recommended cooking times for various dishes. I used these guides with the chops, but I relied on my experience and eyes to judge cooking times. I did not use the included probe with this meal.
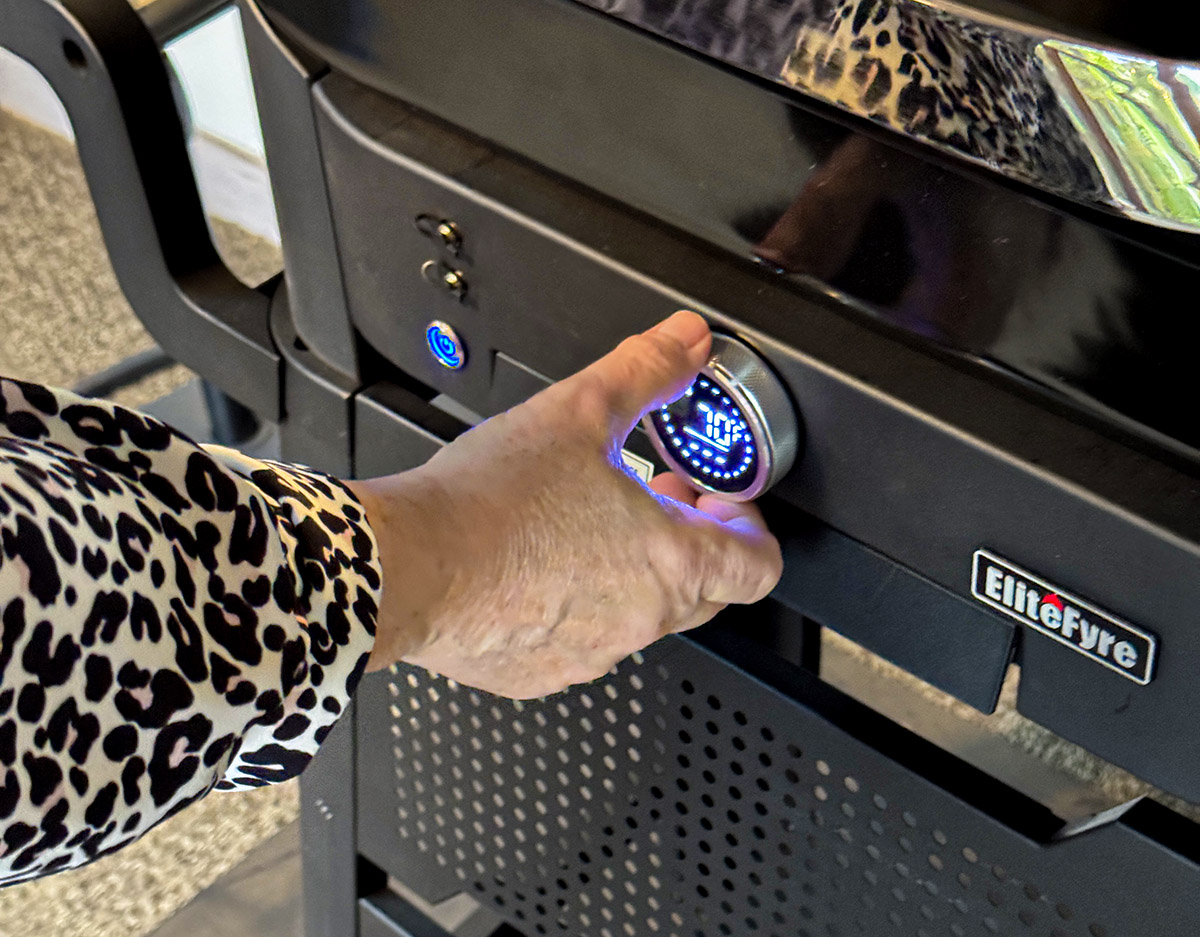
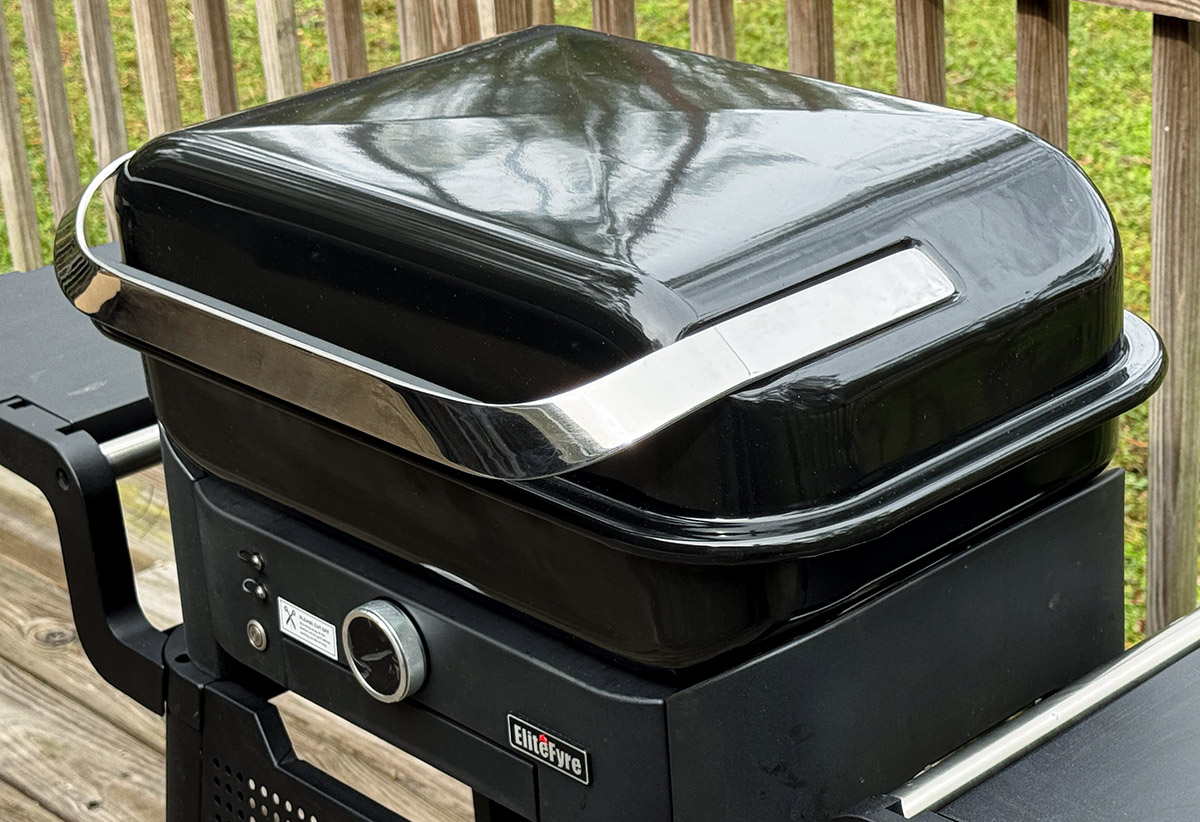
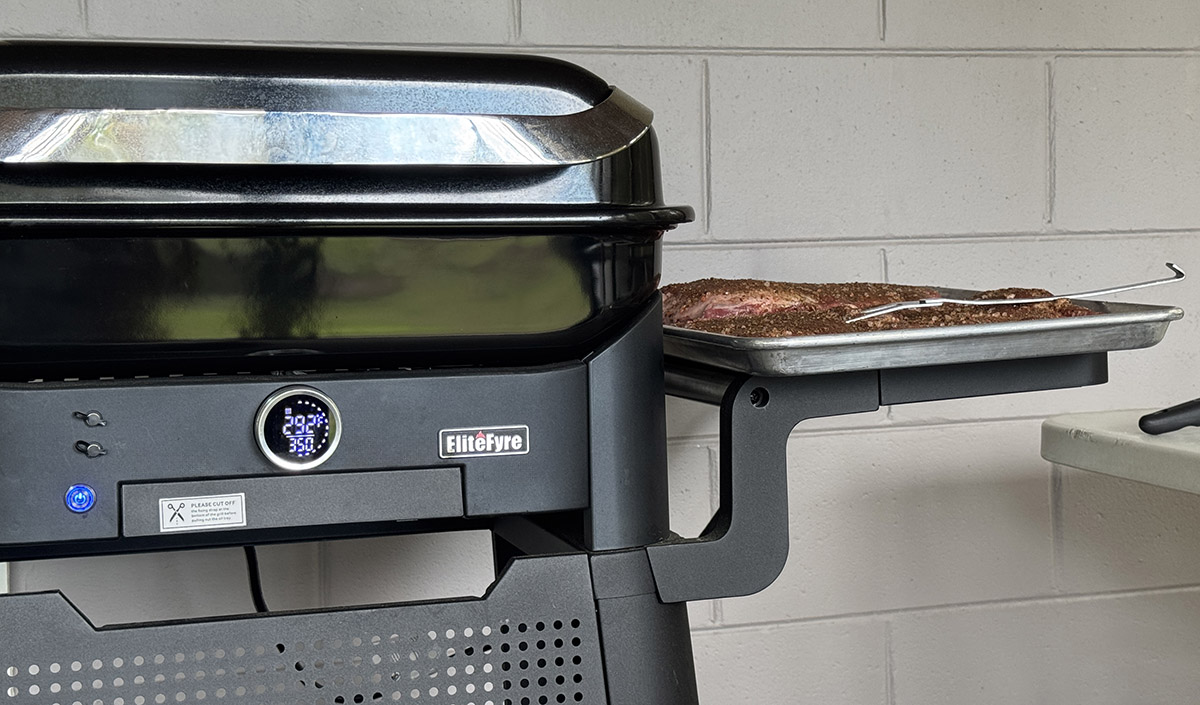
The monochrome LED temp dial is large, easy to read, and contains a lot of info. All that’s required to begin is to press the on/off button and then press the large knob. This allows the temperature to be set. Different small icons can be seen above the large temp numbers: Grate, meat probes, and timer. I chose to use my iPhone timer. That way, the timer is always with me. Also, the grill’s beeping sounds are not loud at all. If grilling during a backyard party with noise and music, the grill’s beeping could be easily missed.
Not that the Volteq is not a “smart” grill. There is no app, wifi or Bluetooth.
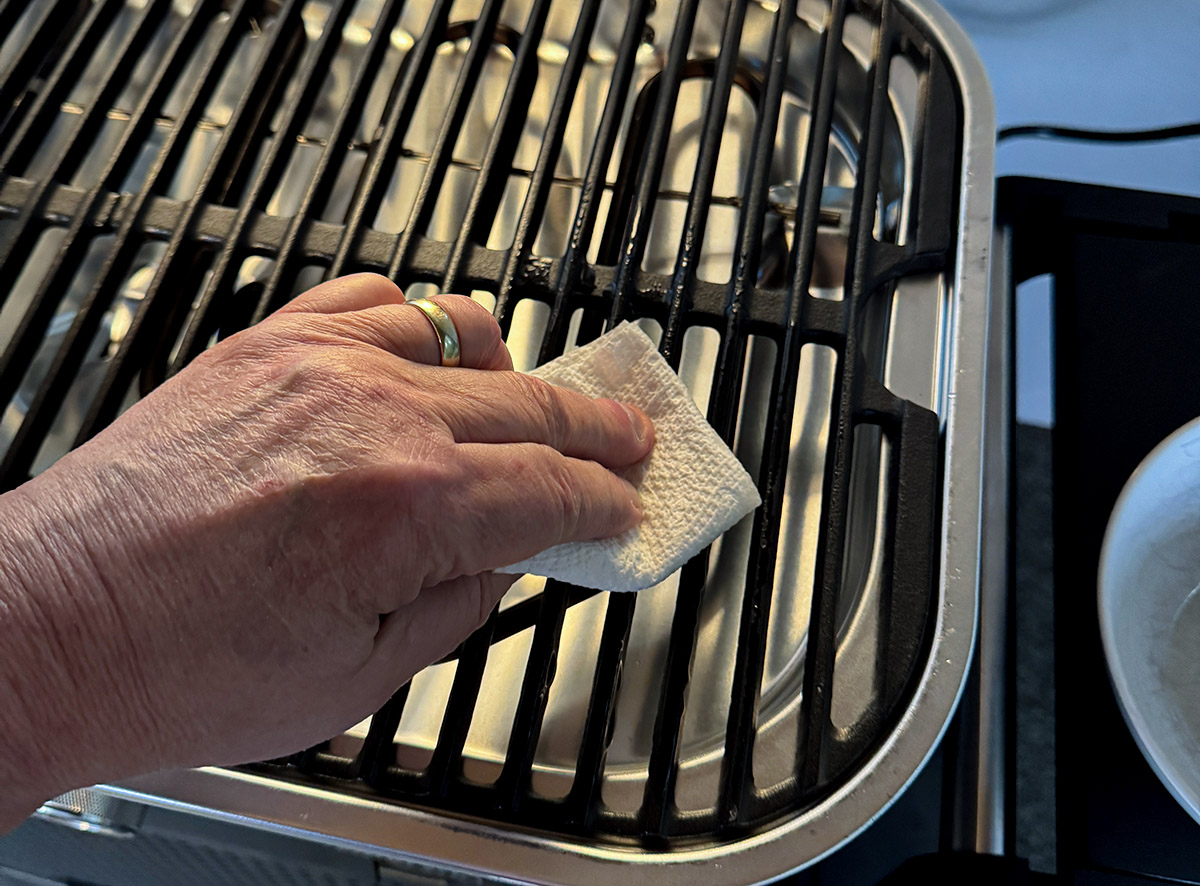
There is some prep work to do when using the grill, such as oiling the grates and keeping it clean between uses. The cleaning is important to help prevent flare-ups. Since we use the grill in a screened, roofed porch, it’s important to clean between each use. Note that the heating element raises up out of the way to ease cleaning. Plus, there is a pull-out grease tray.
To begin, I set the temp to 400° (as the manual suggested) turning them once after about 8 min. Setting the temp can be controlling either the grill or the grate. I still haven’t figured that one out and the manual wasn’t clear—so I ignored it. The corn grilled perfectly in the same time it took to cook the chops.
Did I say the meal turned out delicious? It did! The Volteq performed as expected. There were no surprises—a good thing.
Next up was chicken. We eat a lot of chicken in our house. Beef prices are ridiculous and so my wife has developed a myriad of recipes—all of them good.
We’ve made about 8 meals on the grill.
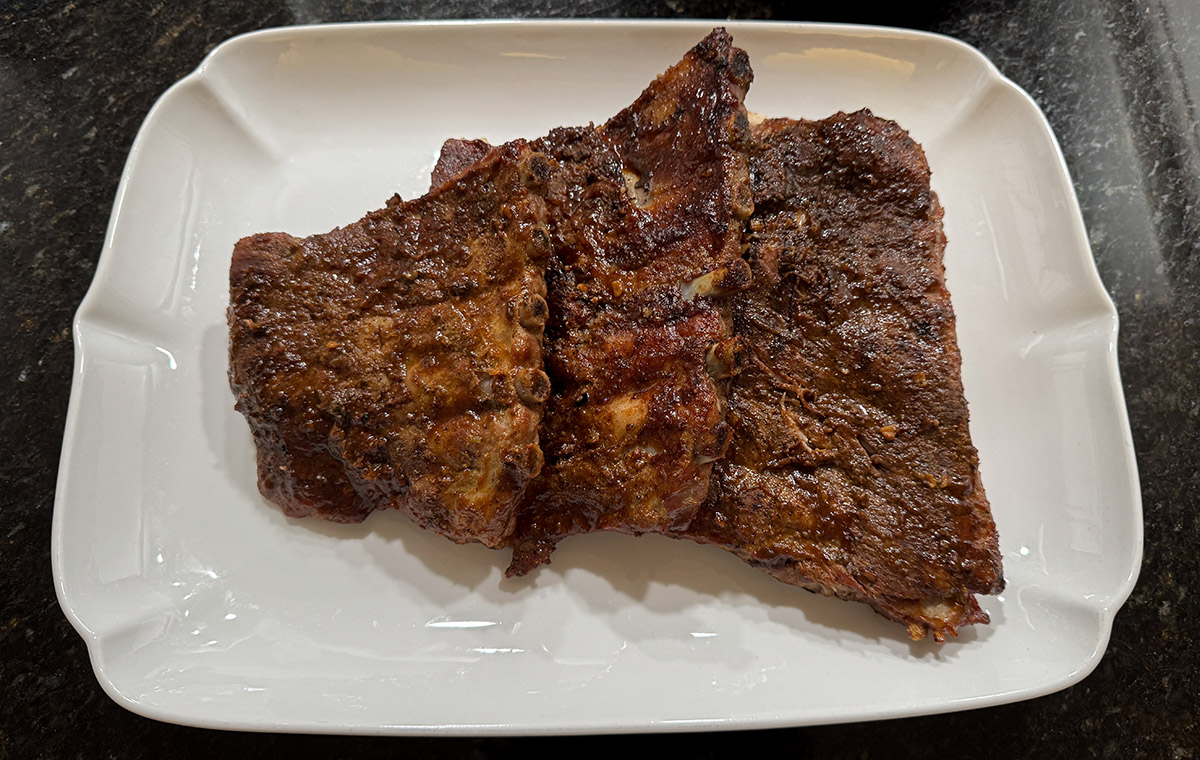
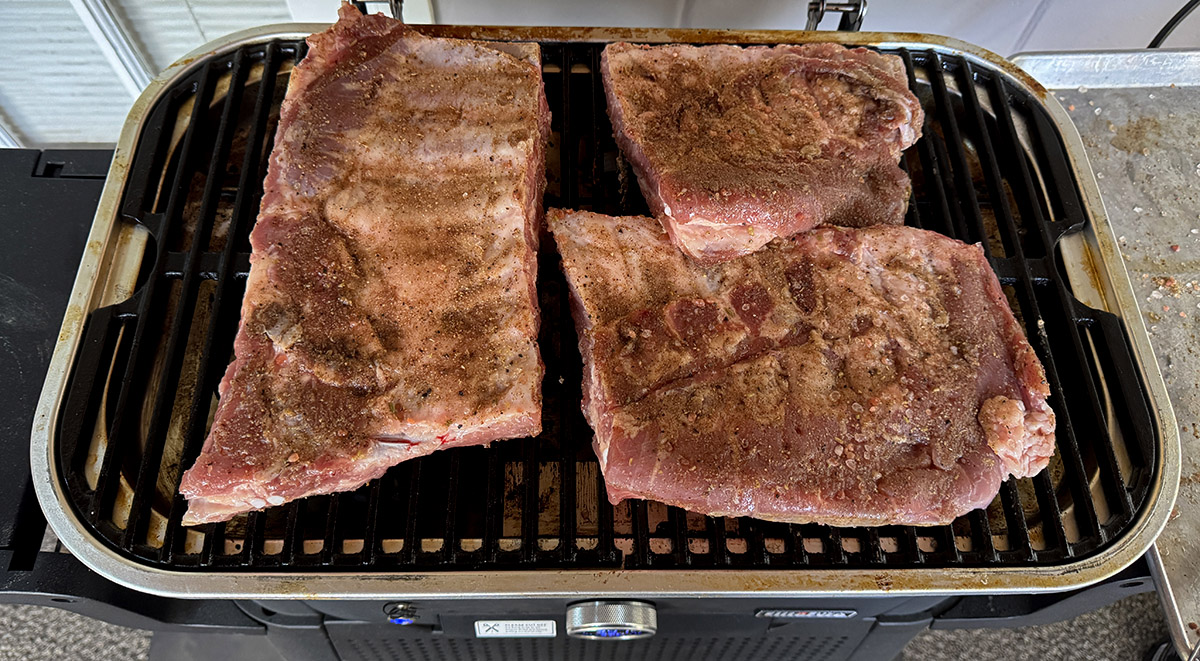
The latest meal was St. Louis pork ribs we barbecued. I used the meat probe, but it was awkward how it had to be placed so the wire could go under the lid. Other than that. it was accurate.
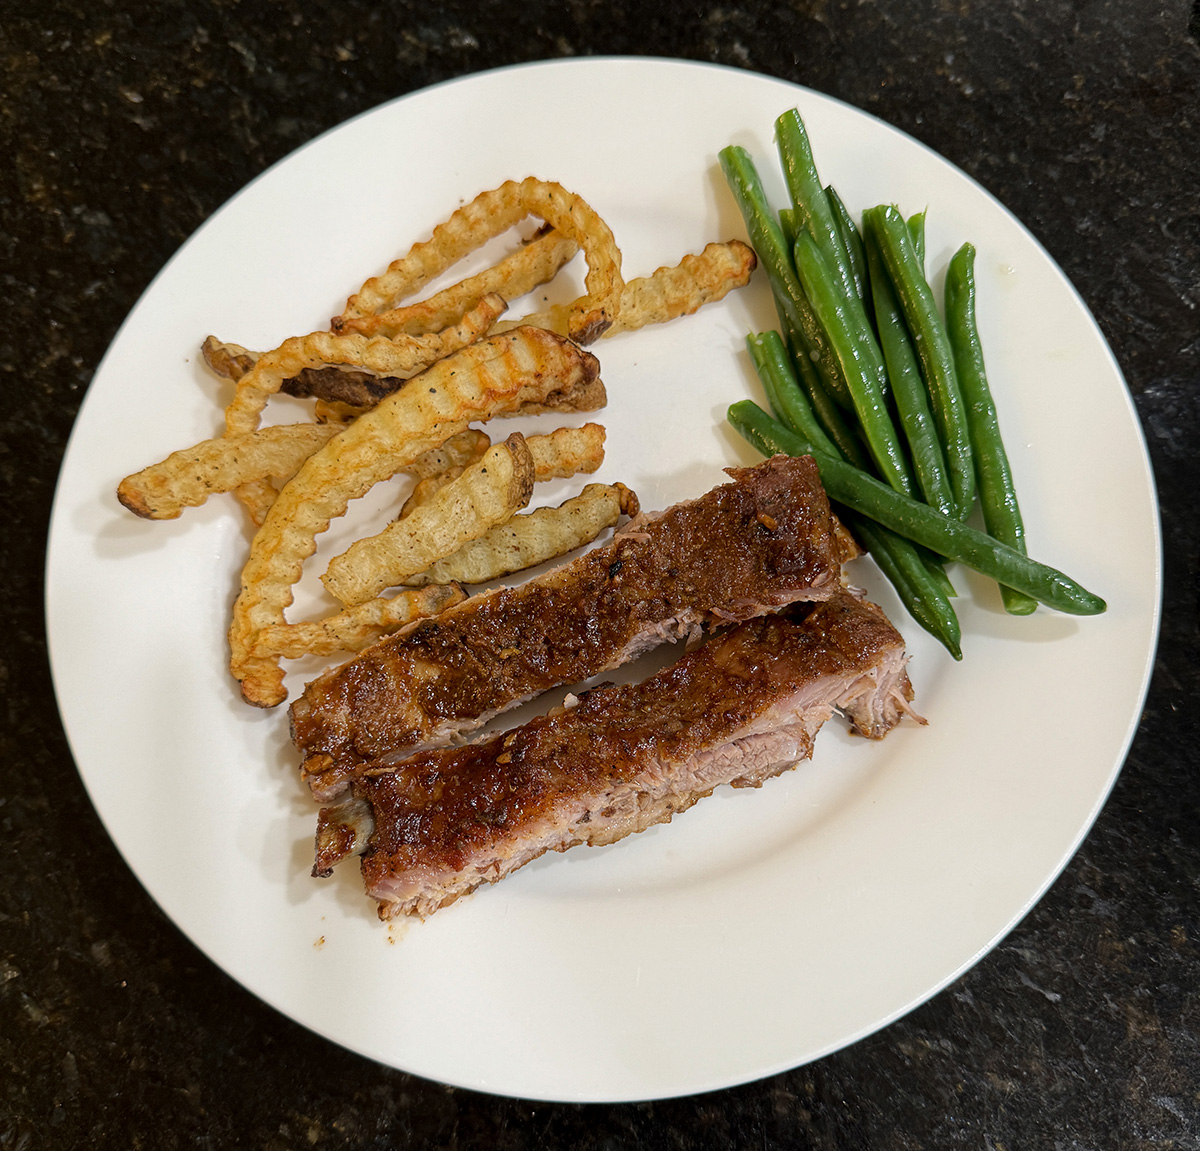
A full recipe with photos is included at the end of this review. I highly recommend this recipe. We know it works great on an electric grill like the EliteFyre Volteq! We have a LOT of ribs left over.
Final thoughts
Since my wife and I are already fans of electric grills, EliteFyre had an advantage with me reviewing the Volteq. Even with the assembly issues, we are more than satisfied with the completed grill and plan to grill much more than we usually do. This Florida summer is going to be fun—if the hurricanes leave us alone!
What I like about EliteFyre grille
- Convenient
- Can be used indoors
- No fuel necessary
- Easy to clean
- The cart has fold-out shelves with tool hooks
What needs to be improved?
- Cart assembly is not fun
- Learning curve on main dial
Price: $199.00 and up
Where to buy: Kickstarter
Source: The sample of this product was provided for free by EliteFyre. EliteFyre did not have a final say on the review and did not preview the review before it was published.
Our St. Louis pork rib recipe (adapted from Costco)
St. Louis Style Pork Spareribs x 3
Rib rub:
5 Tbsp Sea Salt
1 ½ Tbsp Black Pepper
1 Tbsp + 1 tsp Garlic powder
2 tsp Ground cinnamon
12 tsp Fennel seeds
¼ tsp Ground cloves

Basting sauce:
1 cup Soy sauce
½/ cup rice vinegar
B oz Kirkland Signature
Organic Tomato Paste
1 ½/ Tbsp rib rub (from above)
4 cloves garlic, minced, about 1 ½/ Tbsp
1 ½ Tbsp ground ginger
Instructions
- In a small bowl, stir dry ingredients: salt, pepper, garlic powder, cinnamon, crushed fennel seeds, and ground cloves.
Set aside 1½ Tbsp of rub. Massage the remainder of the dry rub onto the meat to coat the ribs. Let rest at room temperature for up to 30 minutes before grilling.
- Heat one side of the grill to medium, 300 to 325 F. Place ribs over the heated side of the grill and cook for 10 to 15 minutes.
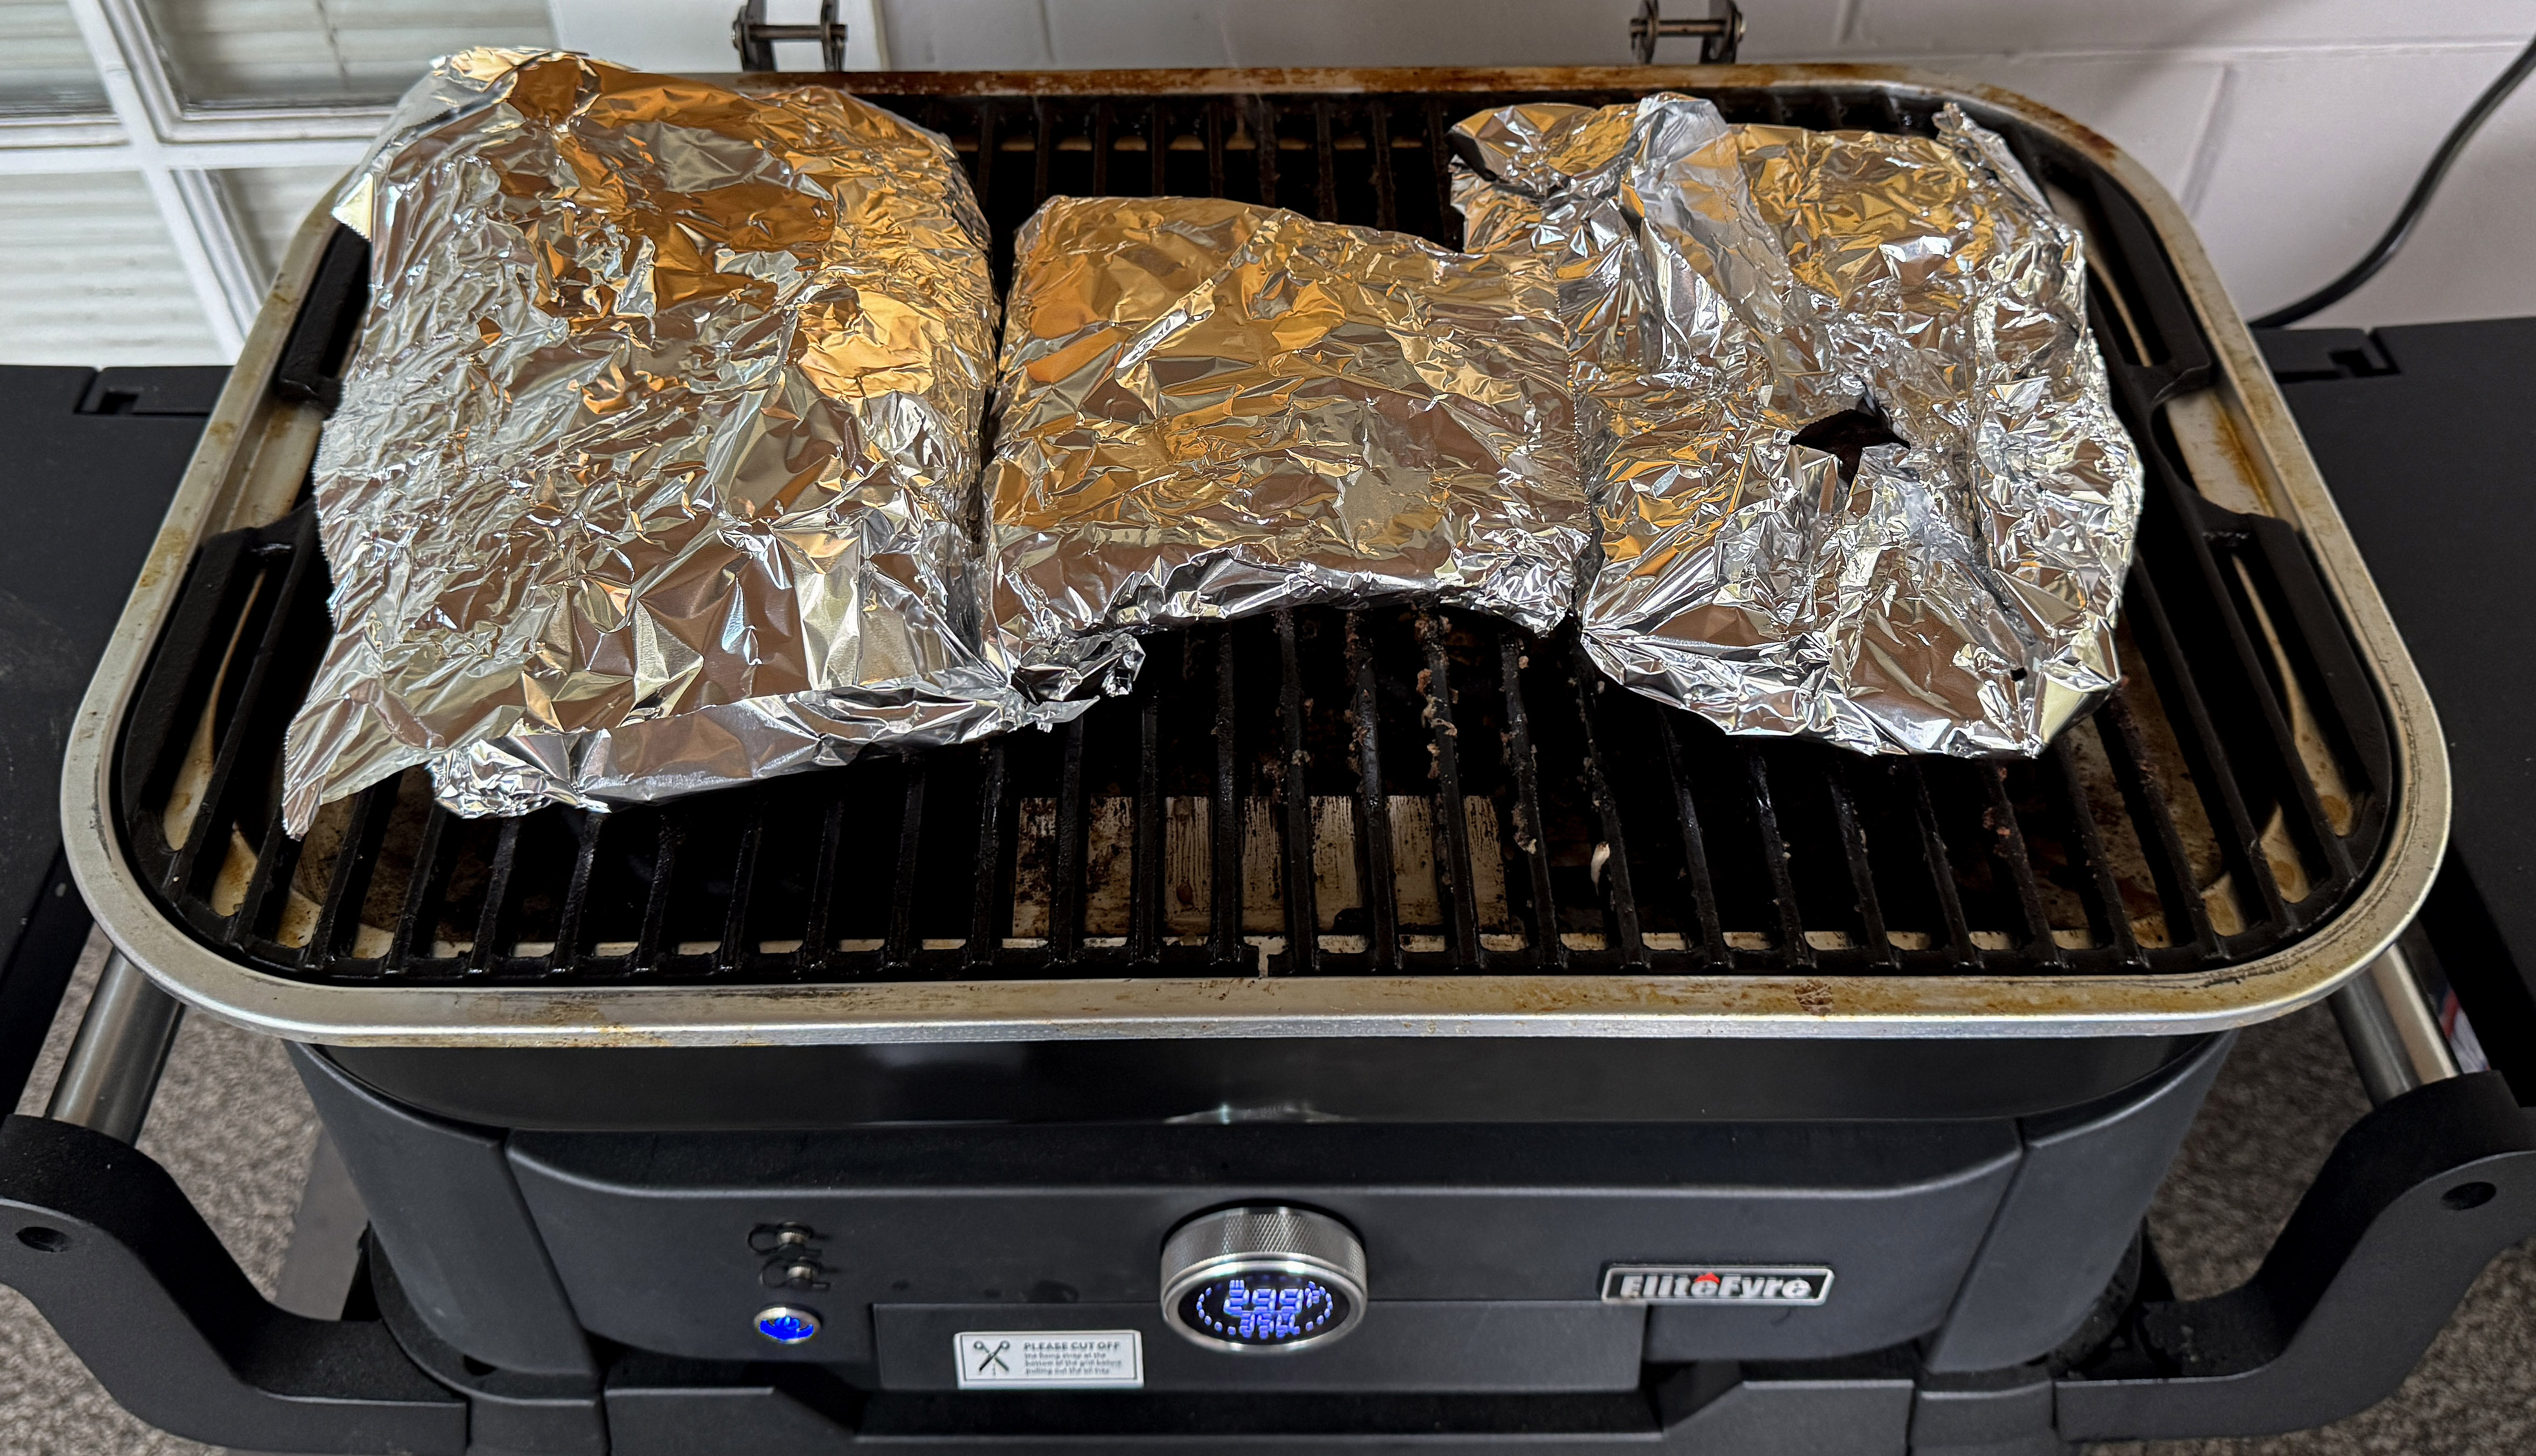
Flip the ribs over and cook for an additional 10 to 15 minutes. 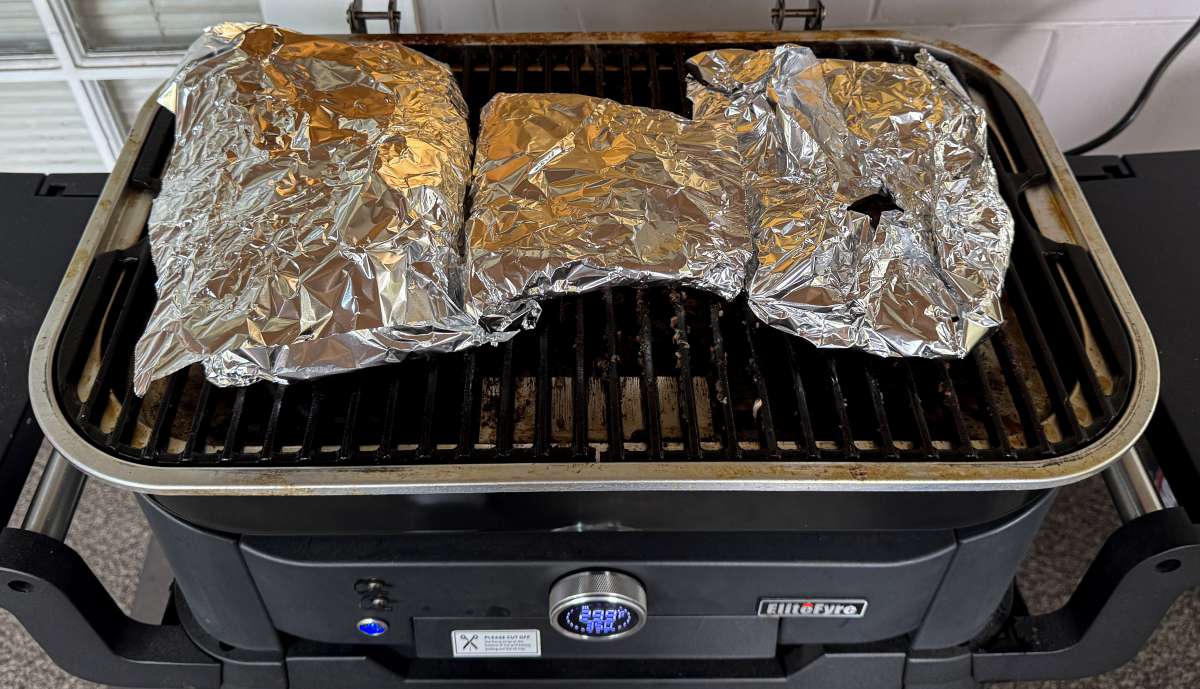 Remove ribs from the grill and wrap each rack in aluminum foil. Place foil-wrapped ribs, seam side up, on the unheated side of the grill. Close the lid and cook for 90 minutes, rotating the ribs a few times so they cook evenly.
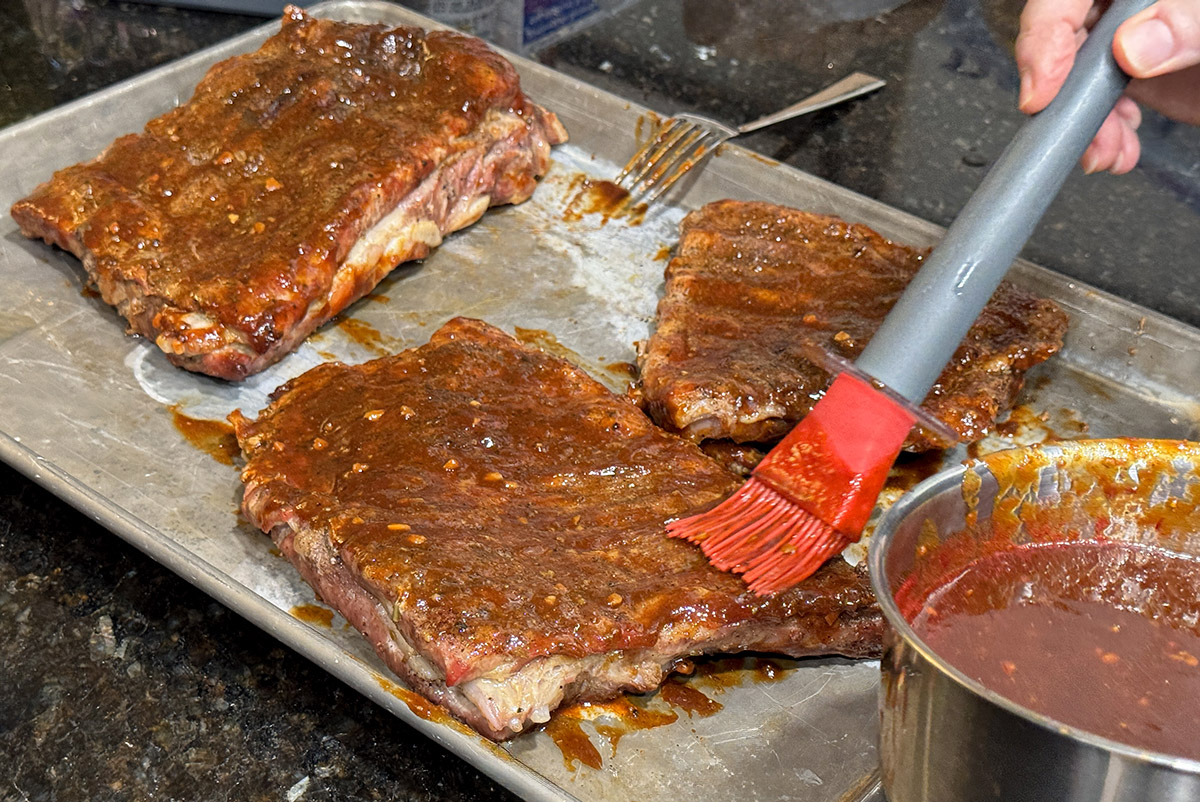 While ribs are cooking, make a basting sauce. Add all ingredients to a small saucepan and cook over medium heat for 3 to 5 minutes, stirring well.
- After 90 minutes, test ribs for doneness with a meat thermometer. Internal temperature should be 175 to 190 F.
- Remove racks from grill and open aluminum foil packets.
Discard foil. Baste ribs with sauce and place on the hot side of the grill. Cook for 3 minutes with the lid closed. Flip racks and baste the other side, then cook an additional 3 minutes.
Flip once again and baste the first side with more sauce. - Remove racks from grill, and let rest a few minutes before serving.

Gerber Gear Suspension 12-in-1 EDC Multi-Plier Multitool with Pocket Knife, Needle Nose Pliers, Wire Cutters and More, Gifts for Men, Camping and Survival, Grey
(as of June 26, 2026 18:48 GMT -05:00 - More infoProduct prices and availability are accurate as of the date/time indicated and are subject to change. Any price and availability information displayed on [relevant Amazon Site(s), as applicable] at the time of purchase will apply to the purchase of this product.)
Gadgeteer Comment Policy - Please read before commenting
Nice review. I have an electric grill – I should use it more on the deck!
Does it make a difference closing or leaving the lid up? I thought it you left the lid up, the heat would be lost?