The Mission, should I choose to accept it.
ARTICLE – With a budget of $300 dollars, I get to build a custom keyboard by sourcing the parts from various vendors and manufacturers. Was there ever any doubt I wouldn’t jump at the chance to do this? That proverbial snowball stood absolutely no chance. For those of you not in the Cool Kids Keyboard Club, you’re probably thinking, “Wow! How could anyone spend that much money on a keyboard? I got one for free when I bought my PC!” Let me say this about your free keyboard. With no malice or judgment, your keyboard is trash! I’ll bet a dollar to a donut that it’s a membrane keyboard with no actual switches, feels squishy when typing, and the sound it makes isn’t worth mentioning. As for a $300 keyboard, yes for me that’s an expensive keyboard, but there are others who could and do spend thousands of dollars to build their end-game keyboard. Yep, 4-digit keyboards you read that right.
The Requirements
After reviewing several different keyboards and having owned several others, I know what I want in a keyboard. Here’s a list of what I want in an end-all, be-all keyboard:
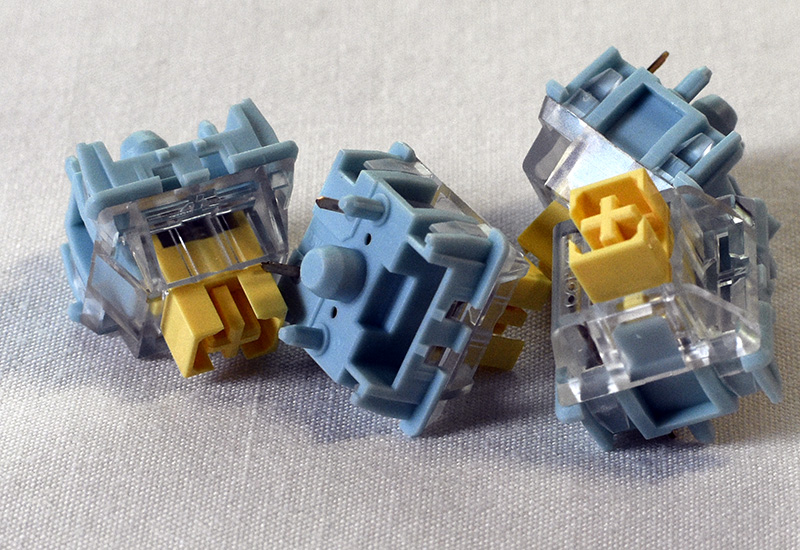
- Tactile switches. I want to feel the resistance and the bump when I type that you can only get with tactiles. They also must have a rather high actuation pressure since I am heavy-handed and can bottom out quite easily. I currently have one keyboard with Holy Panda switches I love but there are some others I want to try.
- Ideally, I want a monolithic metal case with everything accessible from the top. A plastic case can be nice but not if I’m building one. I want it to be heavy so there’s no chance of sliding around while I type. And it has to be a 75% layout or close to it.
- Noise dampening is also a must with a metal case. I reviewed one keyboard that was to be highly regarded and even with all its gaskets, foam layers, and tape mod, it pinged like crazy. Having crazy tinnitus from years of shooting firearms and using power tools without hearing protection, if I can hear the ping, there’s a problem.
- Top plate must be plastic or polymer or something other than metal. Brass and aluminum top plates look great, but I want to avoid the chance of ping in my build, so that’s my choice.
- PCB must appear to be made by competent people with some sort of quality assurance, hot-swappable, and QMK and VIA compatible. I want all the labeling on the PCB to be printed straight and clearly legible, no off-kilter fuzzy text. Will anyone else see it? No. Will I know if it looks like trash? Yes. Will it bother me any time I go to clean the keyboard, swap keycaps, or switches. Hell yes. Also, I don’t want to solder on a bunch of switches only to find out I don’t like them. That’s so 2018. Finally, I don’t want to install another proprietary application when I can go to VIA’s website and configure backlighting, key binds, and macros quickly.
- Stabilizers must be screwed in and from a company I’ve at least heard of. If I’m not happy with them, I can rob them from another keyboard.
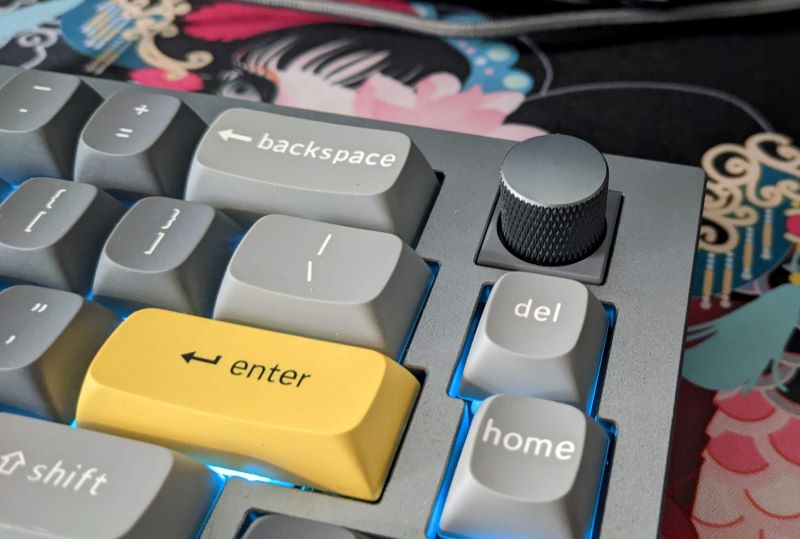
- Knob. Gotta have a knob! It’s more convenient to turn a knob for media volume control than using keyboard shortcuts. It has to be metal, cheap plastic will never do.
- USB C with a coiled cable. USB C is a must. USB Mini and Micro even be an option in 2023. The coiled cable isn’t necessarily a must, but they look cool, especially when they have the big aviator connectors inline. Also, I didn’t want Bluetooth or wireless connectivity. I already have enough wireless devices on my current daily setup that sometimes conflict with each other.
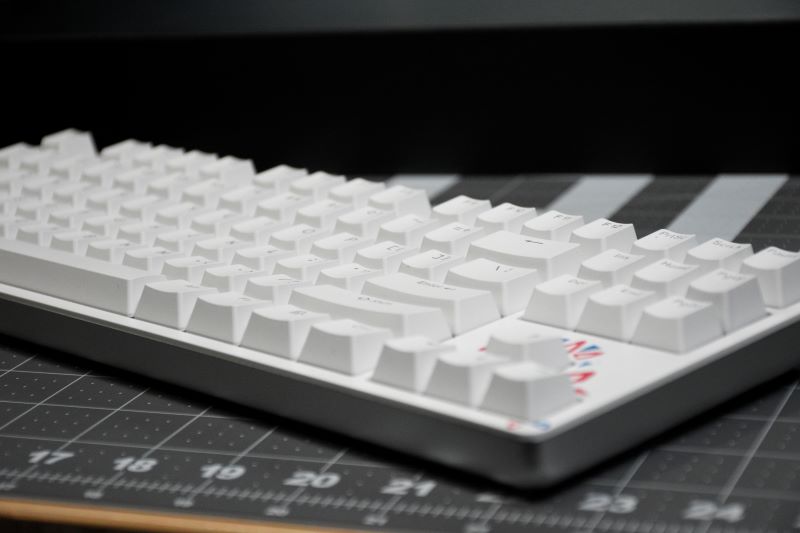
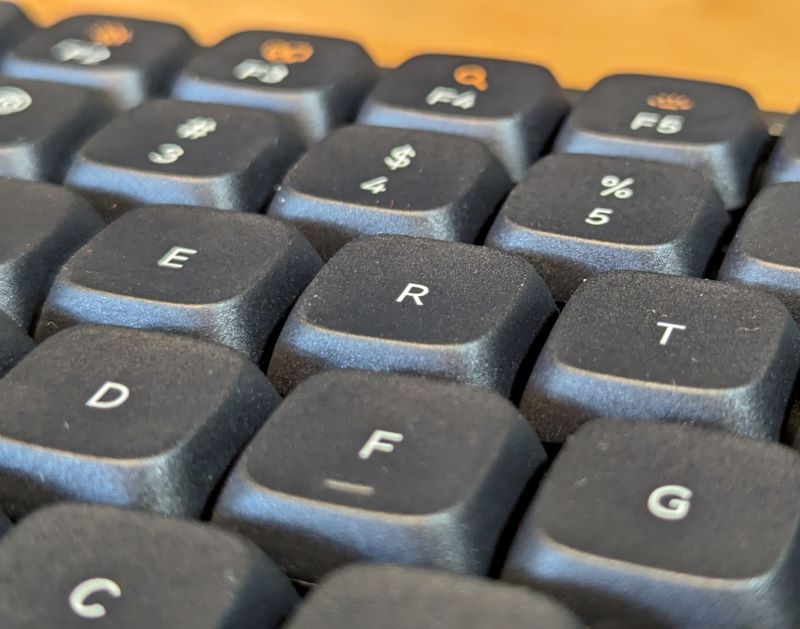
- Keycaps. For keyboard nerds, this may seem strange, but I didn’t want to source new keycaps. I already have a few sets here to choose from, and I could very easily blow the whole budget here. So, I’m going with some I have with the XDA profile and PBT so they don’t develop the dreaded shine of ABS plastic.
The Hunt
Oh, this will be fun! It’s been a little bit since I went down the rabbit hole of custom keyboards, but knowing pretty much exactly what I wanted I went to a few of my favorites. I had recently reviewed a keyboard, the CK60, which could’ve been my end-game build except there were a few issues. The included Gateron red switches were gross. They were squishier than any reds I’ve tried before and they are linear switches. I hate linear switches for the most part. So, I swapped them out immediately with the Holy Pandas I robbed from the Drop Sense75. If you know, you know.
Side note to keyboard manufacturers: please stop using reds as your default switch of choice. They are terrible. Yes, they are, and you can’t change my mind.
Next, the CK60 was too small, having a 60% layout. I missed my arrow keys, delete, home, and end keys. I got frustrated many times when I had to reach for my mouse instead of being able to use shortcuts. So sad. This really is a great keyboard.
Finally, it required its own application to be installed in order to configure it. That’s fine for some folks I guess, but I’m using this on a work laptop that’s locked down where I can’t install software on my own.
The CK60’s case was based on the Tofu60 and is compatible with several different PCBs, so I figured I’d look for a Tofu case in 75% layout, thinking there would be PCBs I could choose from to fit it. Well, most of the Tofu cases are no longer available. I was able to find one in stock, but the only PCB was solder only. Nope, not going to do it. Then there was the noise dampening to deal with too. So what’s a nerd to do? I had to compromise. I wound up going with a barebones kit that included the PCB, all the noise cancelling, and a poly top plate with it. It’s damn near perfect but it’s not monolithic. Not a big deal. That was mostly an aesthetic choice, not functional. I can work with that.

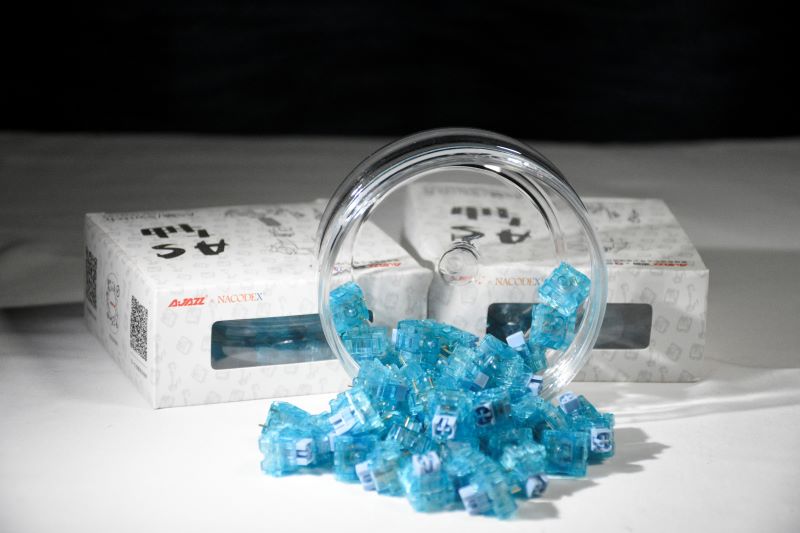
The switches were easy. I knew what I wanted. All I had to do was find them again. A quick search for Azure Dragon switches found them for me at a few different sites, even Amazon, which was actually not the cheapest place even with Prime shipping. They had all the right specs for me, but I have no idea how they’ll feel or sound. So, wish me luck. If I’m not happy with them, I may make a Frankenswitch with the Holy Pandas. Azure Pandas? Holy Dragons? We’ll see. I did have to find some stabilizers as well, so I went with a name I knew. This is one area I haven’t really delved into before. Again, if I don’t like them, I can rob another keyboard. Both switches and stabilizers are unlubed, mainly because I want to be able to see, hear, and feel the difference after I lube them myself.
Finally, I found a cable on Amazon with a great price, good rating, and good reviews from what appears to be actual people. Just like the rest of the build, you could spend a ton of money on one of these cables or even get a kit to make your own. I tried that before. My eyes and hands don’t play nicely together with tiny little solder points, so that was out of the question.
I was really expecting the hunt to take a few days, but I guess since I knew what I wanted and I had a set budget, I was able to find everything I thought I wanted within a few hours. I placed the orders, got my confirmation emails, and now I am waiting for the packages to arrive.
![[MINI SIZE. ULTRA PORTABLE CHARGER]: Roughly the size of an AirPods Pro case, this smallest power bank packs 10,000mAh of long lasting power into a tiny, nano footprint. Easily slide this ultra slim, credit card size charger into your skinny jeans, a...](https://m.media-amazon.com/images/I/41rATpm6dyL._SL160_.jpg)
INIU Portable Charger, Ultra Mini 10000mAh 45W Fast Charging with Detachable Cable, Flight-Safe Travel USB C Power Bank External Phone Battery Pack for Xiaomi iPhone 17 16 Samsung S26 Google iPad etc
(as of June 21, 2026 18:50 GMT -05:00 - More infoProduct prices and availability are accurate as of the date/time indicated and are subject to change. Any price and availability information displayed on [relevant Amazon Site(s), as applicable] at the time of purchase will apply to the purchase of this product.)
Gadgeteer Comment Policy - Please read before commenting
You haven’t mentioned keycaps, but I found https://spkeyboards.com/ to have a lot of good options, and to be responsive. You can buy complete sets, or individual keys.
They’ll even do completely custom sets for you, if you want to spend the money.
I’m always looking for anything keyboard related so the link is greatly appreciated! For keycaps, I plan to use some that I already have this way I have more wiggle room for the rest of the build. Thanks again for the comment!
No problem. I’ll admit I spent more than your entire budget on keycaps for my current keyboard. (A custom dvorak layout using profiled keys, so I couldn’t just mix-and-match…)
Yep it would’ve been quite easy to blow the whole budget on keycaps. There’s a set on Drop: LOTR – black speech that I’d love to try