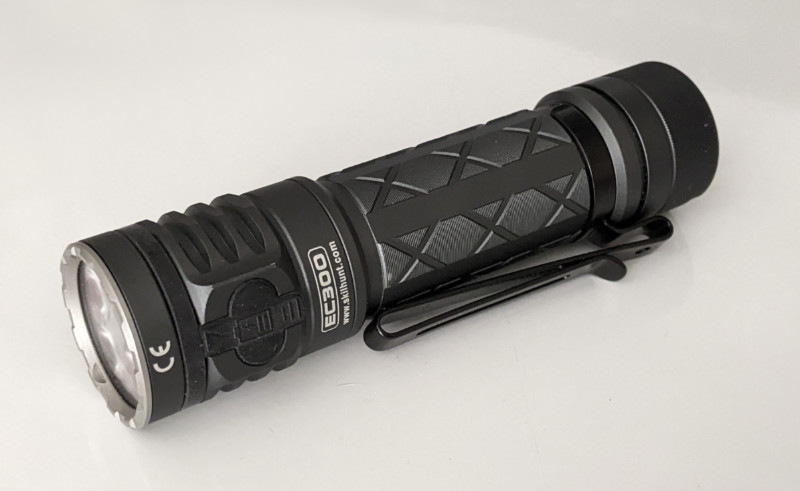
REVIEW – The Skilhunt EC300 Multicolor LED Flashlight has 15 light modes. It took lots of practice to figure out the modes but I got ‘em now, and this flashlight became one of my favorites thanks to all it can do. It has a 0.5 lumen light that is great if you need a tiny amount of illumination. And it has a 2300 lumen Turbo mode that’ll light your world, and heat your hand if you hold it at the end. Be careful. In between are the color modes, the variety of strobes, and the various lumen levels, oh my! So much you can do with one flashlight.
What is it?
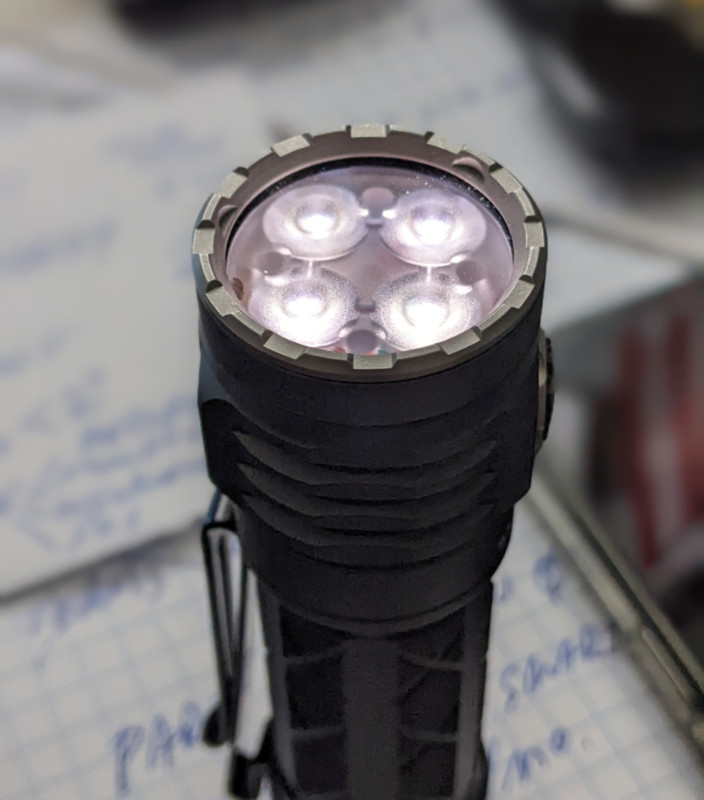
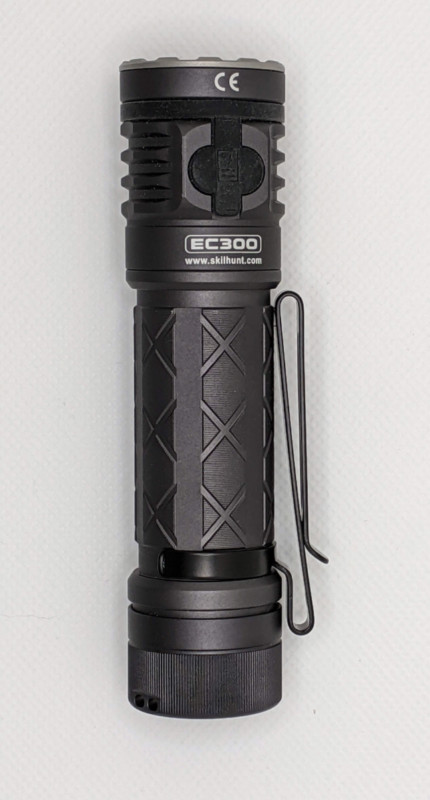
The Skilhunt EC300 is a rechargeable LED flashlight with white, red, green, and blue LEDs, and a bunch of lighting modes.
What’s in the box?
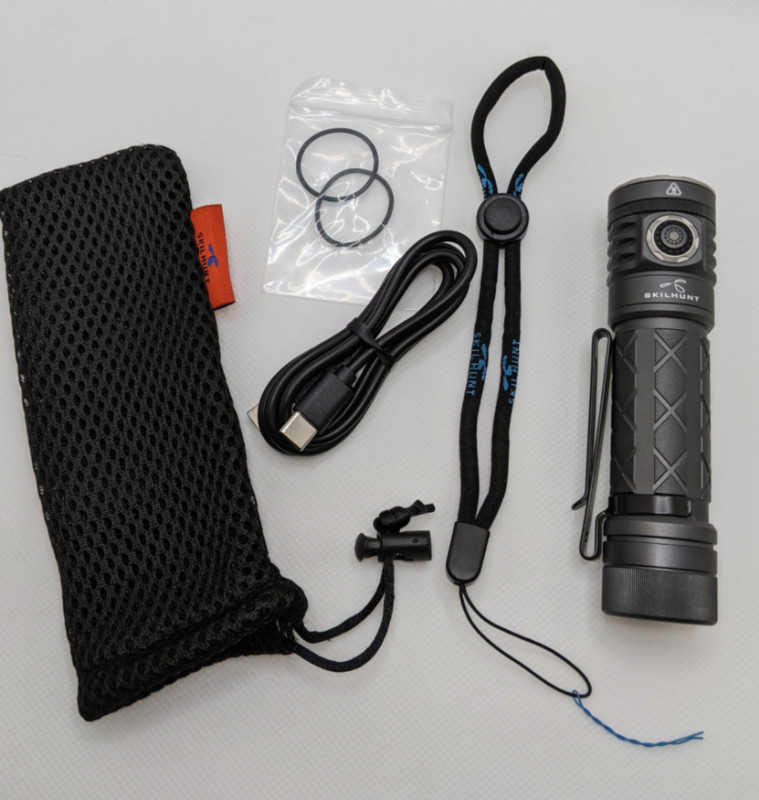
- Skilhunt EC300 flashlight
- Lanyard
- 2 tail cap O rings
- Charging cable – USB-A to USB-C
- Mesh drawstring case
- Instructions-ish
Hardware specs
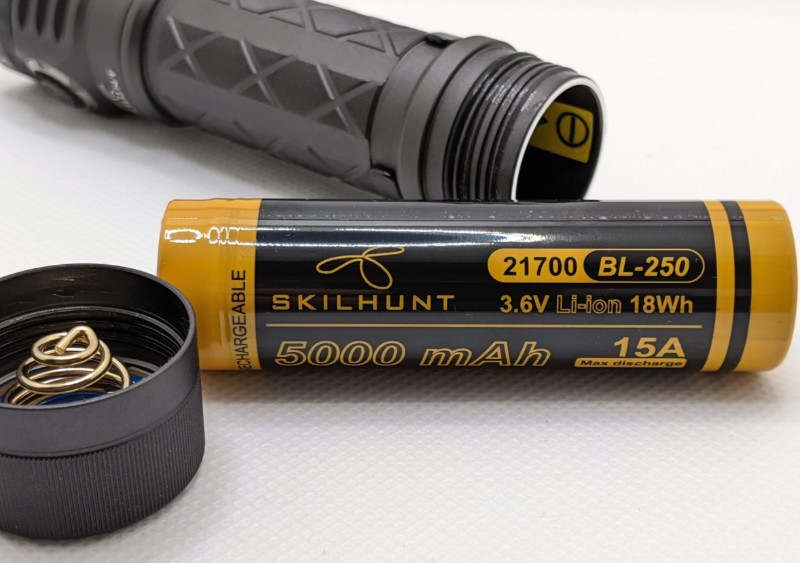
- Battery: Size 21700, 5000 mAh, 3.6V, lithium ion
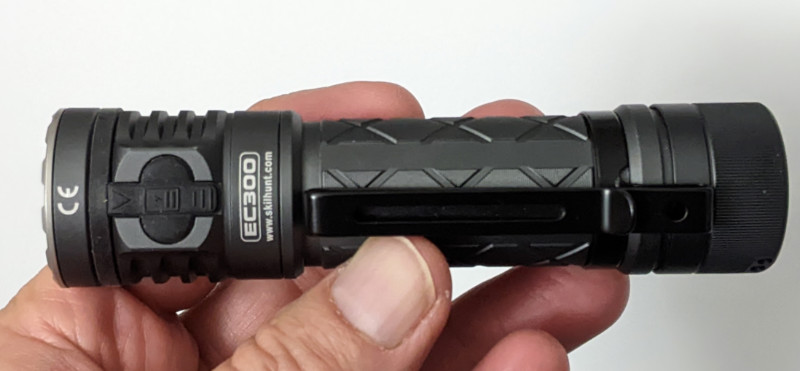
- Tail width: 1.1”
- Lens head width: 1.16”
- Length: 4.53”
- Weight with battery: 5.4 ounces
- Material: Aluminum alloy
- Water resistance rating: IPX8 (momentary splashes are OK)
- Drop resistance: 1 meter
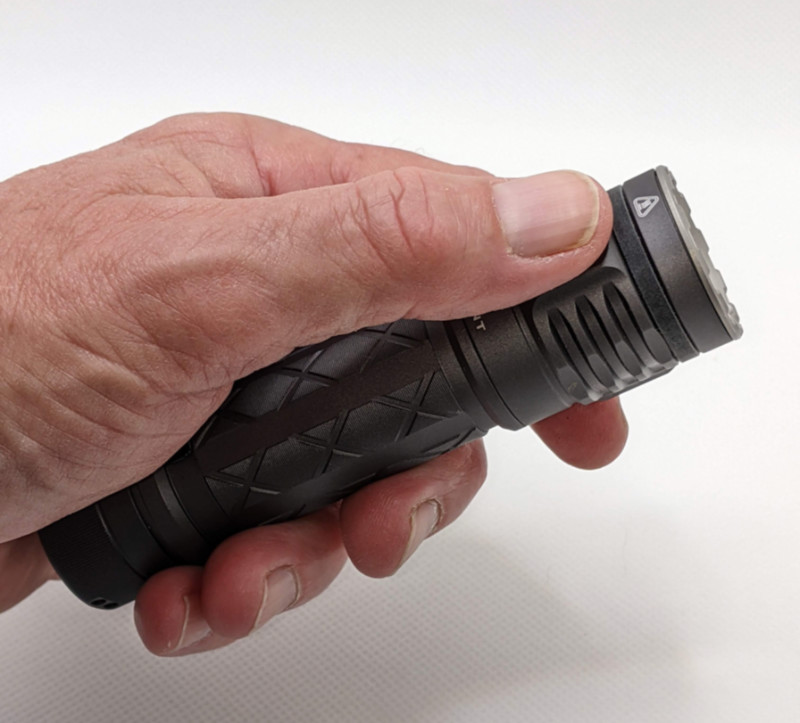
Design and features
After some practice, I figured out how to operate the Skilhunt EC300 flashlight, and I think I found all of the modes, but the instruction sheet is unclear. Beyond the English translation and grammatical errors, the flow chart which tries to explain the various light modes and how to activate them is beyond me. Once I figured out how to get to a certain mode, then looked at the directions or the flow chart, I reacted with ‘Oh, that’s what they meant’. The instructions weren’t super helpful.
E.g. After the directions say to keep the light warm in a very cold environment, it next states, “If the temperature is too cold it may not affect the output and runtime.” I think the word ‘not’ may be a mistake. There are several other grammatical and spelling errors in the instructions.
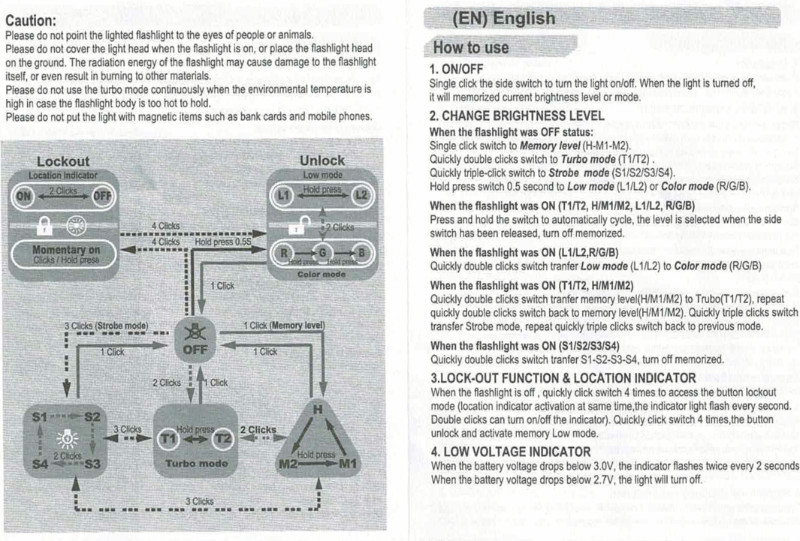
Can you follow this chart and the directions? L must mean low, M for medium, H for high, and S for strobe. It took me a good while to figure out L1 and L2 and how to get to those modes.
Hoping not to make your brain go into neutral, I’ll completely describe how to operate the EC300 as a service to humanity. (‘Lumens’ is abbreviated ‘LM’ from this point.)
A single press of the flashlight button activates the last white LED mode used, Medium 1 (40 LM), Medium 2 (150 LM) or High (240-420 LM range).
A long button press activates the last ‘long press mode’ used. There’s white LED, L1 (5 LM) mode, and when in that mode, another long hold activates the second low mode, or L2 (.5 LM). A long press takes the light back to L1. The light will return to the last used long press mode, with a long button press from off.
When L1 or L2 mode is on, a double press activates a color LED to illuminate. You can cycle through red, green and blue by long pressing the button when any color LED is on. If you turn off the EC300 when it’s in a color mode, a long press from off will resume the last color LED that was used.
So, from off, a long press on the button invokes the last mode used among the following: Low 1, Low 2, or steady red, green or blue LED.
A double-press of the button from off, or when in Medium 1, Medium 2 or High, invokes Turbo mode. There are two Turbo modes, 1150 LM and 2300 LM. The last used Turbo mode activates the next time Turbo is used. When in Turbo mode, a long button press activates the other turbo mode. Notable heat is generated at the light head and lens in both of the Turbo modes.
Although it’s a bit of a photographic challenge, these are the strobe modes.
Triple pressing the button from off invokes the last used Strobe mode. As a Strobe mode is running, a double press cycles through the Strobe modes. One mode is 3 quick flashes of each color LED rotating among red, green, blue, until the light is turned off. That’s my fave. Great to show traffic where you are when walking or running at night. Double press with that strobe mode on and the ‘disorienting’ bright white strobing activates. (Unwise to aim this one at oncoming traffic.) Double press in that mode and Morse code SOS mode activates. Double press in that mode and the red LED flash activates at a rate of ½ second on, ½ second off, continuously, until the light is turned off.
The EC300 can be locked by pressing the button 4 times quickly. The white LEDs flash dimly twice to acknowledge the lock. A red LED in the power button flashes once every 2 seconds to make the light easy to locate in the dark. That feature can be disabled with a double press when the light is locked. It can be re-invoked with a double press in lock mode.
When the EC300 is locked, a long press on the button yields the 5 LM L1 mode, but only while the button is pressed. 4 quick presses unlocks the light and the EC300 goes to the last long press mode that was used.
The Skilhunt EC300 has so many modes, 15 by my count, that it took a good while to figure them all out.
The instruction flow chart should have a ‘key’, i.e. a clear explanation of abbreviations. I am overstating that the instructions for the EC300 should be simplified, clarified, and rewritten.
The EC300 flashlight can charge other devices. To me this is an emergency function because I want to have a well charged flashlight at the same time I want to have a well charged cellphone. But, the EC300 can charge other devices. Simply plug a USB-C connector into the EC300 and the other end (Lightning plug or USB-C) into the device to be charged.
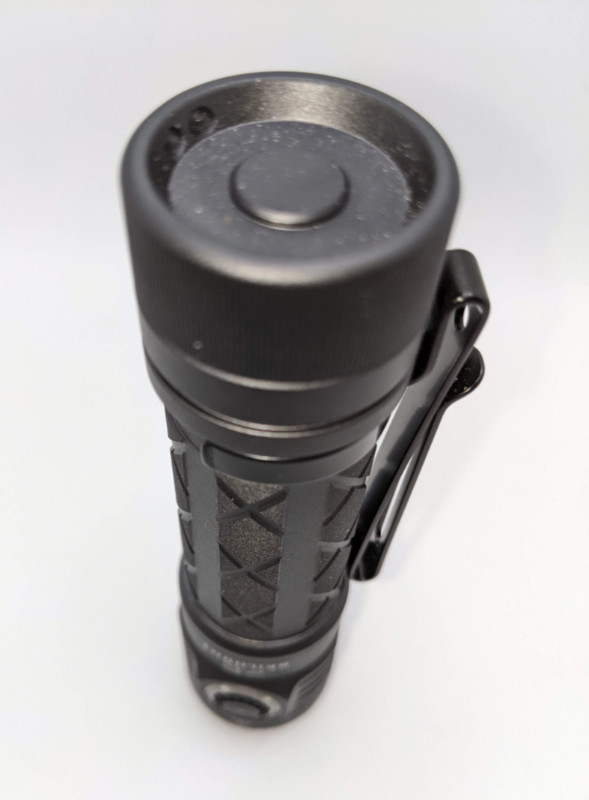
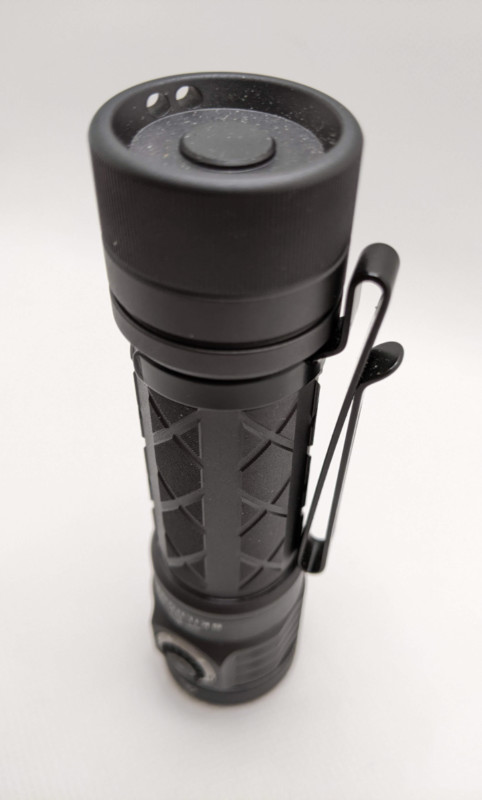
The tail cap is not magnetized and does not contain a switch.
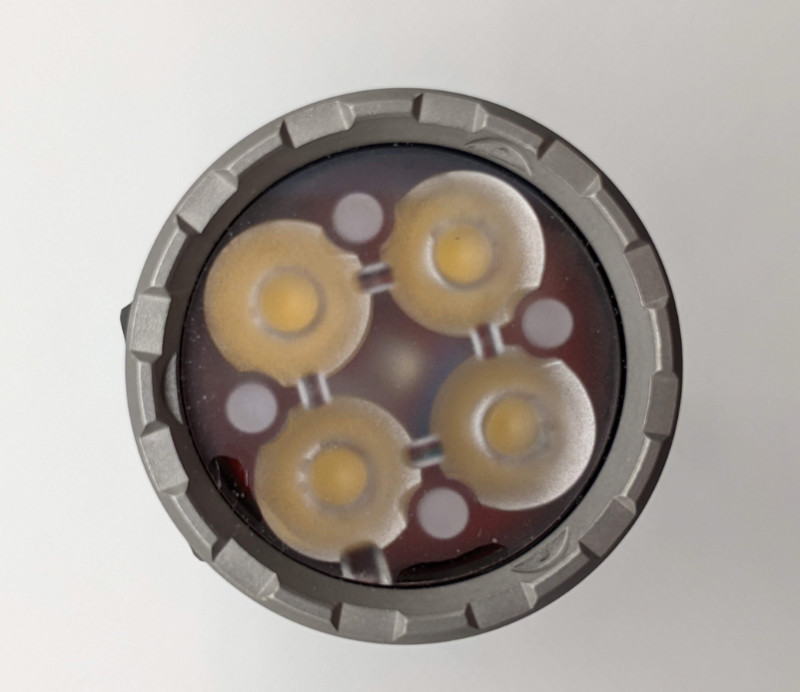
Setup
After un-packaging there is only to remove a current prevention tab on the bottom of the battery, replace the tail cap and charge the flashlight. Mine took about 3.5 hours to fully charge.
Performance
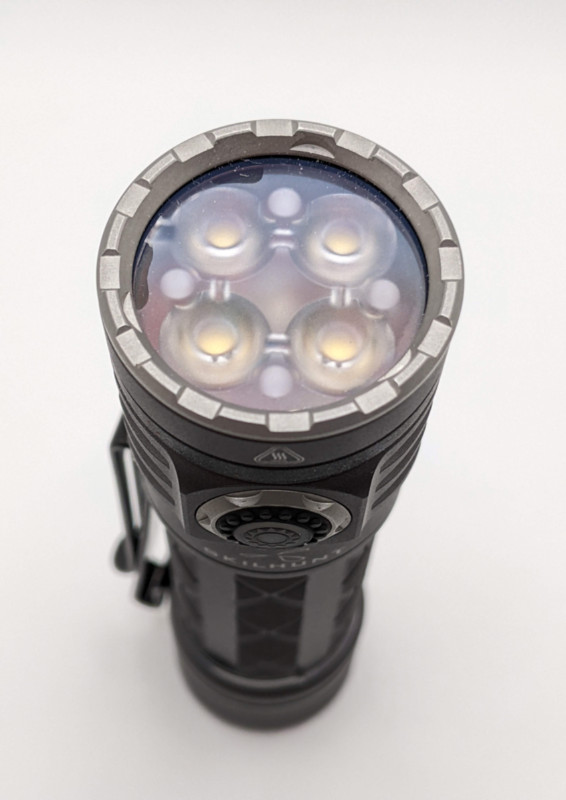
Due to the frosted style of lens on the Skilhunt EC300, it delivers more of a floodlight beam than a spotlight. For that reason it takes a brighter mode for longer beam throw. But the EC300 can do that. If I needed to see very distantly, the Turbo modes light more distantly but also illuminate everything between me and what I needed to view at a distance.
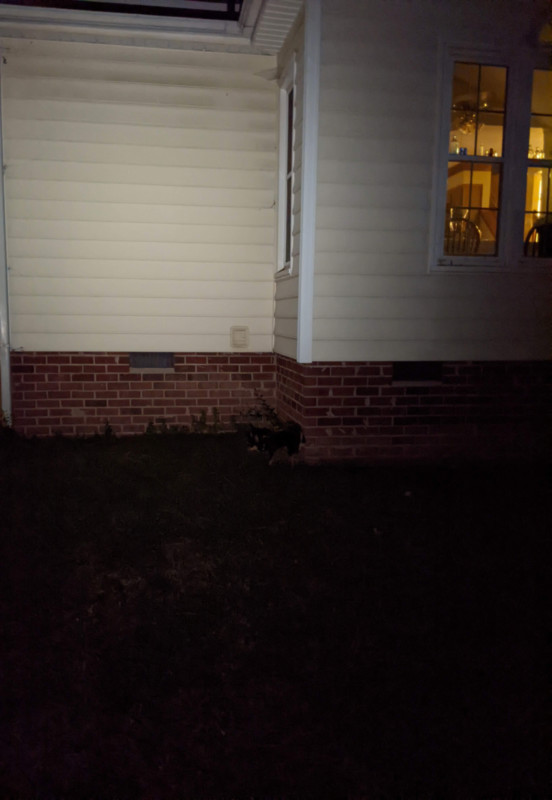
This is the M2, or Medium 2 mode.
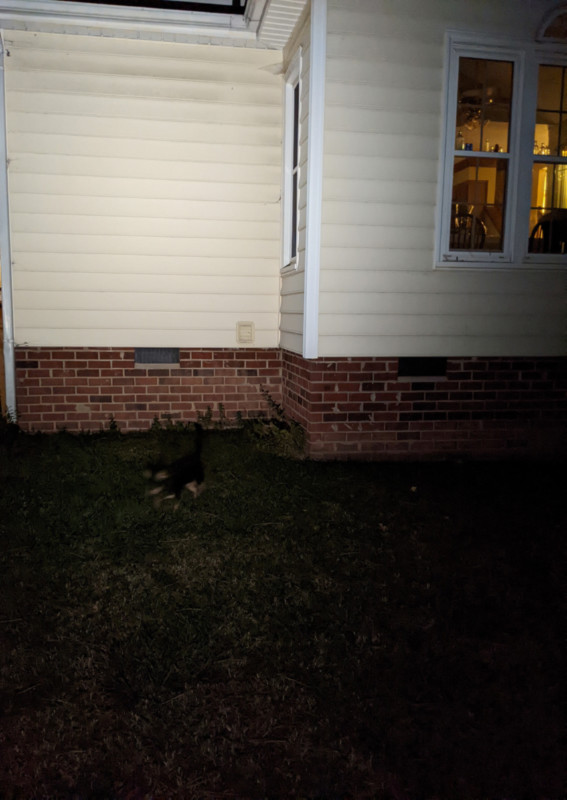
Here is M1 or Medium 1.
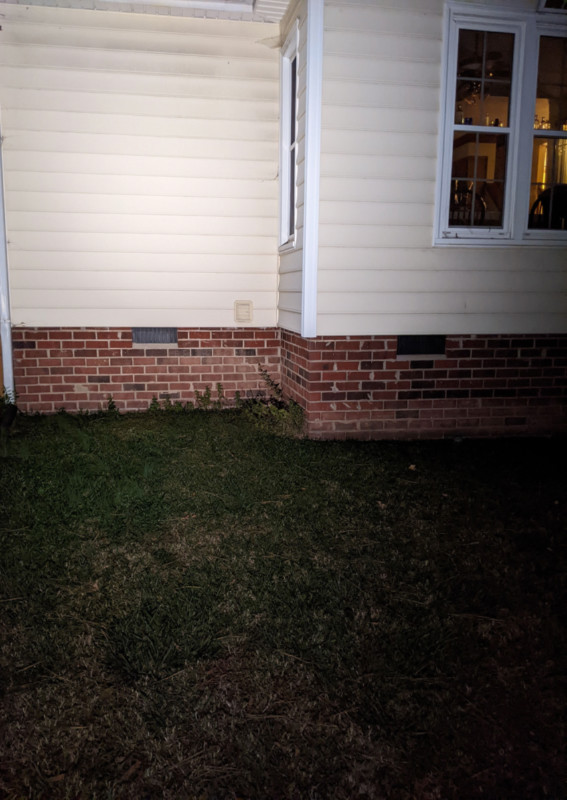
This is High mode.
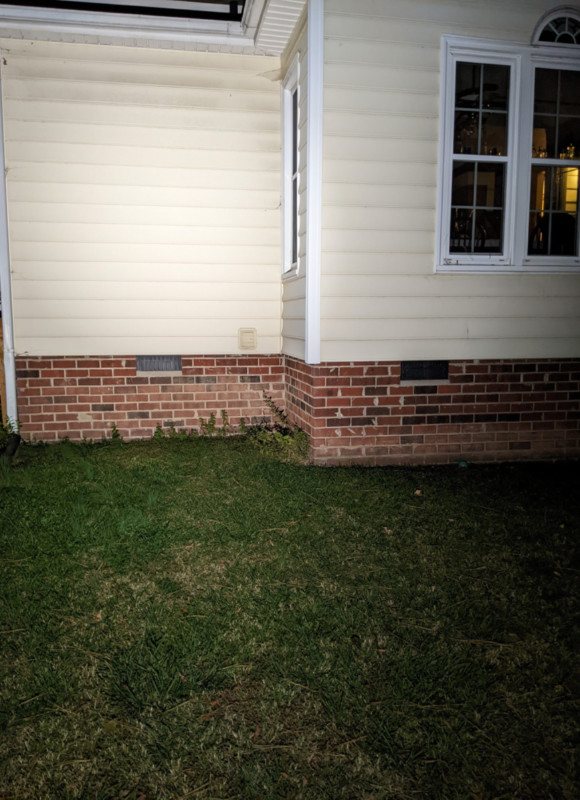
T2 or Turbo 2 is displayed here.
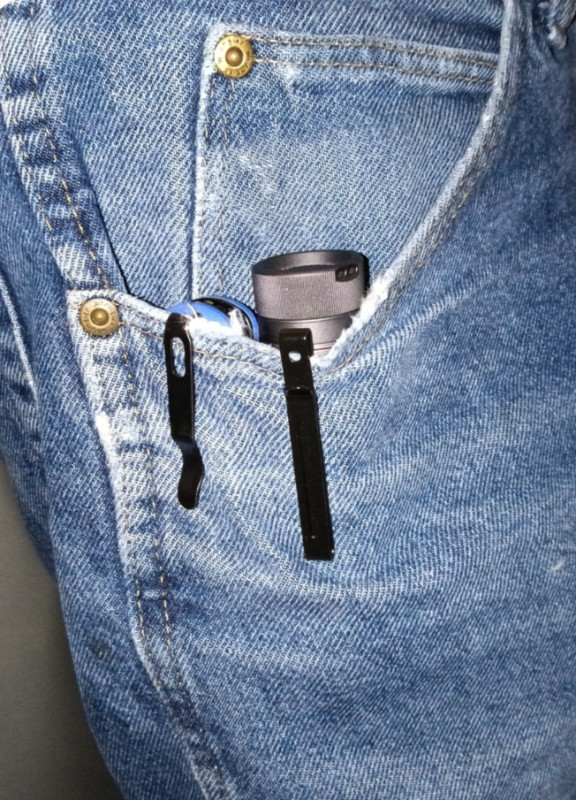
The pocket clip keeps the lens down in the pocket. It holds the light pretty deeply in the pocket. I think this is advantageous. The head or tail of a light sticking up out of a pocket gets in my way.
Here are the 15 lighting modes.
- Low 1 white
- Low 2 white
- Steady red
- Steady green
- Steady blue
- Medium 1 white
- Medium 2 white
- High white
- Turbo 1
- Turbo 2
- Strobe – red flash
- Strobe – rotating multicolor flash
- Strobe – disorienting white
- Strobe – white Morse code SOS
- Lock mode 5 LM white
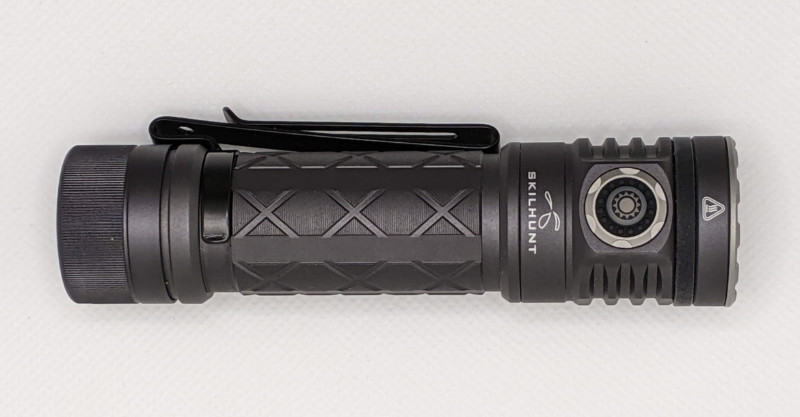
What I like
- I really like the 3 color LED alternating strobe. It’s great for walking or biking.
- Very wide range of brightness from .5 LM to 2300 LM
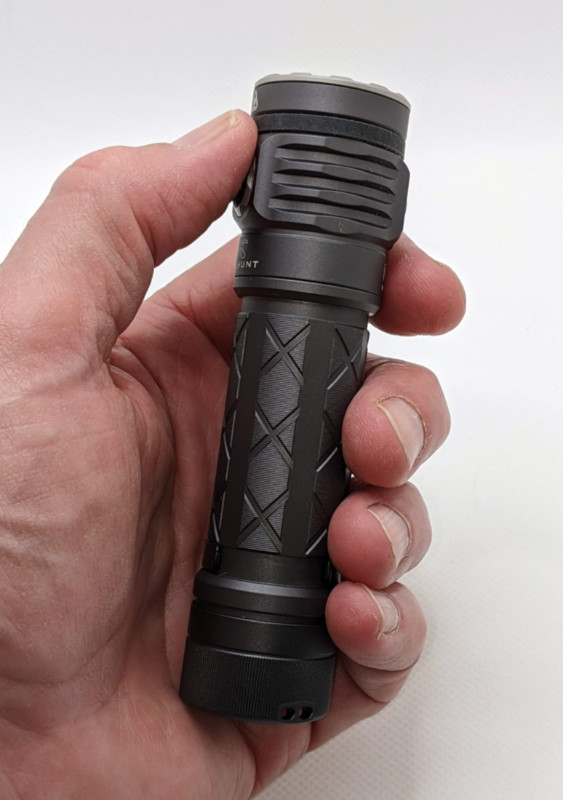
- Comfortable weight
- Good grip surface
What I’d change
- Clear, easy to follow directions are a critical need for this light.
- I may be more a fan of ‘Cool white’ LED light vs. ‘Natural white’ but Skilhunt sells both.
Final thoughts
The Skilhunt EC300 flashlight has become one of my favorite flashlights, once I figured all of its modes. It never failed in any way during my testing, performed well when I needed low or very high intensity light, and seems professionally constructed and finished.
Price: $79.90 to $80.90 depending on the option chosen. Also available without a battery.
Where to buy: Skilhunt and Amazon
Source: The sample of this product was provided by Skilhunt.

![[From INIU - the SAFE Fast Chage Pro] Experience the safest charging with over 38 million global users. At INIU, we use only the highest-grade materials, so we do have the confidence to provide an industry-leading 3-Year iNiu Care. [22.5W Speedy Char...](https://m.media-amazon.com/images/I/416nS4GRFtL._SL160_.jpg)

Gadgeteer Comment Policy - Please read before commenting
!! JULIE PLEASE PLACE SKILHUNT-VID-1 VIDEO HERE & THANKS !!
Thanks Jake from State Farm! It’s in there now 😀