Your pool cleaner handles the dirty work so you don’t have to. But it can’t run forever without help. Whether you own a robotic, suction-side, or pressure-side model, it needs regular care to keep working well. Skip that care, and you’ll see it quickly: slow movement, missed spots, and a shorter life.
Automatic pool cleaner care is simpler than most people think. Build a few good habits and catch small problems before they turn into big ones. This guide covers all three cleaner types, works for both in-ground and above-ground pools, and is organized as a checklist by frequency so you can fit each task into your regular pool routine.
Know your cleaner type
Robotic cleaners are standalone units. They have their own motors, filters, and navigation. Plug one into a wall outlet, drop it in the pool, and it does the rest. They use onboard filter cartridges or bags, so they need the most hands-on filter cleaning. The upside is they put zero load on your pool pump. That tradeoff works for most owners, and it’s a big reason robotic models now lead the market.
Suction-side cleaners hook up to your skimmer or a dedicated suction line. Your pool pump powers them. They have fewer moving parts than robotic models, so there’s less to break. The downside is that all the debris flows through your pool’s filter system. That puts extra stress on your pump basket and filter every time the cleaner runs.
Pressure-side cleaners use water pressure from a return line or a booster pump. They push themselves around the pool and sweep debris into an attached bag. They pick up larger items like leaves and twigs better than most suction models. But they need steady water pressure to work right. Your main tasks with this type are checking the booster pump, cleaning the inline filter screen, and keeping the collection bag in good shape.
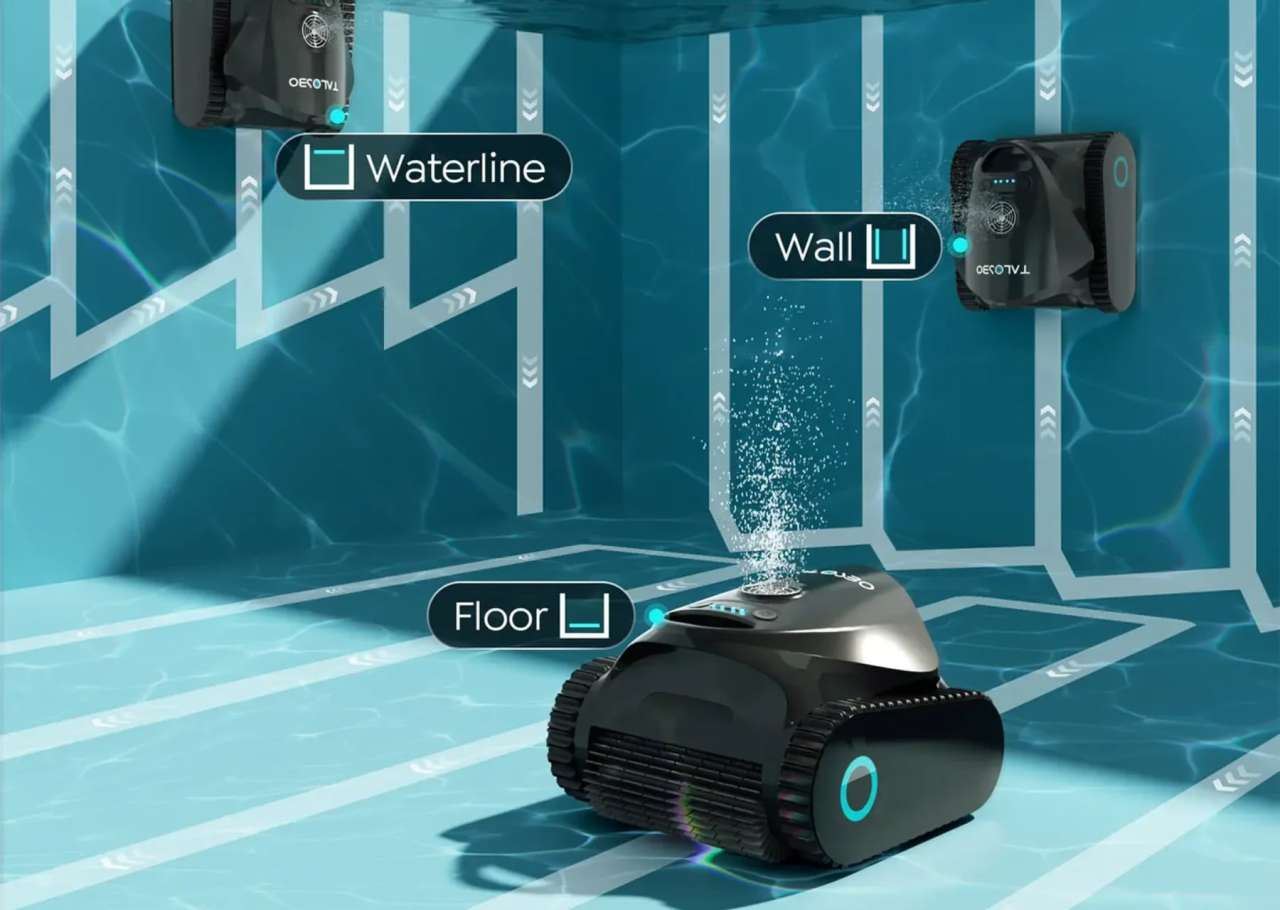
Not sure which type you have? Check how it connects. If it plugs into a wall outlet, it’s robotic. If it connects to the skimmer line, it’s suction-side. If it hooks to a return jet or booster pump, it’s pressure-side. All three types come in both in-ground and above-ground versions, though above-ground robotic models tend to be lighter and more compact. Your owner’s manual will confirm it. Knowing your type tells you which checklist items below apply to you.
After every use
The best habit you can build is cleaning your pool cleaner right after each session. Treat this as a non-negotiable checklist item. It takes about five minutes and stops the kind of buildup that leads to real problems. This single step gives you the biggest return on effort. Skipping it regularly is how most cleaners die early.
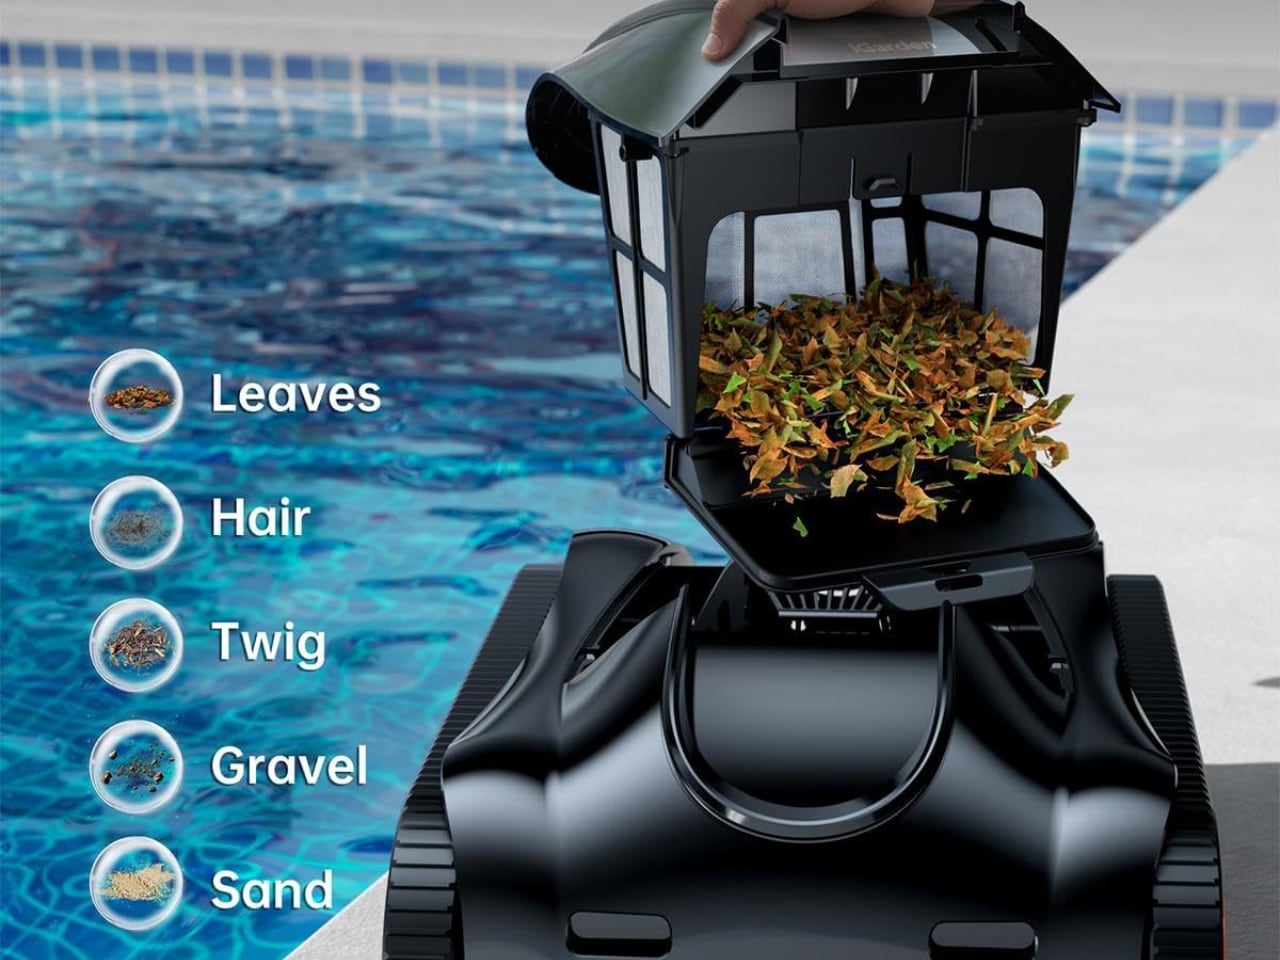
For robotic cleaners, pull out the filter cartridge or bag, dump the contents, and rinse it under a hose until the water runs clear. Don’t skip the rinse, even if the cartridge looks clean. Fine particles slowly clog the mesh and reduce suction before you notice a difference. For pressure-side models, turn the bag inside out, shake it clean, and rinse well. If you have a suction-side cleaner, empty the pump basket and skimmer basket after every cycle. Those parts work overtime whenever the cleaner runs.
Give the outside of the cleaner a quick rinse too. Algae, calcium, and chemical residue stick to the body, wheels, and brushes after every session. While you rinse, check the brushes and rollers for hair, string, or thin plant material wrapped around them. Pull it off now before it gets tight enough to slow the rollers or stress the motor. Ten seconds of checking here saves a much bigger problem later.
Weekly and monthly maintenance
Once a week, look at the brushes and rollers more closely. On robotic cleaners, the PVA rollers or bristle brushes are the main contact points. They wear down a little with each cycle. Look for flat bristles, cracks in PVA foam, or uneven wear on one side. Replacement brushes cost relatively little, and swapping them on time keeps cleaning results steady.
Check all hoses and connections on suction-side and pressure-side models. Run your hand along each hose section and bend it gently at the joints. Stiff spots or visible cracking mean you should replace that section before it fails during a cleaning cycle. You’ll spot a bad connection by feel faster than by sight.
For robotic cleaners, check the power cable for cuts, bare wiring, or pinch marks. A damaged cable near water is a safety risk, not just a performance issue. If the cable keeps tangling, lay it out straight in the sun for at least three hours to let it loosen. Repeated tangling can also signal a drive track issue worth looking into.
Once a month, soak filter cartridges in warm water with a small amount of filter degreaser for at least an hour. This removes oils, sunscreen buildup, and fine grit that a hose rinse won’t get. Rinse well afterward and let them air dry fully before putting them back. This small step keeps suction strong across many cleaning cycles.
Also monthly, check drive tracks or wheels more carefully. Remove any small rocks or grit stuck between treads and the housing. On wheeled models, including most suction-side and pressure-side units, spin each wheel by hand. Feel for grinding, stiffness, or wobble. A wheel that doesn’t spin freely puts extra strain on the motor and limits the cleaner’s ability to climb walls or turn corners. These small mechanical issues are what shorten a cleaner’s life without any obvious warning.
Seasonal care and storage
Before the season starts, run through this pre-season checklist. Replace any brushes, bags, or cartridges that showed wear last year. Test the cleaner in the pool for 15 to 20 minutes and watch how it moves. Stalling, drifting off-track, or refusing to climb walls is easier and cheaper to fix now than in the middle of summer when repair shops are backed up. Starting the season with fresh parts prevents most mid-season headaches.
When the season ends, run one last cleaning cycle. Then do a full deep clean. Tilt the unit at different angles to drain every drop of water from inside. Water left in the housing over winter causes corrosion, mold, or freeze damage depending on where you store it. Keep the cleaner in a cool, dry, shaded spot. Direct sunlight and heat break down plastic and rubber faster than pool chemicals do. Never leave a robotic cleaner sitting in the pool when it isn’t running. Long exposure to pool chemicals wears out seals and housings fast. For hose-based cleaners, store all hose sections flat or hang them straight. Don’t coil them. Coiled storage creates permanent curves that cause drag and tracking problems next season.
When to call it
Even well-maintained cleaners wear out eventually. Knowing when yours is done saves you from spending more on repairs than the cleaner is worth. Robotic models usually last three to seven years with steady care. Suction-side units can go five to eight years because they have fewer parts. Pressure-side models with booster pumps tend to fall on the shorter end of that range because the pump wears down over time.
The clearest signs a cleaner is past its best: motor noise that won’t go away after cleaning, seals that keep failing after you replace them, drive systems that slip or stall on clean surfaces, and poor filter performance even with brand-new cartridges. One of these alone might be worth a repair. Two or more in the same season means it’s time for a new unit.
If you’re replacing major parts more than once per season, buying new almost always costs less than continuing to fix the old one. It can feel wasteful, but the savings over the next year make the choice clear.

ESR for MagSafe Wallet, 5 Card Holder with RFID Blocking, MagSafe Sticker Included, Slim Magnetic Wallet for iPhone 17e/17/16/15/14/13/12 Series and Selected Samsung Devices, Not for 13/12 Mini, Black
(as of March 30, 2026 23:47 GMT -05:00 - More infoProduct prices and availability are accurate as of the date/time indicated and are subject to change. Any price and availability information displayed on [relevant Amazon Site(s), as applicable] at the time of purchase will apply to the purchase of this product.)