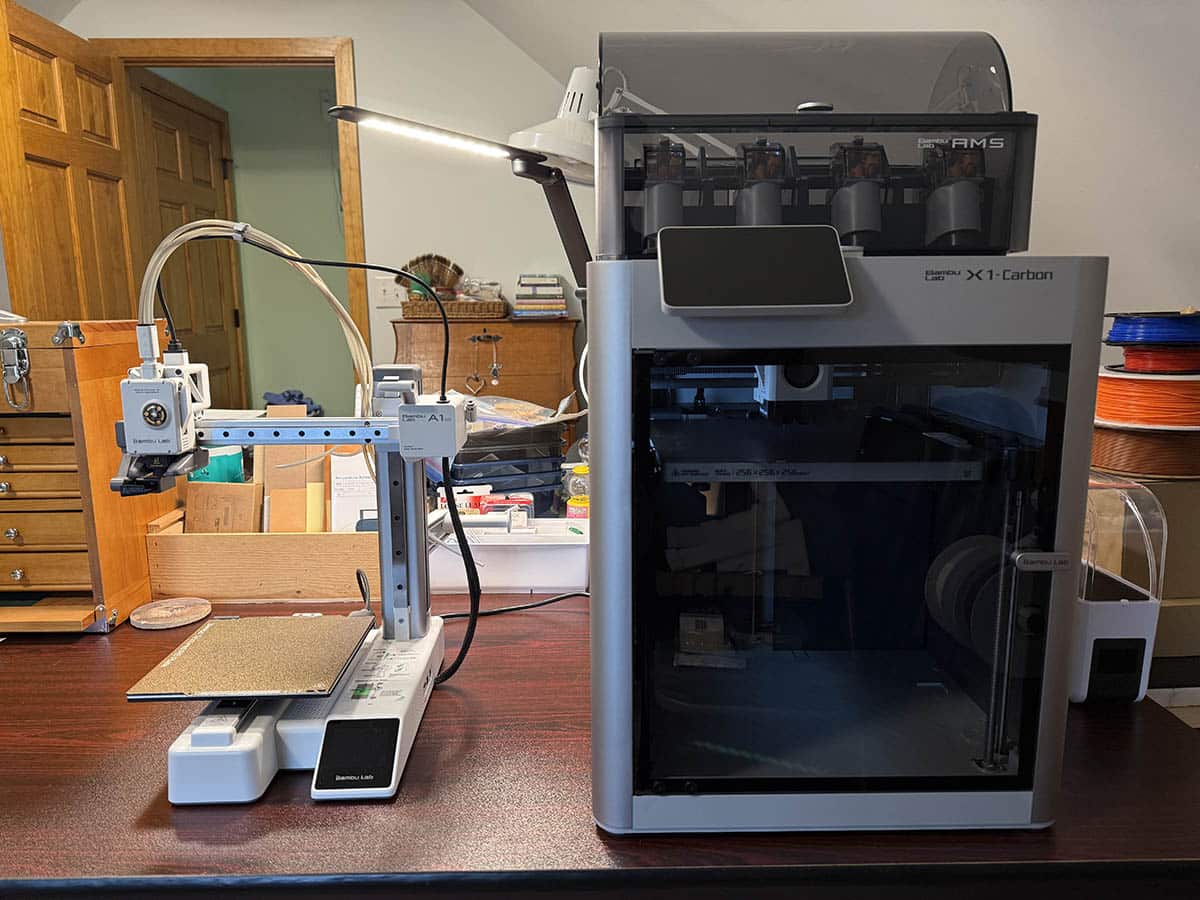
REVIEW – I’ve reviewed several 3D printers over the years, and until the last one that I reviewed, they were all more of a toy than a useful tool. That last 3D printer was the Bambu Lab A1 Mini (shown above on the left). It was the 3D printer that finally made 3D printing fun instead of a hassle. I have continued using the A1 Mini, but now I have its big brother to compare it to. Let’s take a look at the Bambu Lab X1 Carbon 3D printer and see if bigger really is better.
⬇︎ Jump to summary (pros/cons)
Price: $1449.00 (printer only), $1749.00 (with AMS) – $1879.00 (X1C with AMS 2 Pro and filament hub)
Where to buy: Bambu Lab
What is it?
The Bambu Lab X1 Carbon is an enclosed 3D filament printer with a 256 × 256 × 256 mm build volume and multi-color capabilities.
What’s in the box?
The version of the Bambu Lab X1 Carbon that was sent to me included the AMS arrives in a large and heavy box.
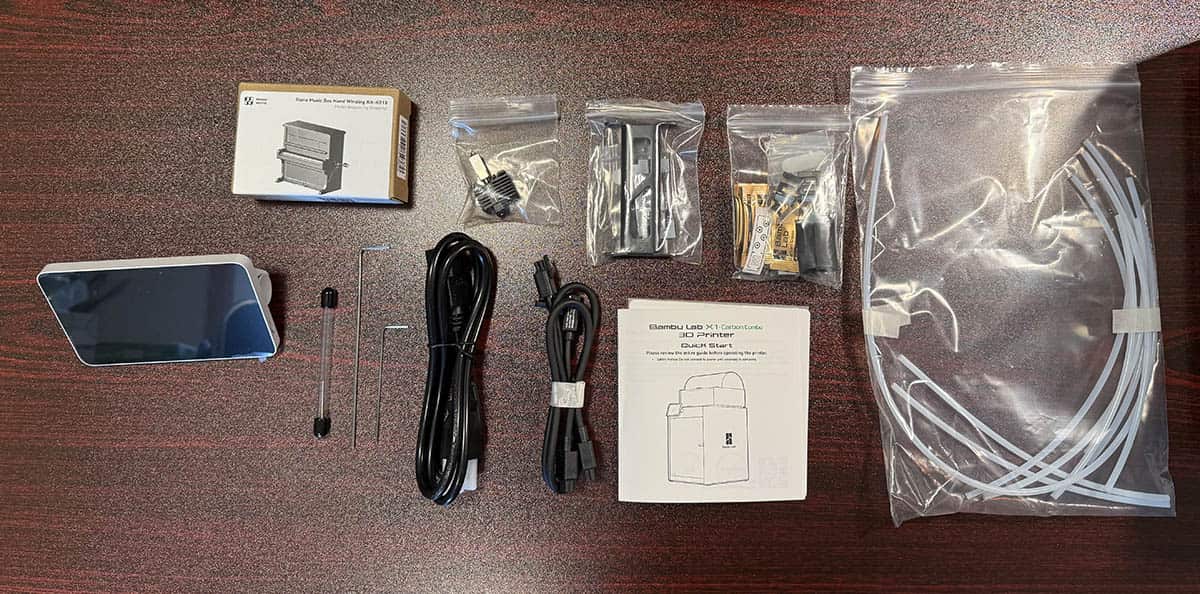
- Bambo Lab X1C 3D printer
- AMS
- 2 packs of dessicant
- 4-Pin Bus Cable
- Switching Adapter
- Filament Buffer
- PTFE Tube Coupler
- Touch screen
- Spool holder
- Filament sample
- Spare Hot End
- Spare Filament Cutter
- Allen keys
- Unclogging tool
- Bed scraper
- Power cable
- Quick start guide
Tech specs
Build Volume: (W×D×H): 256 × 256 × 256 mm³*
Nozzle: 0.4 mm Hardened Steel Included
Hotend: All-Metal
Max Hot End Temperature: 300 ℃
Filament Diameter: 1.75 mm
Supported Filament: PLA, PETG, TPU, ABS, ASA, PVA, PET
Ideal for PA, PC, Carbon/ Glass Fiber Reinforced Polymer
Build Plate Surface: Bambu Textured PEI Plate or Bambu Cool Plate (Pre-installed, Random, Both compatible with Micro Lidar)
Max Build Plate Temperature: 110℃@220V, 120℃@110V
Max Speed of Tool Head: 500 mm/s
Max Acceleration of Tool Head: 20 m/s²
Physical Dimensions X1C:389 × 389 × 457 mm³
Package size: 480 × 480 × 535 mm³
Net weight: 14.13kg, Gross weight 18kg
X1C Combo: Package size: 480 × 480 × 590 mm³
Gross weight (AMS included): 22.3 kg
Electrical Requirements: 100-240 VAC, 50/60 H, 1000W@220V, 350W@110V
Design and features
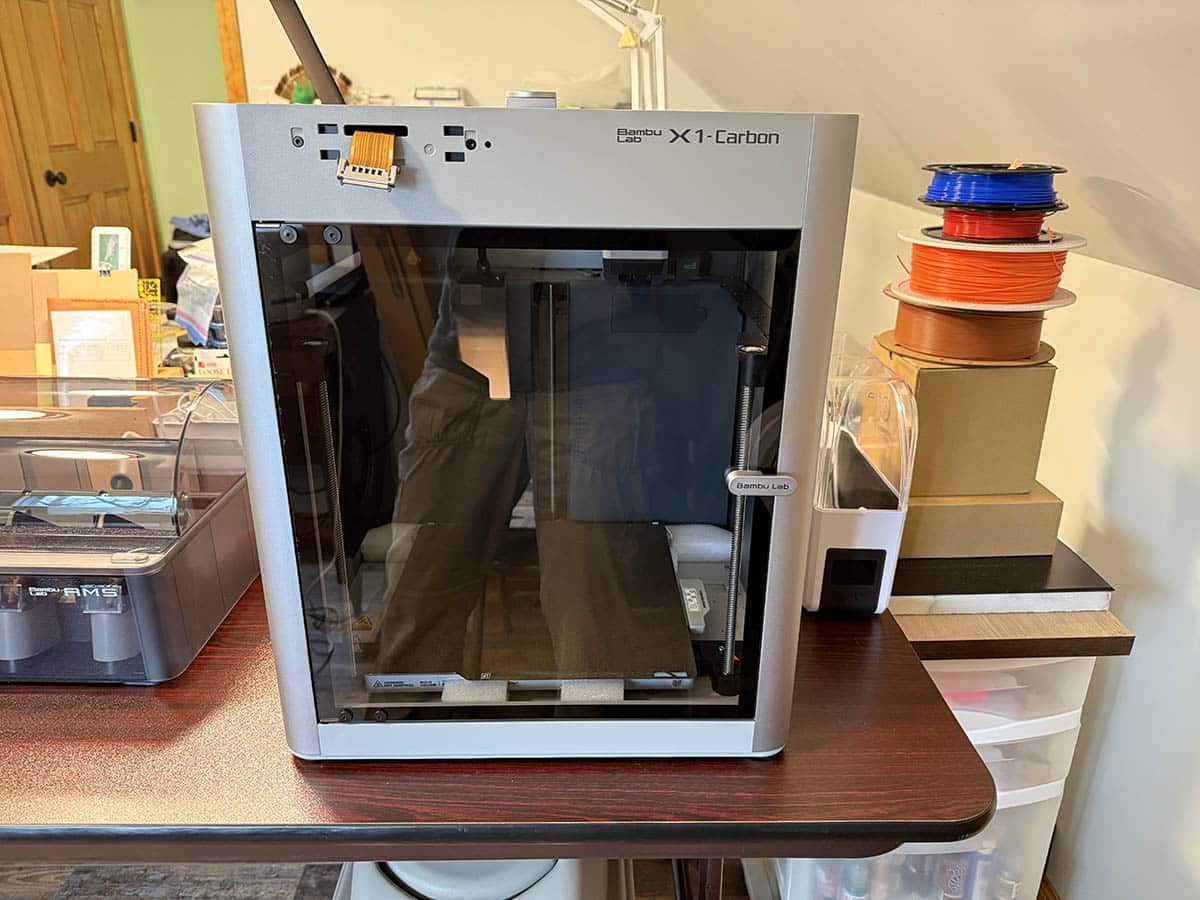
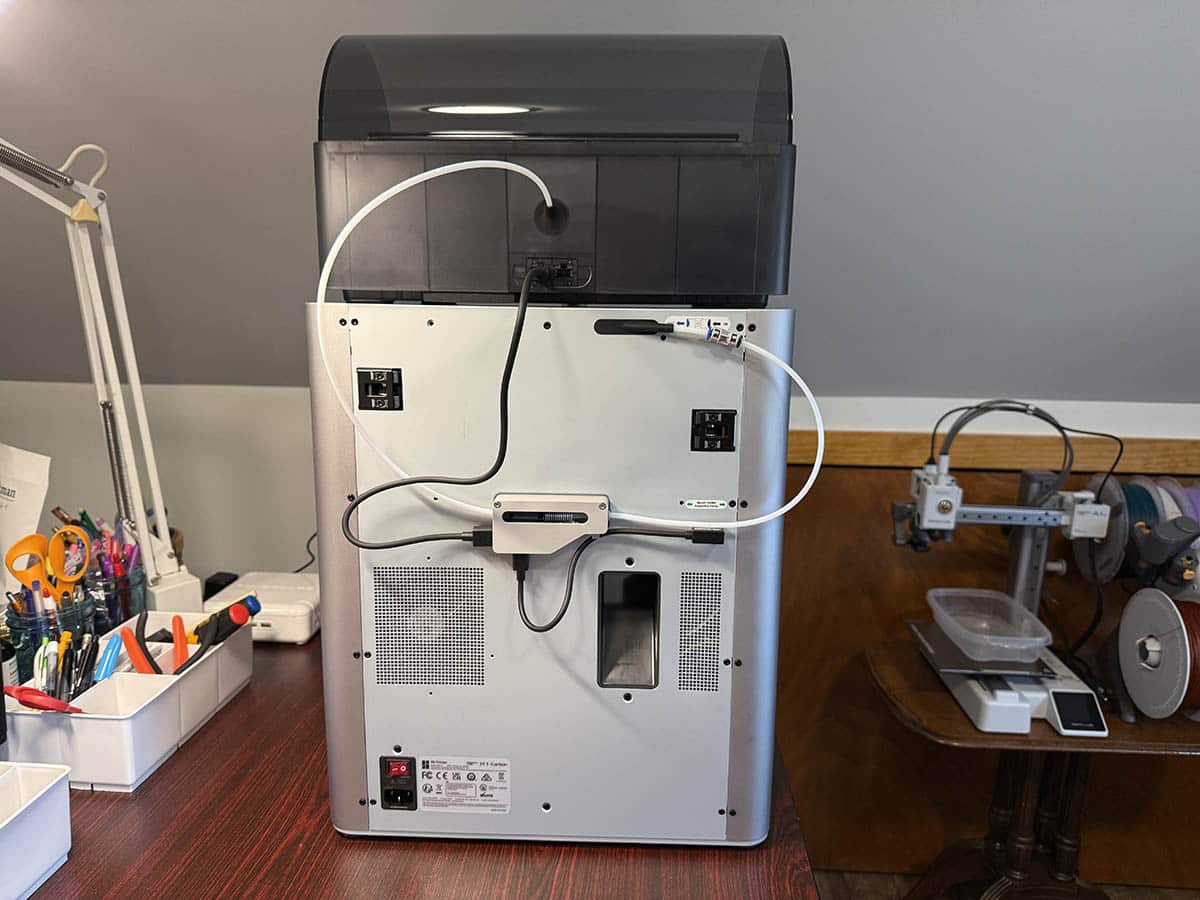
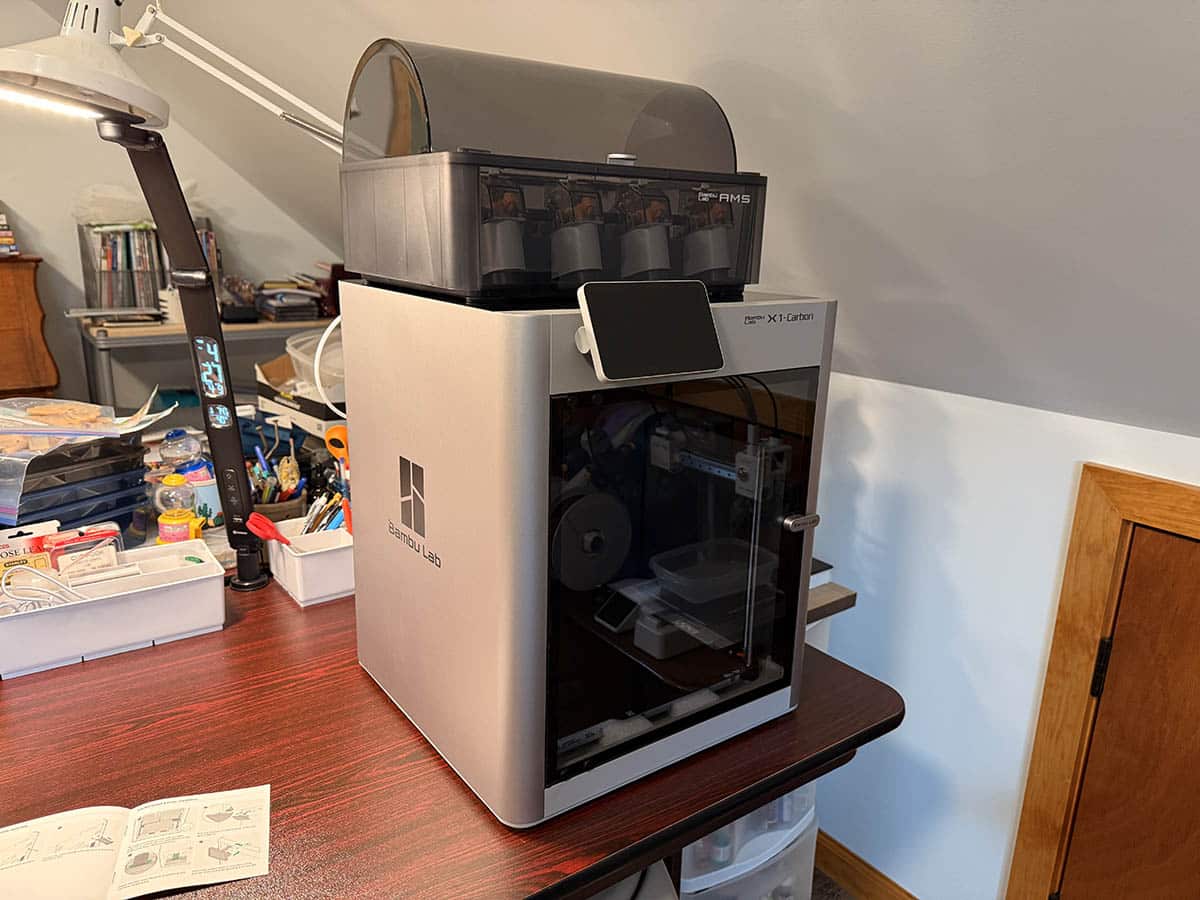
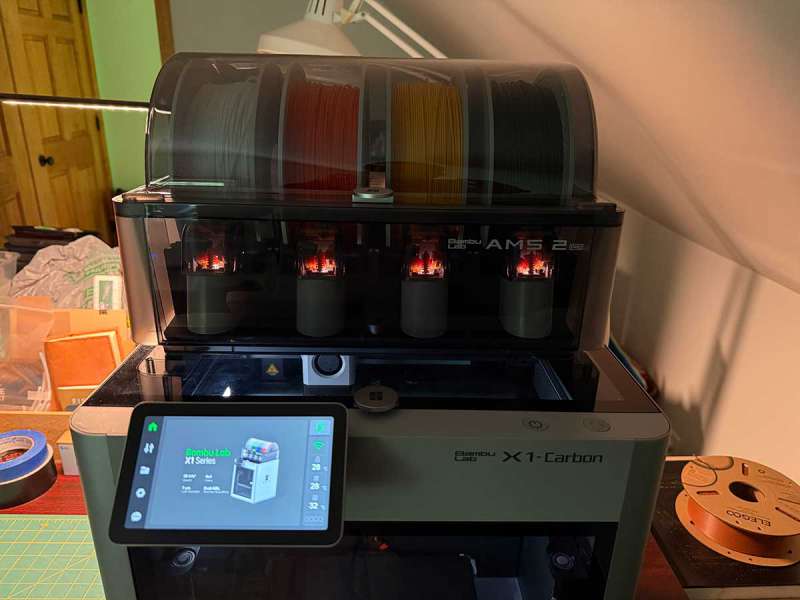
If you go back to the top of this review and look at that lead picture, you will see the Bambu Lab A1 Mini next to the X1 Carbon. There’s quite a difference in size/footprint. I liked the A1 Mini quite a bit, mainly due to the small size. Except that when I wanted to print in multi-colors, I had to make extra room on my desk for the AMS. I really like the fact that the AMS for the X1C can be positioned on top of the printer. And I also like that the X1C is enclosed, which helps to keep the fumes down when printing. The X1C has a rugged metal housing with a glass door on the front.
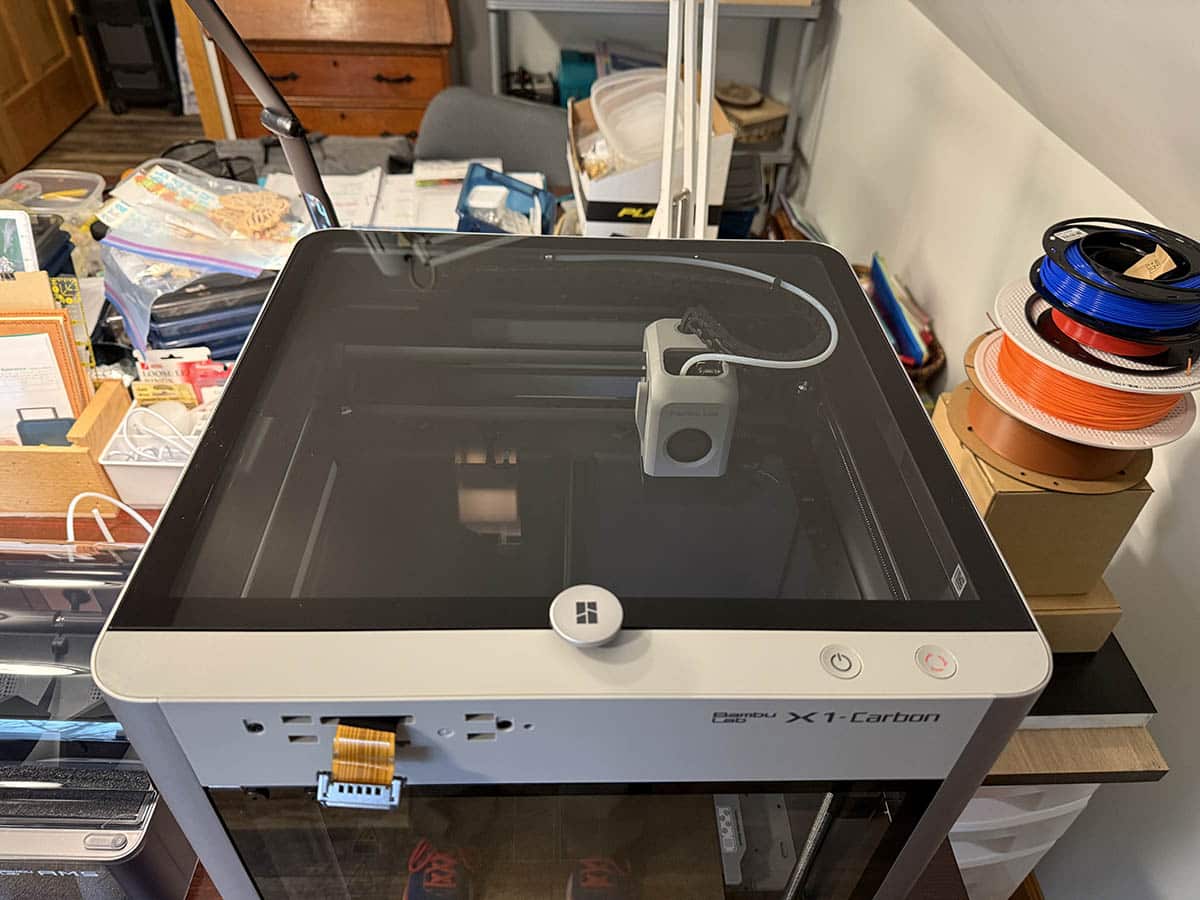
And another glass door on top.

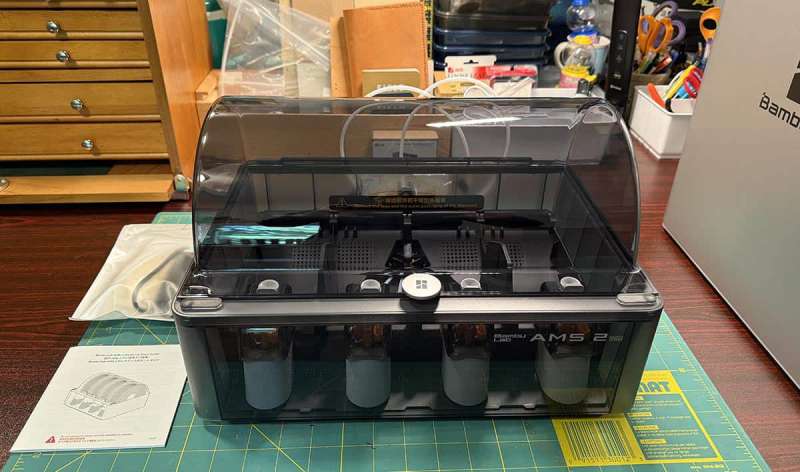
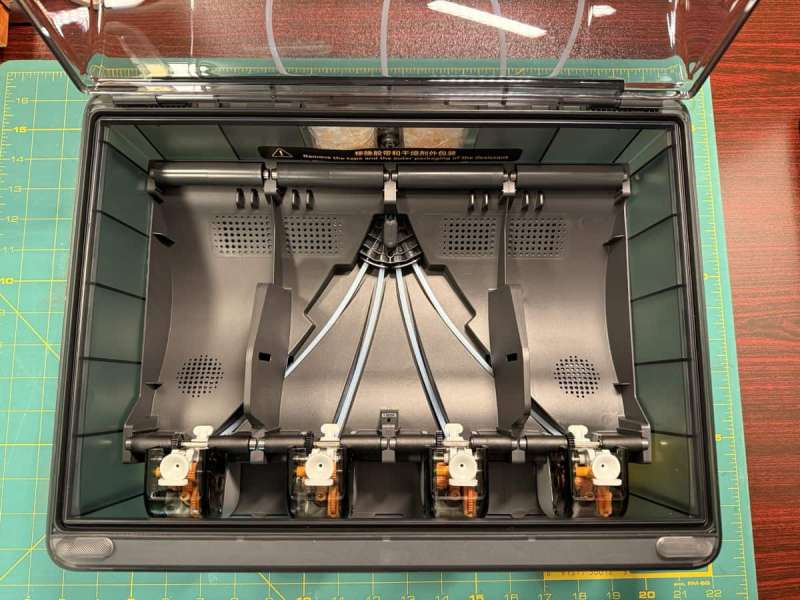
The AMS unit has a plastic housing with room for four rolls of filament.
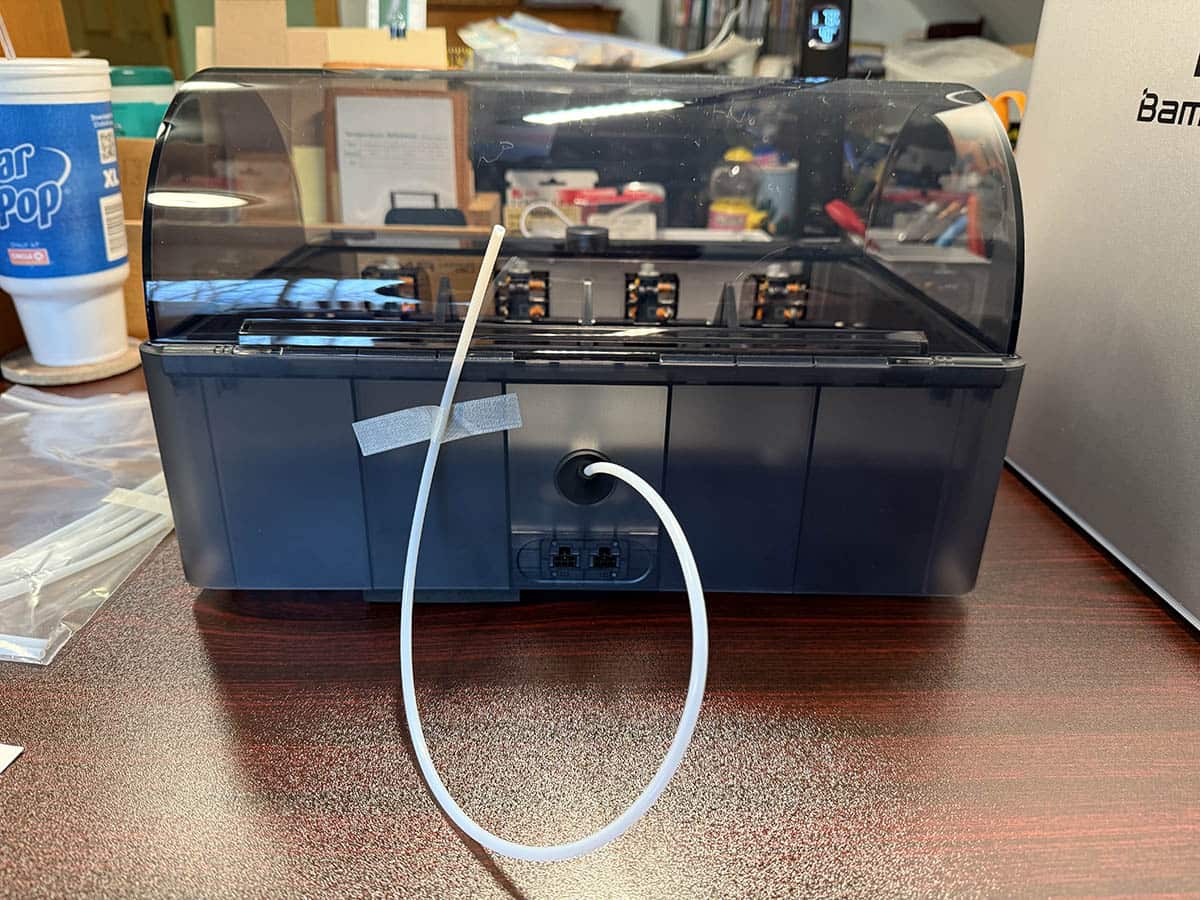
A filament tube is attached to the back of the unit, along with the connection ports for the 3D printer.
I received the X1 Carbon with the AMS unit and the Filament Buffer, but if you decide to order this printer and want the option to connect multiple AMS units, get the version of the X1C that includes the Filament Hub. It’s only $20 more and with it, you can actually connect up to four AMS units to the X1C 3D printer. That means that you can have up to 16 individual rolls of filament to choose from for your prints!
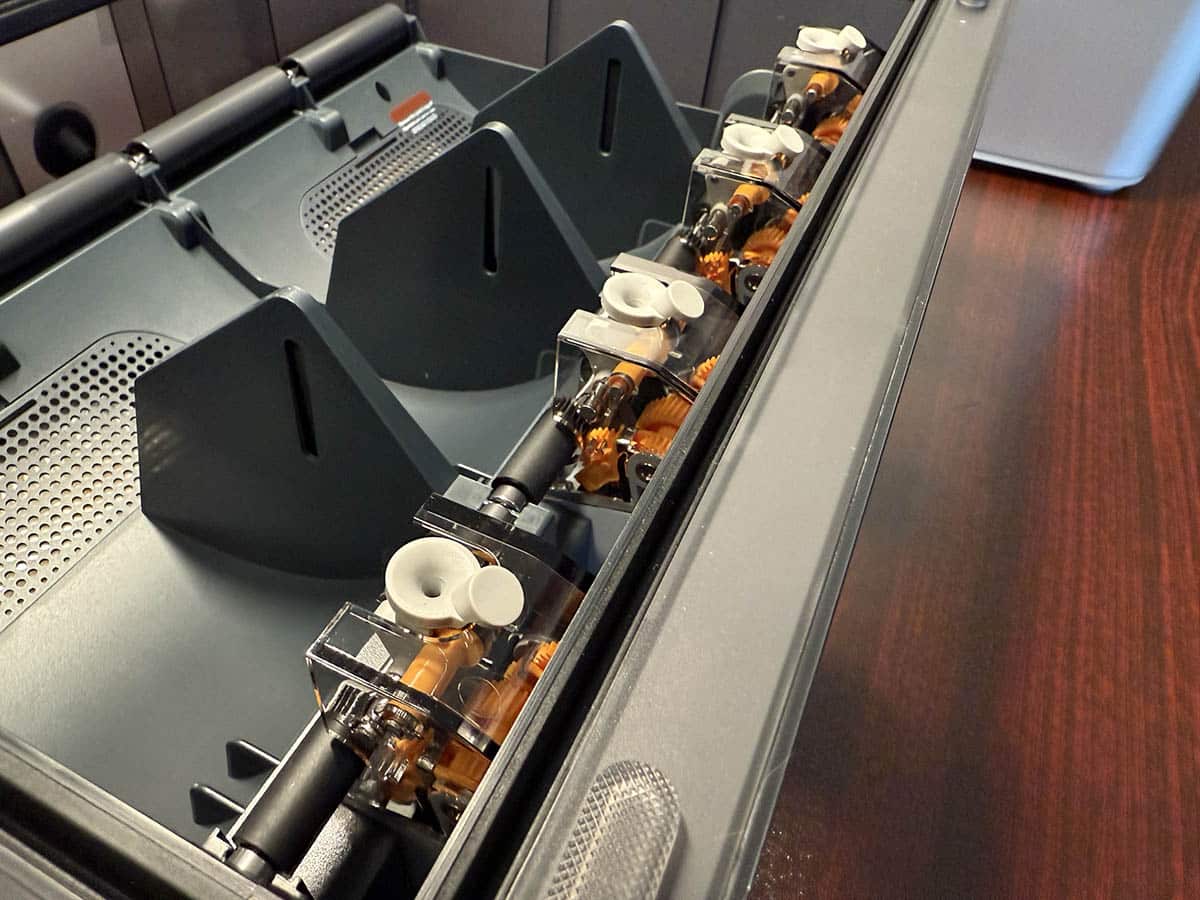
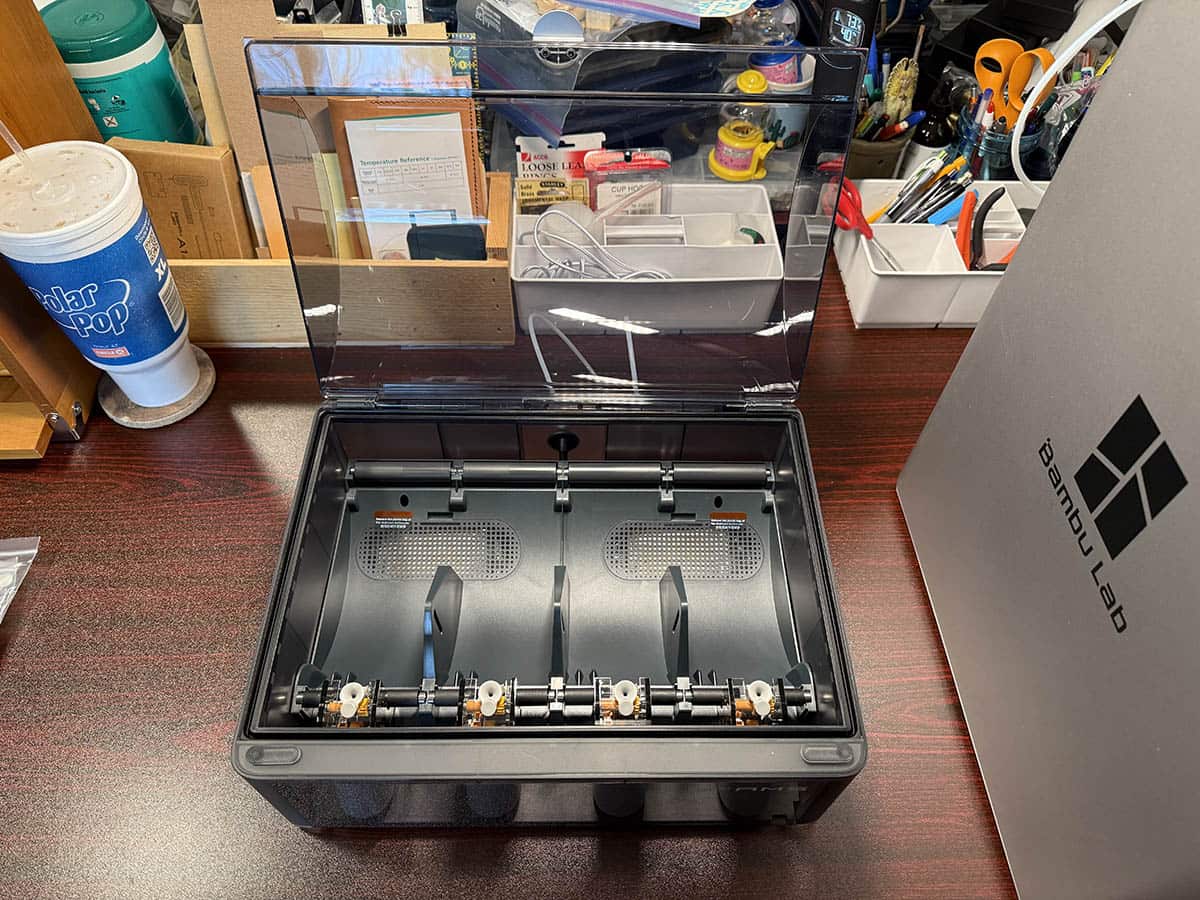
The AMS does even more than feed filament to the printer. It also doubles as a filament dry box. Why do you need dry filament? 3D printer filament is susceptible to humidity, and when it absorbs too much moisture, it becomes brittle, which can clog the printer. The AMS has two desiccant holders that absorb moisture. You can see the holders in the image above. The doors over the holders have holes in them.
The new AMS 2 Pro unit, which is now a new option when purchasing the X1C, is even better than the AMS that I have because it has a built-in dryer. The drying system heats up to 65°C and uses dynamic air ventilation to remove moisture from filament spools. This system can rotate the spools during drying for even results. I hope I’ll get a chance to review the new AMS 2 Pro at some point.
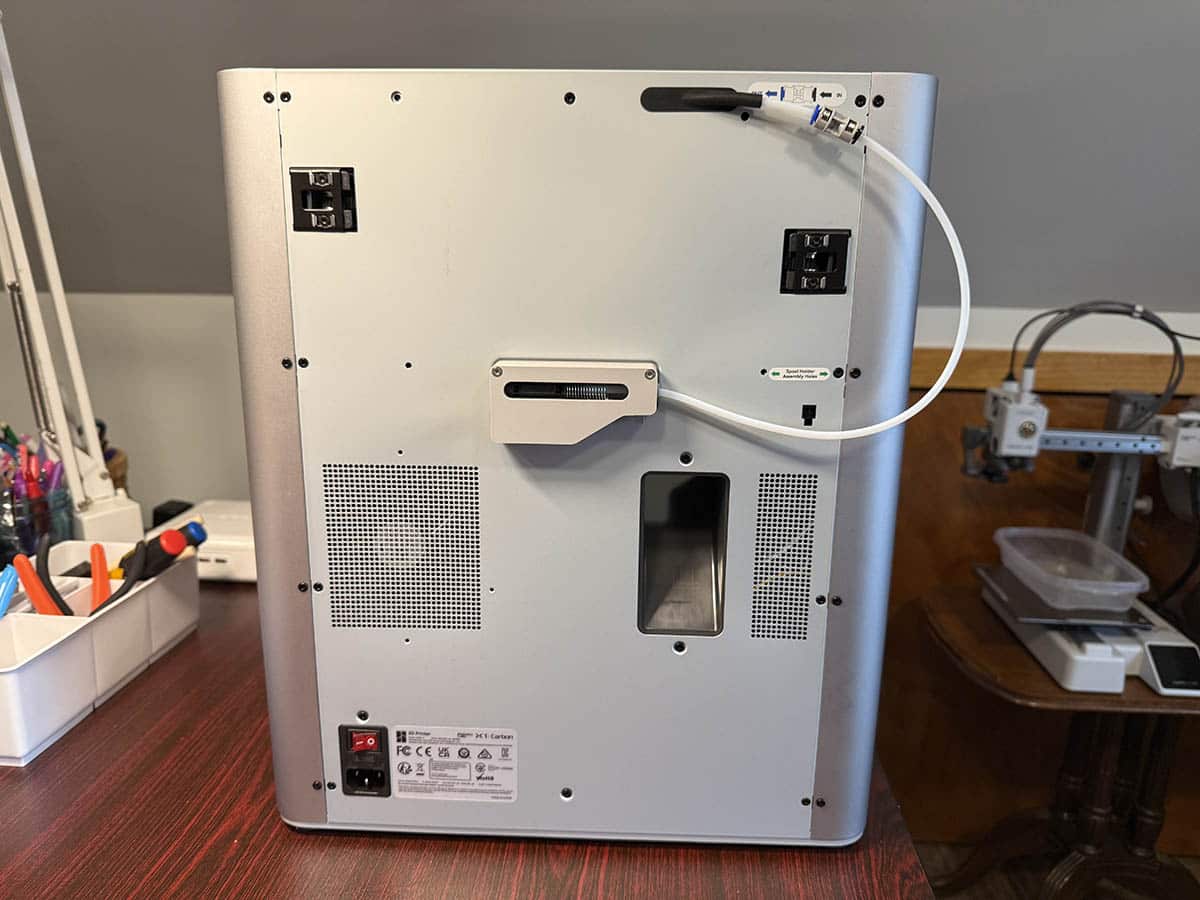
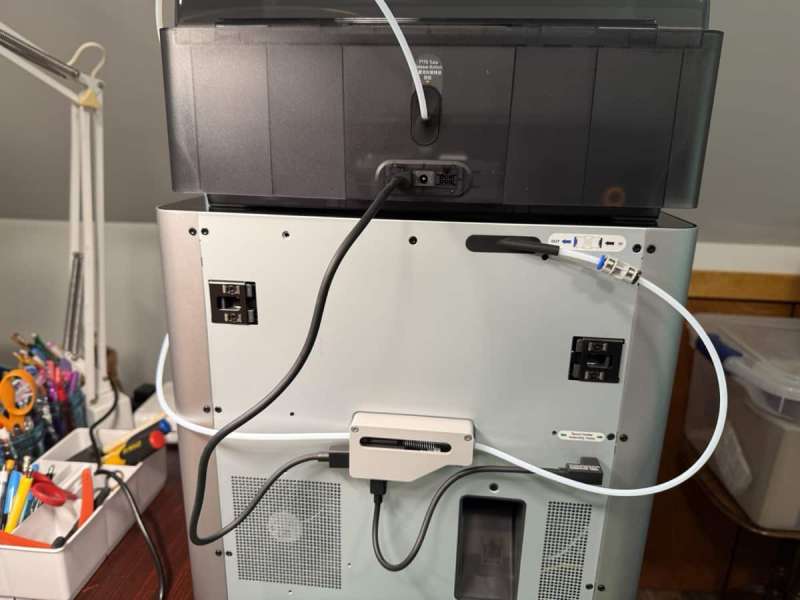
The back of the printer is where you connect the AMS and the filament tubes. That module protruding from the back of the printer is the filament buffer that I talked about above. You will also notice the shoot on the back. That’s where blobs of excess filament that are deposited after switching colors. You’ll want to put a little container below it to catch the pool.
Setting up the Bambu Lab X1 Carbon 3D printer is very simple. The quick start guide provides clear illustrated steps to connect the cables for the AMS unit.
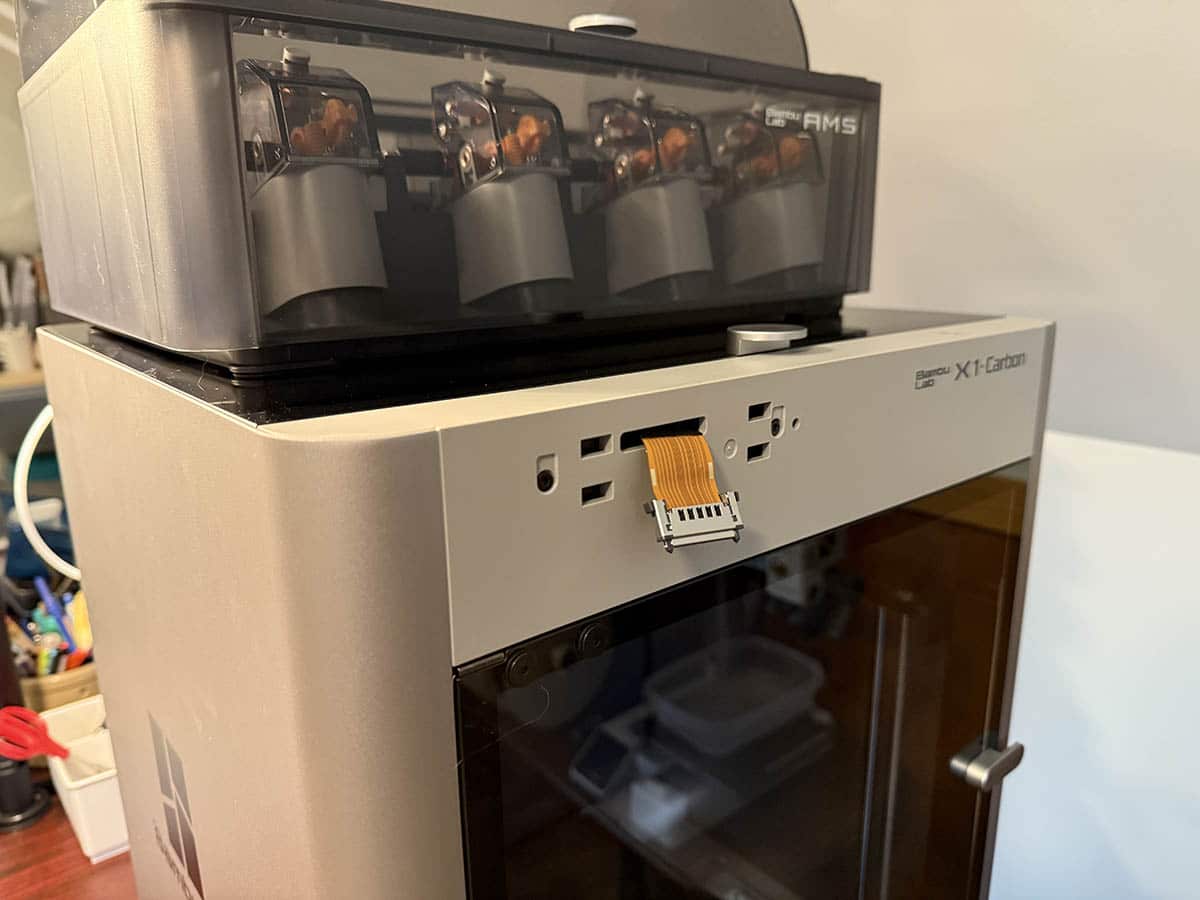
And the instructions for connecting the included touch screen.
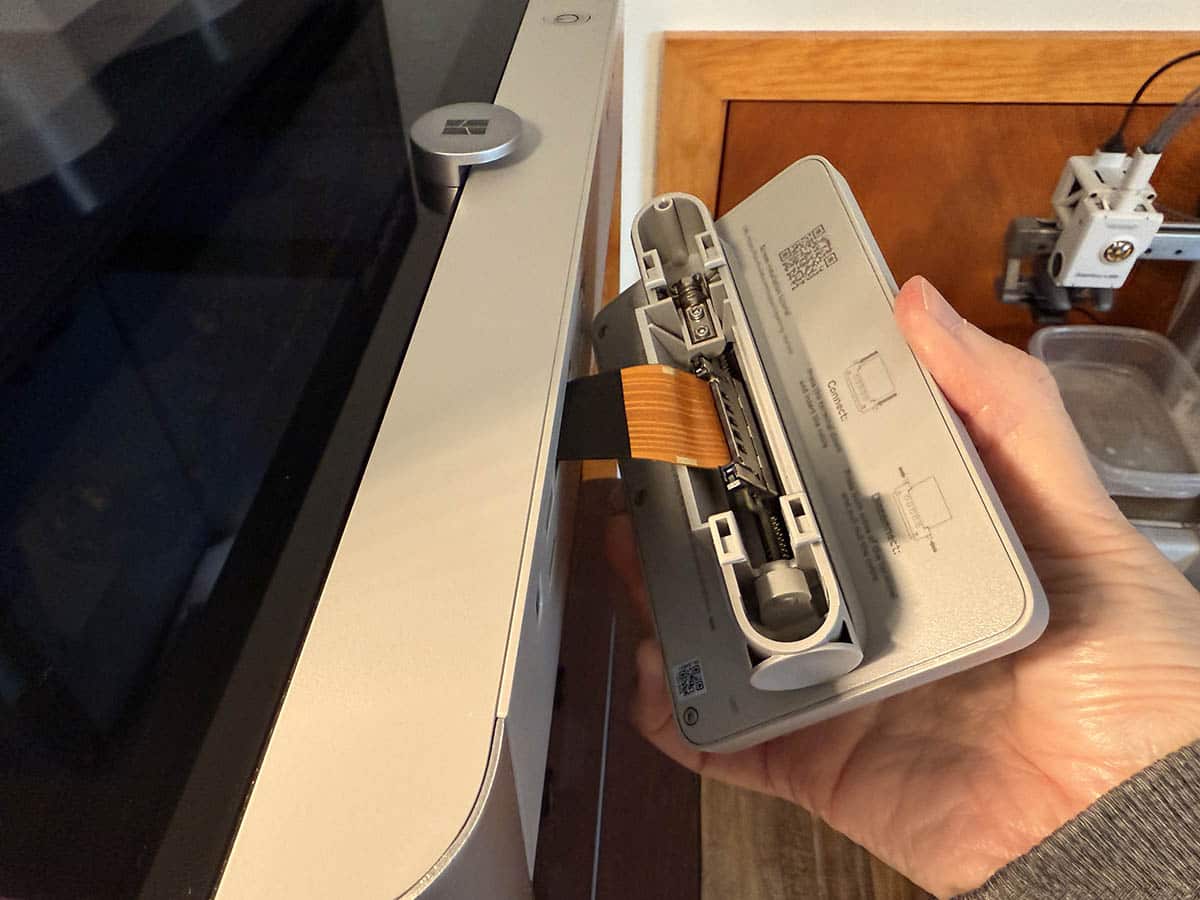
The touch screen snaps into the front of the printer and also holds a micro SD card slot where you can insert your own micro SD card to use for capturing timelapse videos of your prints.
At this point, we’re ready to power up the printer and try our first print.
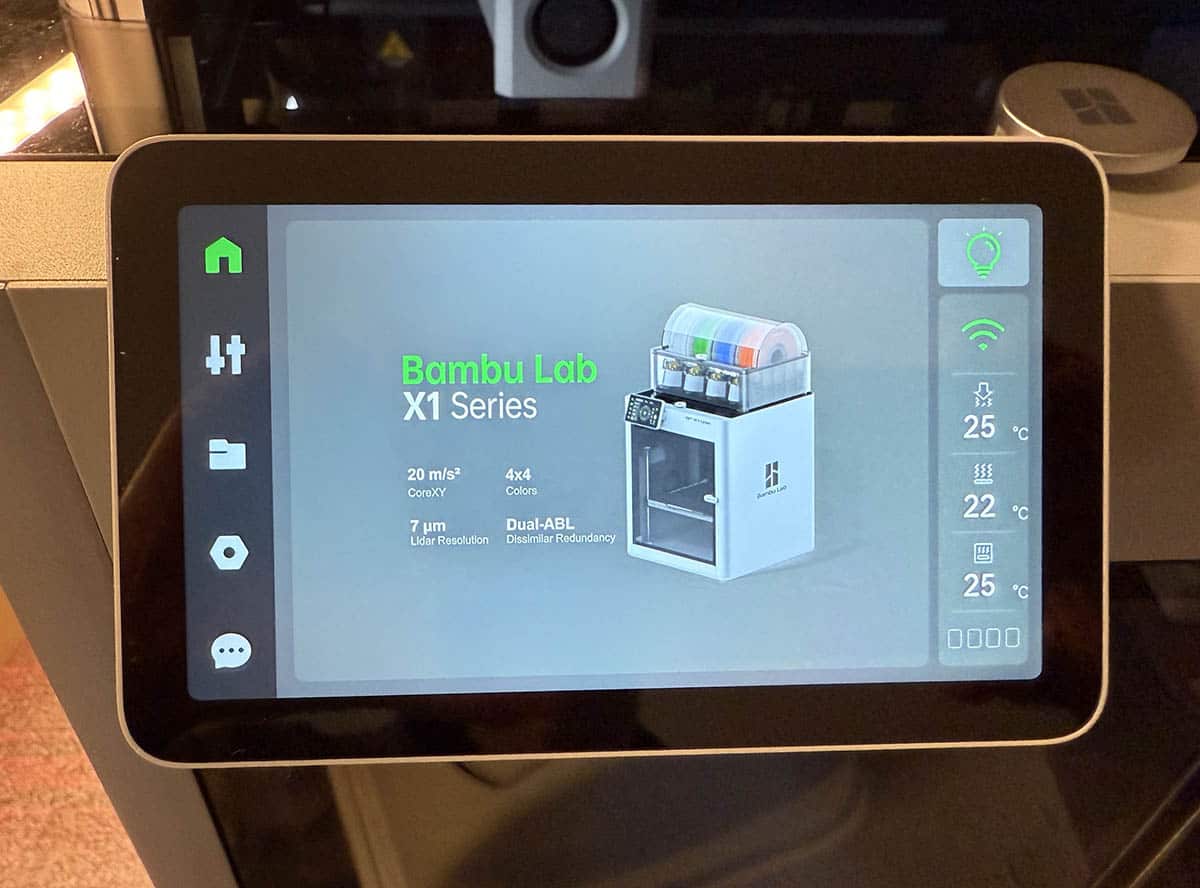
The touch display is big and bright and can even pivot up and down to provide the perfect viewing angle.
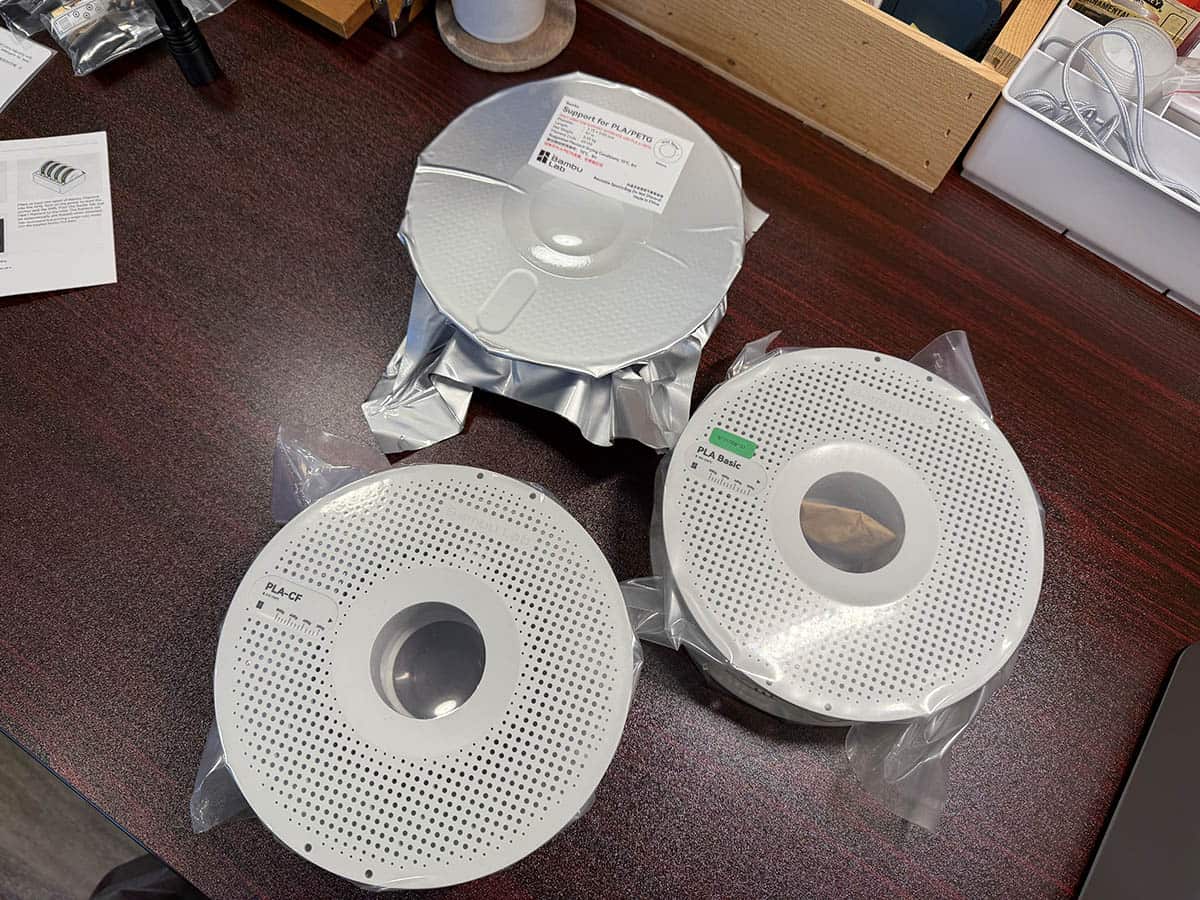
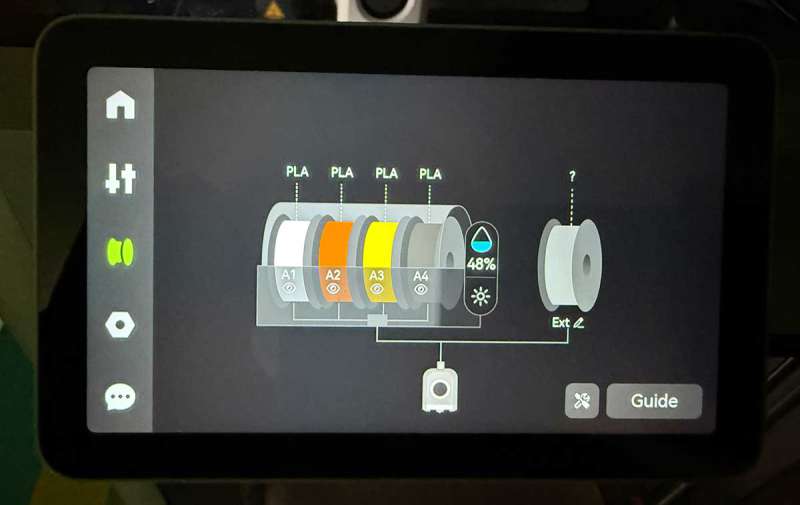
Of course, you’ll need to load some filament before you can print something. Bambu Lab does include a partial spool of filament to get you started, but you’ll definitely want to order some extra rolls. The great thing about ordering filament directly from Bambu Lab is that the spools have RFID tags that the AMS can read to know exactly what type and color of filament is being used in each slot of the AMS.
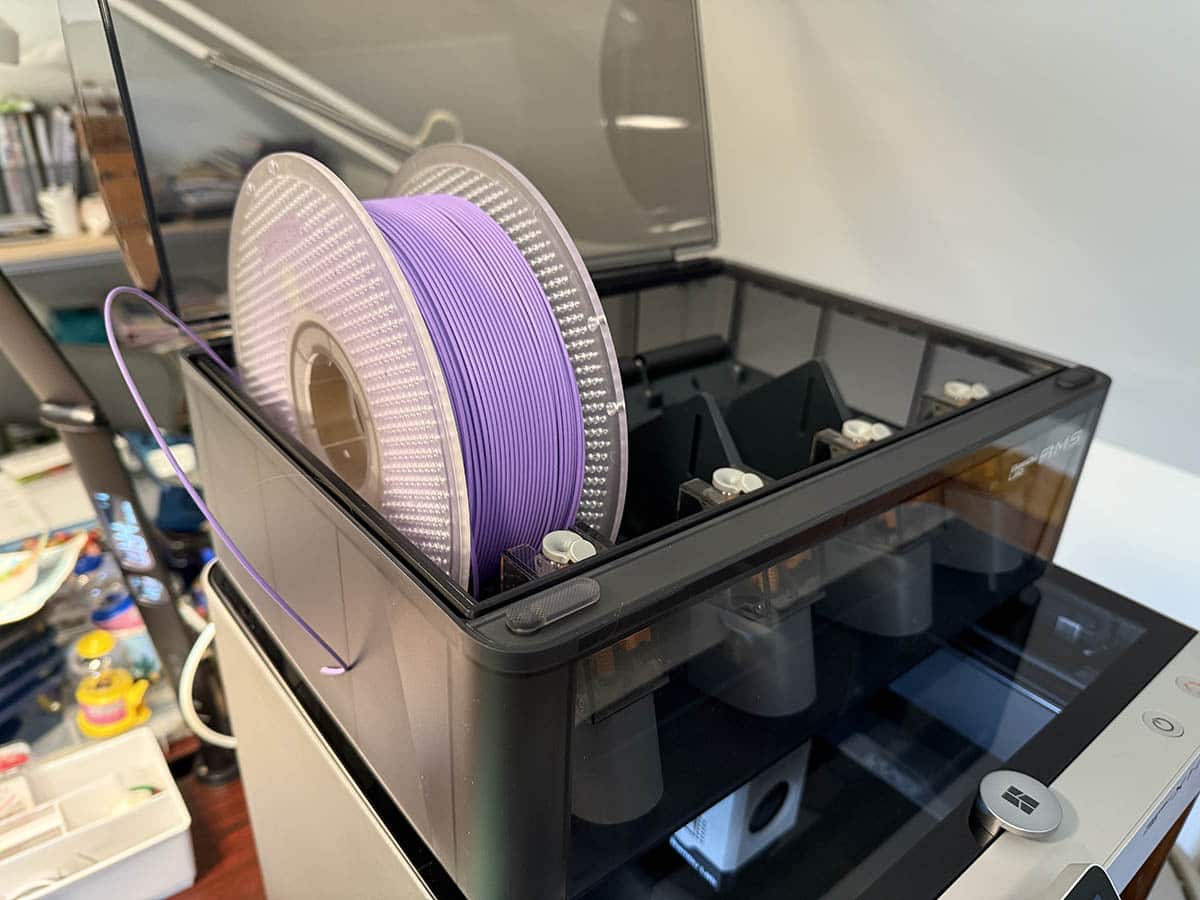
Loading the filament is incredibly quick and easy. Just open the top of the AMS, place the filament in one of the four slots…
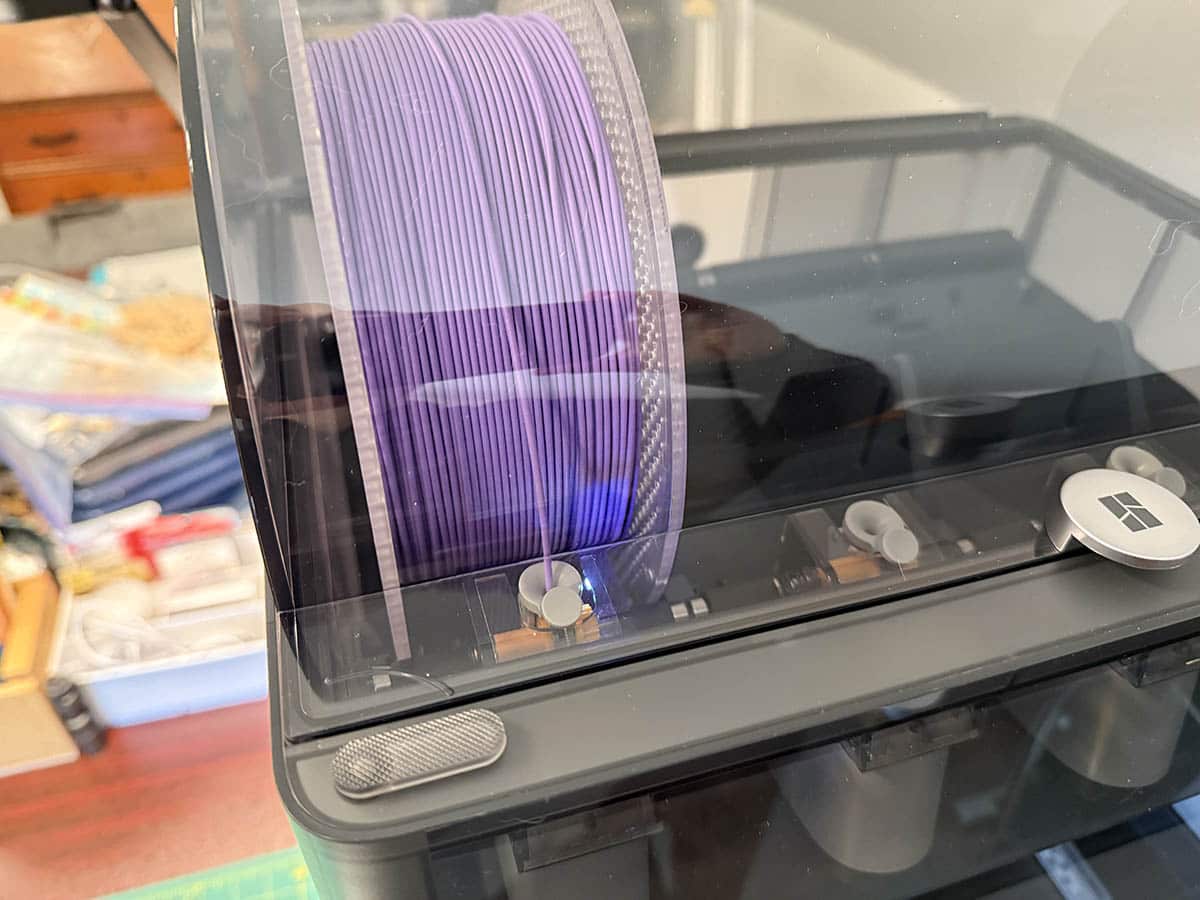
Start feeding the end of the filament into the inlet, and it will automatically grab it and start feeding it to the printer. And even better, when you finish your print, it automatically retracts the filament.
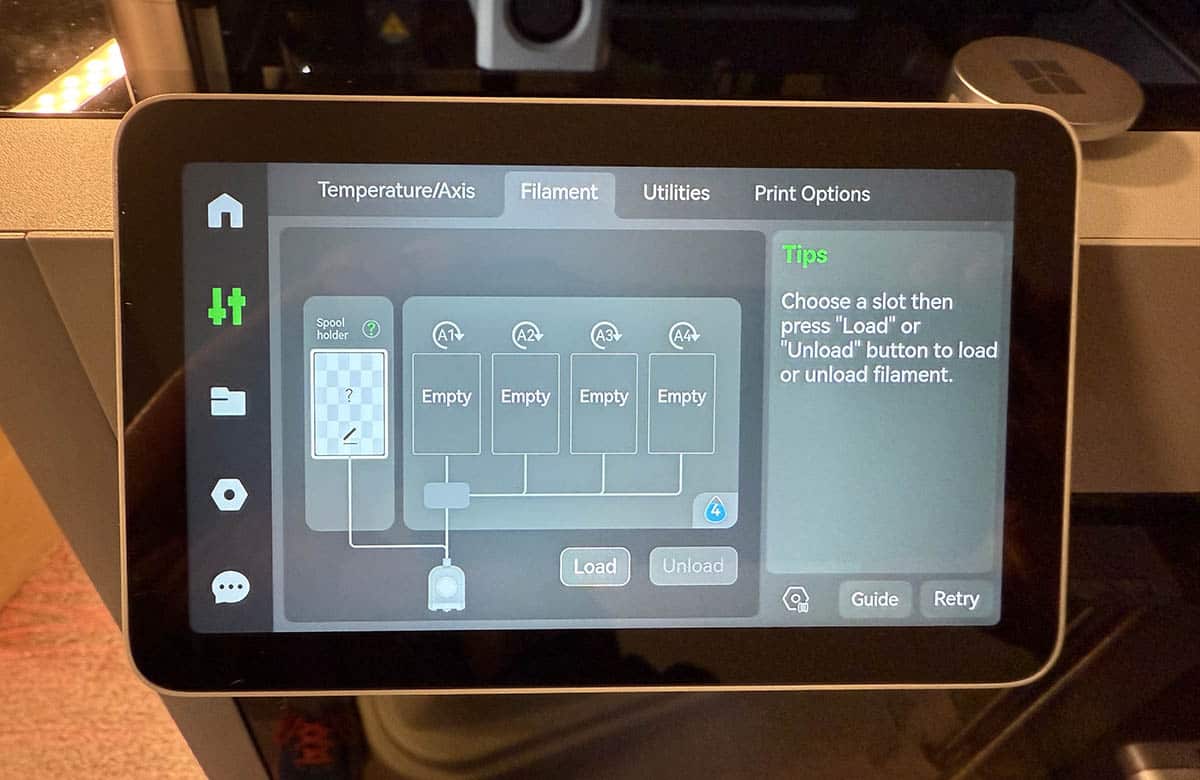
The printer’s menus also allow you to load and unload the filament and see the humidity level.
Let’s print our first print!
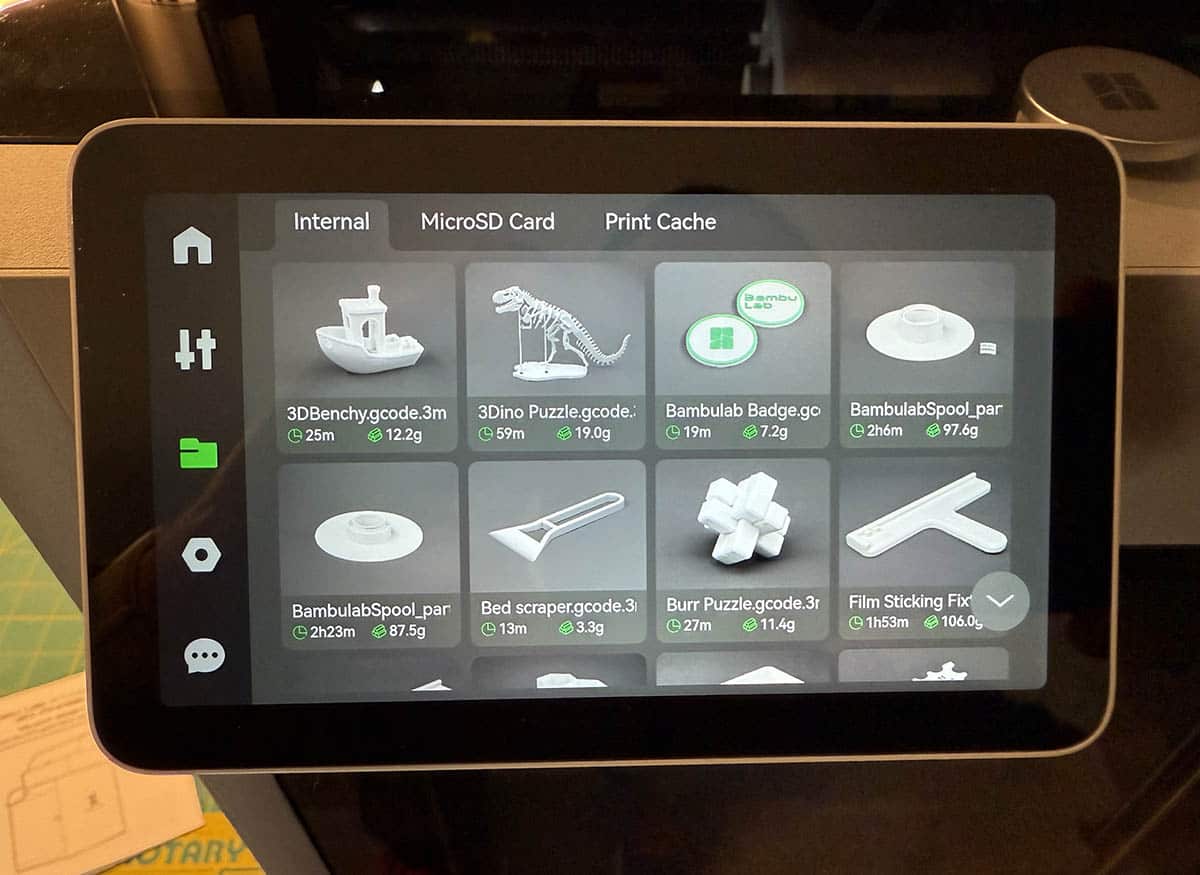
To make things super easy, Bambu Lab includes several 3D models stored right in the printer that you can print immediately.
Just like coders who learn a new programming language will write a Hello World program, the first print most people do on a new 3D printer is a benchy. So that’s what I chose to do first.
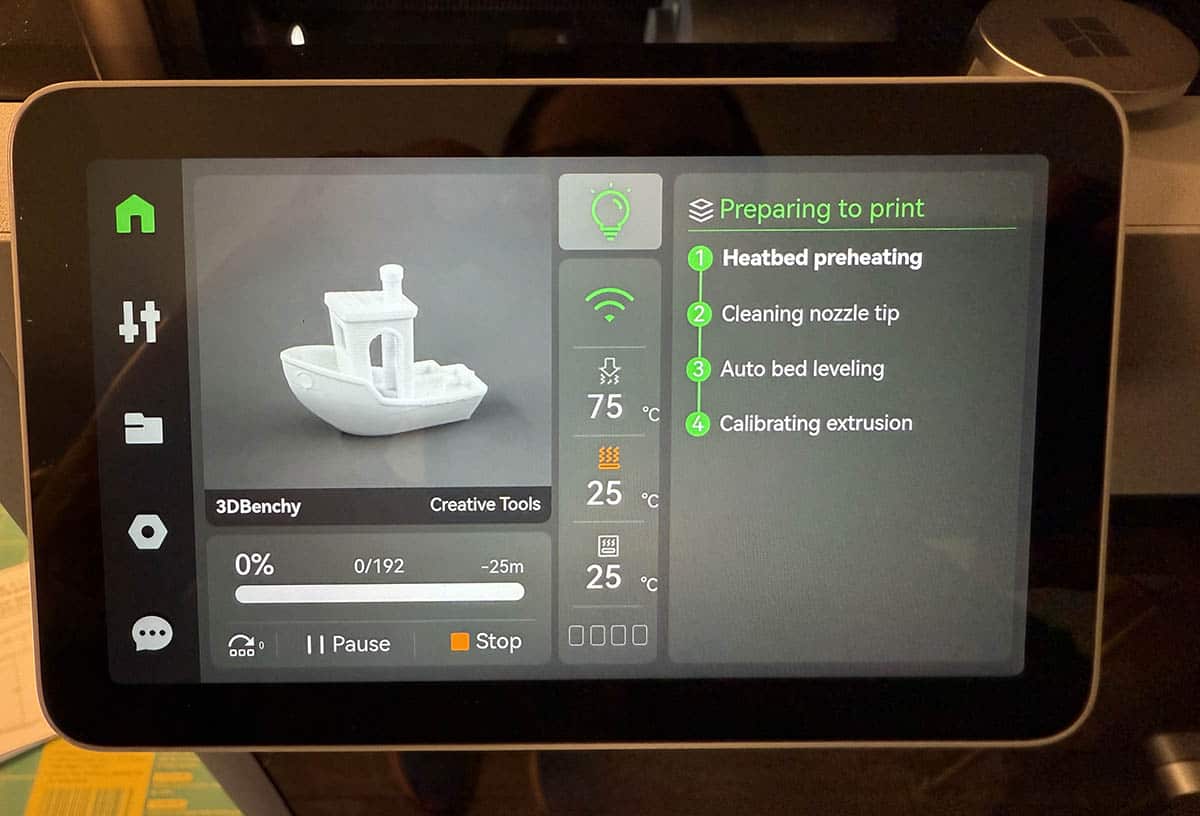
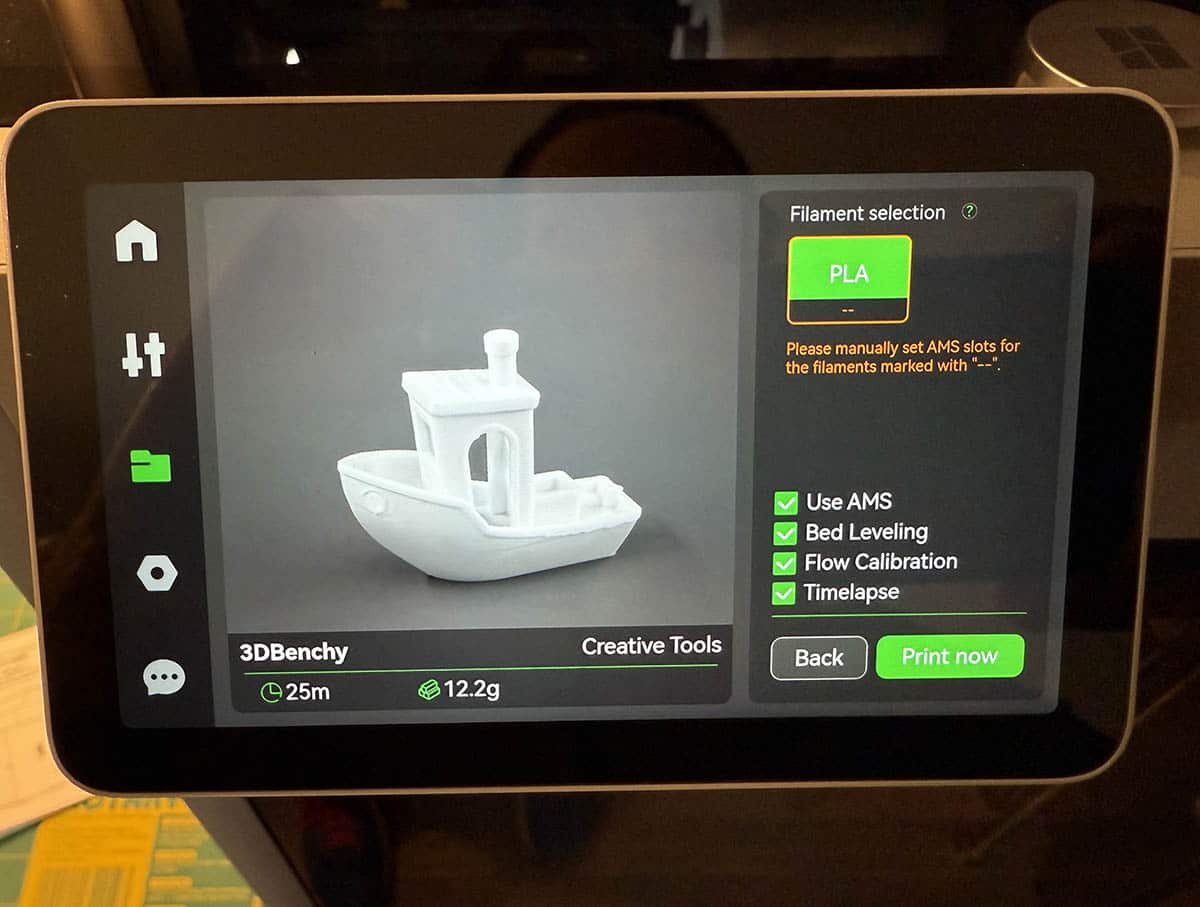
The printer runs through a series of steps that preheat the bed, clean the nozzle tip, level the bed, and calibrate the filament extrusion.
The touch screen provides the status of each step, including the time it will take to complete the print.
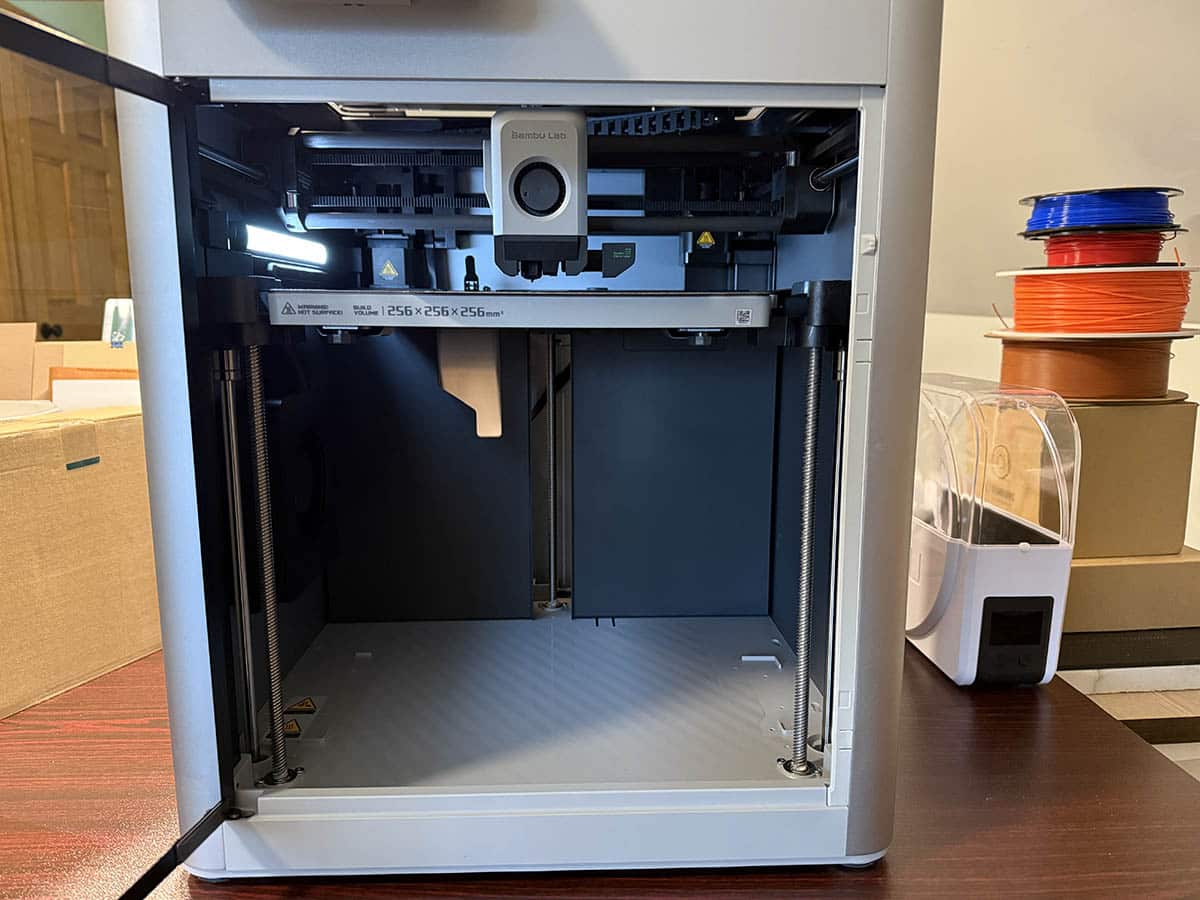
The hotend is attached to the top of the printer, so the print bed raises to that level and lowers as each layer of the model is printed.
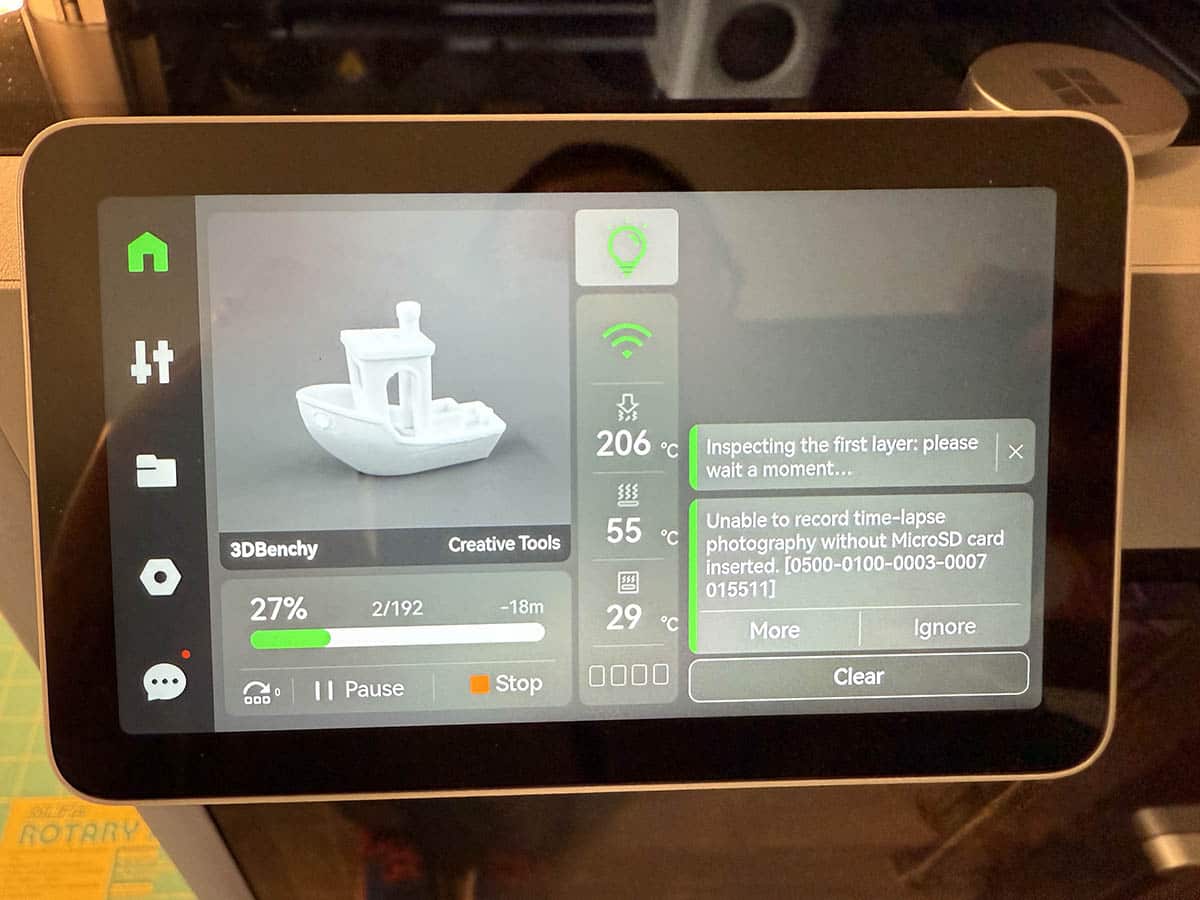
The benchy print is in progress.
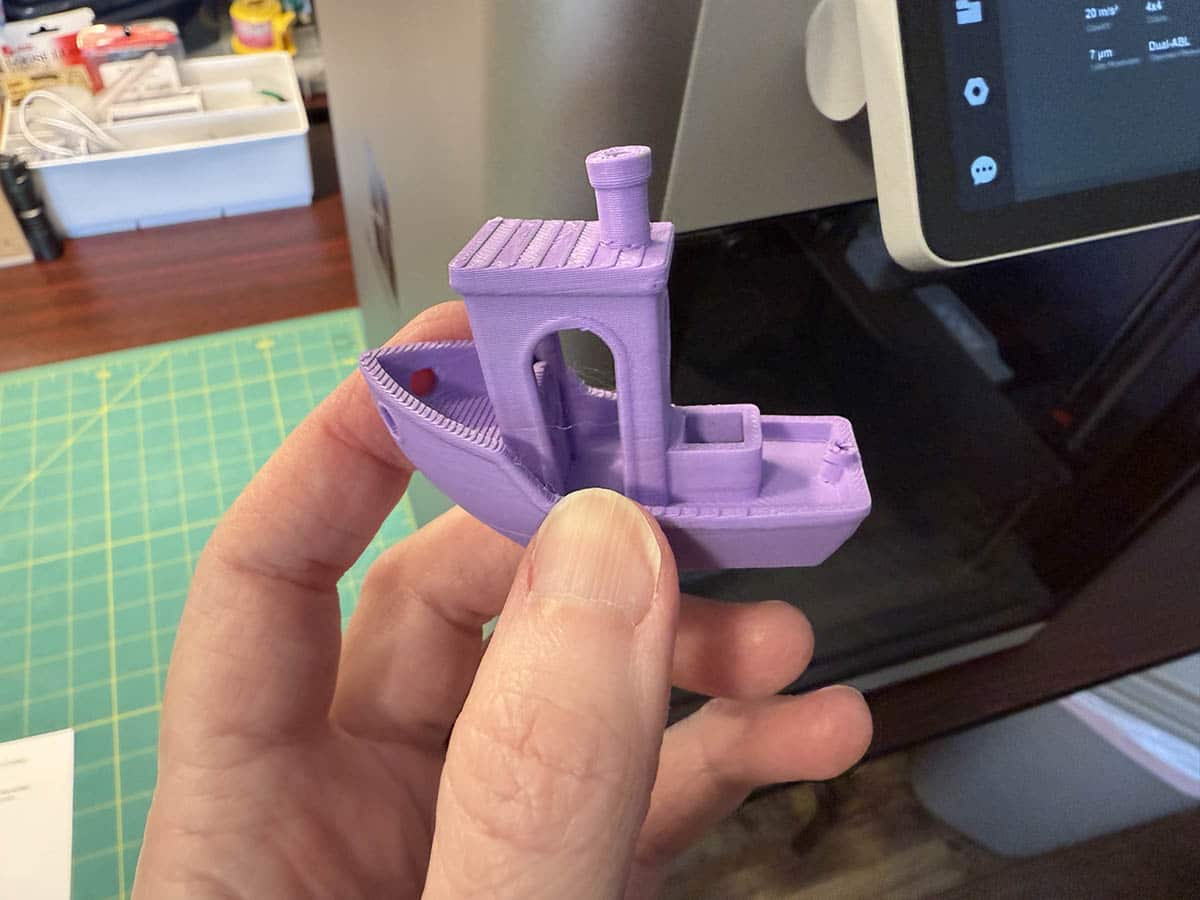
The completed benchy. The print was excellent with almost no stringing (stringing is very thin pieces of filament that remind me of spider webs). If you click the image above, you will see some strings in the doorway of the boat.
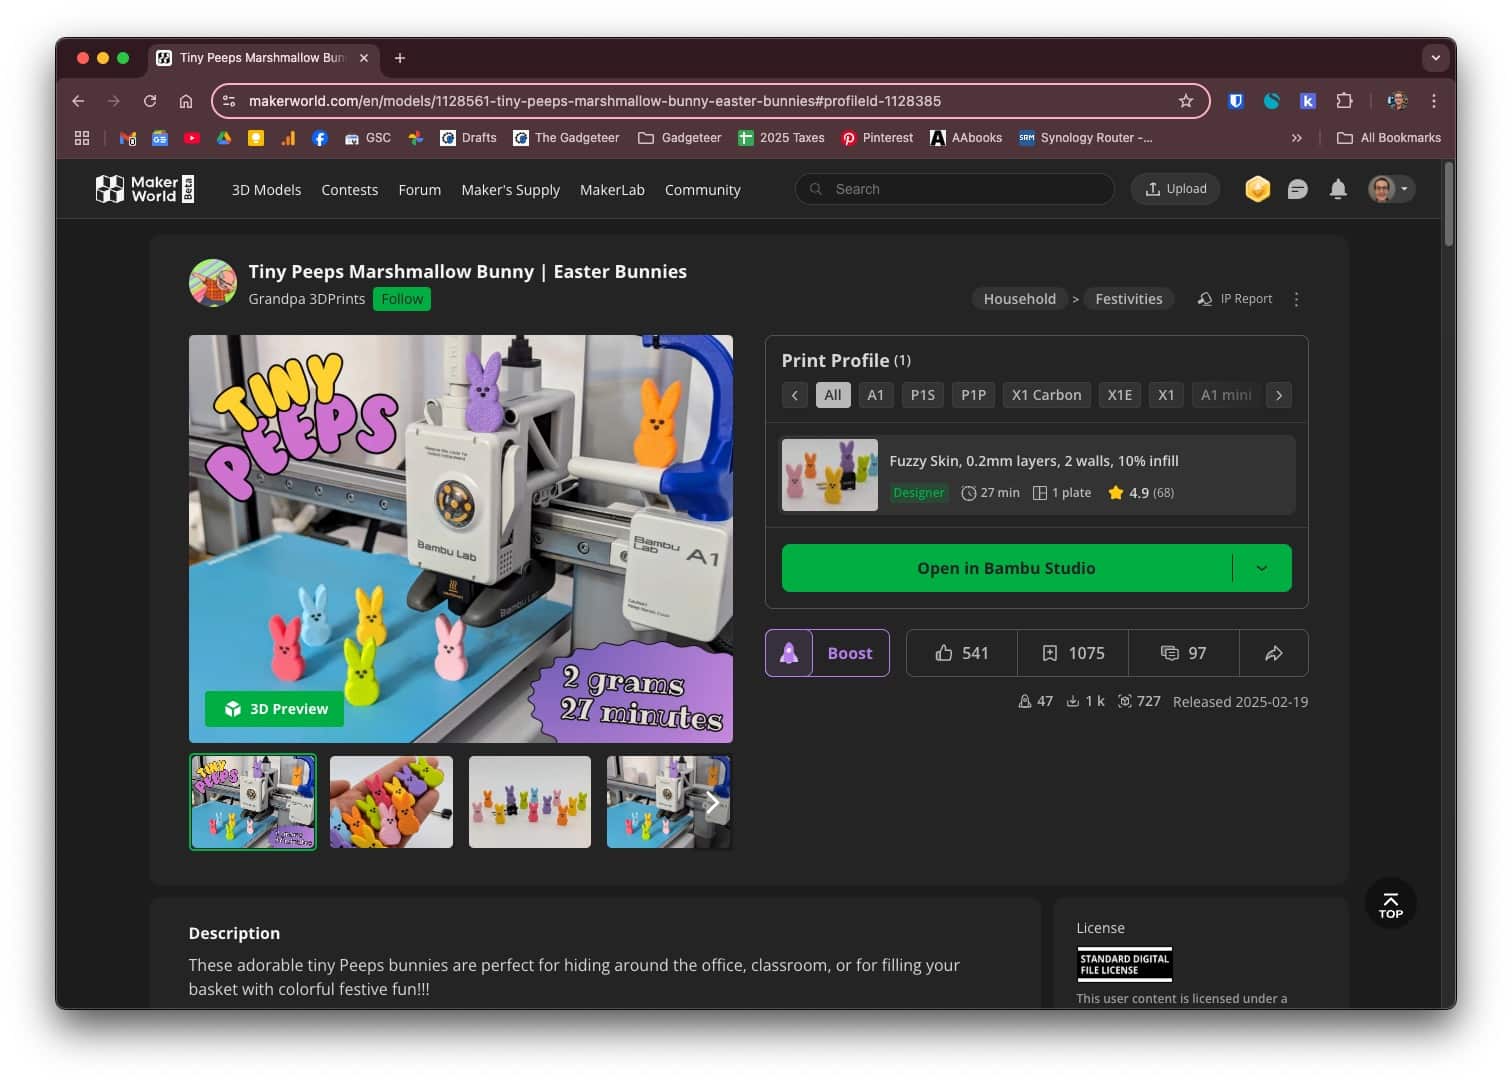
For my next print, I accessed the amazing free model resource at makerworld.com. On this site owned by Bambu Lab, you can find almost any type of print that you can think of – for free! Bambu Lab puts free prints there as well as the 3D printing community. Since Easter was coming up when I was testing the X1C, I decided to print a few bunnies.
From this site, you can send the model to the Bambu Studio software that’s available for Windows and Mac.
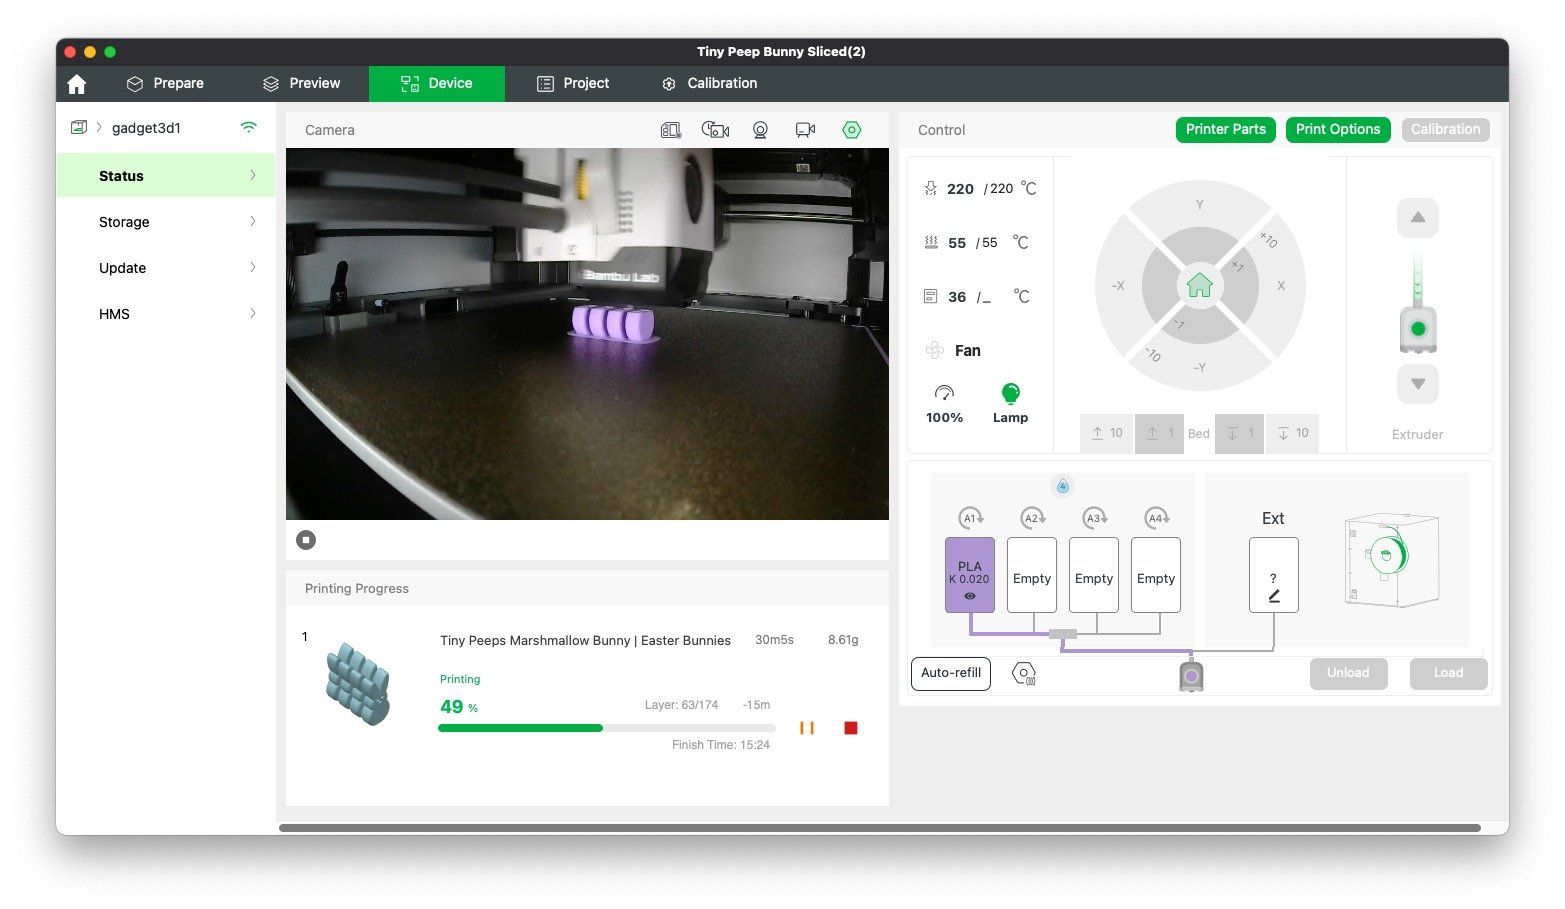
The desktop software makes it easy to prepare the model for printing by choosing the printer, choosing the filament, even resizing or doing multiple prints at once.
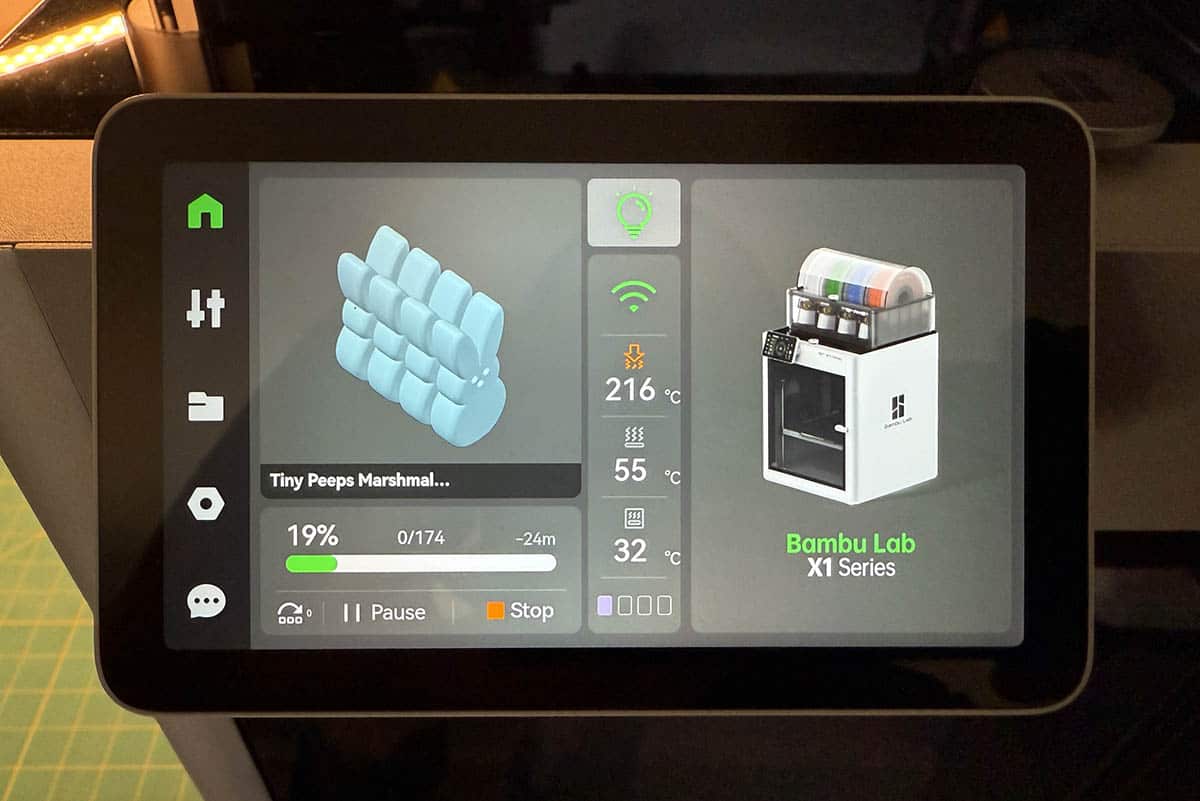
I decided to print four models at once. The software optimized the layout for the fastest print time.
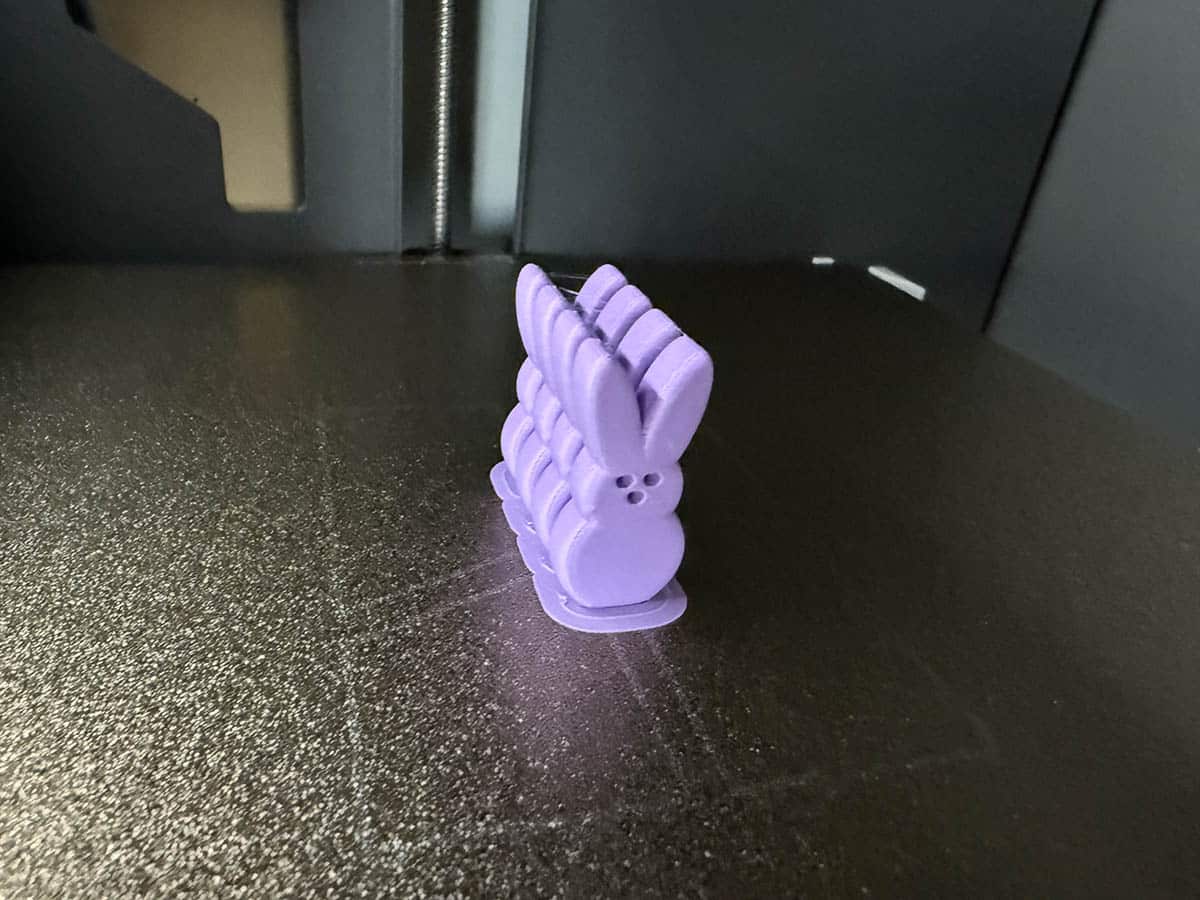
Another perfect print x 4.
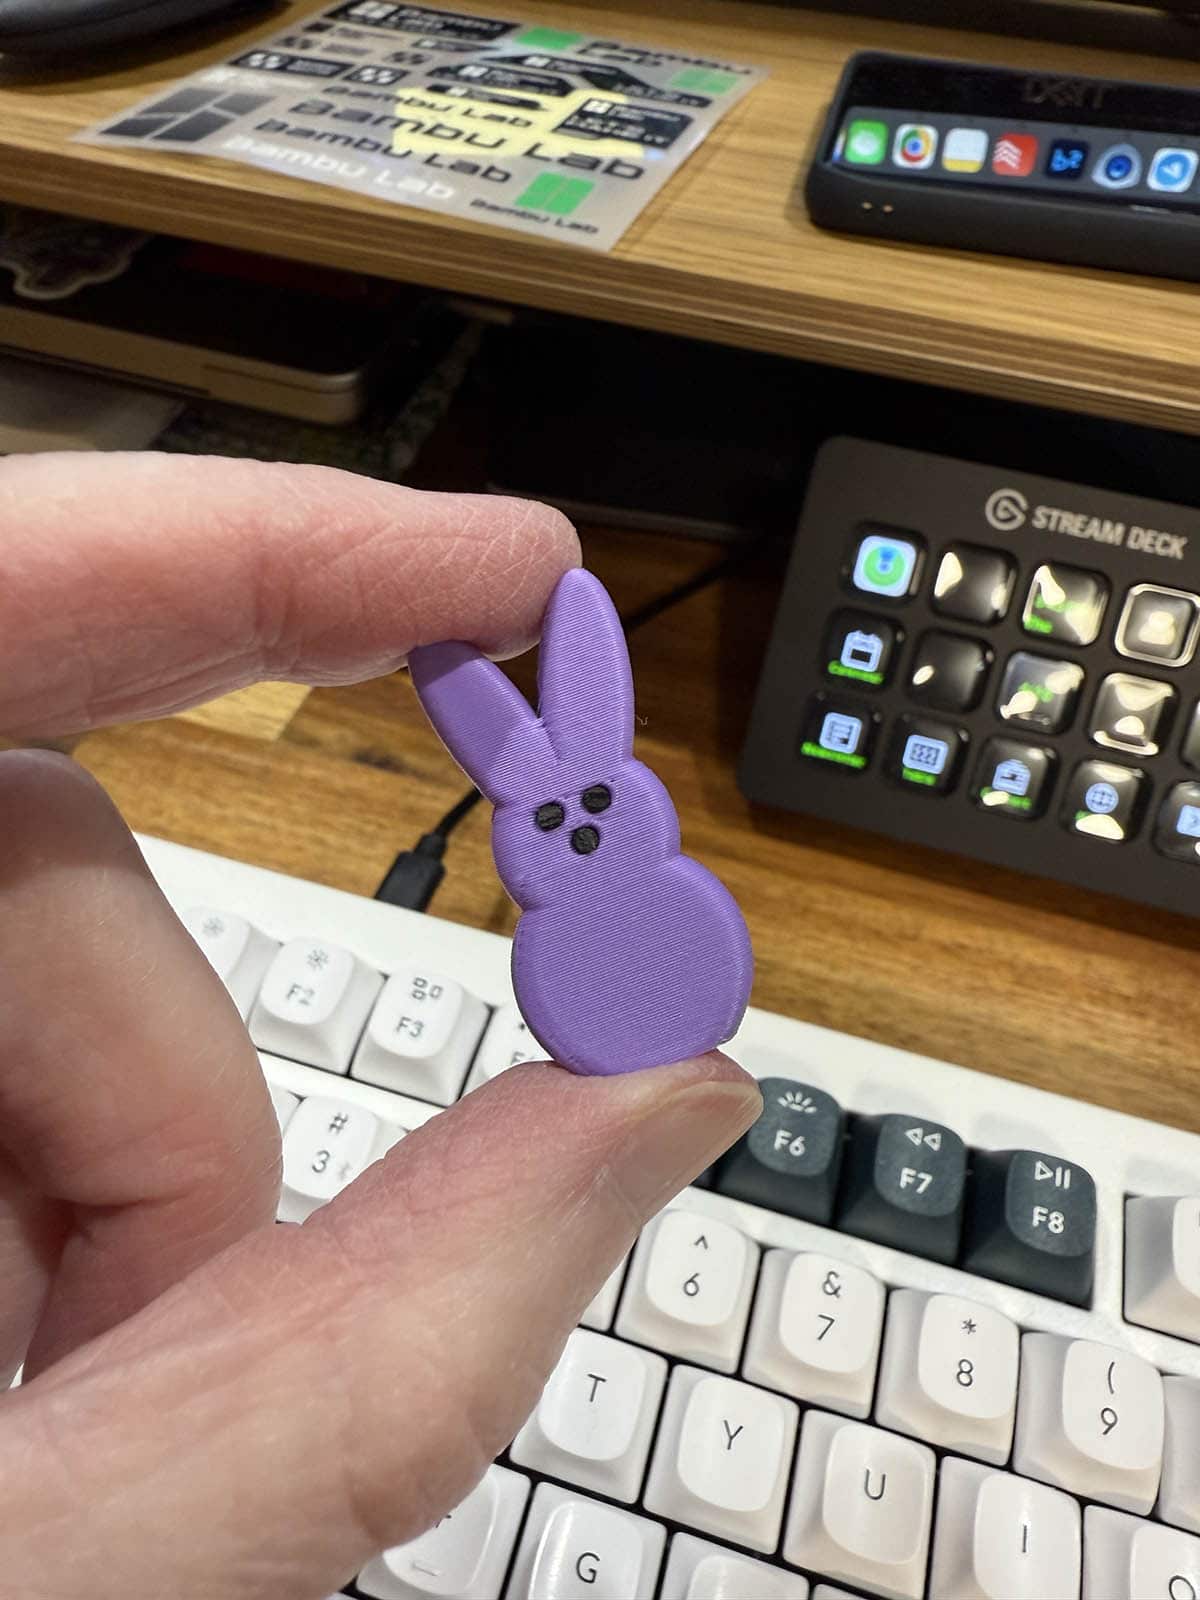
I love how the designer of this print used filament for the eyes and nose without using the AMS. I know it’s no longer Easter, but if you’d like to print these bunny peeps, you can find the model here.

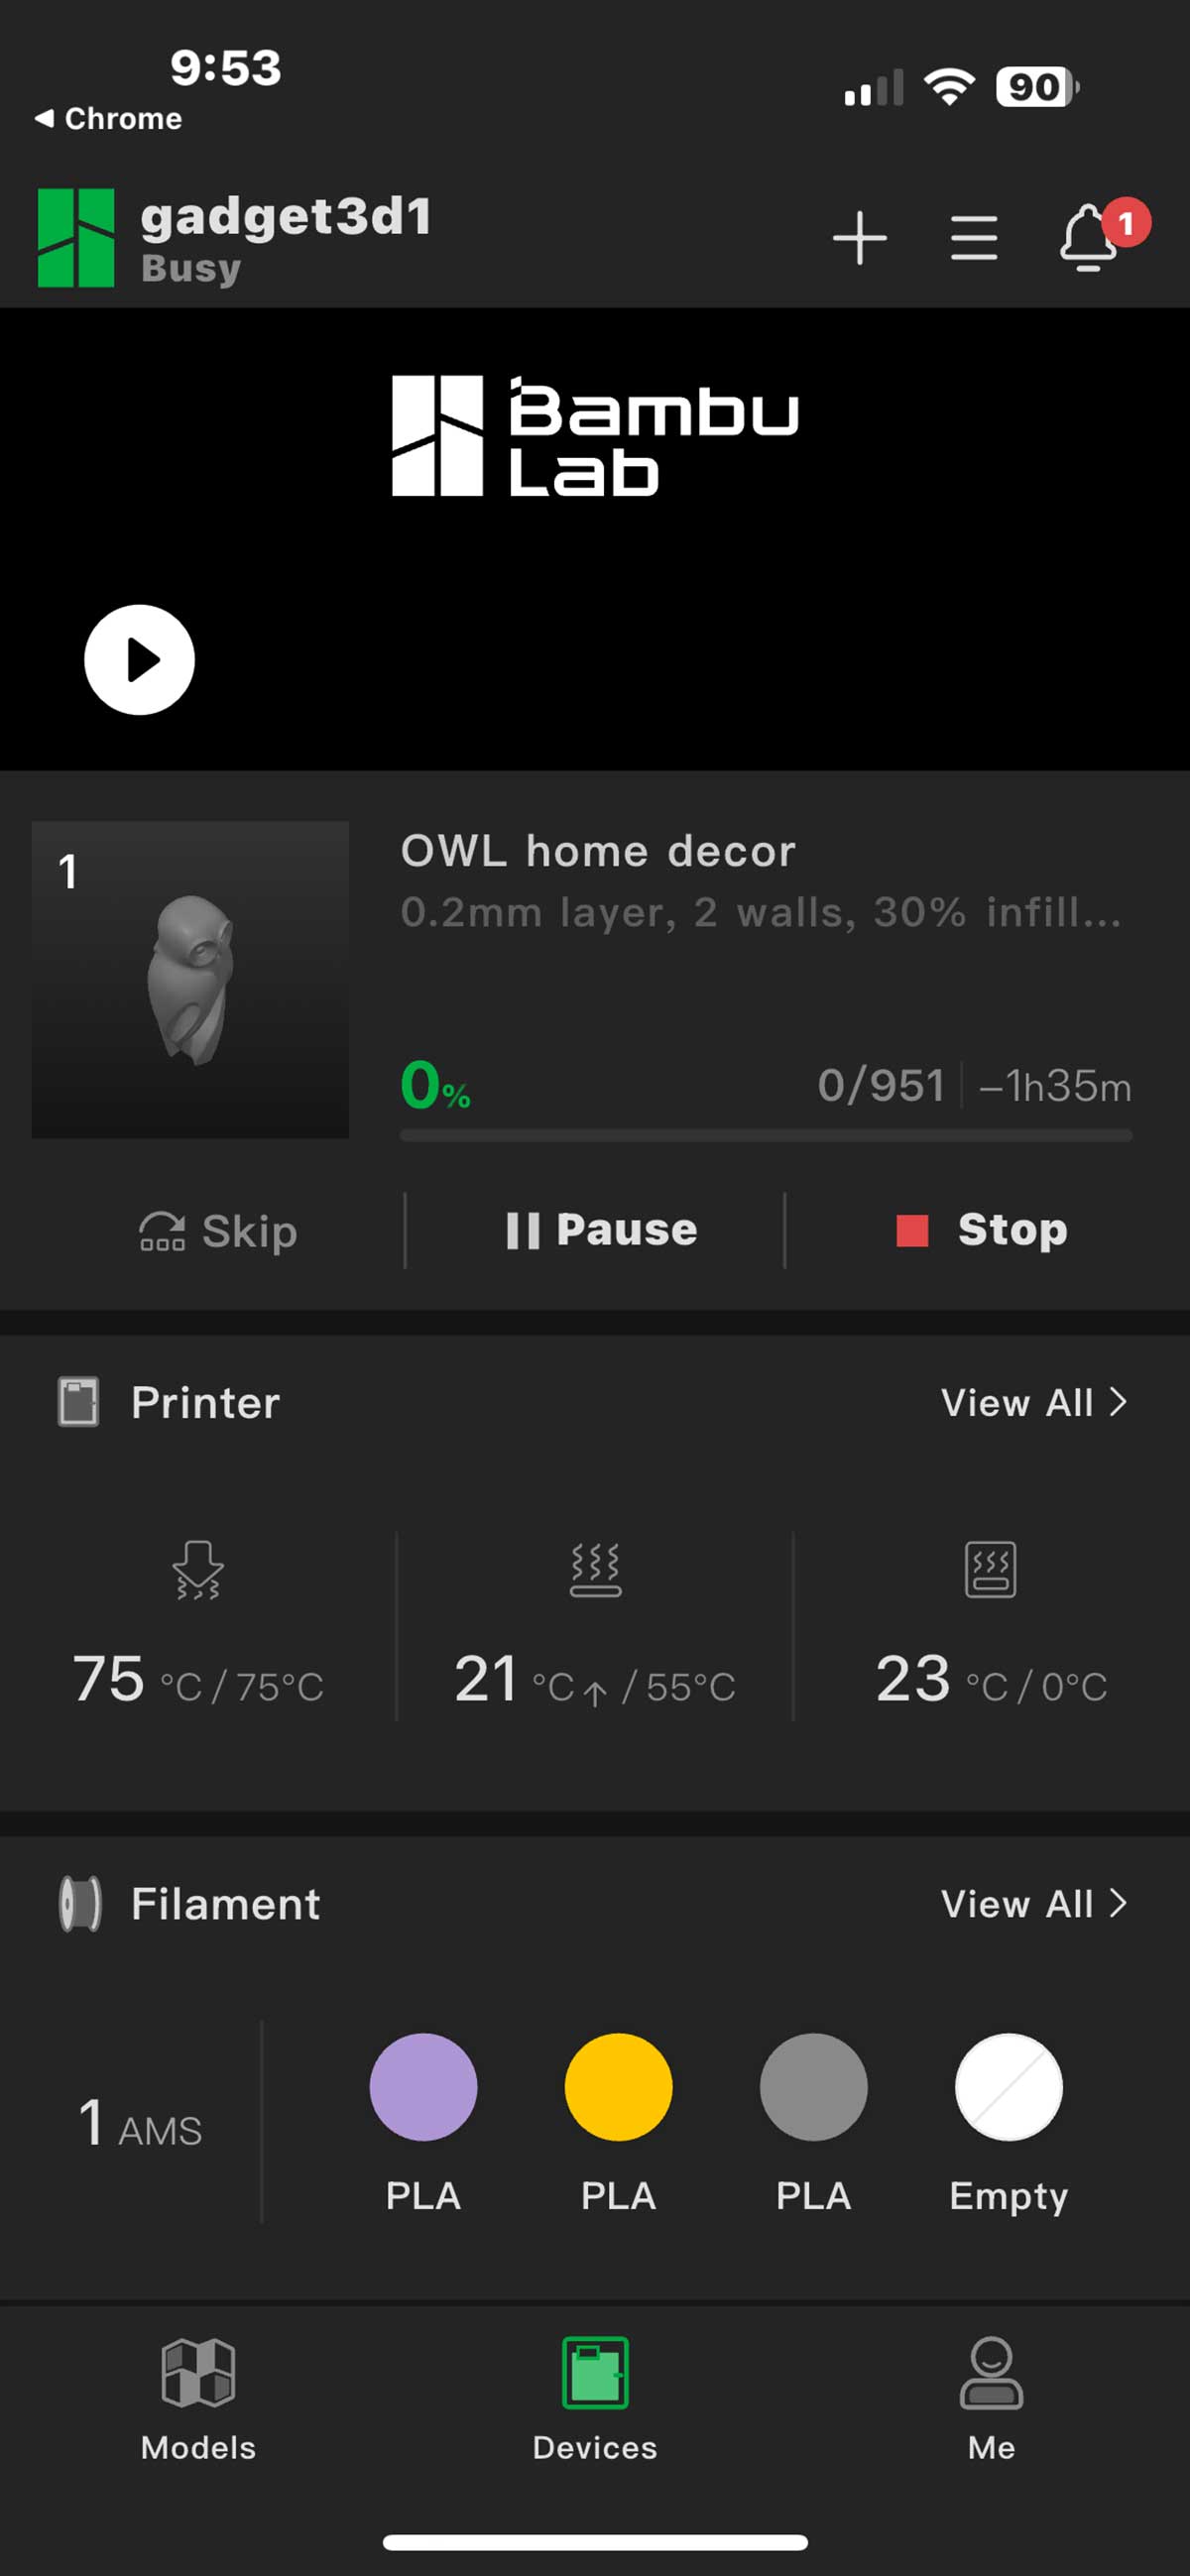
In addition to using a desktop app for printing models, you can also use the Bambu Lab Bambu Handy app. I like that the app sends a notification when the print completes or if there’s an issue while printing. It makes it convenient if you don’t want to babysit the printer for long prints.
You can also access Maker World through the app to find new models.
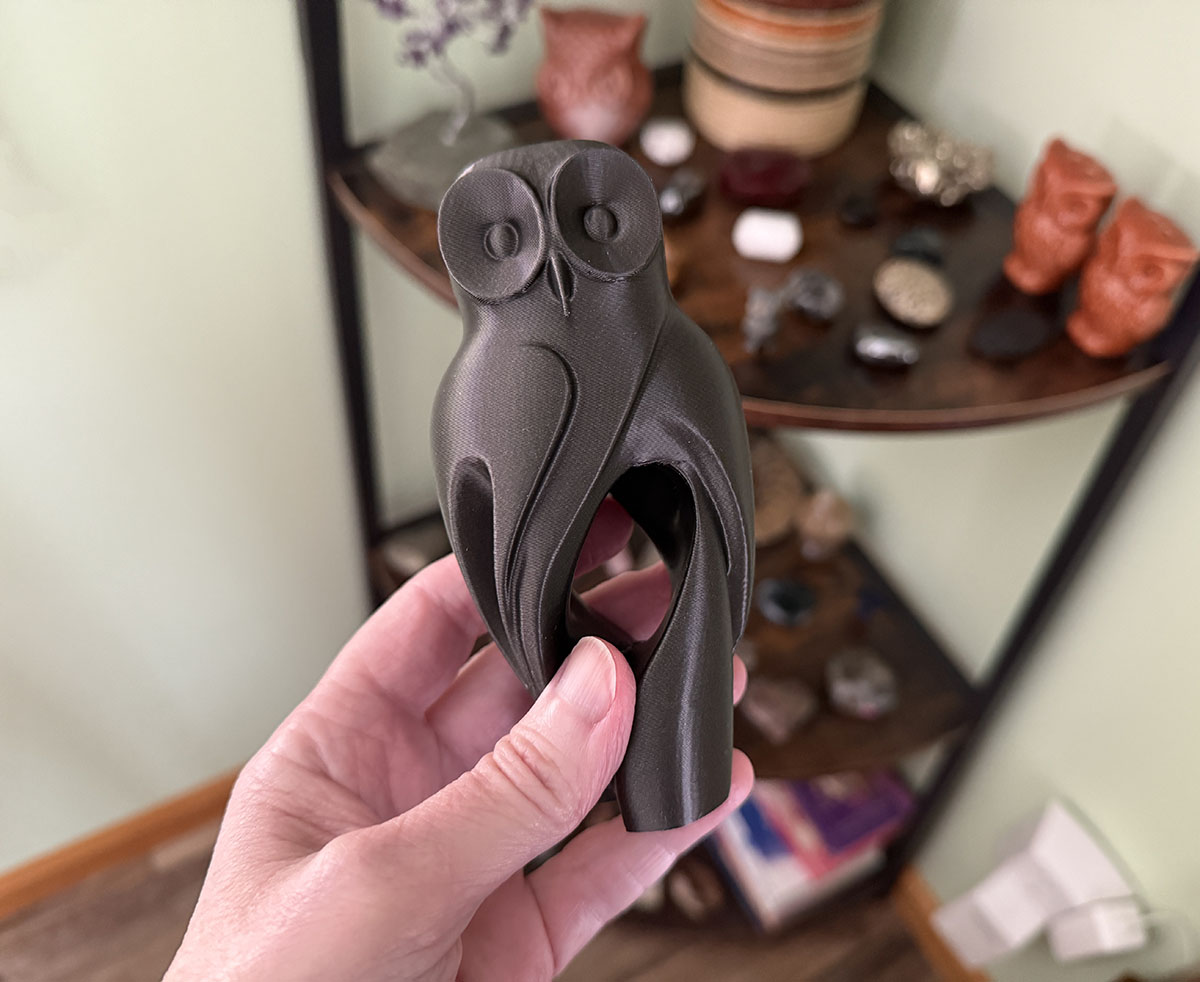
I used metallic-looking filament for this stylized owl model, and I think it turned out great. You can click the picture for a more detailed view.
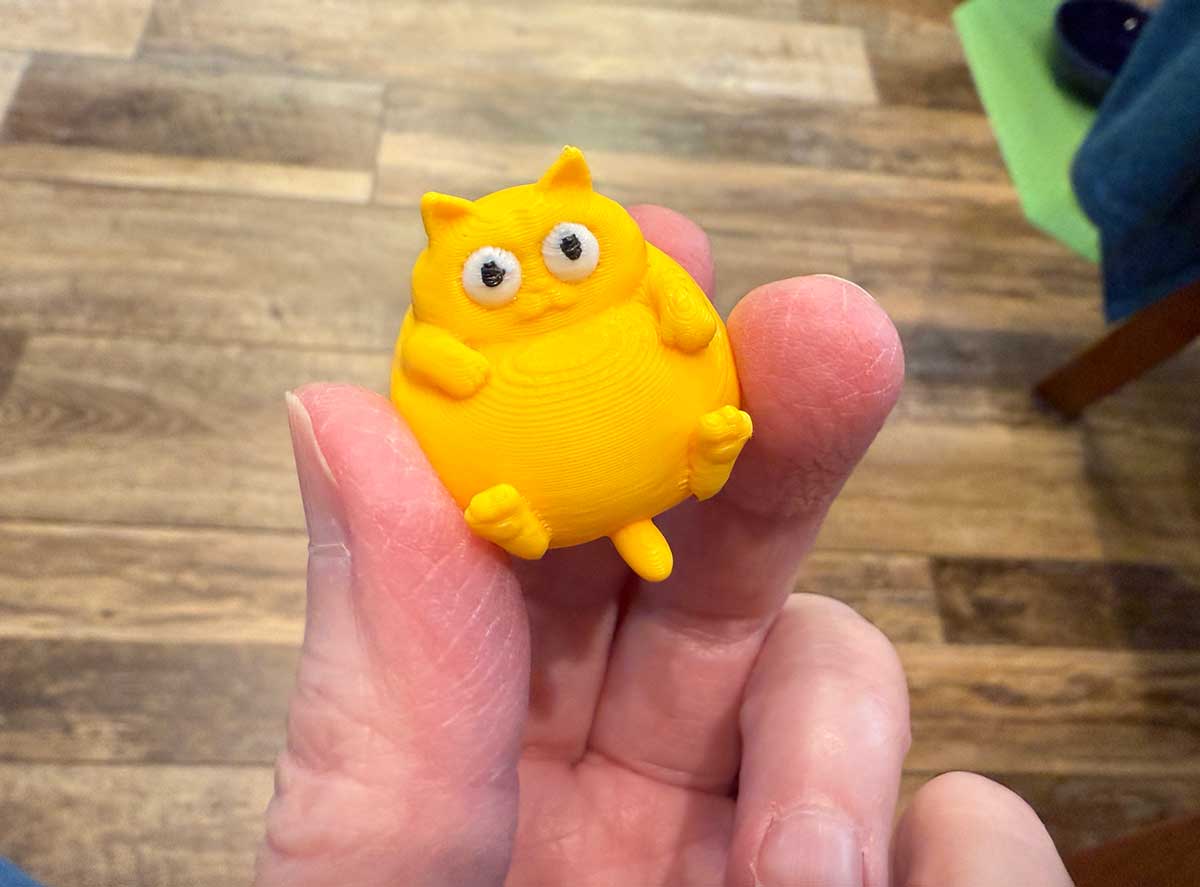
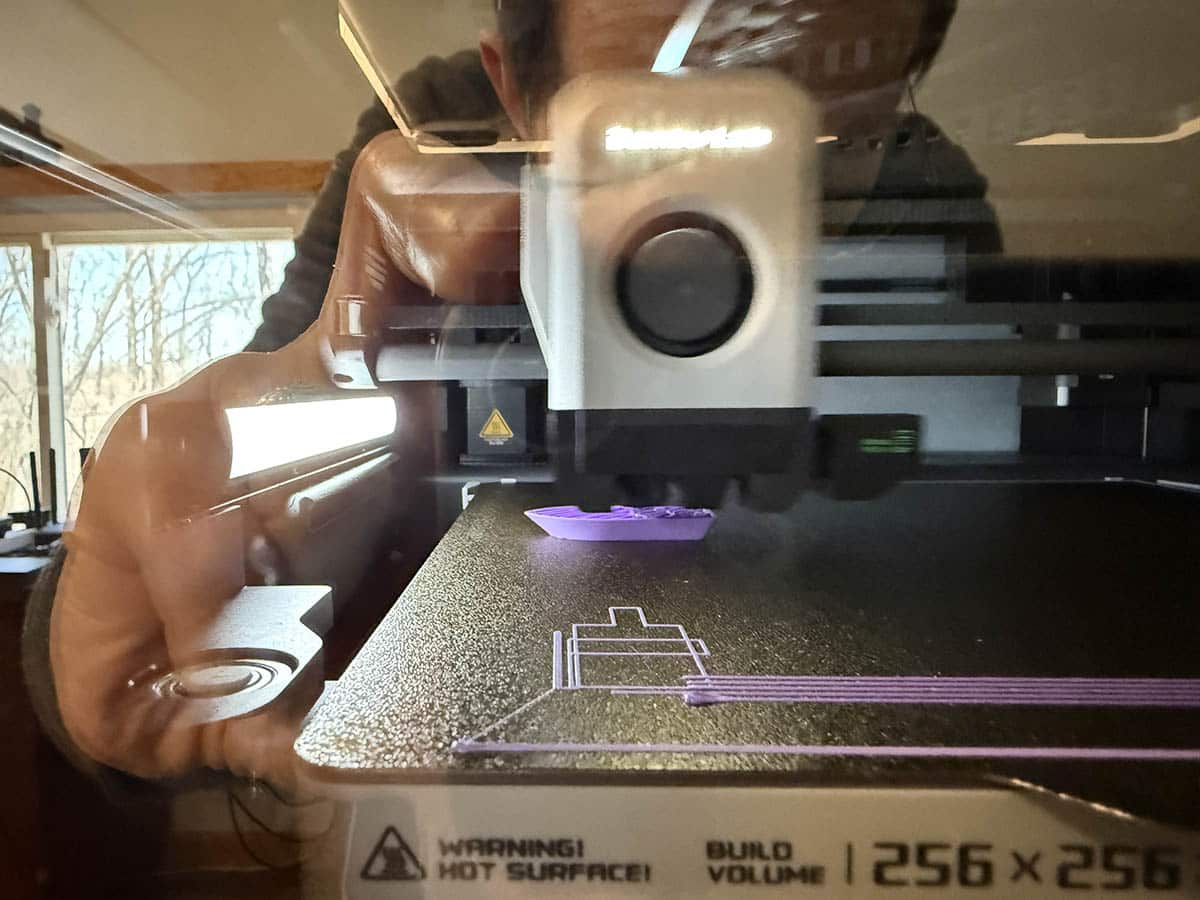
And here is a quick AMS enabled print where I had installed a roll of yellow, white, and black filament into the AMS.
Yes, I know there’s more to a 3D printer than just printing out little figurines and toys. But that’s what a lot of new 3D printer owners do first before they start figuring out unique and useful prints that can help make their daily lives better and more fun.
I have to admit that I’m still printing out fun (useless?) models more often than useful models, but I do have plans. I’ve taken a very basic TinkerCAD class and have ideas for designing some simple models that will make life just a little easier. I’ll write an article about my creations soon. Subscribe to the newsletter so you don’t miss that article 🙂
Final thoughts
I wish my traditional paper inkjet printer worked as well as the Bambu Lab X1 Carbon 3D printer! Just like the A1 Mini, the X1C is a pleasure to use. There’s no stress involved with it. Just connect the cables, add the filament, turn it on, find a model, and you’re on your way to printing almost anything you can think of.
Is the X1 Carbon better than the A1 Mini. Yes, it’s better for the following reasons which might not matter to you.
- It has a bigger print bed which means that you can print larger prints than the A1 mini. 180*180*180 mm³ vs. 256*256*256 mm³
- It is enclosed so that the fumes that result from printing are better container inside the printer than in the room where you’re printing. I notice a definite decrease in the smell using the X1C vs. the A1 mini
- The enclosed design also allows you to mount the AMS on top of the printer saving space. This is more convenient and it looks a lot nicer
I realize that the Bambu Lab X1 Carbon isn’t affordable for everyone, but it’s a very well-made workhorse 3D printer. Its large bed size, enclosed design, ability to use an AMS, and consistent print quality easily make it a winner. If you can’t afford the X1C, then go with the A1 Mini. You won’t be disappointed either way.
Update 6/26/25
This is a relatively quick update to talk about the AMS 2 Pro that was not available at the time that Bambu sent me the X1 Carbon for review. They sent me the original AMS. A few weeks ago a box showed up on my doorstep and it was the new AMS 2 Pro. Bambu didn’t tell me that they were sending it, so it was a nice surprise.
I replaced the original AMS unit (which I sent to Matt) and have been using the AMS 2 Pro ever since. The biggest difference is that the AMS 2 Pro features an actual filament dryer, as opposed to just a dry box.
Installation was just a matter of unhooking the old AMS and plugging in the cables.

The only caveat is that the newer AMS requires an AC adapter to use the dryer feature with the X1 and it doesn’t come with one. I was able to quickly order one from Amazon and was up and running in a couple of days.
Once installed, a new feature is available on the Bambu Lab X1C touchscreen.
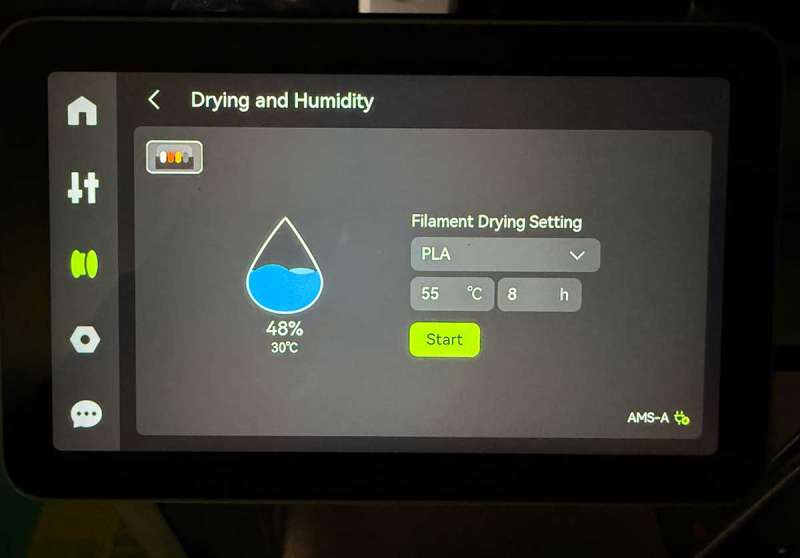
You can choose the type of filament that you want to dry and it will have default temperature and drying time settings for that material.


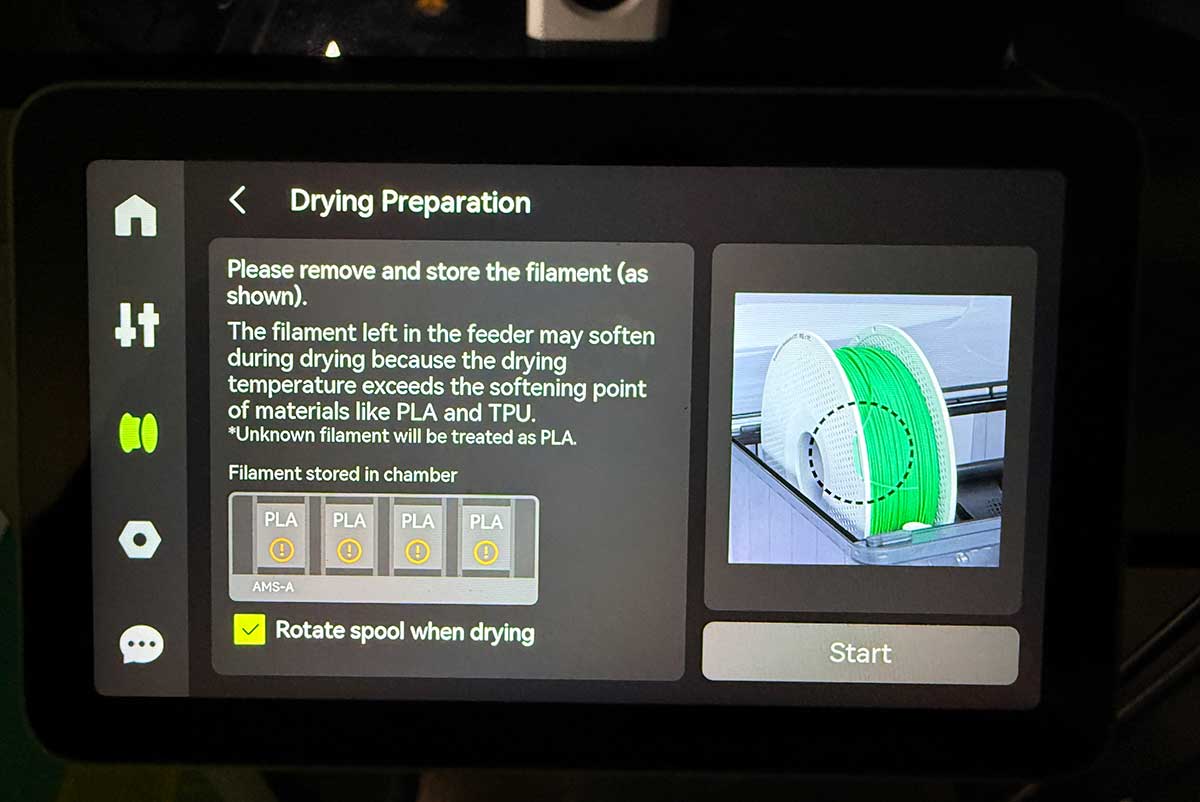
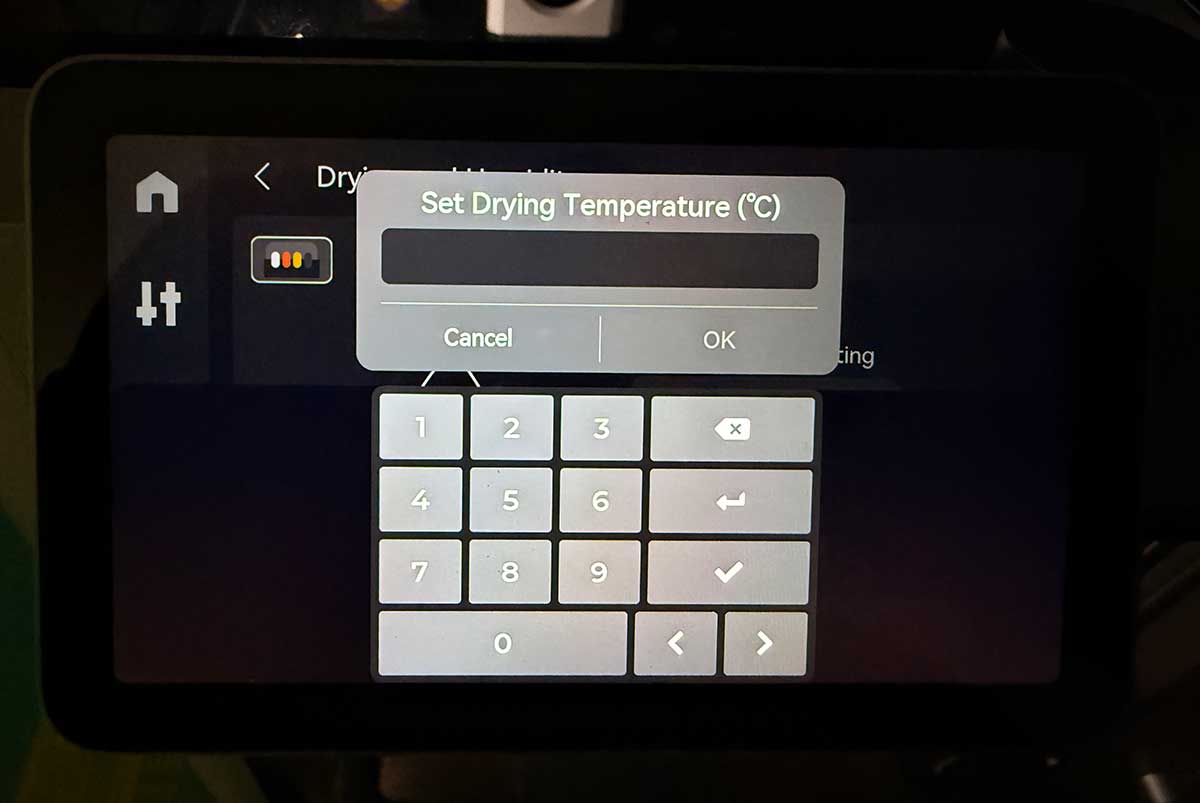
But you can adjust the settings through the touch interface. There’s even a feature that spins the reels while they dry. You can buy the AMS 2 Pro directly from Bambu Lab.
What I like about Bambu Lab X1C 3D printer
- Just like the A1 Mini, the X1C is pretty much plug and play
- Maker World makes it easy to find and print free models
- Fast, flawless printing
- AMS 2 Pro makes multi-color printing easy
- AMS 2 Pro has a built-in filament dryer
What needs to be improved?
- Include a full spool of filament with the printer instead of a partial roll
- Include 2 sets of desiccants for the AMS
Price: $1449.00 (printer only), $1749.00 (with AMS) – $1879.00 (X1C with AMS 2 Pro and filament hub)
Where to buy: Bambu Lab
Source: The sample for this review was provided by Bambu Lab. They did not have a final say on the review and did not preview the review before it was published.
Check out these other 3D printer reviews!
- Bambu Lab A1 mini 3D printer review – 4 color printing is awesome!
- Elegoo Saturn 4 Ultra 16K Resin 3D Printer & Mercury Plus V3 Wash and Cure Station review – Amazingly detailed prints with no-fuss cleanup!
- EIBOS Polyphemus 3D printer filament dryer review

HP Business Laptop with Microsoft Office 365, 1TB OneDrive and 128GB SSD, 8GB RAM, 4-Core Intel 13th Gen Processor | No Mouse, Fast Response, Long Battery Life, Good Value
(as of March 20, 2026 23:50 GMT -05:00 - More infoProduct prices and availability are accurate as of the date/time indicated and are subject to change. Any price and availability information displayed on [relevant Amazon Site(s), as applicable] at the time of purchase will apply to the purchase of this product.)