REVIEW – The first laser engraver I ever used was the LaserPecker LP5, which I reviewed in June 2024. I loved it, and it sparked my interest in laser engraving. Recently, LaserPecker introduced the Safety Enclosure accessory for the LP5 and sent me one to review. This review will focus on the Safety Enclosure. If you want to learn more about the LP5 and its functionality, please check out my earlier review.
⬇︎ Jump to summary (pros/cons)
Price: $559, $699 on Amazon
Where to buy: LaserPecker official store and Amazon
What is it?
The LaserPecker Safety Enclosure is a safety enclosure designed for the LaserPecker LP5 Smart 20W Dual Laser. It features a dual-fan exhaust system and an integrated smart camera.
What’s included?
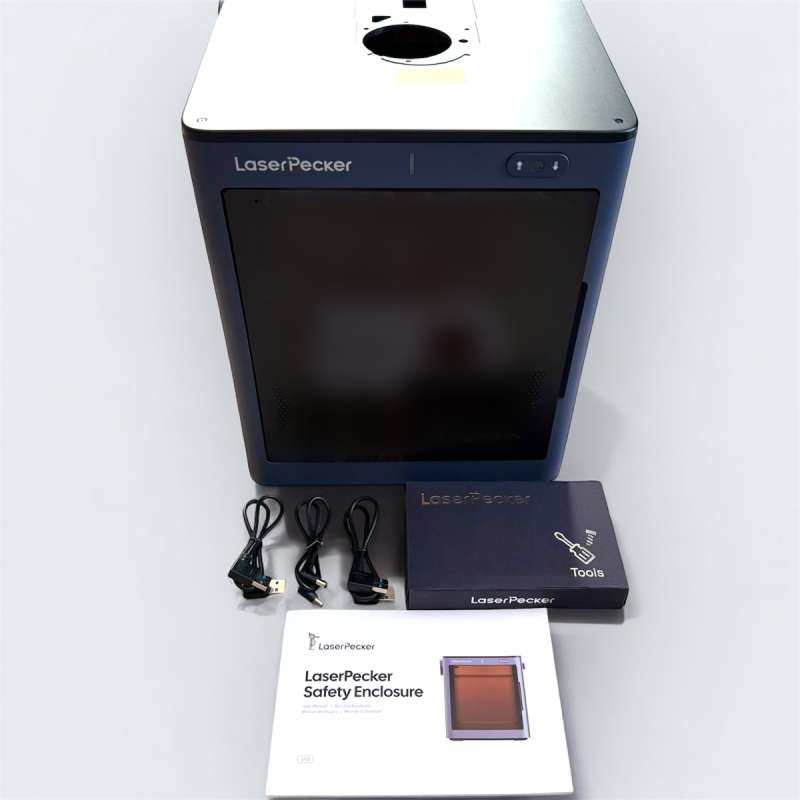
- Safety enclosure
- 2 x USB-A adaptor cables
- DC power adaptor cable
- Toolbox
- 2 x hand screws
- Hex keys 1 x H1.5, 1 x H2, and 1 x H2.5
- Screwdriver
- User manual
Tech specs
- Size: 12.2 x 13.78 x 13.58 inches
- Net weight: 19.62lbs
- Load capacity: 11.02lbs
- Compatibility: LP5 (for now)
- Harmful light filtration efficiency: 450nm – 99.99%, 1064nm – 99.99%
- Exterior material: Aluminum alloy, ABS, PC
- Maximum engraving diameter for the rotary extension: 118mm
- Maximum engraving height for the versatile electric roller: 90mm
Design and features
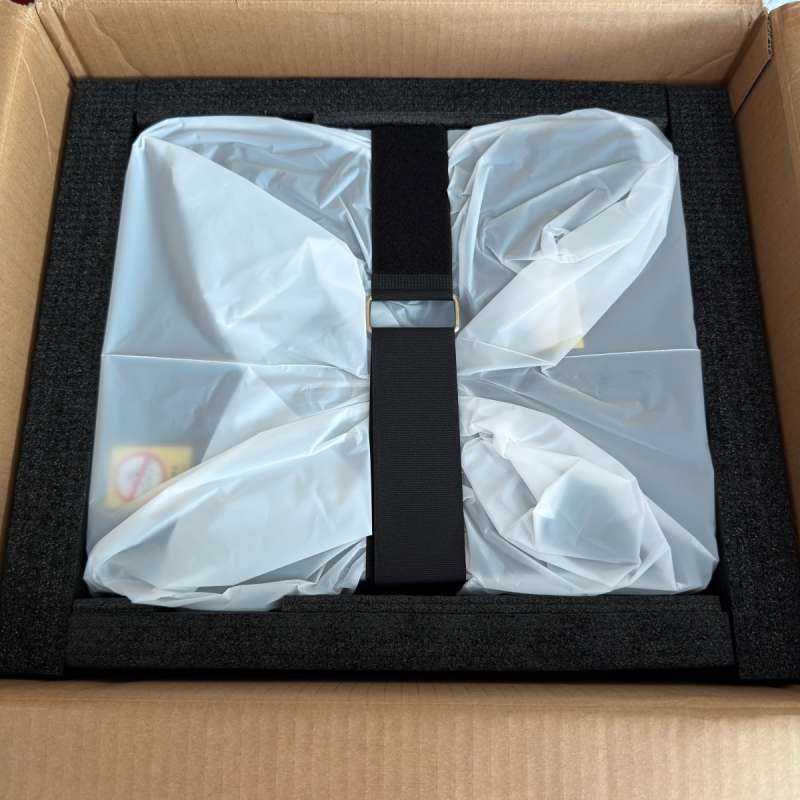
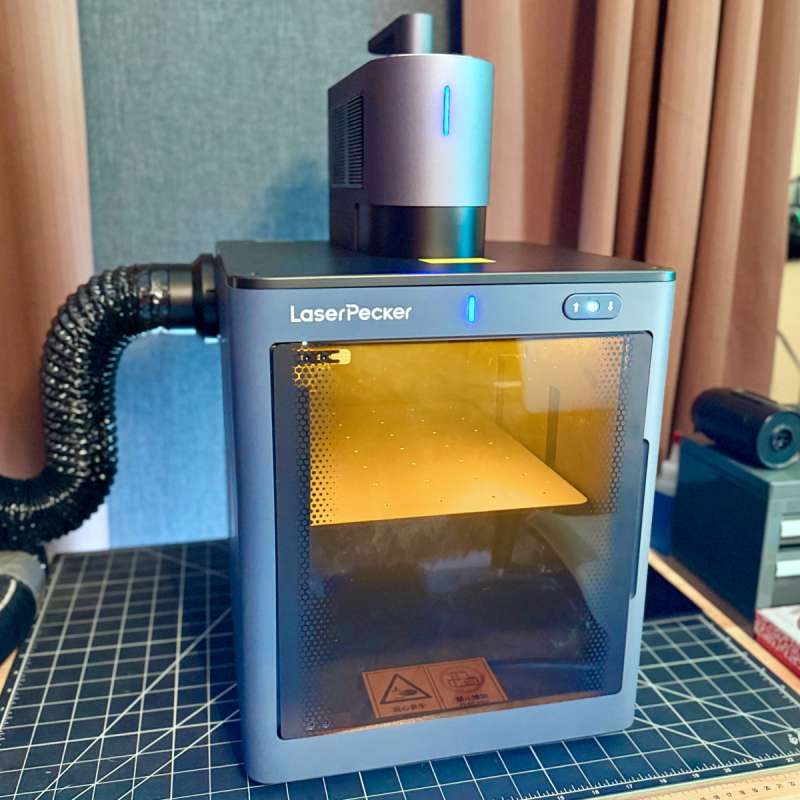
The LaserPecker Safety Enclosure arrived well packaged, with a Velcro strap to help remove it from the box. The front of the unit has a light-filtering safety door, the safety enclosure indicator light, up and down buttons, and a camera button/indicator.

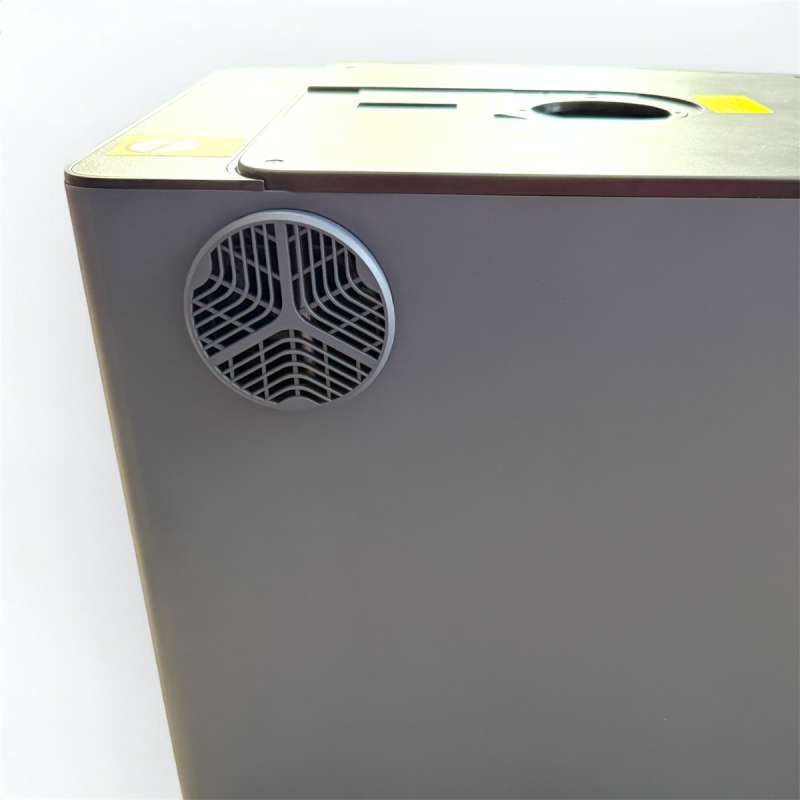
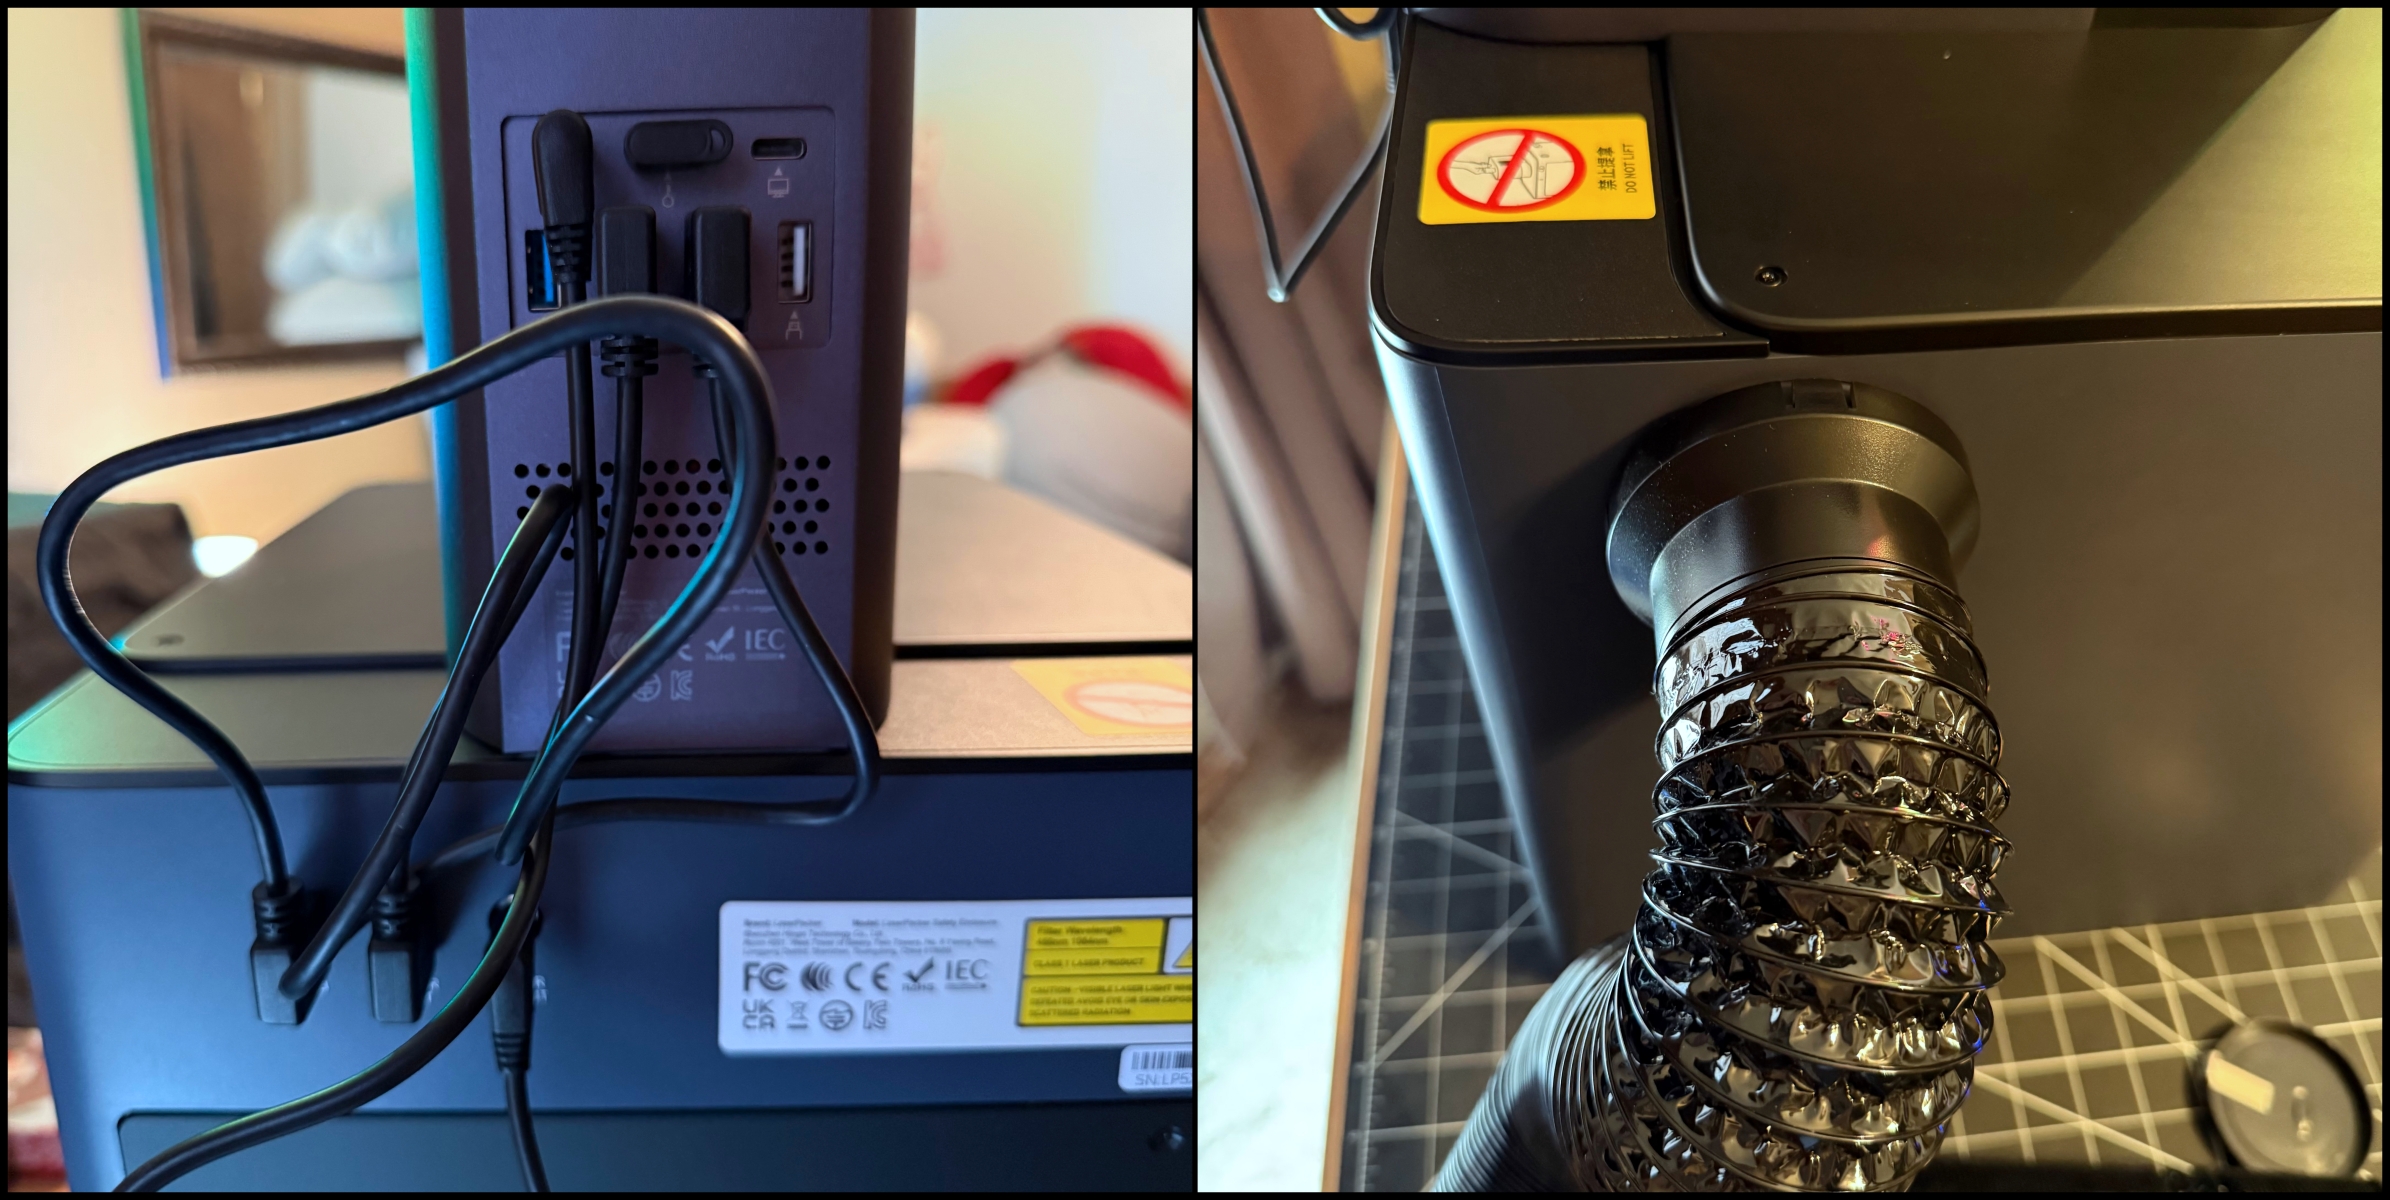
On the left side, there’s an air outlet.
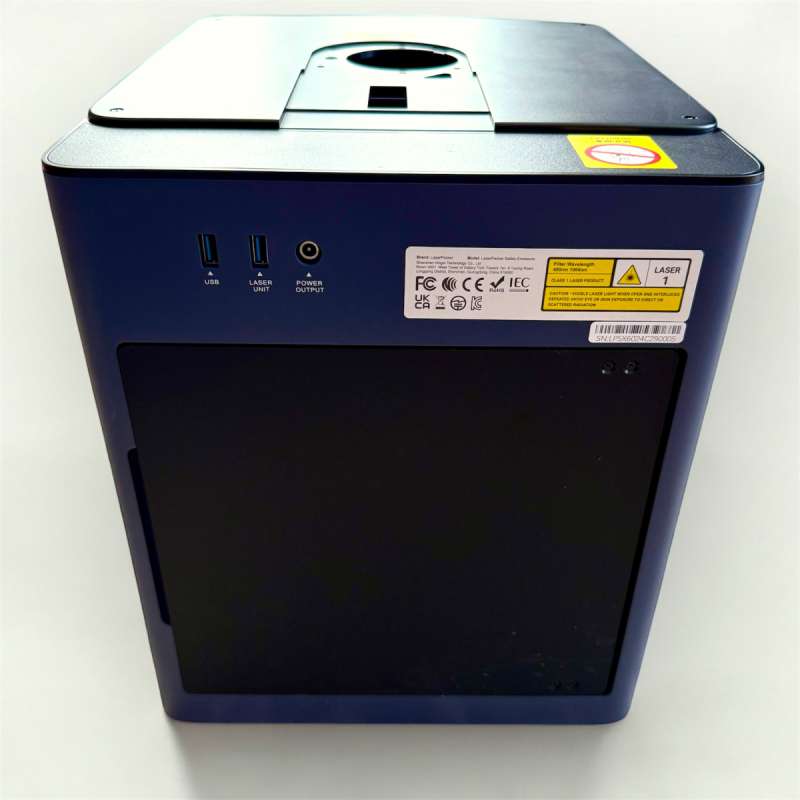
On the right side, you will find the emergency stop button, a DC power port, a fire extinguisher inlet, and a fire extinguisher port.
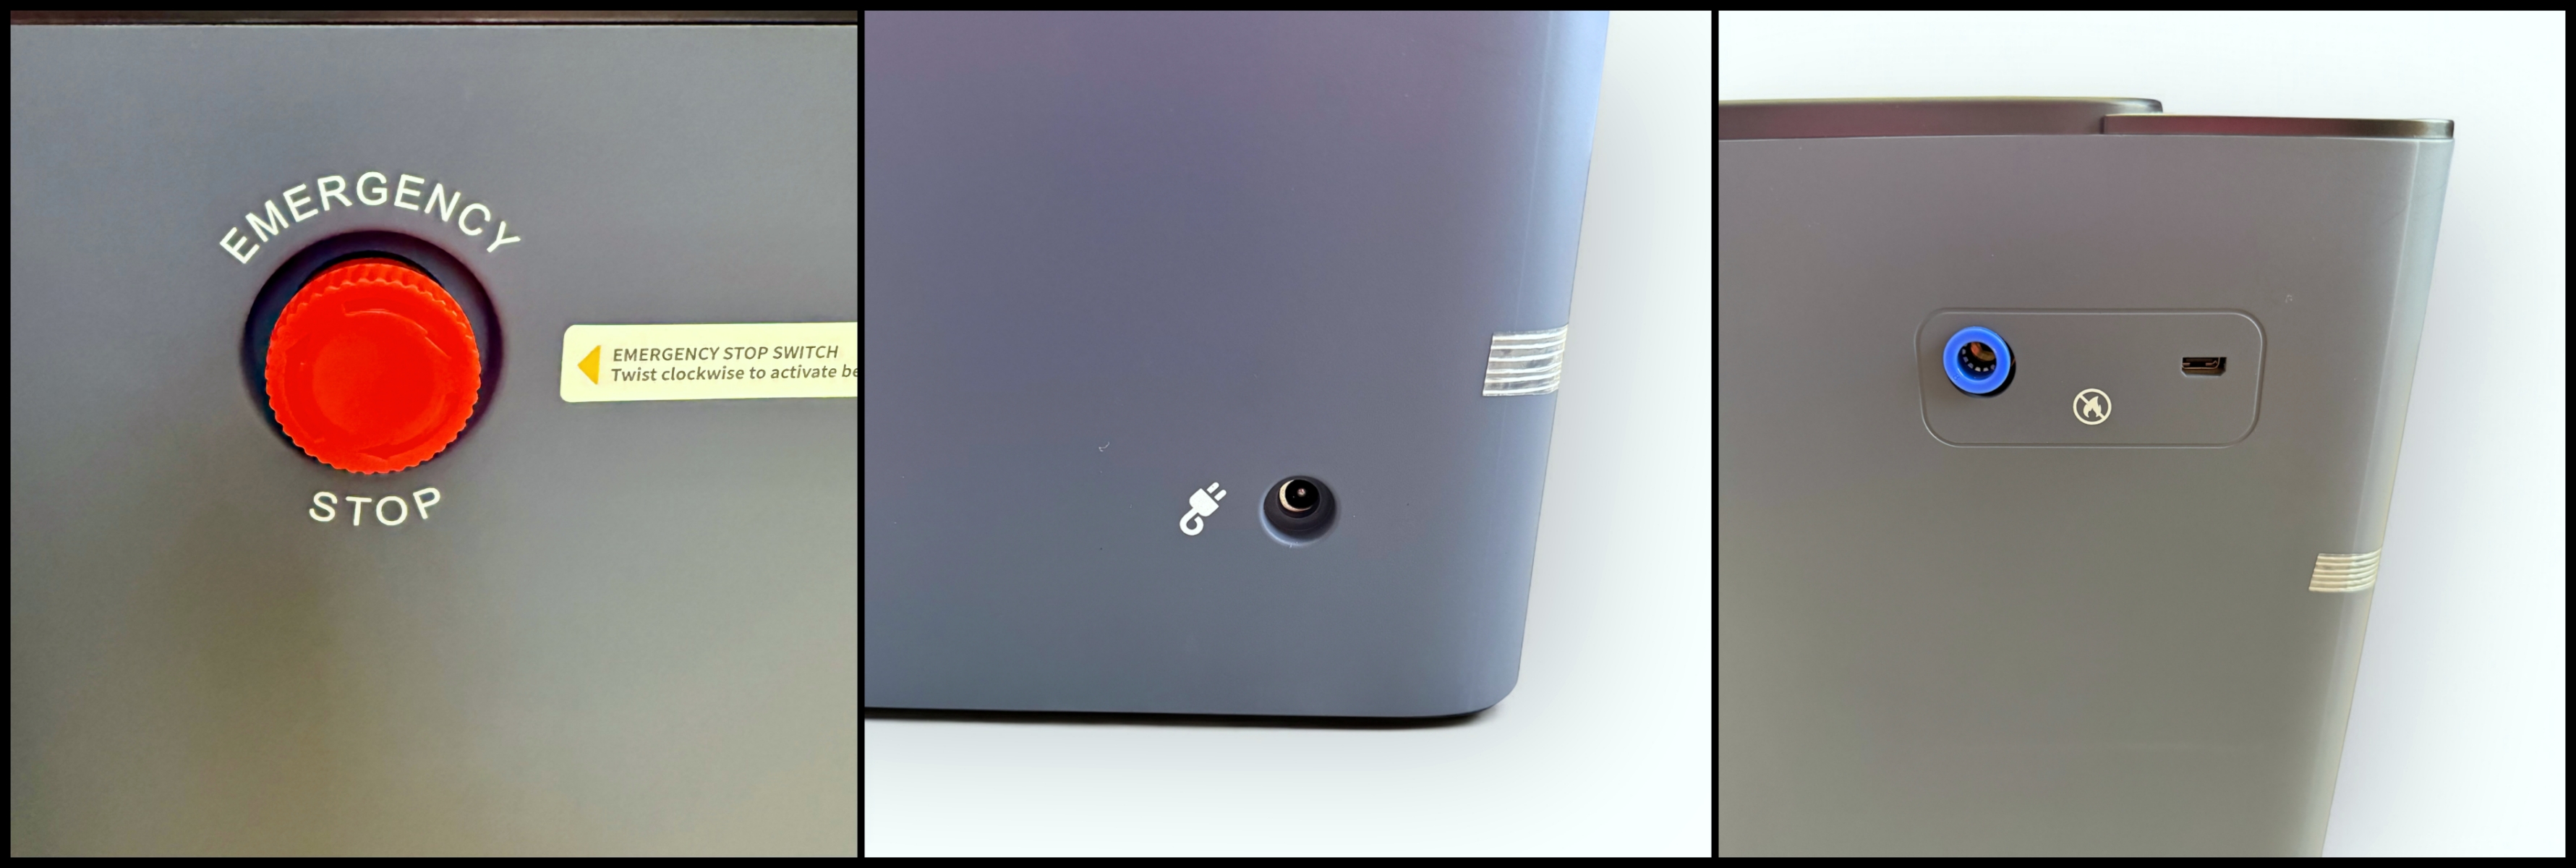
Around the back are two USB ports, a DC power port, and a rear door.
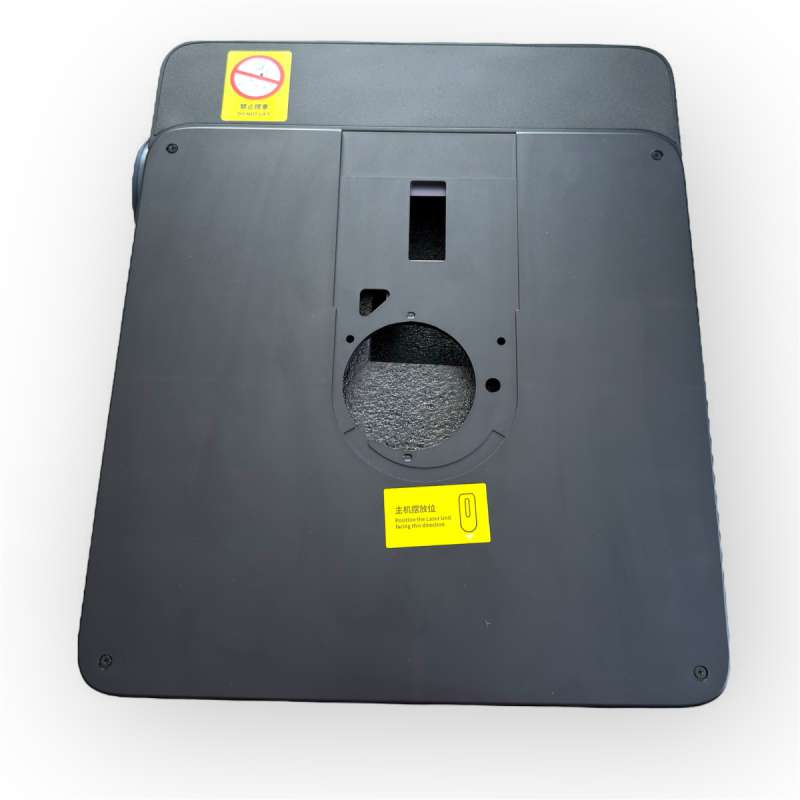
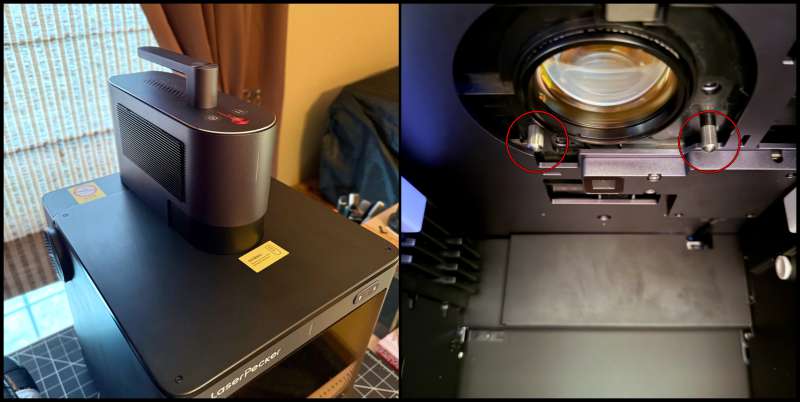
The laser placement slot is on top of the Enclosure.
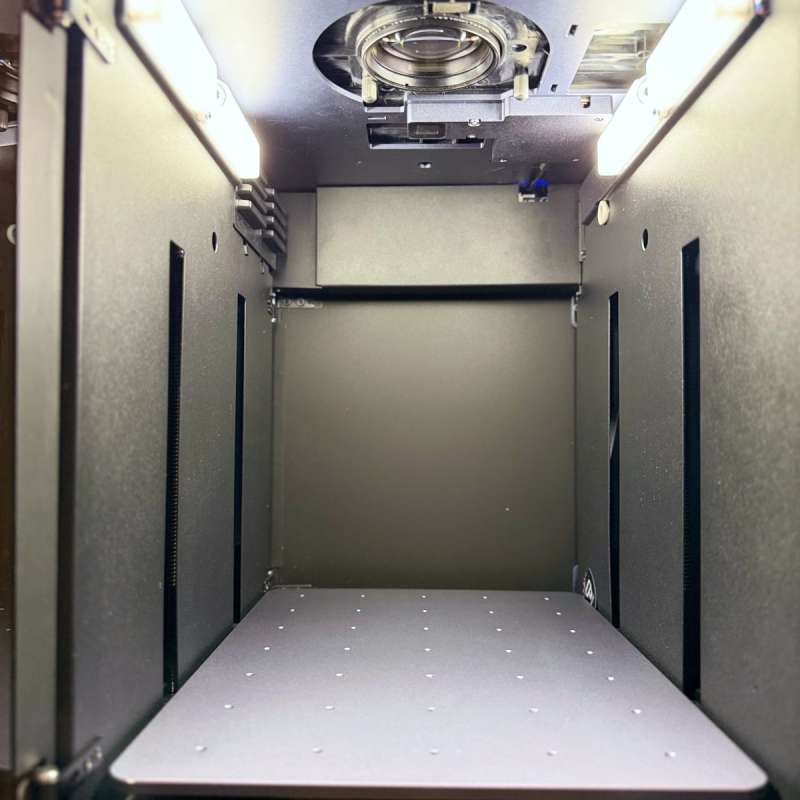
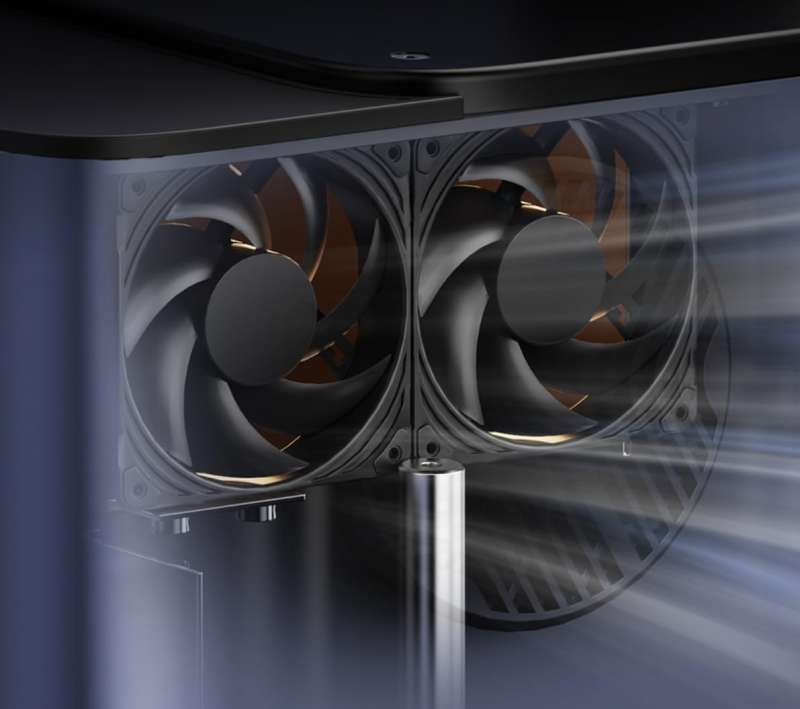
Inside the Enclosure, there’s the base plate, smart camera, interior light, and dual exhaust fans.
An accessory connection port is also located at the back lower right side of the Enclosure. It allows you to use the rotary and power roller attachments inside the enclosure.
The Safety Enclosure brings several new features to the LP5 engraver. Chief among them is the integrated smart camera. The camera allows you to precisely place your designs onto your materials. It also enables a smart fill feature that automatically fills your materials when you align them uniformly.
Dual exhaust system: Effectively removes smoke generated during engraving to ensure a safe environment and achieve optimal engraving effects.
Height-Adjustable Plate: Allows you to raise or lower the bed with the press of a button. It also adds an auto-focus feature. Measure the thickness of the material and enter it into the software to complete the auto-focus process.
Safety features include front door light filtration that blocks 99.99% of harmful lights to safeguard eyes in the engraving workspace, door sensor detection that instantly halts laser operation if the door is opened, and an emergency stop button.
Assembly
The Enclosure itself comes pre-assembled. All that’s required is to attach the LP5 laser head, connect the laser to the Enclosure using the included USB cables, insert the security key, and connect the external exhaust duct.
The LP5 sits inside the placement slot on top of the Enclosure and is secured using two hand screws.
 Setup
Setup

The initial setup and the camera network configuration must be done using the LDS (LaserPecker Design Studio) app. Before starting, make sure that both the app and LP5 firmware are up to date.
The camera network configuration is pretty straightforward, using the video below.
After finishing the camera network configuration, you will need to complete the Safety Enclosure camera calibration. The video below walks you through the camera calibration process step by step.
Performance
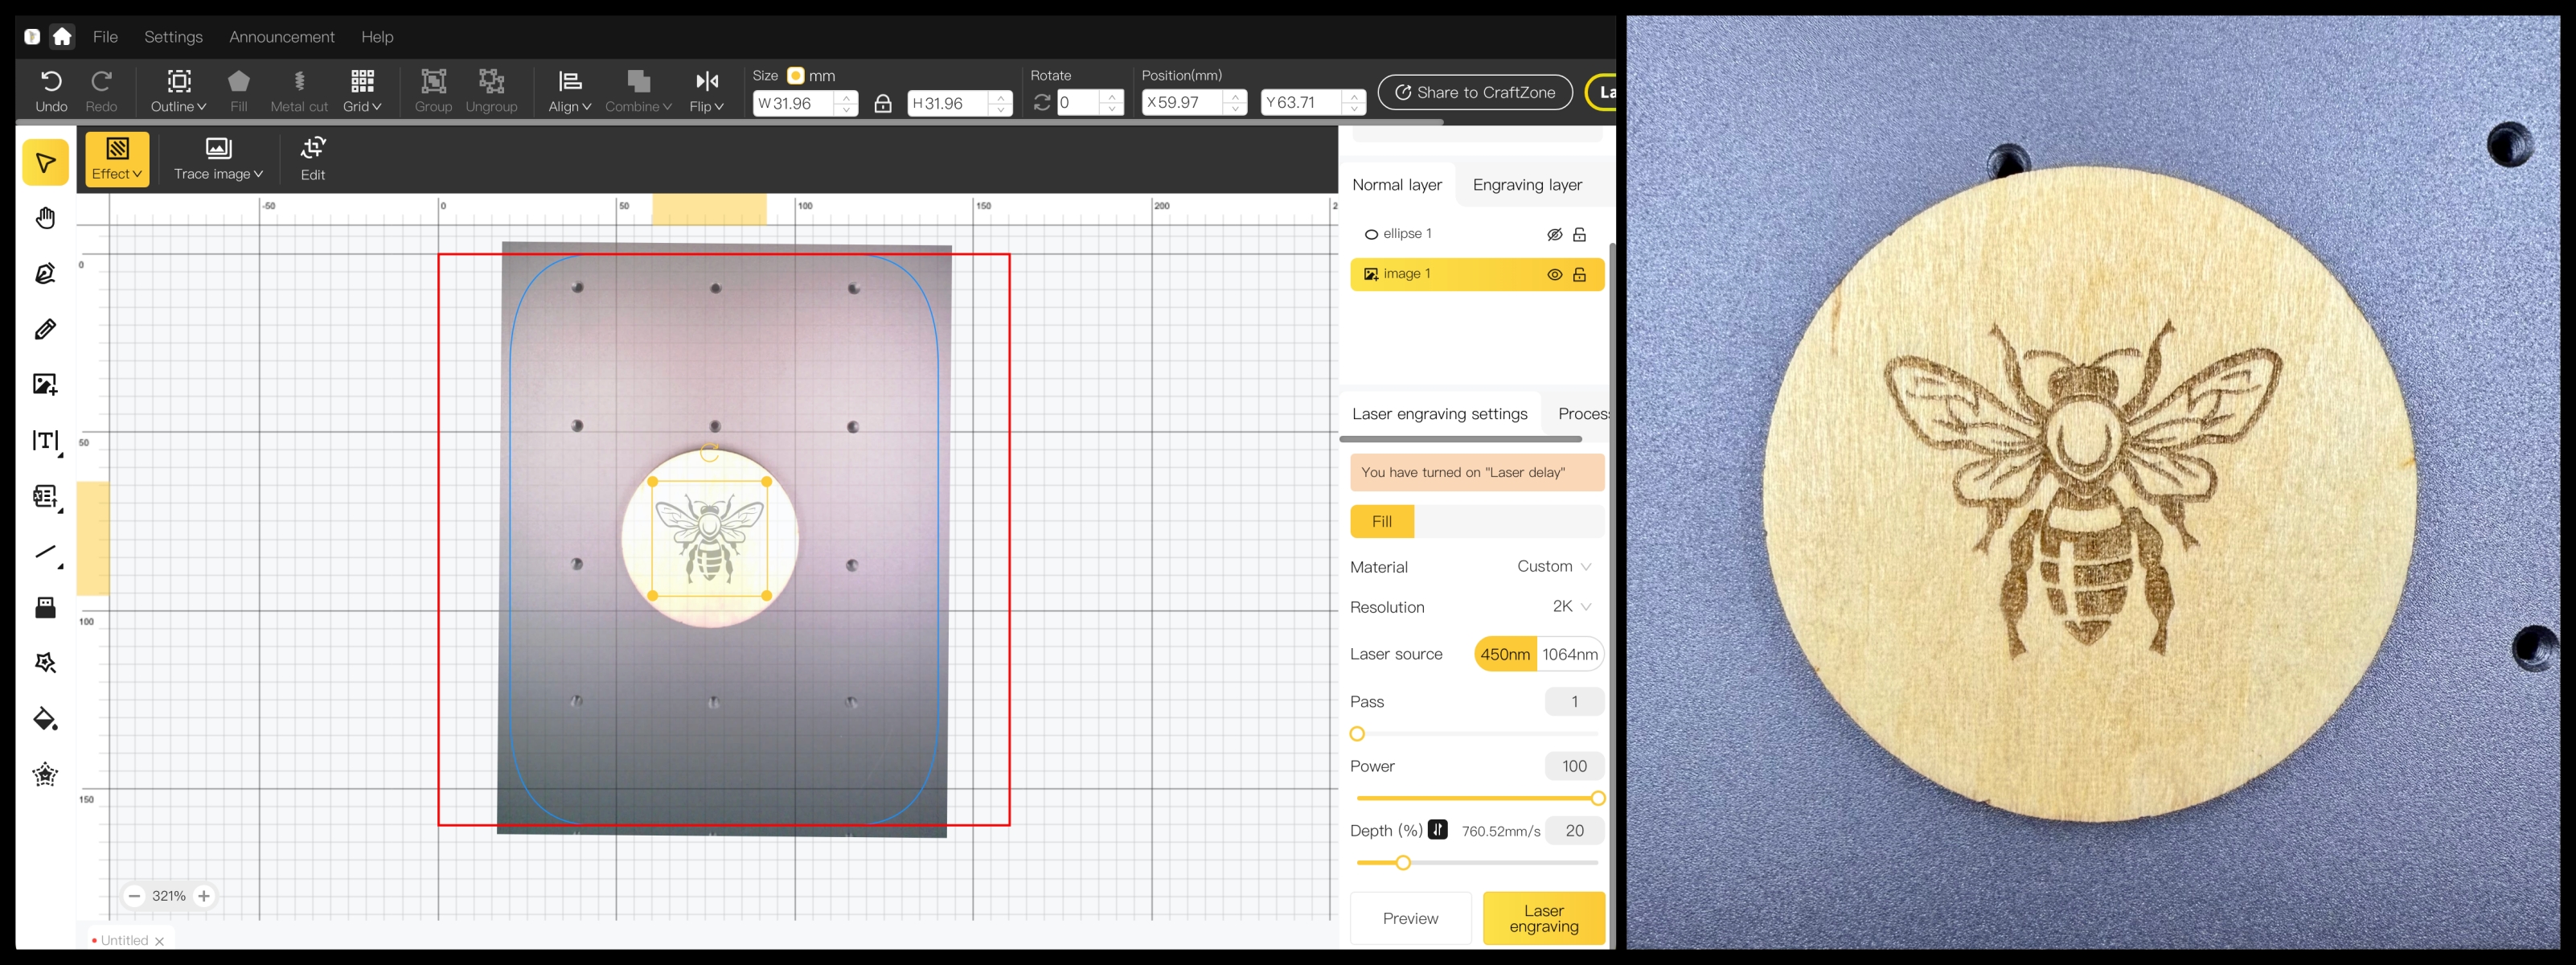
The integrated camera: After calibration, I discovered that the camera is quite accurate when positioning designs on materials. This feature is handy when working with smaller items like, as it significantly streamlines the process.
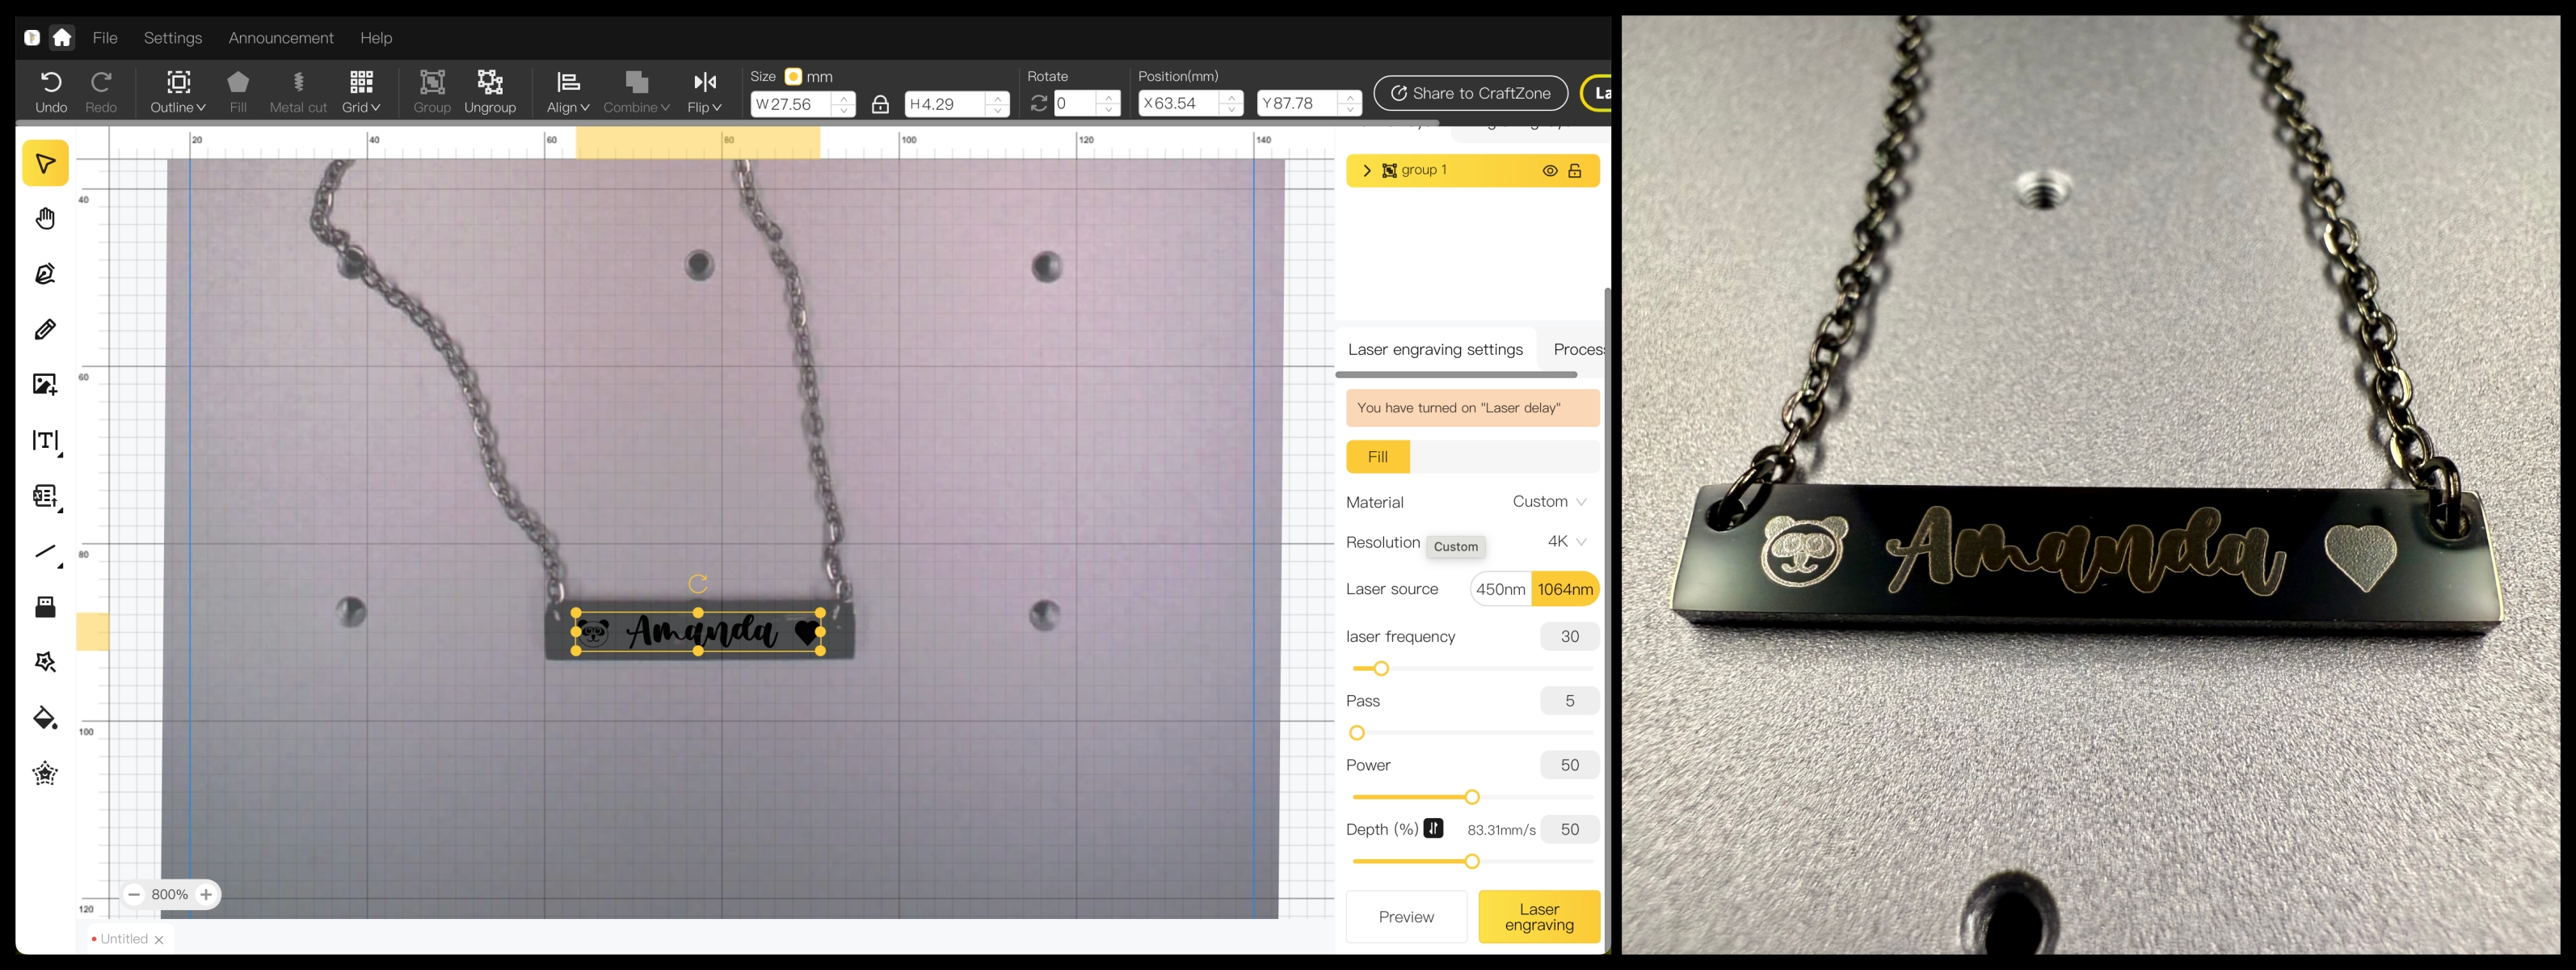
I completed an engraving on a wooden coin, and the clipart design was perfectly engraved where I had placed it using the camera.
Dual exhaust fans: The Safety Enclosures dual fan exhaust system does an excellent job of removing smoke from the Enclosure during engraving. I vented the exhaust out a nearby window, and no residual smoke or odor came from the Enclosure during or after engraving. You can adjust the fan power and how long the fan runs after an engraving in the Enclosure’s settings menu.
Auto-focus: Auto Focus is a Safety Enclosure feature that adjusts the base plate to the optimal focal length after entering the material thickness. Based on the measurement, the baseplate automatically raises or lowers to focus the laser. I like this feature because it’s quicker than manually adjusting the baseplate using the red dots method. However, if you prefer, you can still manually focus the laser using the up/down buttons on the Enclosure.
LDS Software: My main issue with the Safety Enclosure was related to the software. Specifically, I had trouble connecting my laptop to the Enclosure. While I was able to connect to the LP5, I couldn’t establish a connection with the Enclosure’s camera. I attempted to restart the software and the Enclosure multiple times, but nothing worked. I reached out to LaserPecker for help, but the tips they provided didn’t resolve the problem. I was scheduled for a video call with their support team, but then, almost miraculously, the Enclosure began to connect without any issues on the same day. As I write this review, my connection issues seem to be resolved for now. If you encounter similar connection problems, there’s a workaround: you can connect to the Enclosure using a USB cord. While it’s not the ideal solution, it works in a pinch.
IOS app: LaserPecker also offers an iPhone app, but I couldn’t get that to work at all. Again, I could connect to the Enclosure but could not connect to the camera. LaserPecker sent me some troubleshooting. However, it failed to resolve the connection issue.
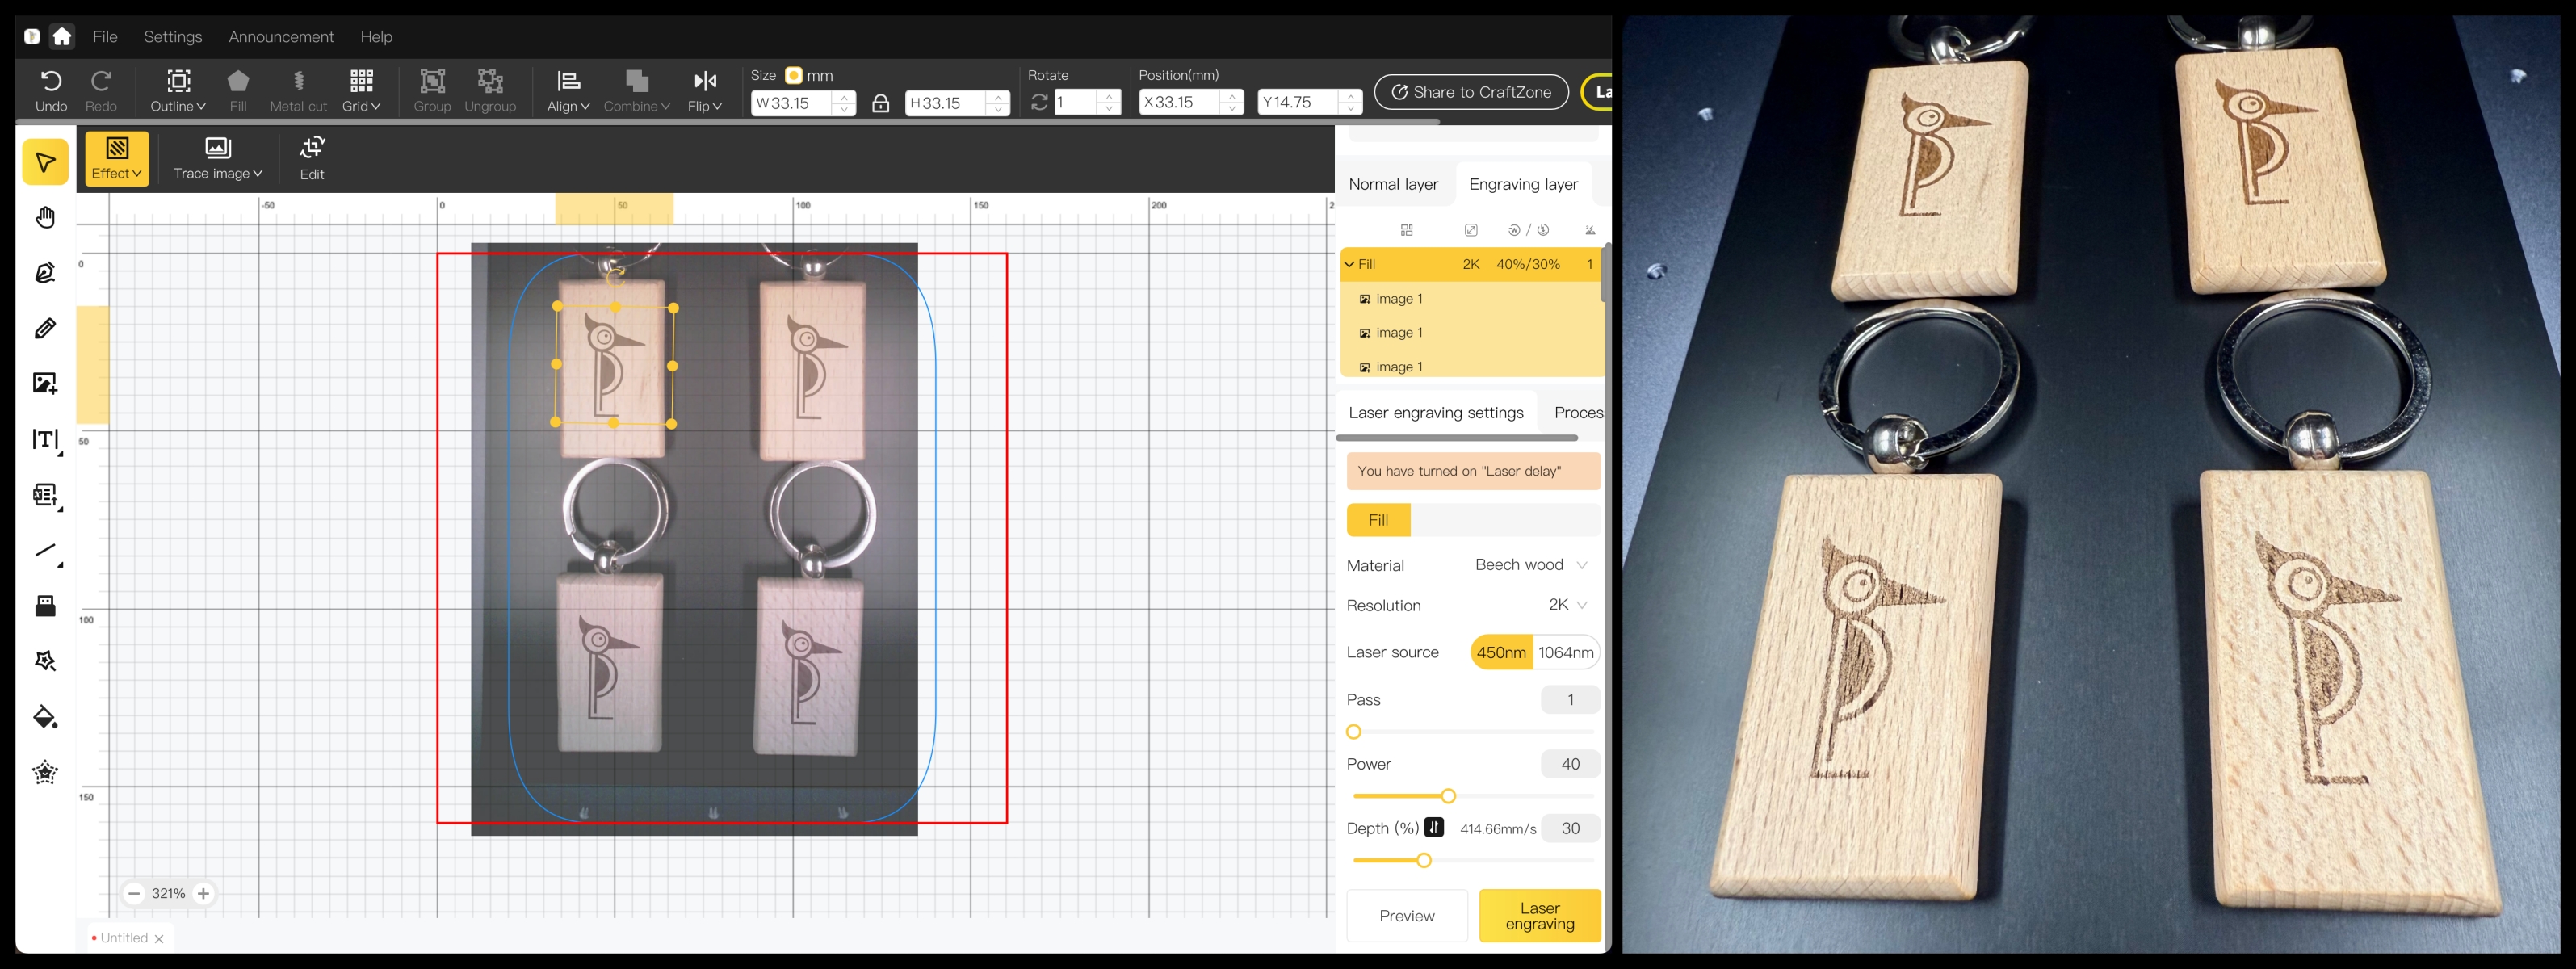
Smart fill feature: Smart Fill is a key feature of the camera inside the LaserPecker Safety Enclosure. It uses advanced visual recognition algorithms to automatically apply a single design to multiple materials for batch engraving. The feature works, but it is very finicky, and several criteria must be followed to achieve the best results.
1. Do not use highly reflective or overly thick materials, as the camera may fail to recognize the processing area.
2. Avoid hollow materials or those with tangles or complex shapes.
3. Ensure the material has a uniform height to minimize recognition issues.
4. Leave at least 2 mm of space between each piece of material to help the camera distinguish them easily.
5. Arrange all materials in the same direction to ensure consistent engraving results, especially for batch engraving.
In addition, you have to use a diffuse material (e.g., black card stock) behind the material to be engraved to improve snapshot quality. Unfortunately, LaserPecker doesn’t provide this with the Enclosure, so I used a piece of matte black anodized aluminum, which may have affected my results.
I had mixed results using this feature. I used smart fill to place the design onto four wood keychains, but the designs aligned incorrectly, so I had to move them to where I wanted them. The issue may have been caused by the shiny hardware on the keychains. The engravings turned out great, but the process took much longer than it should have, and the number of criteria seemed excessive.
I had better results engraving onto four wood circles. The designs were accurately placed onto the circles, and the engravings were excellent.
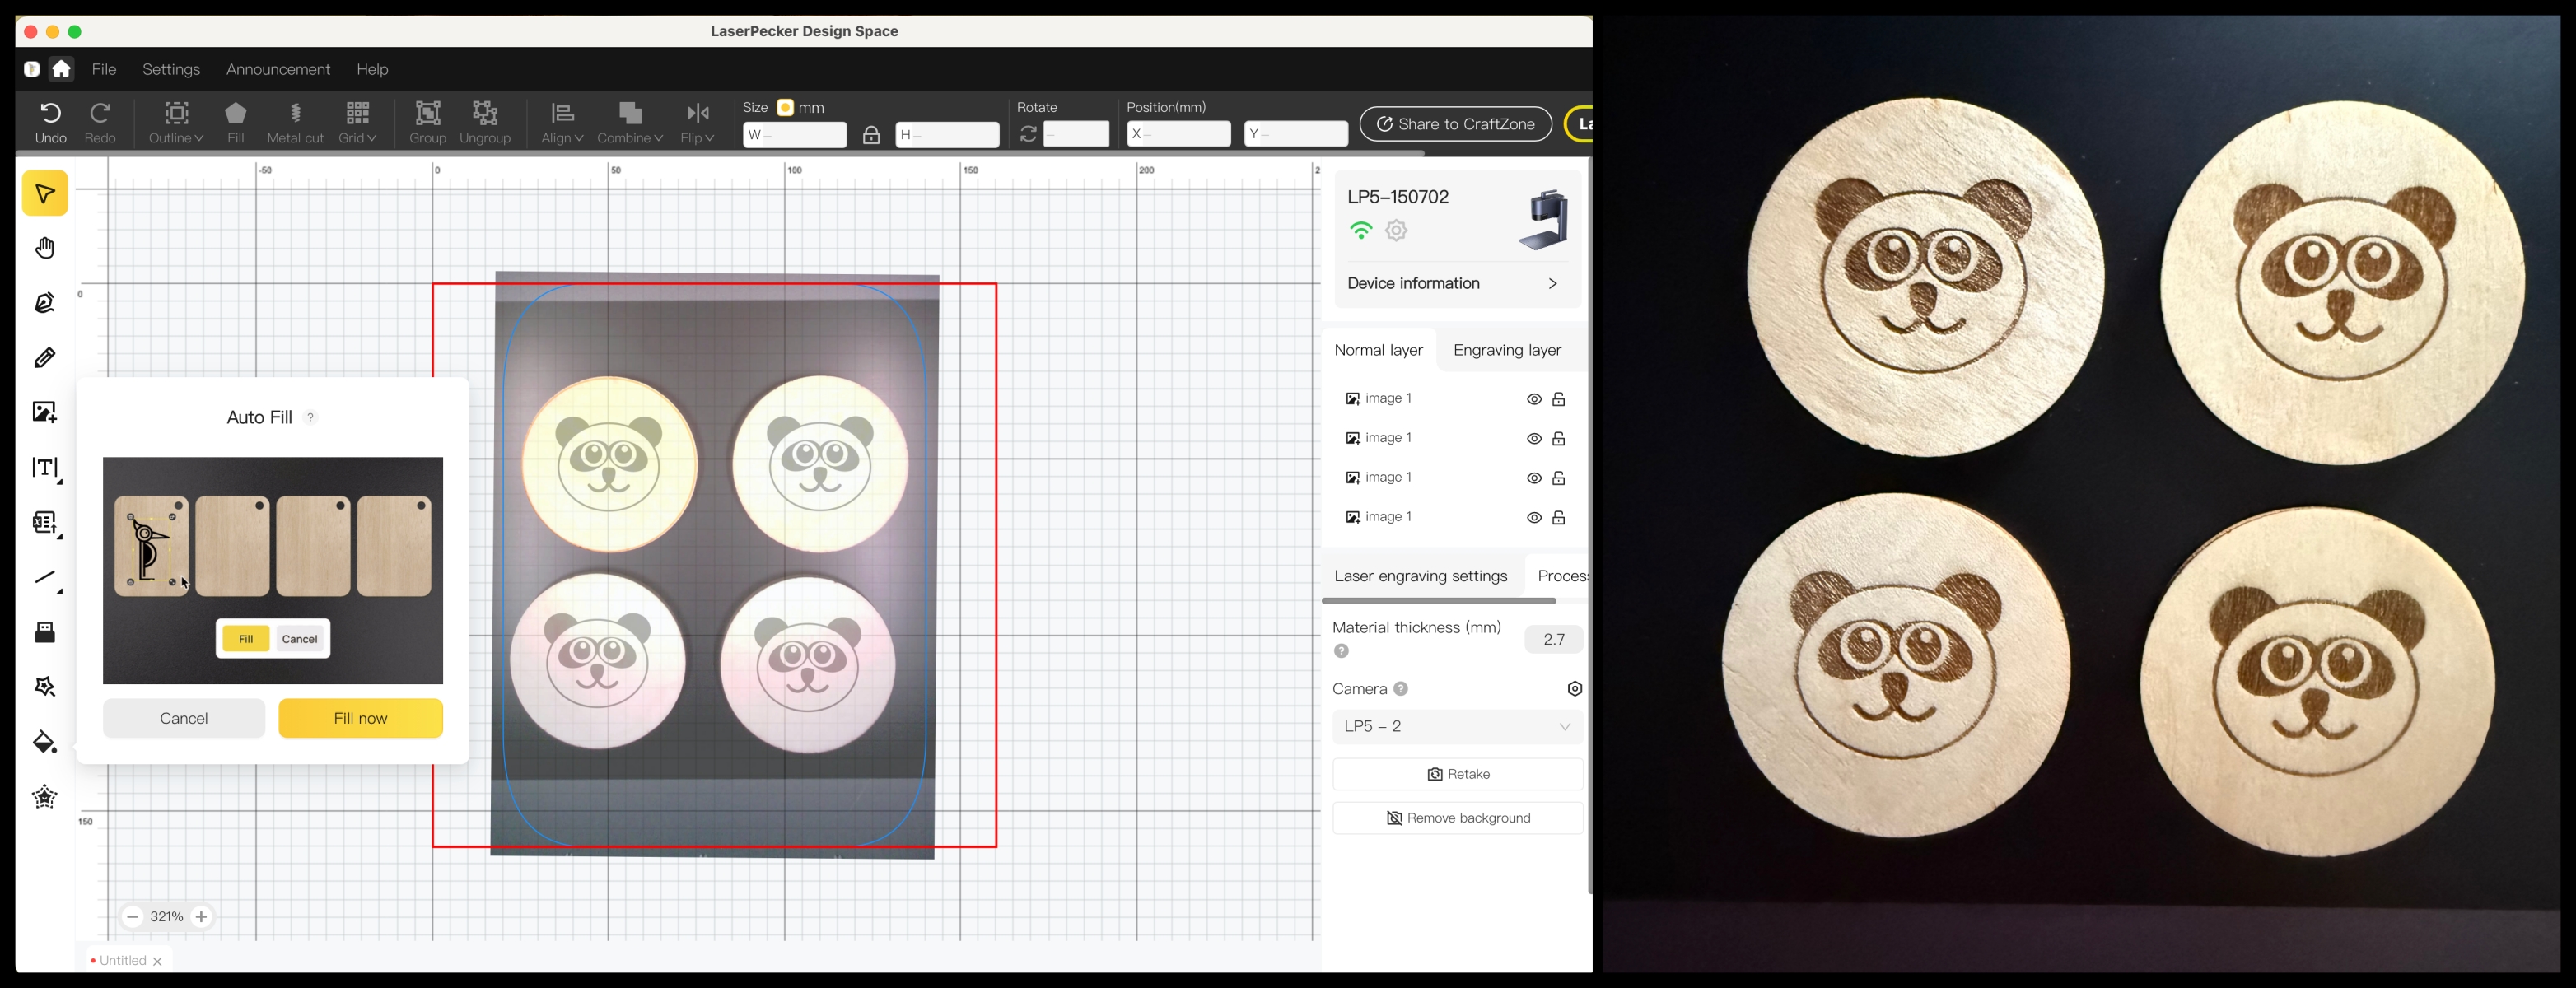
The smart fill feature results heavily depend on the materials you engrave. The more uniform and simple your materials are, the better the results will be. Smart Fill would be a great feature, but it feels like a work in progress.
Final thoughts
I really wanted to love the LaserPecker Safety Enclosure, and I like the addition of the integrated camera and the dual exhaust fans. However, those two things alone aren’t enough to warrant its $559 price tag. I will update this review if there are any future software improvements.
What I like about LaserPecker Safety Enclosure
- Integrated camera
- Interior lighting
- Dual exhaust fans
- Auto-focus feature
What needs to be improved?
- Software issues, specifically when connecting the LDS software to the Enclosure
- iPhone app is unusable
- Needs a built-in handle or grips for carrying
- Make the exhaust fans more accessible for easier cleaning
- Improve the Smart Fill feature
Price: $559, $699 on Amazon
Where to buy: LaserPecker official store and Amazon
Source: The sample of this product was provided for free by LaserPecker. LaserPecker did not have a final say on the review and did not preview the review before it was published.
Check out these other reviews!
- AlgoLaser alpha MK2 20W diode laser engraver review – a new level of creativity
- Creality Falcon2 Pro 40W laser engraver review – a great laser engraver with tons of features

HP 14 Laptop, Intel Celeron N4020, 4 GB RAM, 64 GB Storage, 14-inch Micro-edge HD Display, Windows 11 Home, Thin & Portable, 4K Graphics, One Year of Microsoft 365 (14-dq0040nr, Snowflake White)
(as of April 12, 2026 11:30 GMT -05:00 - More infoProduct prices and availability are accurate as of the date/time indicated and are subject to change. Any price and availability information displayed on [relevant Amazon Site(s), as applicable] at the time of purchase will apply to the purchase of this product.)