REVIEW – I’ve always had a mild fascination with astronomy, but my interest grew significantly after last year’s total solar eclipse. Capturing images with my iPhone during the eclipse’s totality made me curious about what it would be like to use an actual telescope. Although I’ll have to wait for the total solar eclipse in Indiana in 2044 to find out, I was fortunate enough to get my hands on the DwarfLab DWARF 3 smart telescope. I’ve been having fun practicing with it in anticipation of the next really big celestial event. Let’s take a look.
⬇︎ Jump to summary (pros/cons)
Price: $599.00
Where to buy: DwarfLab and B&H Photo
What is it?
The DwarfLab DWARF 3 is a portable telescope that is controlled with an app on your phone or tablet.
What’s included?
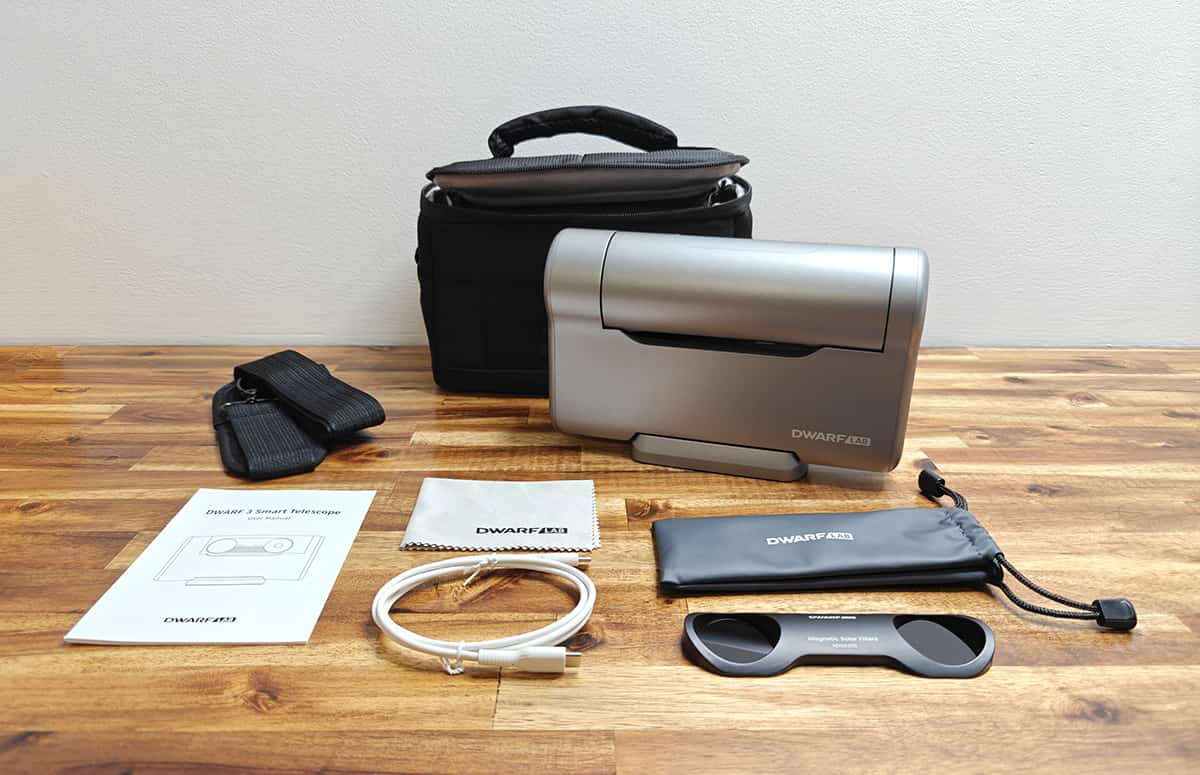
- DwarfLab DWARF 3 smart telescope
- Magnetic solar filter lenses and storage pouch
- USB/data charging cable
- Lens cloth
- Manual
- Zippered carrying bag
Tech Specs
| Aperture Diameter | 35 mm (Tele) 3.4 mm (Wide) |
|---|---|
| Focal Length | 150 mm (Tele) 6.7 mm (Wide) |
| Equivalent Focal Length | 737 mm (Tele) 45 mm (Wide) |
| Sensor | SONY IMX678 Starvis 2 |
| Built-in Filters | Tele: VIS/Astro/Dual-band Wide: Astro (for day and night use) |
| Battery | Built-in 10000 mAh (up to 6 hours of runtime per charge) with External USB Charging Support |
| Storage | 128GB eMMC included |
| Shooting Modes | Photo (Tele & Wide) Video (Tele & Wide) Astro (Tele & Wide) Pano (Tele & Wide) Burst (Tele & Wide) Timelapse (Tele & Wide) |
| NPU | 5 TOPS |
| Telephoto Video Max. Resolution / Frame Rate |
4K@30fps 1080p@60fps |
| Telephoto Picture Max. Resolution |
3840 × 2160 |
| Wide-Angle Video Max. Resolution / Frame Rate |
1080p@30fps |
| Wide-Angle Picture Max. Resolution |
1920 × 1080 |
| Max. Exposure Time In Astro Mode |
60 s in EQ-Mode |
| More Functions | NFC One-Touch Connection Astro Mosaic Wide-Angle Astrophotography |
| Size | 222 × 142 × 65 mm3 |
| Weight | 1.3 kg |
Design and features
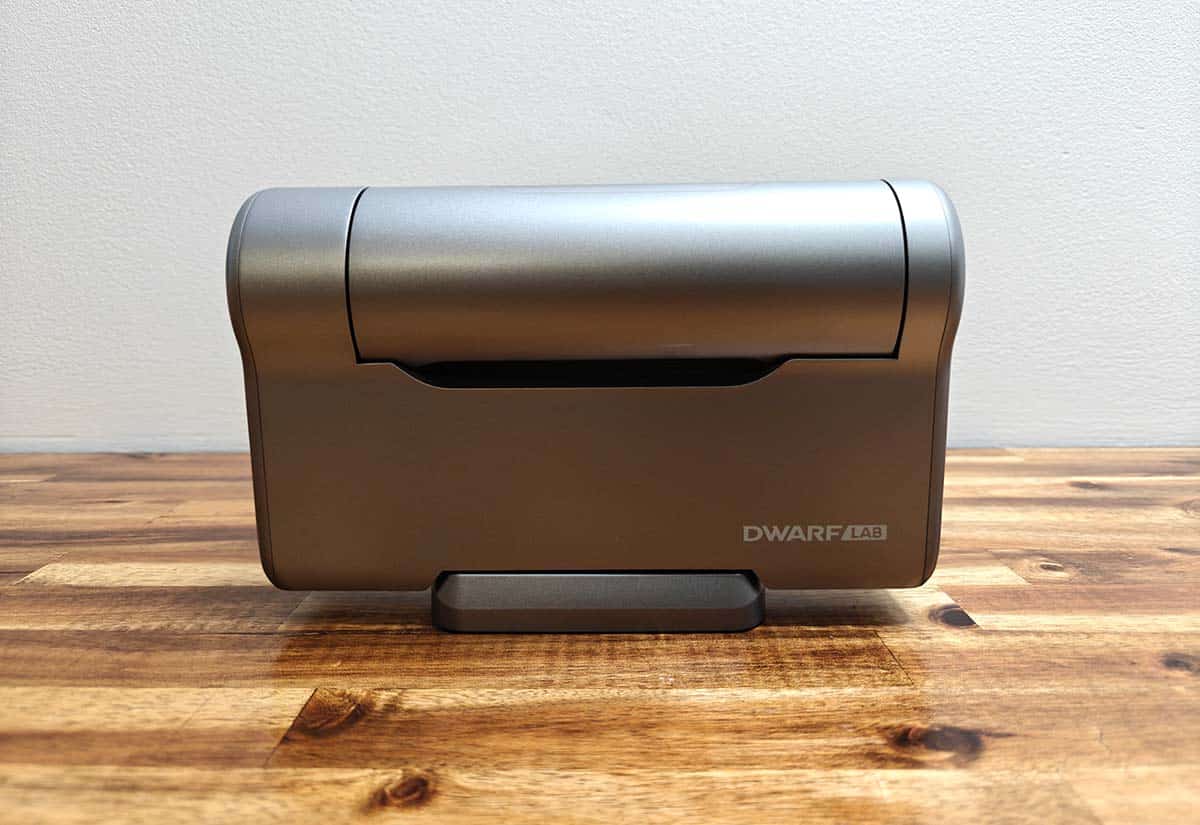
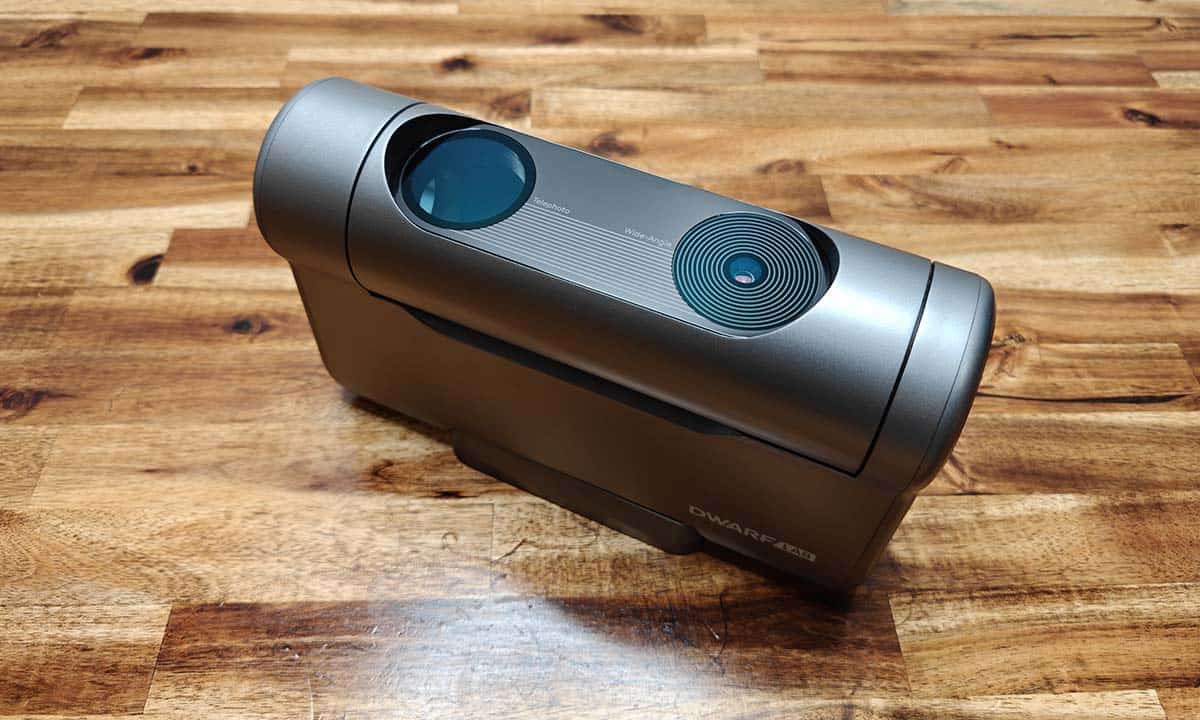
The DwarfLab DWARF 3 doesn’t look like any telescope that I’ve ever seen before. Instead of the traditional cylinder shape, it has a rectangular shape and is made of grey plastic. The top edge is the dual telephoto/wide-angle lens assembly which can rotate. The image above shows the lens in the closed position.
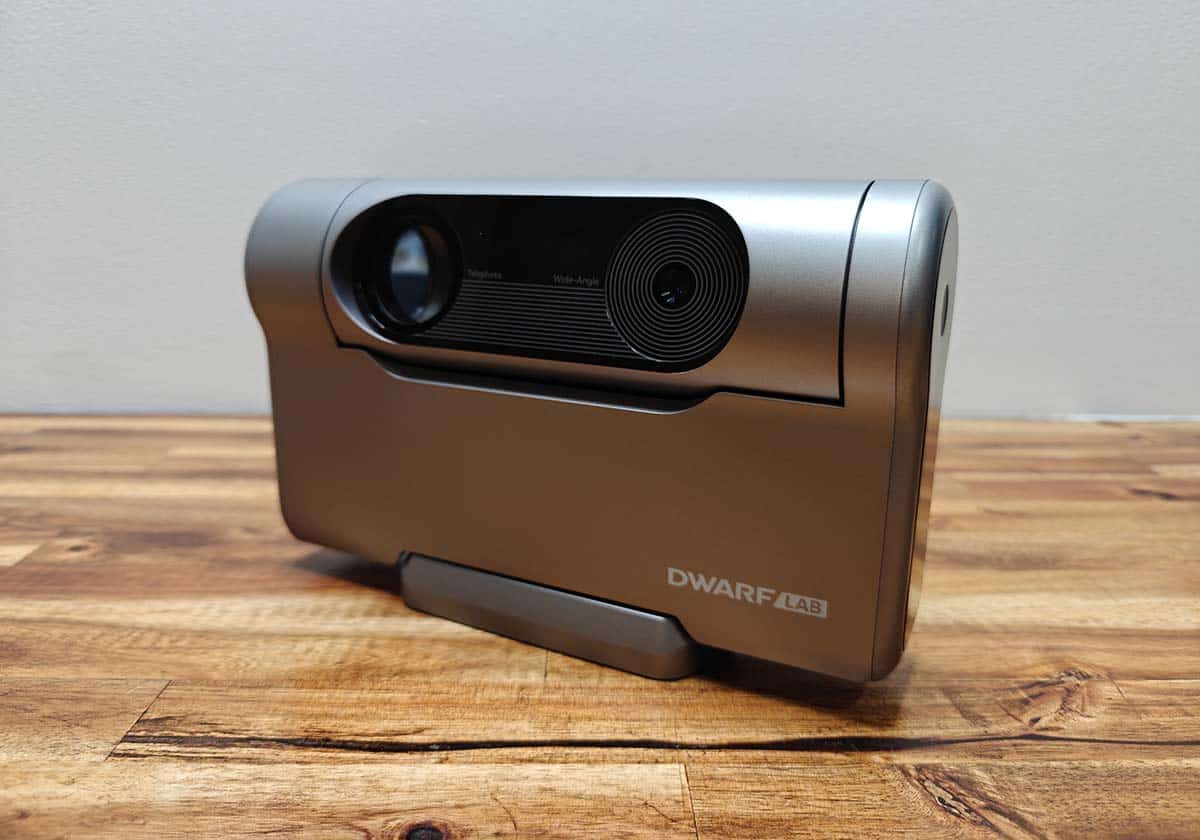
Here it is with the lens rotated and visible.
And here it is again with the lenses pointing straight up.
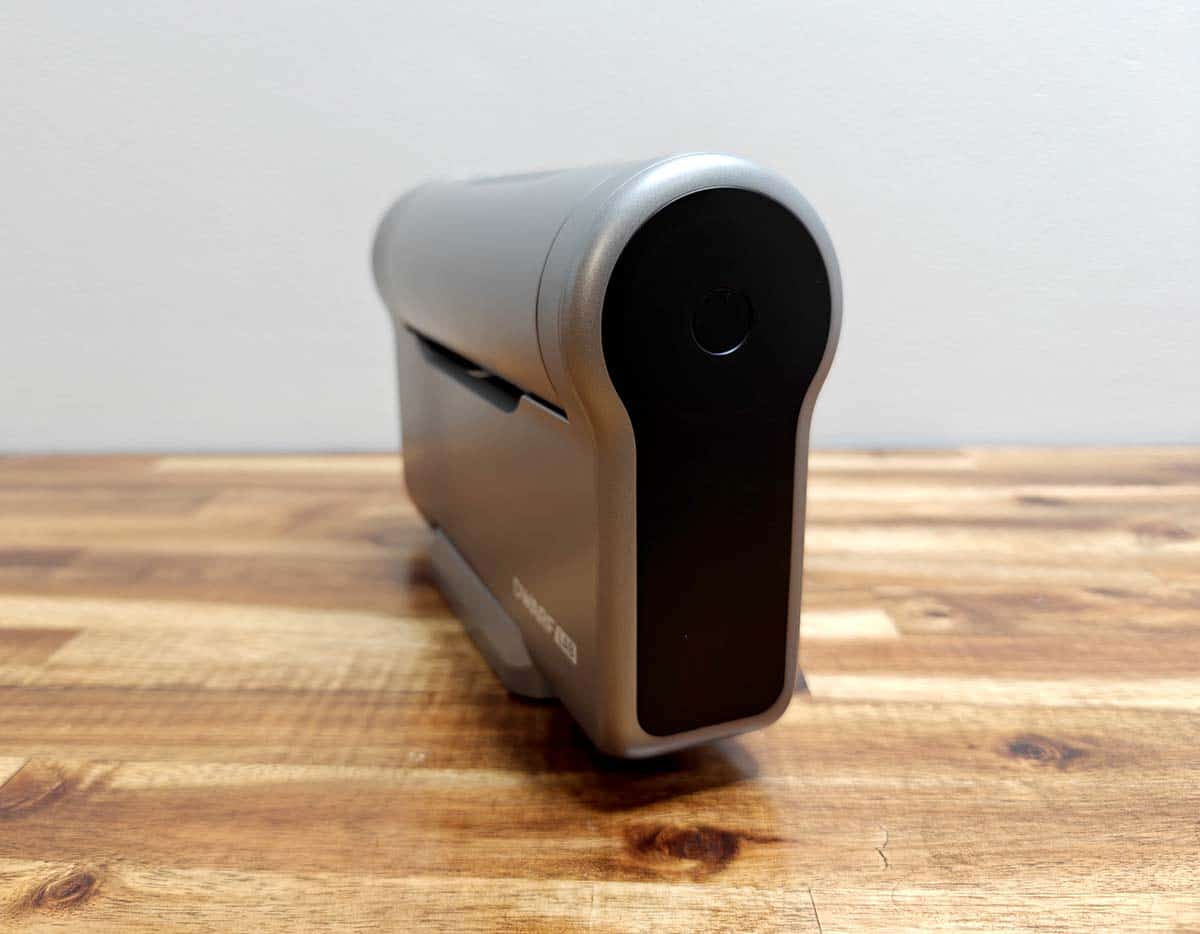
The DWARF 3 smart telescope does not have a built-in display and the only button on the device is on one end.
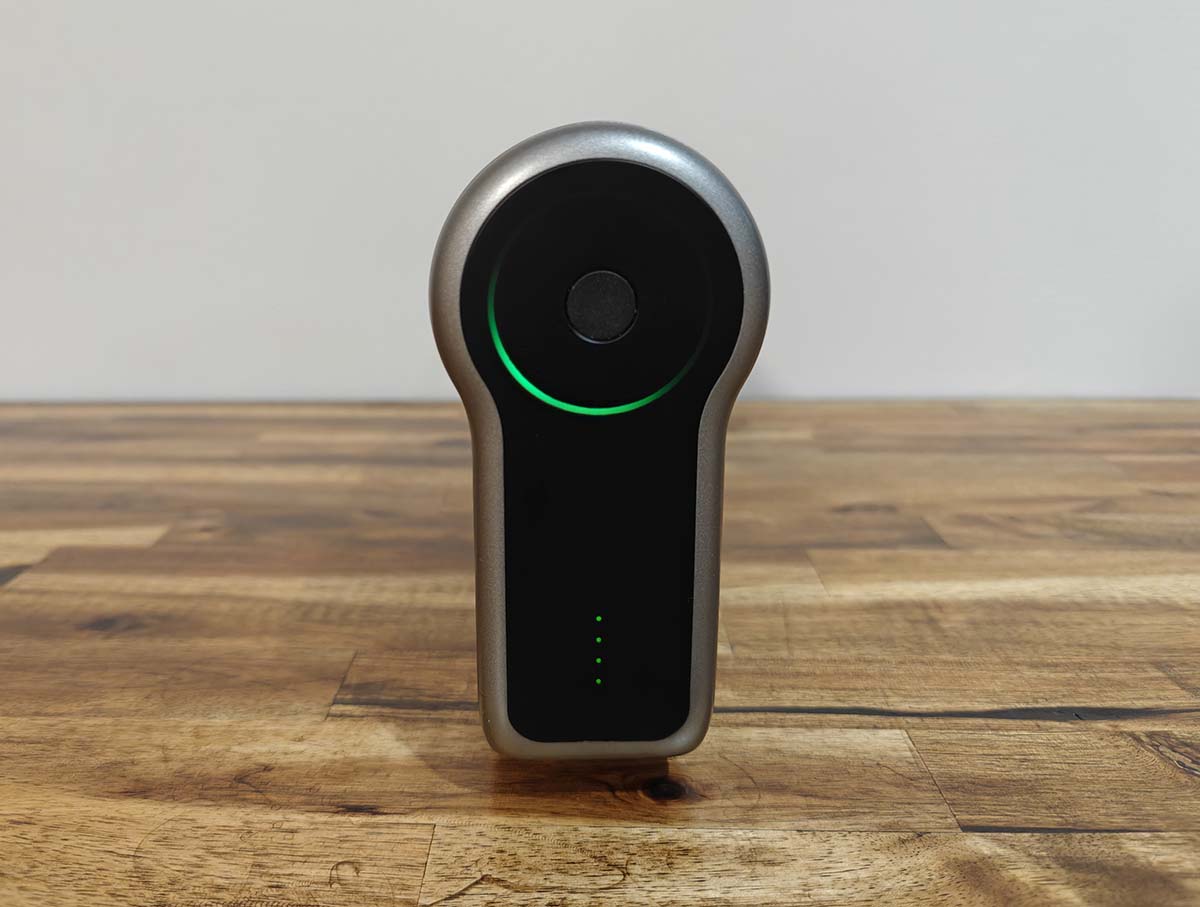
Briefly pressing the button will turn on the telescope and holding it will turn the telescope off. There’s also a status LED around the power button and a battery charge indicator below it.
A USB-C charging/data port is built into one edge of the base.
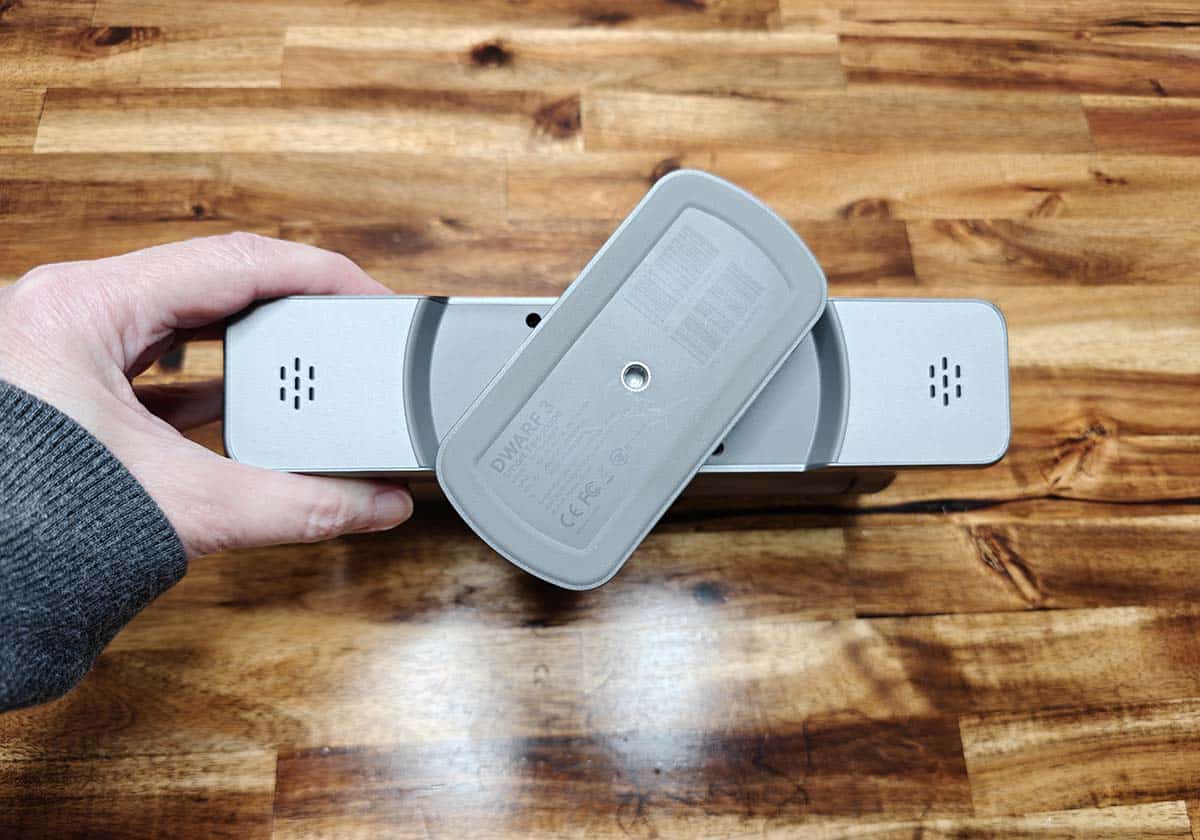
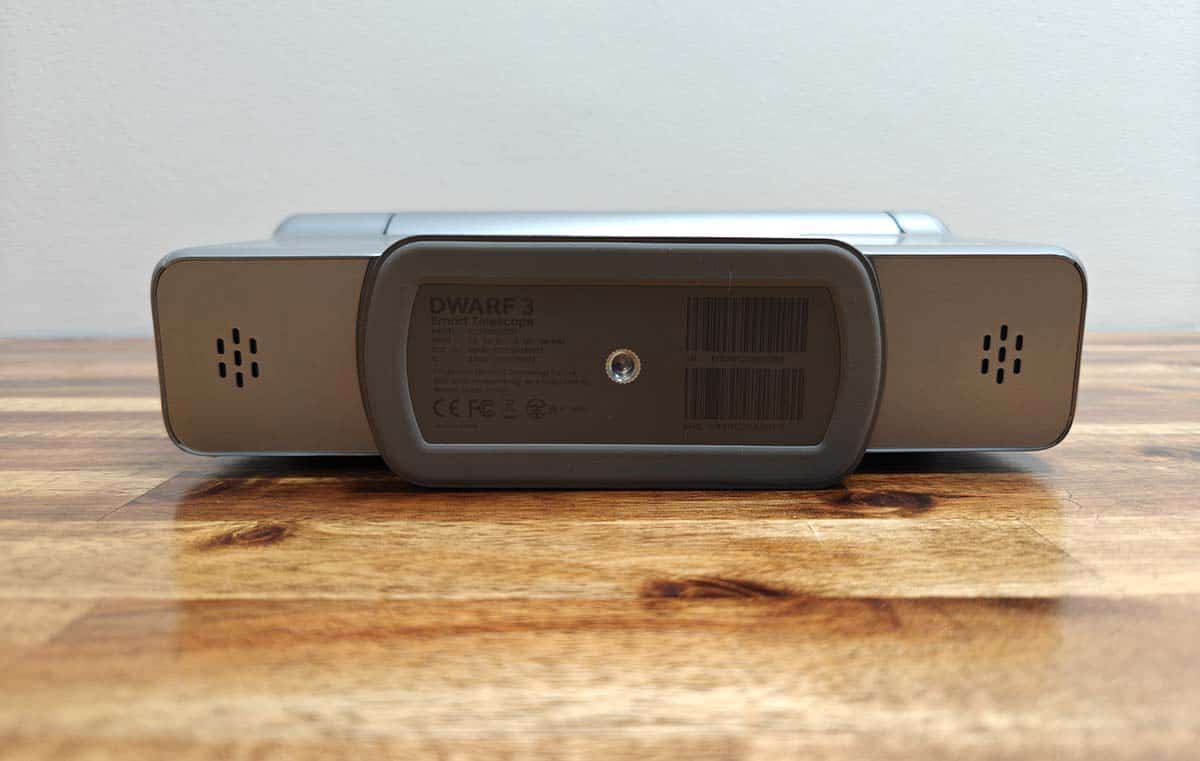
Remember how the lens assembly can rotate? The base also rotates to allow for proper alignment with objects in the sky.
The base also has a threaded socket on the bottom, so you can mount the telescope on a tripod. Note that a tripod is not included with the purchase of the DWARF 3.
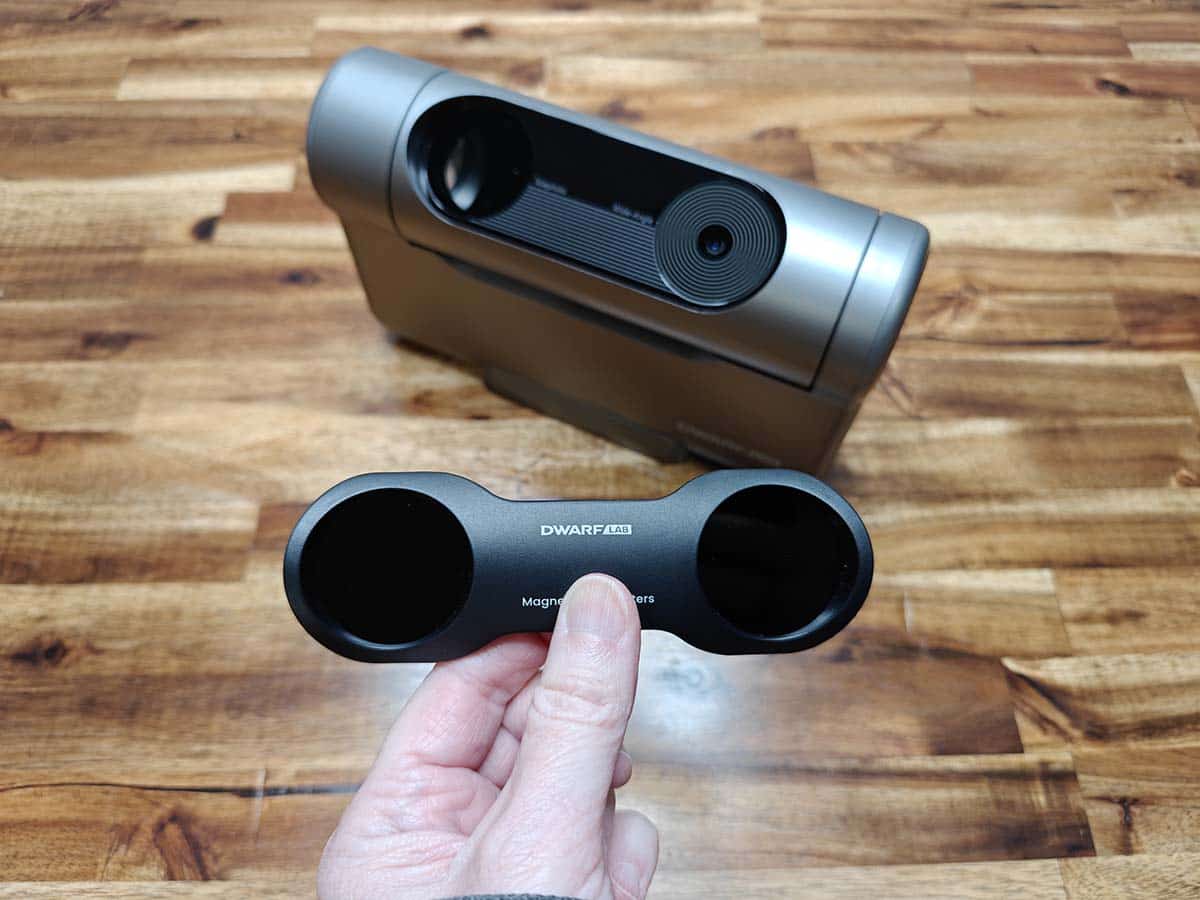
The DWARF 3 includes a set of solar filters for taking pictures of the sun.
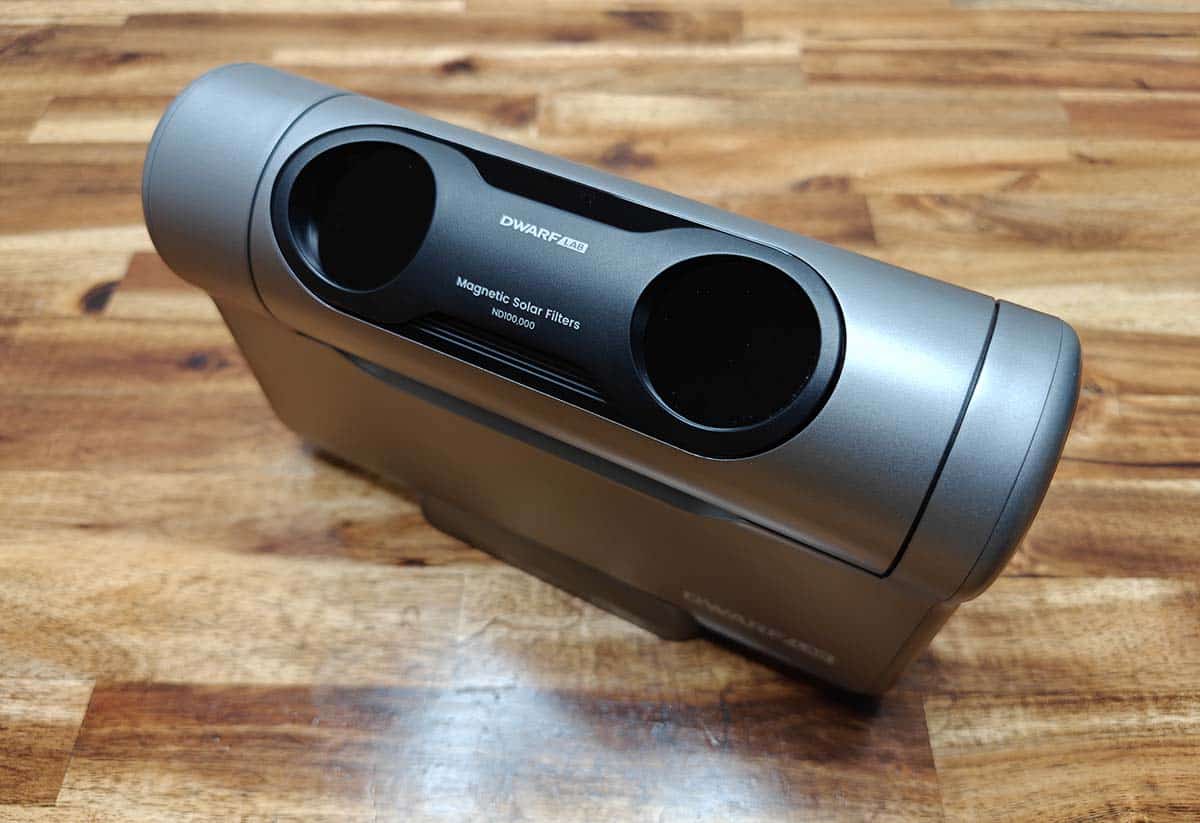
The solar filter is magnetic and attaches easily over the lenses.
Setting up the DwarfLab DWARF 3 smart telescope
The DWARF 3 comes fully assembled, so all you really need to do to get started is charge it, install the DWARF app, and take it outside.
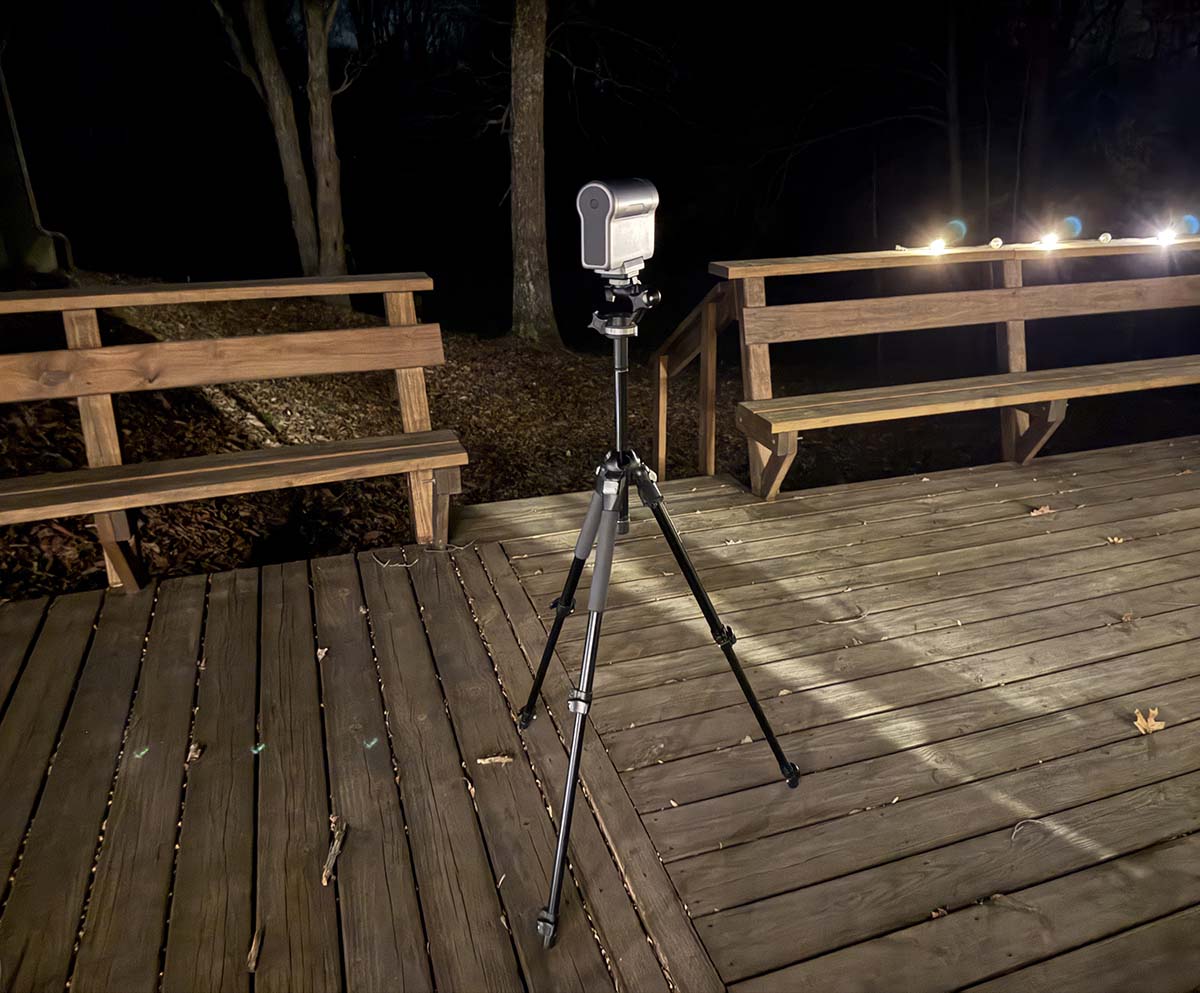
While it is possible to place the unit directly on the ground or sidewalk, I highly suggest attaching it to a tripod. Tripods are not all that expensive. I use a Manfrotto tripod I’ve had for over a decade.
The hardest part of capturing good images from the DWARF 3 telescope comes down to two main things. The first is where you set it up. You will need an unobstructed view of the sky. That means big city dwellers will need to go on the roof of their building or, better yet, drive to a more suburban or rural area. Another concern is light pollution if you live in a city setting with many buildings and street lights.
Lucky for me, I live in a rural area, and the only light pollution comes from my solar landscape lights. My biggest problem while using the DWARF was all the trees around my property, which made it difficult to view objects closer to the horizon.
The second thing to keep in mind is the weather. Cloud cover is the enemy of astrophotography. I learned this the hard way on the first night when I took the telescope out for its maiden mission.
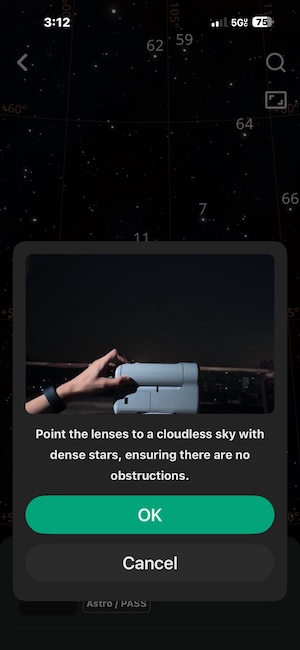
The first step is calibrating it by pointing the lenses straight up into the night sky with dense stars. Unfortunately, the first night I tried the DWARF 3, it was cloudy, and the calibration failed. There’s nothing more disappointing than having a shiny new toy that you can’t play with because of clouds.
Luckily, the weather cleared, and I started getting some good shots the next night. That is after I learned how to use the app…
DWARF app
To use the telescope, you must use the DWARF app because it becomes the controller and the viewfinder for the telescope. You have the option to connect the DWARF 3 to your phone via the telescope’s own WiFI access point, or you can connect using your home’s WiFi.
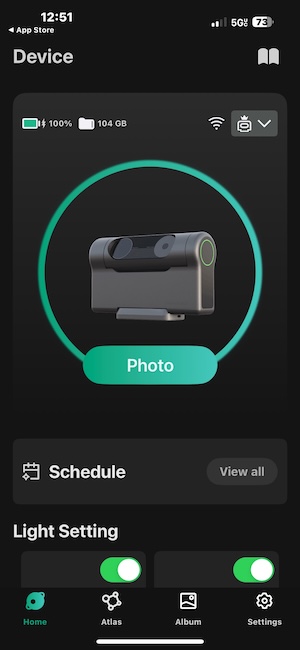
I found that there was a little bit of a learning curve with the app. The image above is the app’s home screen which is simple to understand. You can easily just press the photo button to go into the viewfinder view.
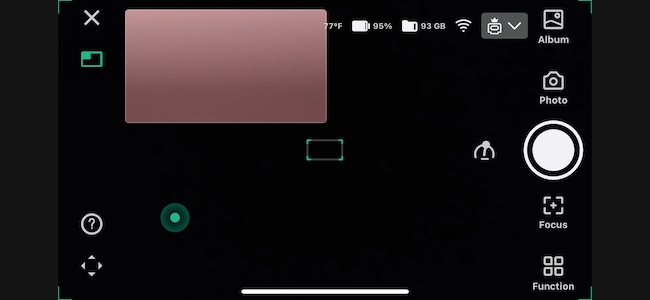
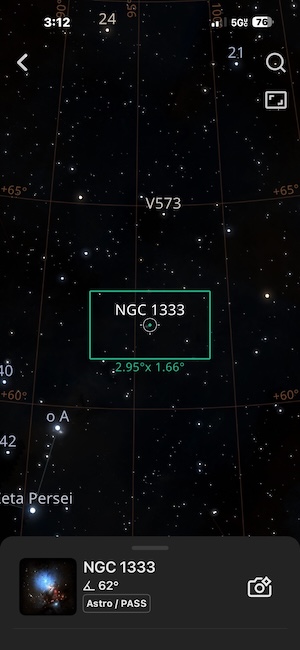
The image above shows the viewfinder. In this view you can switch between the wide-angle and telephoto lenses/views. You can also use the arrows/joystick controls to move the telescope to line up the object to the center of the screen. Pinch to zoom in also works.
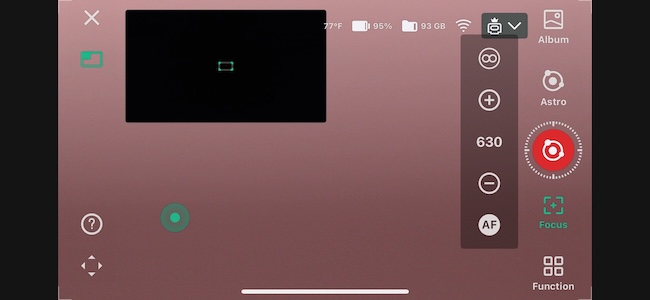
There is a focusing feature with +/- buttons that help you dial in the focus. I found that for the most part, the autofocus button worked fine.
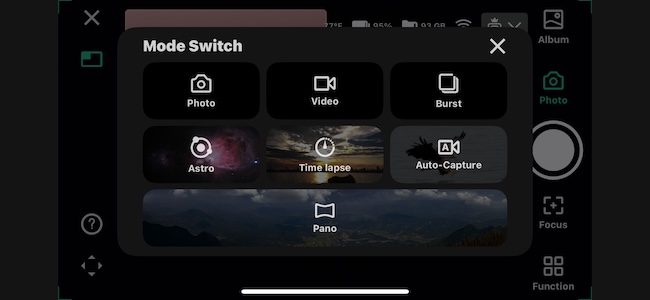
You can take individual pictures, panoramas, time-lapse burst, video, and astro.
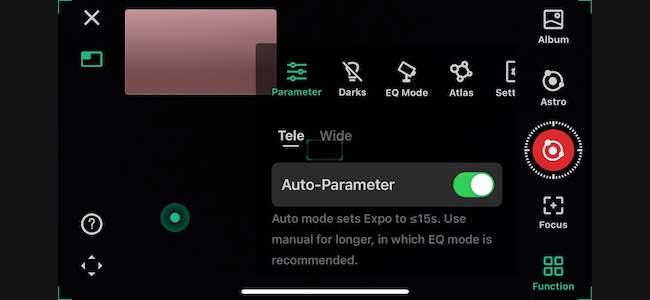
There are also a lot of settings that you can customize for each session. I’m not going to go into all the details about each setting as that would make for a very long review.
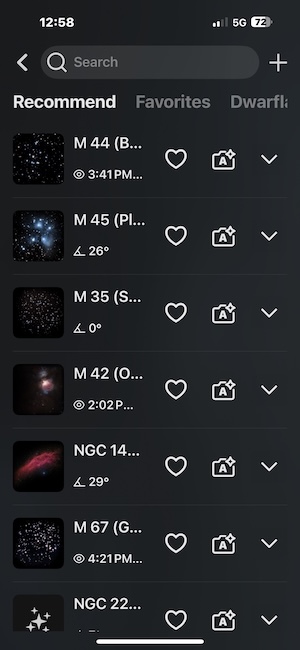
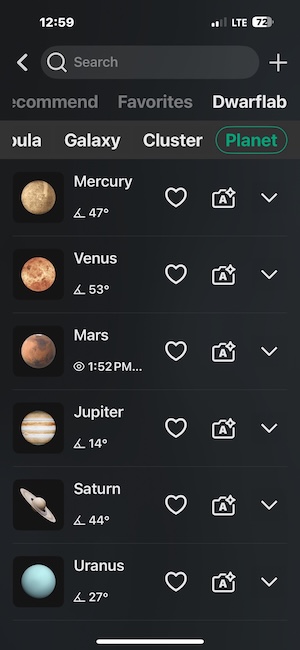
I spent most of my time in the Astro feature, which allows you to choose from a list of galaxies, nebulas, star clusters, or planets from a catalog listing. When you choose an object, you photograph it immediately, or you can even schedule it to photograph at a certain time so you don’t have to get up in the middle of the night for that perfect shot of the Milky Way.
The DwarfLab DWARF 3 smart telescope uses image stacking to create detailed images. It does this by taking dozens and even hundreds of photos of the same celestial object. This automated process aligns and combines the images, improving the overall final image quality. Also, the DWARF 3 will track the object in the sky as it takes the shots which is a fantastic feature.
If you want to do the image stacking process yourself, the DWARF 3 also saves all the photos in FITS format. You can copy all of the files to your computer and use third-party software to stack and edit them. I haven’t tested this feature yet. I approached this DWARF 3 telescope review as an astrophotography newbie, which is exactly what I am for now.
Sample images
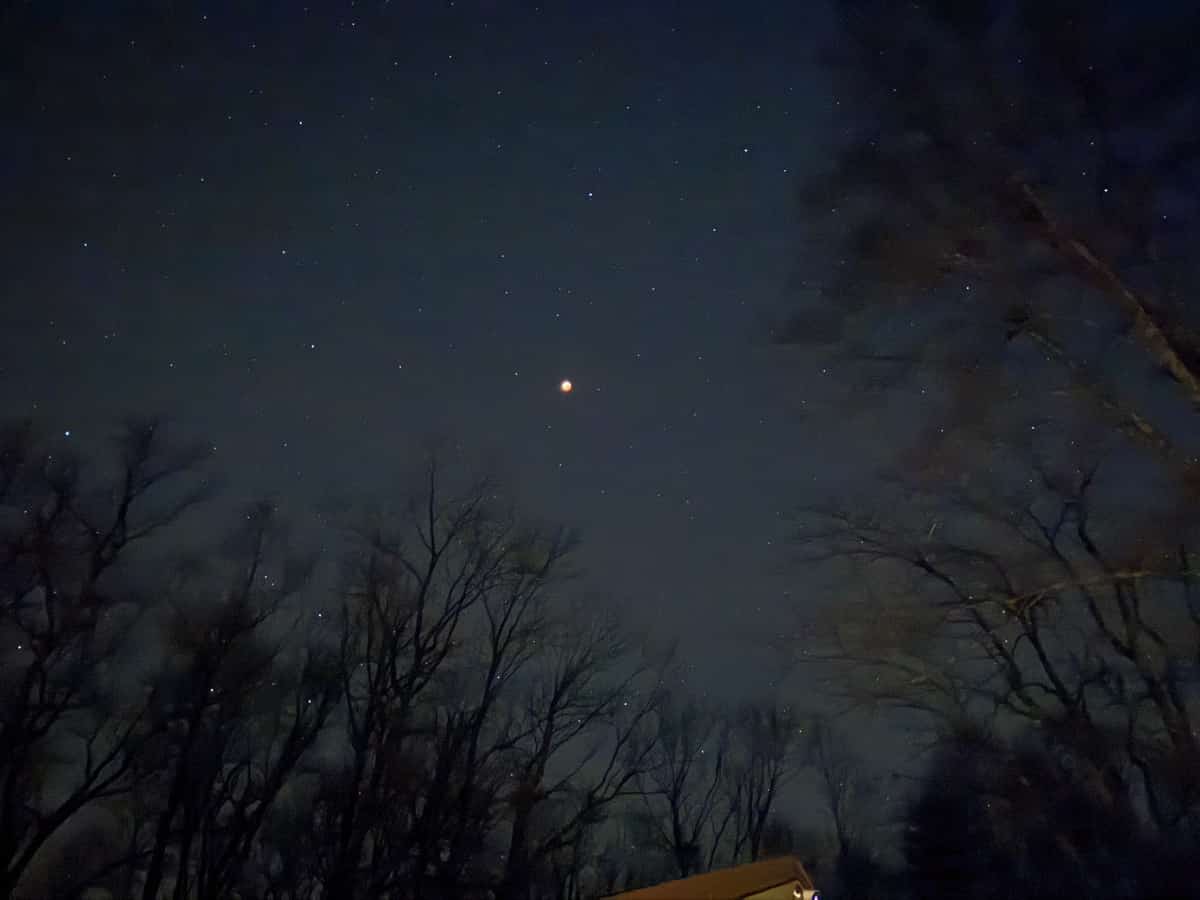
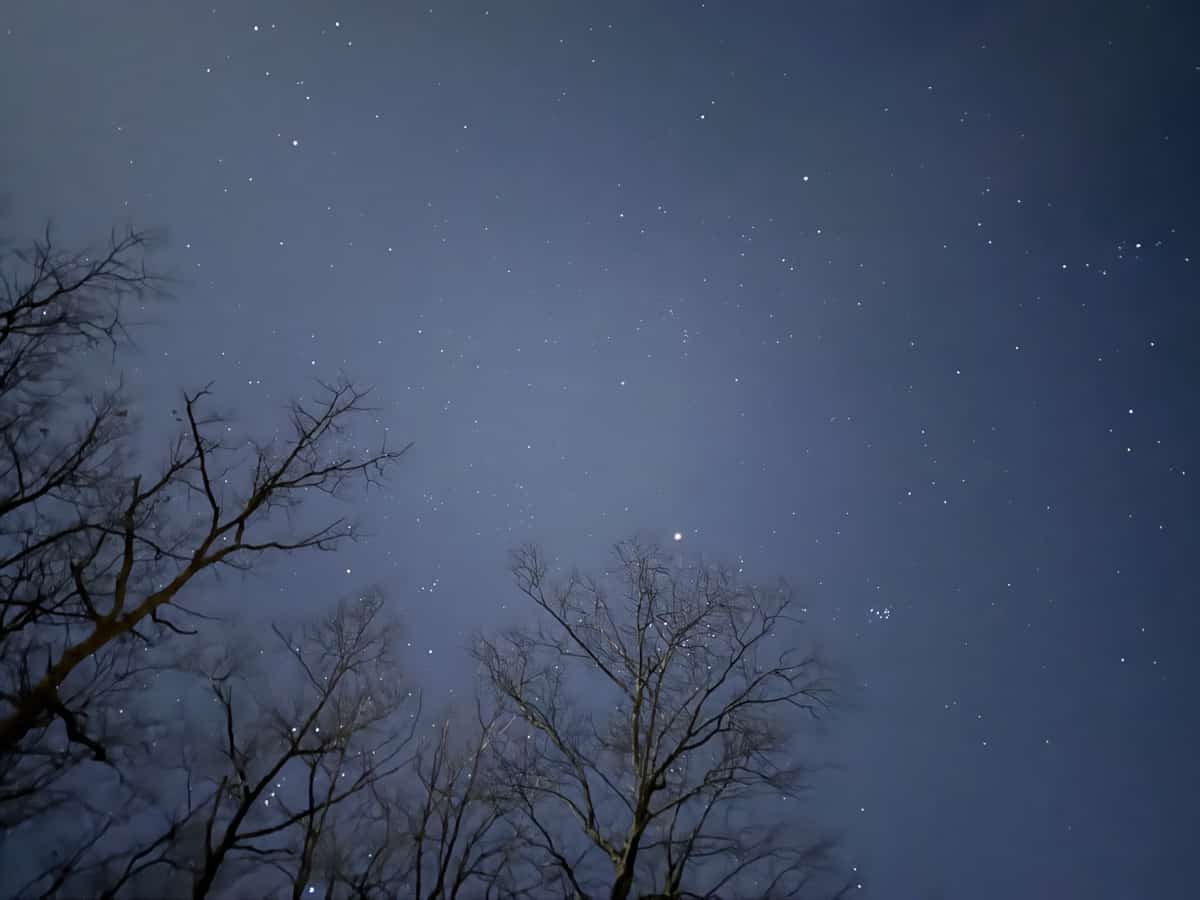
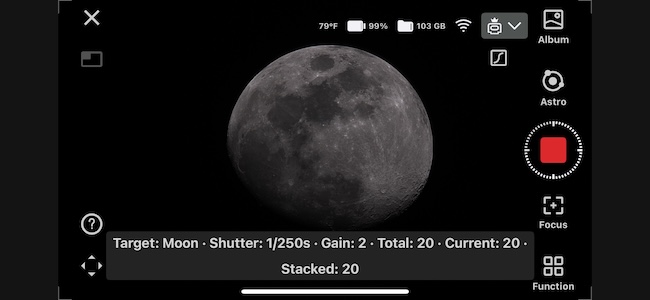
Here are some images straight out of the DWARF 3. I did not crop, sharpen, or color level adjust the images. I was super lucky that while I was working on this review, we had a total lunar eclipse that I was able to capture. I set my alarm for 2 AM and went outside to photograph it with my iPhone (pic above) and then with the DWARF 3. I think the DWARF 3 image won that contest 😉
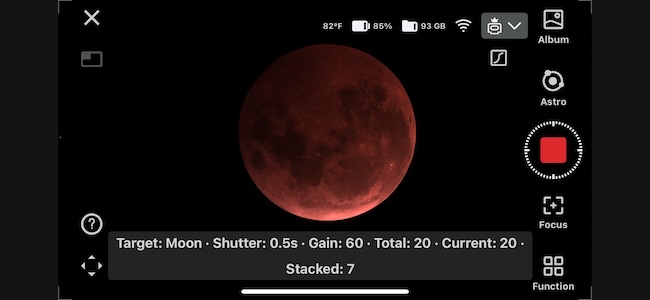
Click to view full-sized images.
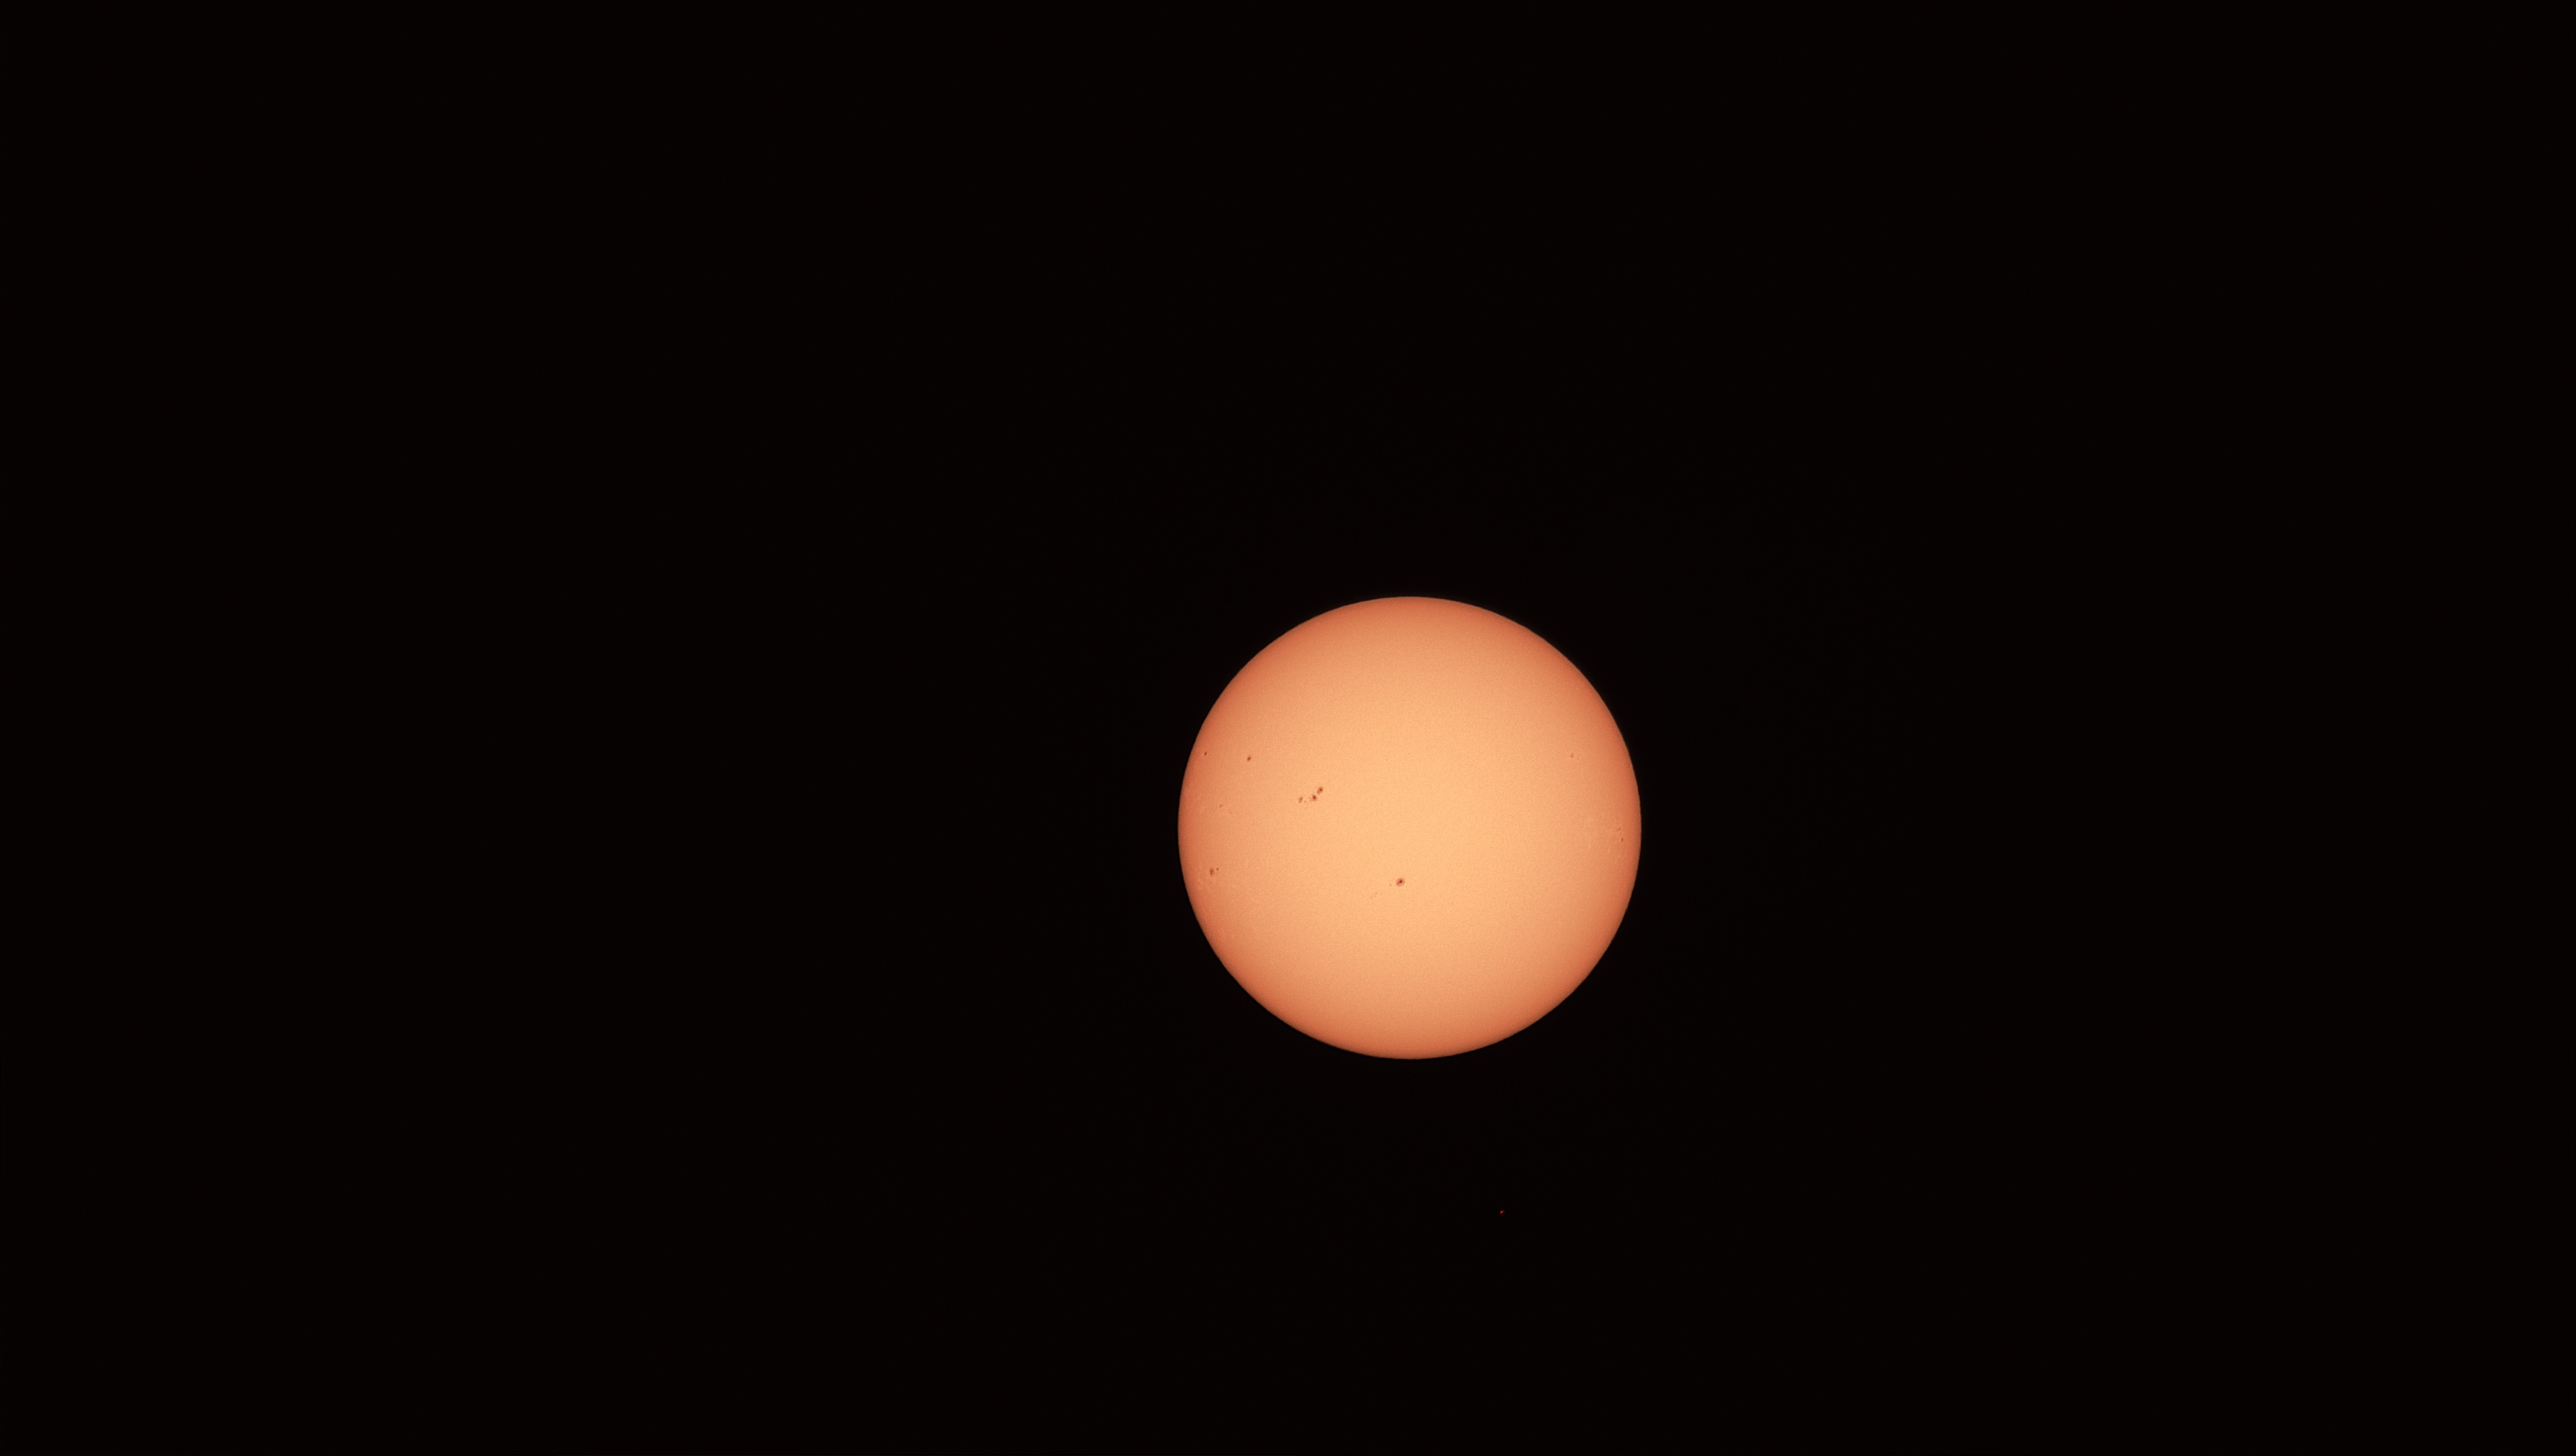
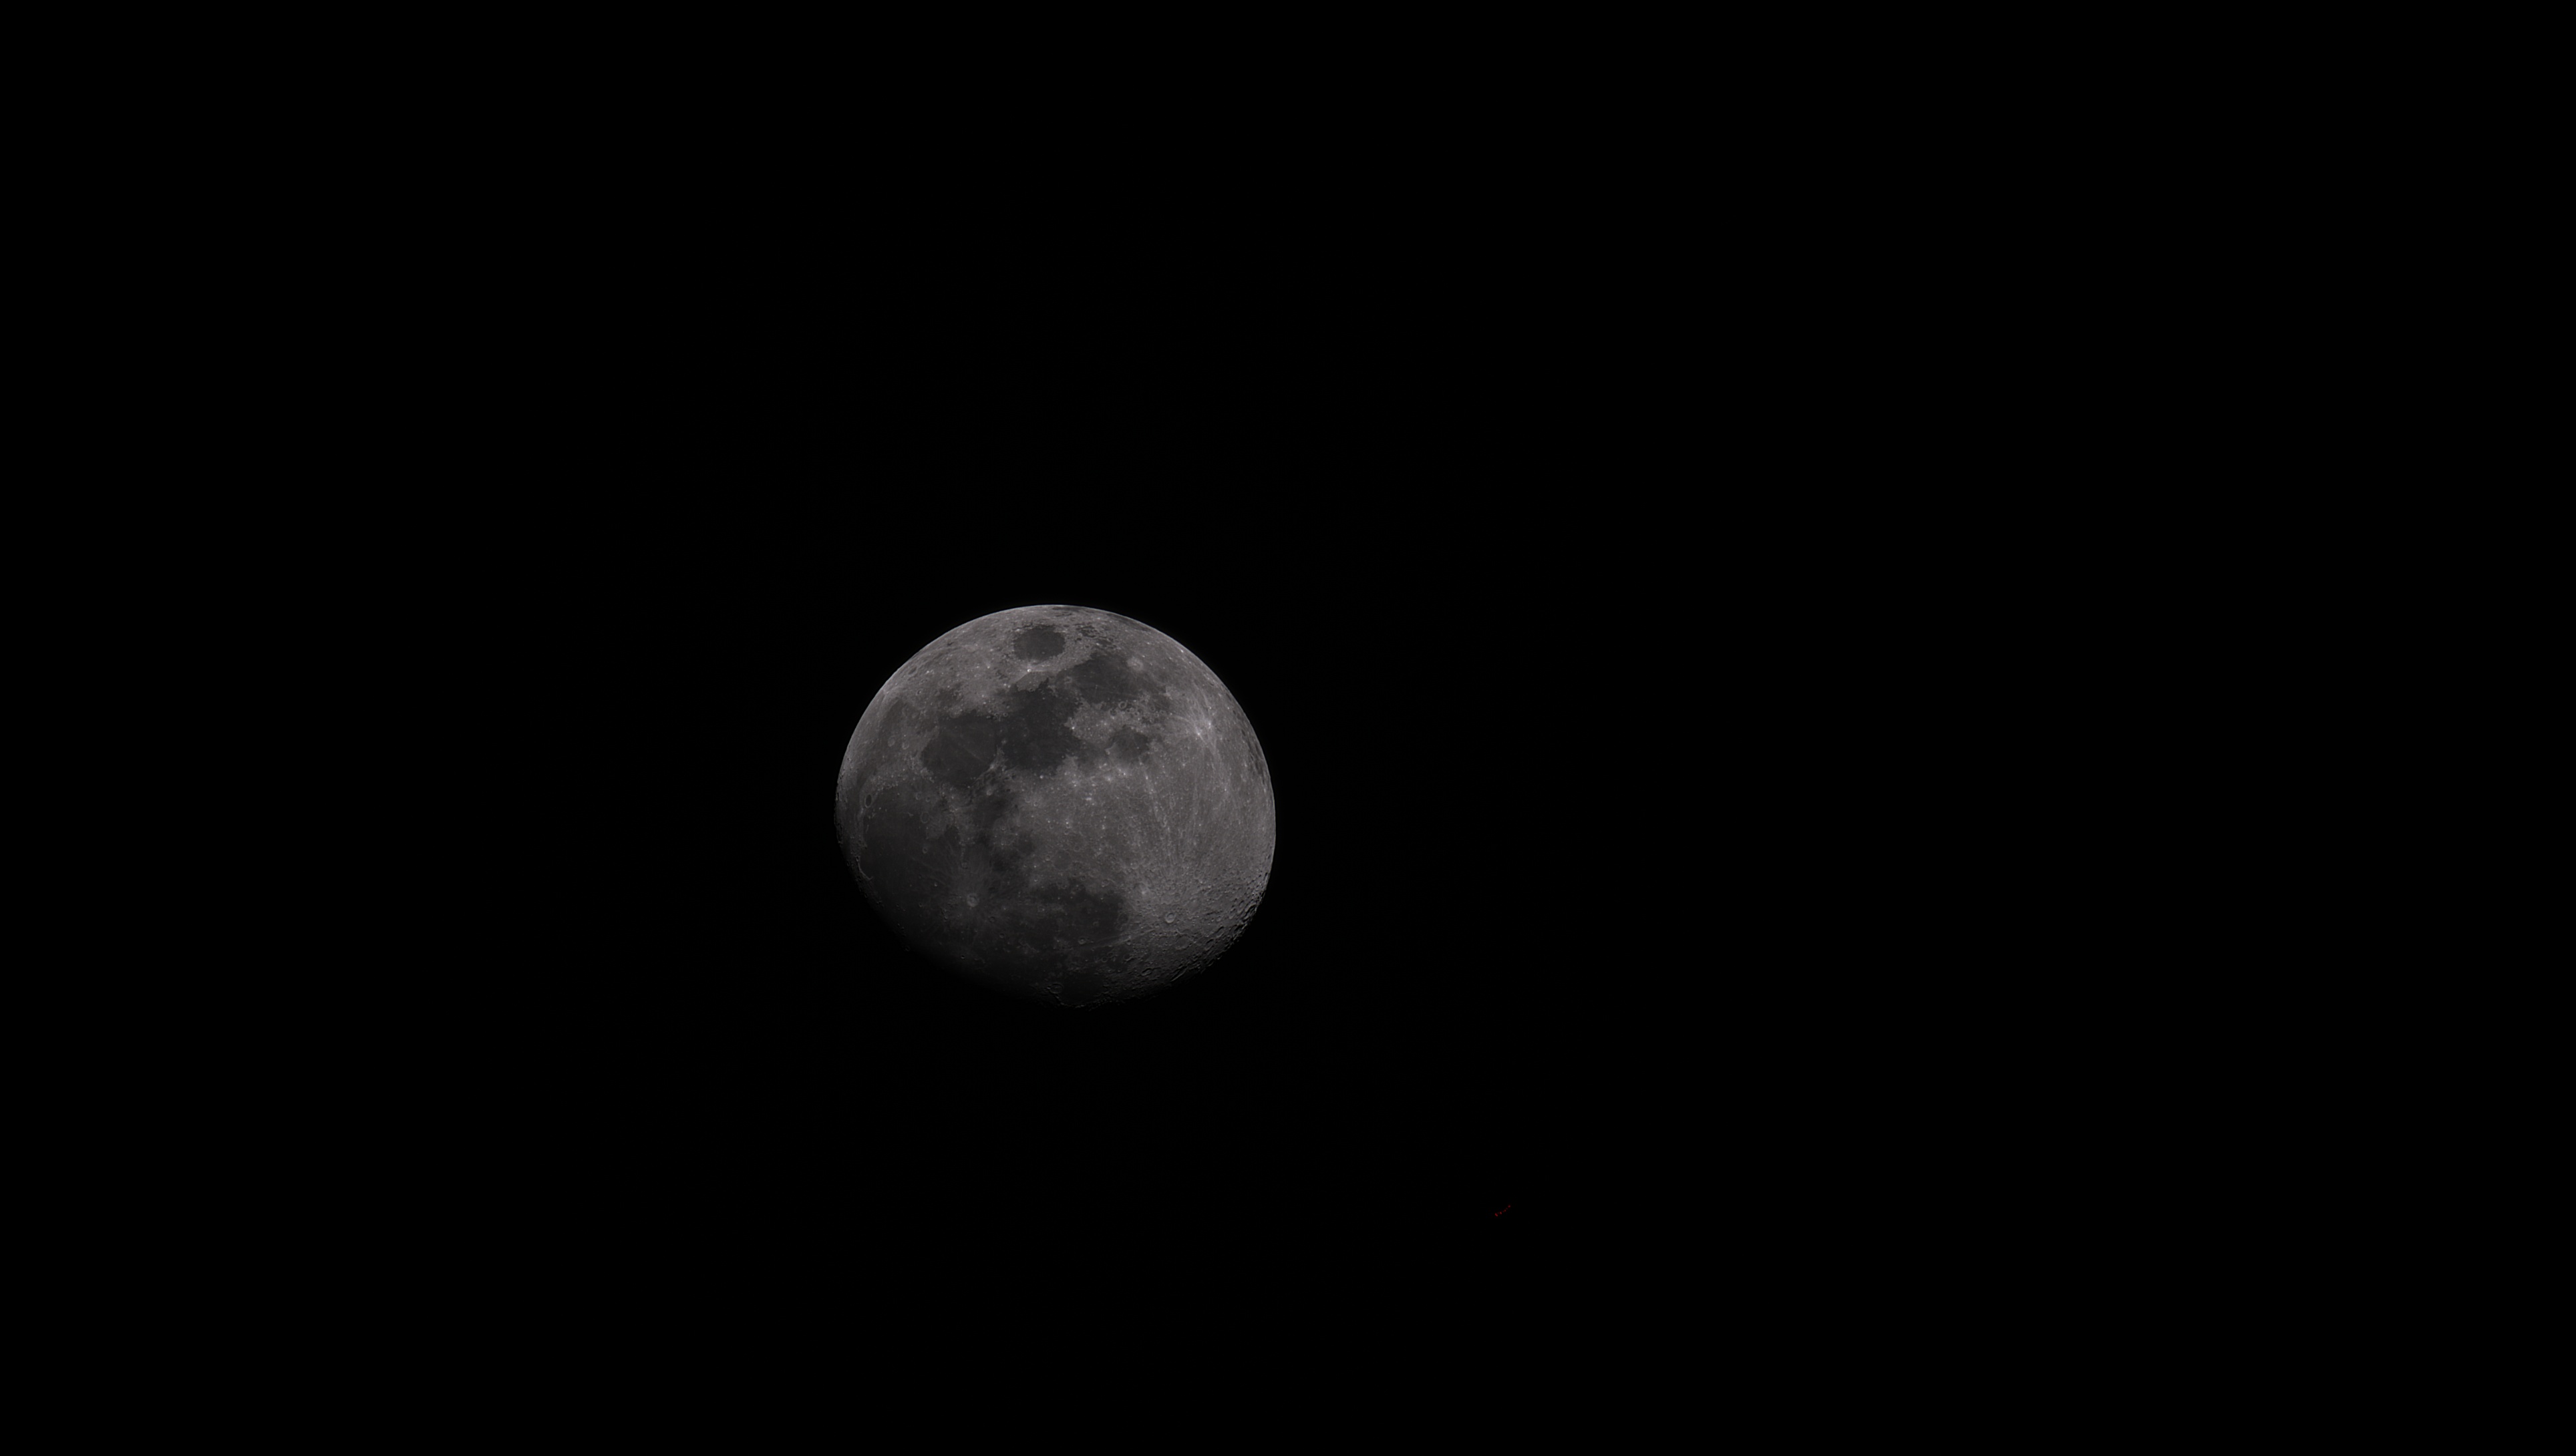
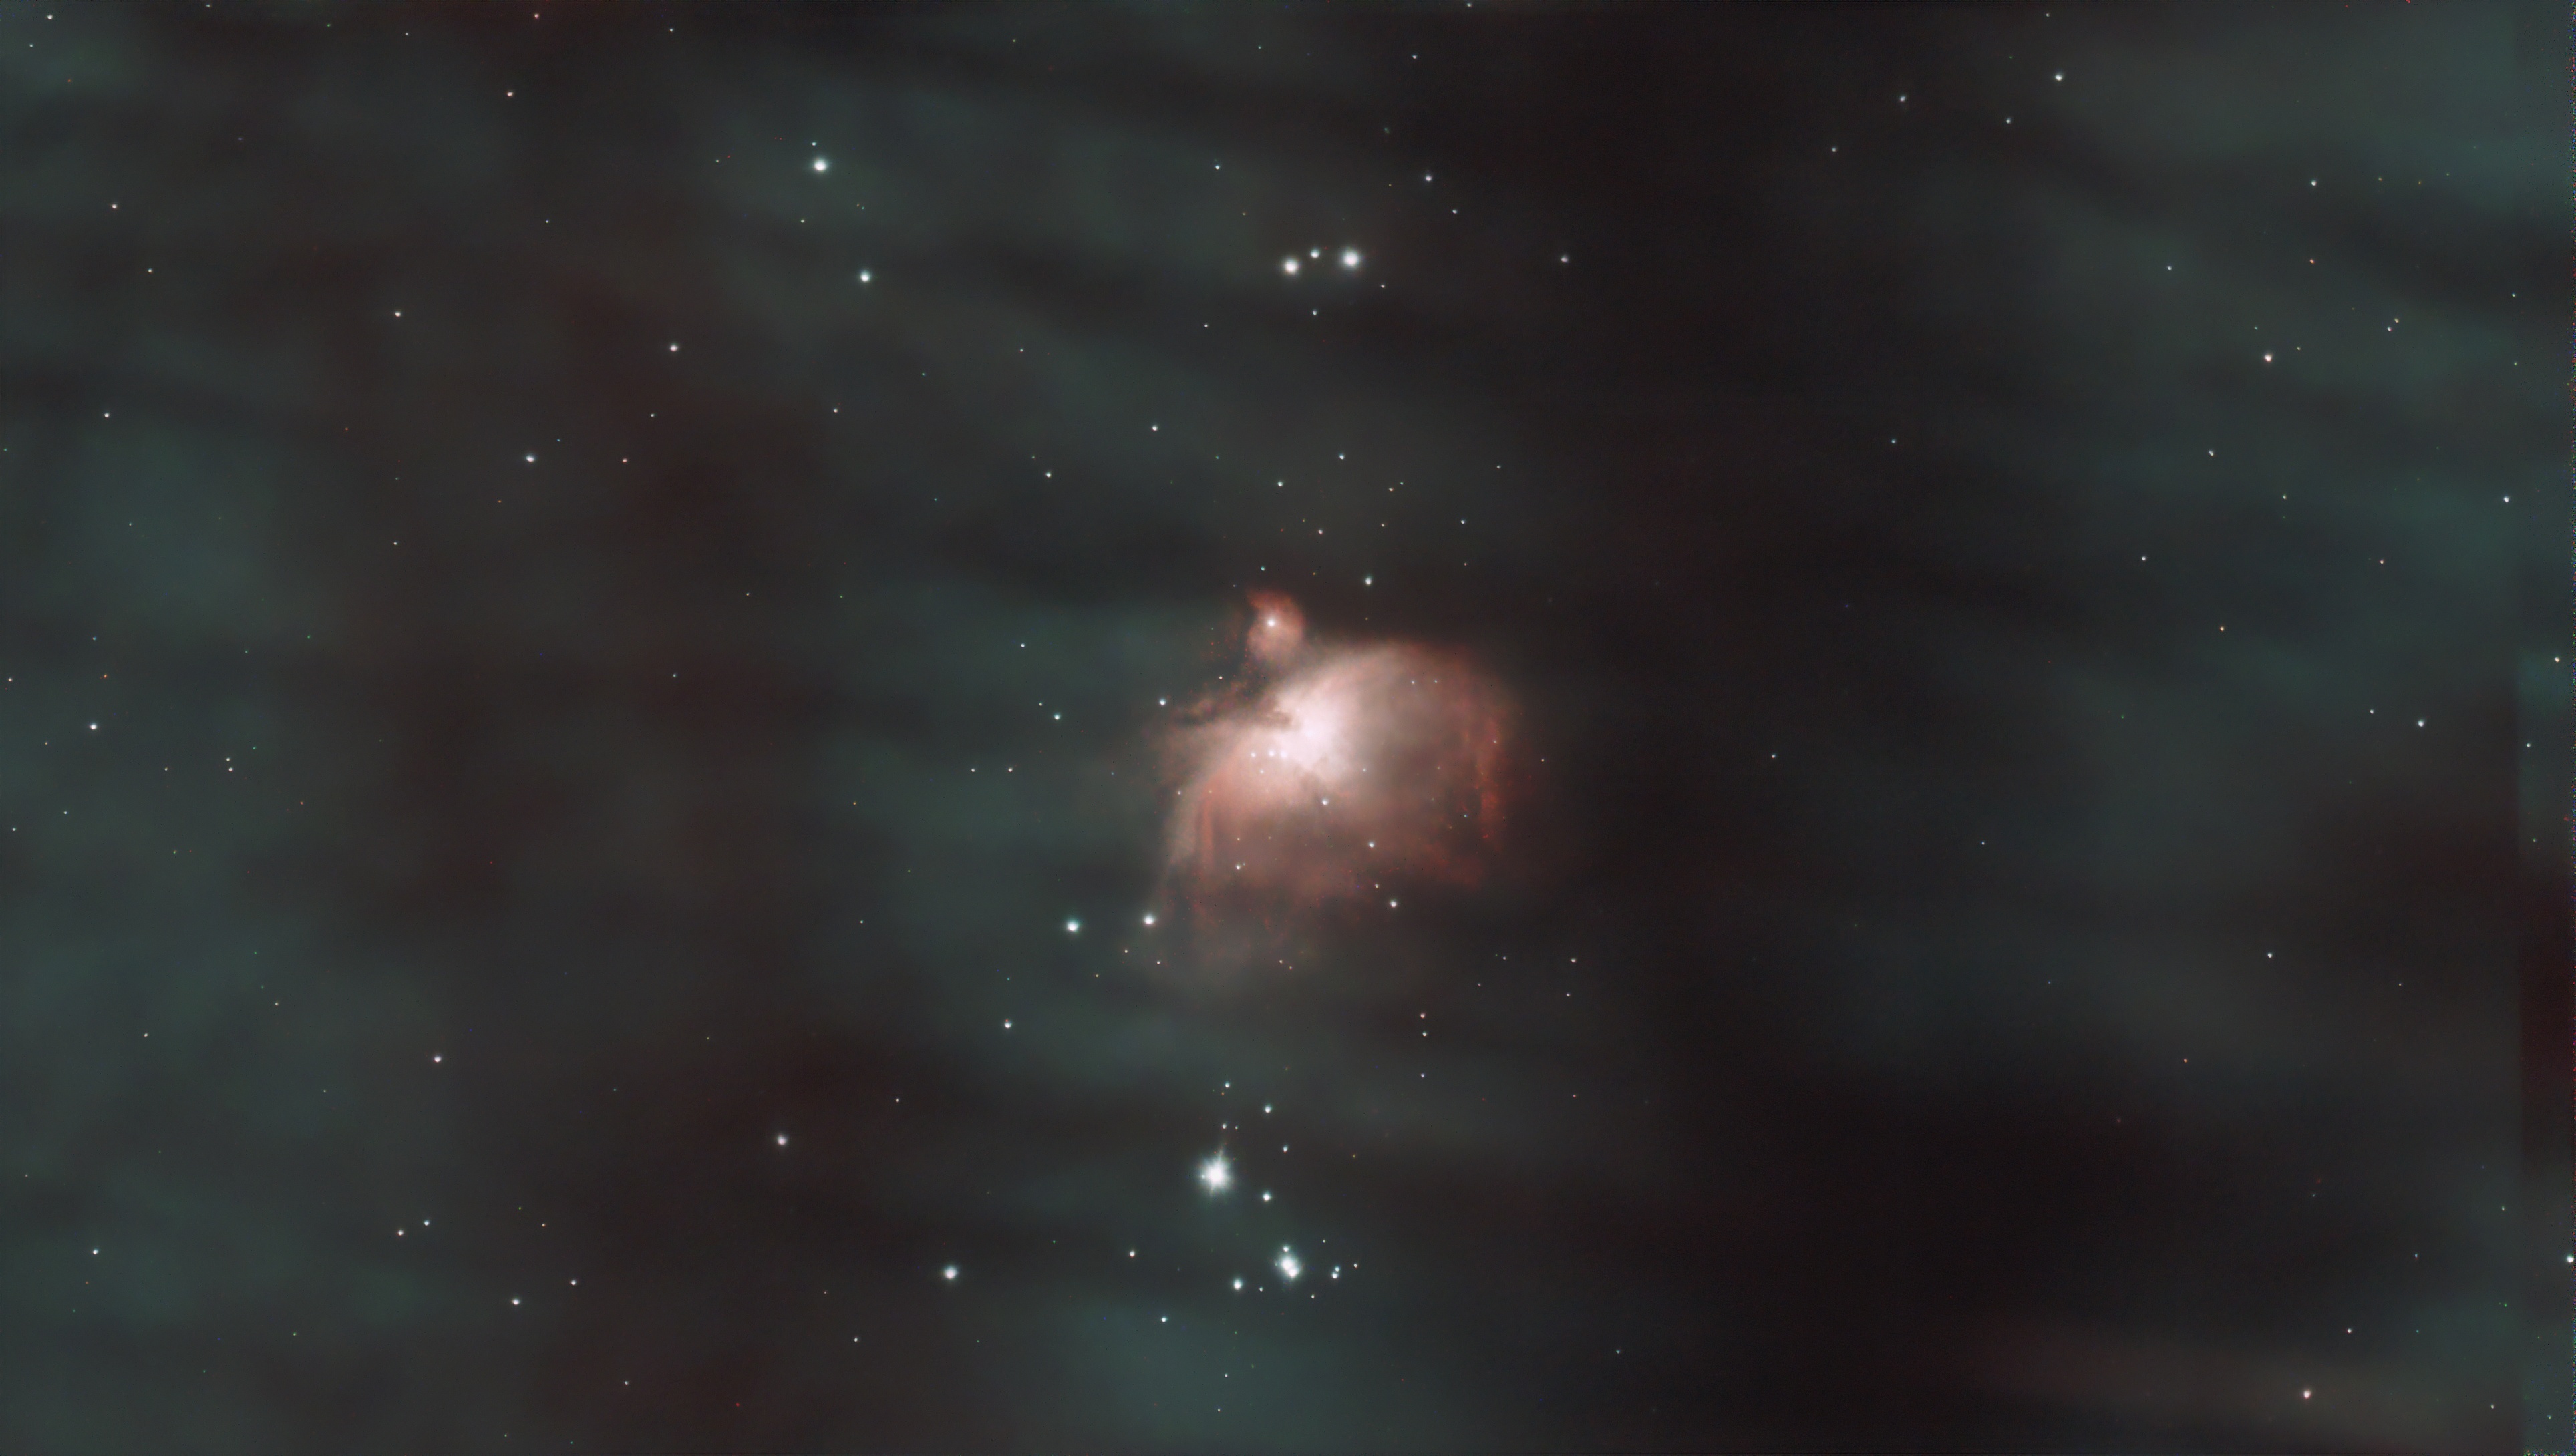
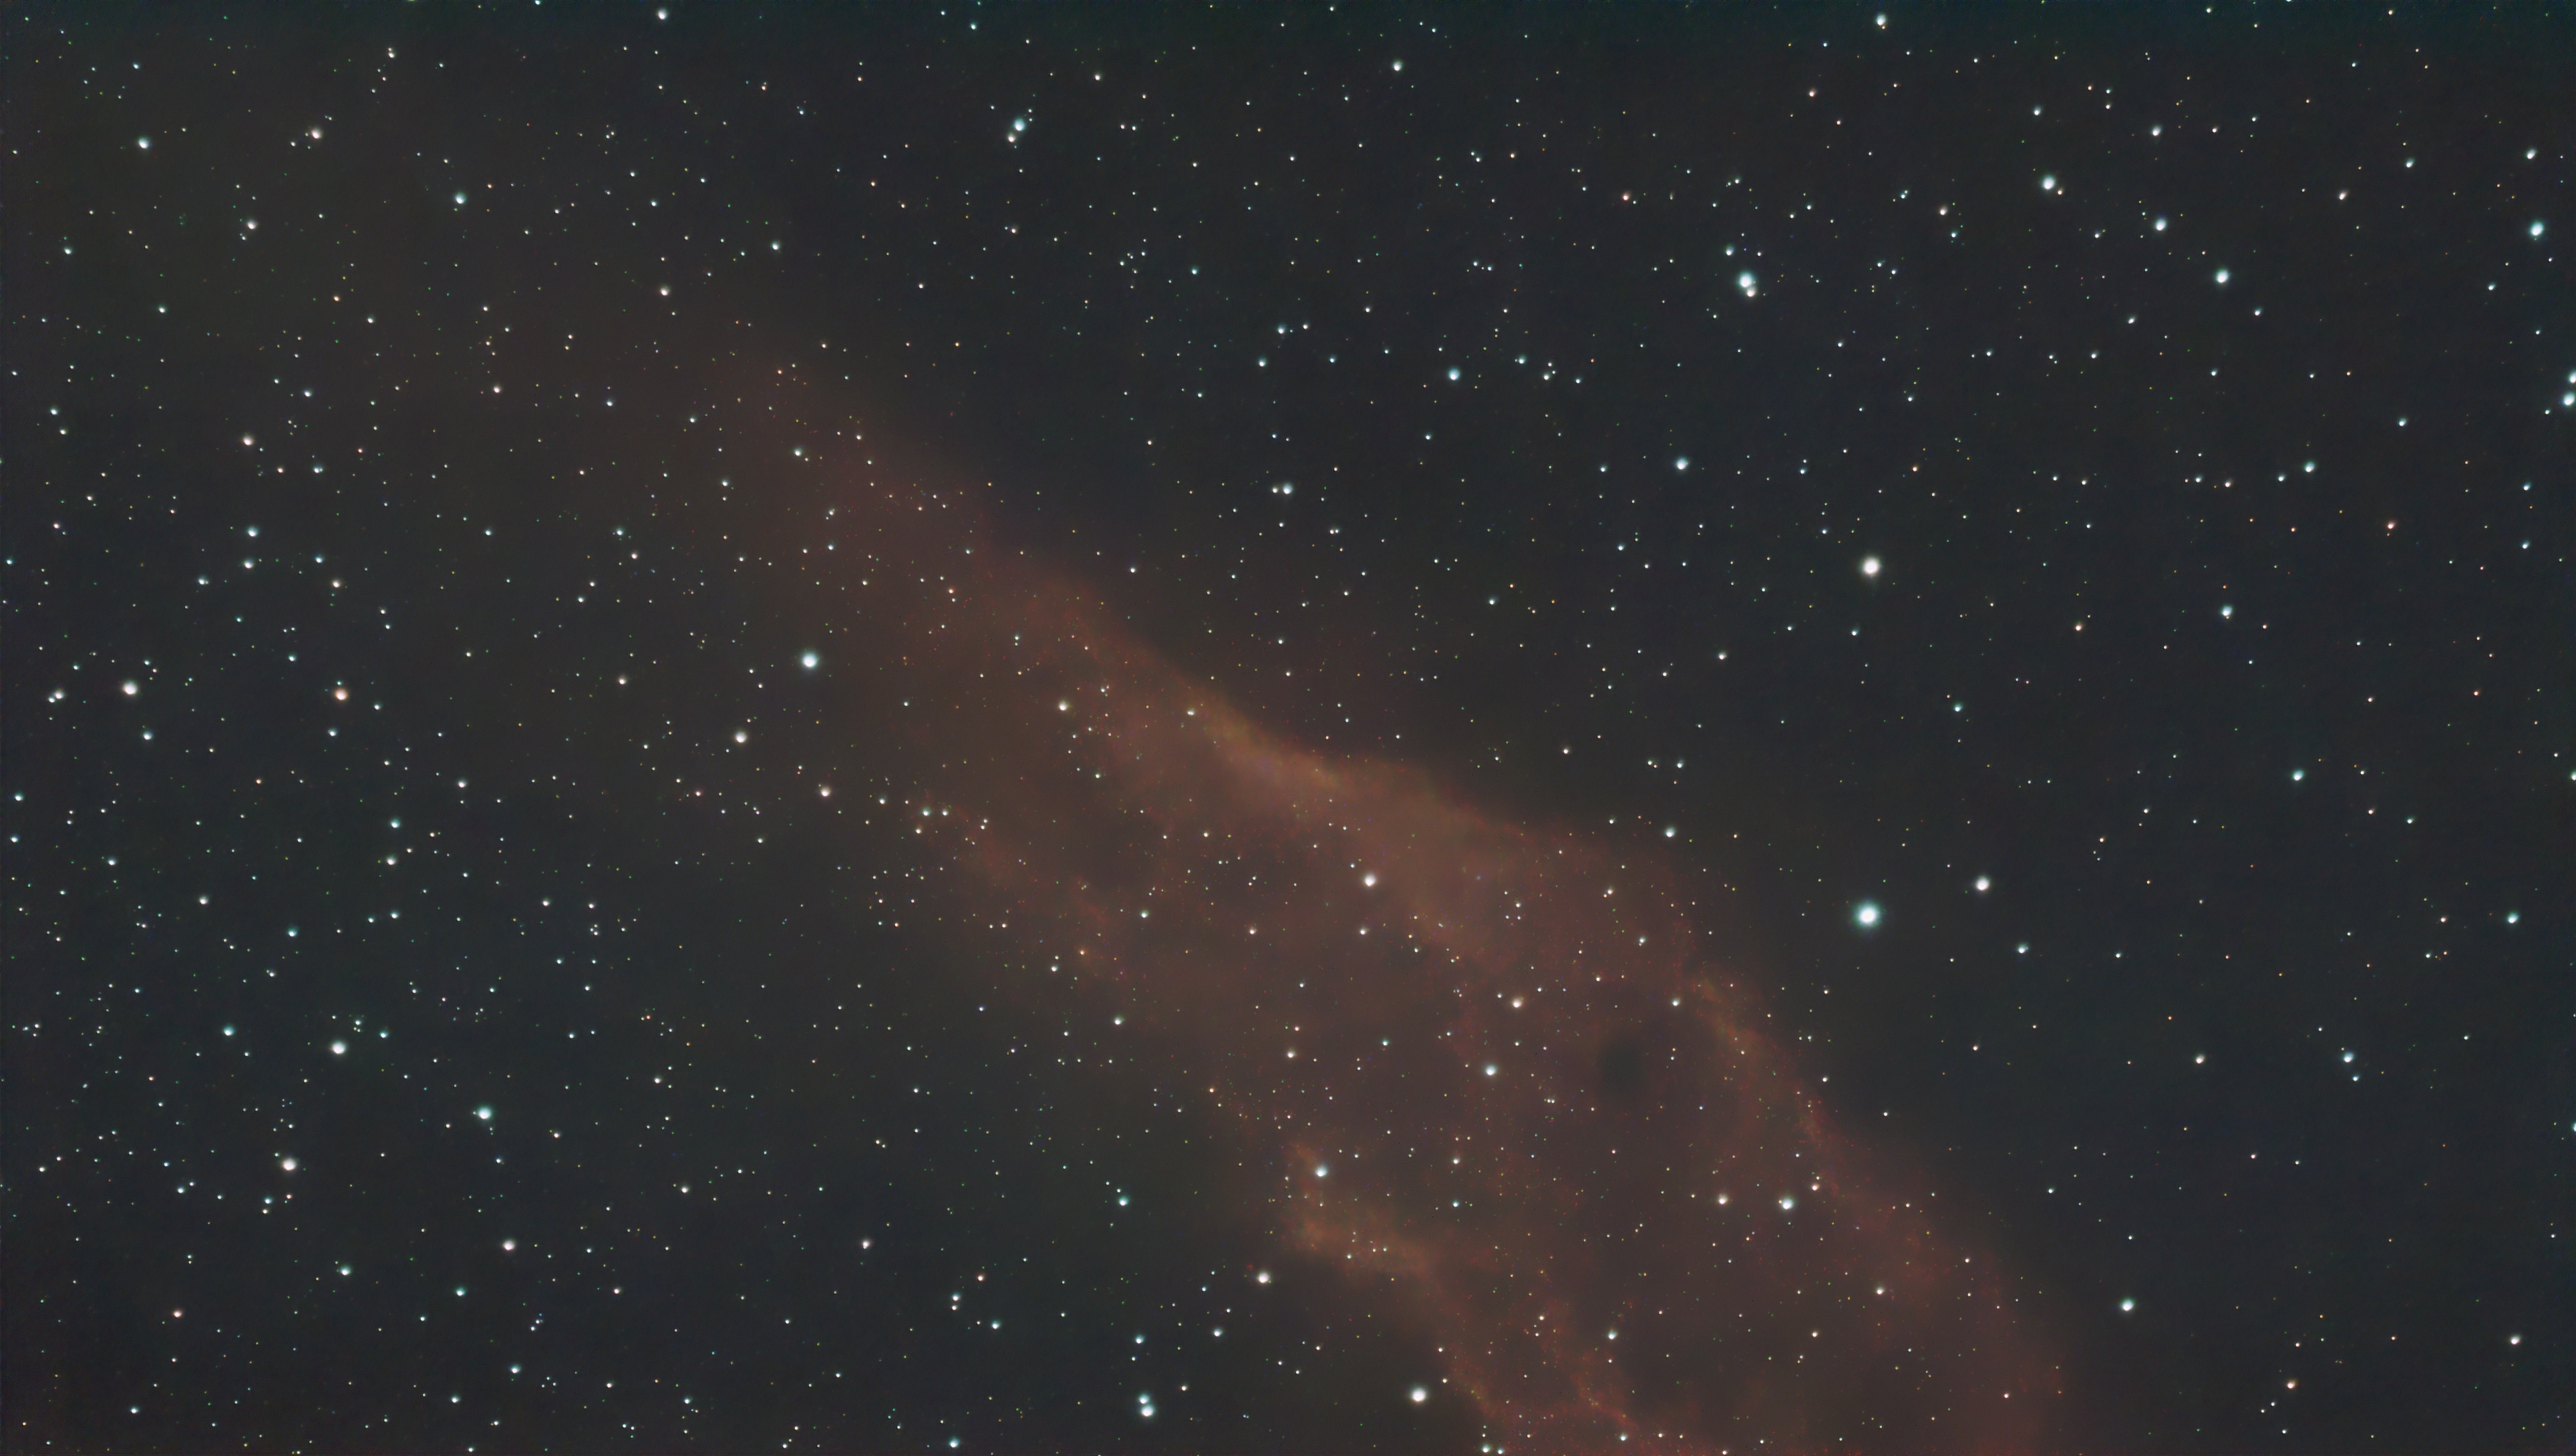
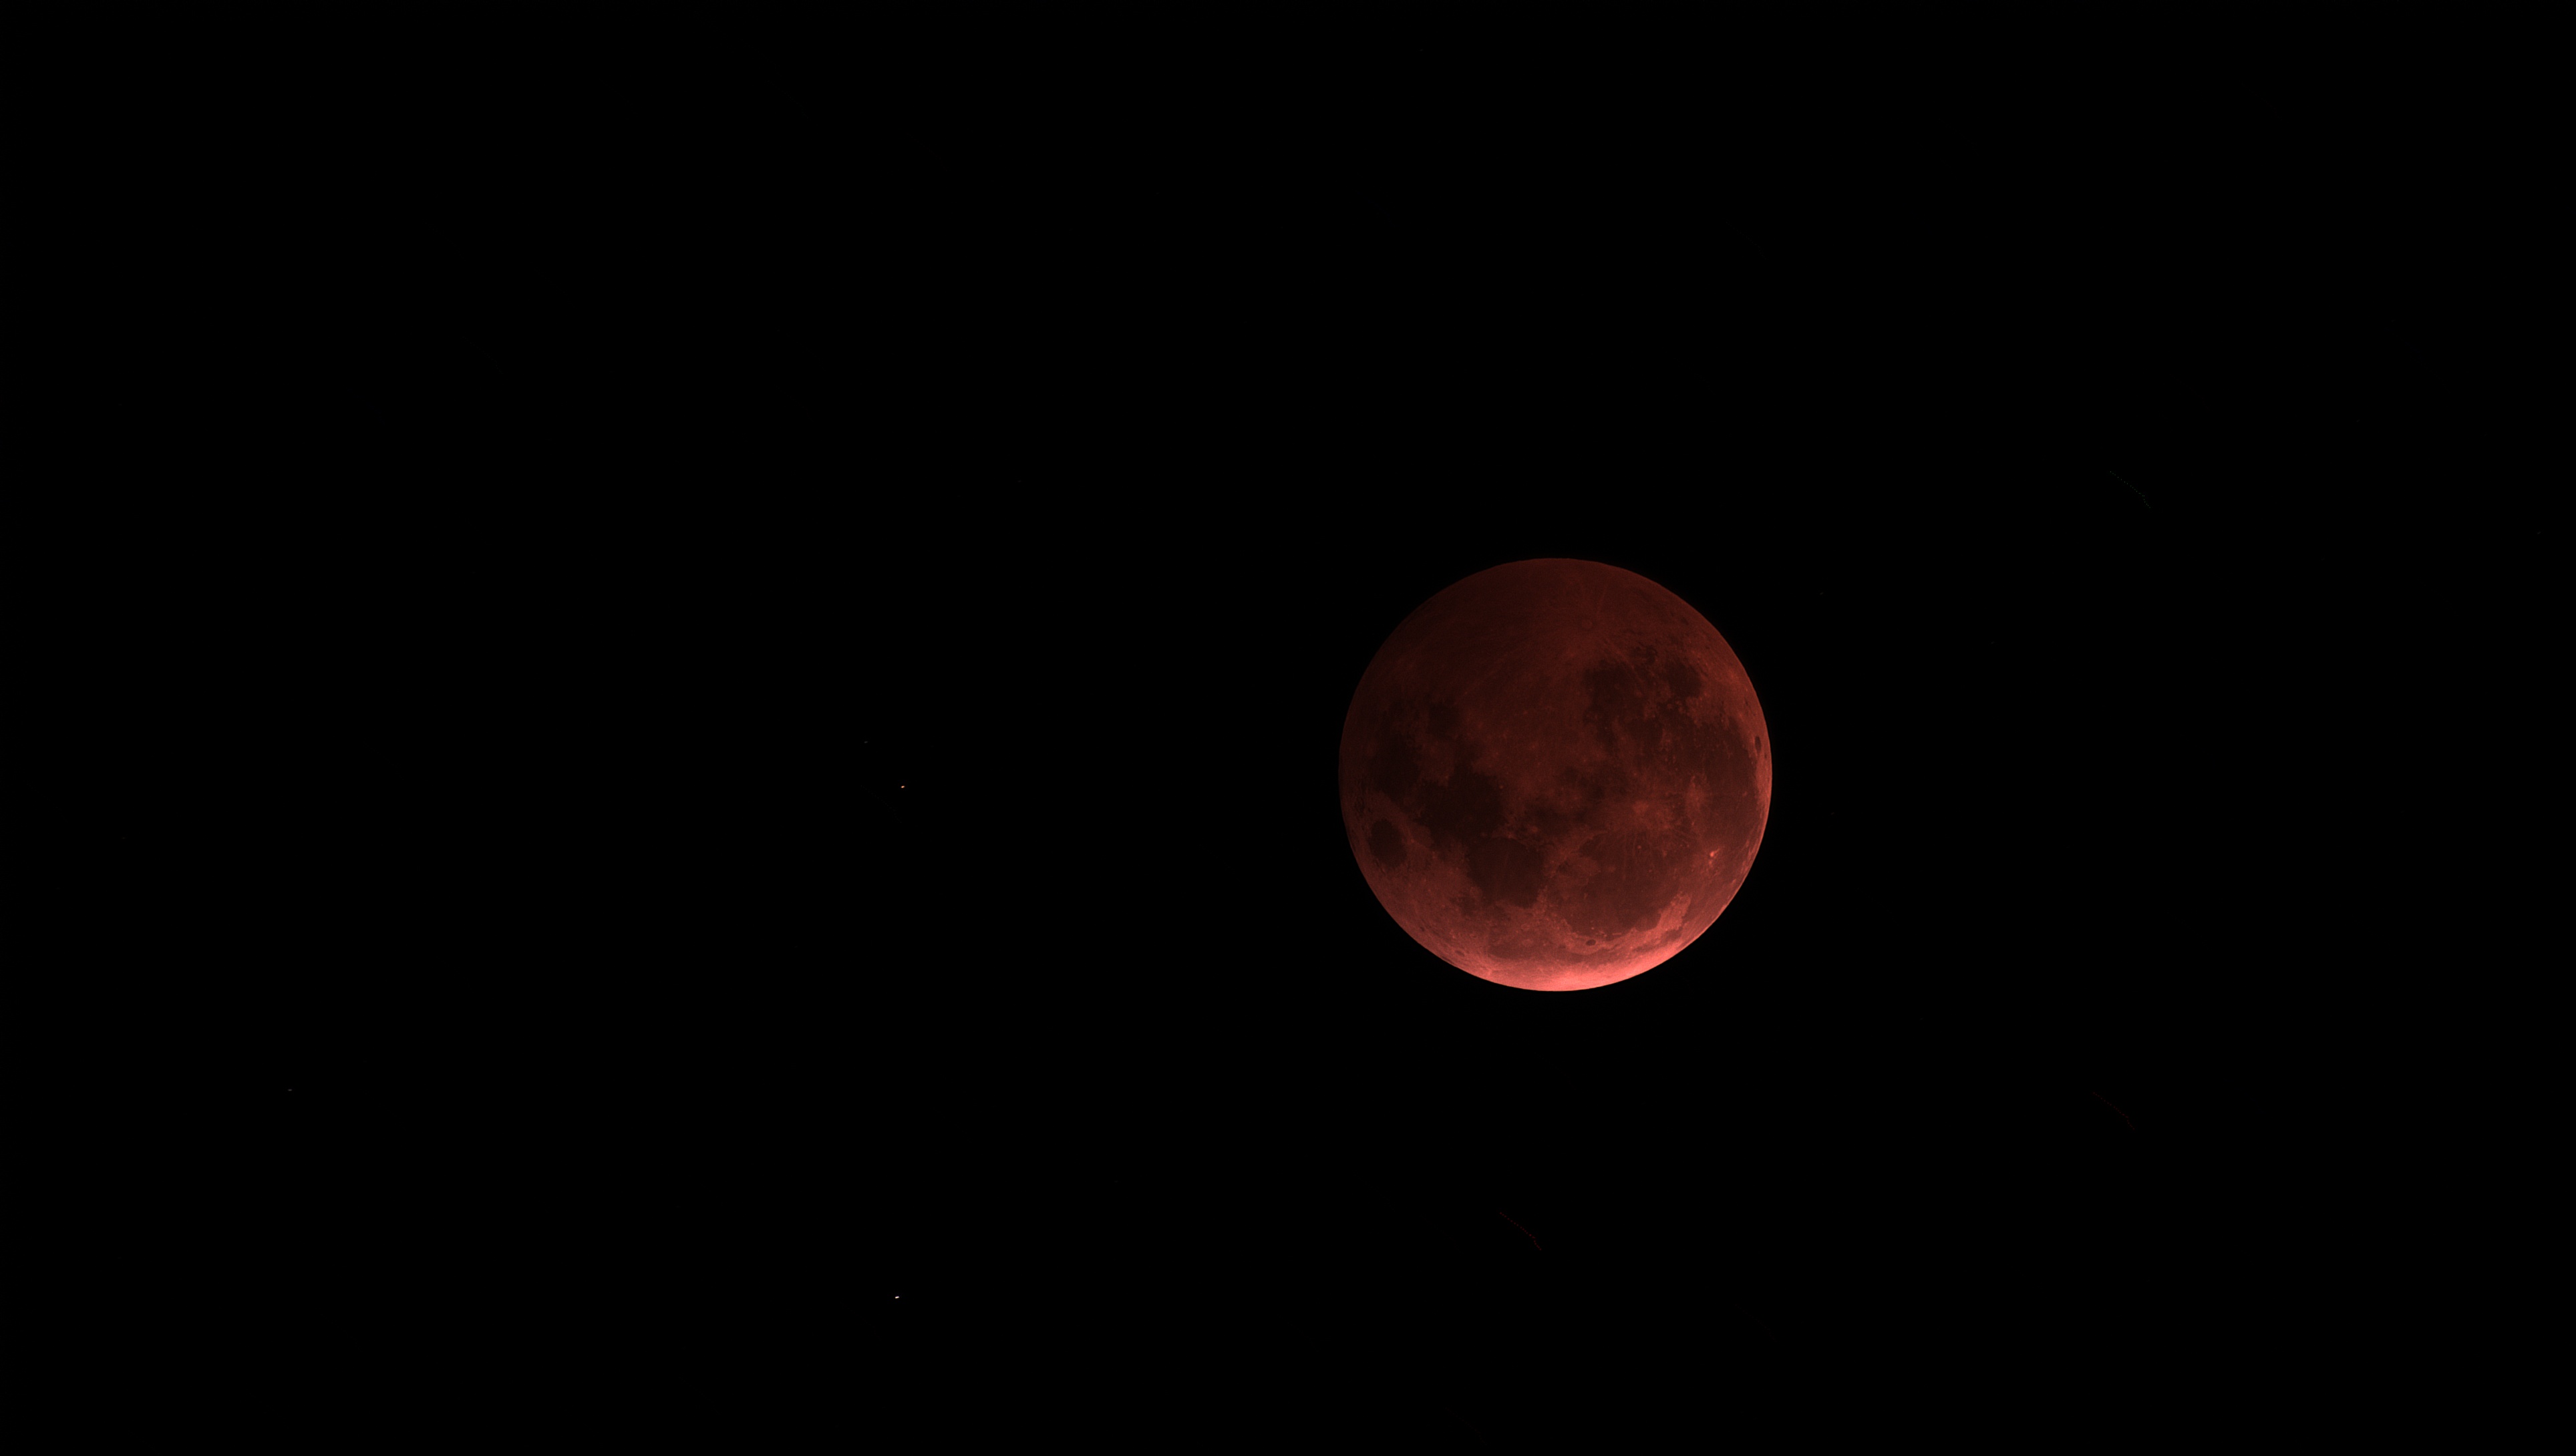
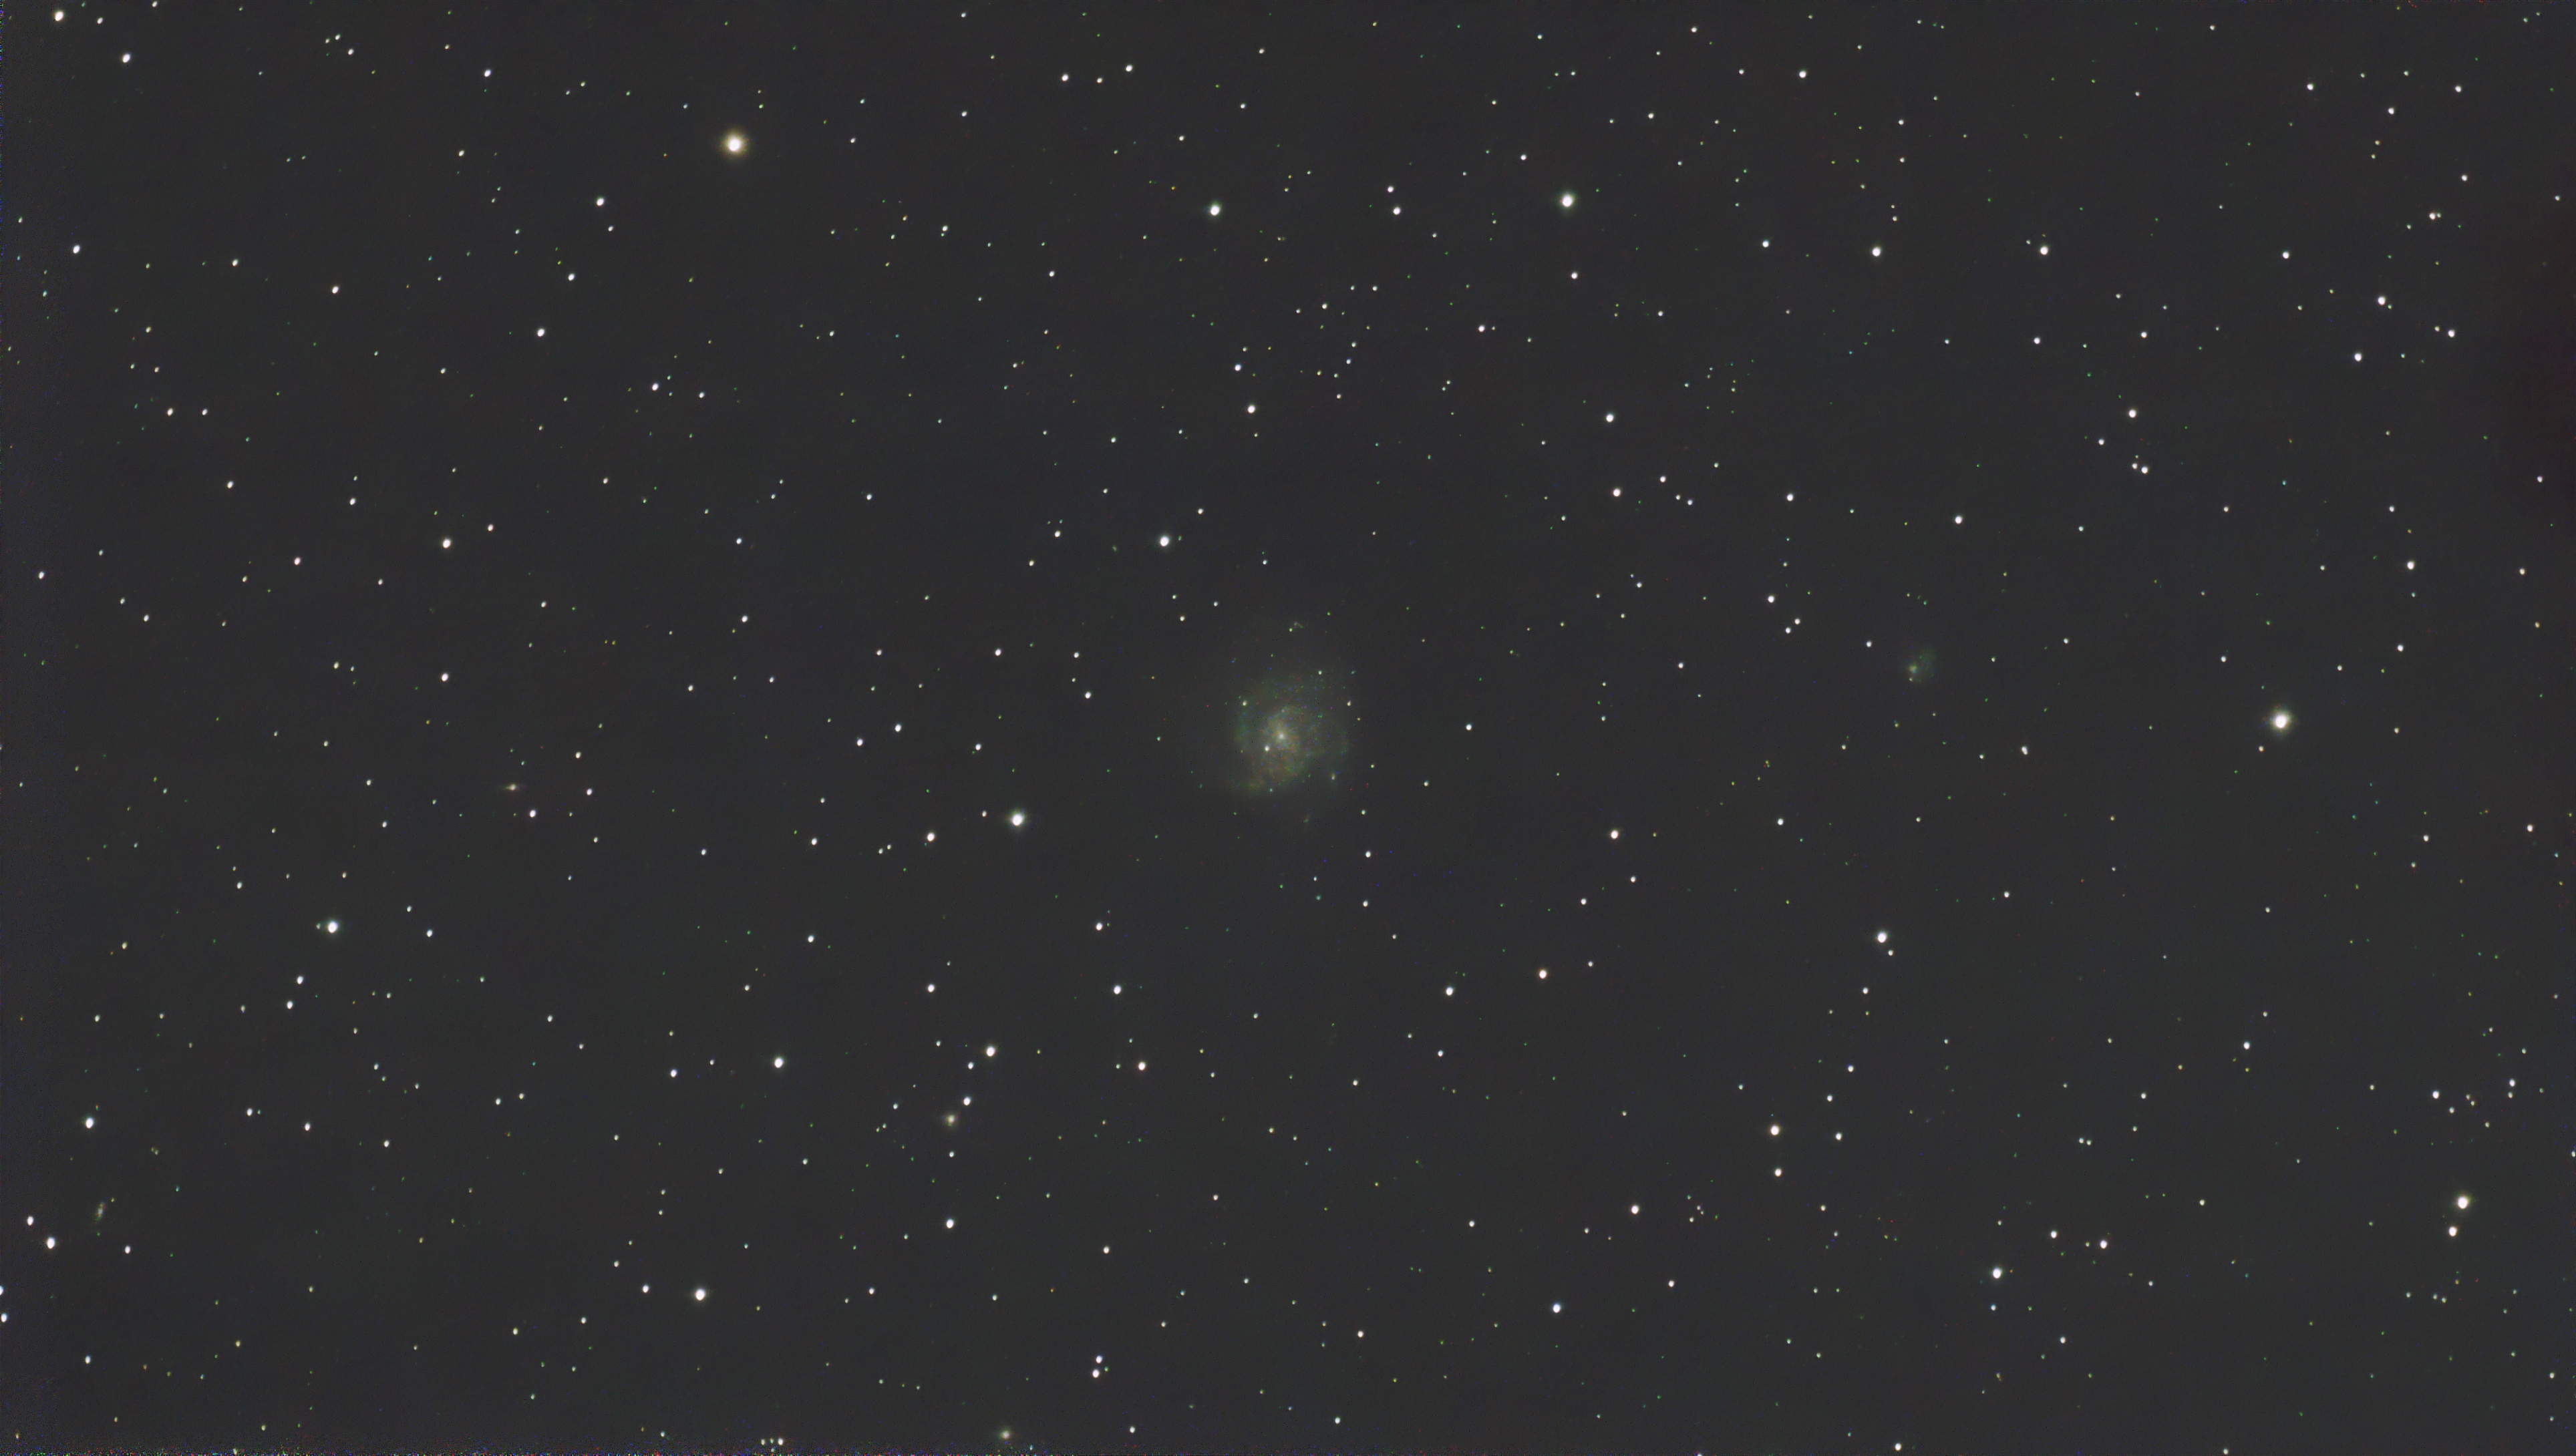

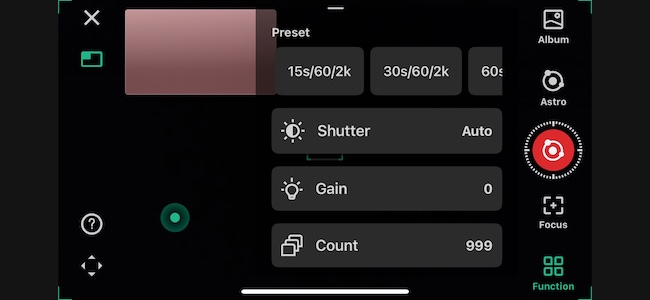
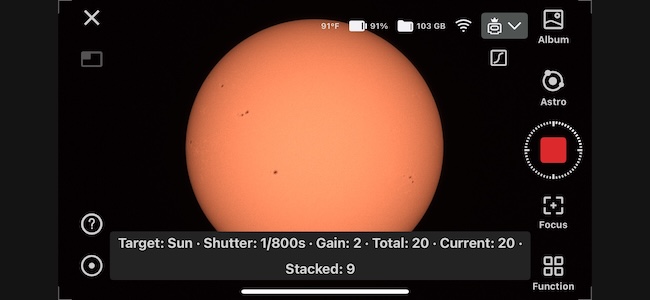
My best images are of the sun and moon. I didn’t zoom in enough for the other images. Please be kind because I’m still learning to use the telescope to dial in all the various settings, like gain, shutter speed, and number of stacked images. The weather here hasn’t been the best for astrophotography, but I hope to update/add more images to this review as time goes by and as I get better at this new hobby.
Final thoughts
I really have enjoyed testing the DwarfLab DWARF 3 smart telescope. It hasn’t been without challenges, though. The weather has been a challenge since it’s been so cold here, and then when we had some warmer nights, it was too cloudy.
But the biggest issue that I had was figuring out how to get my first images. DwarfLab’s site doesn’t offer a set of basic how-to videos, which it really needs to help new users get up to speed. Without basic instruction, using the DWARF 3 becomes frustrating. I was close to asking another one of my writers if they wanted to review it because I felt like I was in over my head. But I didn’t give up and read the LONG manual from start to finish, and then I found some great videos to show me what I needed from other creators on YouTube. I think anyone with an interest in astrophotography would love the DWARF 3 telescope.
What I like about DwarfLab DWARF 3 smart telescope
- Captures surprisingly good images
- Ultra portable
- Fun and relatively easy to use once you get the hang of the app
- Great for learning about celestial objects
- A fun way to get outside and start a new hobby
What needs to be improved?
- There needs to be a set of tutorial videos to help newbies get their first shots
- The app can be a challenge to understand without reading the huge online manual
Price: $599.00
Where to buy: DwarfLab and B&H Photo
Source: The sample for this review was provided by DwarfLab. DwarfLab did not have a final say on the review and did not preview the review before it was published.

ESR for MagSafe Wallet, 5 Card Holder with RFID Blocking, MagSafe Sticker Included, Slim Magnetic Wallet for iPhone 17e/17/16/15/14/13/12 Series and Selected Samsung Devices, Not for 13/12 Mini, Black
(as of March 21, 2026 14:09 GMT -05:00 - More infoProduct prices and availability are accurate as of the date/time indicated and are subject to change. Any price and availability information displayed on [relevant Amazon Site(s), as applicable] at the time of purchase will apply to the purchase of this product.)
Gadgeteer Comment Policy - Please read before commenting
This looks so fun! Creating a more portable and accessible way to stargaze is awesome.