REVIEW – Pardon me if I’m typing too fast. I’ve been testing the Gemilai G3005E Espresso Machine, and I may have had too many espressos! This unit is made for you to make your favorite coffee drinks at home with simple operation and reliable results. How does it hold up to the pressure test? To the review!
What is it?
The Gemilai G3005E is a home espresso machine and milk frother that enables you to make espressos, cappuccinos, lattes, and all the coffee things.
What’s included?
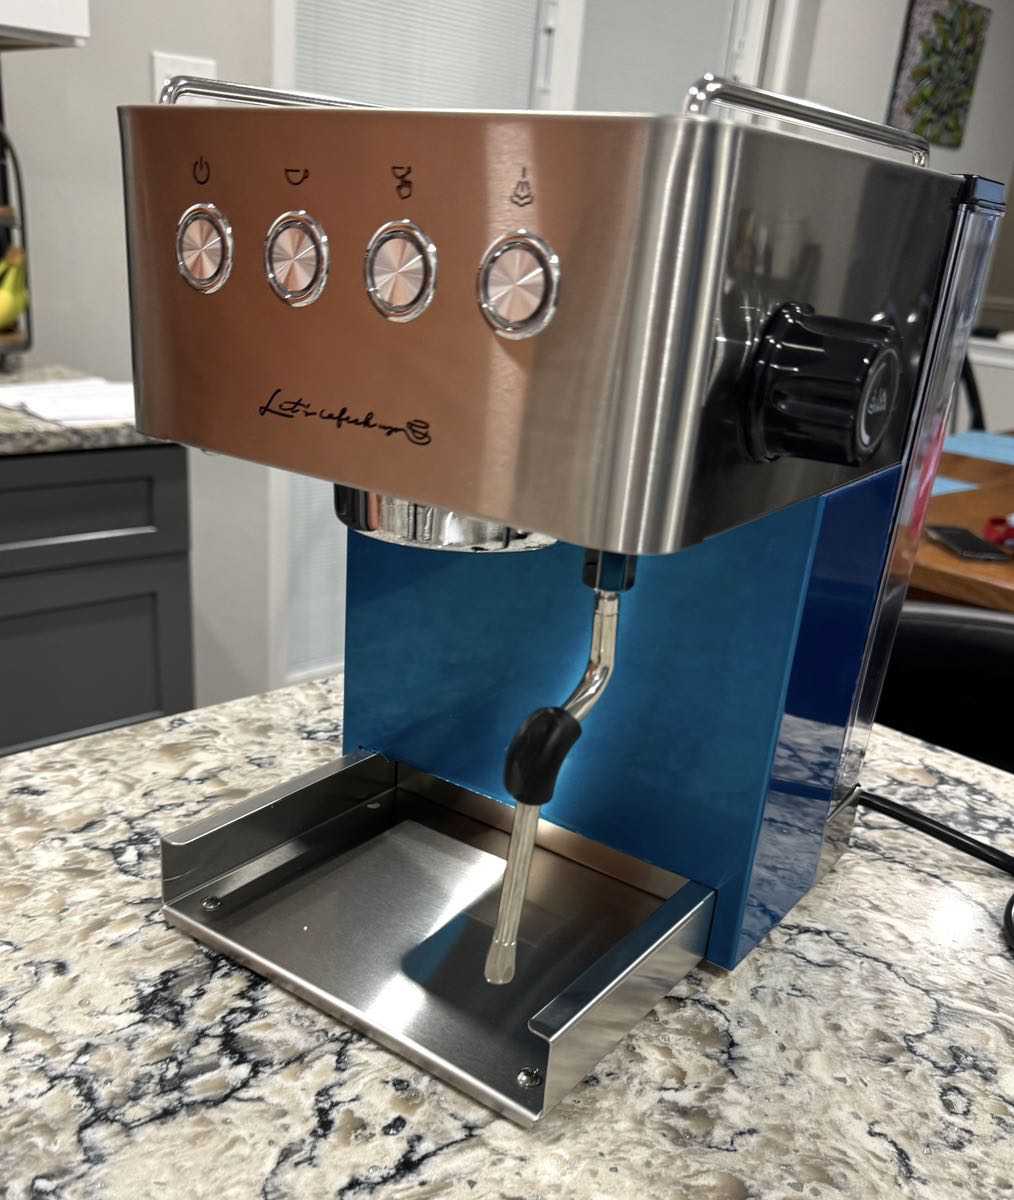
Your espresso maker comes with the main unit, shown here right out of the box. You’ll remove that blue protective film during assembly.
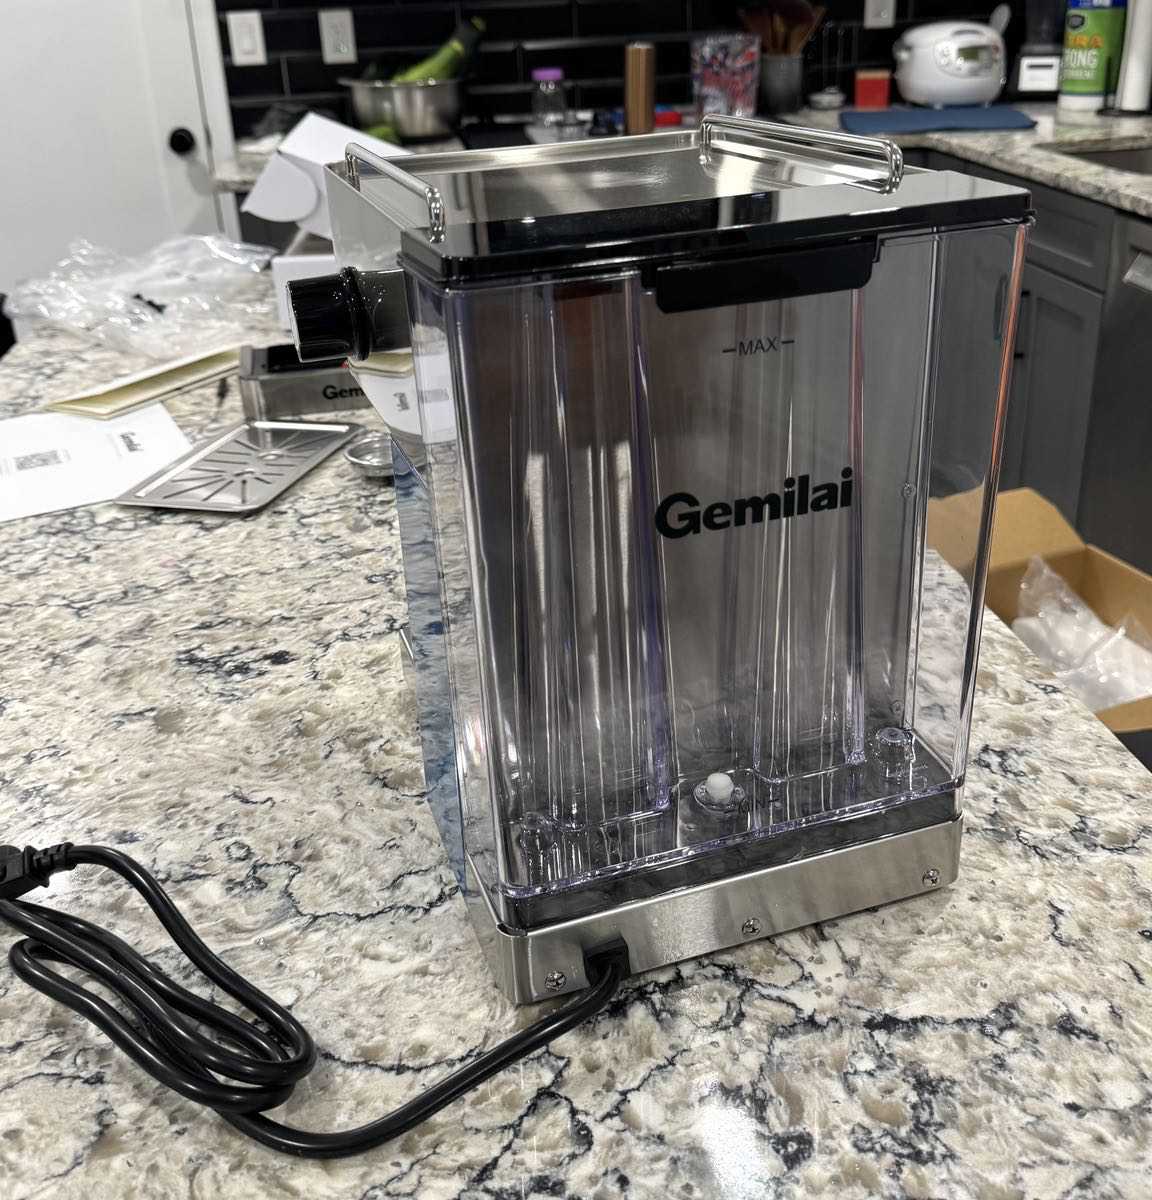
The removable water chamber sits on the back of the unit as shown below.
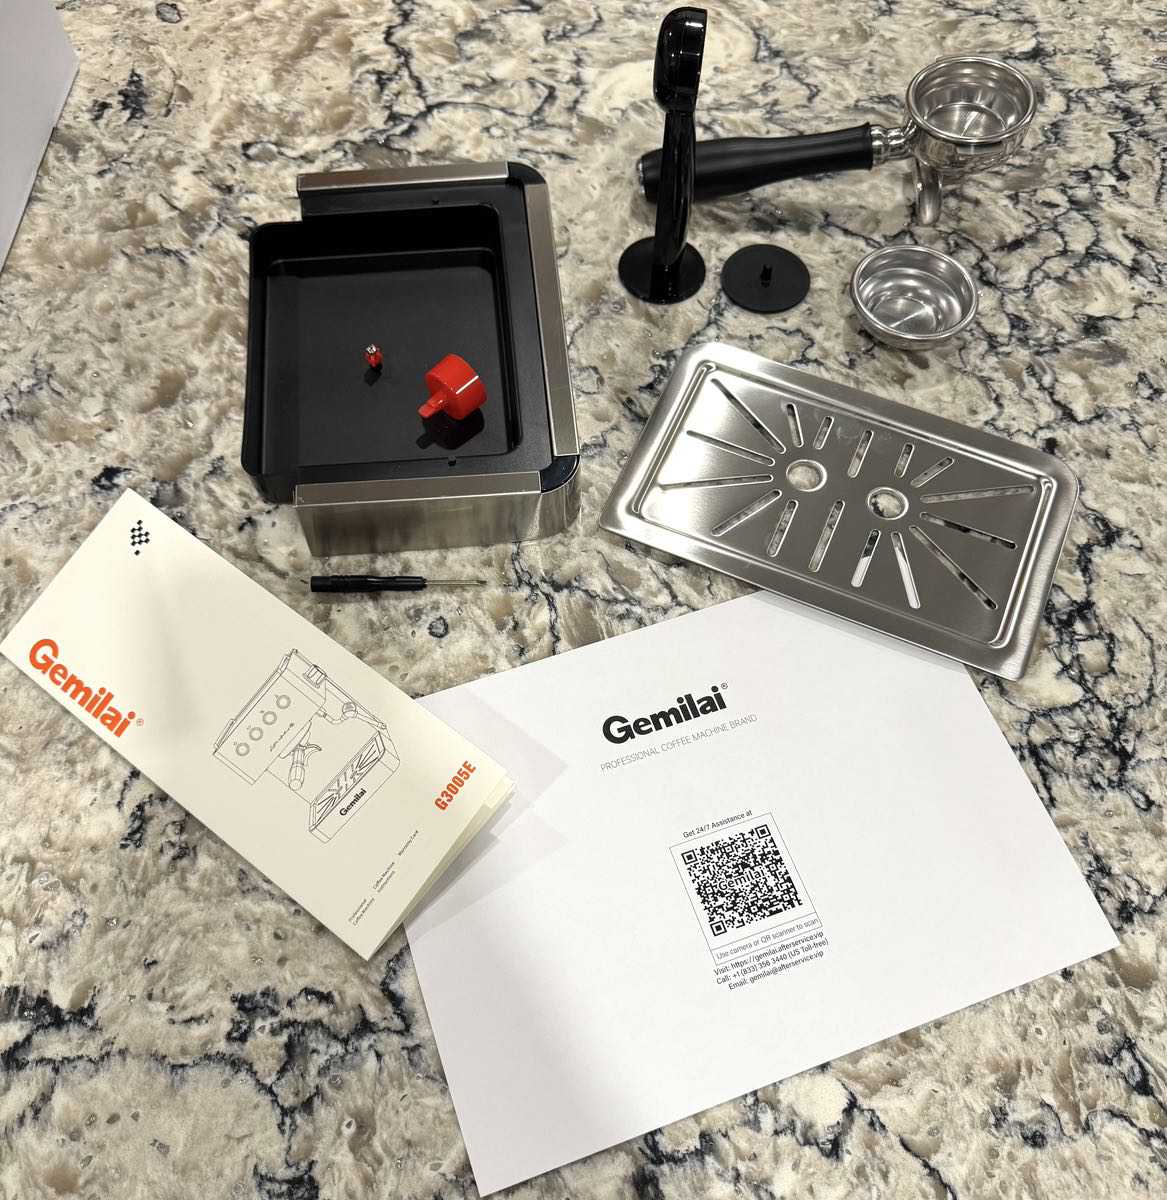
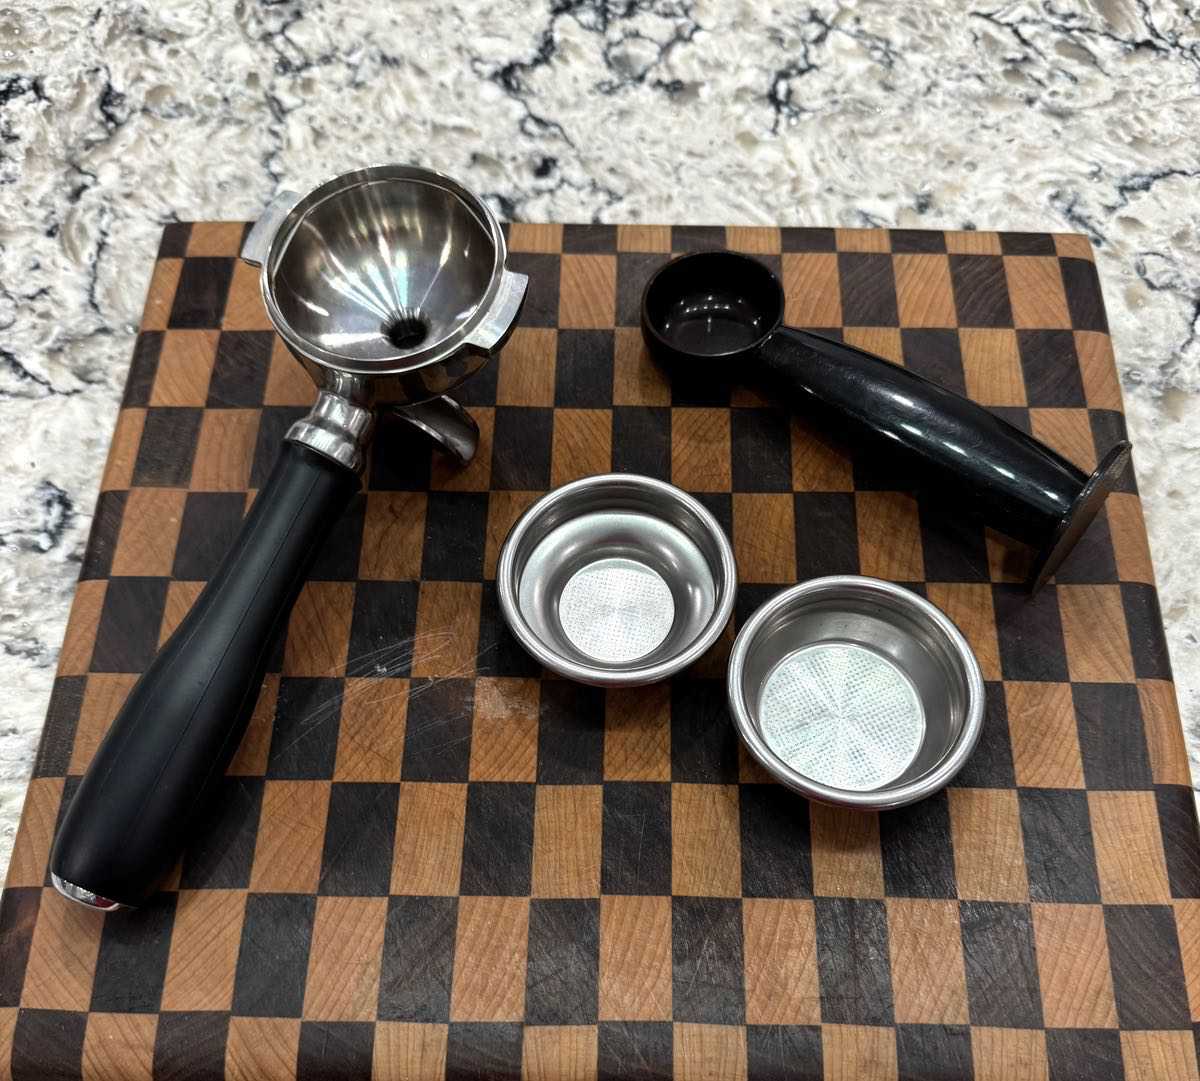
You’ll also get the drip tray components and all the accessories including a 58 mm portafilter (that’s the thing with the black handle that looks like an ice cream scoop), a combination coffee spoon and tamper, single and double espresso filter baskets, a screwdriver for maintenance, a cleaning pad, and your instruction guides.
Tech specs
Click to expand
Stainless Steel Body
Rated Voltage/Frequency: 120V/60Hz
Rated Power: 1500W
Machine Pump Pressure: 15Bar
Product Weight: 6.7kg
Water Tank Capacity: 1.7L / 57.5 oz
Product Dimensions: 29.0*25.5*32.5 cm / 11.4*10*12.8 inch
Design and features
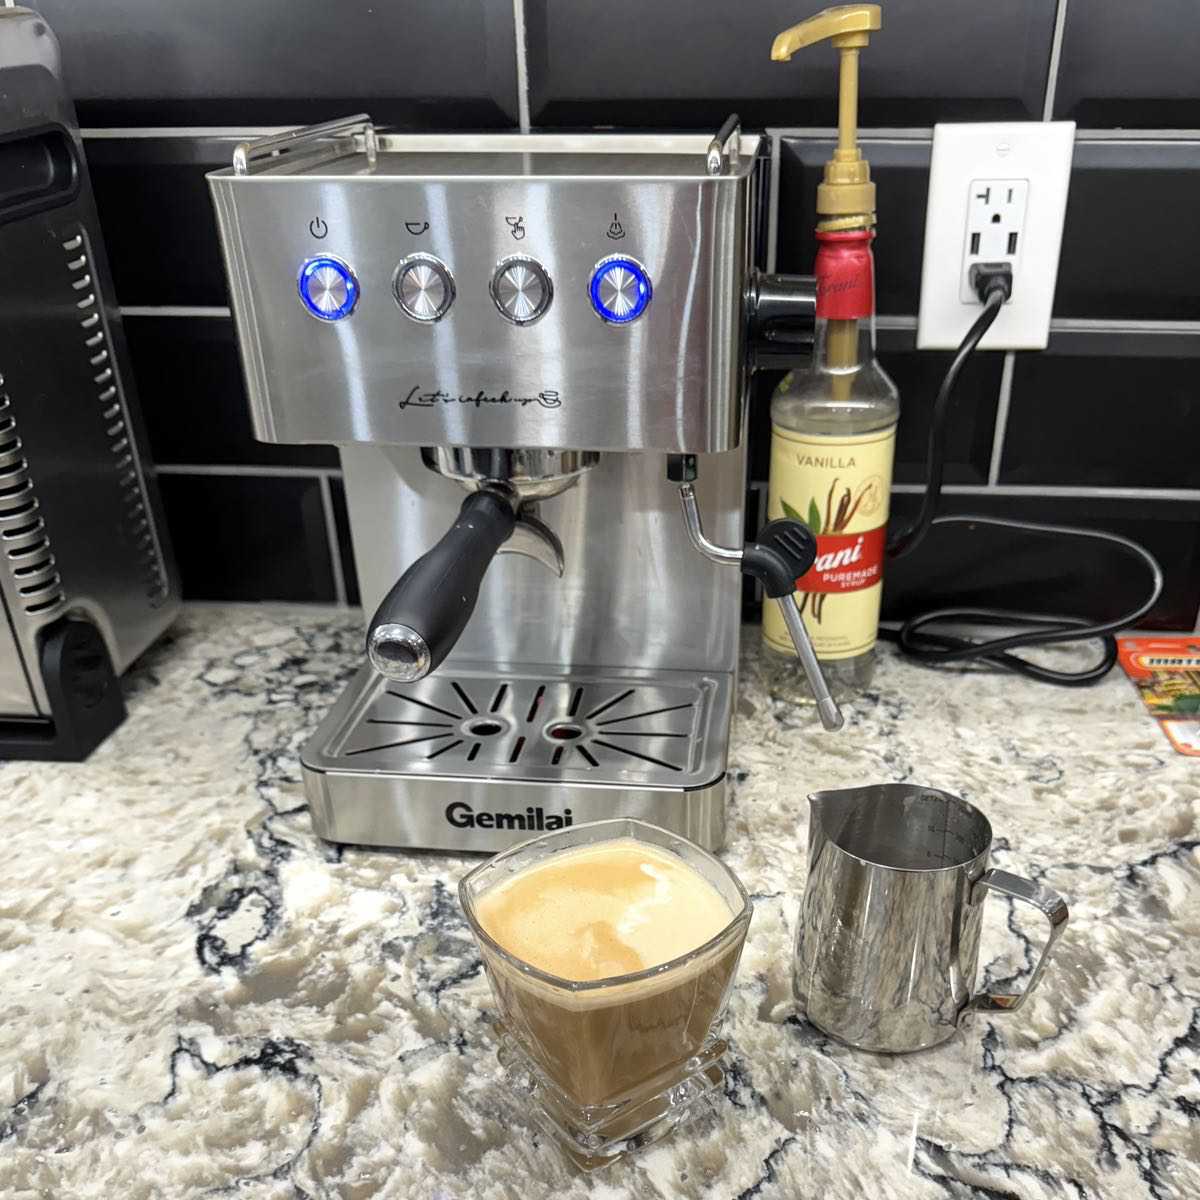
The Gemilai G3005E Espresso Machine is a beautiful unit, with a body made from stainless steel. It’s also got a surprisingly compact footprint at 11.4″ by 10″ by 12.8″.
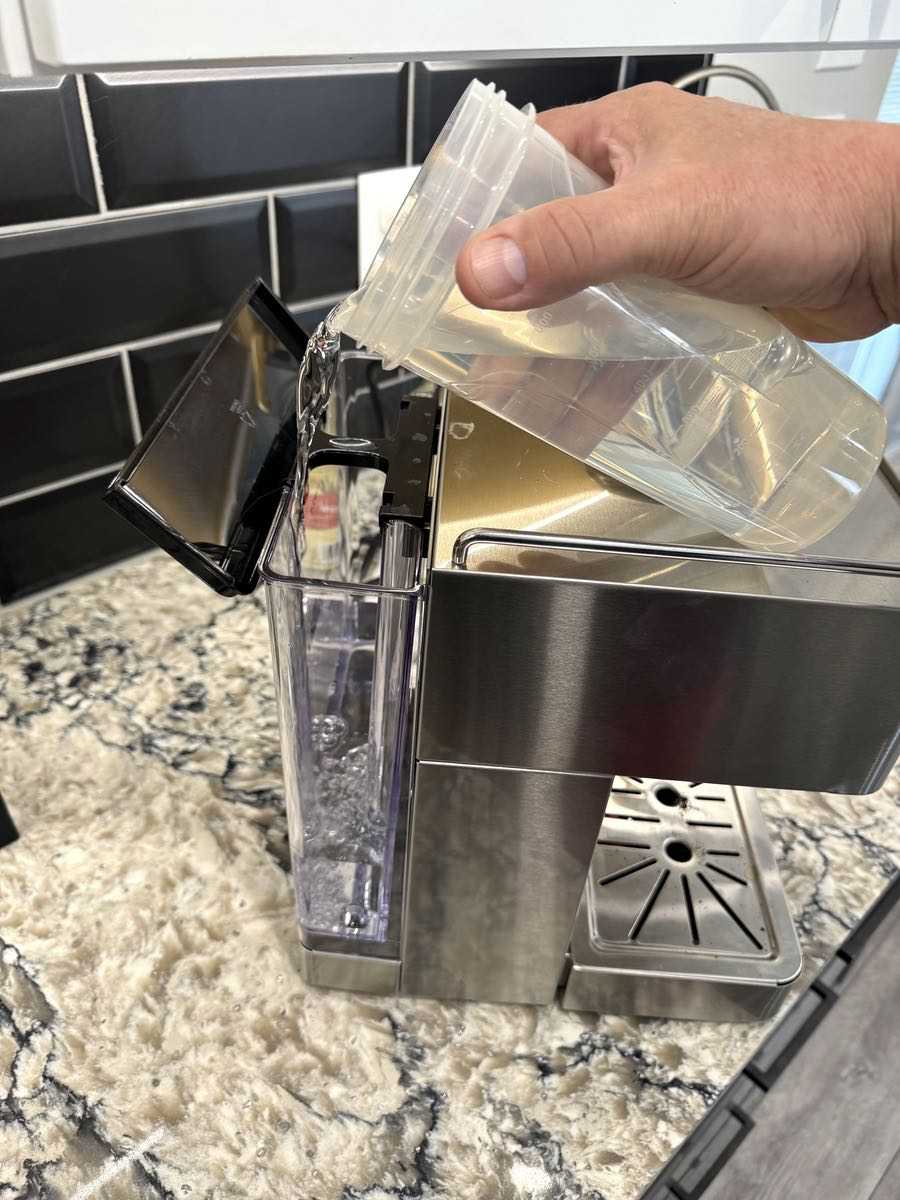
Prior to pulling your first cup you’ll need to assemble the parts & fill the water chamber that parks on the back side of the unit. You can remove it entirely to fill it or just open the lid and fill it while it’s in place. I have to slide the coffee maker out one way or the other based on how I have the unit set up in my kitchen.
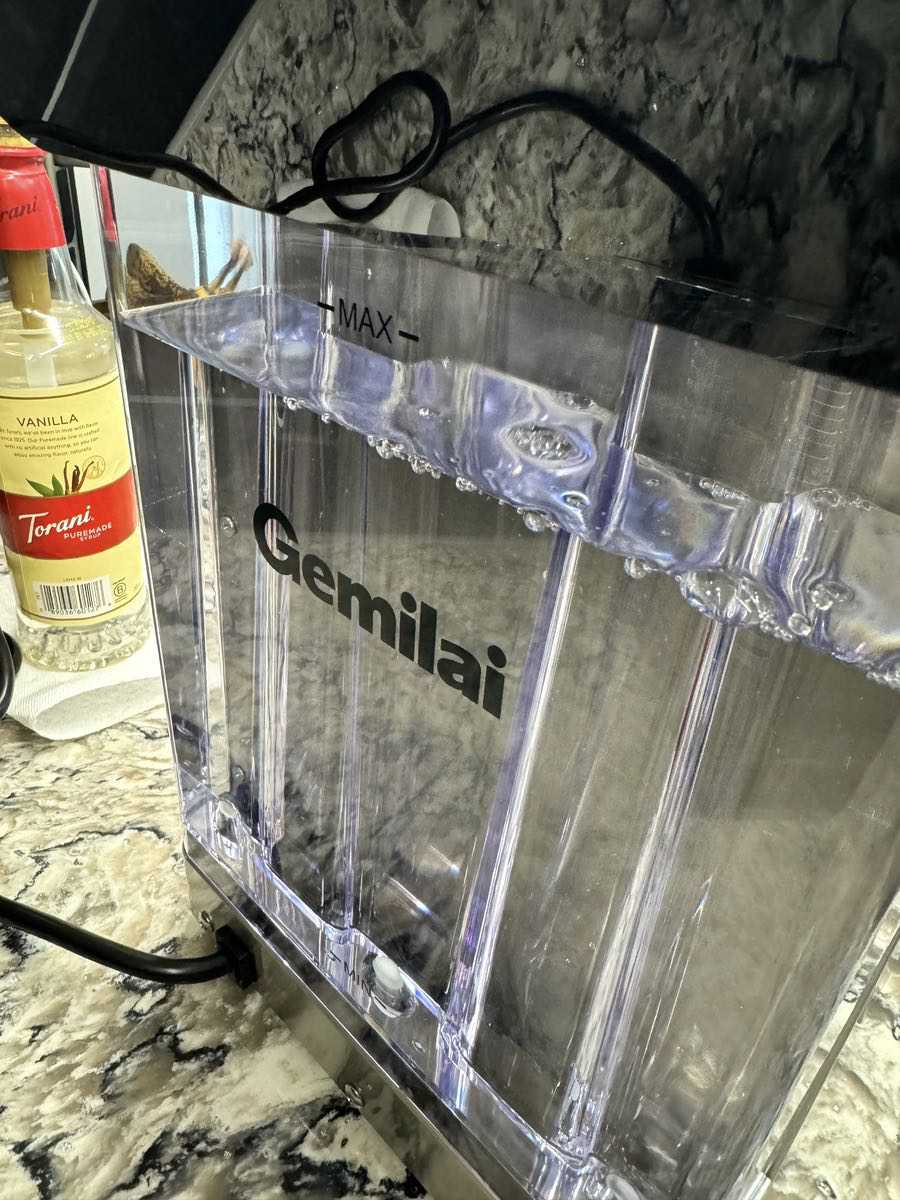
The good news is that you don’t have to fill it often with that 1.7 liter water chamber. There’s a clearly marked maximum fill line that’s visible from multiple angles. There is a filter on the intake, but make sure you use filtered water to start with!
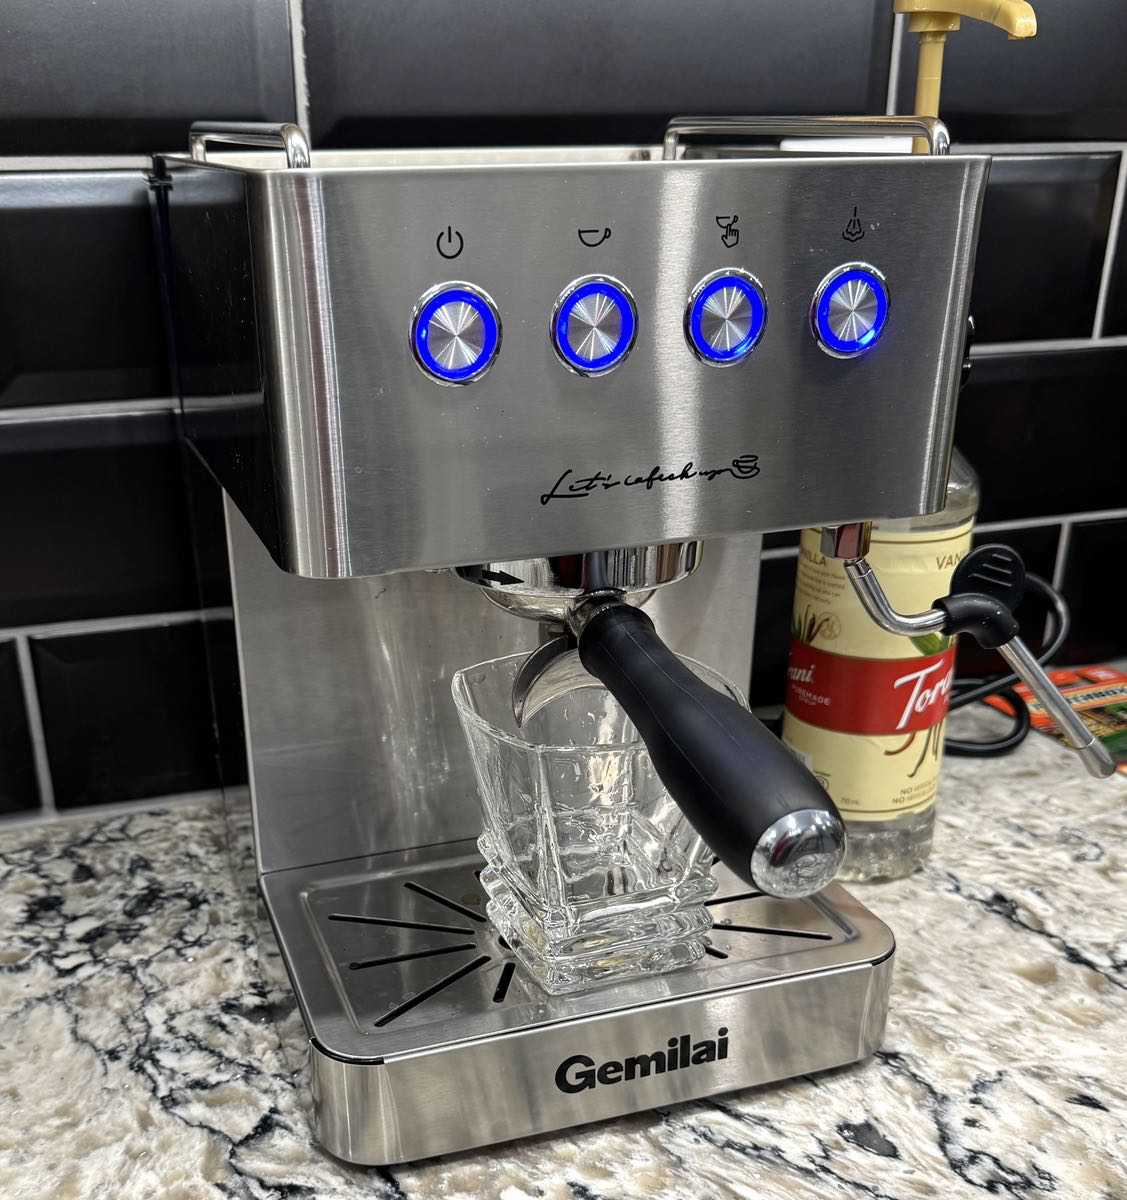
Gemilai designed this unit to be extremely simple to use. You have four buttons across the front of the unit, from left to right: Power, Automatic Coffee, Manual Coffee, and Steam. Turn on the power and the four buttons will blink repeatedly until the internal water temperature is hit, at which point the blue rings stop blinking to let you know you can get to work. If you were to leave the unit on, it will automatically shut off after 15 minutes.
While things are heating up (which takes about a 30 seconds if completely cold), we’ll start getting the coffee ready. You’ll need the portafilter, one of the filter baskets, and the combination spoon/tamper along with your preferred coffee grounds.
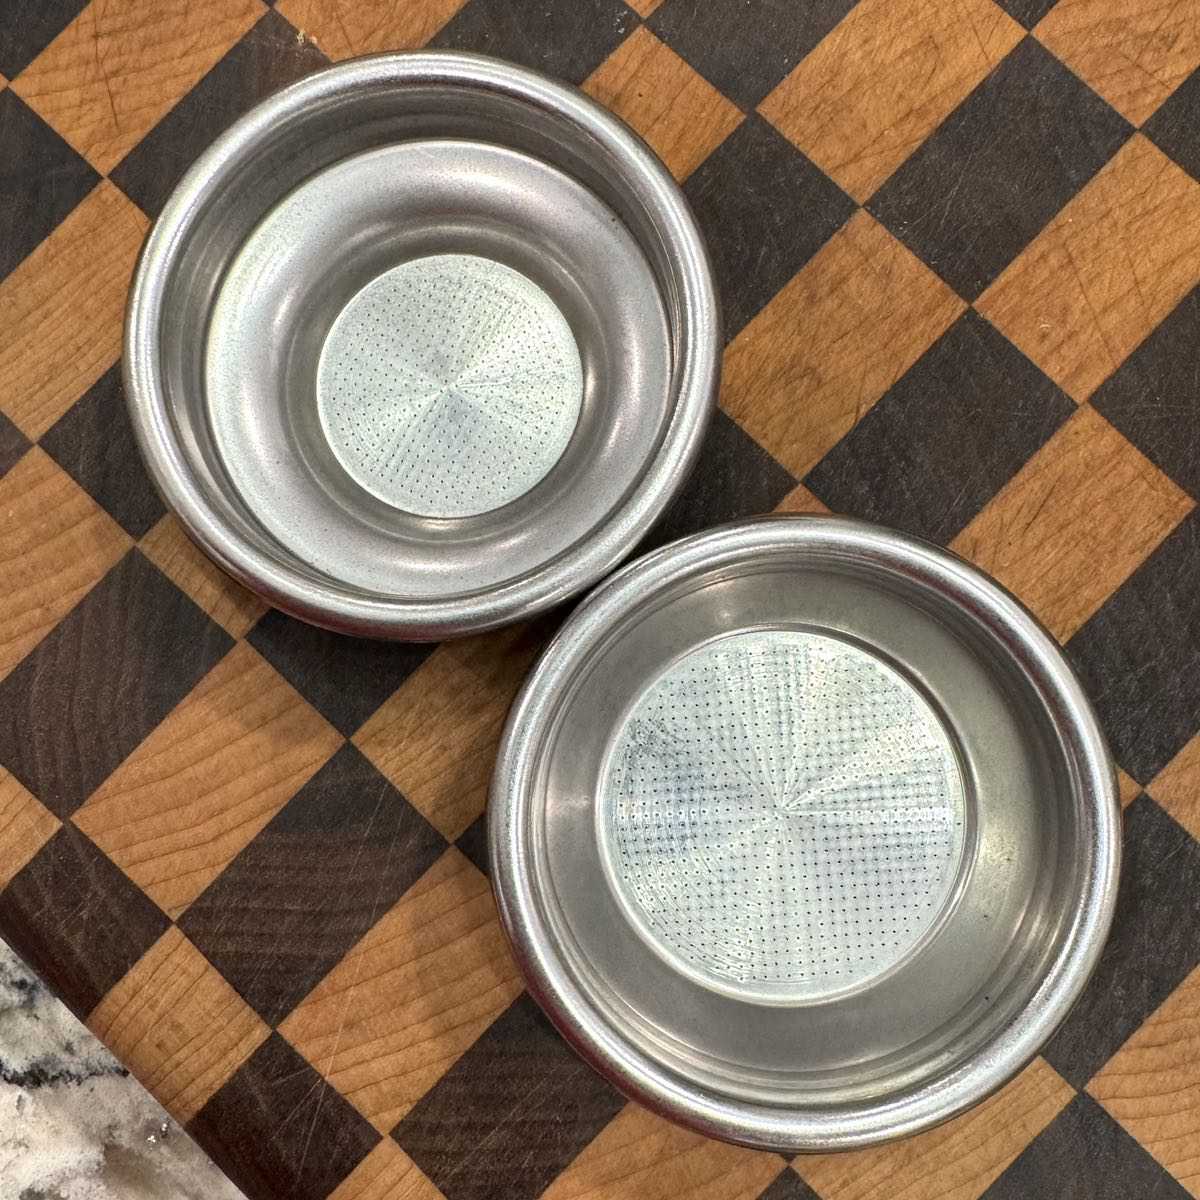
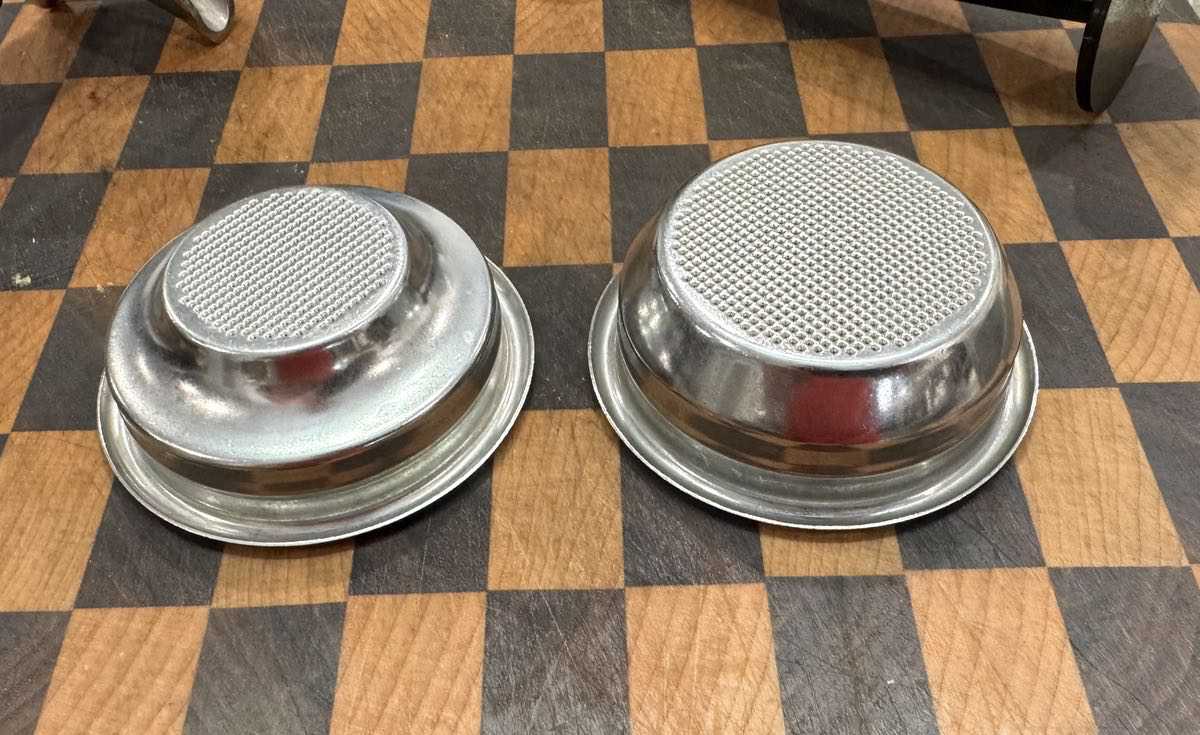
The basket filters come in two sizes. The single espresso basket filter (top left) holds about 9 grams of coffee, while the double espresso basket filter (lower right) holds about 18 grams. You can see in the pics below that the single filter has a smaller exit area, which concentrates the output.
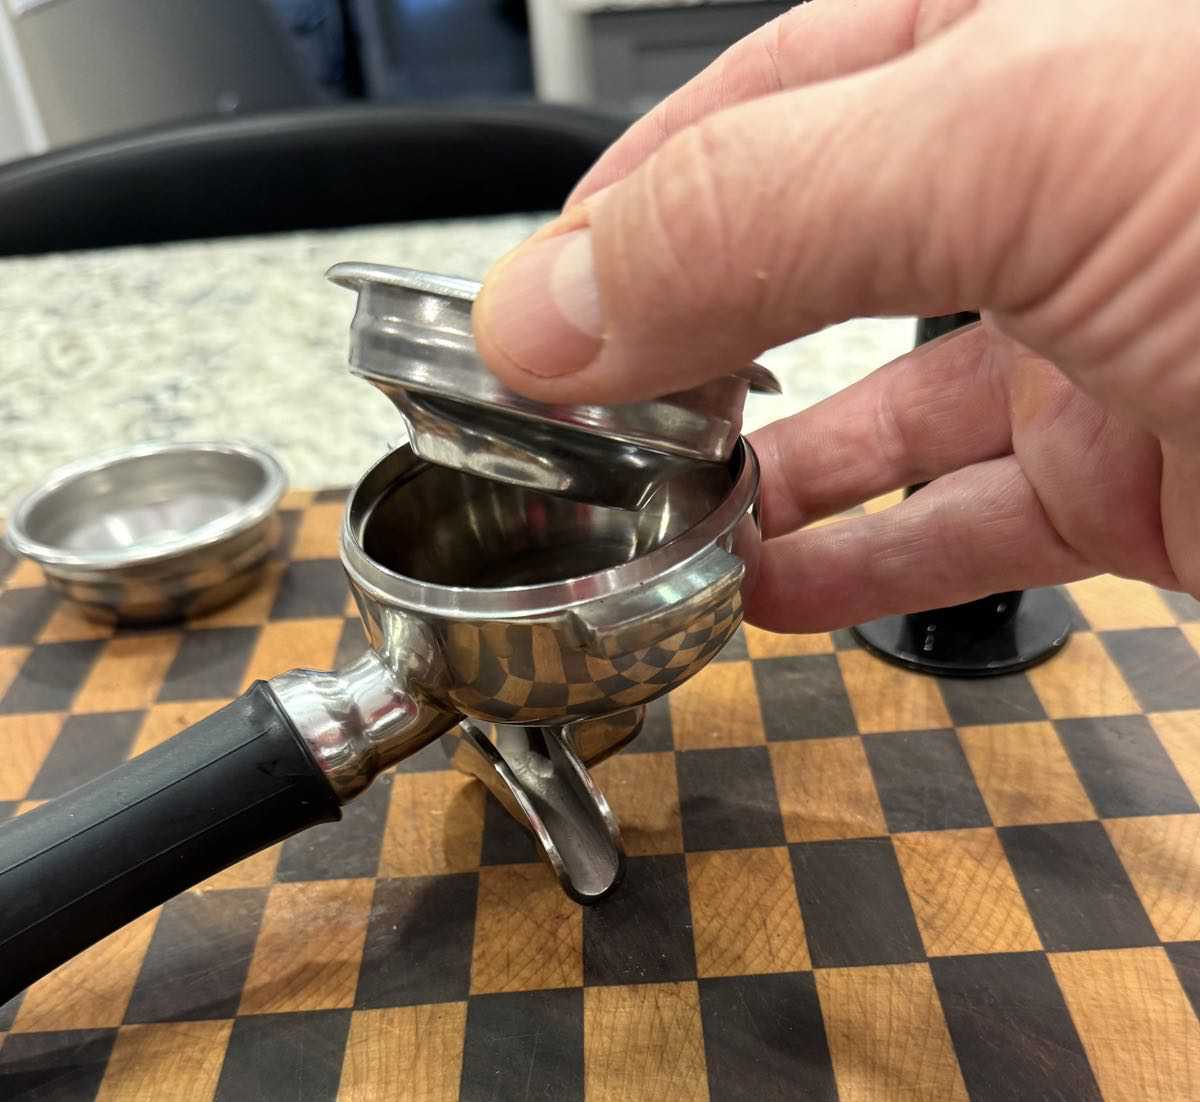
Either basket fits into the portafilter. You’ll insert that basket and give it a tap to make sure it’s tightly set in place.
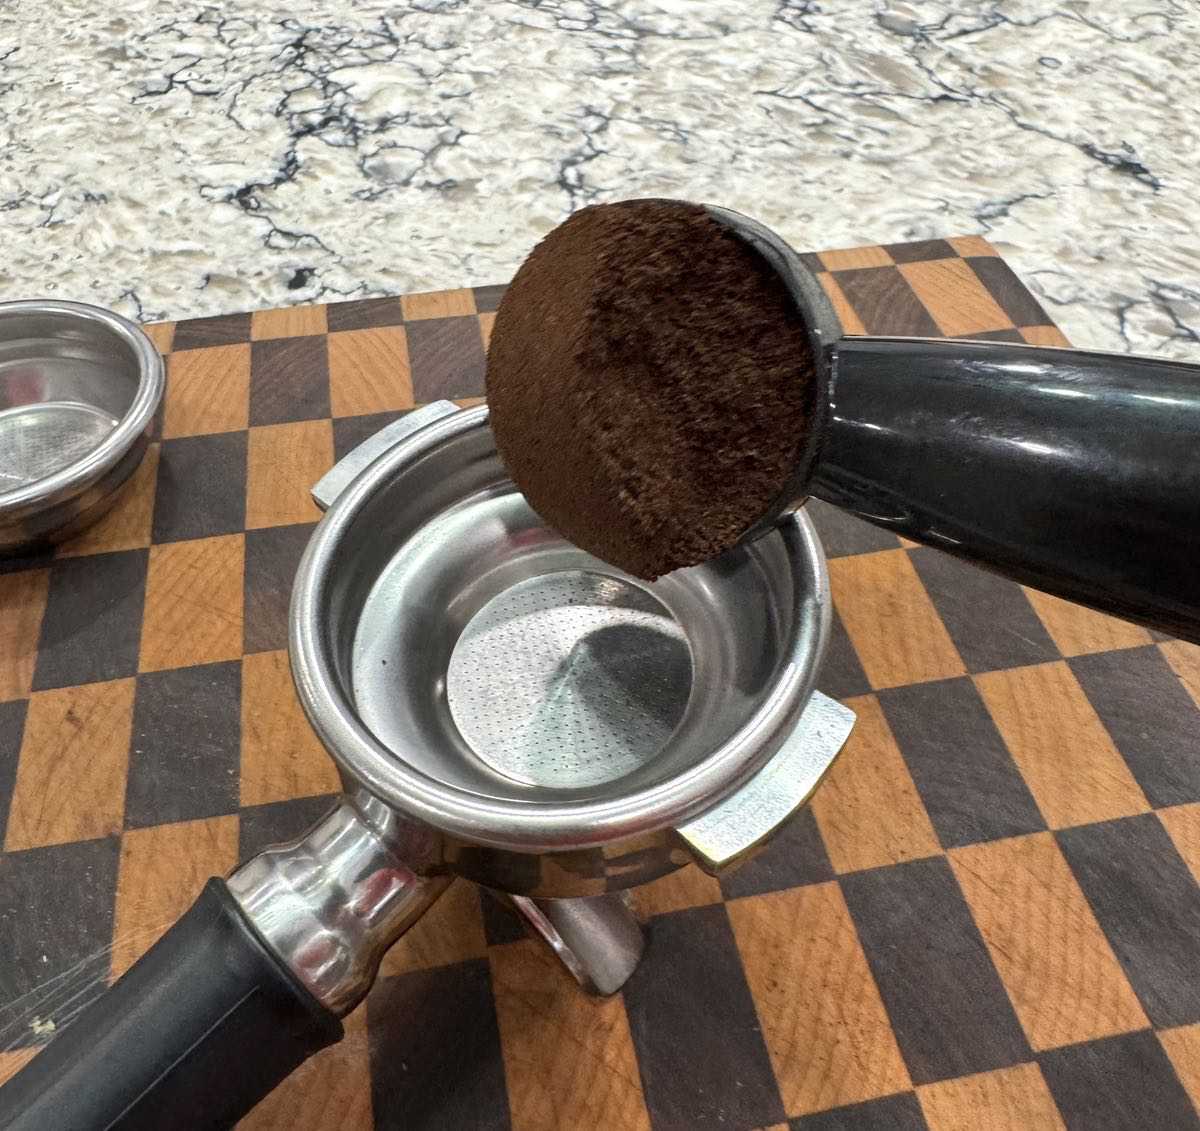
Now you’ll fill it with coffee with the scoop/tamper tool. The scoop deploys the grind…
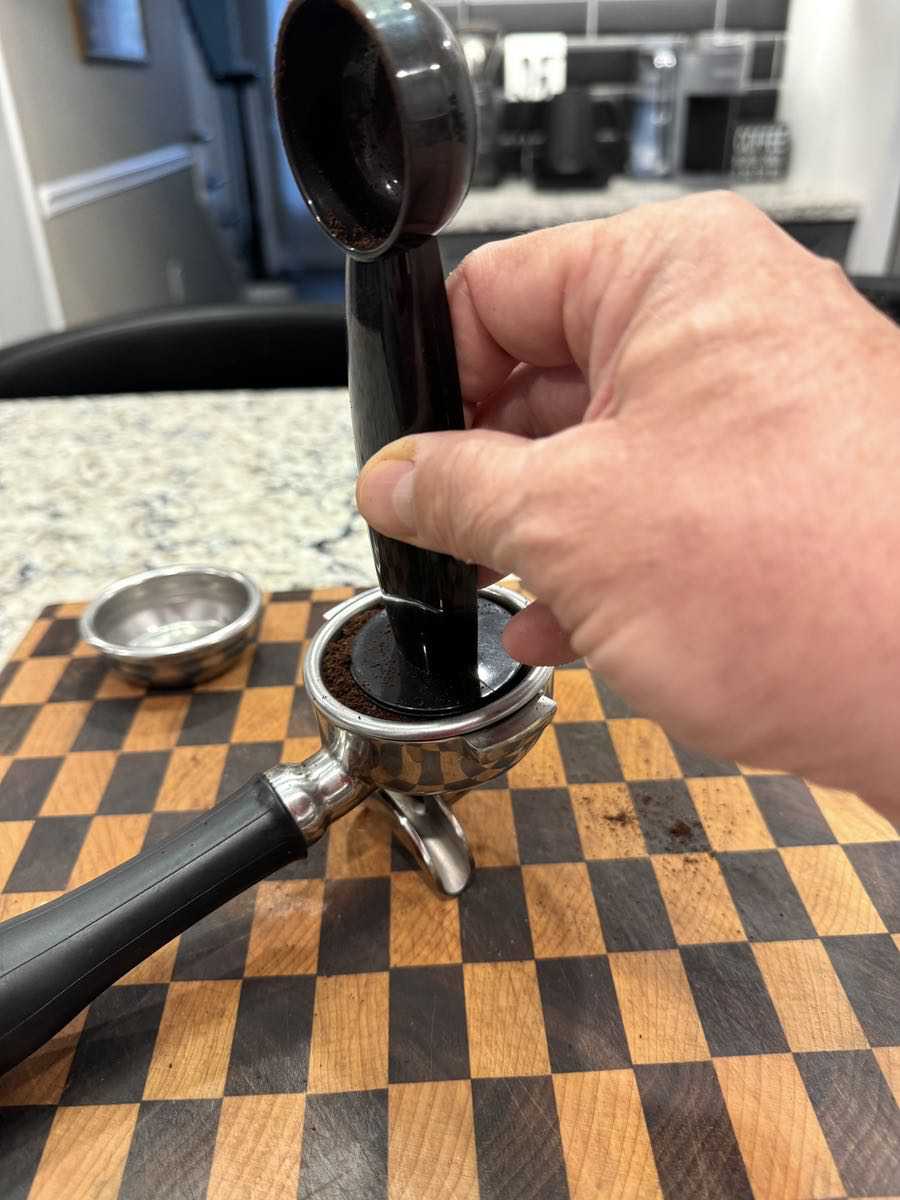
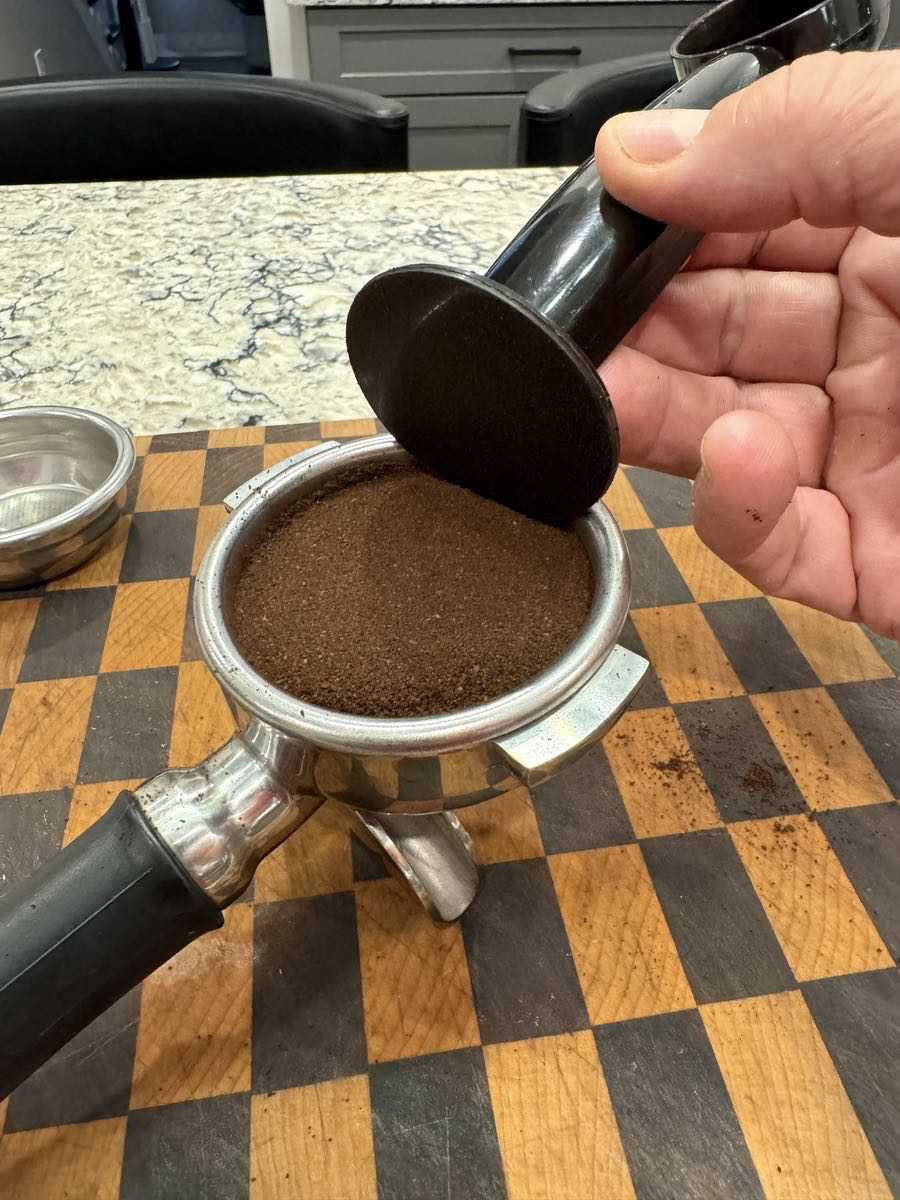
… and the tamper packs it in. You’re looking for a tightly packed filter basket as shown in the second pic below.
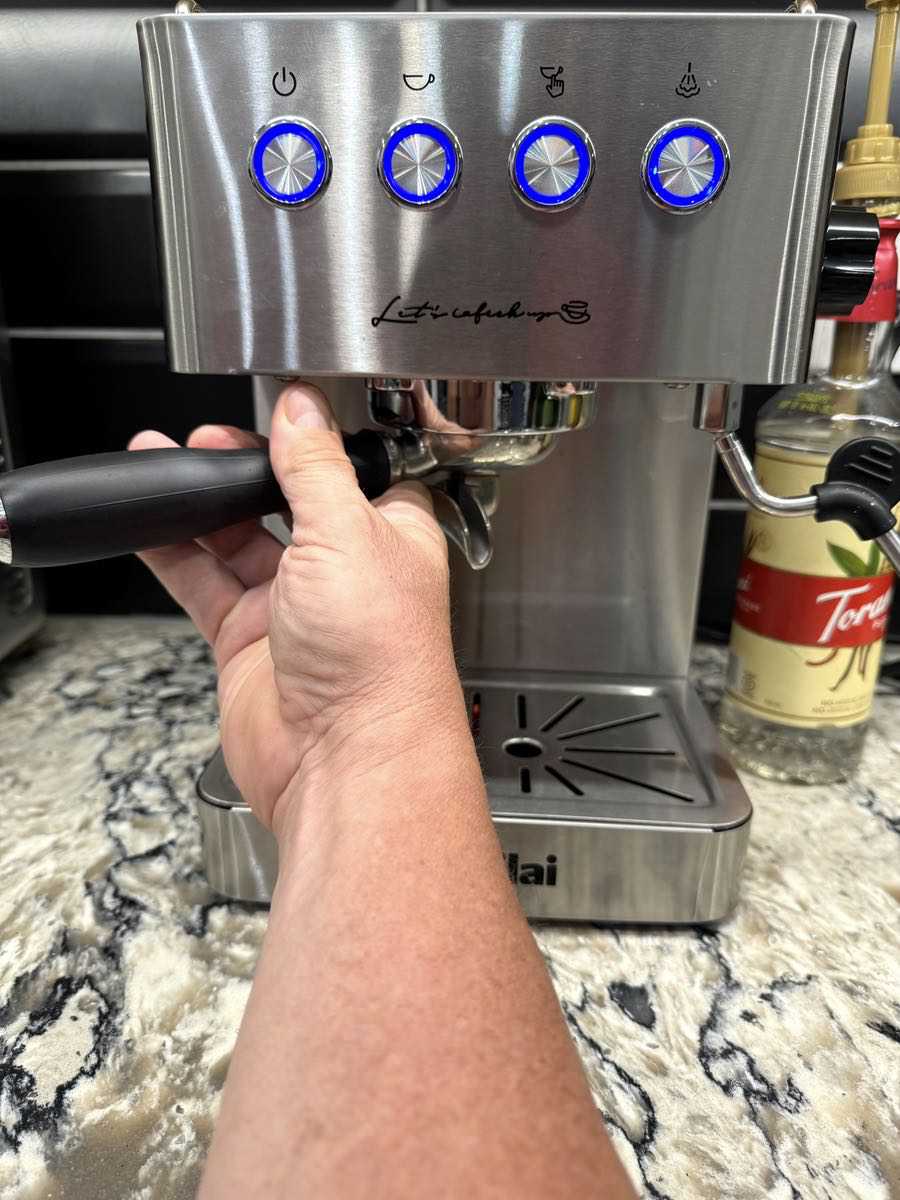
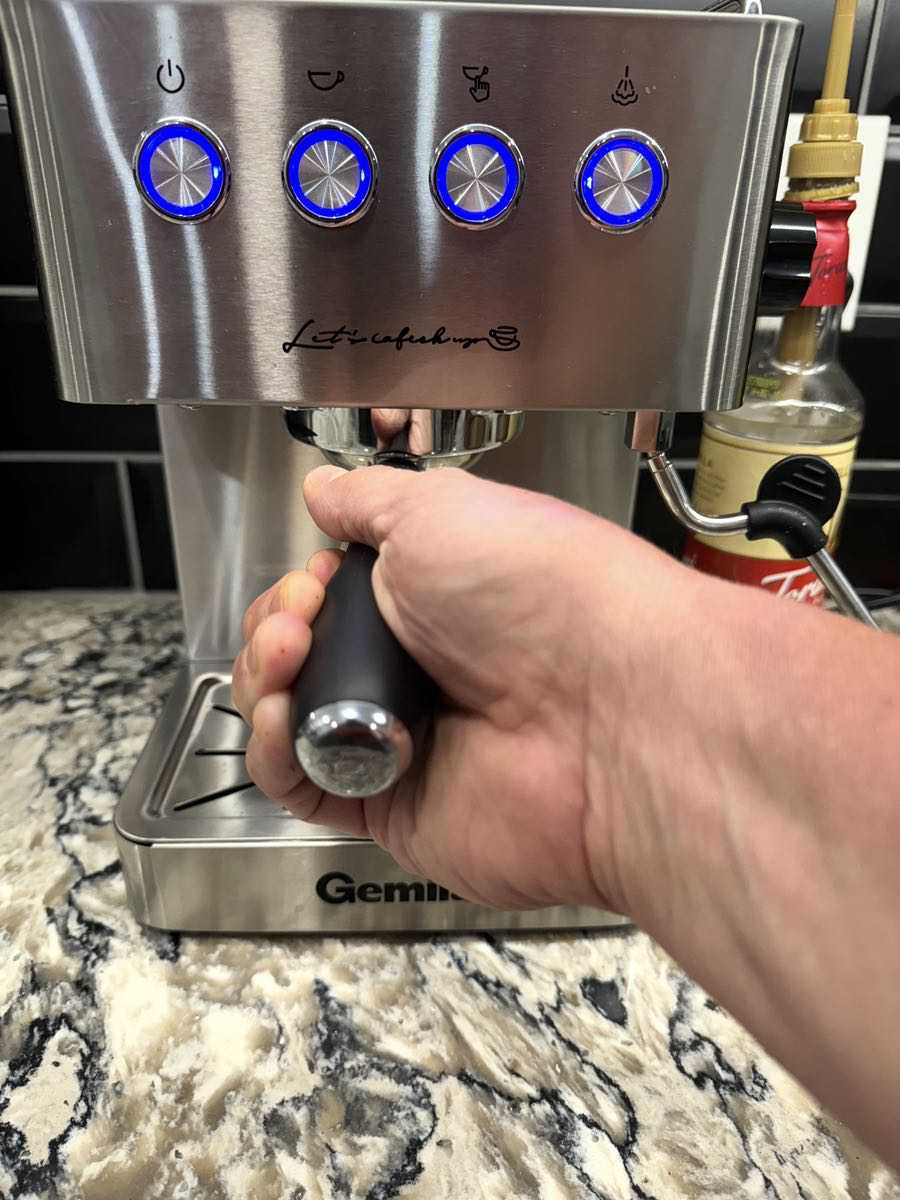
Now we’re ready to make coffee. The portafilter gets inserted into the guide under the unit, where those tabs you see in the picture above slide into the rails. A firm counterclockwise pull and the portafilter locks into place.
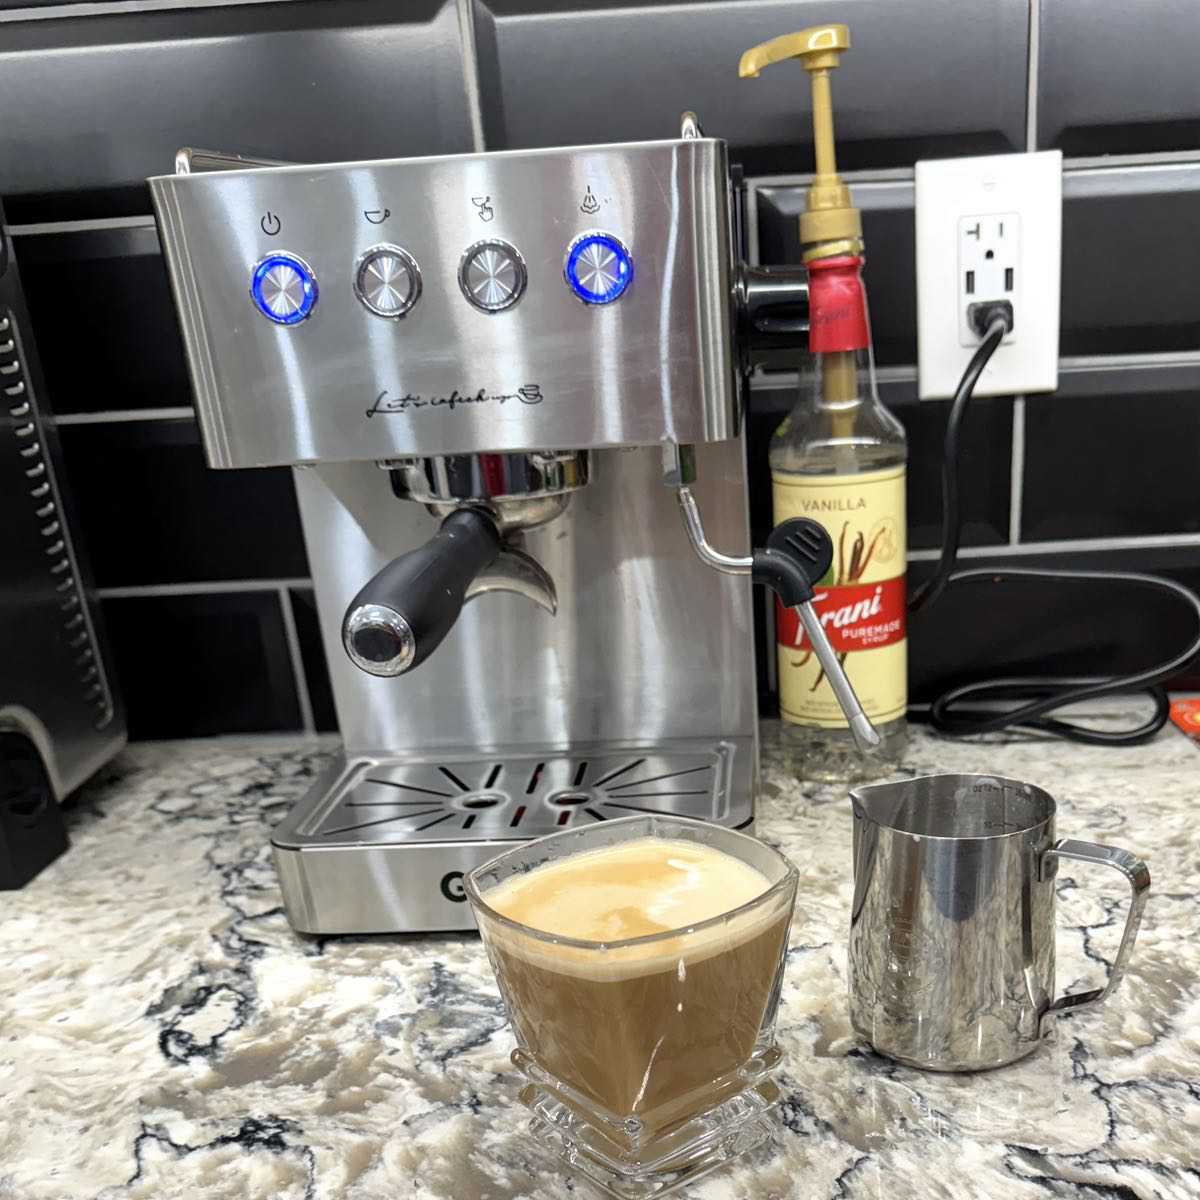
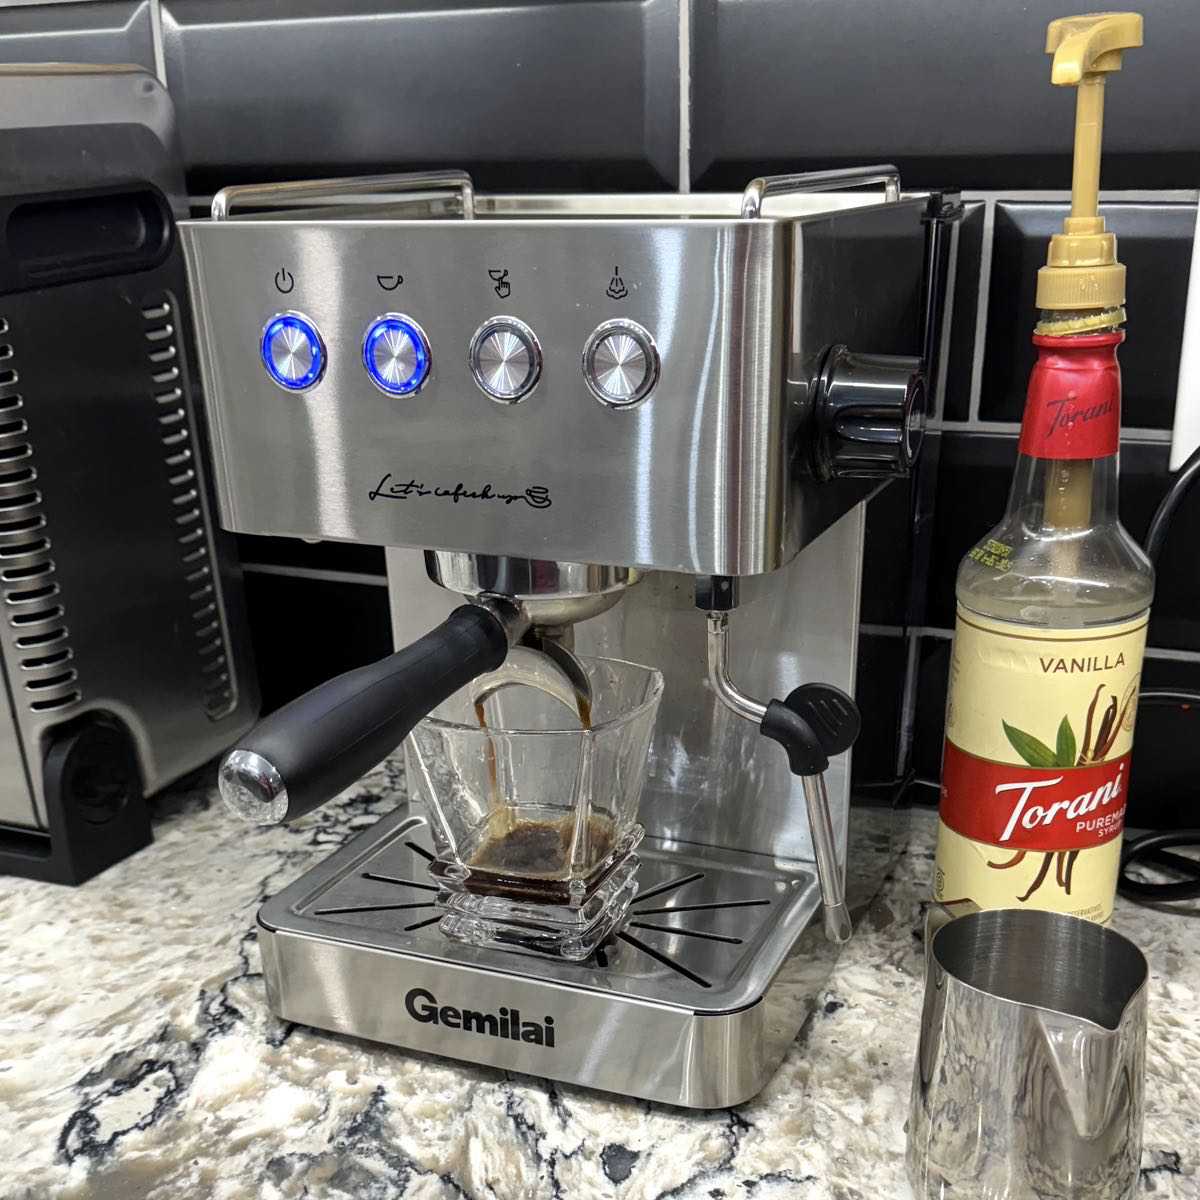
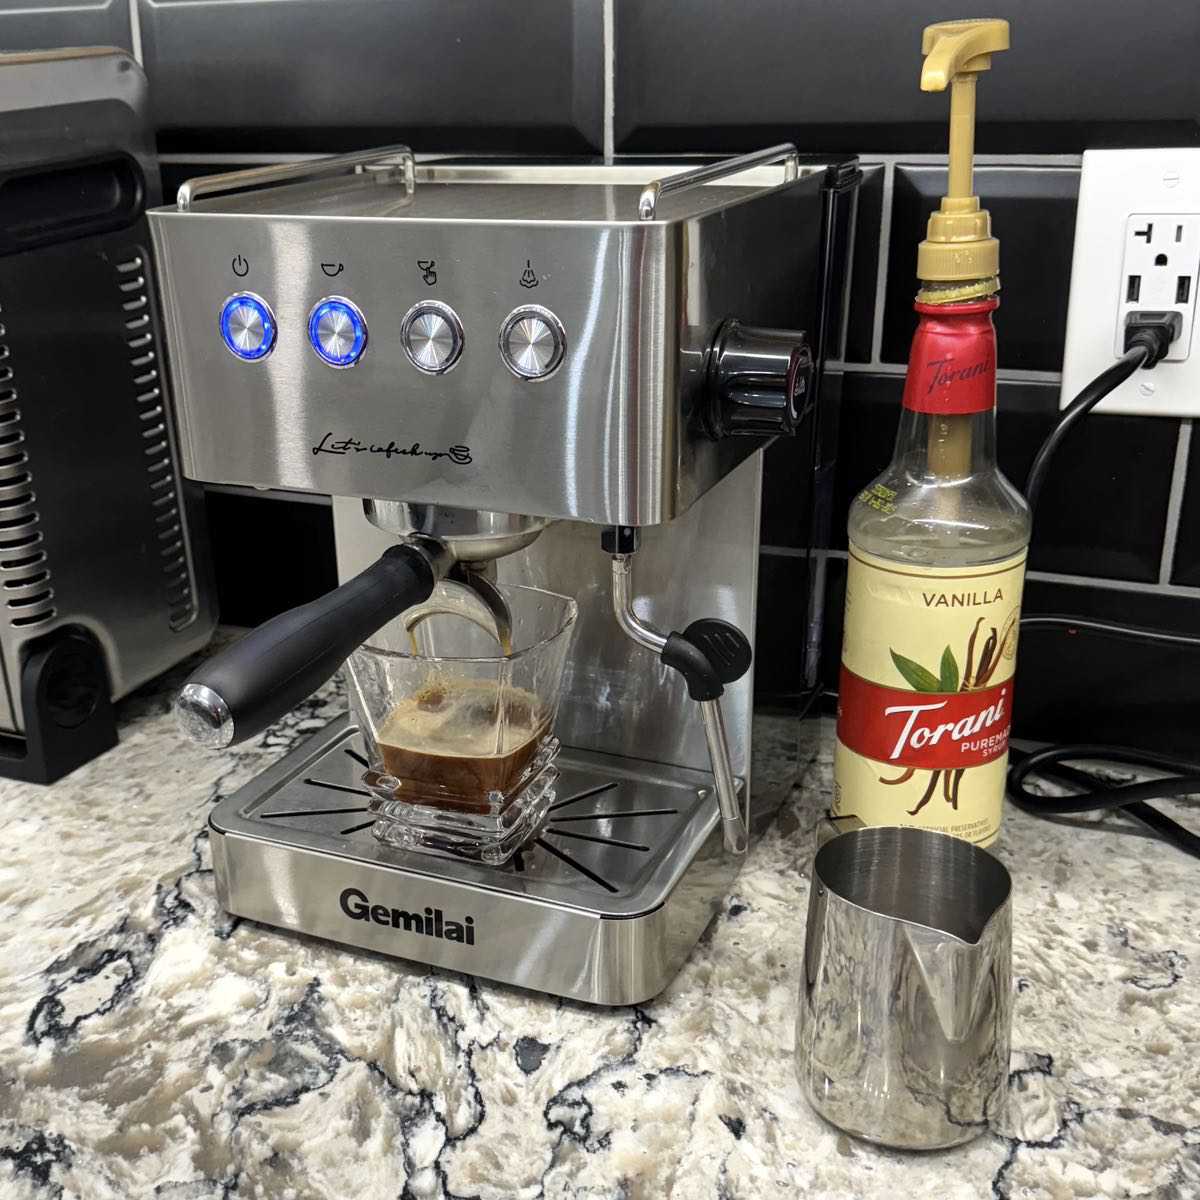
Now we have two — and only two — choices to make for pulling your shots. The Automatic Coffee button (second from left) runs a 25 second cycle. Just push it and let it go. The Manual Coffee button (third from left) allows you to run the cycle for as little or long as you like. You push it to start extracting, then push it again to stop. We’ve pushed the Automatic button for this demonstration. Notice how the Manual and Steam buttons are no longer active. Extraction begins…
… and extraction continues until the cycle is done.
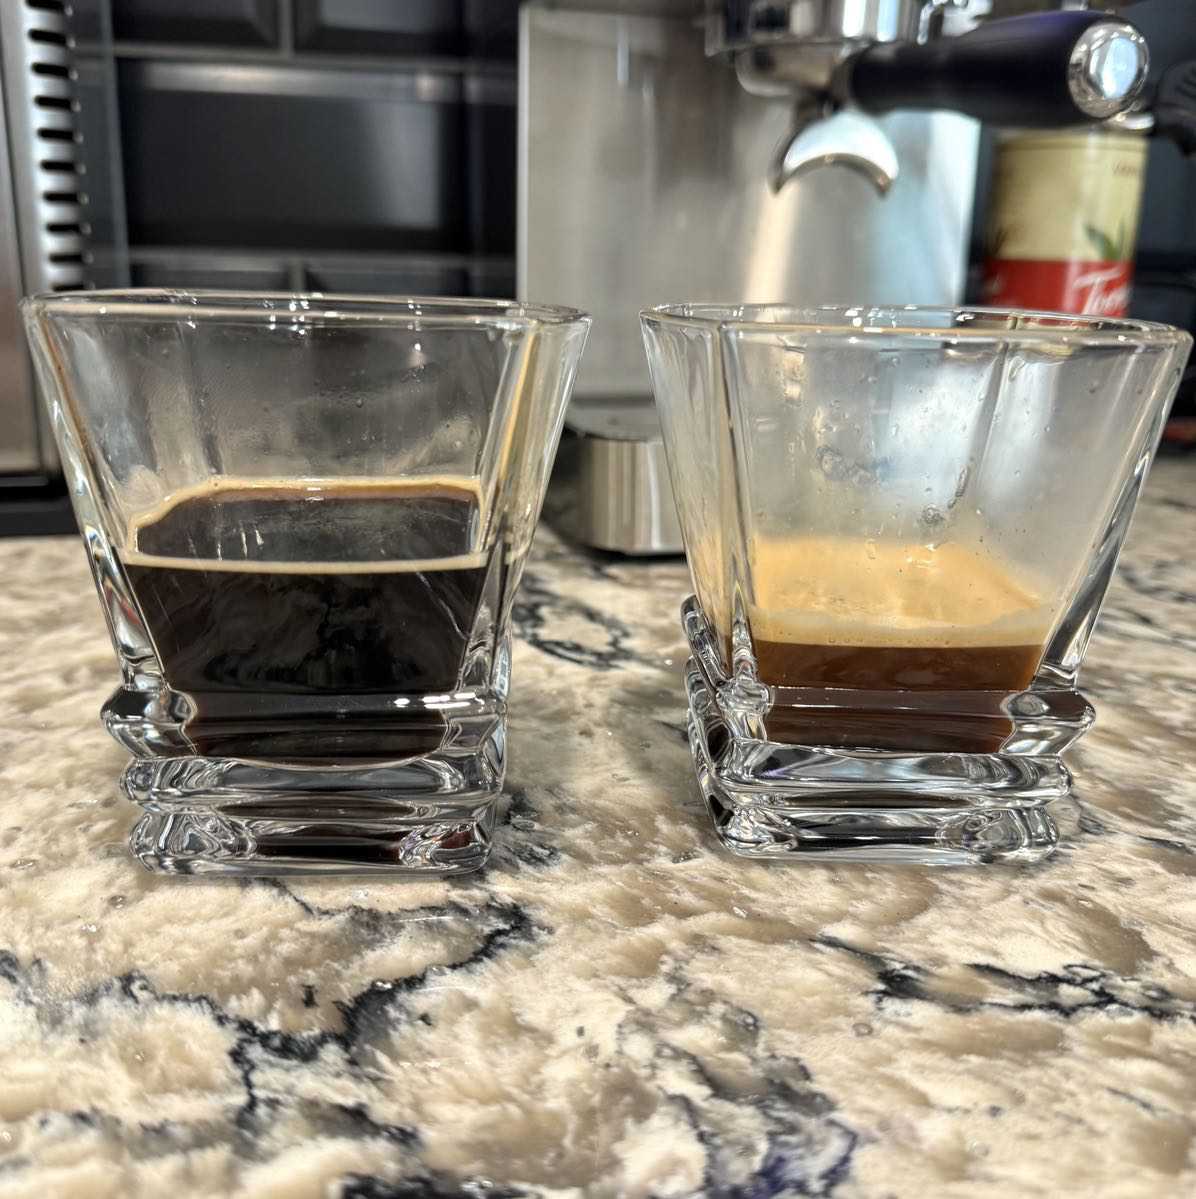
Once the pull is complete, the blue lights will blink again until the unit has come back up to heat for the next cup. Here’s a comparison shot I took of a single and double extraction, with the double on the left. The single shot was pulled second, so the double had a minute or two to settle. We’ll talk more about that in the performance section below.
You can also place two cups under the unit to pull two side-by-side shots with the double espresso filter (not shown).
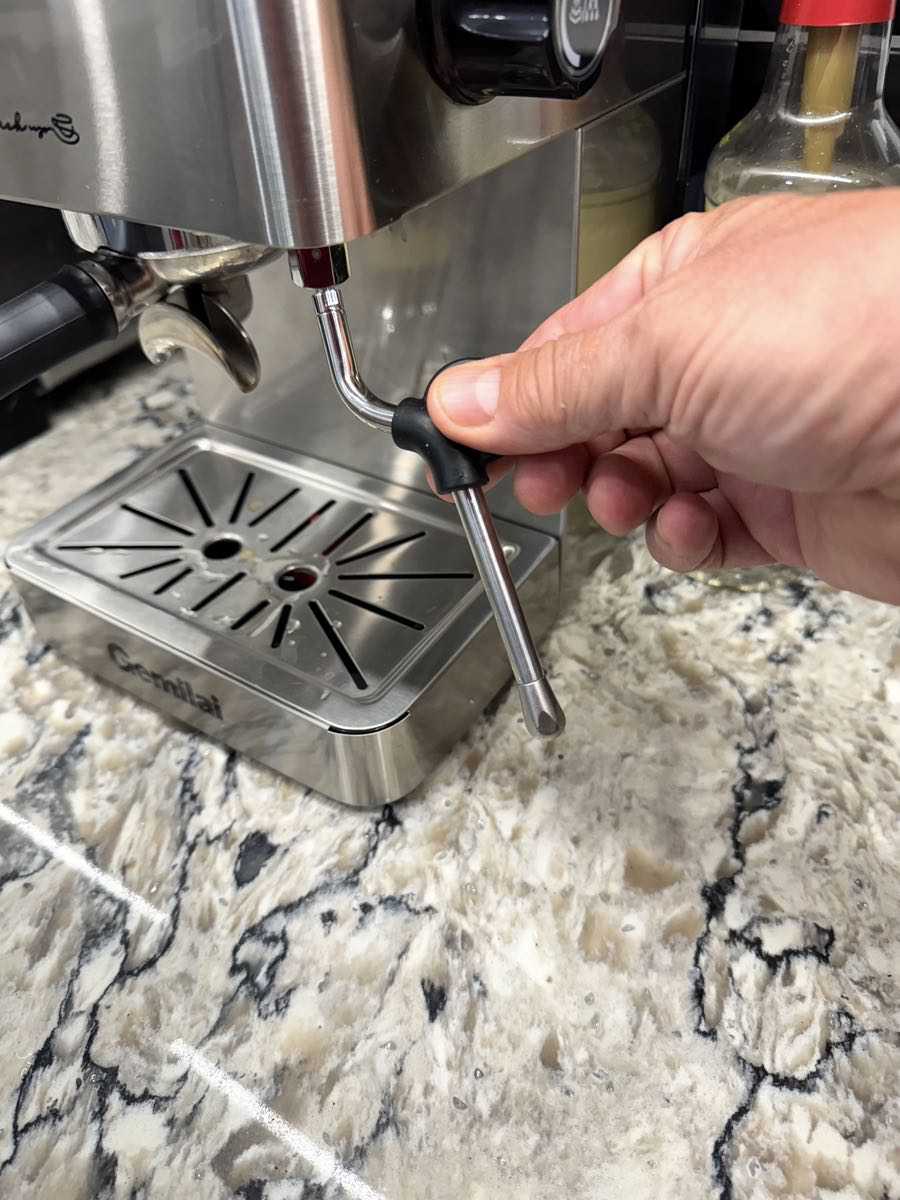
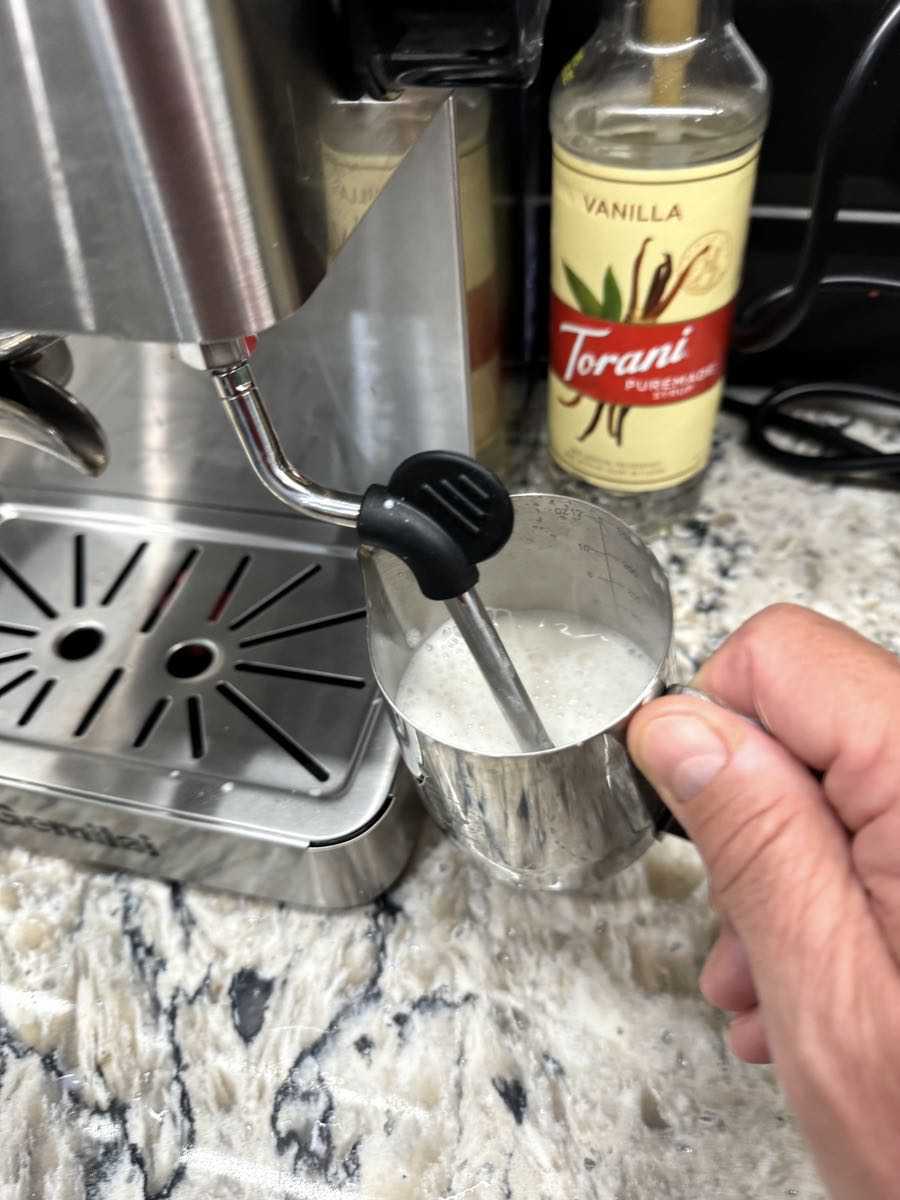
If you’re feeling frothy, you can use the steam wand to get the job done. This wand has a nice rubber tab to keep you from burning your fingers as you position it.
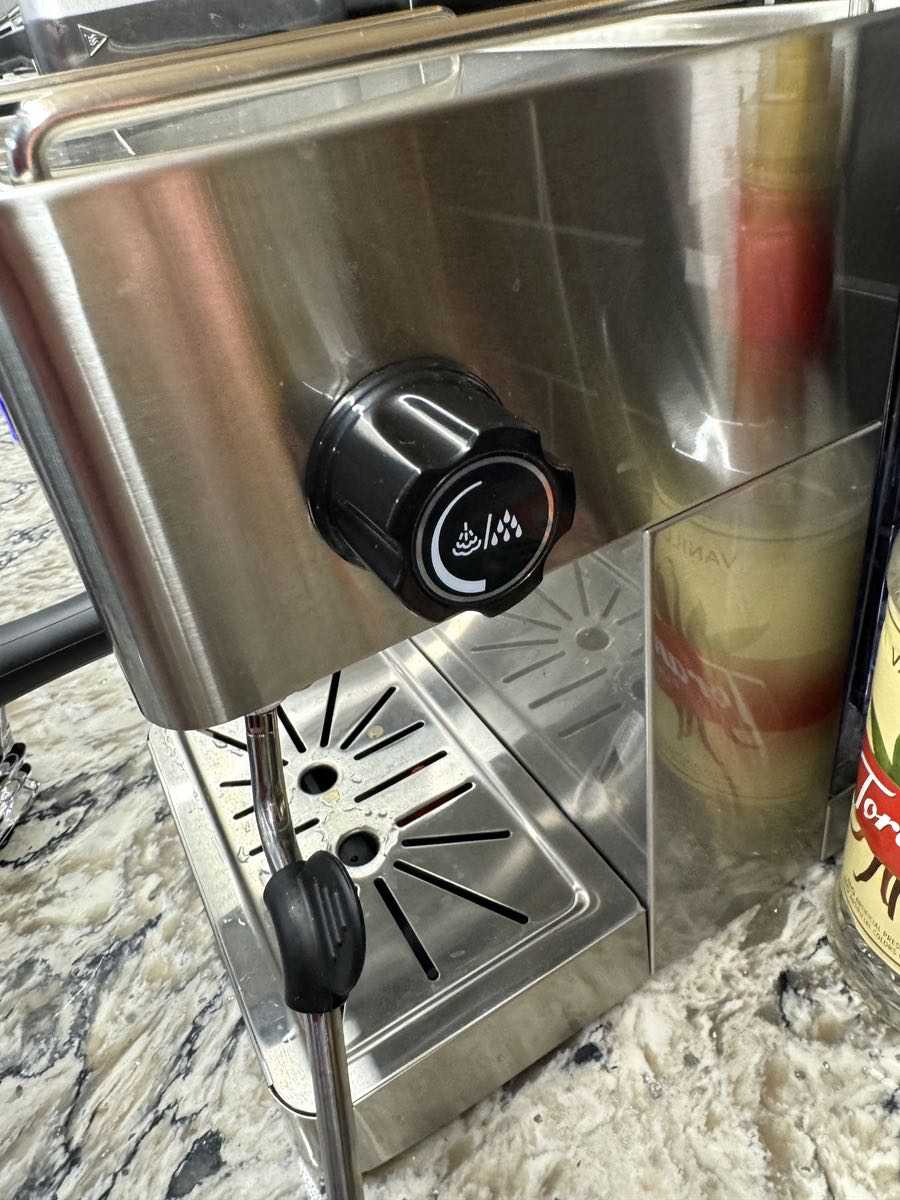
The steam knob is on the right side of the unit. Technically, you can open this up a little bit to dispense hot water, but it only dispenses about a teaspoon at a time before it has to heat up again.
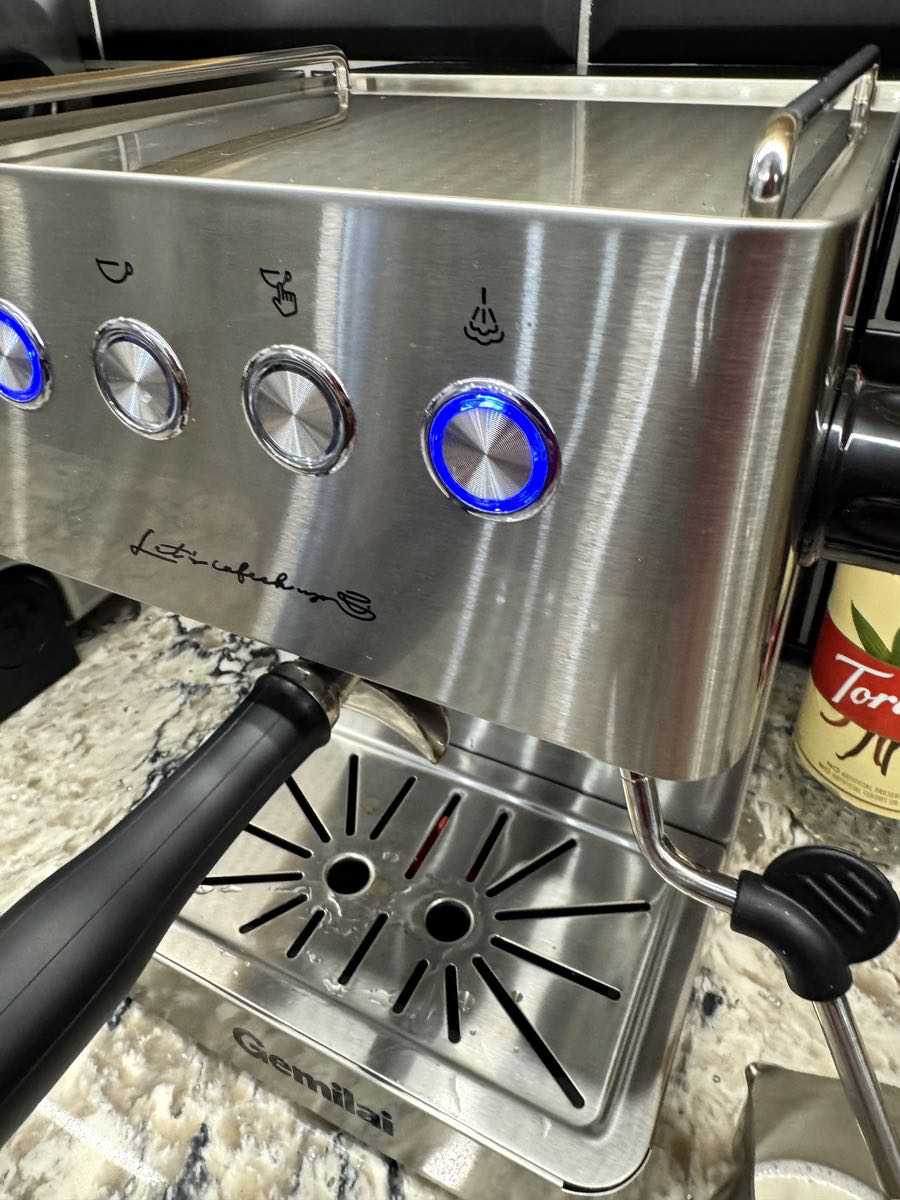
To start frothing you must prep the steam mode. You’ll push that button and the unit will fire up. It will blink while it is getting to temperature, then glow steady when ready for action.
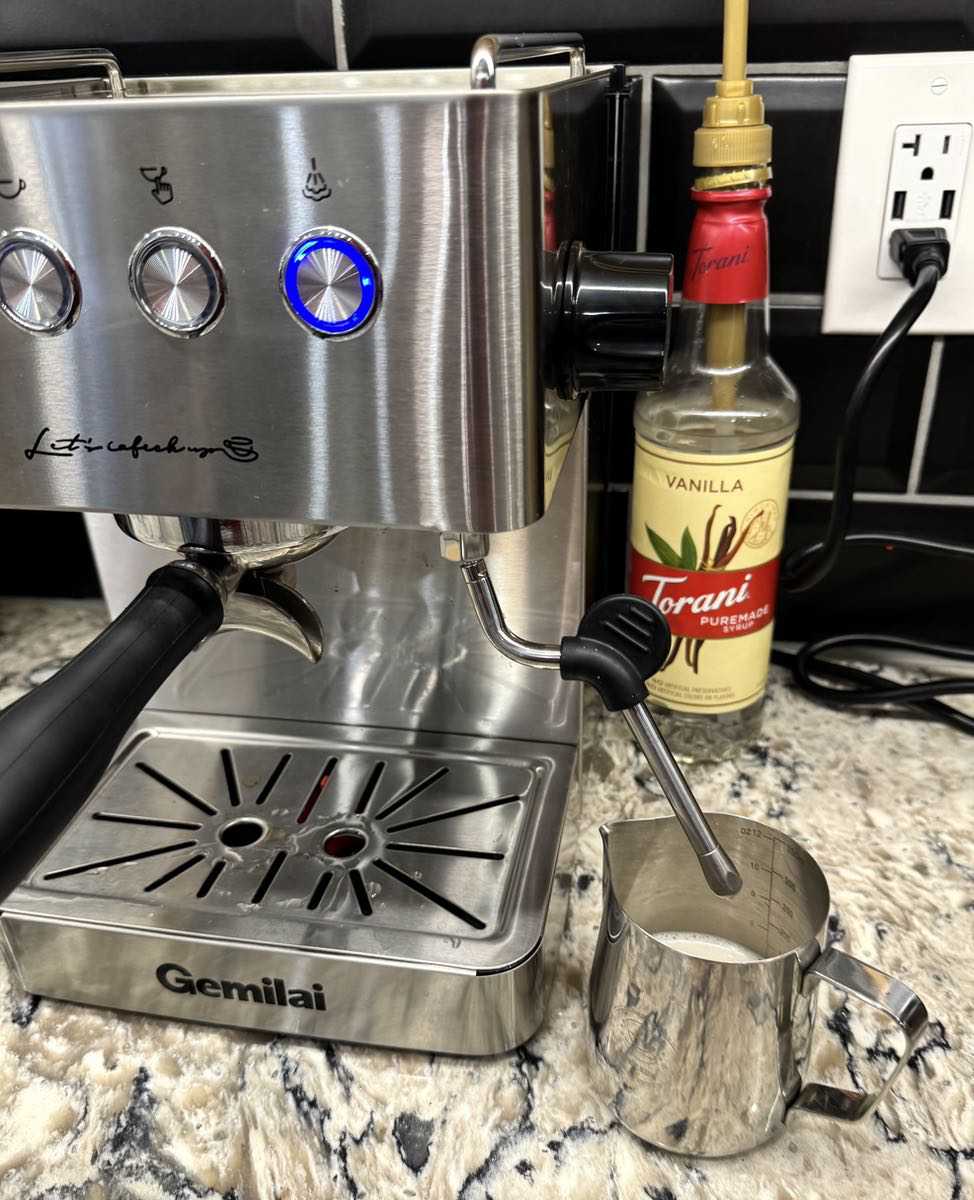
I purchased a frothing mug specifically for this test. You’ll want one of these to make sure you don’t paint your kitchen.
This is the part where you want to be VERY careful. You’ll insert the wand into the pitcher, then turn that knob to start steaming. It’s hot, and you want ti keep that wand submerged in the liquid at all times to avoid spraying hot milk everywhere!
I found that frothing 4 ounces of cold milk to a warm and bubbly state took 60-90 seconds before the volume doubled in size. I’m using oat milk here.
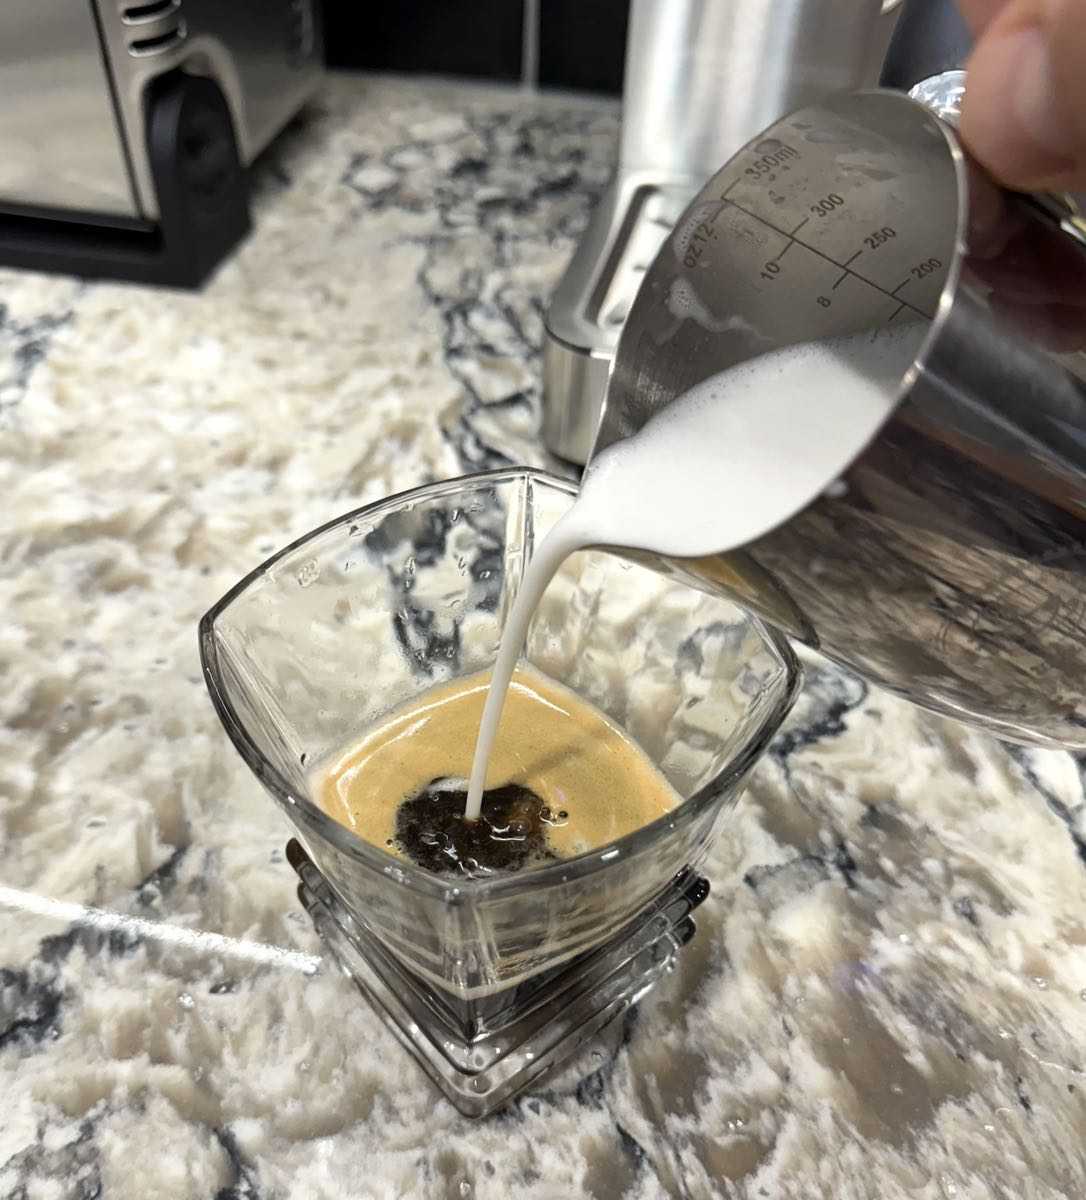
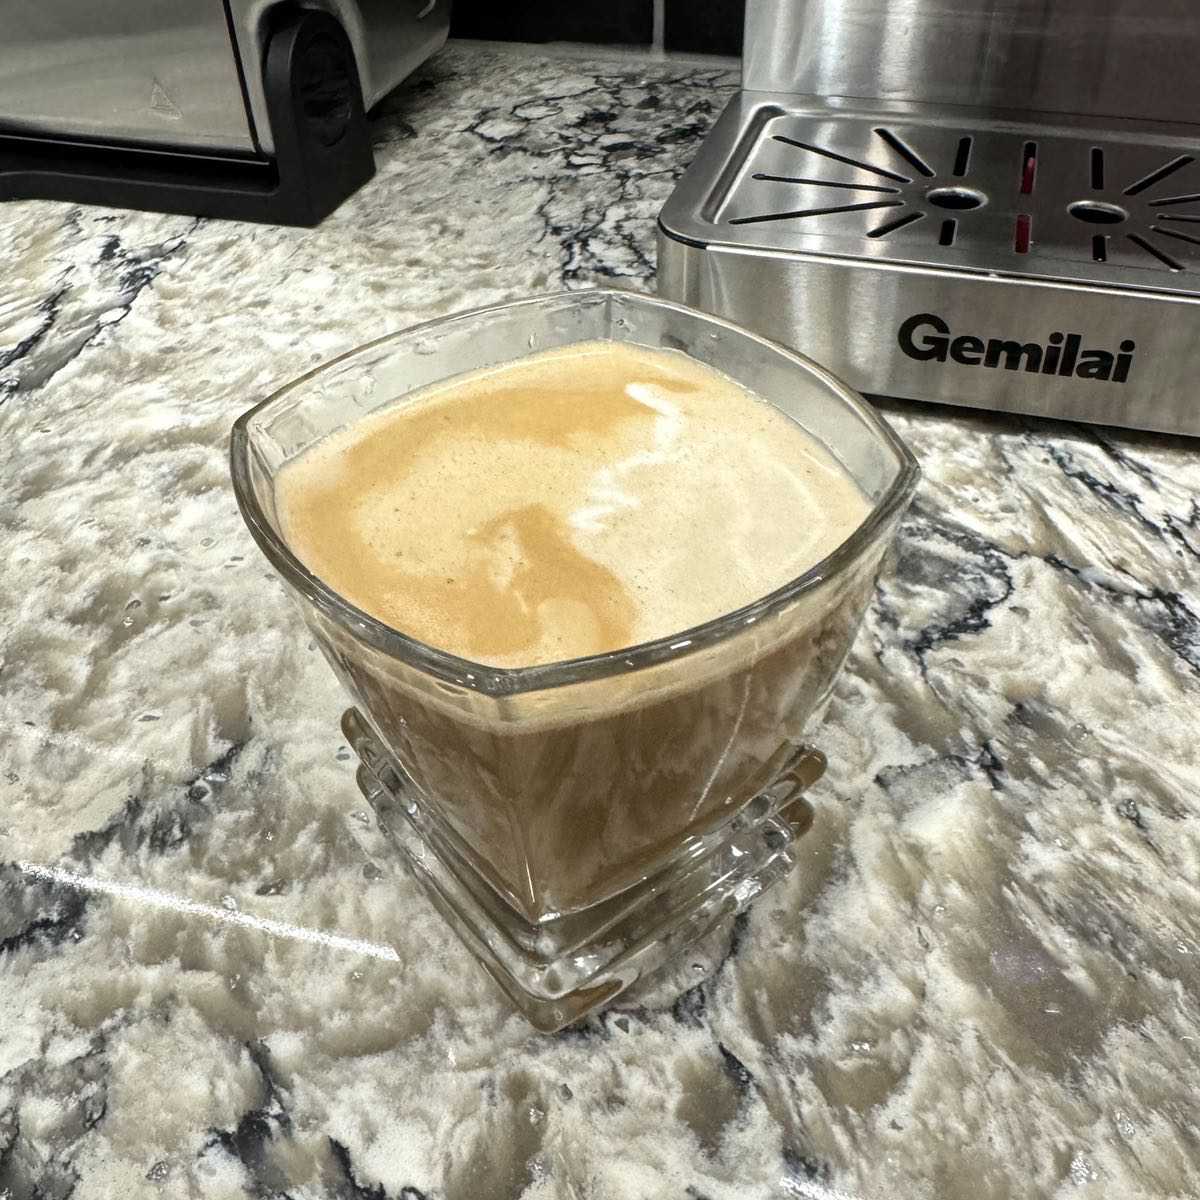
Then we dispense and serve to grateful friends and family.
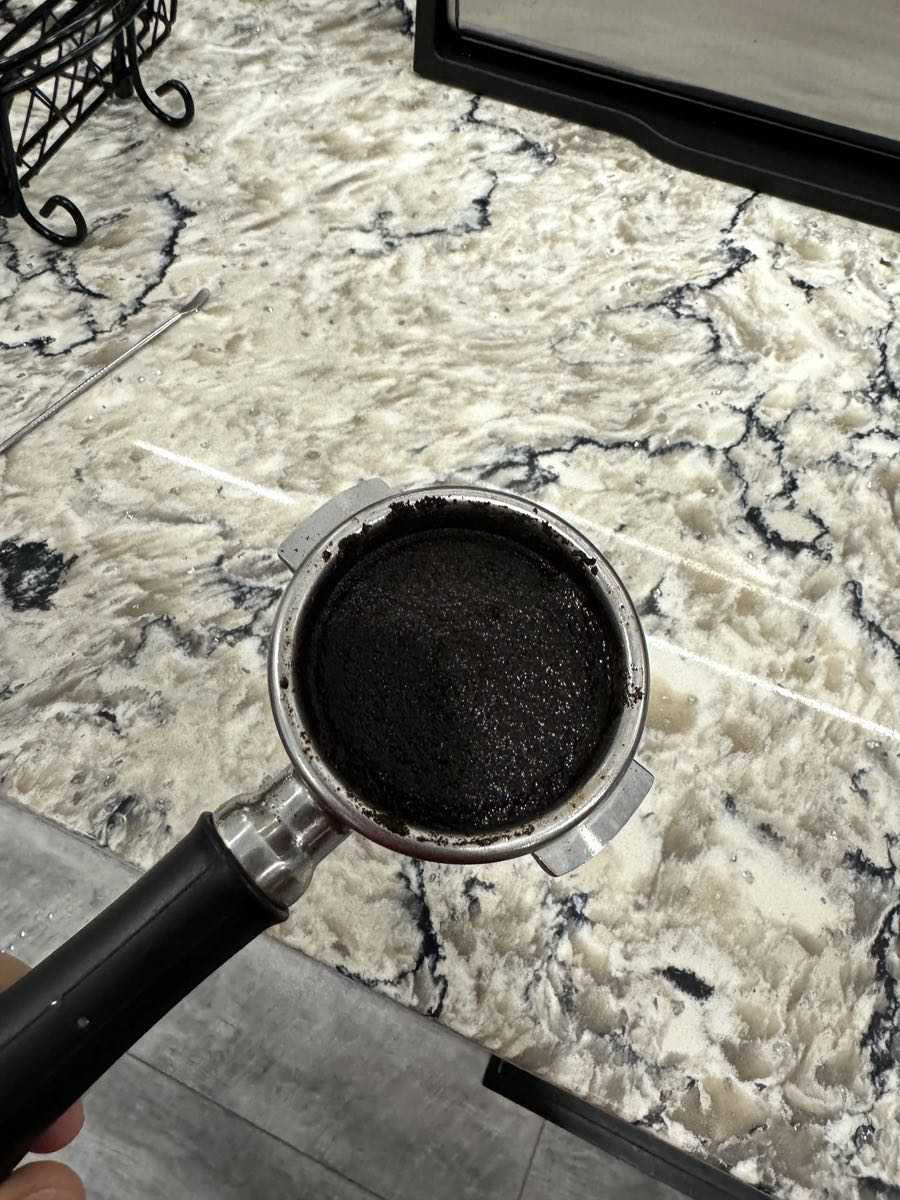
Post cleanup starts with removing the portafilter and ejecting that puck. This usually comes right out wit ha couple of whacks on the side of the trash can or container (I like save my grounds for the garden). Then you can pop the filter basket out and rinse/clean both parts.
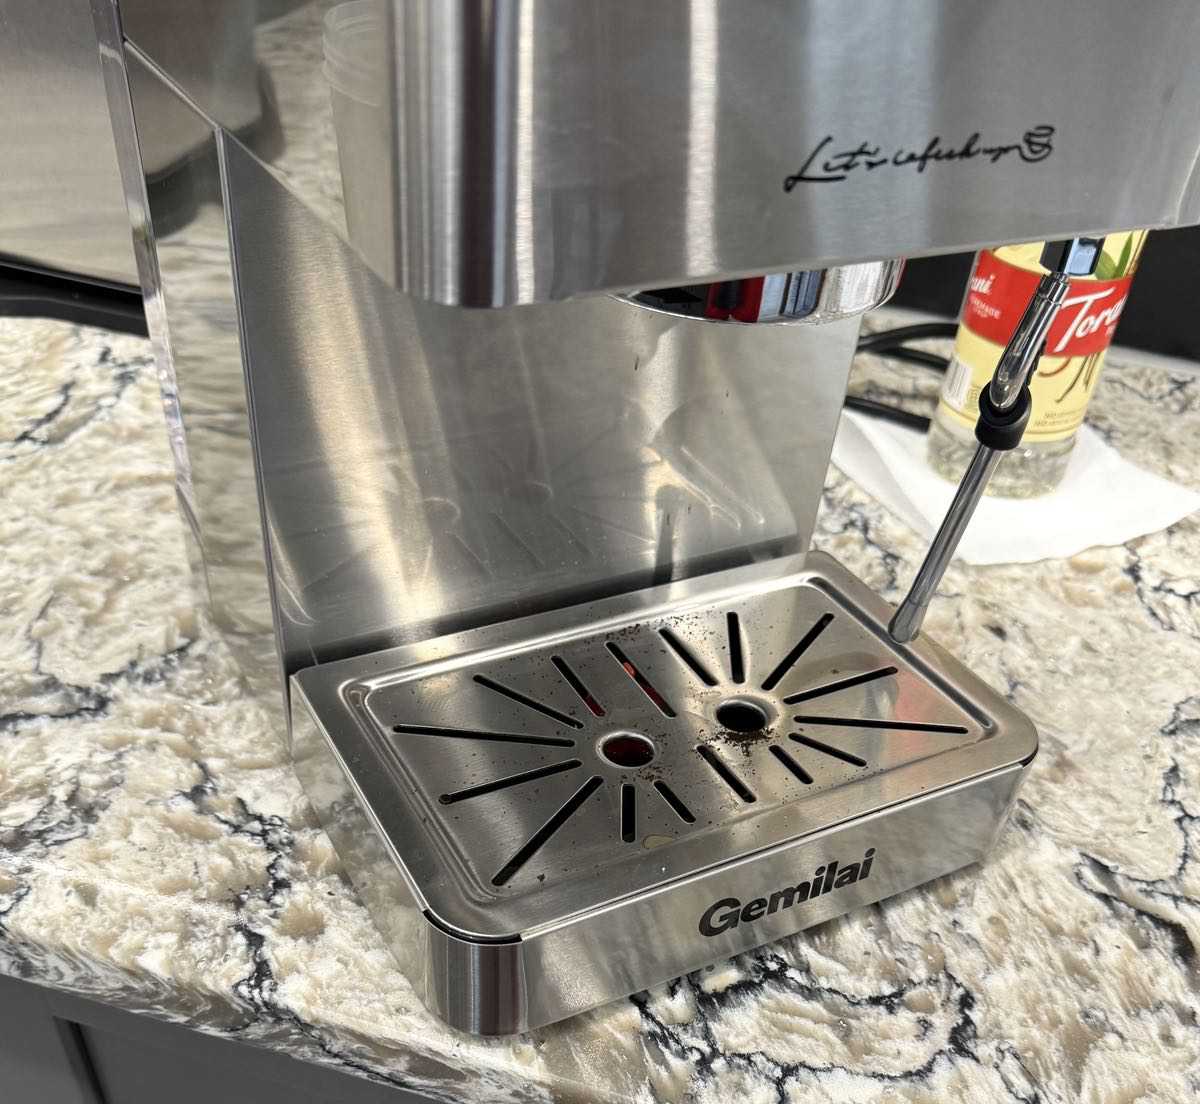
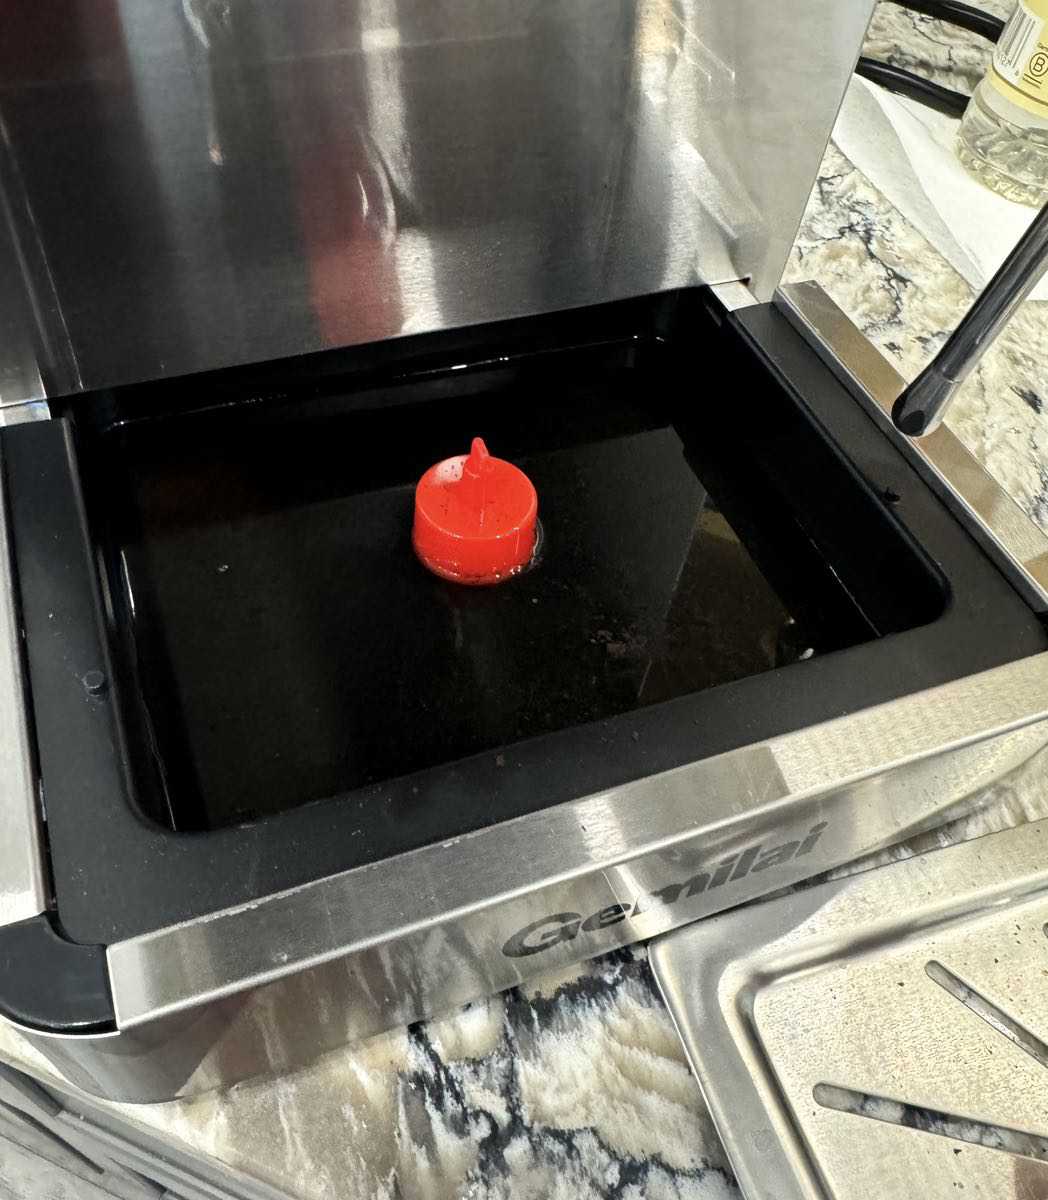
The top lid of the tray is removable. There’s an internal relief valve that collects runoff after extraction. The tray pops out for easy cleaning. And see that little red tab there at the back of the tray…?
Fun fact: that red thing is a bobber you install in the tray chamber. When it gets too full, that tab pokes up between the grates to let you know that it’s time to empty the chamber if you forget! This is after a few days of use.
There are no other customizations available with this particular unit. The temperature of the water is fixed at 199 degrees Fahrenheit. The extraction pressure is set at 15 bar. Just push your buttons and go!
The unit also professes that the top is a warming tray for coffee mugs, but that surface never got above slightly warm in my testing.
I should note that the Gemilai G3005E Espresso Machine also comes with a nice quick start one-sheet guide to making your coffee, as well as a detailed instruction pamphlet with cleaning & maintenance instructions. There are also multiple support options including an 800 number and a QR codw you can scan to visit a web site for additional support.
Performance
I will be the first to admit that I am not an expert on home espresso machines. After rolling with the Gemilai G3005E Espresso Machine for a month, however, I have been pretty impressed with what it can do as an entry-level unit.
The first and most important thing about this unit is it’s excellent usability. Between the simple controls and well-written instructional guides, you can be pulling espresso shots within 15 minutes of cracking the box open (assembly takes 5 of those minutes). The variables are minimized, and the basic functions are all easy to execute.
I’m not gonna lie: it’s pretty to watch in action. And it smells good.
There are some important qualifiers to the output, however, starting with temperature. This unit is designed to hit the magic 199 degrees fahrenheit that is desired for perfect espresso. While the unit allows you to brew in about 30 seconds, I have found that it needs an extra minute or two to get there. Alternatively you can pull a first shot with just hot water, followed by a second round at full temp.
Once you have the temperature settled you’ll start playing with types of coffee and grind levels. The Gemilai G3005E Espresso Machine pre-saturates your coffee with a bit of water before going to full extraction, which is good. A finer grind and a tightly-packed filter basket makes it better. I have found that I can get a nice crema from a store bought fine grind (like Cafe Bustelo), but I get a better result if I grind my own beans on a very fine setting.
Playing with the variables will get you to a pretty good espresso pull. It’s not on par with what I have experienced with industrial/commercial espresso machines, but it’s close enough to keep most home tinkerers happy. The elimination of some of the other variables makes it easier for you to dial in a process that works for your needs.
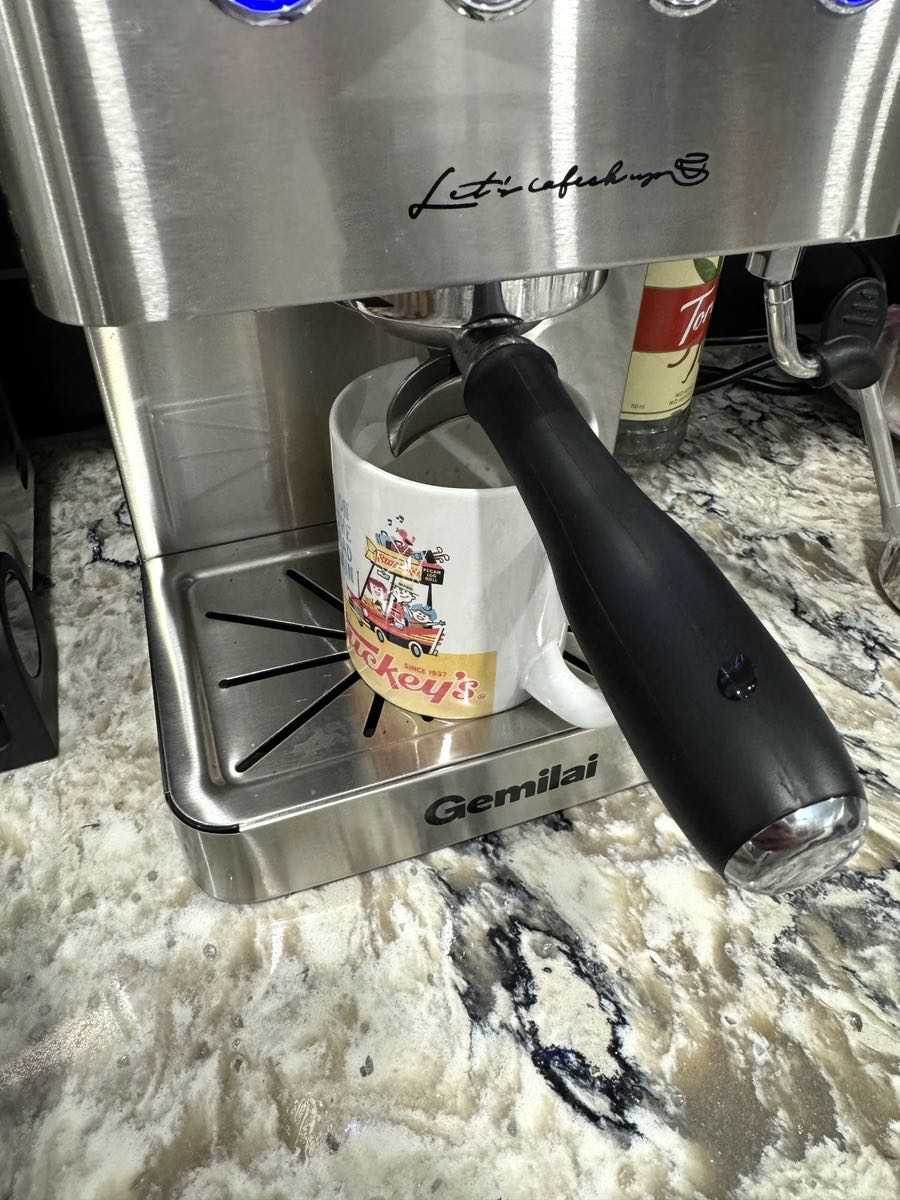
A standard coffee cup fits under the machine only if you tilt it and slide it to get it under there. You’ve got just about 3.5″ from the base of the tray to the bottom of the spouts on the portafilter.
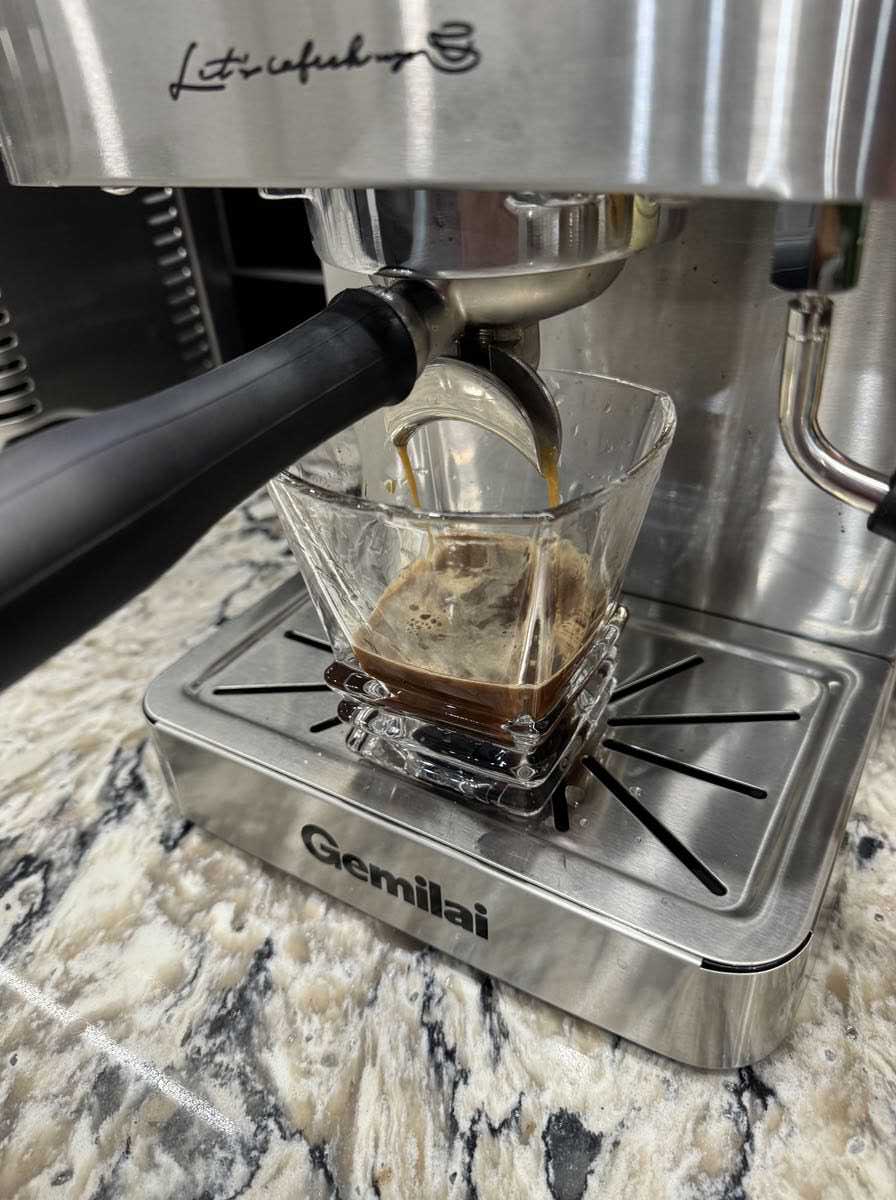
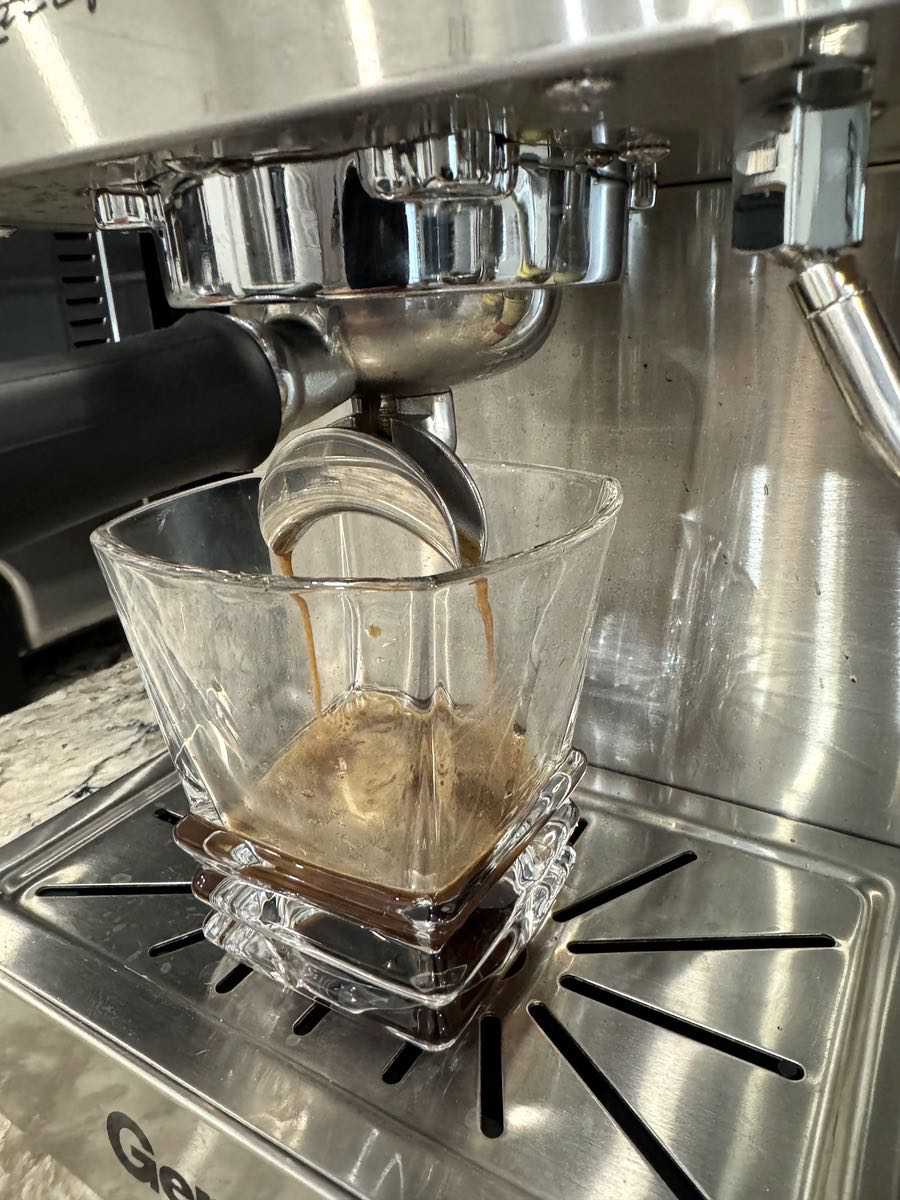
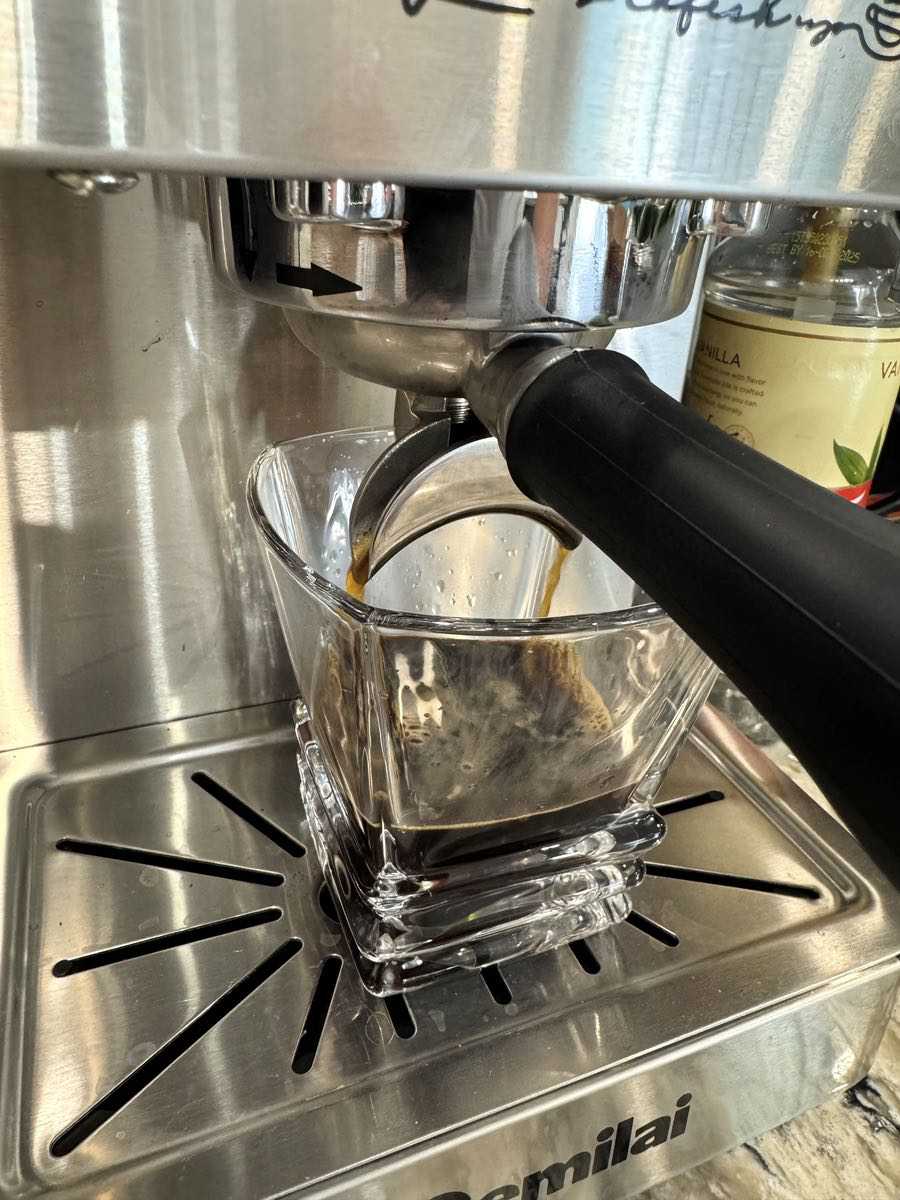
The construction throughout is excellent, specially where it matters most in the parts that take the regular beating. I took a couple of closeups of the portafilter in action so you can see the machine details. The parts are burly and built for extensive use. It’s also very forgiving with generous slots & grooves so that you can easily get the portafilter in place.
I’ve pulled over 125 espresso shots from the unit so far between all the members of the family and two adults who work from home daily with no noticeable degradation in performance. That in and of itself is impressive, given the pressures we’re dealing with. All of the key contact points that get the frequent work are designed for durability.
The steaming wand is not particularly powerful, so it does take some time to get a cup of cold milk hot and frothy even if you have it at full blast. I found that 4 ounces of cold milk took at least 90 seconds to get to that fully frothed state. This would be annoying if you were making coffees for a large crowd, but it’s fine for one or two cups. I strongly suggest getting a frothing pitcher to make life easier.
I mentioned above that the warming tray is not very effective, and the hot water dispensing option isn’t very useful. But I see those as secondary features. The core functions are pretty solid.
What I like about the Gemilai G3005E Espresso Machine
- Excellent, intuitive usability
- Pulls a reasonably good espresso with a little practice
- Easy to clean
- Durable & well built
- Large water tank minimizes refills
- Quick and convenient
What needs to be improved?
- Water temp indicator comes on sooner than it should (let it sit for a minute for a hotter cup)
- Steam wand is a bit underpowered, requires patience
- Warming tray is not effective
Final thoughts
I have a little experience with commercial espresso makers, and less experience with home units. Having said that, the Gemilai G3005E Espresso Machine feels like an excellent option as a reliable starter espresso machine for the home kitchen. It’s easy to use, convenient, durable, and you can get good results with a little experimentation. I don’t think it will satisfy the hardcore coffee heads with the lack of customizable control, but it’s a good choice if you want to get the job done without too much tinkering.
Price: $299.99
Where to buy: Gemilai and Amazon
Source: The sample of this product was provided for free by Gemilai. Gemilai did not have a final say on the review and did not preview the review before it was published.



Gadgeteer Comment Policy - Please read before commenting
I make espresso regularly. I see 3 problems w this review and w the machine. The 1st one is trivial – espresso nuts do not normally make espresso in a large coffee cup but in smaller espresso cups which will fit easily under the spout. The 2nd one is more serious. Your tamper should be about the same size as the coffee basket so you get a full tamp. This tamper is much smaller than the basket. The 3d is a convenience issue due to the fact that this is an inexpensive machine. You should be able to monitor brew pressure so you can get your coffee grind size right. Better machine have a pressure meter. This one doesn’t.
I can’t argue with any of these comments. I do have some smaller cups that I use for the machine, but I do not ave traditional espresso cups. I hactually have some smaller Japanese tea cups I have been using recently.
The tamper issue is a thing I did not know. I’ll have to look out for that in the future.
On the pressure issue: yeah, I have seen other similar comments regarding this unit with respect to the lack of pressure and temperature controls. I have been experimenting with grind levels on my Baratza Encore (I do pourovers and the Aeropress) to get better results with a little trial and error.
Thanks for the feedback!
Hi! This is a comprehensive review article! I just got the same model recently and cannot complain more:(
The machine is supposed to have a fixed programmed temperature, but the water/coffee coming out is only warm, at best. It’s so cool that I can comfortably put my fingers in the fresh brew, which is ridiculous. Customer service claims this is a “safety consideration,” so it seems I’m stuck with a cup of ‘warm brew’ that tastes thin and watery, even lighter than standard drip coffee. This device appears to just press the water out rather than extract with steam.
I’m curious if other owners are encountering the same issue, or if my unit is uniquely defective.