REVIEW—Ever since I got my Chevy Bolt without a spare tire (yea, thanks, Chevy!), I have been looking for a small tire inflator that can run off its battery, and from the car’s 12V cigarette plug, should I forget to keep the lithium battery charged. I recently got the chance to review the Anykit Car tire inflator, which meets my requirements. Read on to see how well it performed.
What is it?
The Anykit car tire inflator is a portable air pump that has a lithium battery, plus it has the ability to run and charge while plugged into your car’s cigarette lighter port. It comes with several adapters to handle pumping up things like basketballs, inflatables, Presta, and Schrader valves.
What’s included?
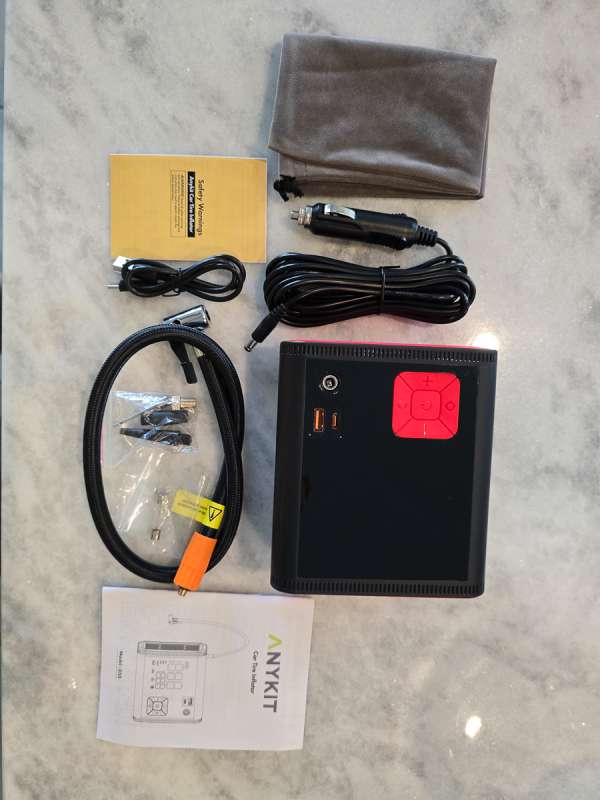
- Inflator pump
- Inflation hose
- Car charger cable
- USB-C charging cable
- Long nozzle
- Short nozzle
- French adapter
- Fuse
- Instructions
- Storage bag
Tech specs
- maximum PSI of 150
- airflow rate of 44L/min
- 12V car cigarette lighter and a high-capacity rechargeable 12000mAh battery
- five preset inflation modes (bicycle, motorcycle, car, ball, custom)
- four preset units (PSI, KPA, BAR, KG/CM²)
- The 10.8ft car charger line
- 3-mode LED light
- USB-A port that allows you to charge devices like your phone from the tire inflator
Design and features
The front of the Anykit tire inflator has three ports, a display screen, and setting buttons. In the top right corner is an output-only USB-A port that you can use to charge external devices from the Anykit lithium battery. This is a nice feature and good to have in an emergency. The USB-C port is an input port along with the DC port. The car cigarette lighter adapter uses the DC port to power and charge the tire inflator.
Below the ports are the control buttons. The middle button is the power button plus the inflation on/off button. A long middle button press will turn the unit on or off. A quick press will start and stop the inflation process. The plus and minus buttons set the required tire pressure level. The top button is the ‘working mode’ button, which allows you to change the mode from car, motorcycle, bicycle, basketball, and custom. The bottom button lets you set the unit of measurement from PSI, BAR, KPA, and KG/CM2. To the left of the buttons is the display area.

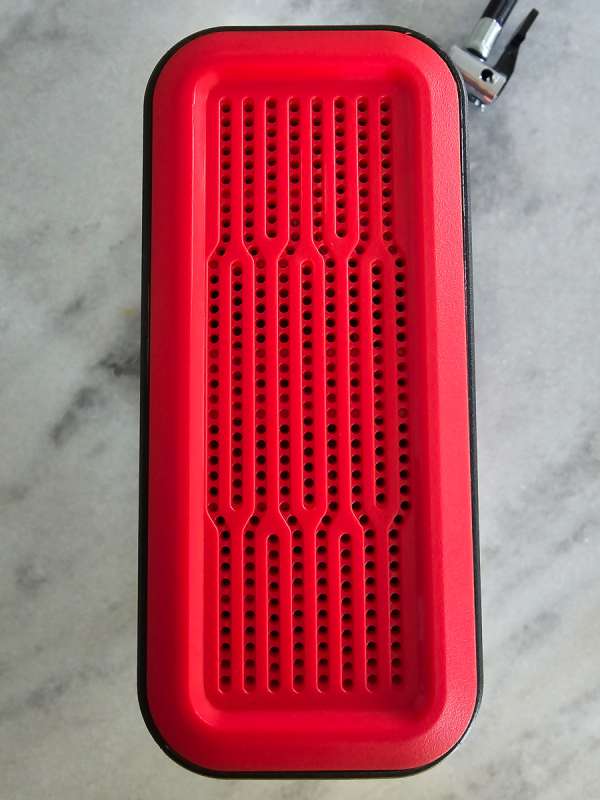
The two sides of the inflator are air vents for the pump. They do a great job of preventing the pump from overheating.
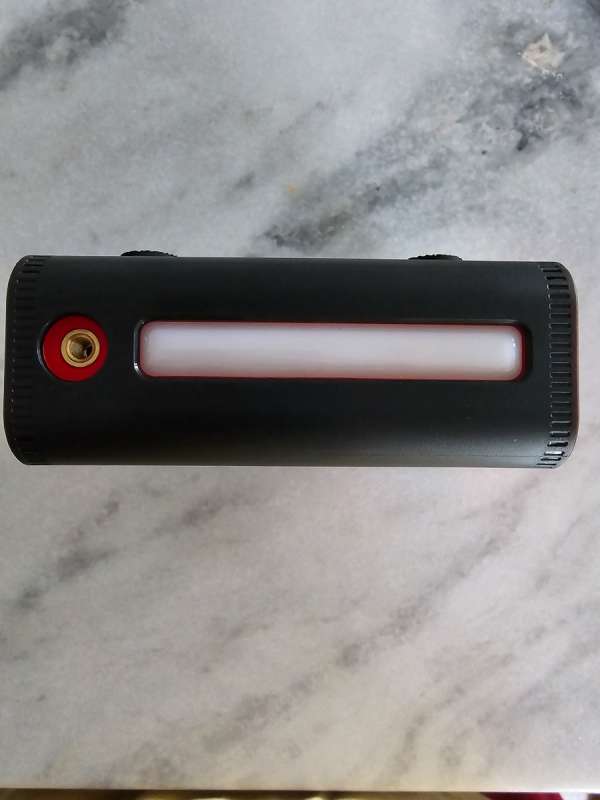
On the top side of the pump is the socket where you screw in the inflation hose. To the right of that is the LED light.
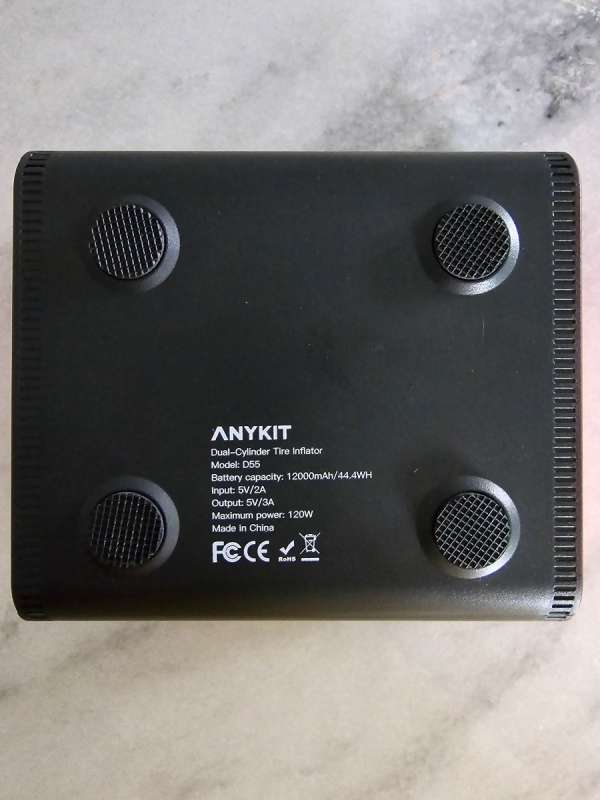
The bottom of the unit has four rubber feet that keep the unit from moving around as it inflates tires.
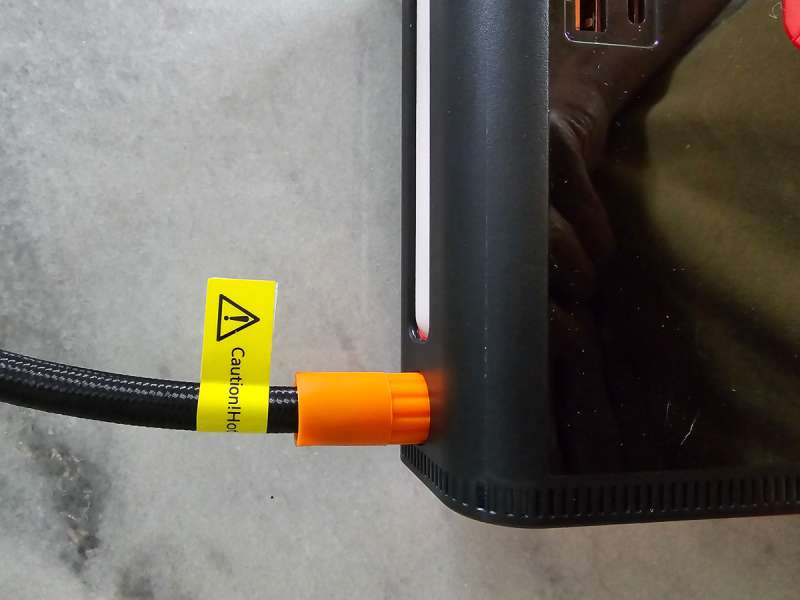
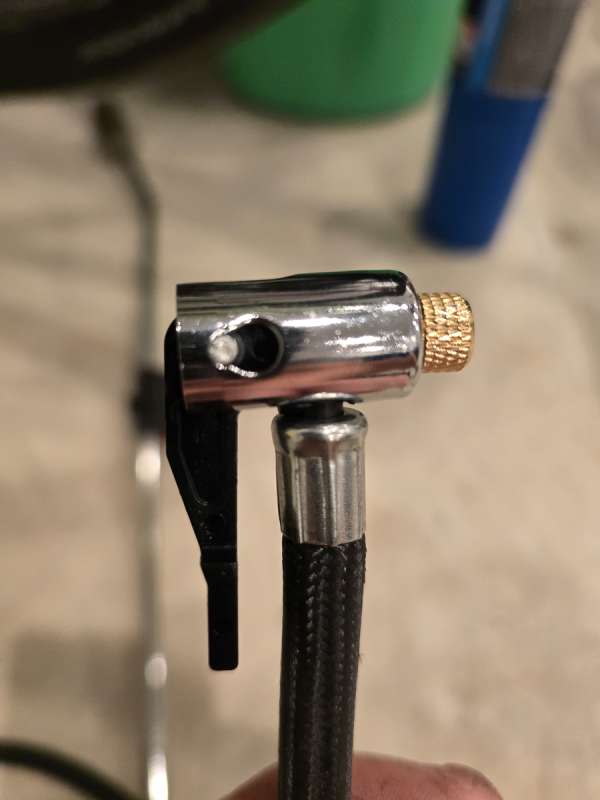
I took a close-up picture of the inflation hose screwed into the port on the device. That little yellow label does not lie. If the pump runs for a few minutes, that hose section gets pretty warm.
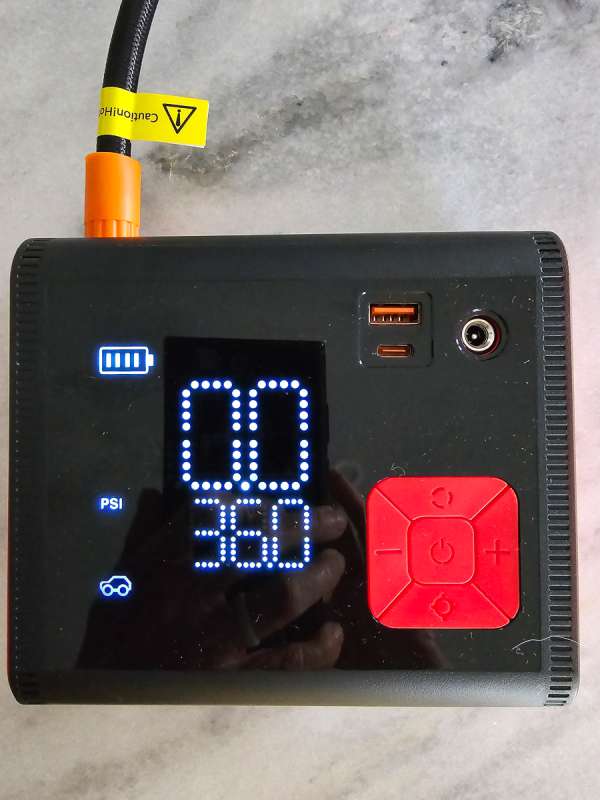
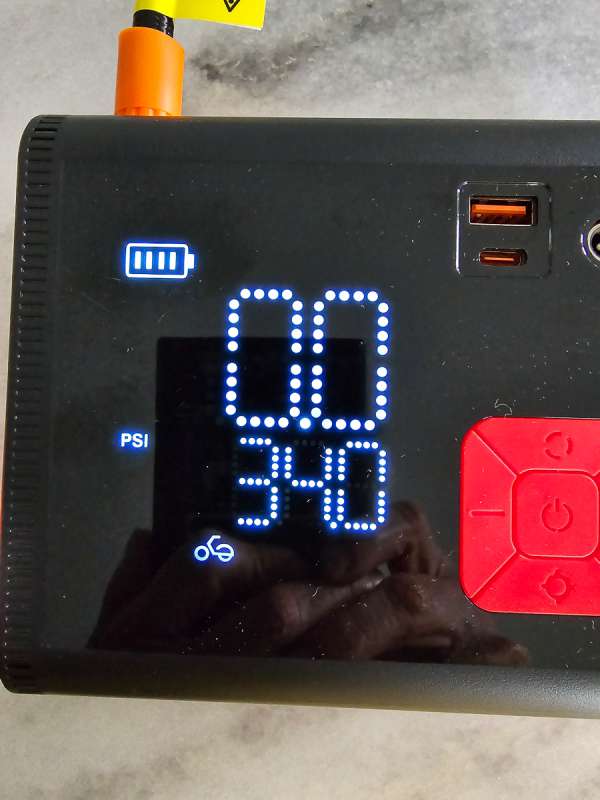
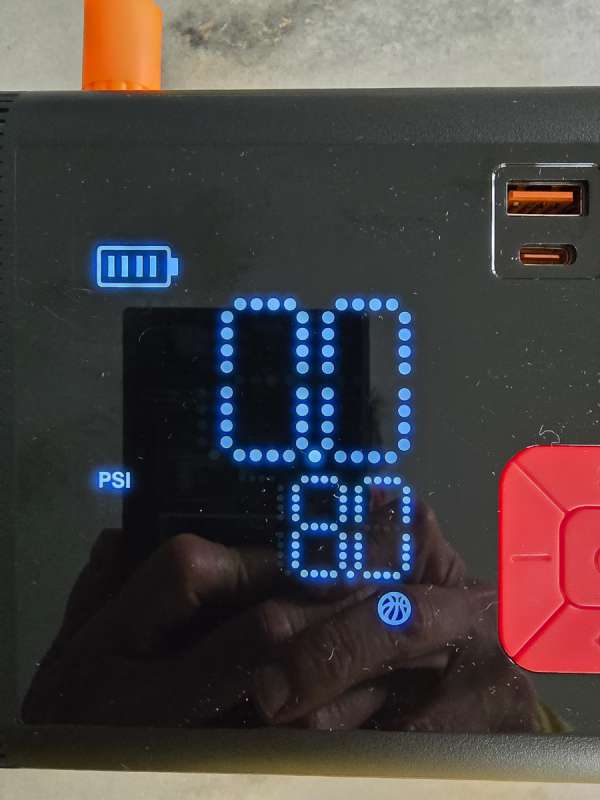
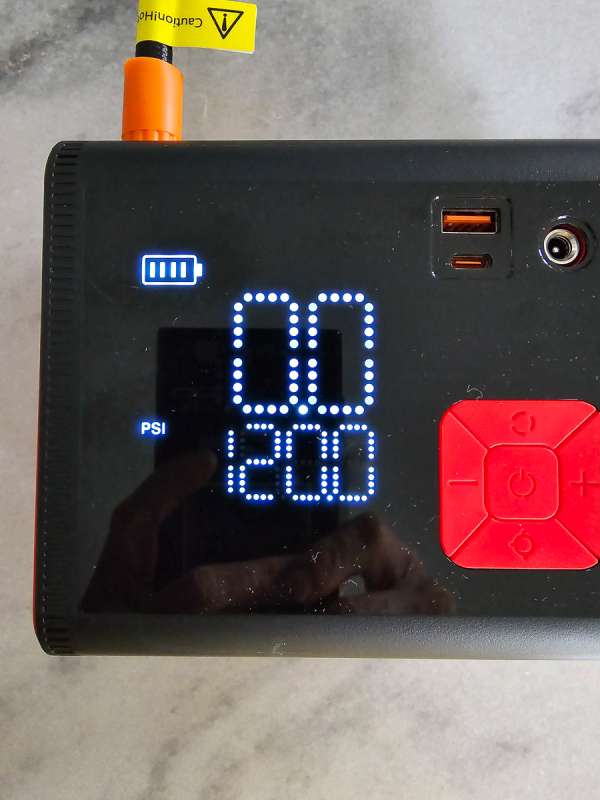
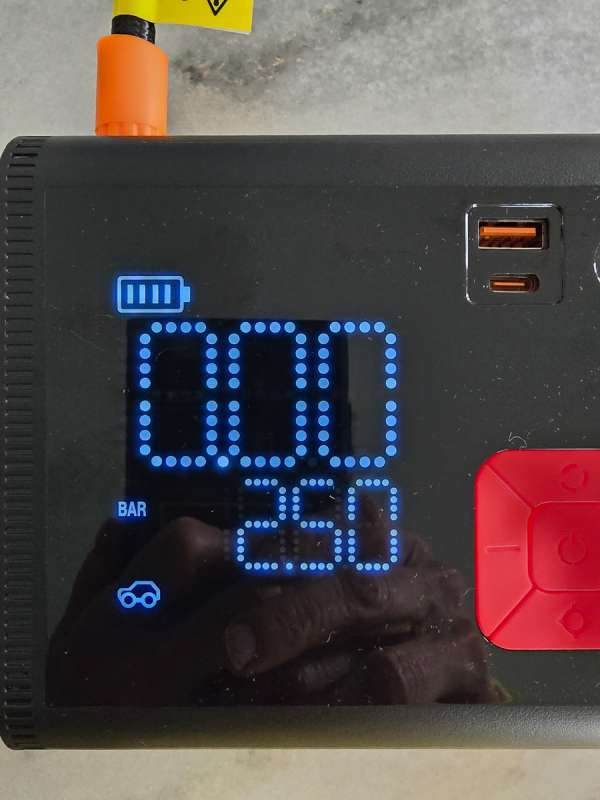
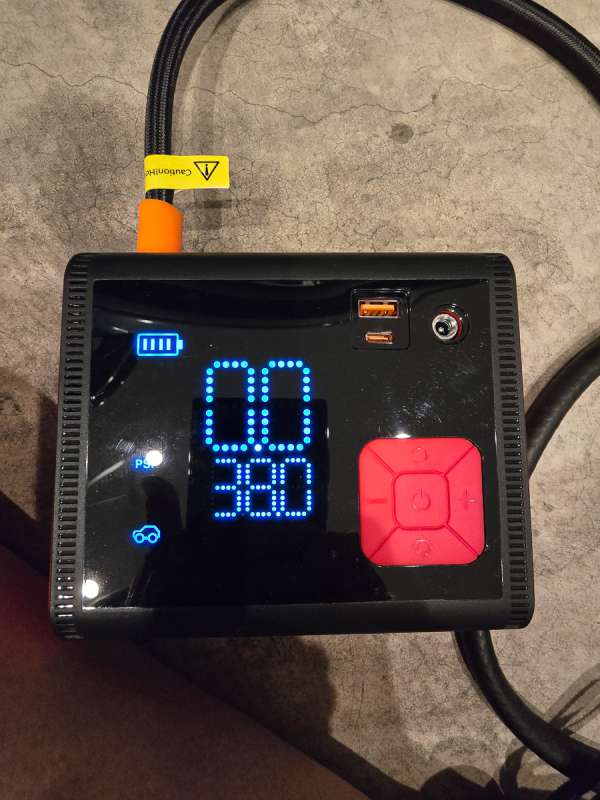
The next four pictures show the display in the various modes this tire inflator supports: car, motorcycle, bicycle, ball, and custom. You can see the battery status in the top left corner. The double zeros are the current PSI at the end of the inflation hose. The numbers below are the PSI you want the inflator to inflate the tire. The unit of measure is to the left of the inflation setting and the mode is below that.
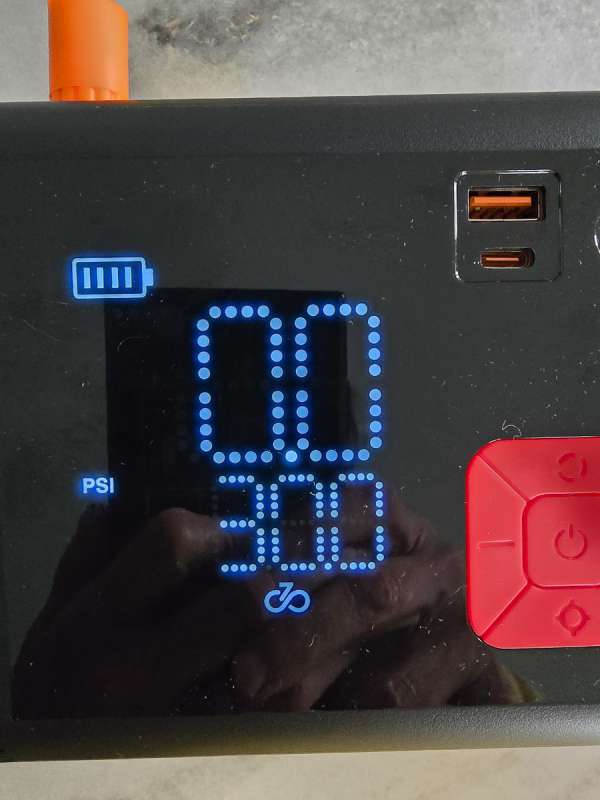
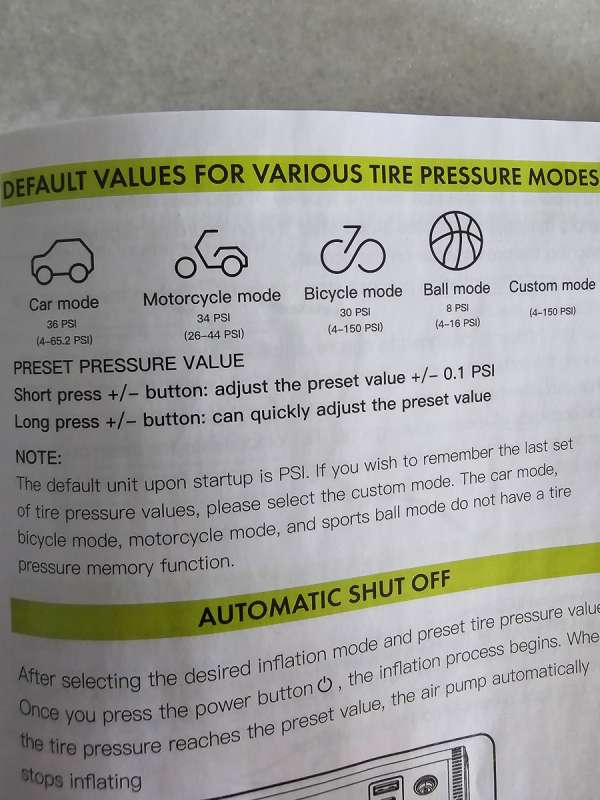
I took a picture of the manual showing the default PSI setting and min/max settings for each mode.
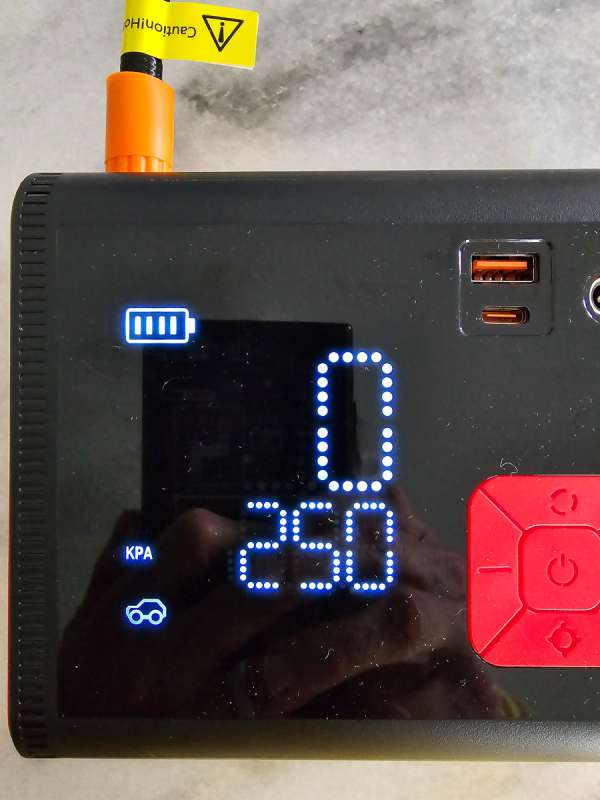
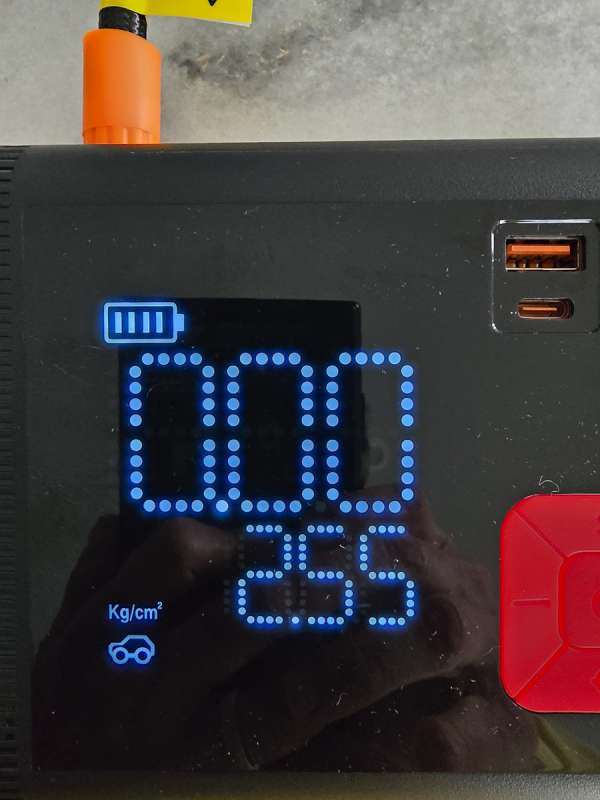
The next set of pictures show you the various unit of measure the inflator supports.
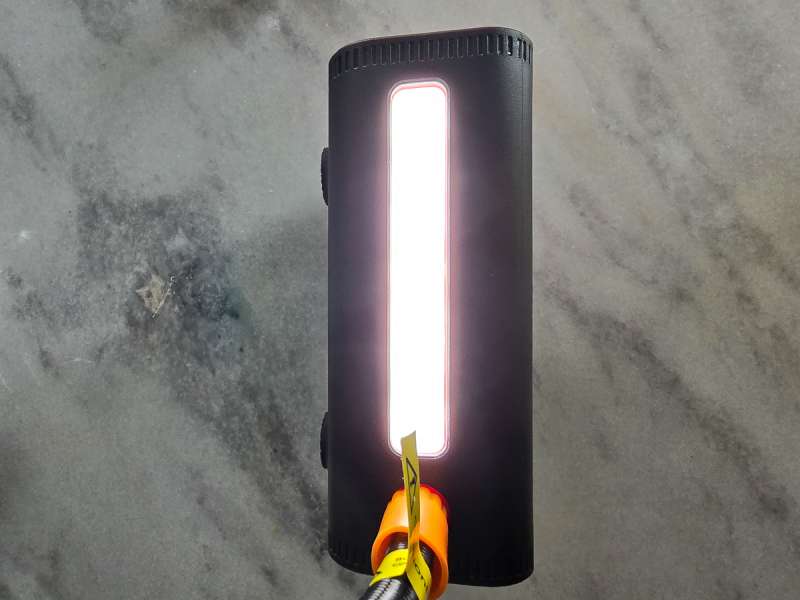
Finally, I took a picture of the LED light. The button that controls the unit of measure also controls the light. Pressing and holding the unit of measure button for three seconds will turn the LED light on. A quick press of that same button will make it flash in SOS mode (quick, quick, quick, long, long, long, quick, quick, quick). Another quick button press will flash blue and red like police lights. This could be very handy if you are using it while on the side of a busy road. You want to make people see you while looking at their phones and driving! Another long press of that button will turn the LED light off,
Performance
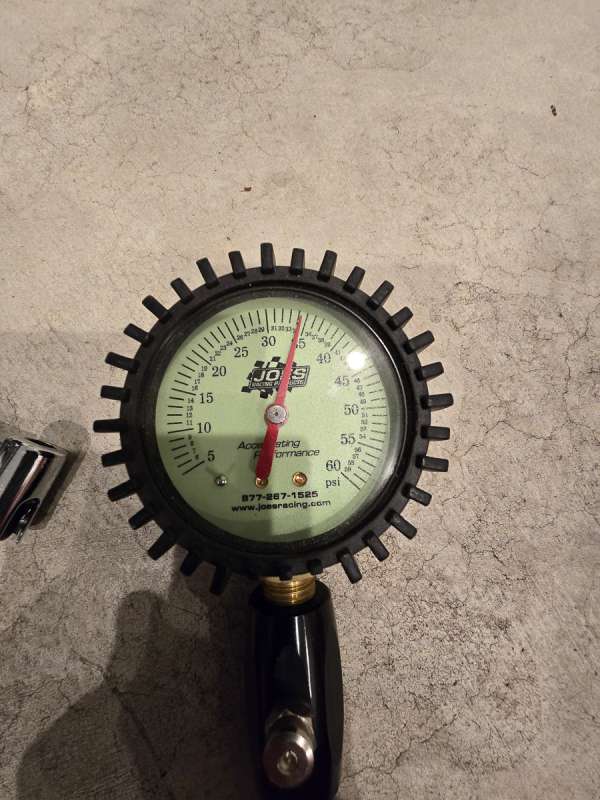
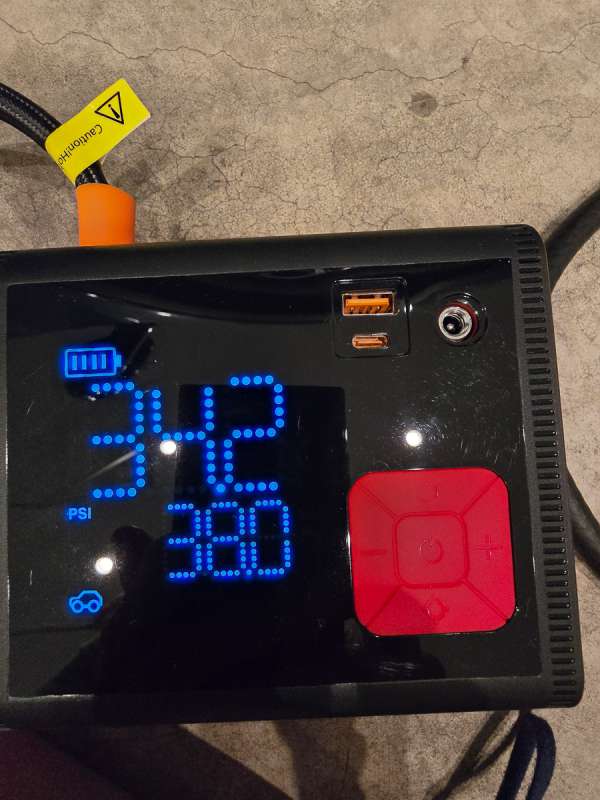
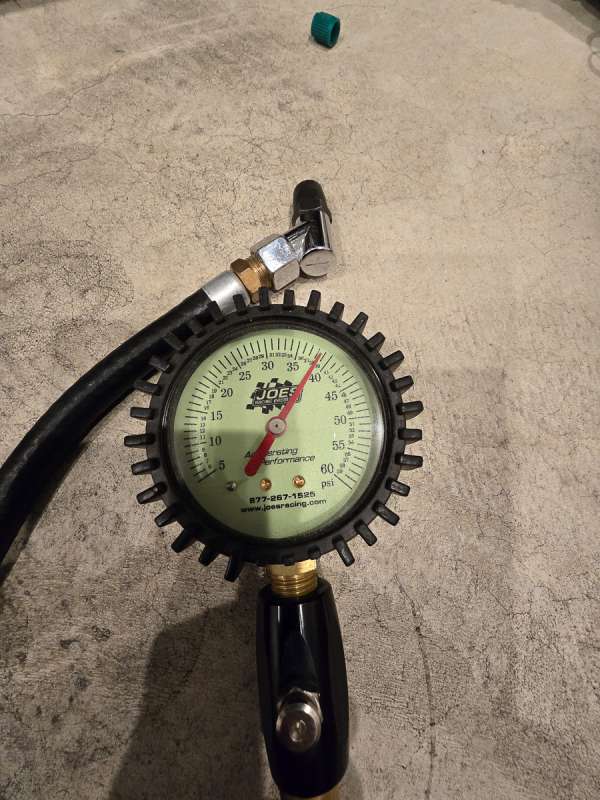
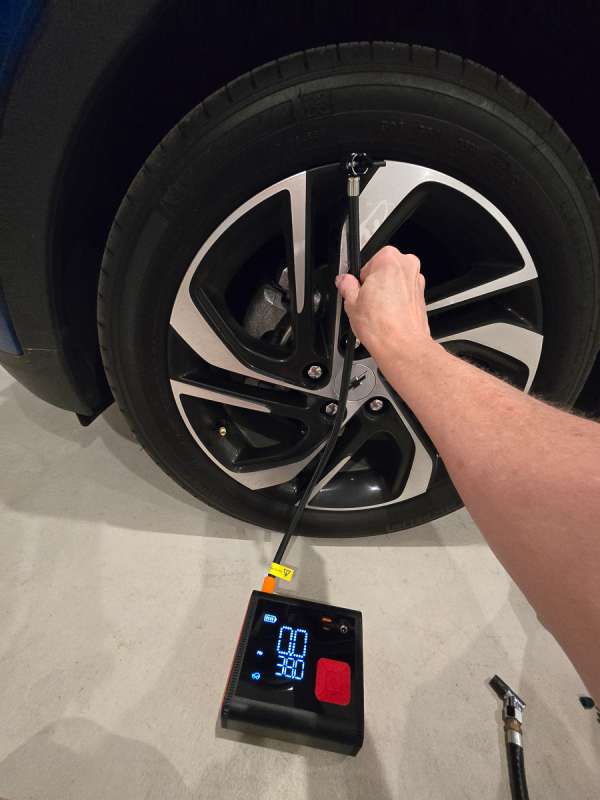
The first thing I did was to check the pressure of the tires on my car. We are finally warming up here, and I know my tire pressure has dropped. I used my current manual tire gauge to read the tire pressure. It was showing just over 34 PSI. I powered up the inflator and set the PSI to 38. I hooked it up to my car tire, and it showed an initial reading of 34.2. I pressed the power button, and the tire was inflated to an indicated 38. I checked with my manual gauge and it showed just over 38 PSI.
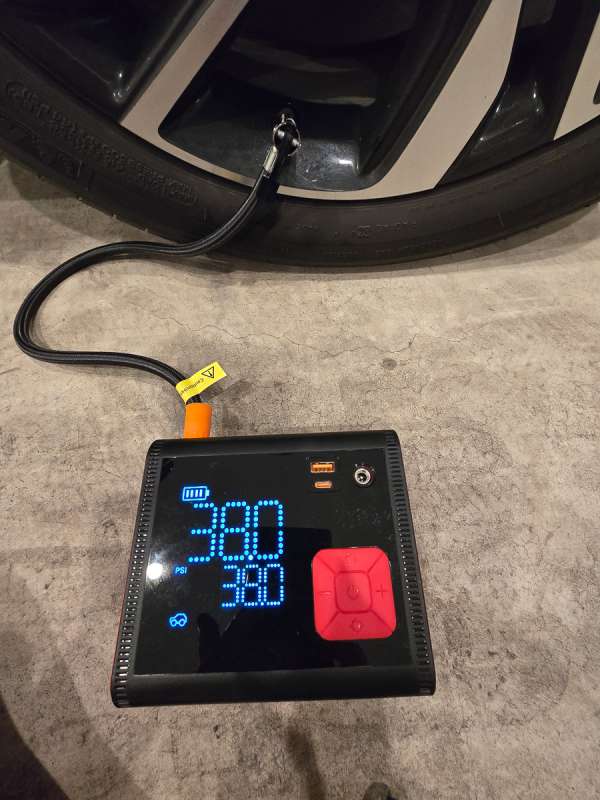
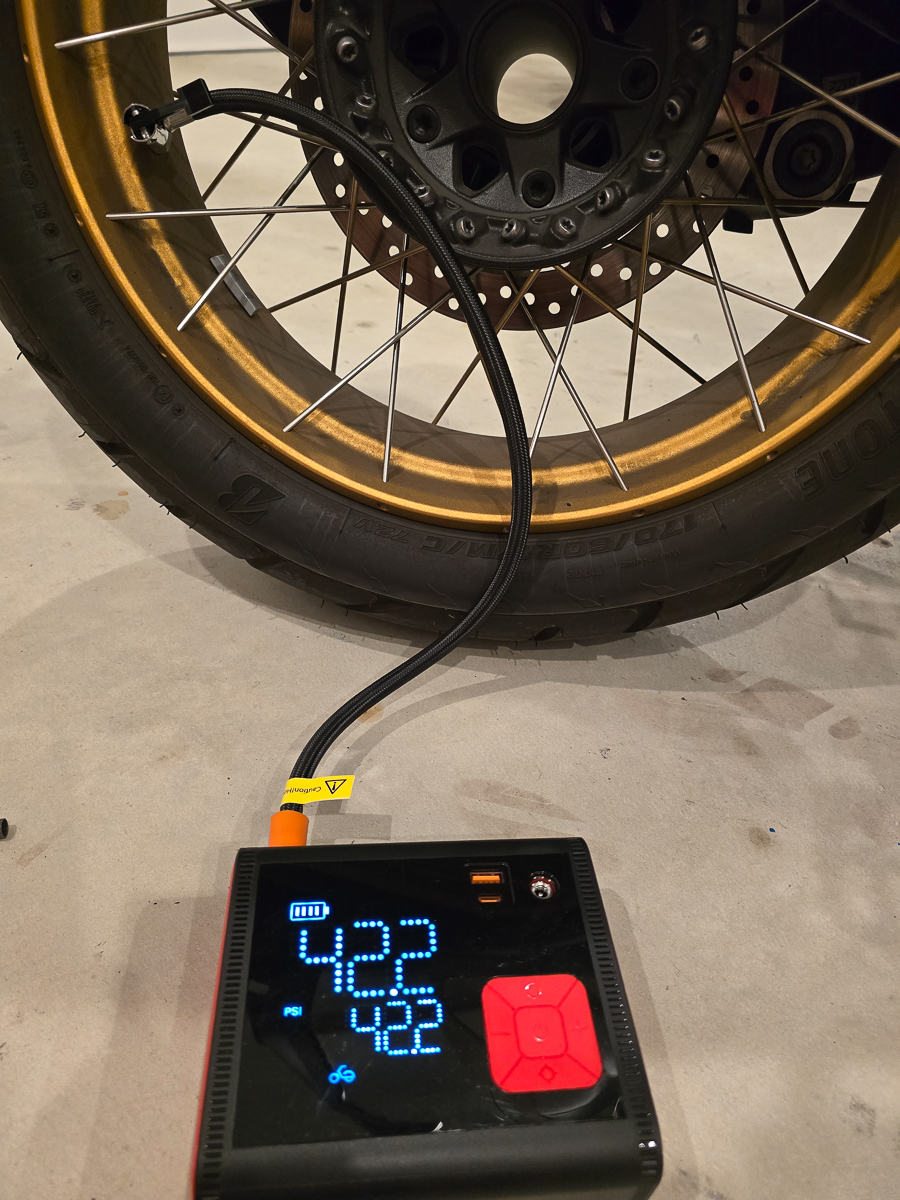
I took this picture so you could see that the pump could easily reach the valve at the top of the wheel. Now, if you have huge rims, you may have to set the inflator on its side so it can reach.
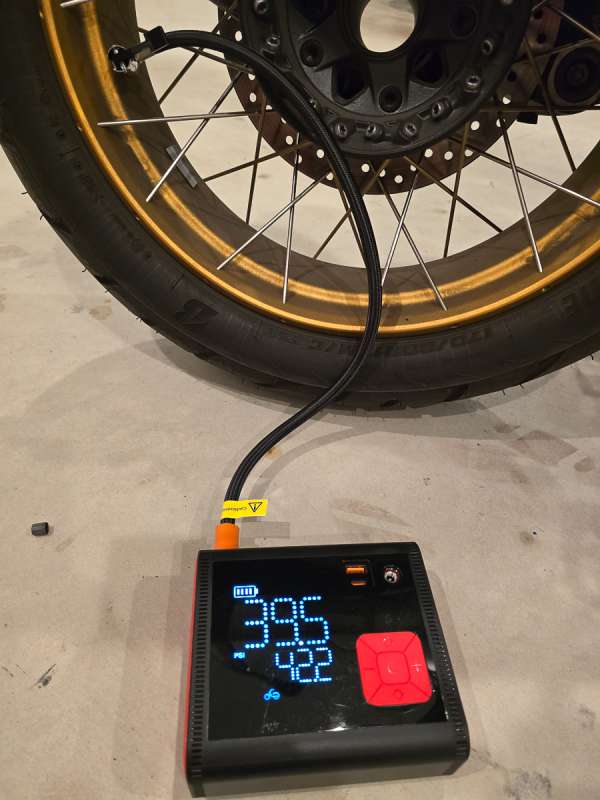
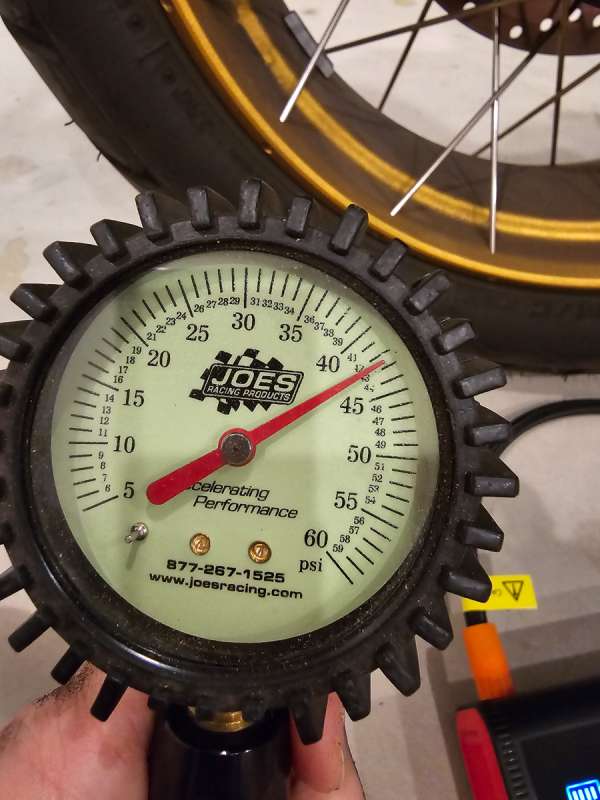
Next, I tested the inflator on my motorcycle tires. My back tire has a recommended PSI of 42.2. It’s a weird number, but I am glad I can set the value exactly as specified on the inflator. After Anykit finished inflating, I tested again with my manual gauge and found the pressure to be almost exact.

I also tested pumping up an electric bicycle’s tires. It used the same Schrader valve and inflated them perfectly to 30 PSI. My last test, and the one I was most excited about, was to try and inflate my gravel bicycle tires. I had to use the Presta adapter for those tires. It popped into the existing Schrader inflator and is held in place by pushing the lever down. Unfortunately, this is where the inflator failed. The Presta adapter only uses the pressure of a rubber gasket in the adapter to hold it in place. I had to set the PSI to 75 for those tires, and within a few seconds of the pump running, the nozzle popped off the valve. I was forced to try and hold it in place so it could continue to put air in the tire. I got it up to 50 PSI before the Presta adapter failed by leaving the rubber gasket on the Presta valve! I will not be using this inflator for my bicycle tires.
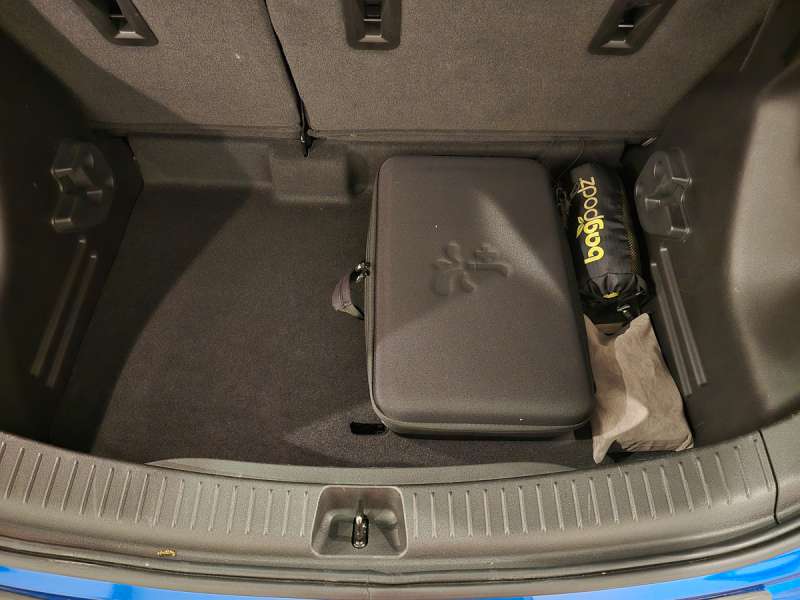
The Anykit tire inflator was awesome for Presta valved items like car and motorcycle tires. It found its place in the hidden area in the back of my Bolt. In the picture below, it is in the small grey bag in the bottom right.
What I like about Anykit car tire inflator
- Big lithium battery—According to the display, I inflated 10 tires for about 125 PSI total and lost no battery power.
- It has a nice long cord to power the unit from the cigarette lighter socket.
- Nice big easy to read display
- LED light lets people know you are there and lights up the area in the dark.
- Good airflow – filled the tires quickly
What needs to be improved?
- Get a better Presta adapter. One that locks onto the valve would be best.
Final thoughts
If you have car or motorcycle tires that need topping off or want to carry around an inflator that works faster than many other lithium battery inflators, this is the tire inflator for you. The Anykit tire inflator has a permanent home in the back of my car now.
Price: $89.99
Where to buy: Amazon
Source: The sample of this product was provided for free by Anykit. Anykit did not have a final say on the review and did not preview the review before it was published.

KAMRUI Pinova P2 Mini PC 16GB RAM 512GB SSD, AMD Ryzen 4300U(Beats 10110U/3500U/N95,Up to 3.7GHz,4C/8T)Mini Computers,Triple 4K Display/HDMI+DP+Type-C/WiFi/BT for Home/Business Mini Desktop Computers
(as of June 27, 2026 14:21 GMT -05:00 - More infoProduct prices and availability are accurate as of the date/time indicated and are subject to change. Any price and availability information displayed on [relevant Amazon Site(s), as applicable] at the time of purchase will apply to the purchase of this product.)
Gadgeteer Comment Policy - Please read before commenting
Hi, I noticed a small error in the specifications. The voltage should be 12V, not 2V 🙂
Thanks! I fixed it.